
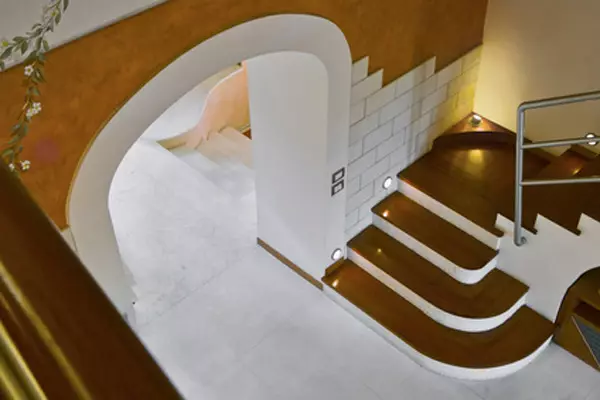
Arched openings have long become a popular decorative design. The appearance of such material on the construction market as plasterboard has simplified many decorative tasks, including the design of the arch. How to separate the arch from drywall and which material is best suited, we will tell in this article. There are many different finishes of the arch, but we will look at the most popular ways. And also tell about the nuances of finishing works by these materials.
We choose the material
Today we cannot complain about the lack of an assortment of building materials. We make the choice on the basis of our decorative preferences and financial capabilities. But when choosing any building material, it is primarily worth given preference for quality products. Saving on quality, we lose much more.
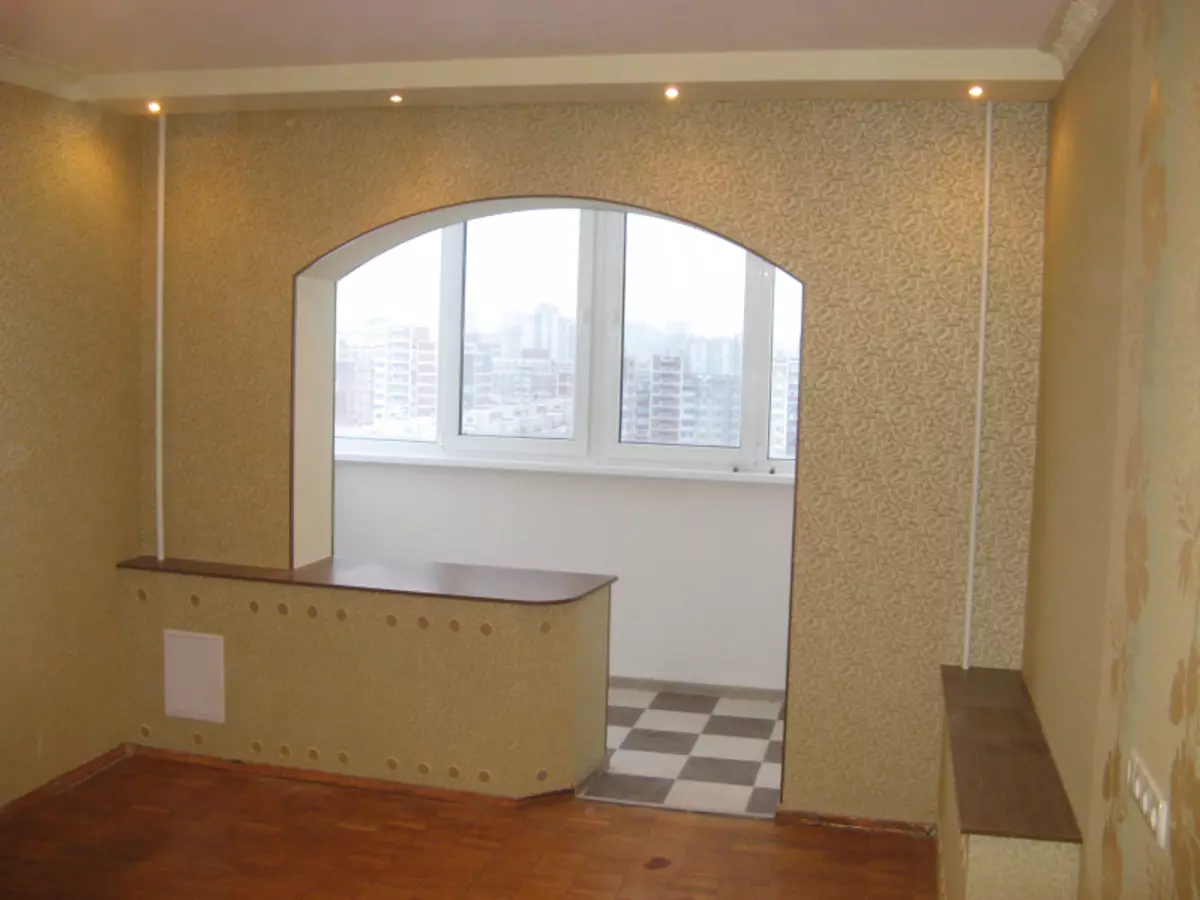
One of the most popular ways to finish the arch are wallpaper. So, consider all the advantages of this material:
- This is one of the most economical finishes of the arch. Of course, prices may differ depending on the type of wallpaper, but still they are most affordable.
- Casting - the process is quite simple, even the most inexperienced master repair business can cope with it.
- Various textures, colors, patterns - eyes scatter when we find yourself in a shop with wallpaper. You will be able to pick up the arches for pasting any style and design. Probably this is the most diverse finishing material.
- Now you can buy the types of wallpapers that are resistant to moisture, you can wash them and even several times. But, accordingly, this type of material will cost more.
Each building material has its pros and cons. No exception wallpaper. The main shortcomings are:
- A short operational term is the main minus of this material. Over time, they turn yellow and lose their original appearance. After some 5-7 years, they need to transfer them.
- If damaged, they will be quite difficult to restore. The liner looks not aesthetically. So, treat them will have very careful.
- This material is not moisture-resistant. Now in the construction market you can find a more expensive view that is resistant to a wet environment.
Article on the topic: how to get rid of ants in the garden
Decorative plaster is also a fairly popular material for plasterboard arches. Decorative putty differs from the usual fact that it can create various patterns and textures. Showing a little fantasy with the help of plaster, you can create a unique design of the arch. Among the main advantages of decorative plaster is worth noting:
- It is enough just to apply on the wall. For facing work, you will not need special construction skills.
- Decorative putty is also characterized by a low price, and this is one of the most attractive parameters for buyers.
- Posted by plaster Interesting and expressive relief will not be much difficulty, for this you need to stock fantasy and the simplest sponge.
It is also worth noting some drawbacks of decorative plaster:
- Repair the damaged surface area will be quite difficult, but still easier than with wallpaper.
- It is not easy to care for decorative plaster, as it is afraid of moisture and the relief surface is not so easy to launder.
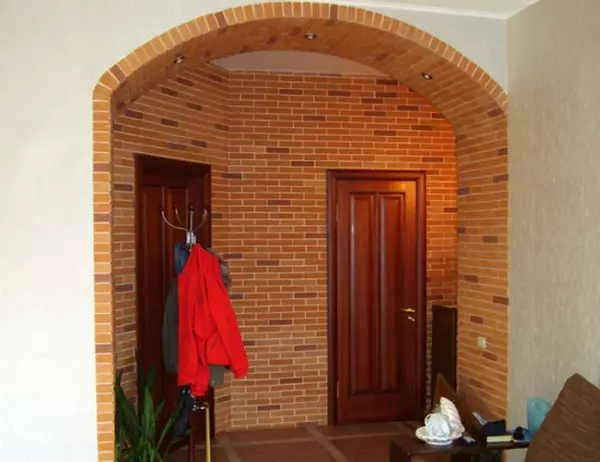
Any surface lined with decorative stone looks presentable. The stone fits perfectly in any interior and perfectly combined with other building materials. Consider the advantages of artificial stone:
- The decorative stone is easy to care for, he is not afraid of moisture and it is difficult to damage it.
- Durability - the operational term is large enough, over time does not lose its appearance.
- This material looks simply gorgeous, the decorative stone is able to make a highlight to any interior.
The main disadvantage of artificial stone is its price. Therefore, the demand for him is not too big. If you have never previously styling the stone on the surface, the installation may seem difficult to you.
Technique finish
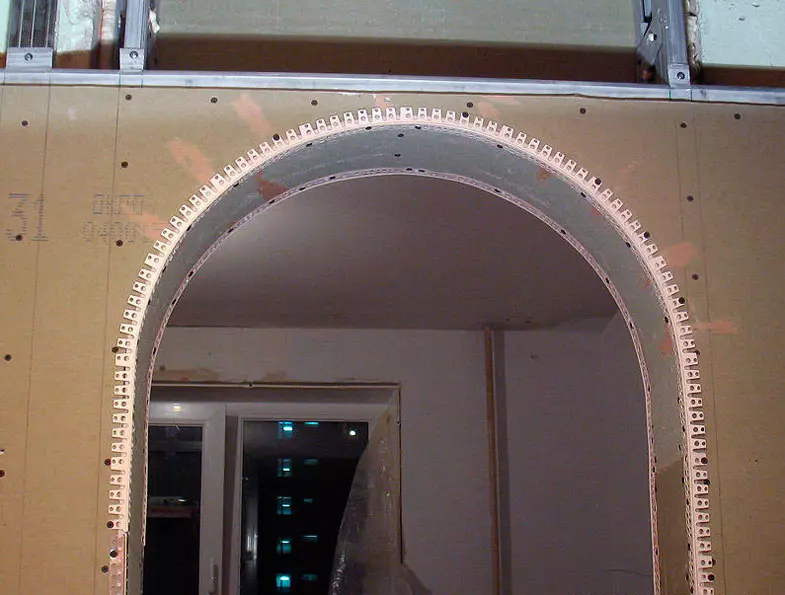
Each of the above materials has its own features of the finish. Consider each of them in stages.Remember that the plasterboard arch has the structural difficulties that need to be considered.
Oboyami.
For finishing with wallpaper Arches, initially it is necessary to treat the surface of the drywall primer to the material that the material is better attached. It is also very important to choose the glue that is suitable for one or another type of wallpaper. To finish the arch, it is necessary to prepare glue thicker than for an ordinary surface. The method of applying glue for various types of wallpapers is different. Therefore, you will find out before pasting with instructions on a roll.
Article on the topic: What to choose a drill on the kafel?
The first strip passes on the wall that near the arch, and then the Neckline is next. Part of the wallpaper should be for arched opening. Then cut the strip, leaving the allowance of 2-4 cm. In the same way, you get another wall in the same way.
The next stage is the camps of the arched arch. It is necessary to measure the depth of the arch and cut the strip of the same width. If you have a pattern with a pattern, then you need to fit the drawing. If the arch arch is too high can be divided into several parts, and the joints are made in the most imperceptible place.
Gently kicking air bubbles using a rag. Do it stands from top to bottom, from the center of the strip in different directions. On the joints it is recommended to walk with a rubber roller, so that they are firmly glued.
Decorative plaster
First you need to sharpen the seams and irregularities of plasterboard, as well as hide the fastening caps. Then the surface for a stronger fighting of plaster.
The method of applying a decorative putty is quite simple - with a spatula we apply the material to the surface. You can create the simplest relief of plasters with a sponge, there are also various rollers with patterns to create a more interesting texture.
After the plaster is completely dry, it must be treated with primer. If you wish, you can paint the surface. For painting putty fit ordinary acrylic paints.
A rock
Facing Arch by decorative stone process-consuming process. Difficulties may occur at the stage of finishing of the opening of the opening. Before starting installation work, you need to be patient and accurately follow the instructions. Initially, you need to sharpen the surface of the arch to eliminate the irregularities, seams, etc. Then we process the walls with primer and let it dry 4-6 hours. There are various technologies for the manufacture of decorative stone: on a plaster basis and on cement. Accordingly, various solutions are suitable for each species.
Article on the topic: Flooring of the Floor of Minvata: Technology of the device in a wooden house
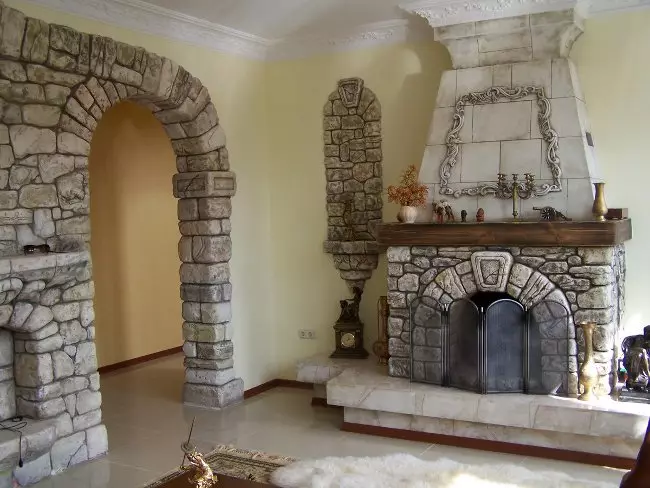
Facing should be started up and from the joint of the wall and arched opening. It is necessary that the stone from the inside walked the brass with the outside. Those stones that go along the arc are cutting on the shape of the opening with the help of a hacksaw, thereby taking the border of the trimming pencil.
After the stone is laid, start to rub the seams. We do it with a special thunder. Apply neatly with a small spatula or syringe. When the seams are dried, you can handle the stone with a special primer, it will be an additional protection against dirt and moisture.
Each of the above methods of finishing the arch can be performed independently, complying with the instructions and recommendations on installation work. You can work fine with arched opening using any material. After all, the main thing is nothing, but as. Showing a little fantasy, you can create a unique design of the arch.
Video "Interesting finish Arch of plasterboard"
The record shows how you can finish the army from the plasterboard with your own hands.