
Victory Day is the most important date in the history of our country. The traditions of this holiday can not be protected. On this day, military parades are held, people on the street are distributed by Georgievsky ribbons, military orchestras play squares. The memory of this victory lives in the heart of the people. Many children are waiting for this holiday to make postcard veterans on May 9 with their own hands.
Such postcards can be performed in different techniques. It may be postcards appliqués and postcards in quilling techniques and scrapbooking.
In this article we offer several step-by-step master classes for the manufacture of postcards on May 9.
Applique from paper
Application from paper is done quickly.
It does not require special skills and special equipment for its manufacture. It is enough to have a color paper, cardboard, markers, glue, ordinary and curly scissors.
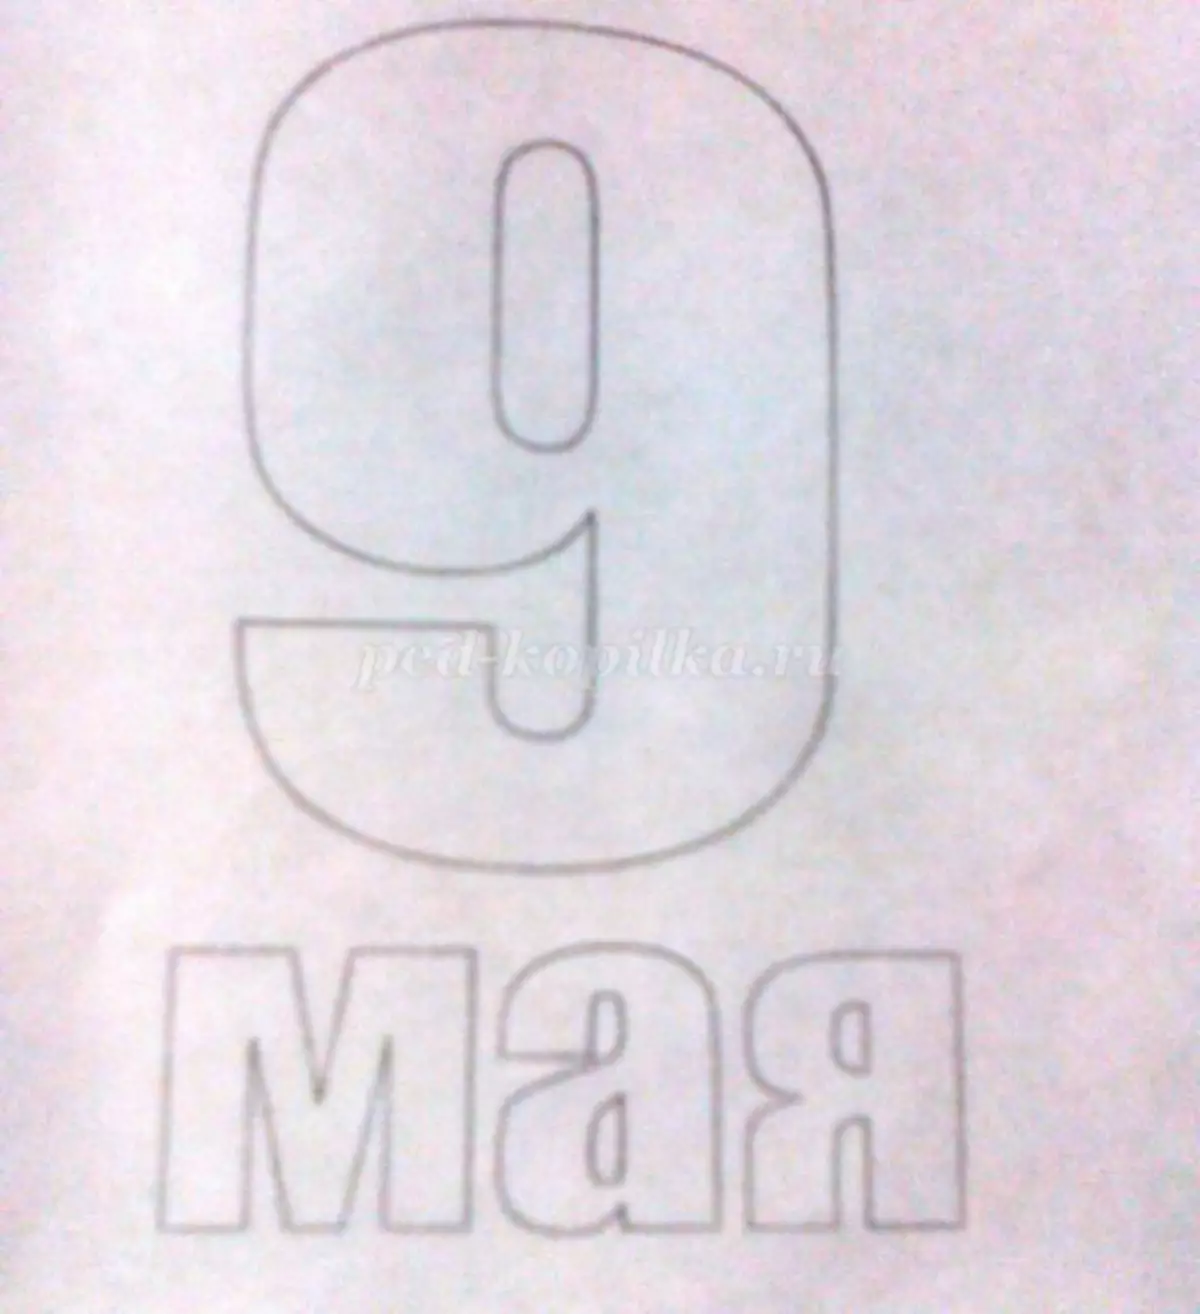
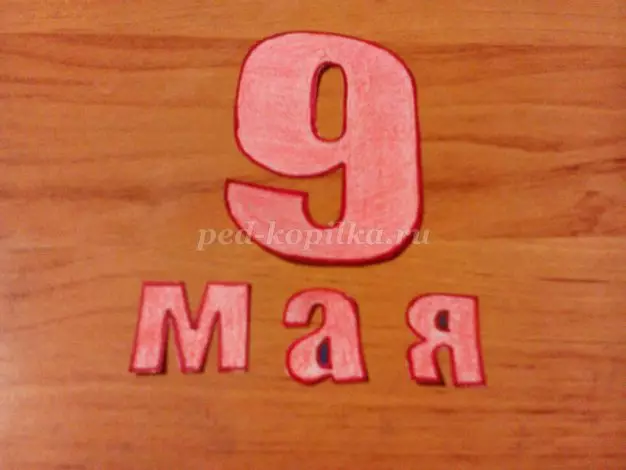
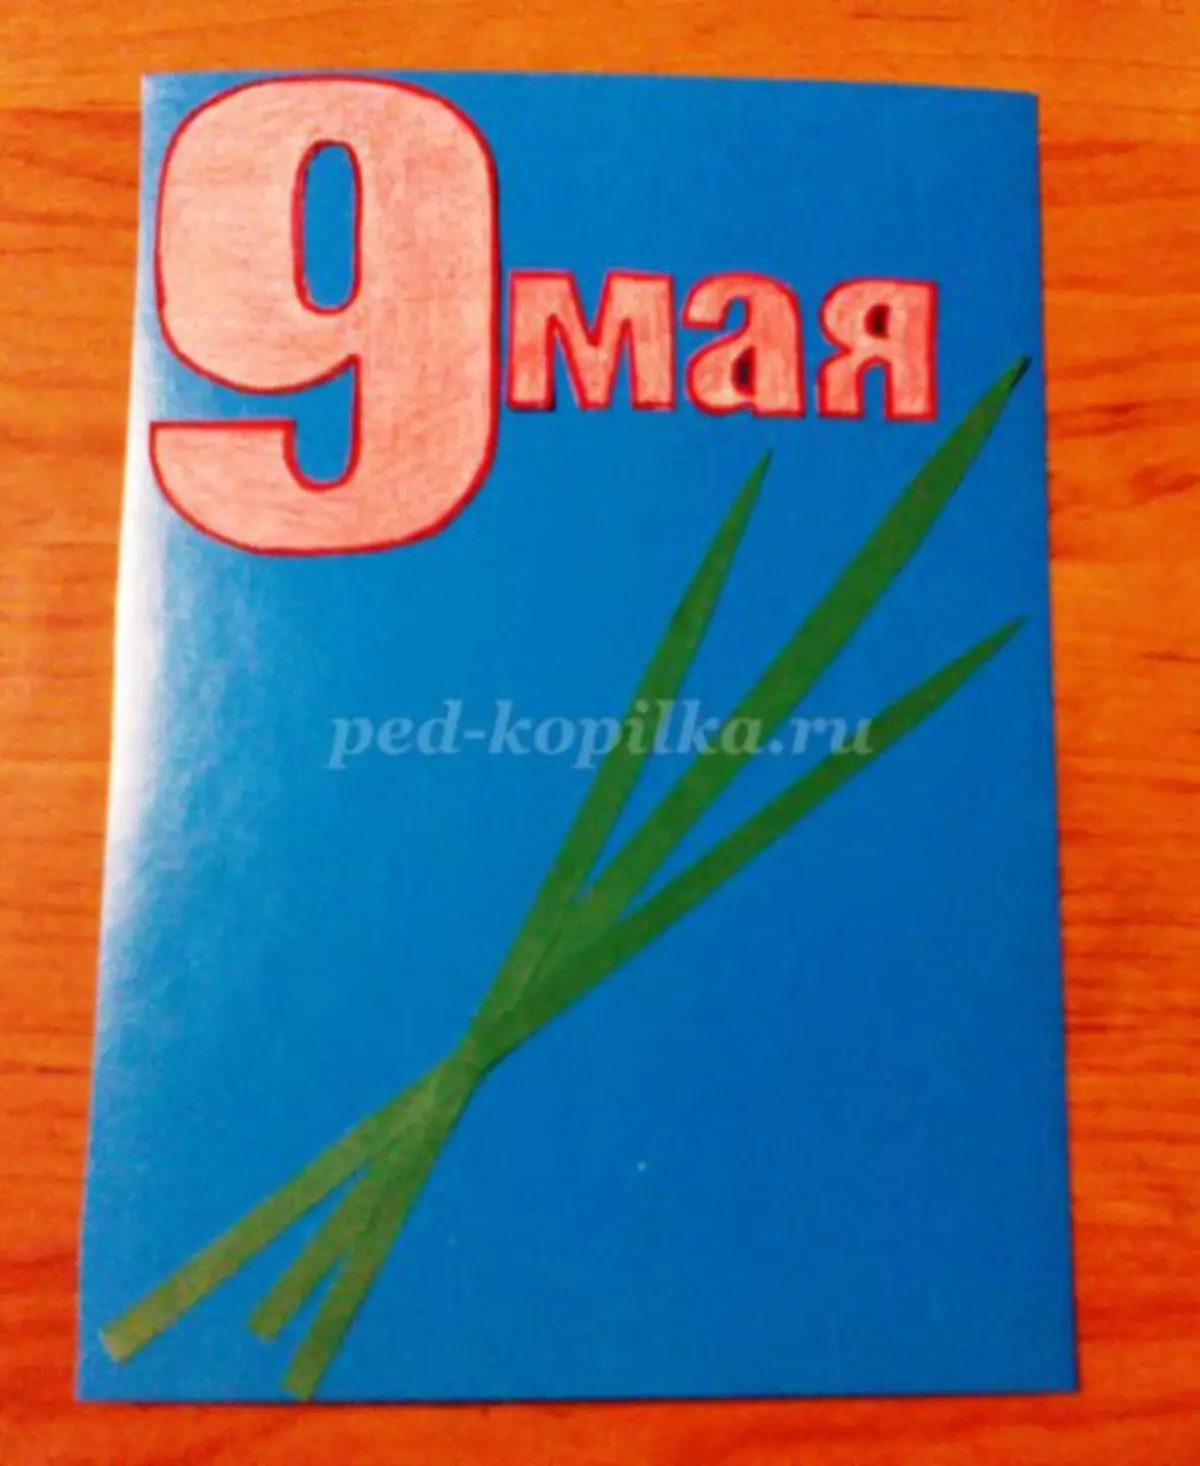
If all this is available, you can proceed to the manufacturing process. Draw on a sheet of white paper, a large font inscription on May 9, paint it and cut it. Such an inscription, you can also draw on the computer and print the printer.
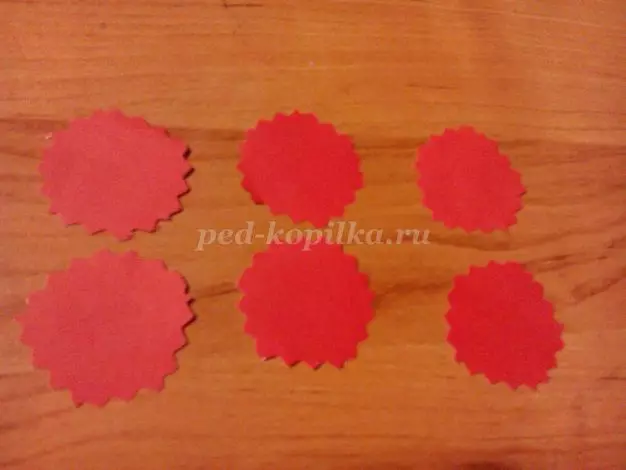
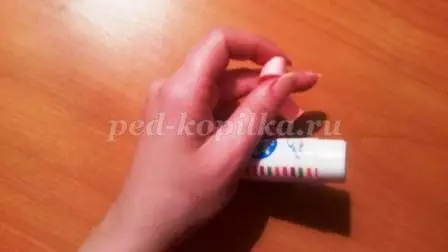
From red paper cut 6 circles of any diameter with curly scissors.
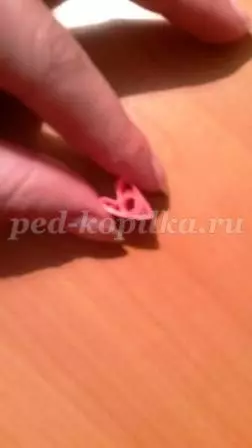
Ready circles need to be folded several times. Then deploy and make in places of folding cuts.
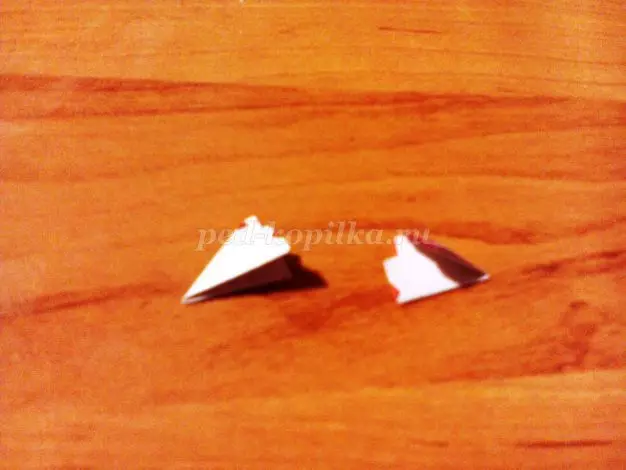
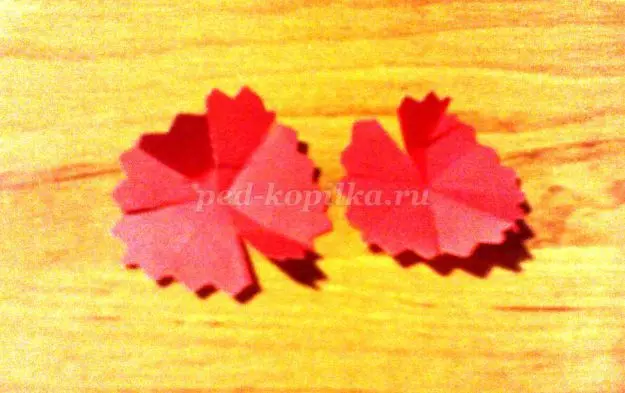
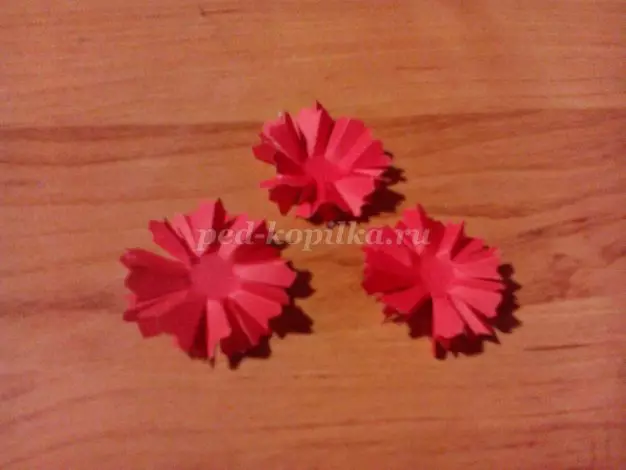
After that, you need to turn the circles inside out and folded every circle in half. Two details of the flower glued in the middle. Thus, three bulk flower turned out.
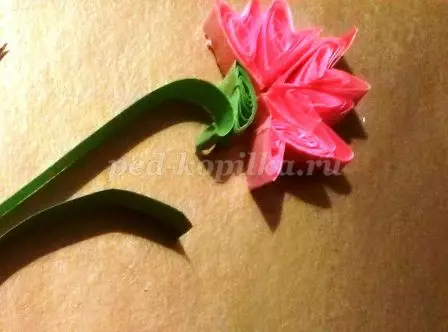
From the green paper, cut the strips - stalks, pointed on one side.

We start collecting a postcard. First, in blue cardboard, we glue the inscription and colors stalks. After that, you need to glue flowers.
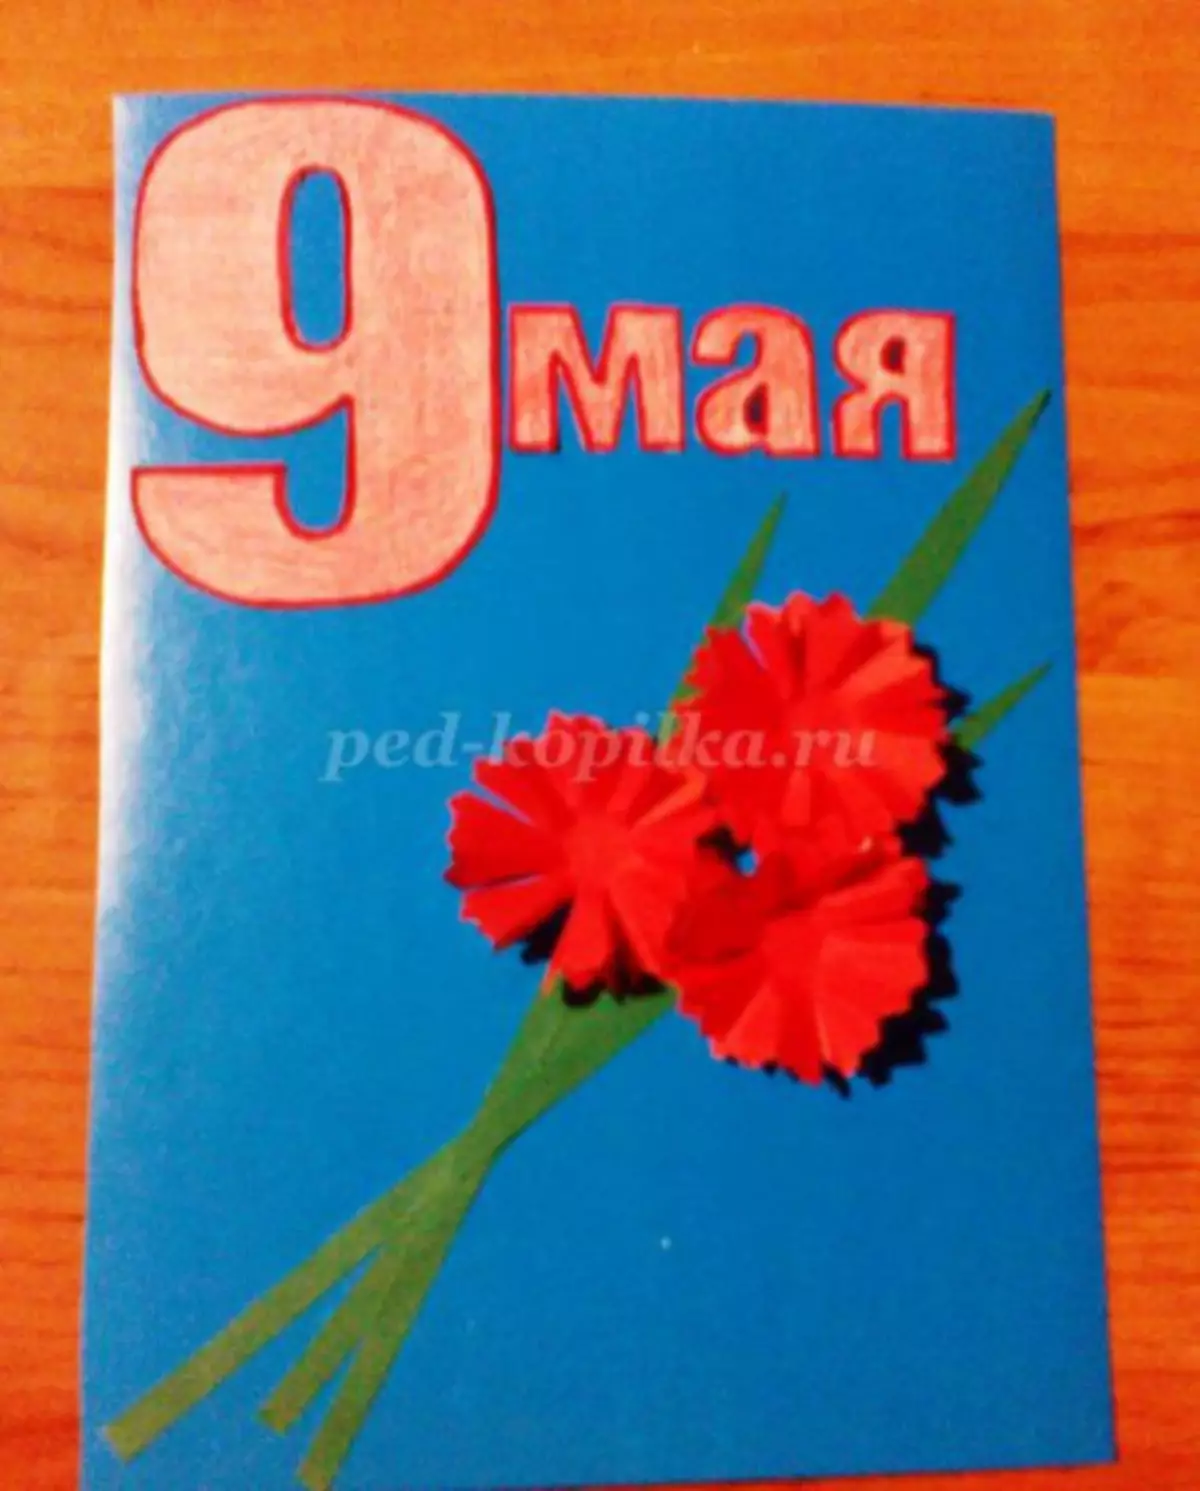
We glue the St. George Ribbon, and the postcard by May 9 is ready.
Festive option

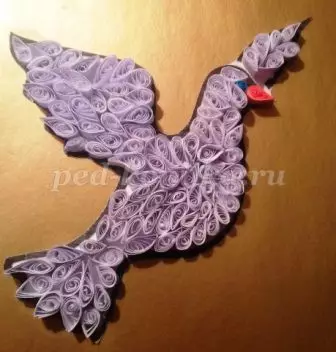
For the manufacture of postcards on May 9, with your own hands in the Quilling technique, you will need: Color paper strips for queening, cardboard, tweezers, scissors, glue, pigeon template (look in the photo below).
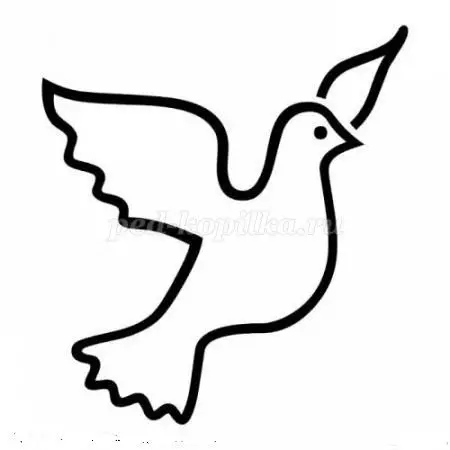
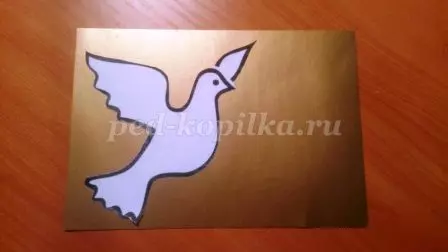
First you need to draw and cut dove. If necessary, you can download the pigeon pattern from the Internet, print and cut. After that, the pigeon is glued to the cardboard.
Article on the topic: Cracked cord crochet step by step: master class with photos and video
We take a strip of white paper and screw in tweezers. The resulting spiral glue glue to not opened.
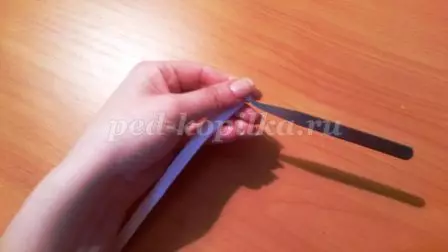
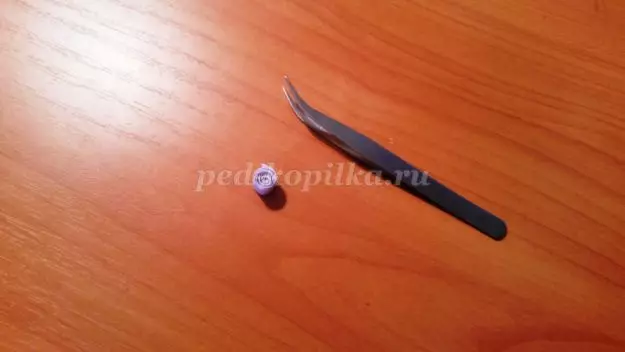
When the spiral gets free, by pressing you give it the shape of the droplet (as shown in the photo).

Such droplets need to be made in the amount required to fill the pigeon. Make one droplet from red paper, it will be a beak. For eye decoration, you need a round bars of blue. After the dove is filled, it is placed on a side.
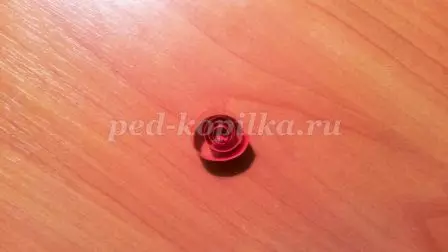
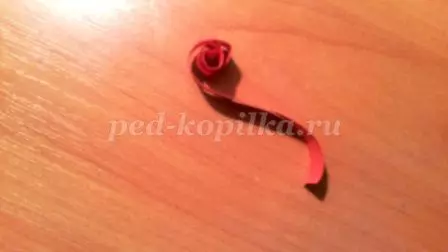
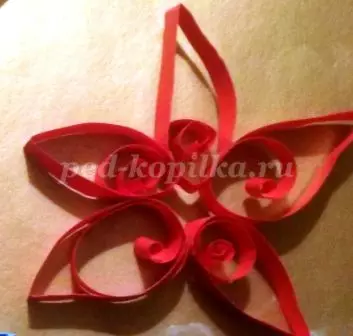
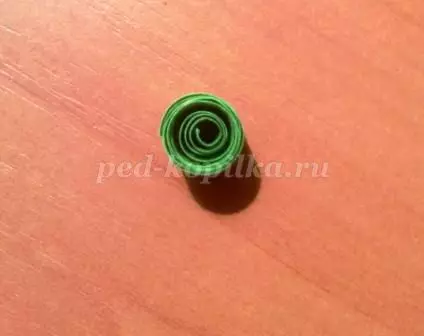
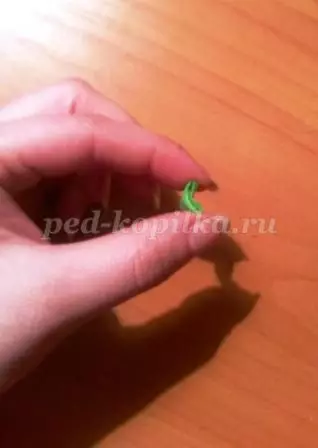
Now proceed to the manufacture of an asterisk. To do this, turn on the red paper strip in the roll. Then let it go a little spinned. After that, you need to bend the tip in half and glued to the inconspicuous part of the spiral.
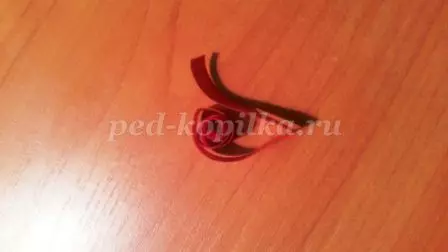
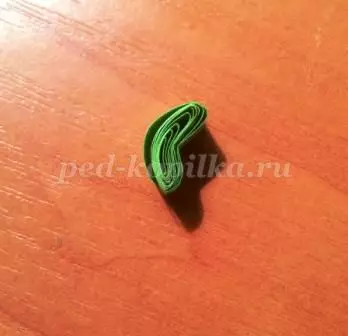
We make 5 identical details and connect them to the star.
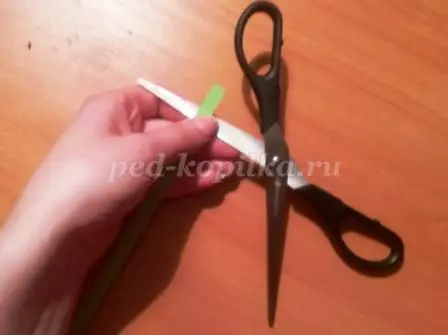
You need to screw the strip of green paper with scissors so that the form is enforced. The resulting curl bend in half. It will be a skeleton.
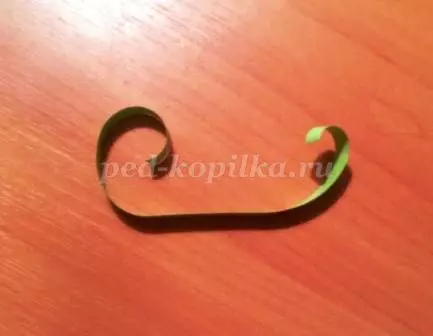
From the strip of green paper we turn the spiral and by flexing we give it the form of leaf.
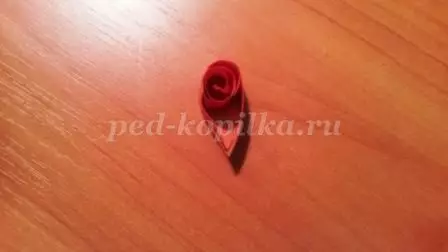
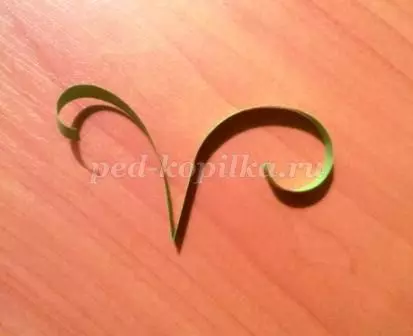
We begin to form a carnation. To do this, twist into the spiral strip of pink paper and with a slight movement of your fingers shift the roll so that a funnel formed.

It is necessary to compress the roll from two sides so that the heart is formed.

All the details of the flower are glued to the cardboard as shown in the photo.
From the strips of other colors we make letters and glue the postcard.
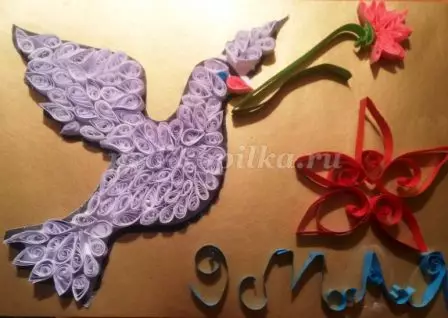
Postcard on May 9 is ready.
We try quilling
Machinery Quilling allows you to make postcards of different levels of complexity. Inexperienced craftsmen, it is better to start their creativity with simple and uncomfortable forms.
For the manufacture of such a postcard, you will need: color cardboard blue, corrugated cardboard of gold color, pink paper, paper strips for queening, glue, scissors.
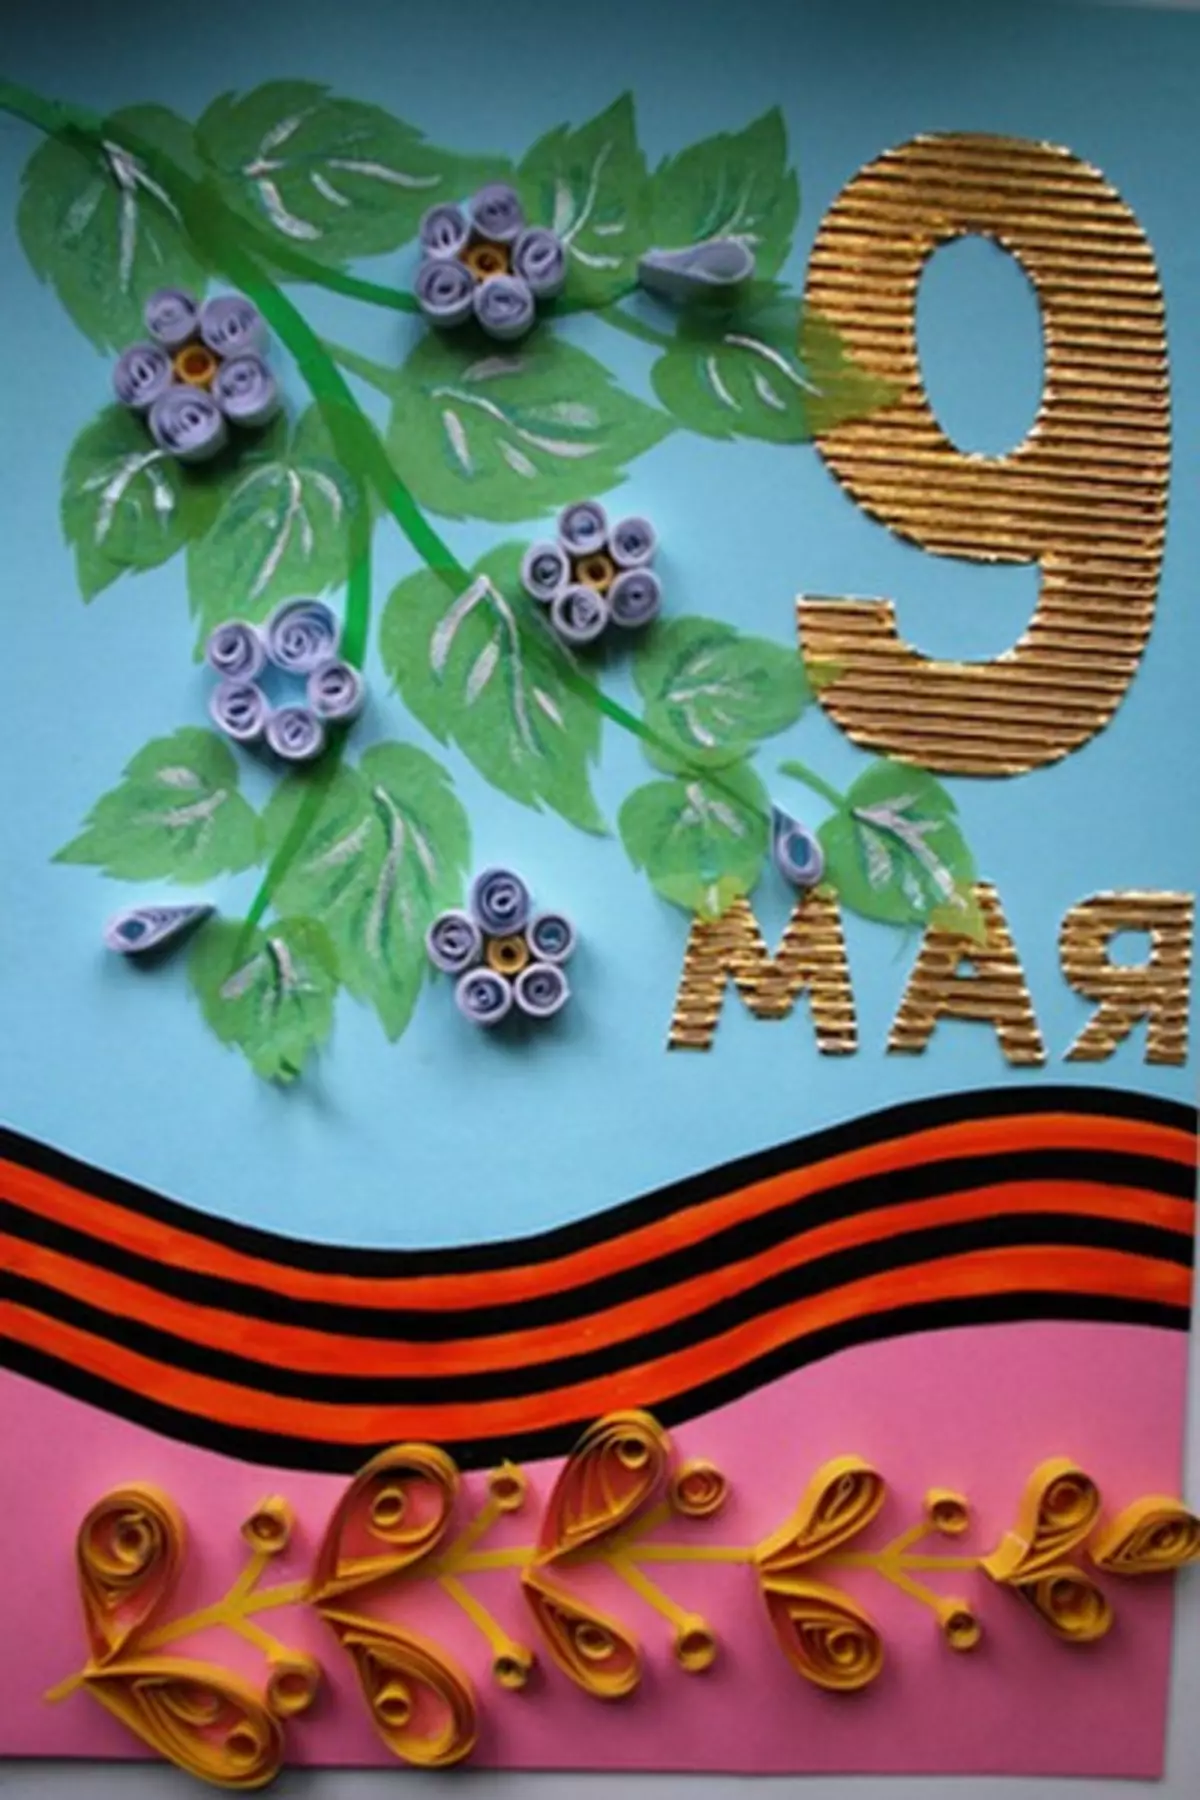
Getting to create a postcard.
From paper pink color Cut a figure strip 7-8 cm wide and glue it to the bottom edge of the cardboard. Separately draw and paint the grafts or paints of the George ribbon. The tape should repeat the lines of the pink strip. Finished ribbon to stick on the junction of cardboard and pink paper. So we hide the joint.
Article on the topic: Crochet Rooster: Master Class with description and video
From corrugated cardboard cut inscription and glue it to the base. From the colored paper of green, we make the stalks of the twigs and glue them to the cardboard in an arbitrary order. Listers can be made not only from colored paper, but also from paper napkins of green (then we did). The leaves from the napkins look more gentle, and for the realism of the residence you need to draw a gouache.
At this stage, you can start work directly in the Quilling technique. From a yellow strip, we make five tight spirals, it will be the middle of the colors. Then you need to glue these sedns in places where flowers will be. Around them to glue 5 tight spirals, it will be petals. In addition to them, several petals of the same color, but in the form of a drop are placed on branches.
On a plot with pink paper, glue a stalk with a sprigs of golden paper. At the edges of the twins, glue 11 leaves in the form of drops of different sizes. On the twig paste 8 berries. Our postcard for the holiday is ready.