
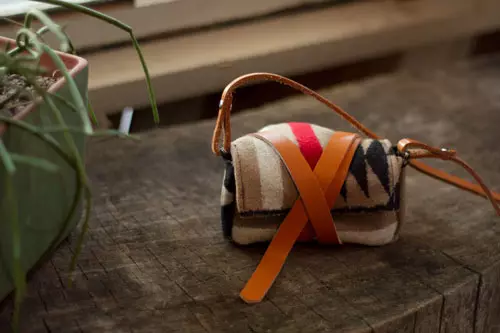
Original and stylish, they provide convenience of work and help always keep the camera at hand. Most cases for cameras look unnecessary and even bulky. I would like to except protection, they were original and stylish, provided the convenience of work and the ability to keep the camera at hand if you plan a short journey. Make your own hands new and original camera for the camera can each. By this, you will create not just protection for your camera, but also give her a "tourist look." Of course, creating a soft tissue case is not an option. If you strive to create the most protective design for the camera, it is best to take a dense woolen fabric. You may not worry about the work itself, because The product is essentially a simple pocket with the valve. You can simply relax and enjoy sewing.
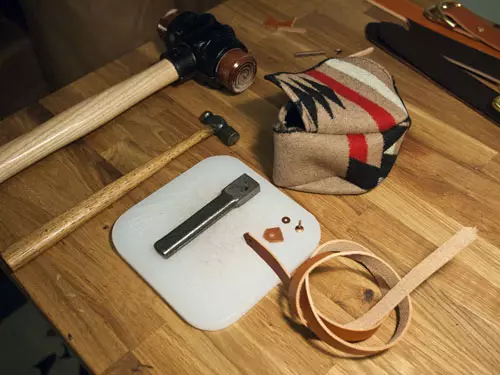
Required materials and tools:
- sewing machine;
- Scissors or disk (cutting) knife;
- pencil;
- paper.
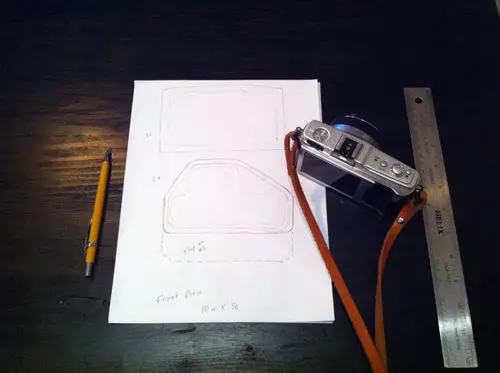
Case template
Start with the fact that the pencil on paper sketches the outlines with the real dimensions of your camera. If she is small - then it's easy! If she has external lenses, then your template will have more faces. In this case, you need to turn the bottom of the camera to the lens profile. This template can be used for the bottom and upper part, only you need to add an additional distance for the lens sash. Measure the camera and height, calculate what the front panel should be. Connecting lines, it turns out a rectangle.
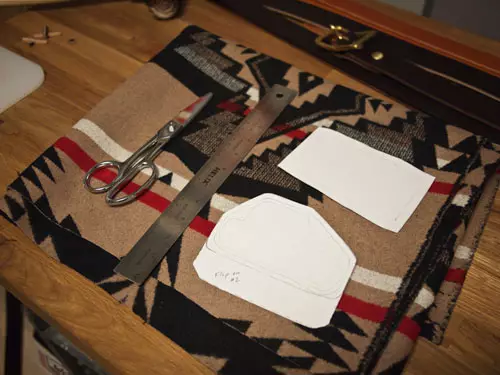
Cutting template
It is best to add approximately 1/4 to the size of your template to compensate for the material required for the seams and for points, your case should not be too close. Now cut your paper templates and do on them from the selected fabric side of the future case.
Article on the topic: Knitted coat for girls with knitting with a scheme: Knit warm things for children 1-2-3 years old with photos and videos
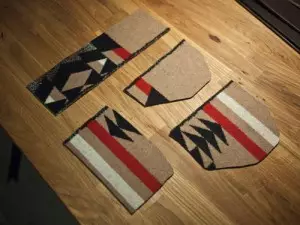
Stitching case
After the fabric was carved, thoroughly drag all pieces together. Also to prevent wear is worth sewing any untreated edges. Do not forget to leave holes for the strap. After all the pieces are sewn (in any time), it came to the turn for an external pocket and testing with the camera. Place the camera inside and check: if you used not quite accurate sizes for the template, you may have to make a bit of a case "on the figure" camera. Now sew the upper part.
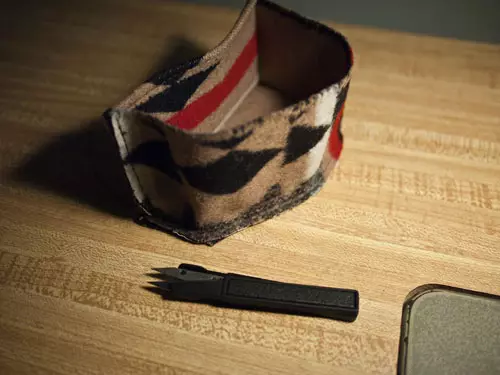
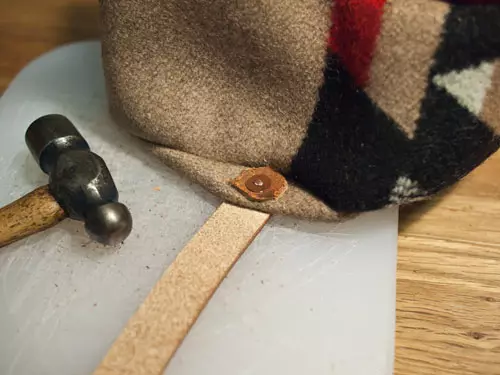
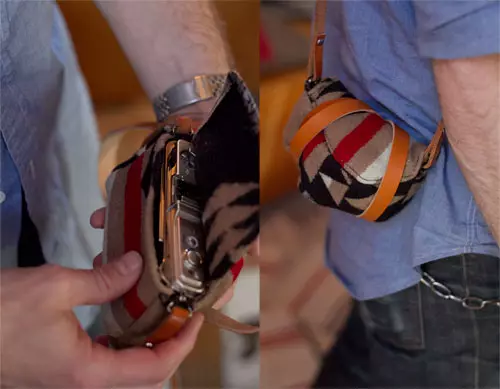
Camera protection
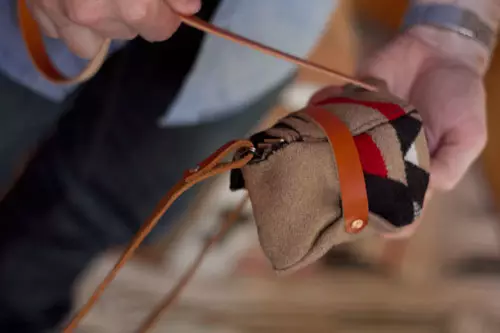
In order to close the case for the camera, you can use a piece of leather. In this case, wrap them around the camera and tie. To determine the exact length of the strap, wrap it around the camera a couple of times and tie. If the camera with the lens, then in the bottom there will be a small convexity - this is the perfect place to fasten the strap. You can sew your belt from behind, or just come up with your design. You can also use rivets or other devices. The main thing is to make sure that the rivets do not touch your camera and will not harm it.
If you liked the master class, then leave a couple of grateful lines to the author of the article in the comments. The simplest "thank you" will give the author of the desire to please the Nazny articles.
Encourage the author!