
Easter egg from bead will be a wonderful gift for a bright Easter holiday for loved ones and relatives. The warmly, which you invested in such a gift, will give only pleasant memories, and the egg is an excellent souvenir, the shelf life is unlimited.

As a workpiece for such eggs, you can take molds from children's toys. They differ in shape, can be small, both from Kinder surprise and big. You can buy wooden blanks, they differ in size. If there are no eggs from plastics and from wood, then you can make them from papier-mache.
There are many options for the manufacture of such products, ranging from the simplest, ending with complex options. The simplest options are suitable for beginners and for children, because the child cannot cope with the work, which is not allowed every adult.
There are many ways to make a beaded egg. Consider every method as a separate workshop. The following will be considered different ways that are suitable for beginners and people who are already familiar with beads and weaving techniques.
Casting Yaitz
If you never seen anything from the bead, it does not matter. After all, if I really want, it means everything will work out! We will conduct a master class on the topic of baying eggs beads.
So, we need the following materials:
- chicken eggs;
- food coloring;
- PVA glue;
- Thin line or thread;
- toothpick;
- beads, beads;
- vinegar.
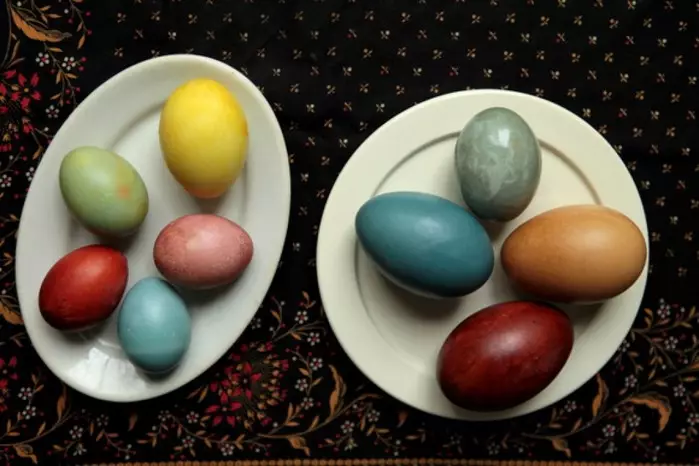
Press the washed eggs into a container with vinegar, which was added to warm water, and leave for a minute. Thanks to this, the paint will fall uniformly when painting. Then the eggs are welded in cold water 10 minutes.
While the eggs are boiled, the dye is divorced, as indicated in the instructions, and we already be cooled to put in a container with a dye, leave for staining.
On a note! The longer the egg is in the tank with the dye, the better the color of staining will be.
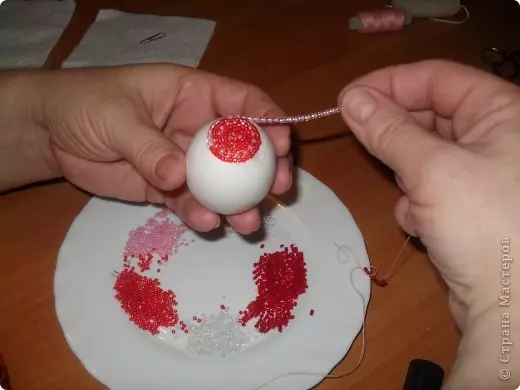
After complete drying and color, you can move to the decoration of beads. To do this, you need to place our egg and submit, where it will be decorated with beads.
Article on the topic: How to weave the bracelet Shambala for beginners: Scheme with photos and video tutorials
According to our idea, we apply PVA glue. Then, with the help of toothpicks, we apply the prepared beads. This work does not like a rush.
If you take no PVA glue, but, for example, another glue, such as a moment or crystal, then you can get another result as in the photo below:
The disadvantage of such an egg is the short shelf life, because we have a real boiled egg. But maybe someone this option will have to taste.
2 The method that we will consider will also be in the form of a step-by-step instruction, as in the first method.
We use bead thread
Prepare materials:
- thread for sewing dense or caprochy thread;
- beads, monotonous or multicolored;
- PVA glue or moment;
- The needle for beads (it will be convenient to drive beads to our thread, if there is no one, then it is possible without it);
- Boiled egg or wooden base, eggs from children's toys or papier-mache.
Everything is very simple here. Take the thread of a carsion or fishing line. We ride the beads: monophonic or multicolored.
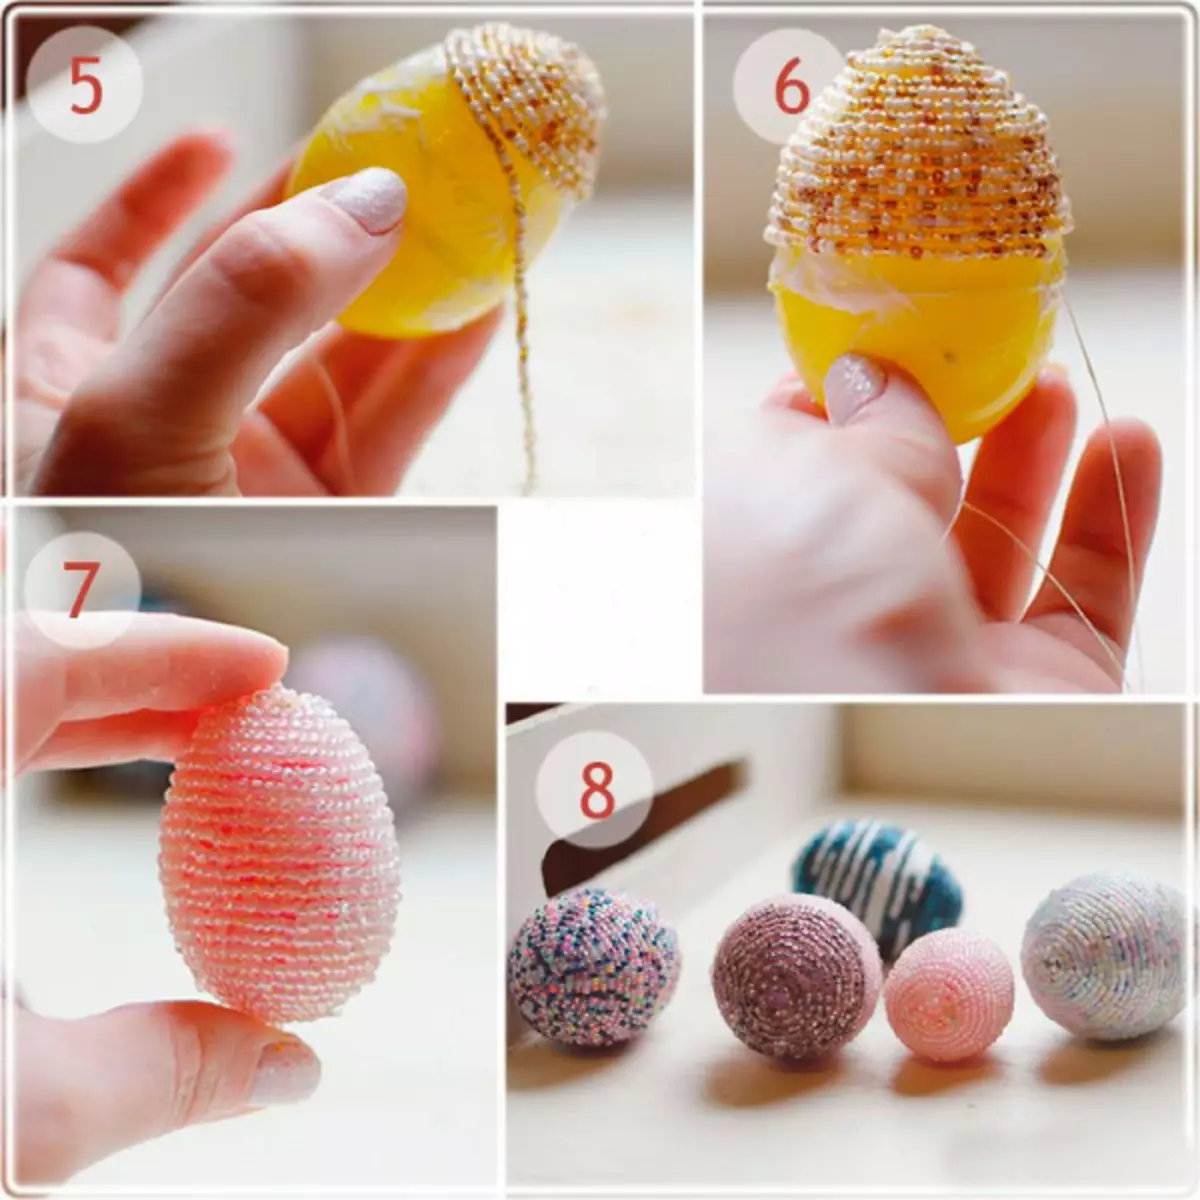
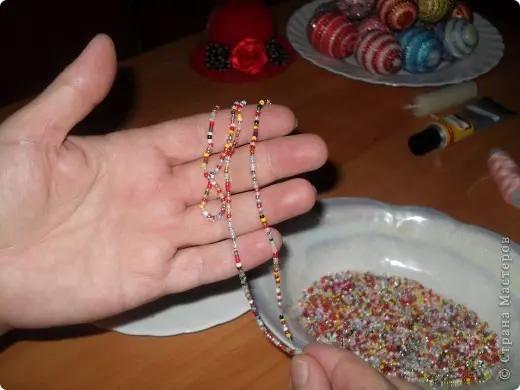
We glue a thread with beaded circles to the base. Durable, naturally, there will be a base of wood, or from papier-mache, or eggs from children's toys.
The most important rule is to keep a thread under tension, do not give slacks, gradually moving in a circle, and then fasten the end of the thread with the help of glue.
Method number 3.
Now consider in a detailed more complex way of brave eggs.
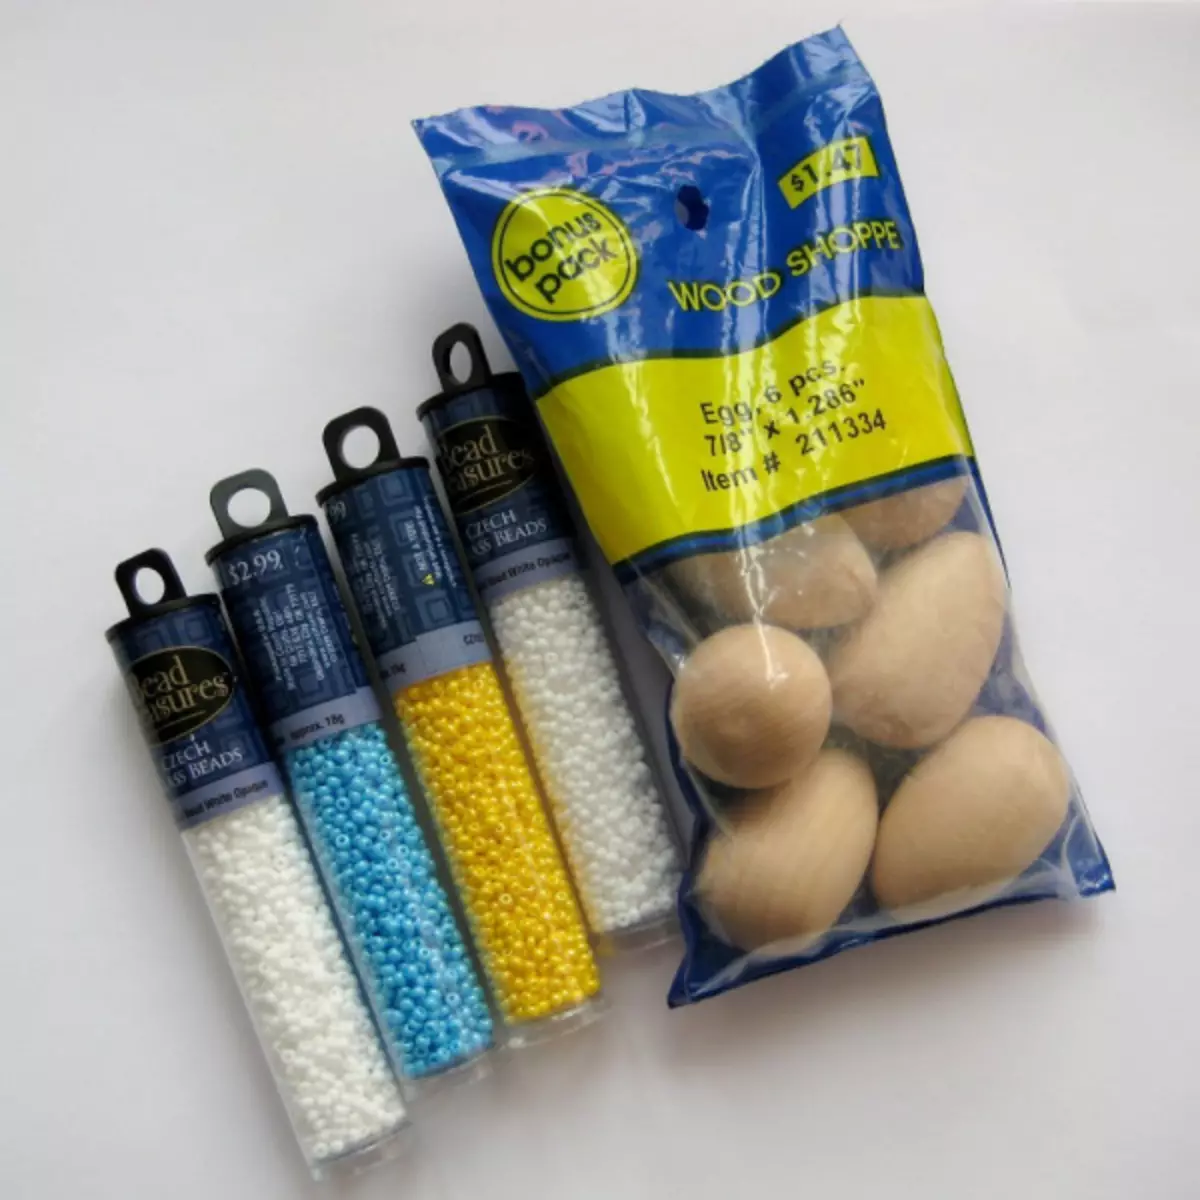
We will need materials:
- wooden egg;
- Beads, in our master class will be 4 colors;
- Capron thread;
- Bead needle;
- acrylic paint for bead color;
- Paint brush.
Cover wooden eggs acrylic paint under the color of our work. If the pattern is ready, for example, red, it means that the wooden base should be covered with red acrylic paint. Then our egg will not be shifted through beading weaving. Work will look more harmonious.
Article on the topic: Master class in the picture of the skin with their own hands: Technique Lily
Then you need to measure our egg, having driven the beads to the thread, and measure it in the widest place, as shown in the photo:
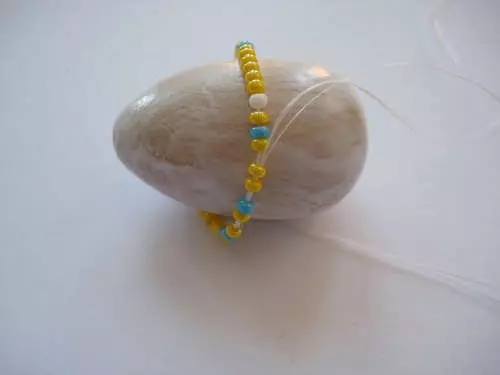
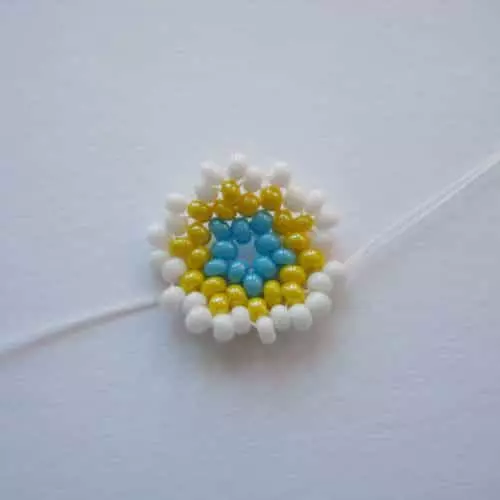
The amount of beery needs to record, not to forget. Now take 5 beads and connect their thread into a circle.
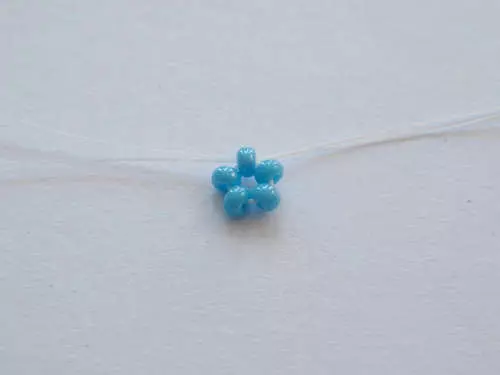
It was a zero circle. On the first round, add 1 beads between the beads of 1 row. We work with a needle. As shown in the photo:
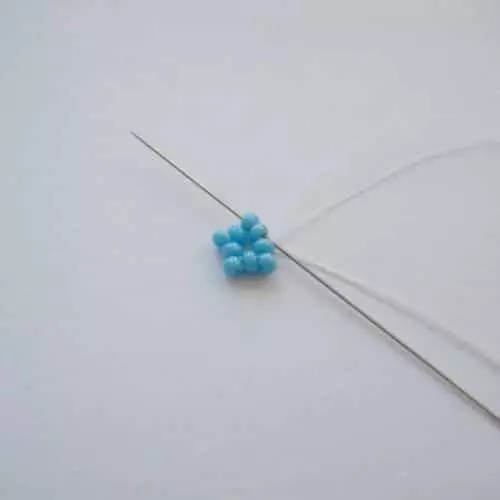
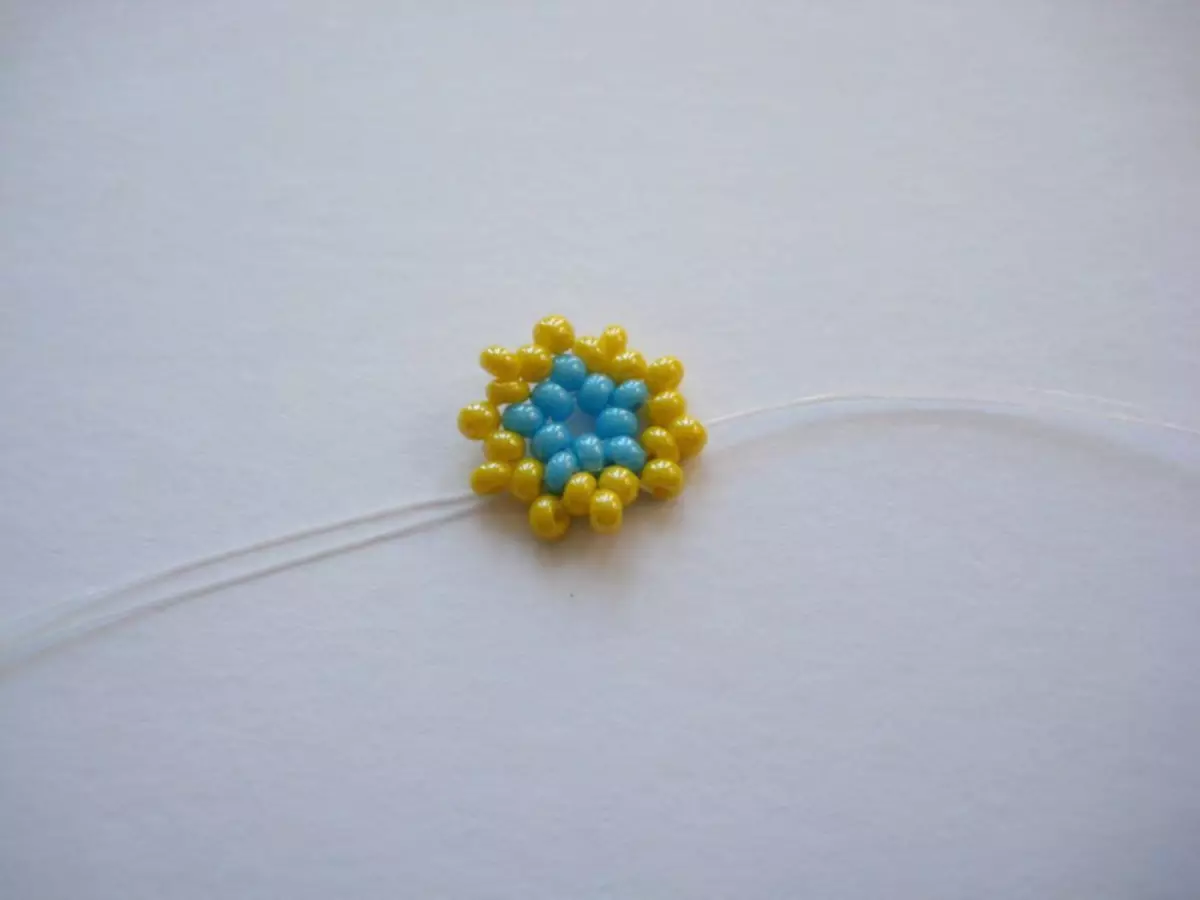
On the second row, we add yellow beads, but already 2 bispers between the beerinks blue. On the third row we add 1 bisery of yellow.
It turns out such a pillow:
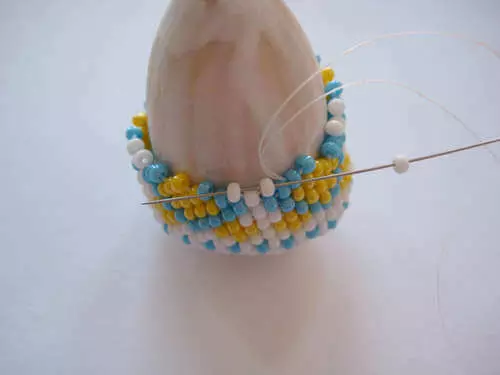
Now we will add white beads. We are like sewing needle and thread, just add beads in our sewing.
We alternate in a circle weaving 1 beerinka, then 2.
And so wept until we leave for the quantity that we measured at the very beginning, measuring the "waist" to our egg. You can try on our work on the "model".
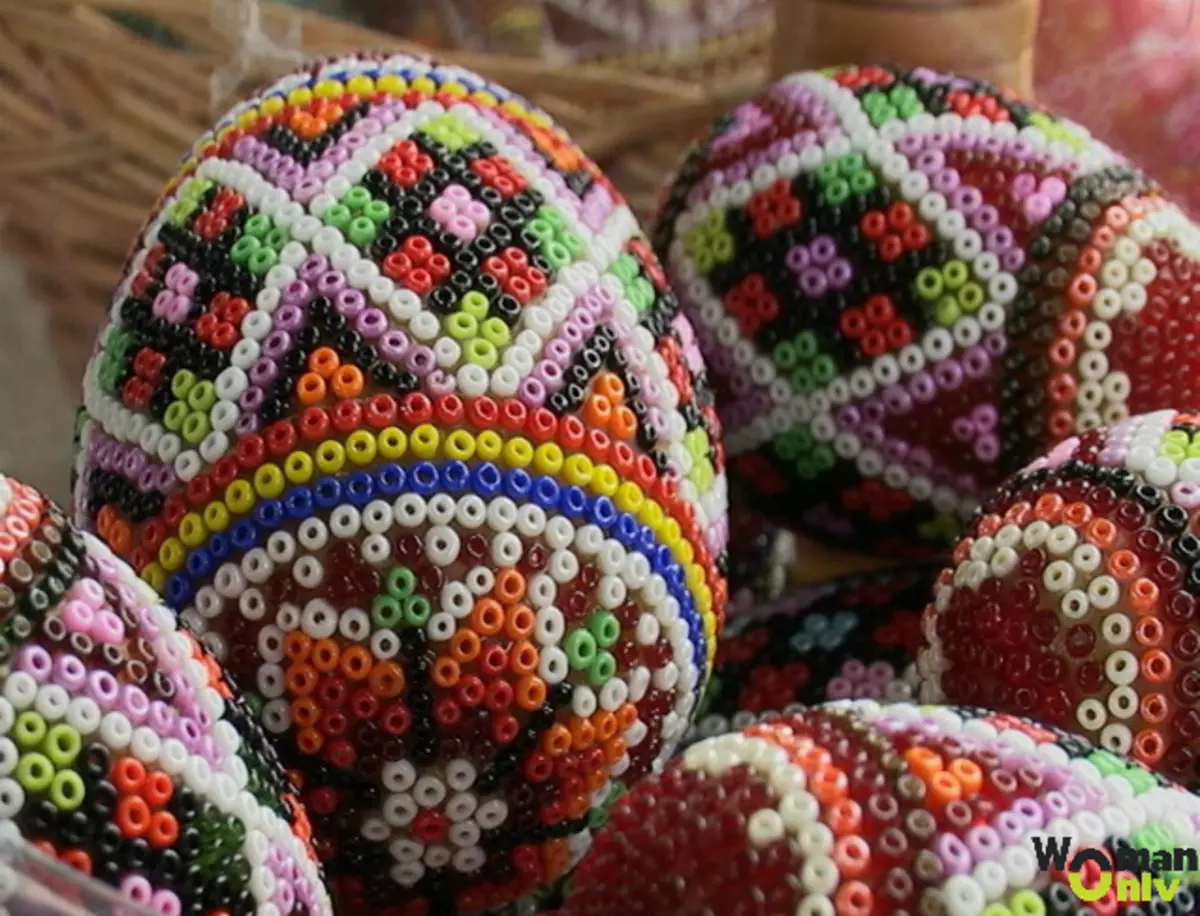
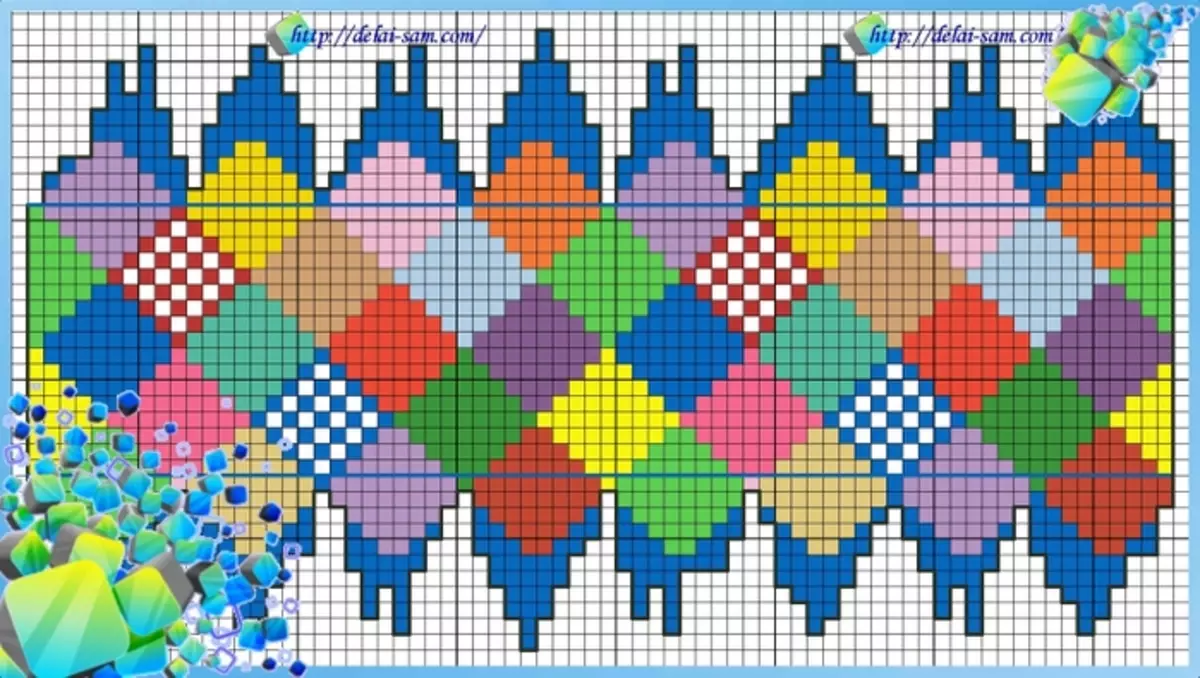
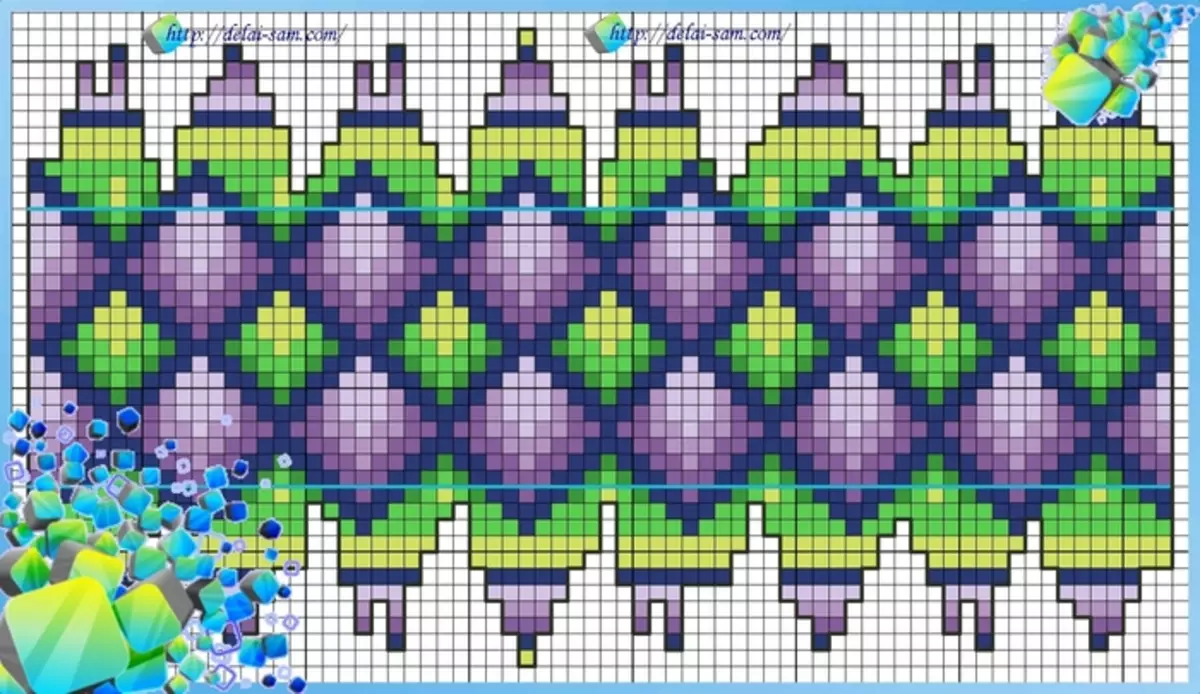
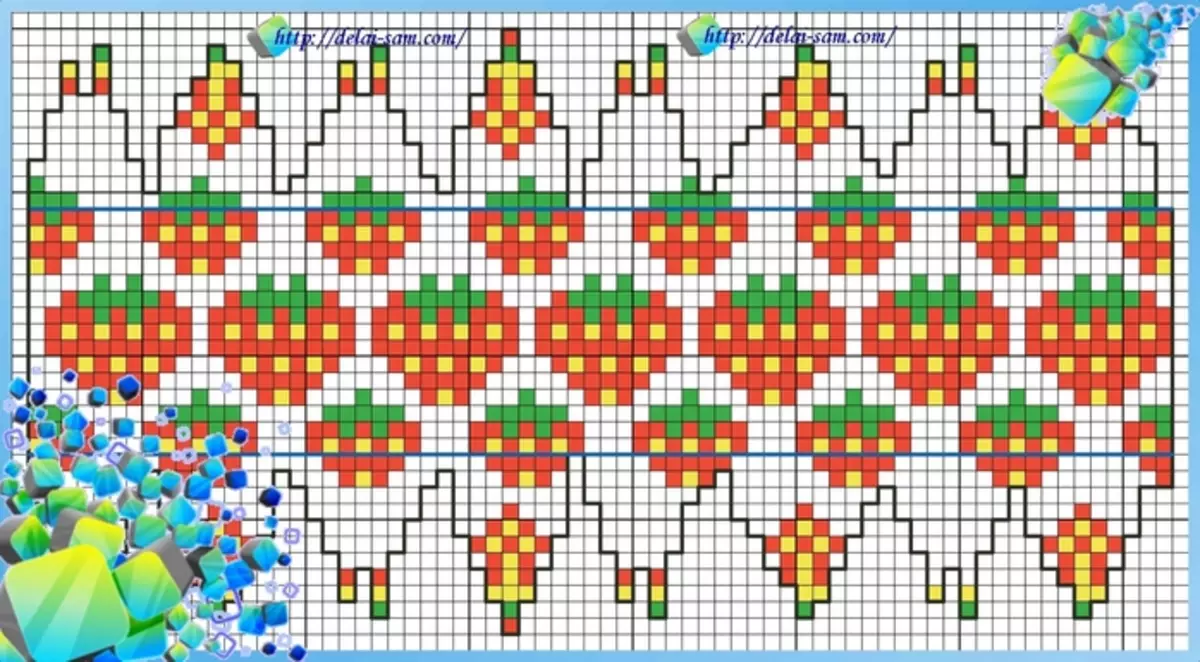
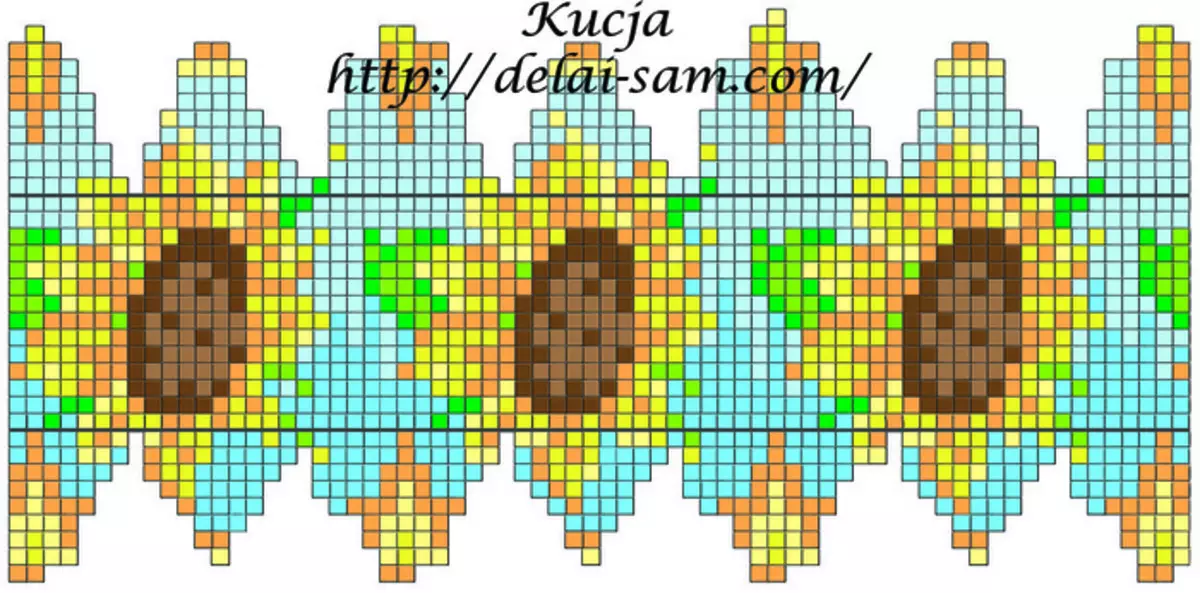
The bead color alternates depending on the scheme. There are a huge amount of them for the most different topics.
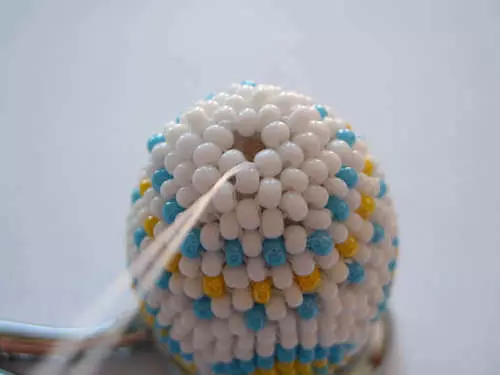
Applying to the middle of the work, we must start evenly relieve the beads. But it is necessary to do it smoothly so that the work does not lose the appearance, looked harmoniously. You need to subscribe gradually, as added.
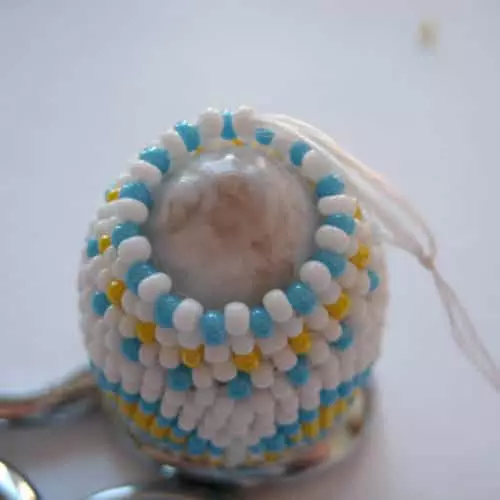
In order to reduce the amount of beads, you need to pass through the bispers of the previous rift, missing them, thus making the impact.
You can try such a type of weaving first by one-photo beads, it will be beautiful and not have to be confused. Then already when experience will appear, you can try pictures.
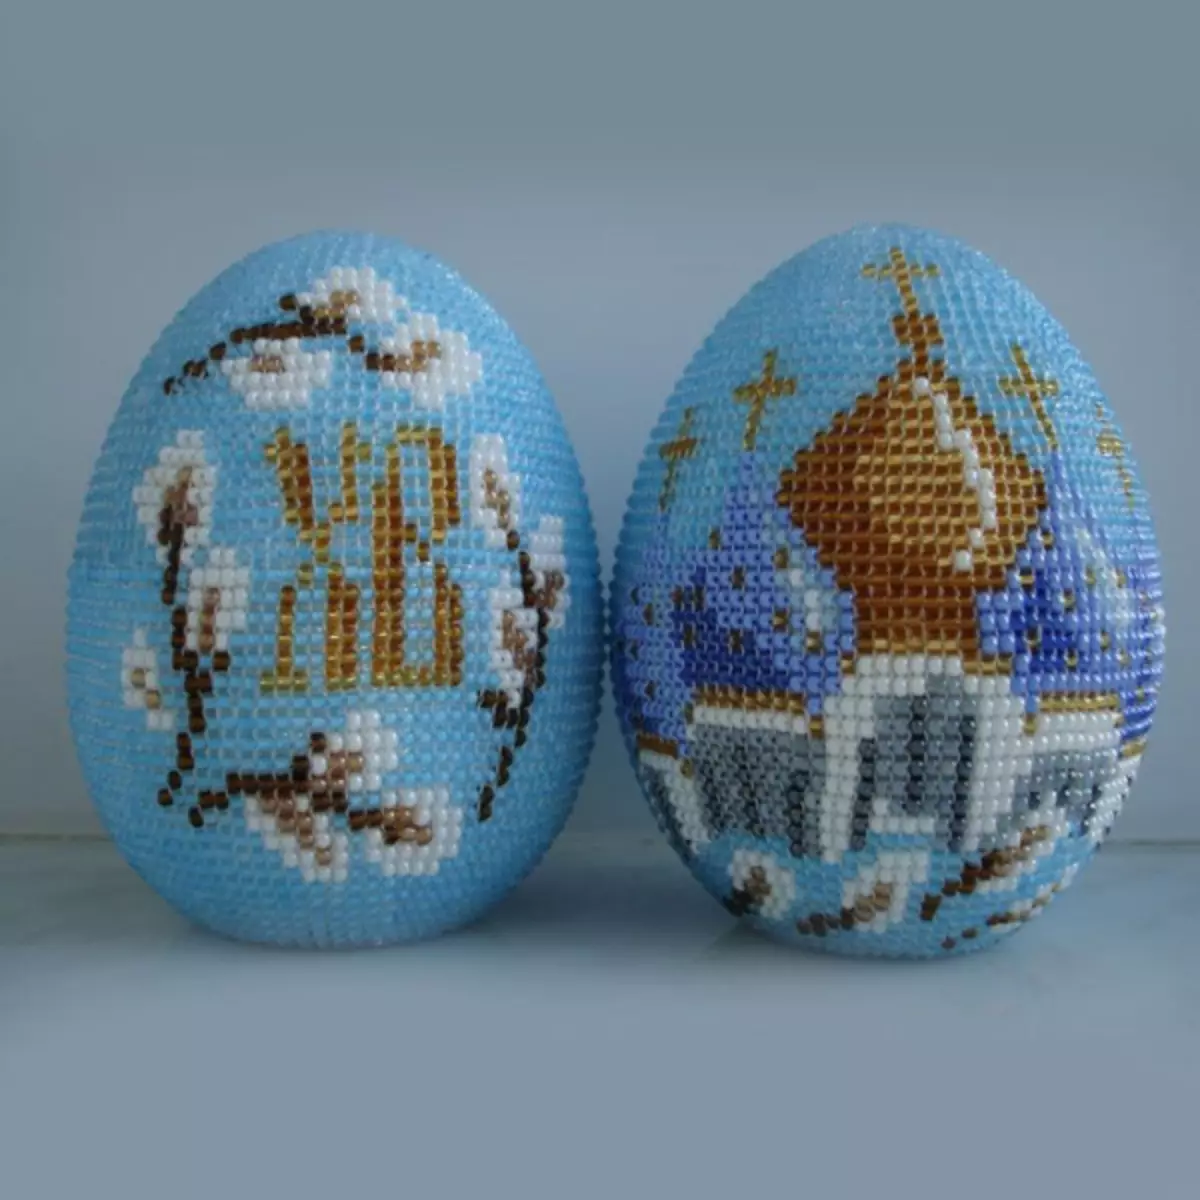
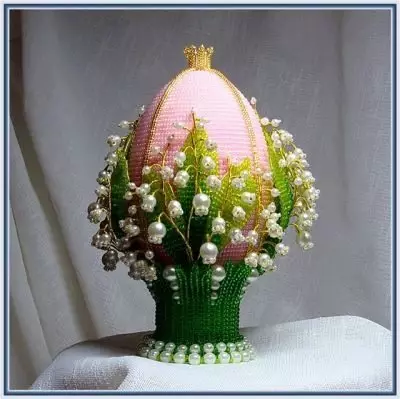
Lily of the Lily on Eggs
A beautiful easter egg with the valley to the lonely holiday of Easter is a masterpiece, a riding beauty, style, taste and splendor. It is difficult to believe that it is made by a person.
Article on the topic: Patchwork scheme for the manufacture of beautiful colors and things
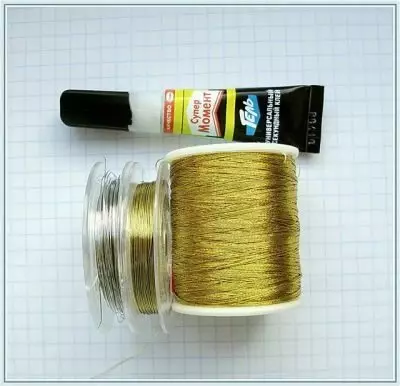
Necessary materials:
- green beads;
- Plastic pearls of various sizes (light, pearl colors);
- Beads petty in the tone of the pearl (the color must be coincided);
- Wire for the valley;
- glue;
- wooden egg;
- Leske.
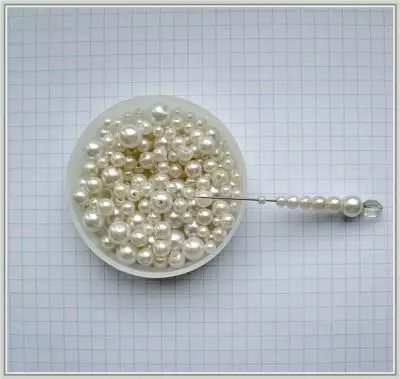
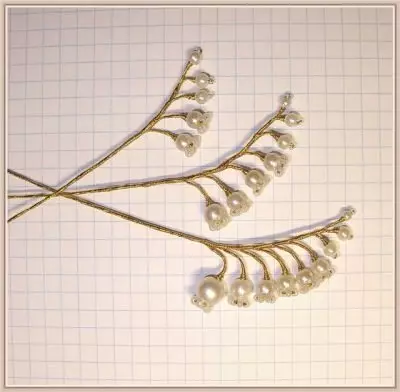
We need to prepare the valley.
We take beads, plaster and vice. Since the main beads we have different sizes, then the flowers themselves will also be different sizes. It will be seen in the photo below. We have a vice with a plaster, so that the paint does not get into the beads, and carefully clamp a bead in a vice, the file with our beads before the moment, as shown in the photo:

Now we take 6 beads and with wire closing them in a circle.
Now the wire with the resulting circle of beads insert into the scaled bead, and it turns out such an interesting and single flower. Wire make a braid flower legs, wrap tightly.
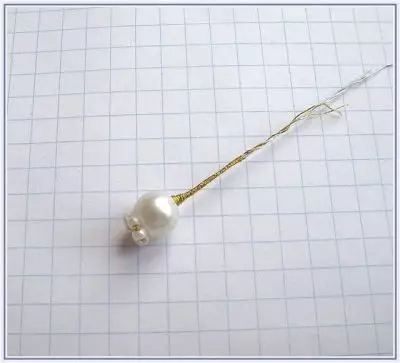
We should have a lot of such flowers. And they should differ as real valley in size, so large beads need to take different diameters.
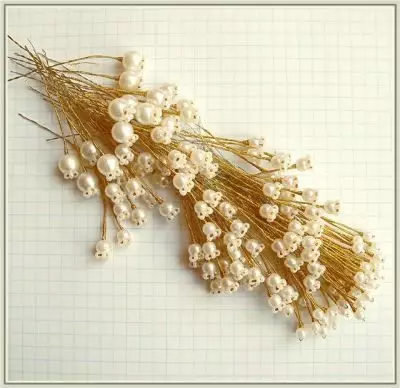
Now we will do real branches of the valley. From small inflorescences at the beginning of the twig to large at the end. It should look like this in the finished version:
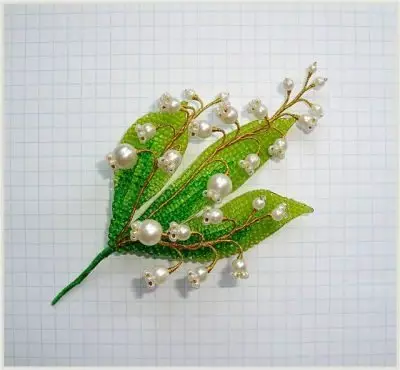
Flowers are ready completely, now we have to make leaves. What is the valley without leaves?
We need three leaves, the average leaf is longer than the other two.

Then leaves connect with flowers. Three sheets and three branches of the valley.
We are powered by an egg convenient for you, bead color - gentle pink.
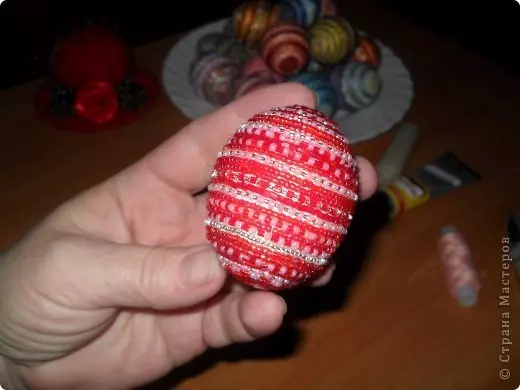
Then weave 2 gold stripes and crown. When everything is ready, you sew the leaves after the crown and strips to the egg, then sew to the stand. In this case, the stand flew to braid circle from painting scotch.
This beauty should turn out in the end.
Schemes for weaving beads:

Video on the topic
Explore the video on the unusual decoration of Easter eggs in detail: