Quilling Autumn - Ideas for crafts
The quilling is increasingly popular, or papercase. In order to learn how to quillee, do not need special knowledge and skills. It is enough to try to make simple crafts several times and you can soon make real masterpieces from paper. With the help of a quilling technique, you can make a large number of diverse interesting crafts. Such crafts look very beautiful, original and elegant.Autumn quilling is the manufacture of various crafts in the form of flowers from autumn colors, beautiful autumn leaves, mushrooms, landscapes, etc. Such fakes will fake the decor of the room with comfort and warmth.
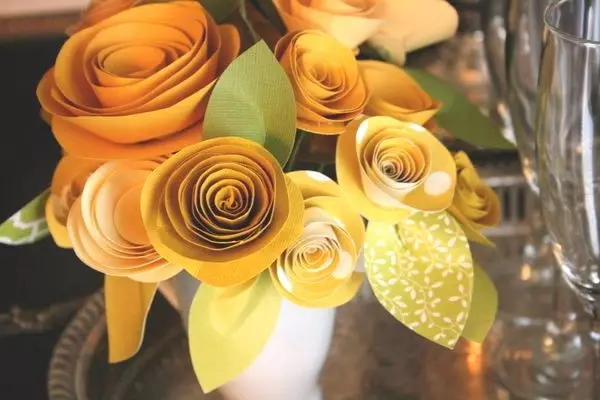
Autumn Bouquet in Quilling technique
Undoubtedly, the greatest pleasure will bring the manufacture of various colors in the Quilling technique. Autumn bouquet in the technology of floasting will be able to raise the mood in rainy, cold weather.
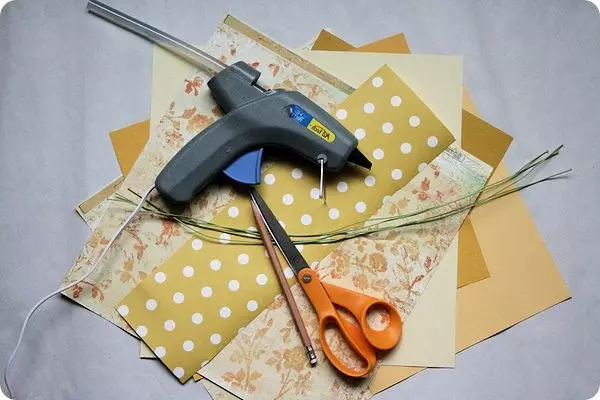
For the manufacture of the autumn bouquet you will need:
• Special paper for quilling techniques;
• scissors;
• glue;
• Pencil;
• Floral wire.
First of all, it is necessary to make several billets for future autumn colors. To do this, on the working side of the paper for queening, draw a circle with a diameter of approximately 15-16 cm. Then, starting from the outer edge of the circle, cut off the spiral. If at the same time the cutting line of the spiral do a little uneven, the flowers will have a more realistic appearance. Crafts will look more interesting if you use paper of different shades and ornaments to work.
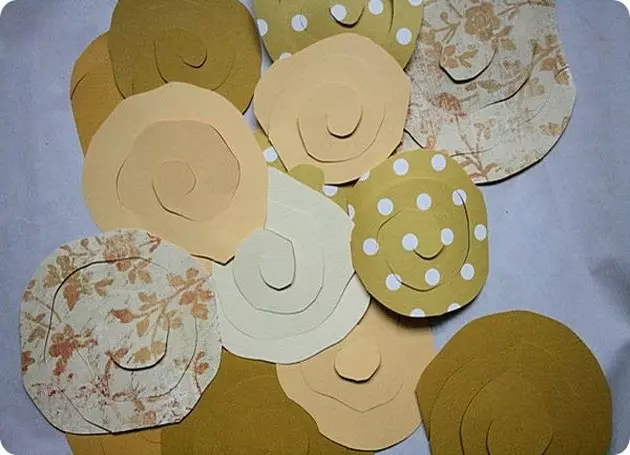
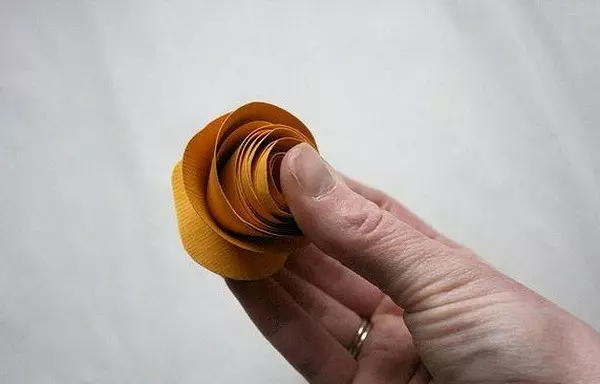
Now that the workpieces are ready, you can proceed to the manufacture of buds. To do this, you need to tightly twist the spiral in the bud. If we put a tightly closed spiral on the table, the bud "will bloom" in your eyes. In order for the resulting flower to save his form, you need to slightly lubricate the central part of the spiral and consolidate the entire bud on it.
Article on the topic: Basic principles of combining wallpapers in the hall
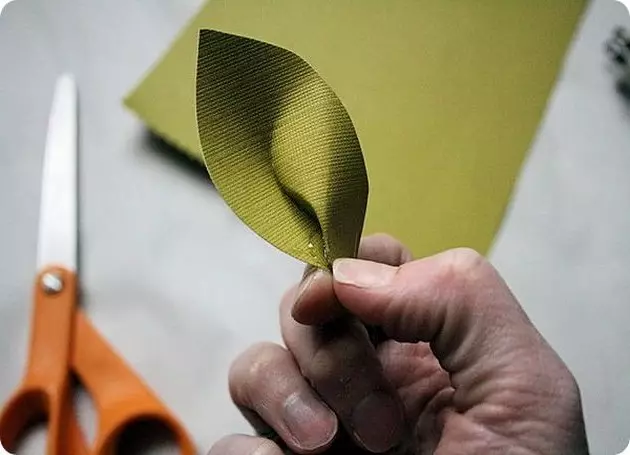
For a leaflet, you will need green paper on which you need to draw a sheet, cut it, fold the harmonica and also fasten the base with glue.
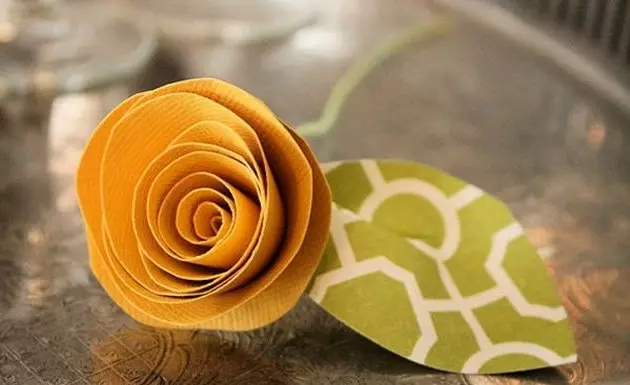
One end of the floral wire, 10-12 ° C long, slide and glue a bud to it, just lower on the wire, glue several petals. By the same technology, make several colors and connect them to a bouquet.
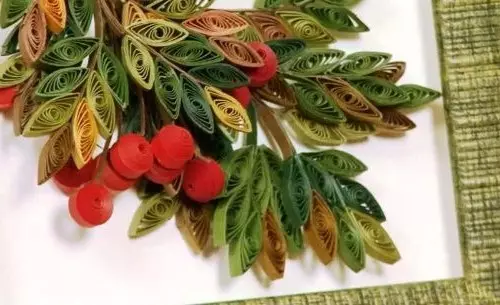
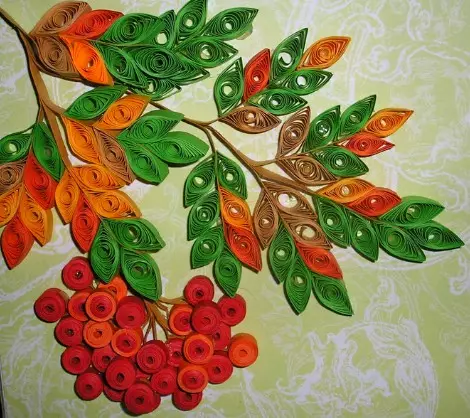
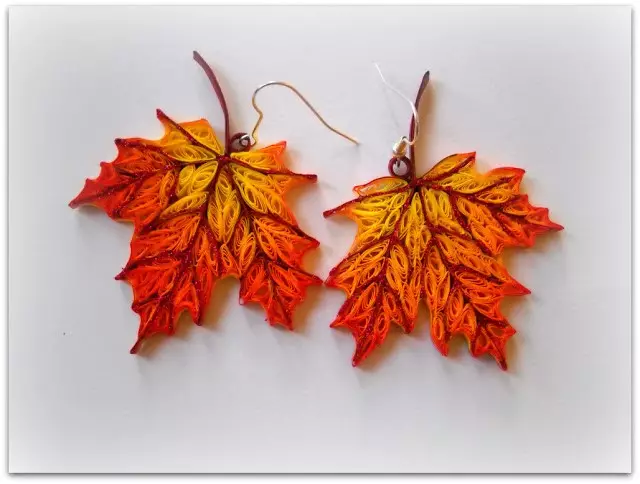
Autumn leaves quilling
Beautiful autumn leaflets made in papercase technique will fill the interior of the room with autumn paints and will look unusually if you hang them to the window cornices.For the manufacture of autumn leaves in the technique of quilling you will need:
• tweezers for queening (if not, the usual split toothpick is suitable);
• measuring ruler;
• PVA glue;
• brush;
• Quilling paper (better bilateral)
• Pins;
• Live leaves;
• Normal sheet of paper;
• Cardboard.
Paper must be cut into thin stripes. The thickness of the strips may differ, it all depends on your personal preferences. Insert the edge of the resulting paper strip in the crevice of the tweezers and slowly shook the entire tape on it, lubricate the tape with glue, but do not glue. Insert the tweezers with a wound paper into a ruler for queening and release tweezers. Paper must unlock a little. Pinzet press the paper to the end with glue. Leave the workpiece to dry in the ruler. Thus, it is necessary to make a lot of blanks of red, orange and yellow colors.
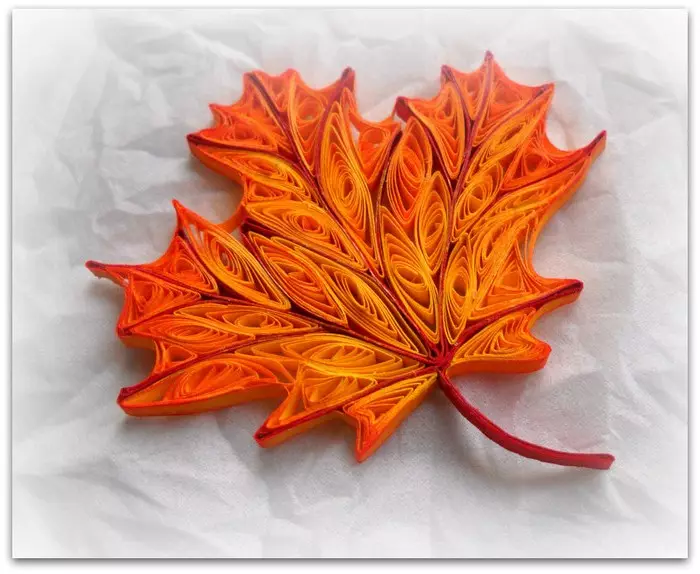
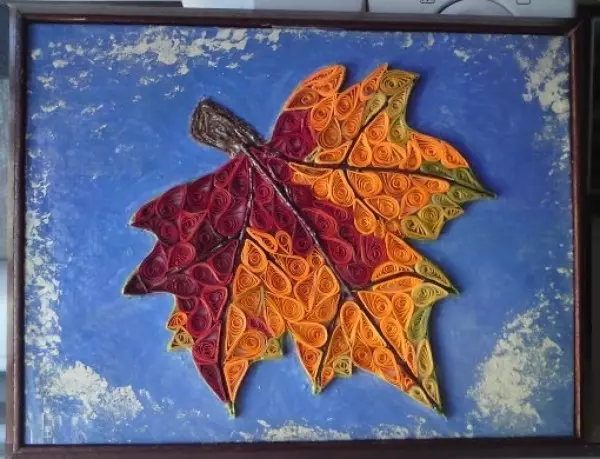
Maple leaf quilling
A sketch for creating a maple leaf in a papercase technique can be found on the Internet, draw from hand, or use a real maple leaf. The last option is the most interesting. The finished pattern with the help of the pin must be fixed on the cardboard.
To make the sheet axis need to be bent off the floor strip for queening. One side wake glue and secure on the template. Similarly do the veins of the sheet. Now you can proceed directly to the assembly of crafts. Each billet-circle give the shape of a droplet, semicircle or oval. By gluing the first figure to the axis or the leaf alkalo, you can guess which form should be the next part. The glue on the figurines is applied only in places of connection with the axis of the sheet, veins or other figures.
Article on the topic: What is necessary to put in the hole when landing tomatoes (video)
In order for the finished sheet to be more durable, all over the perimeter can be glued with a thin strip of paper.
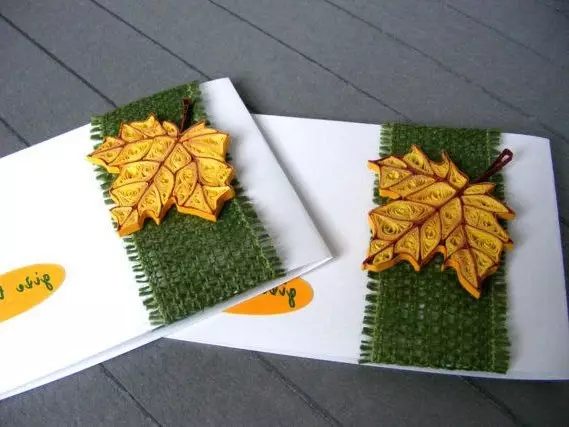

Ryabina Quilling leaf
For the manufacture of a rowan sheet, it is necessary to make a blank of orange color of two sizes. Press the shape of the first billet and stick to the main axle of the sheet. All other billets should also be given a drop shape and glue them alternate along the main vein of the sheet. In the upper and lower part of the rowan sheet, there are smaller figures, and in the center of the figure is slightly larger. For greater stability, as in the maple leaves, you need to glue the contour from the paper strip.