
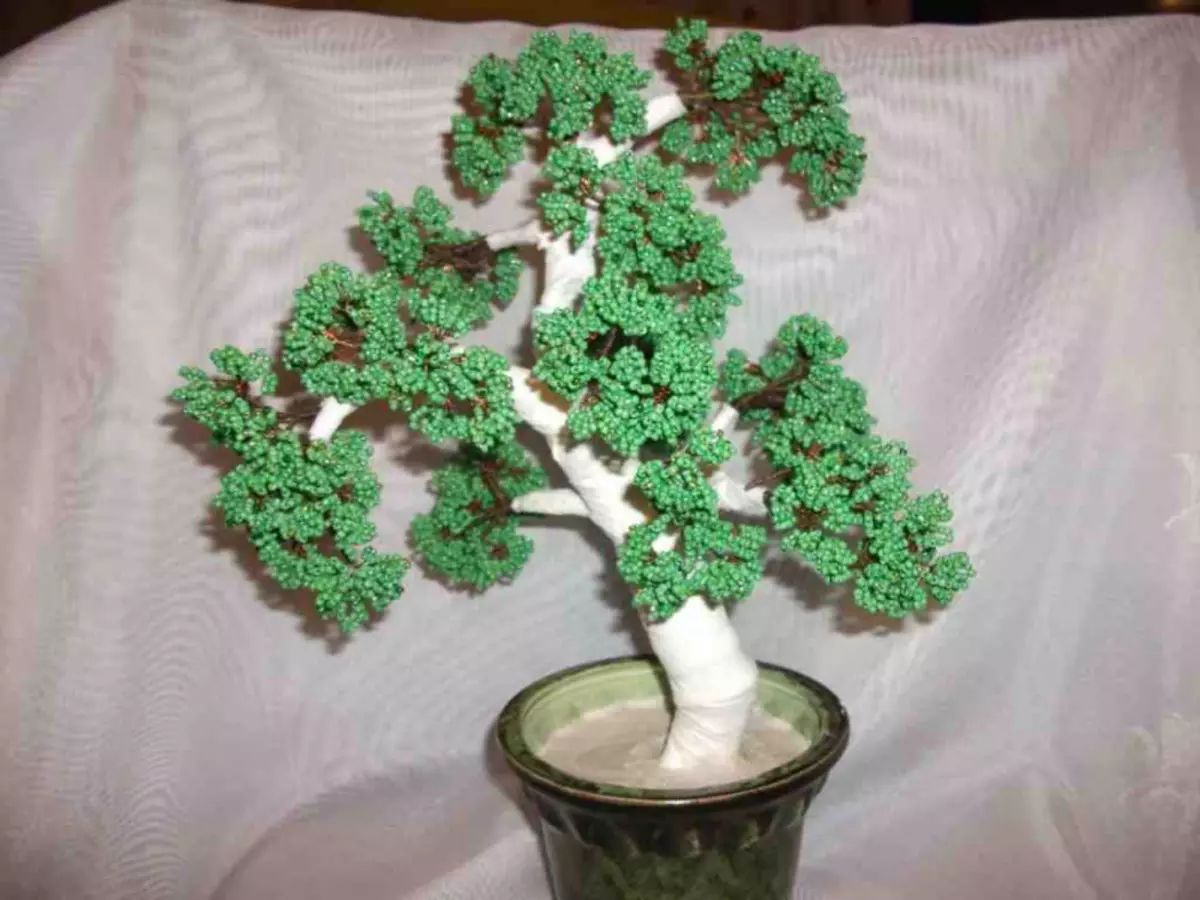
Bonsai - the art of growing an accurate copy of the real tree in a miniature at home. Translated from the Japanese "Bonsai" means a small plant in a flat question. Such a dwarf tree can be the original decoration of your home. But not everyone will afford the purchase of this miracle. How to make such a tree? We offer a master class on bonsai of beads, the handicraft will delight the eye year-round, without requiring continuous care.
We master a new technique
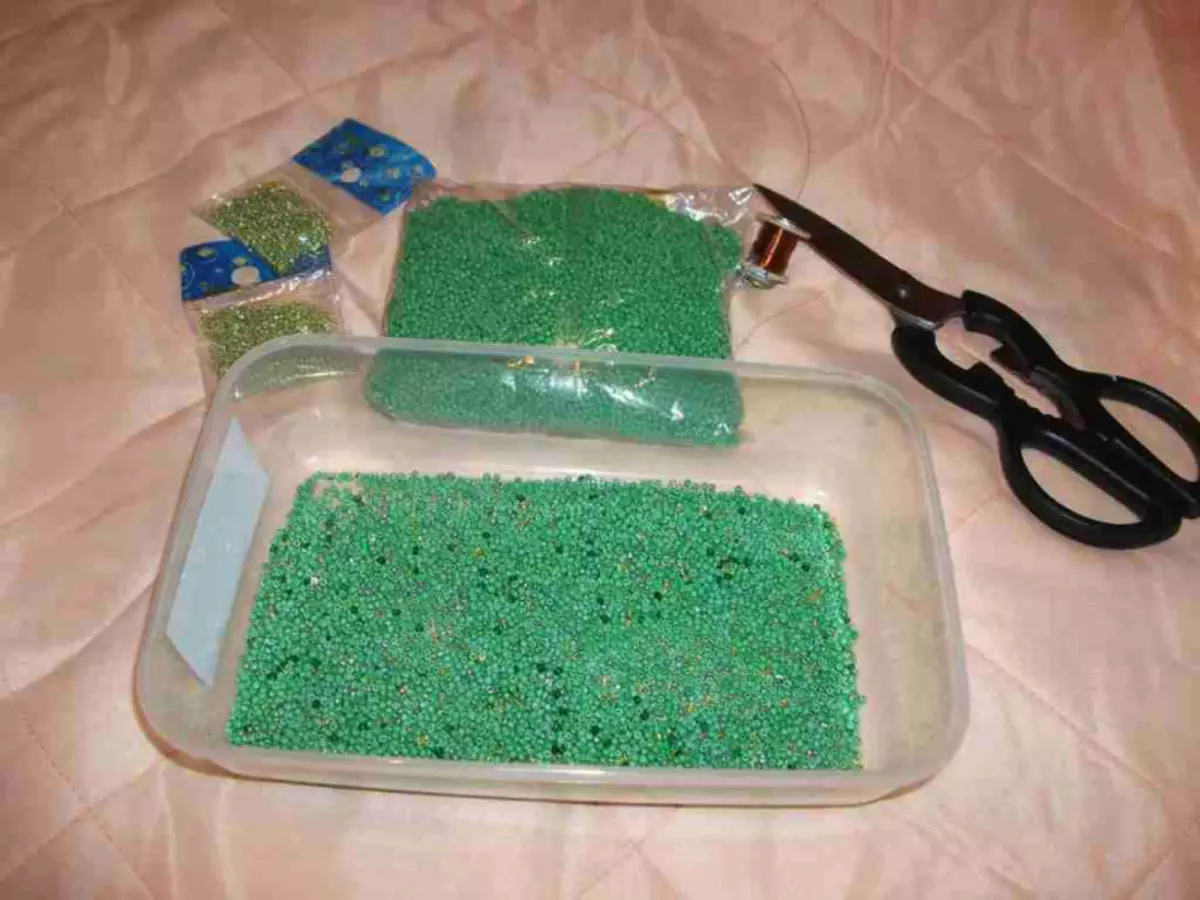
To burst the bonsai tree from beads, that's what you need:
- 200 g of monotonous green beads (preferably dark tone);
- 50 g of beads of other green shades (darker or lighter - it does not matter, the main thing is that they are combined);
- Copper wire (diameter 0.3 mm);
- Aluminum Wire (diameter 2-3 mm);
- Threads Moulin (on the motor brown and green);
- Medical adolescent - 2-3 meals;
- gypsum;
- thick paint brown and black colors;
- Colorless varnish;
- Tree pot.
Bonsai tree do it yourself very simple. To start pour into the mold the desired amount of beads.
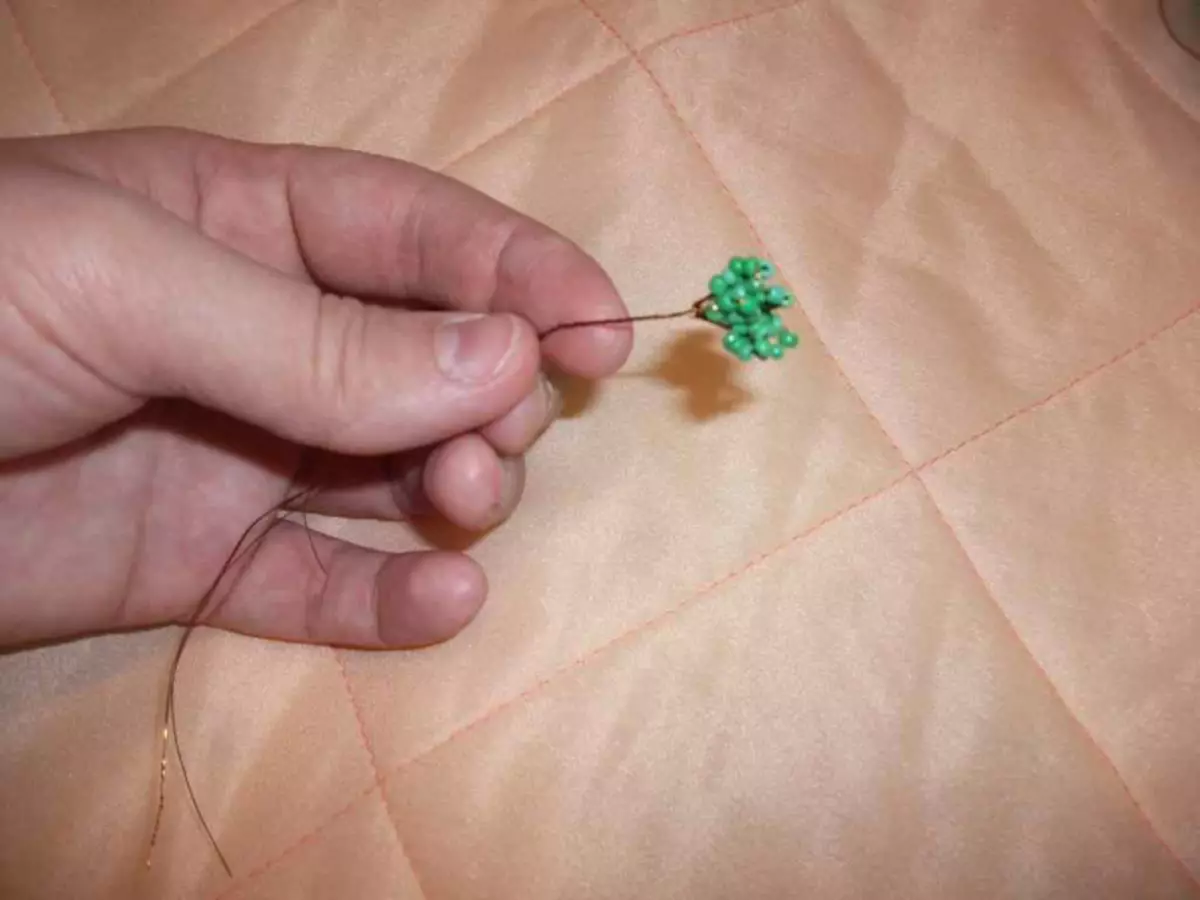
Start to shoot a wire beads. It does not need to be cut off, beaded tape to make a long 50-60 cm.
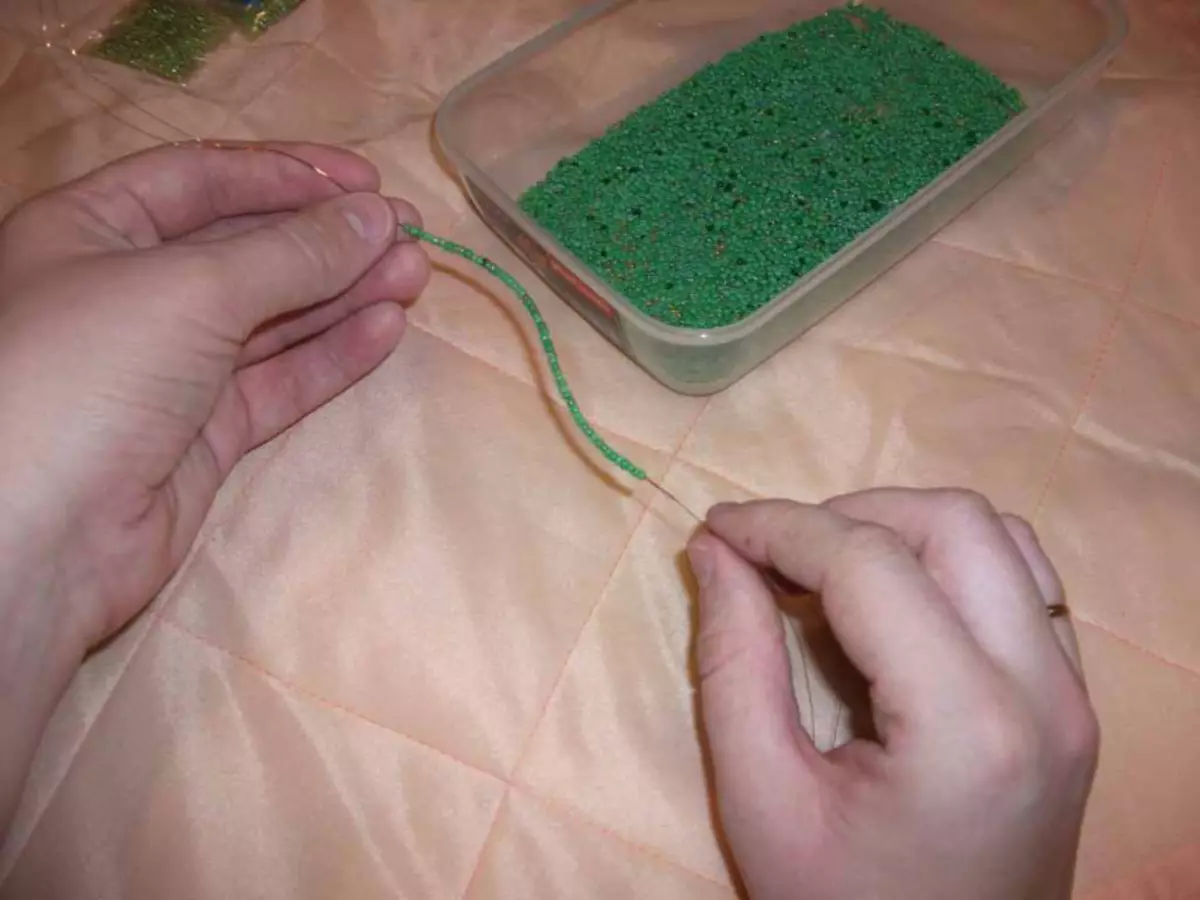
The scheme of weaving leaves is not complicated. Next, you need to make a leaflet from the tape: count from the edge of 7 beads, move them away and tighten into the loop.
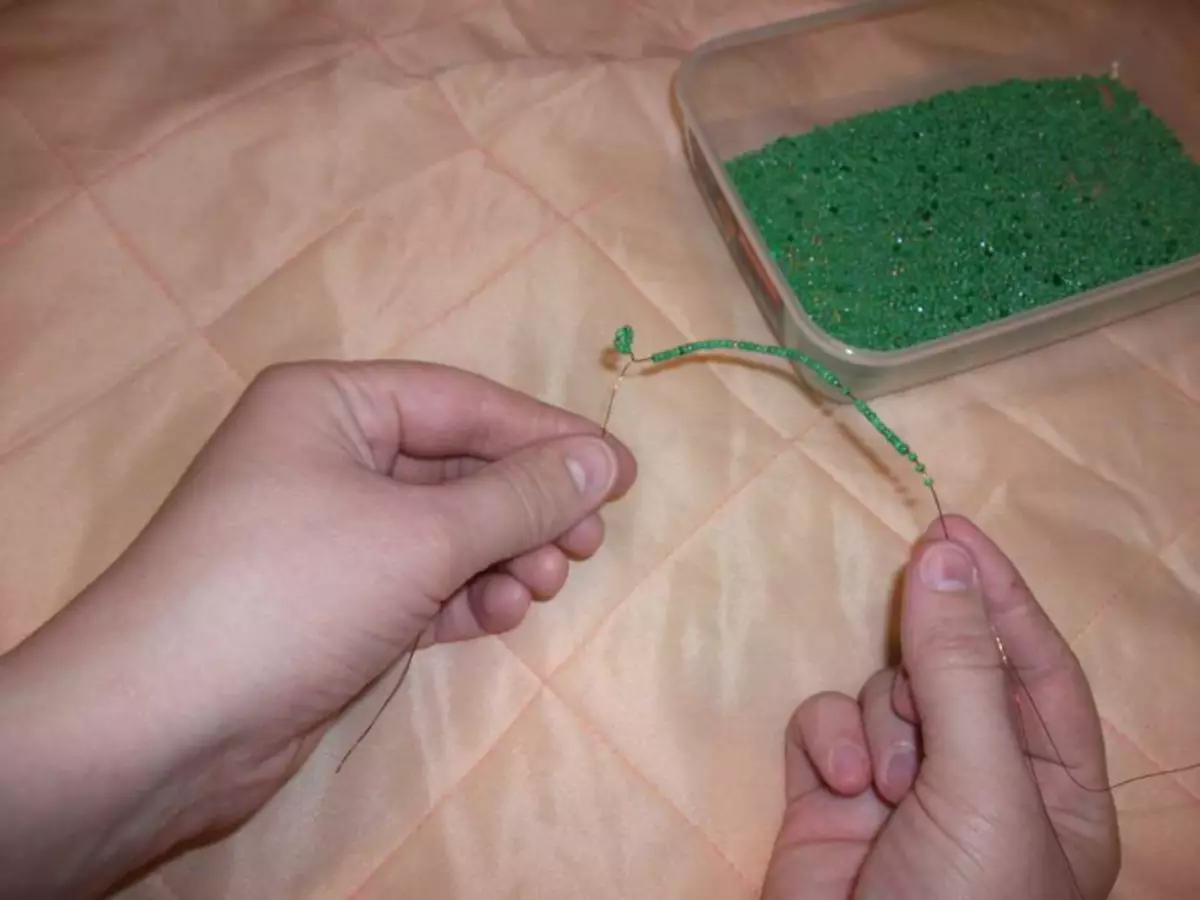
Make such leaves need 8, the distance between them to withstand no more than 1 mm.
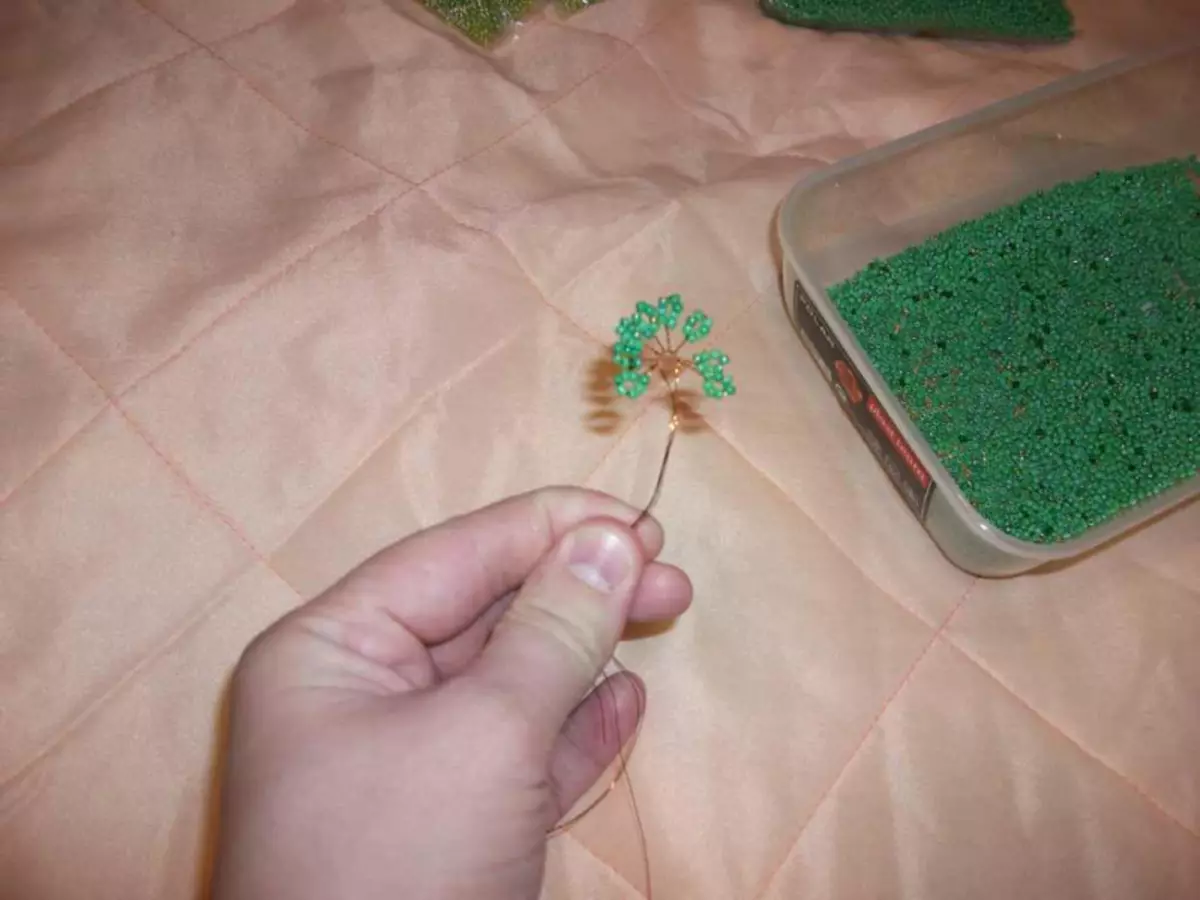
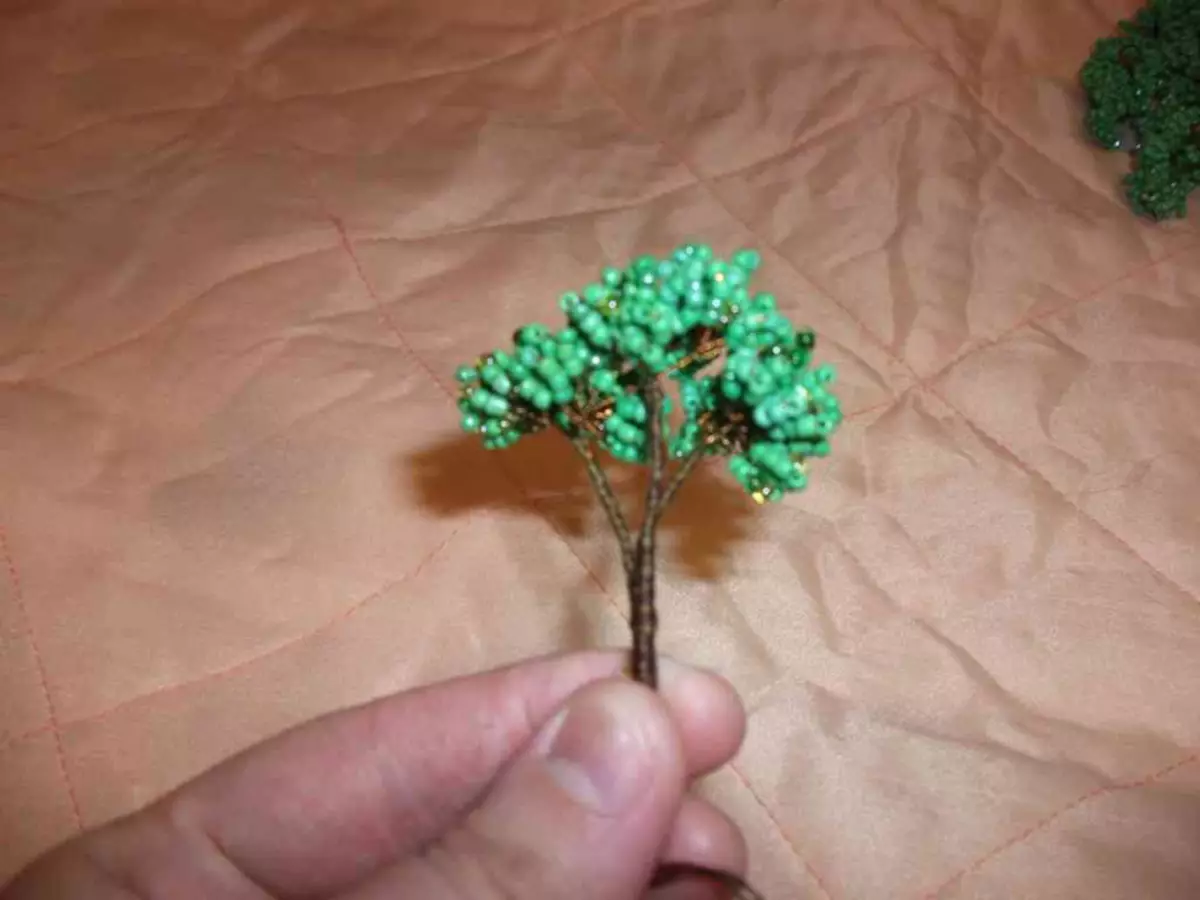
Then twist the ends of the wire, and the leaflets bend to the top, and the first twig from beads for the bonsai tree is ready.
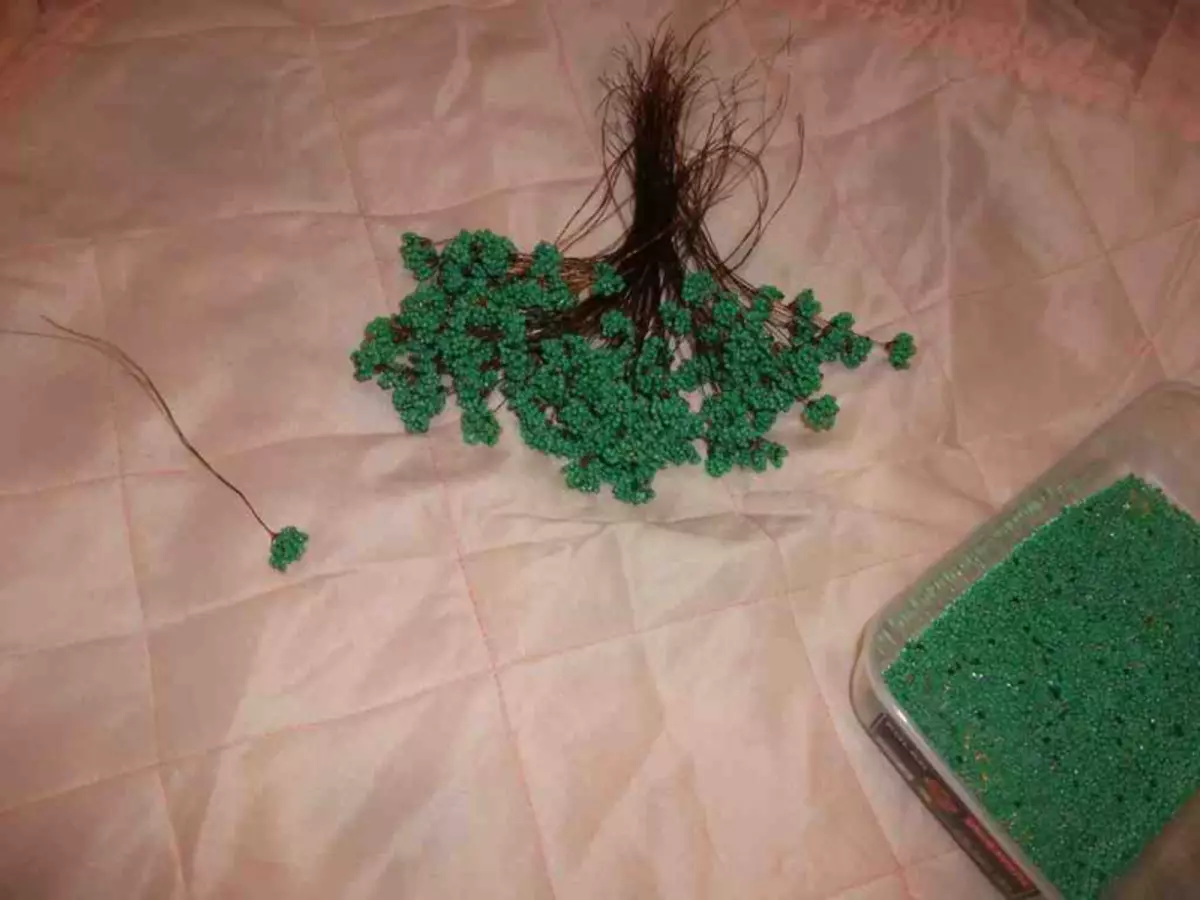
Continue to determine the same twigs until all beads end. As a result, about 250-300 pieces should work.
We connect the branches
Next, you need to take three twigs, fold from together, twist and wind the mouline layer.
Article on the topic: Christmas tree toys do it yourself from girlfriend - 36 ideas

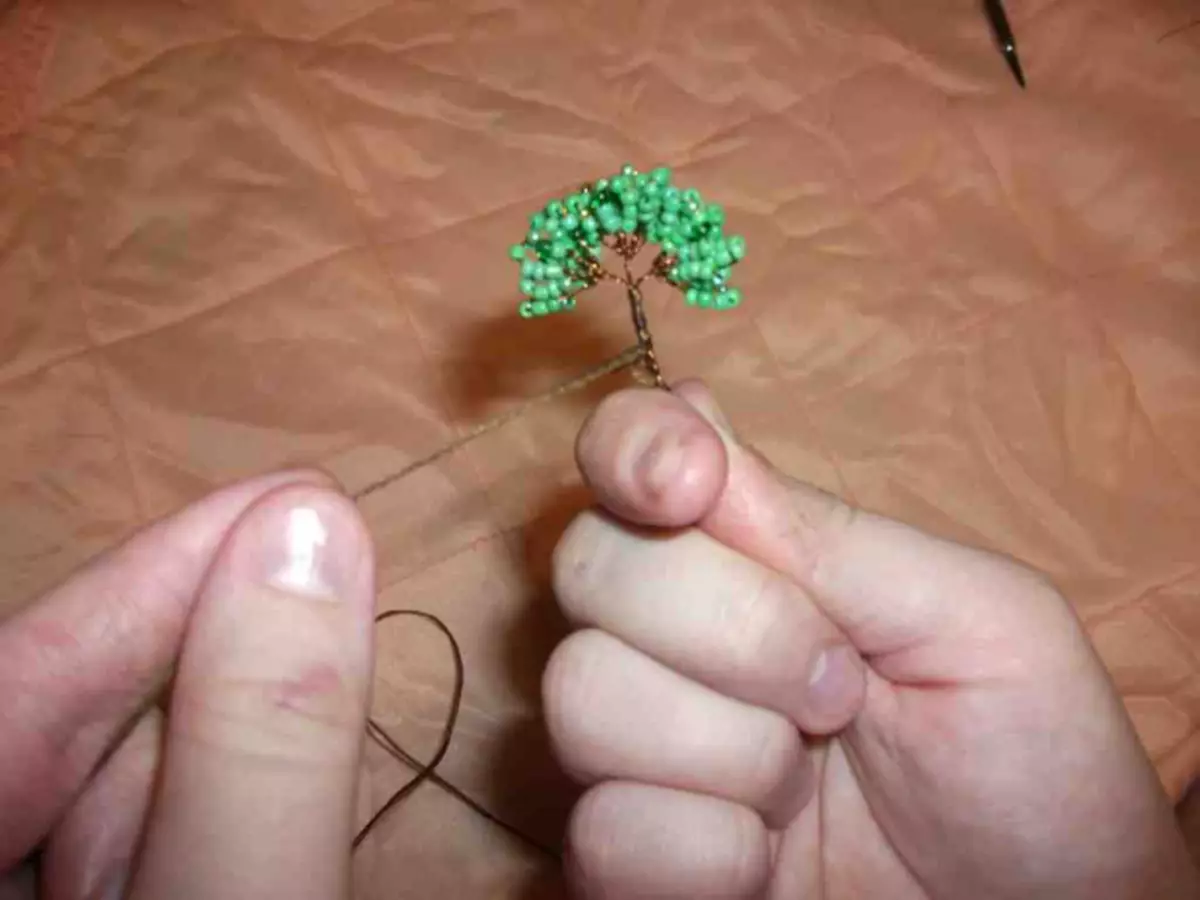
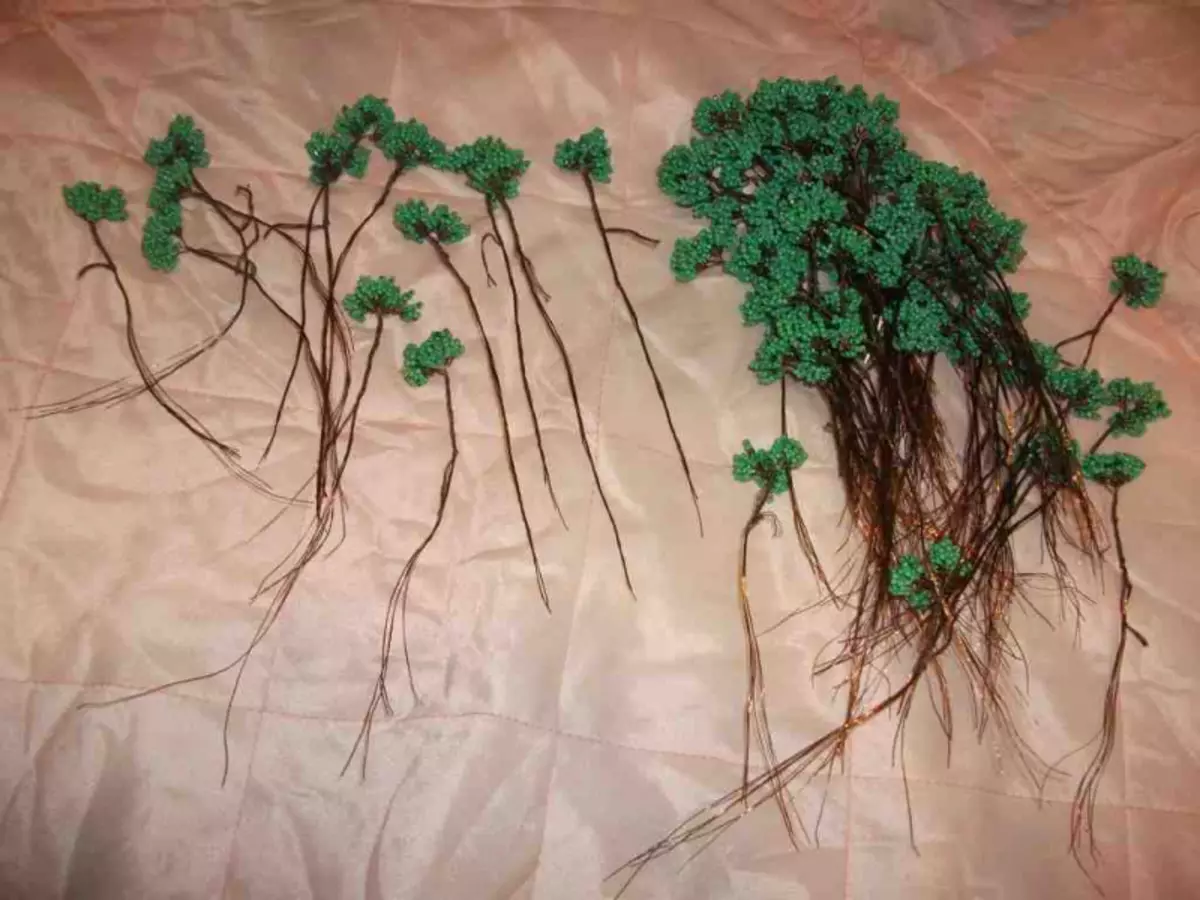
After all twigs are assembled three, proceed to the manufacture of twigs of the second, third and, finally, the fourth order. How to do it right, you can look at the photo:
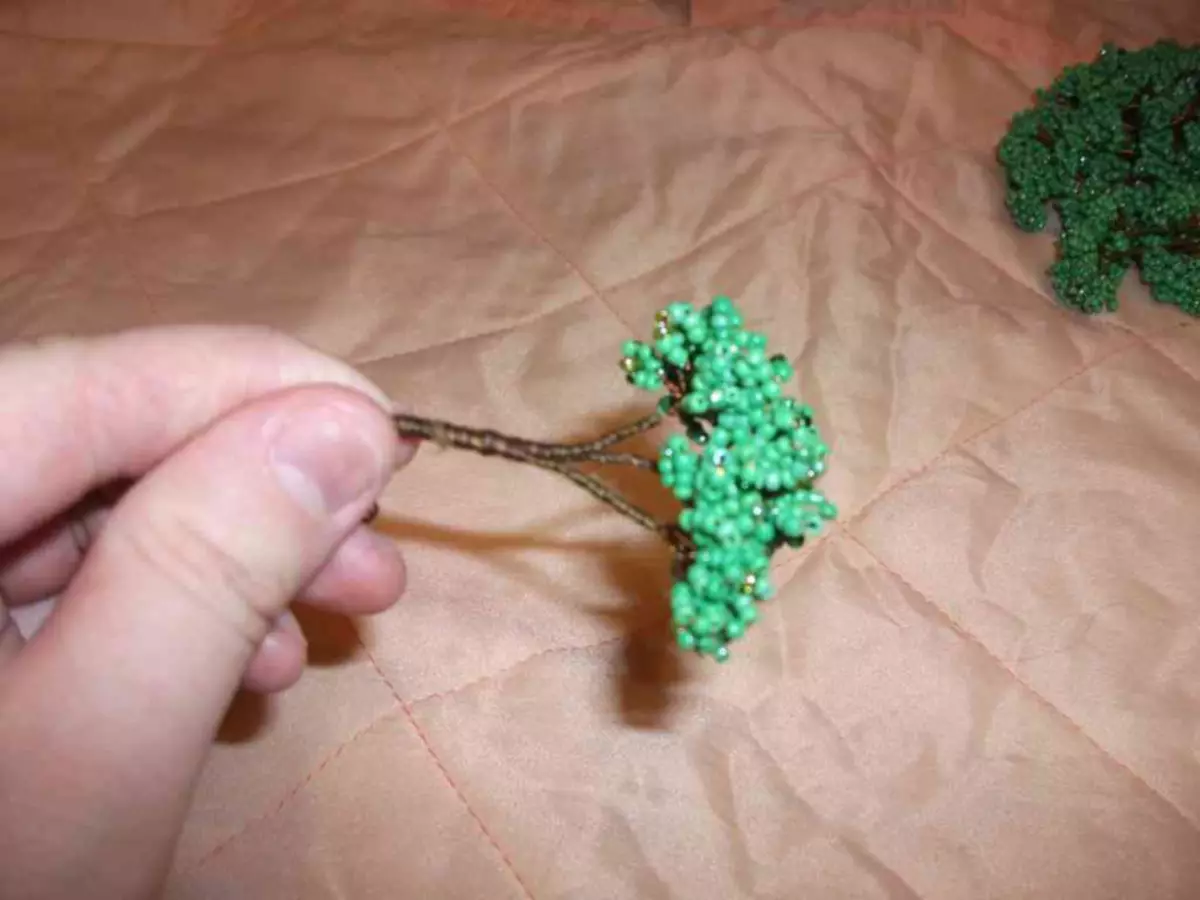
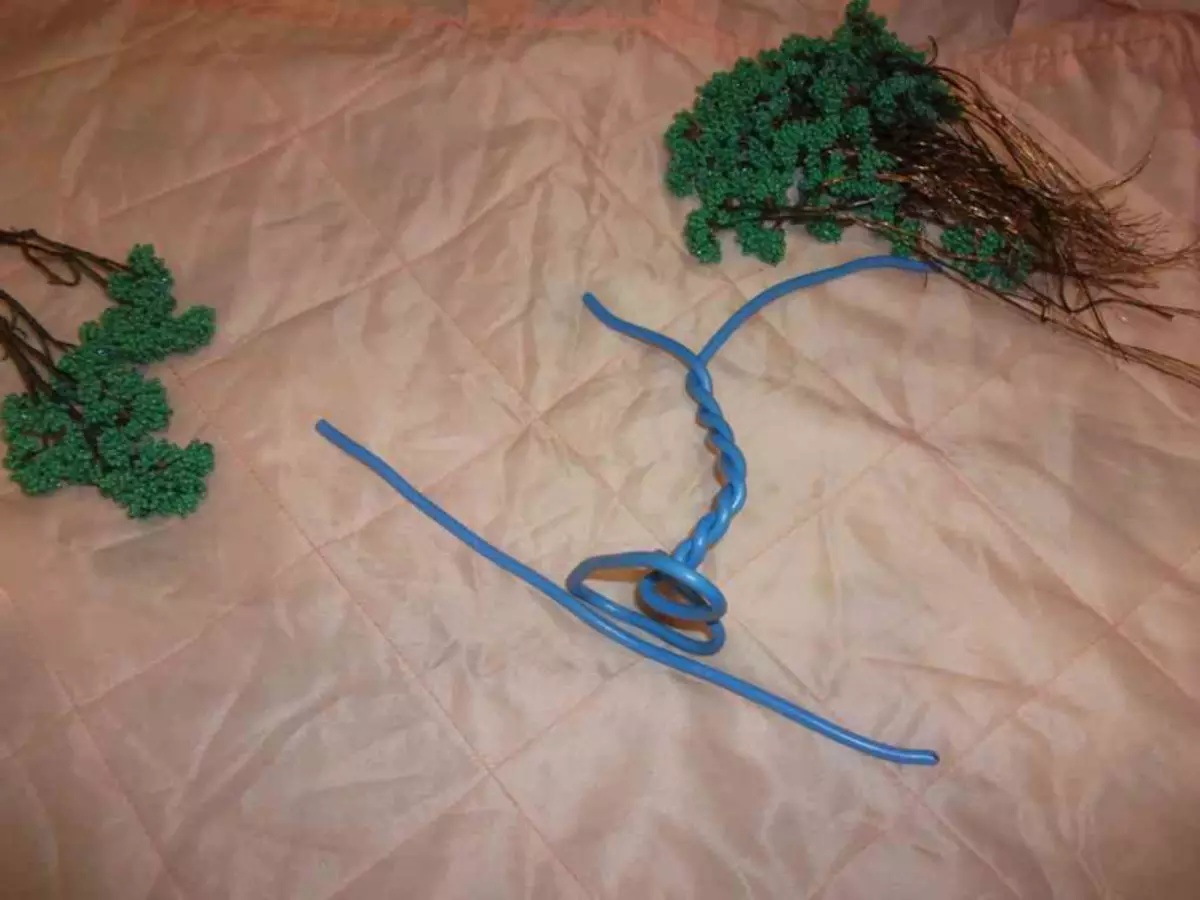
Then you need to collect all the branches in the bonsai of beads. It is necessary to take a thick wire and make the frame for the trunk of the future tree. It turns out a construction of 30-35 cm high. In the framework of 4 thick branches.
Attention! Such branches should be no more than four, it is best to take three.
For the twigs kept more reliable, climb them with adhesive plane.
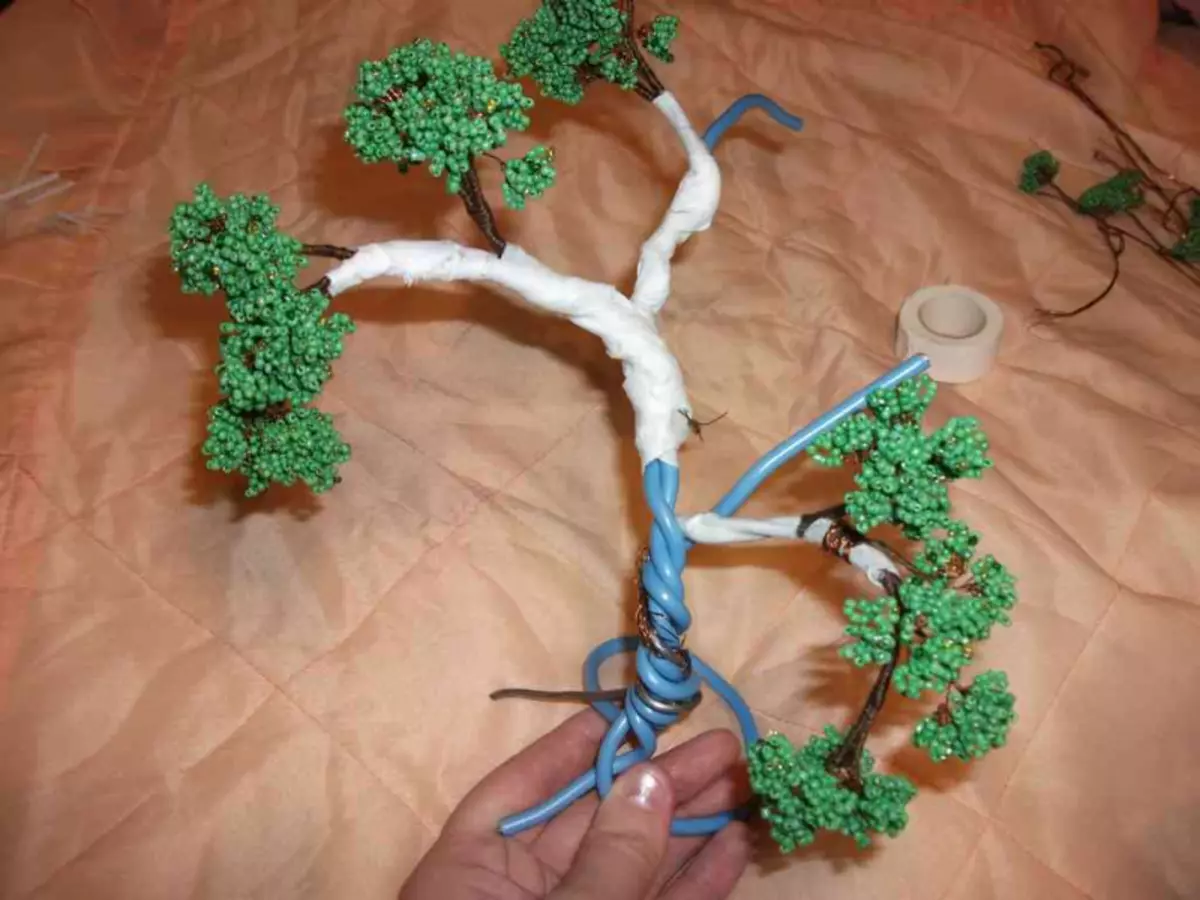
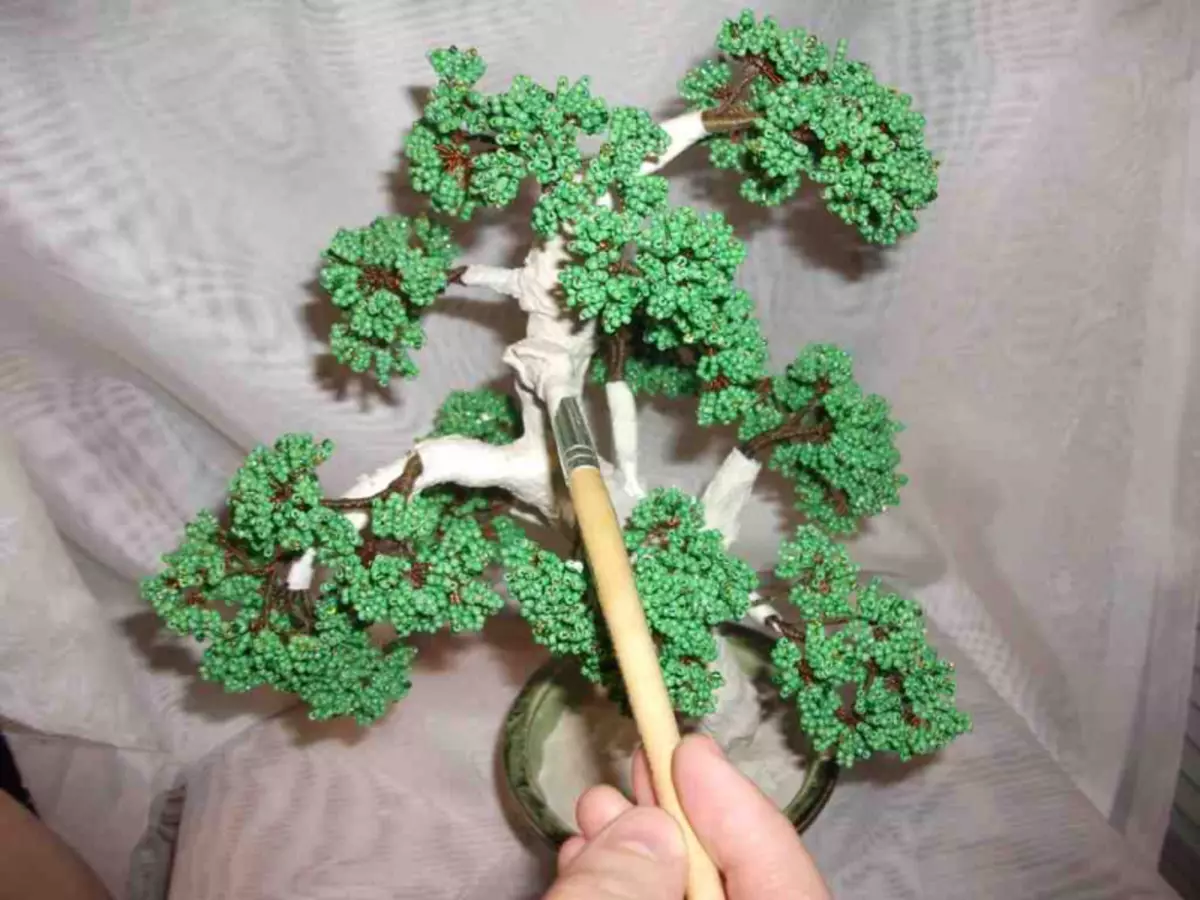
Next, continue to mount the branches to the frame, priming them with the plaster, from the biggest to the small. For convenience, you can fix the tree in a pot with a gypsum.
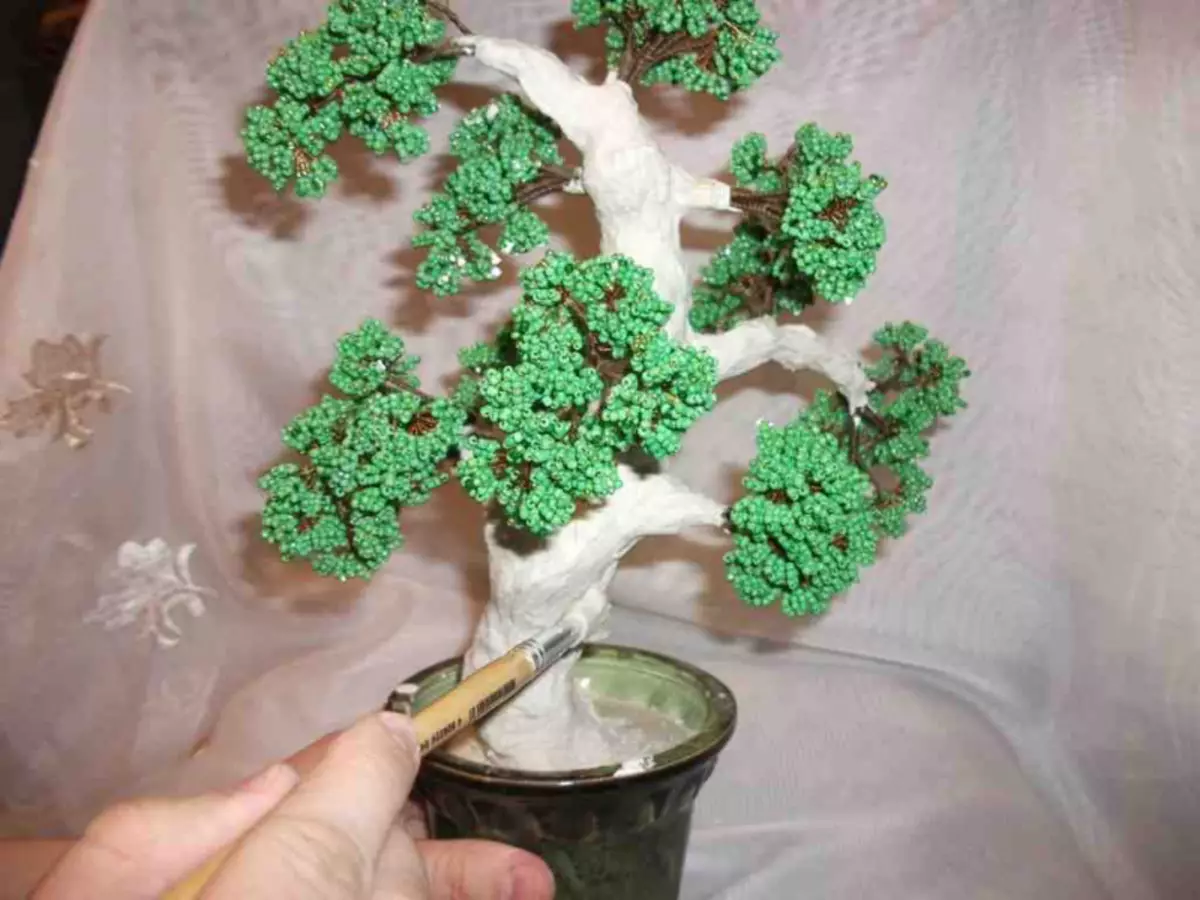
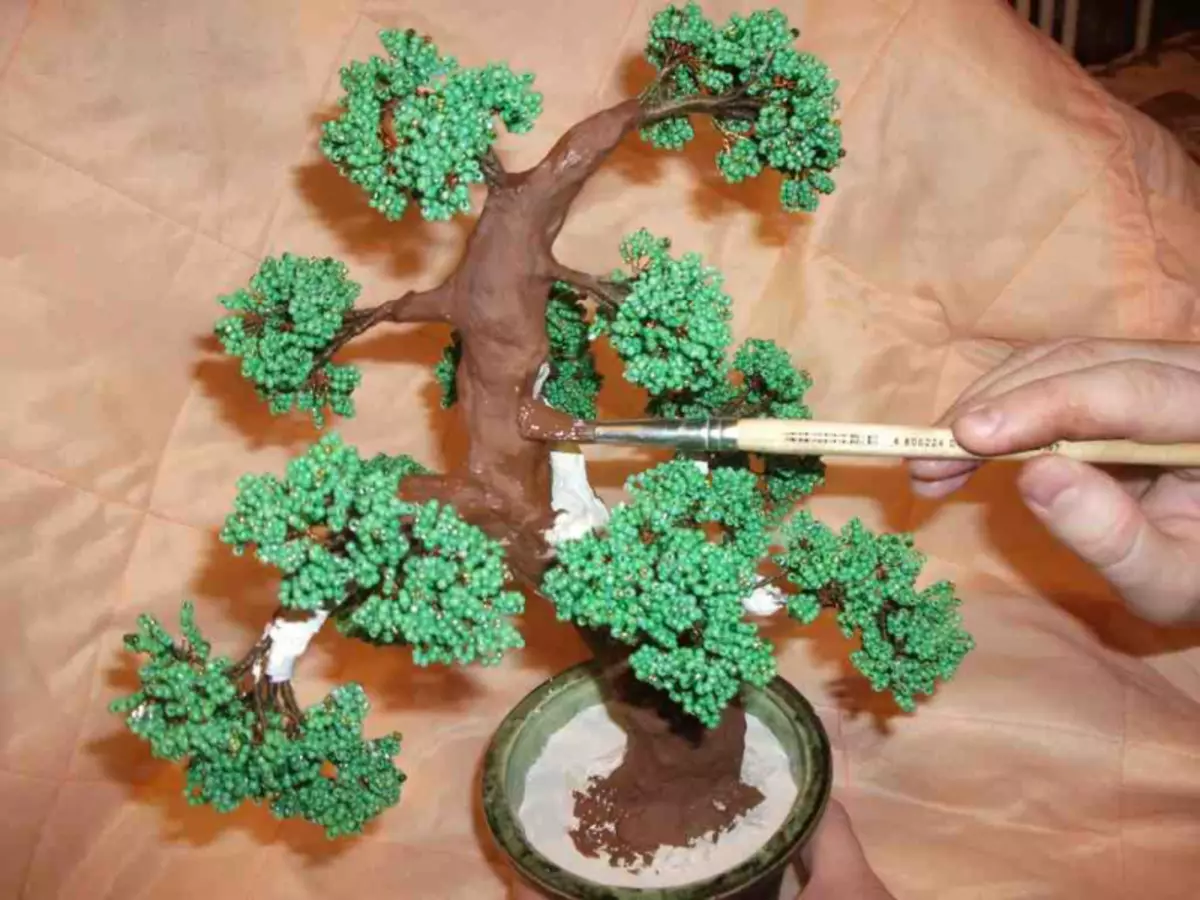
After the bonsai fastened hard with plaster, we begin to process the barrel with the same solution. Apply it with a thin layer on all branches of the tree.
It is extremely careful to work, so as not to stain beads, as the plaster dries very quickly, and it will be very difficult to clean the branches.
Start painting
Tree trunk and branches to paint brown gouache, paint everything tight. White stain should not remain.
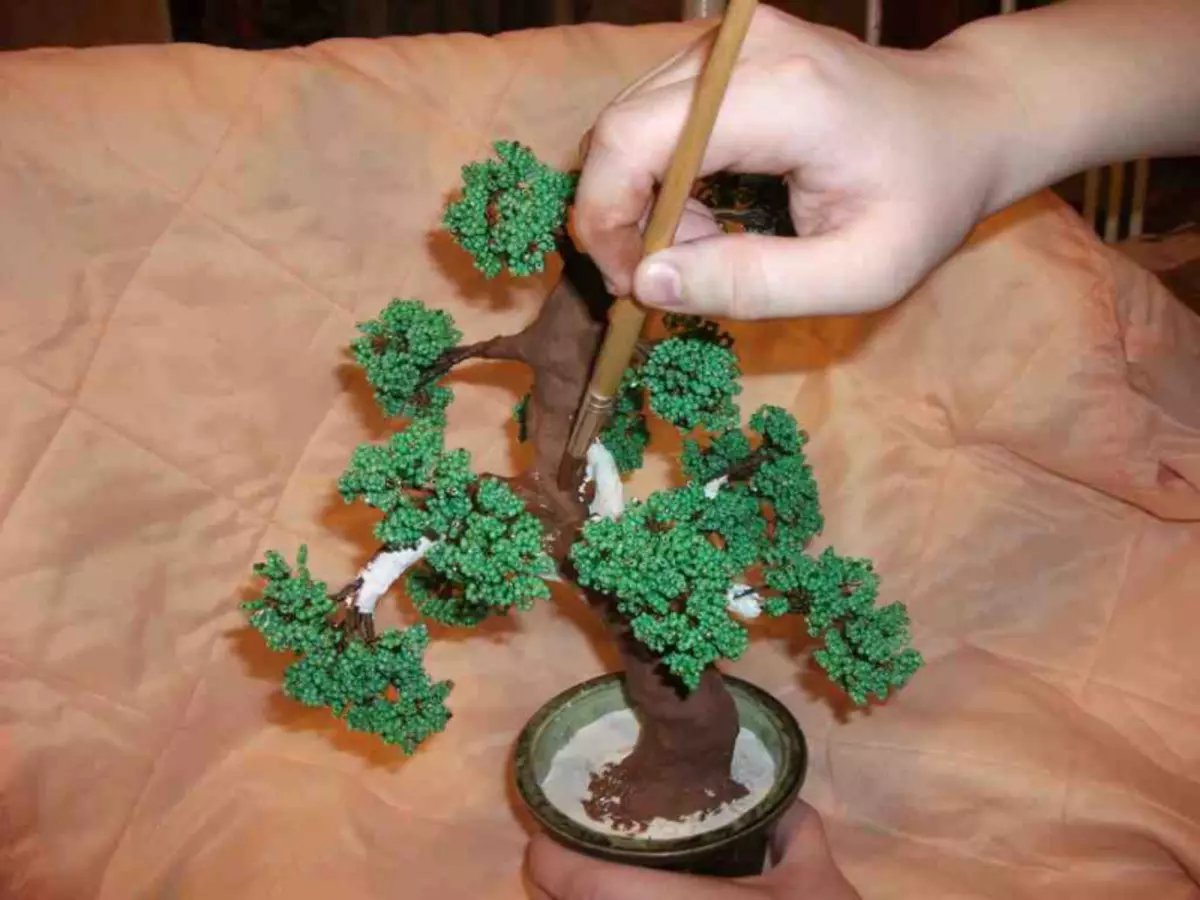
After that, with the help of a thin bruster, we barely apply vertical touches across the tree trunk from beads to give the cradle more realistic look.
And now decor
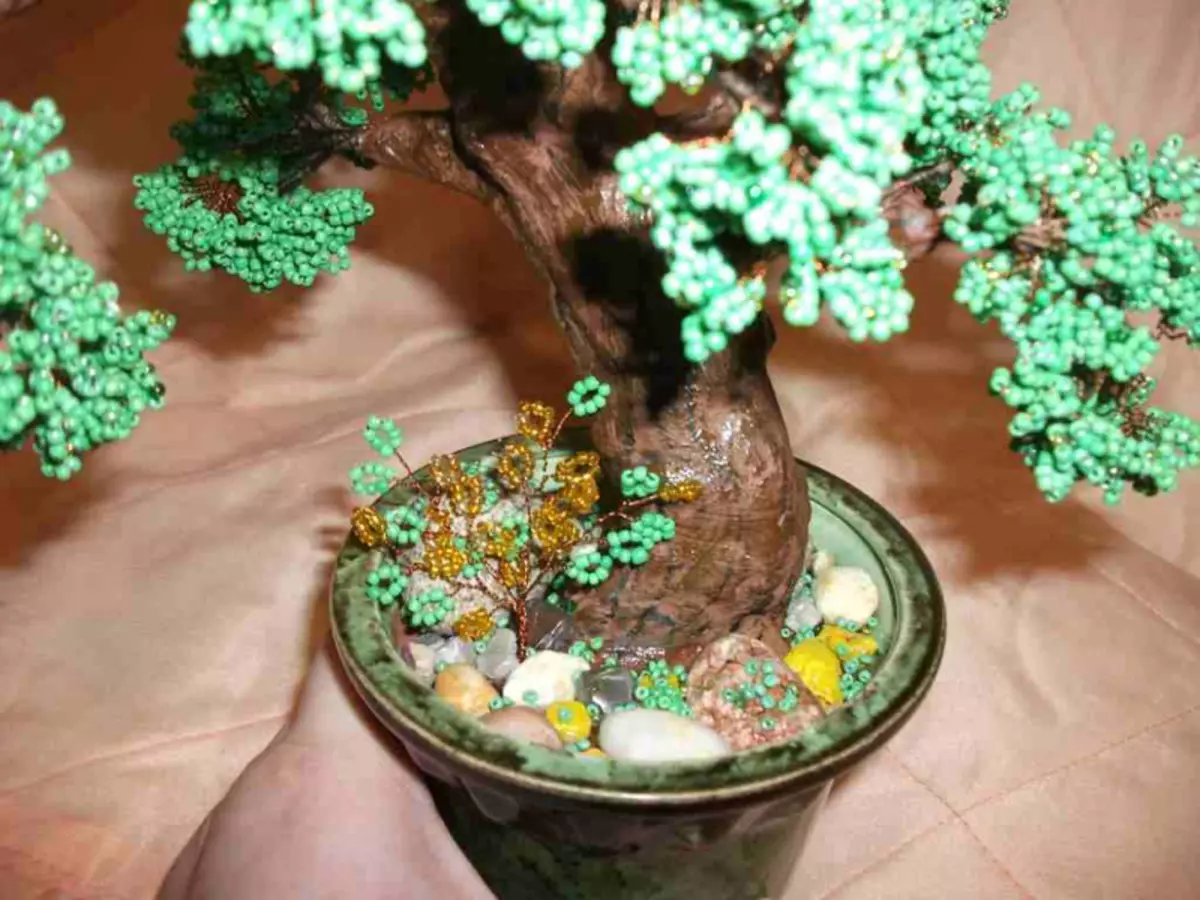
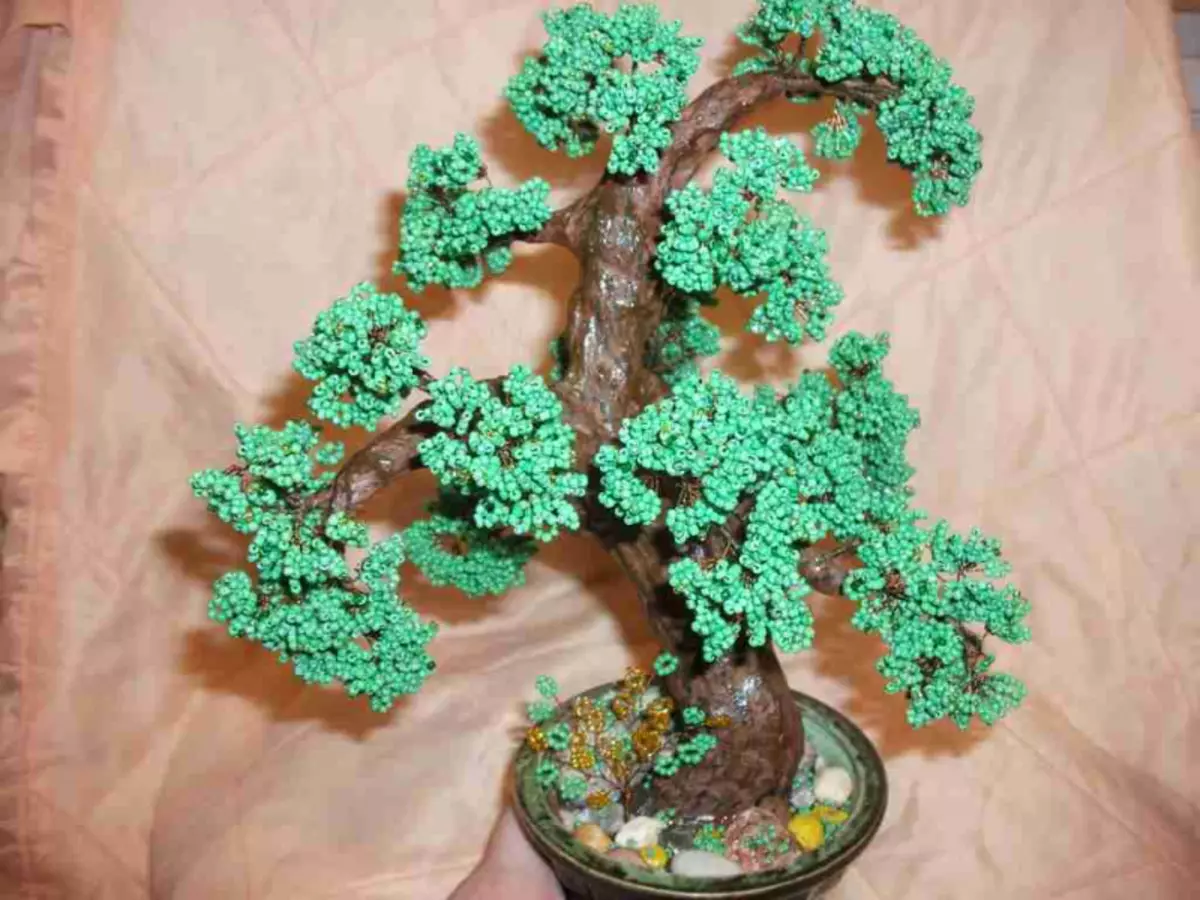
The final stage is to decorate the soil in the pot. Here you can give fantasy. You can decorate it as you want your imagination: pebbles, decorative herbs, flowers, ribbons - everything is suitable for decoration as it is impossible.
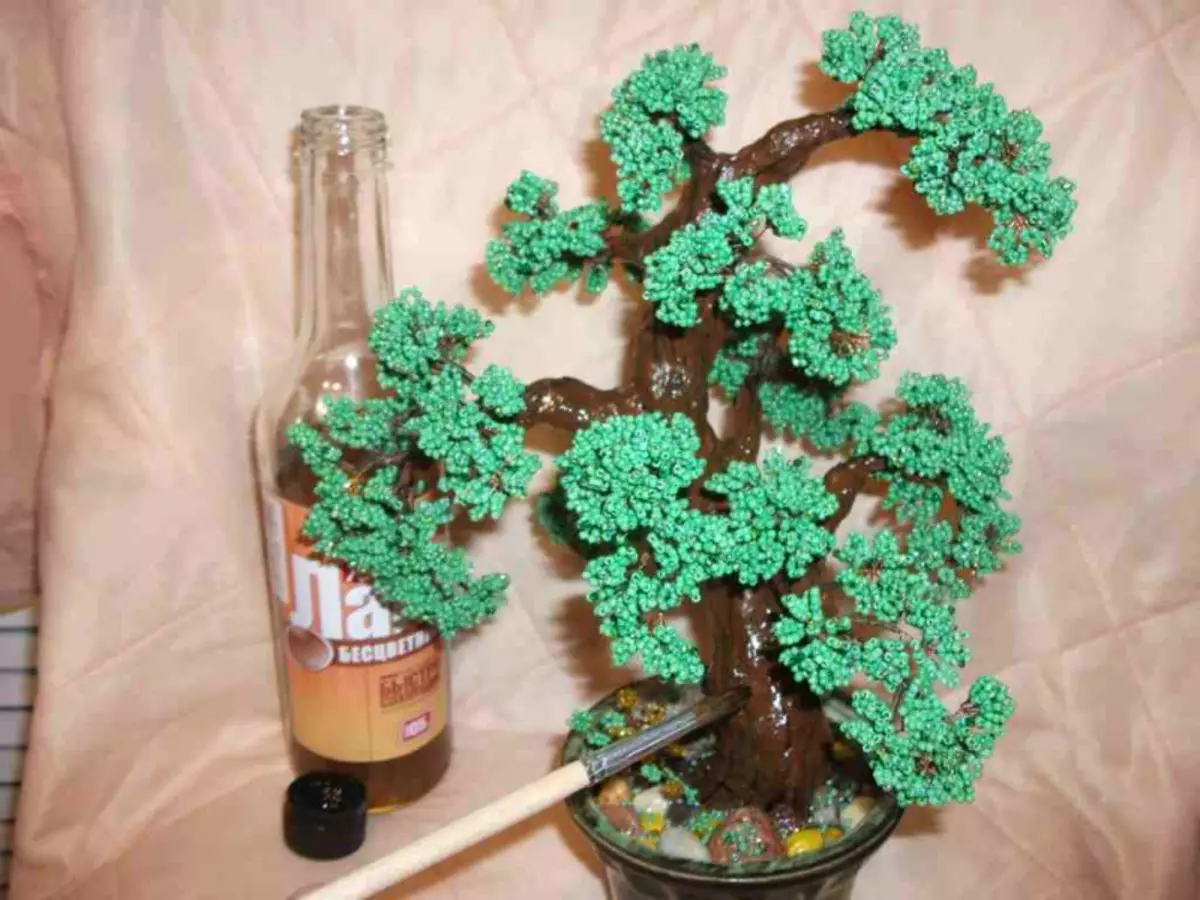
For even greater shine of the tree and the reliability of the paint layer on the trunk, cover it with a layer of transparent varnish. You can also check the soil in the pot.
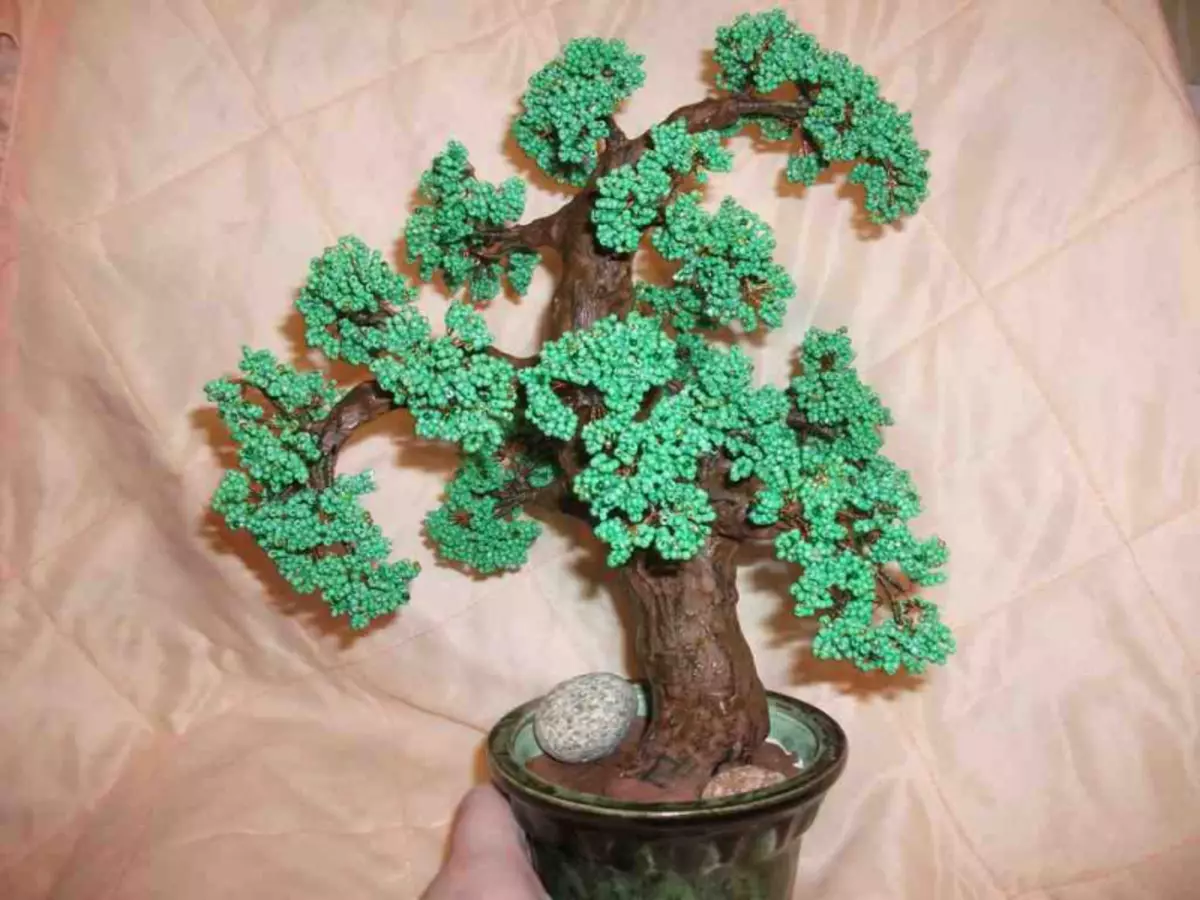
Congratulations, you made a bonsai tree with your own hands! And you can only put this beauty to the most honorable place in your home and enjoy your own way.
Article on the topic: Bright summer top - crochet
Video on the topic
We offer MK on weaving bonsai beads in the video formation.