
When repairs in an apartment or house, the owners immediately begin to convolcely count the costs and search for agencies that will fulfill repair work cheaper than others. However, often such savings does not bring success. Unqualified workers can spoil you repair at the preparatory stage.
Putty do it yourself
I independently engaged in all repairs in my apartment and realized that the putty of the ceiling of plasterboard, as well as walls, is a simple matter. In this article, I will tell you in detail that such a ceiling putty is with your own hands and as a person having the slightest skills in this case, conduct preparatory work on its own, and also choose the most suitable for the ceiling and find out its consumption.
Preparation for work
Many professionals are confidently declared that the walls of the walls are easiest. Of course, during the finishing of the ceiling, the hands quickly get tired, and swells the neck, but the technology itself remains unchanged for all surfaces. The room in which I did repairs was with drops and small holes, so it took me not only putty for the ceiling, but also for the walls. I immediately calculated the flow of the materials you need and purchased the right amount.For qualitative performance, you will need:
- At least 2 spatula - prepare 1 narrow and other wide
- Metal halfurist
- Roller - used will be used to apply primer
- Tase or bucket for dry mixtures
- Nozzle on a drill or building mixer
There is a different blem, it is often used to smooth out small drops, however, there are those that can align more than 50 mm. Expenditure of the starting putty - 3kg / m2, and the separation consumption is 1 kg / m2. Using this data, calculate how much the materials you need to purchase. In construction stores there is a sufficient number of options - you can choose the best and price, and in quality.
Why shpalian
Puttack ceiling
I believe that this is a brought question, but I can not answer him. There are several reasons due to which the putty ceiling under painting is an important point:
- The first reason is the shower of plaster. It happens in old houses where there are sharp differences of temperature and humidity, as well as time, due to which defects appear on the ceiling and wall
- In new buildings, there are also a number of reasons for the putty of the ceilings. For some time, the foundation of the house sitting down, the joints of the slabs are deformed, and this leads to the cracks of the walls and the ceiling space. To all the plaster itself rough and for further staining needs putty
Article on the topic: Floor screed with clay: Alignment technology, which faction is better in the apartment, ceramzite concrete with your own hands
The starting putty is less grainy, and the finish is generally attached surfaces perfectly smooth shape.
Surface preparation

Materials for performing putty
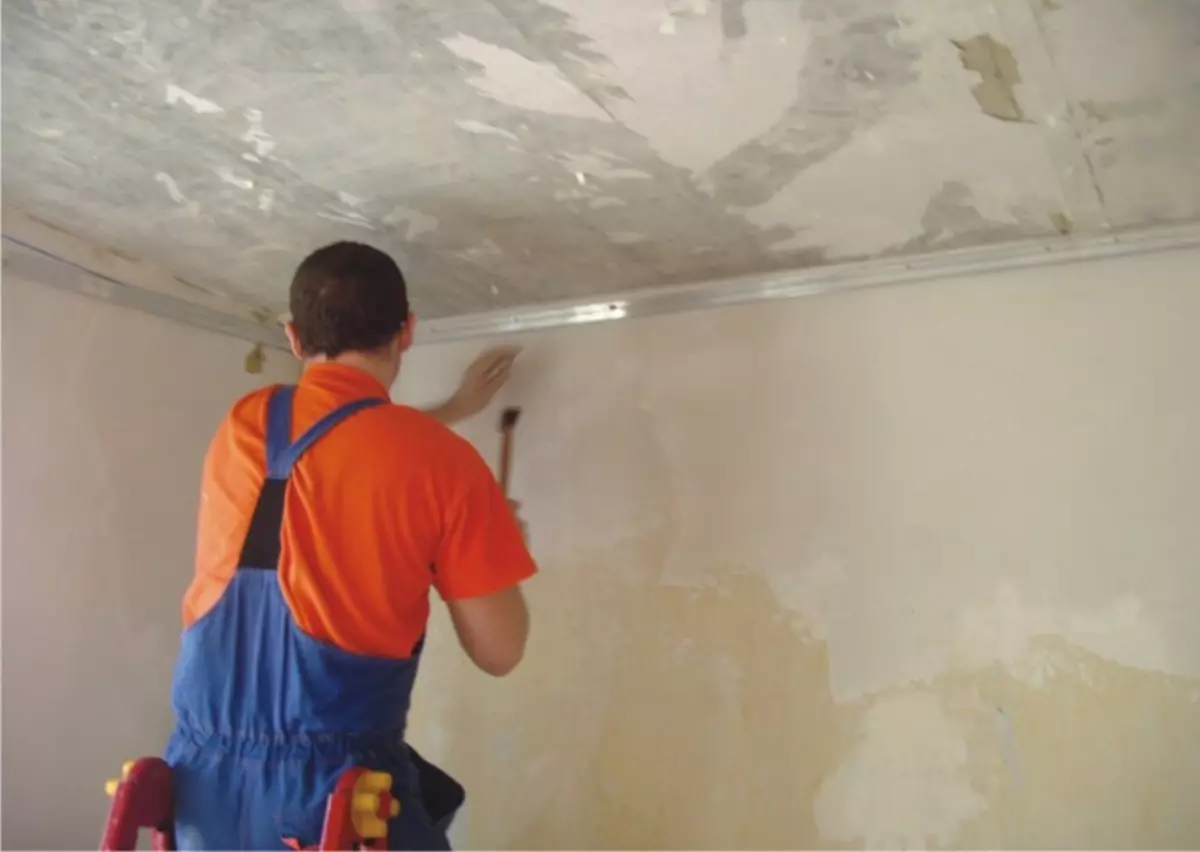
Before putting the ceiling space, it is necessary to clean it from old wallpapers and blots. With the help of water, you can easily remove the remains of the old interior. Remove the old paint and remnants of wallpaper did not work. Moching the surface you need, I opened the window and thanks to the draft quickly removed all the dirt with a spatula. After that, all the plots were thoroughly.
Before applying the mixture to the plane will need a primer. I chose a universal primer, but there are options that are appropriate only under:
- Water-emulsion paint
- Under the stucco and putty
This component is used for a good shuttle hitch with a deposit. Do not save on the purchase and selection of primer - to apply it in two layers. It is best to prick the ceiling with a roller, but if you have a brush at your hand, then apply a primer, periodically turning it around the axis.
So, we will analyze how to put the ceiling correctly, and which putty is better for the ceiling.
Primer
For starters, primer is applied to the ceiling. This is the most important stage of all work. The primer is very poorly laundered, so if there is a furniture in the room, it is worth covering it before the start of work. During the primer, I used gloves and washed every 10-15 minutes. I had more consumption, I had more than the manufacturer stated, so it is worth buying a little more - it will not be superfluous.
Ceiling processing with your own hands
I emphasized such advantages of the primer:
- With the help of primer, the surface of the walls and the ceiling is undergoing, it impresses concrete with polymers
- Primer improves surface adhesion with putty and paint
- You can reduce paint consumption, if used on porous surfaces
Article on the topic: Cable wiring
Shpaklevka
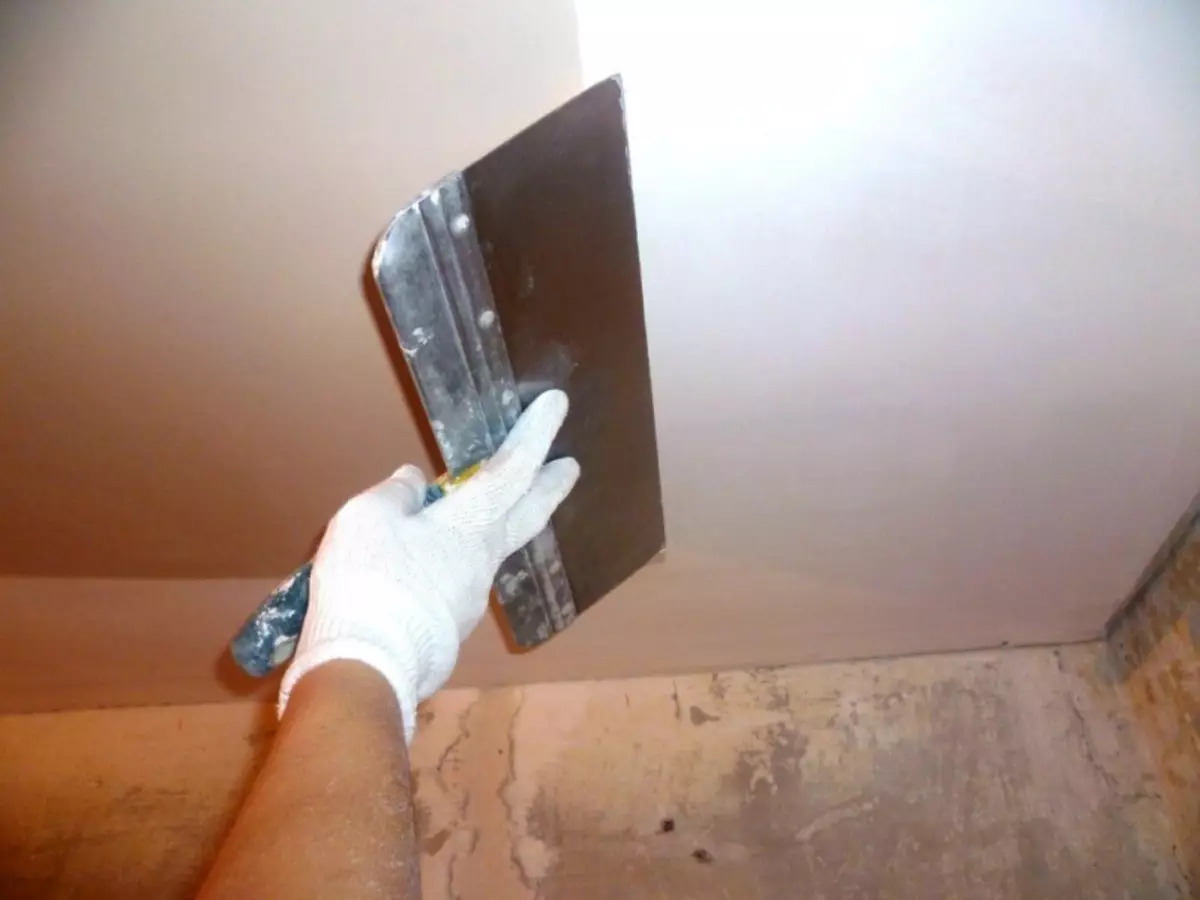
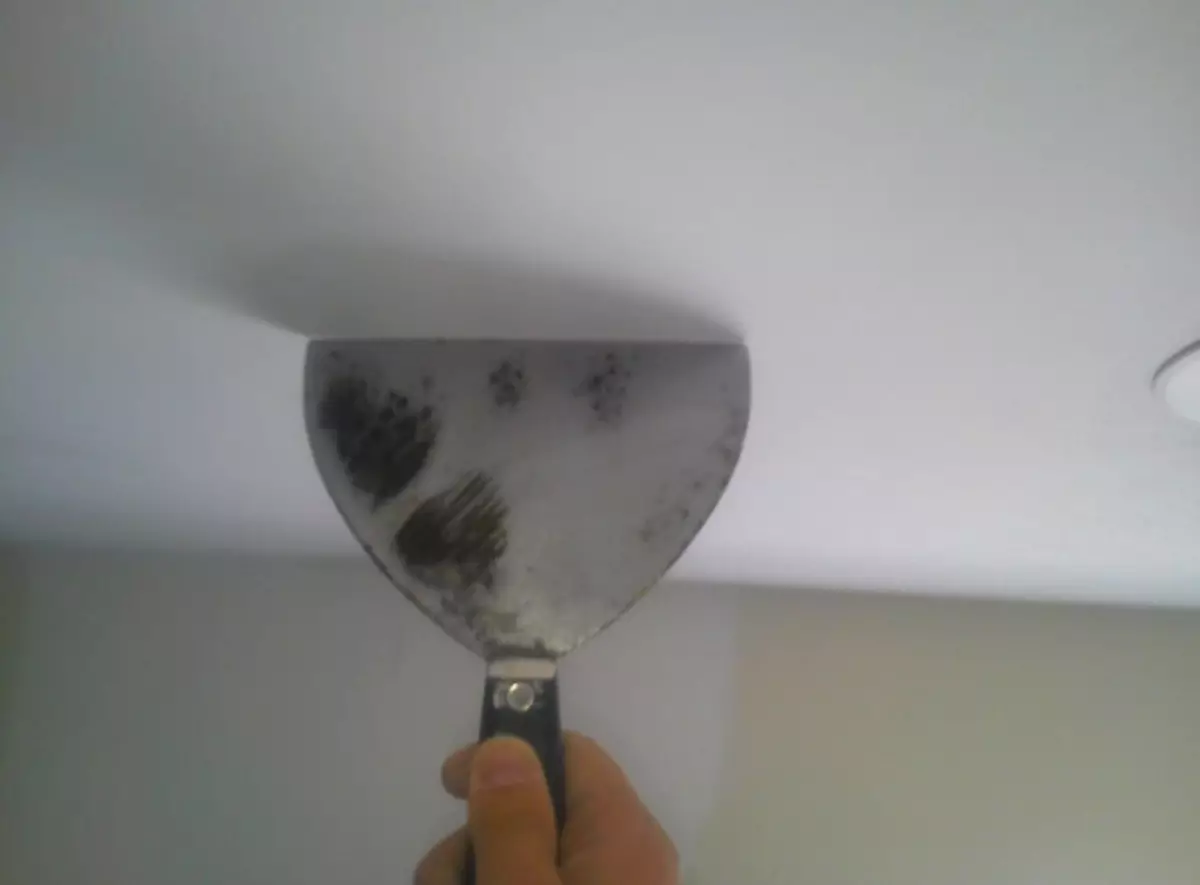
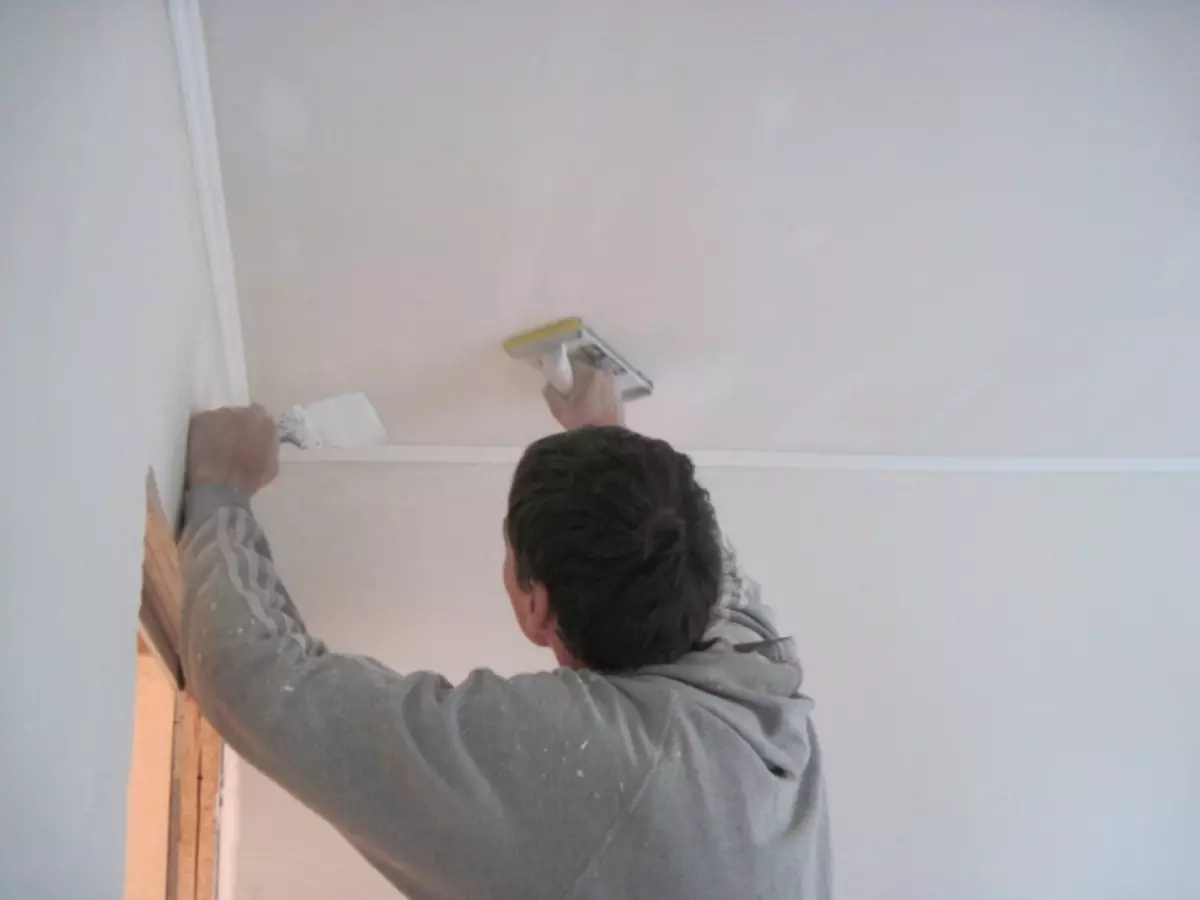
The technology of applying putty on the ceiling itself does not differ from technology for walls. And any kind of putty is applied equally. I noticed that much depends on the proper operation with a spatula, which it is applied to the surface. We will analyze how to put the ceiling. To begin with a small spatula, take a little mixture and appline it on a wide spatula. With the help of it we apply a mixture to the surface with a thin layer. The remains need to be removed by a narrow spatula and throw in the bucket with the remaining mixture. Actions are repeated, until the first layer coating over the entire surface area.
Treated ceiling and walls
Tip! It is better to take a little more mixture, and then just remove the rest with another spatula than several times to apply it to one place.
The second layer must be applied after complete drying of the first layer. Once I had the negligence hurry, after which I had to partially redo the first layer. How many layers will have to be applied, depends on the irregularities of the ceiling space. The crummer - the more they will be.
Important! Ceiling putty with your own hands is a time-consuming occupation that requires certain skills and knowledge. It is not necessary for him to be taken, if you are not sure of your capabilities - it is better to entrust the work of professionals.
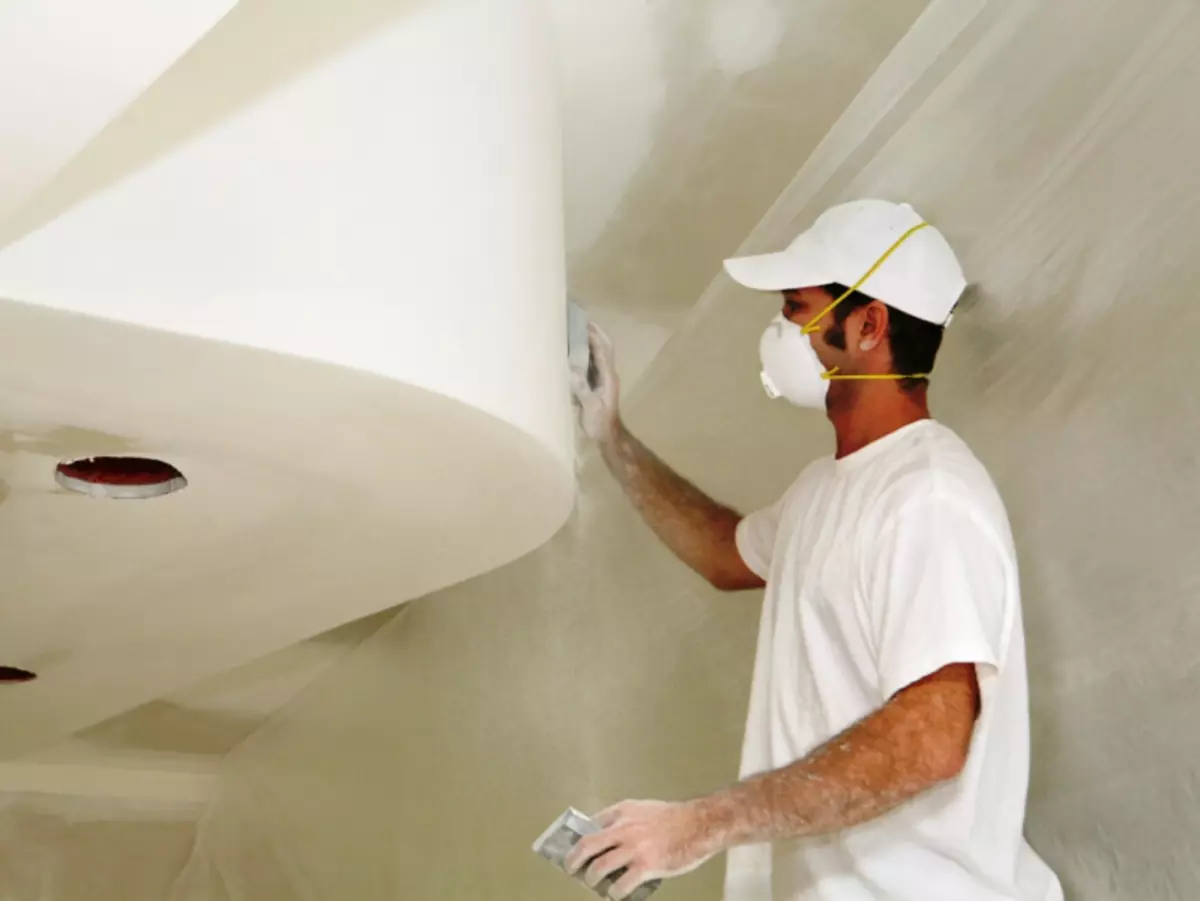
Using the finish spacure
The finish putty is applied with a thin layer on a pre-cleaned surface from small, dry pieces. The finish putty is used to create the most smooth space. You can apply one layer - if the space will be placed with wallpaper. If you are painted it, you should apply two layers.To the question, how to sharpen the ceiling correctly, there is a very important advice. It is necessary to read the work from the middle, but from the corner of the ceiling and best use the stepladder. And in order to avoid the "influx" you need to change the angle of the spatula during application - from a larger angle it is necessary to go to a smaller one.
Features of plasterboard ceilings
The working process
Article on the topic: What wallpaper Select in the dining room
The main advantage of the plasterboard ceiling putty is that the surface does not require alignment. The task is only in alignment of the junctions of drywall and hide hats of self-tapping screws. In addition, there are no clear rules in the question, how to properly put the ceiling of plasterboard. The mixture applying to it is only necessary for making the ceiling of a smooth look.

Put with your own hands
This process was the easiest for me, and I did not even ask how to put the ceiling from the hiking, but I encountered with small difficulties, I want to share the tips. Apply the mixture on the joints you need using a thin spatula, and with the help of a wide sparkle. After the seams, the hats of the screws should be sharpened, the mixture should be applied to the cross.
Under painting
It is also possible to put the ceiling under painting. This option also has its own characteristics.
Puttooth ceiling
I encountered the problem of staining the ceiling after it is covered. With each application of paint on the surface, a small piece of putty was falling off or just remained on the roller. To avoid such unpleasant moments enough:
- Use the waterproof finish putty - it does not twist from the water and firmly holds on the surface
- You should apply water-resistant primer on the ceiling, before staining
- Do not drive a roller with paint many times on the same places, and also do not press the roller with force
RESULTS
Of course this is a time-consuming occupation, but if you choose correctly, calculate the flow and take into account all the advice on how to put the ceiling under painting, you can perform all work as quickly as possible and efficiently. Despite the fact that the shtlocking of the walls does not differ from these same work with the ceiling - the forces spent much more. It is possible to entrust all the work of professionals, but having basic skills and experience in working with similar mixtures, it is quite possible to cope with all the work on your own.