
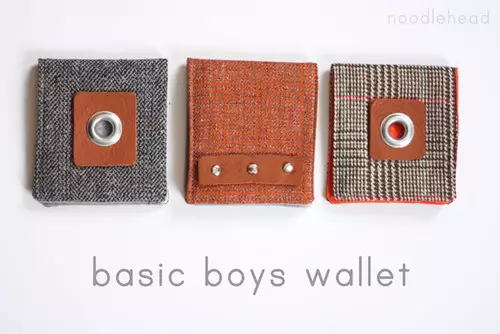
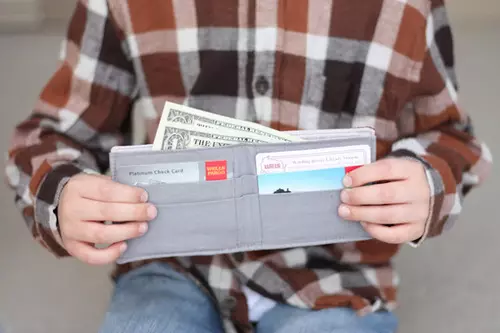
The "Manual and Creative" portal continues to delight you with the ideas of a wide variety of things that can be made with your own hands at home. This time I would like to tell about how you can sew a wallet with your own hands for the boy. This is a simple and interesting master class, thanks to which your son has a decent accessory for small things and money. A detailed description with step-by-step instructions and photos can be found in the full version of the article.
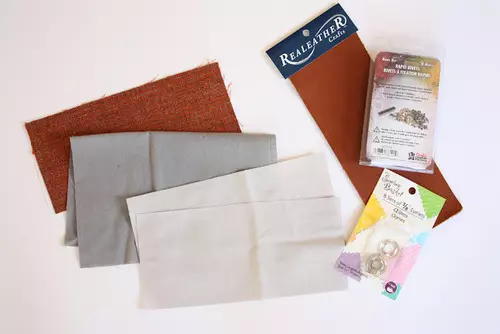
Required materials and tools:
- ¼ meter of dense tissue (tweed, fleece, etc., as a rule, from wool and / or synthetic materials);
- ¼ meter fabric for lining;
- a piece of skin (optional);
- rivets, sleeves (optional);
- Middle size hammer to insert rivets.
Detailed cutting
From dense fabric for the top of the wallet, cut a rectangle with a white width of 22cm and a height of 10 cm. From the lining fabric cut 2 rectangles with a width of 22cm and a height of 10 cm (it will be the main pocket for the wallet lining money). In addition, from the lining fabric, cut a piece of 22cm wide and 27cm high (it will be pockets for cards).Build lining
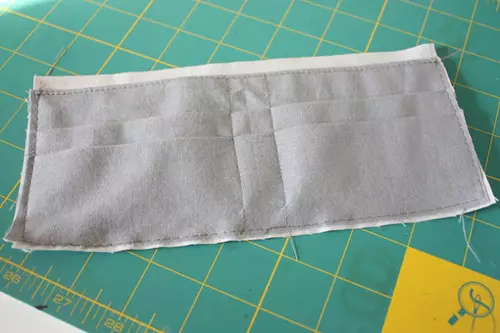
To make pockets for cards, take a piece of cloth 27cm in height and fold it at the bottom to create a pocket at the bottom for the first compartment, and repeat it again for the second compartment.
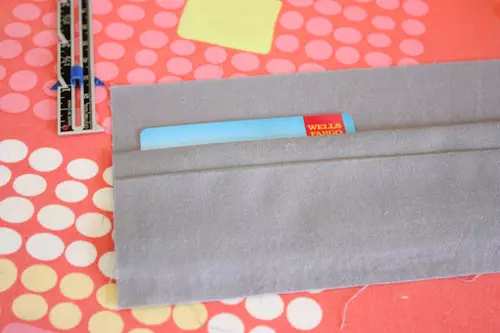
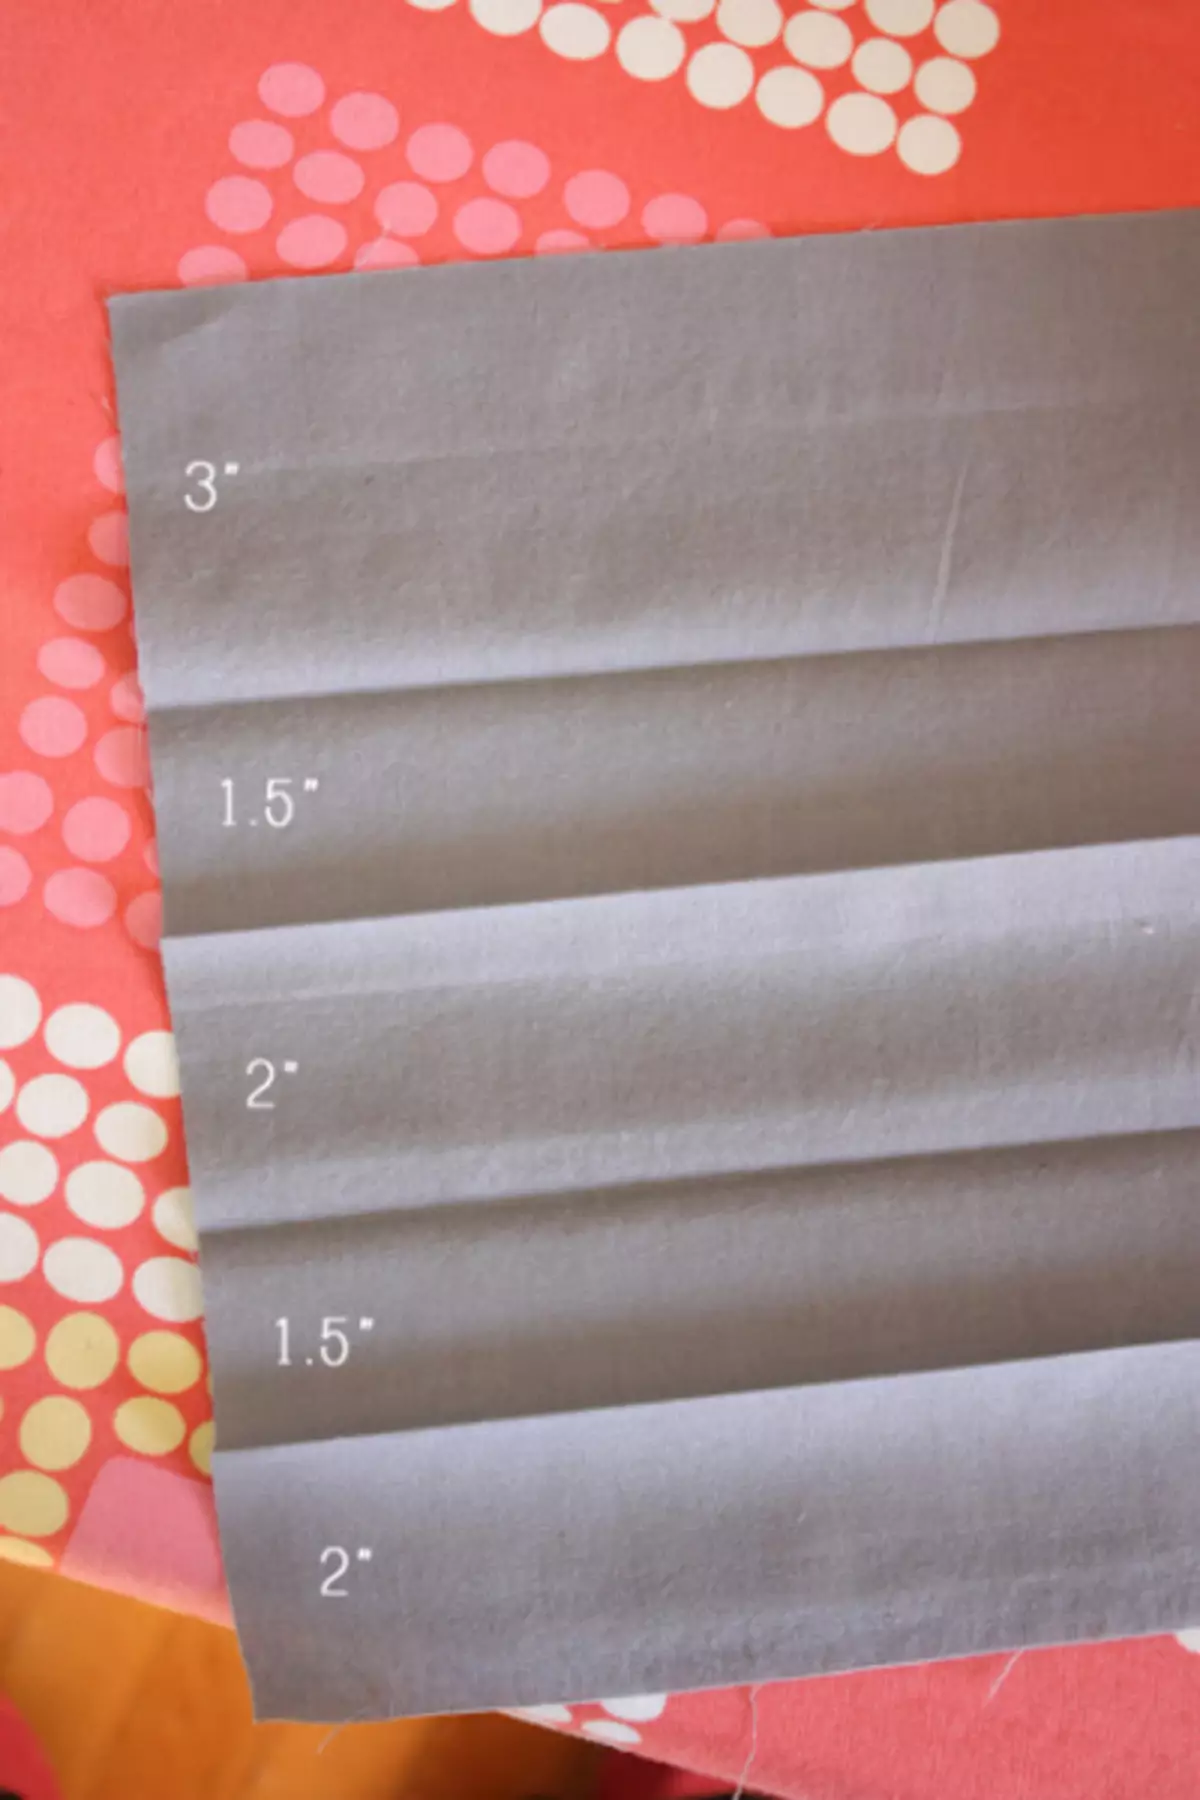
It is possible that it is difficult to explain in words, but you need to fold the fabric by the harmonica. Fold up to 7 cm from the top edge, then remove down, measuring 4cm. Next, retreating from the fold of 6 cm. Check out the fabric up and after 4 cm - down again. Check (if you wish you can starch).

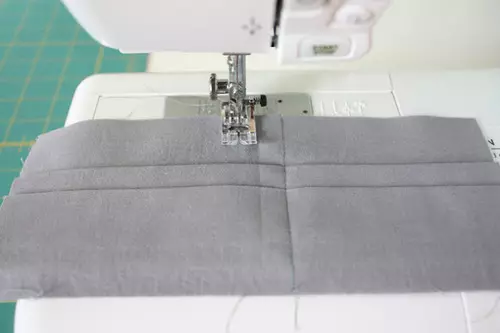
Put a piece of fabric tissue with a piece of tissue with a tissue of 10 cm on the facial moan, from which the main branch of the wallet, and align on the upper edge. Now make 2 lines on both sides of the middle of the fold at a distance of about 2 cm.
Article on the topic: Butterfly from ribbons do it yourself for a boy in the style of Kanzashi

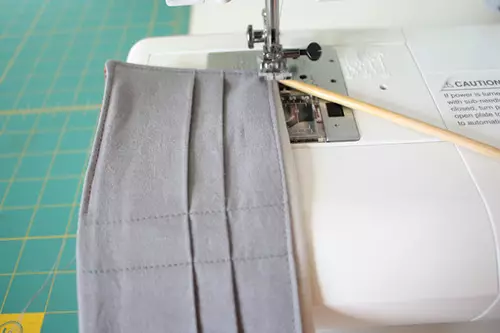
Sewing together by retreating 1.5 - 2 cm from the edge.
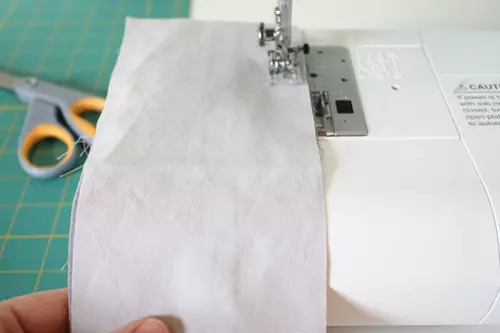
Remove the stitch items in the stitch and start.
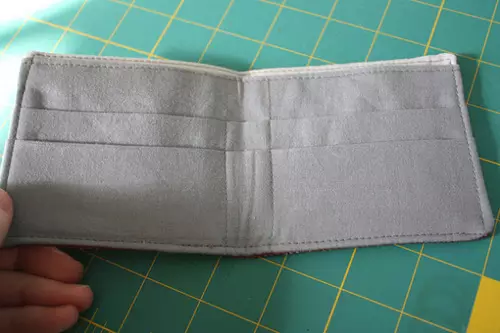
Stretch around the edge. You now have to get four departments for cards.

Assembling wallet
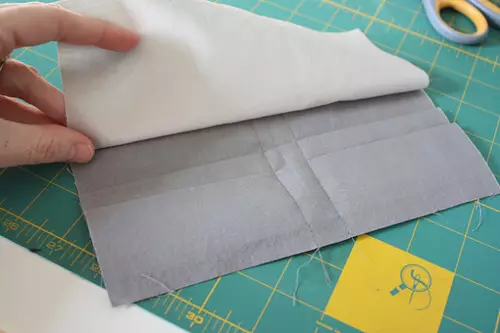
Take your fabric from which the wallet will be topped and put on the wrong side of the remaining rectangle fabric with a height of 10 cm.
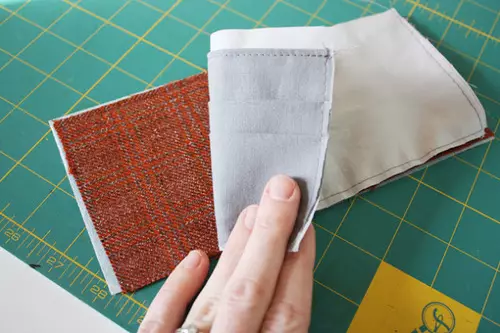
Then fold along with our crosslied card by the facial sides inside.
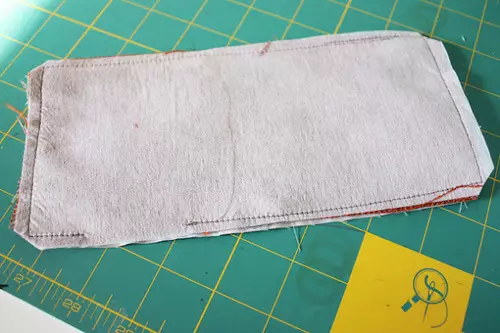
Sew the part around the perimeter, retreating from the edge of 1-1,5 cm, while leaving 5-7 cm unnecessary for the wallet can be turned out. Cut corners as in the photo. Shuffle.
Now you need to turn the resulting wallet. To make it easier for you to straighten the fabric in the wallet corners, try to use toothpicks for this. Stop wallet around the edge.
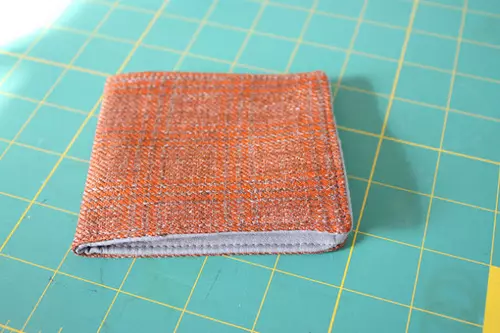
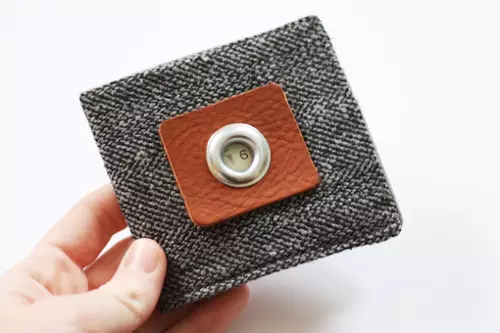
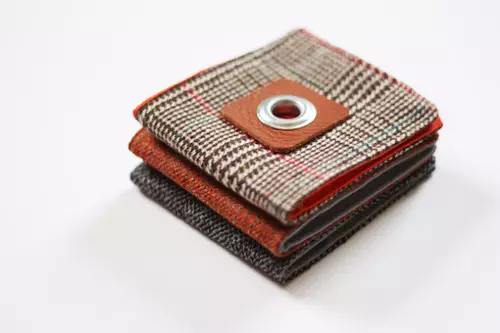
Add a wallet of the decor, all sorts of decorations, skin, rivets. Below in the photo you can see the option as I did.
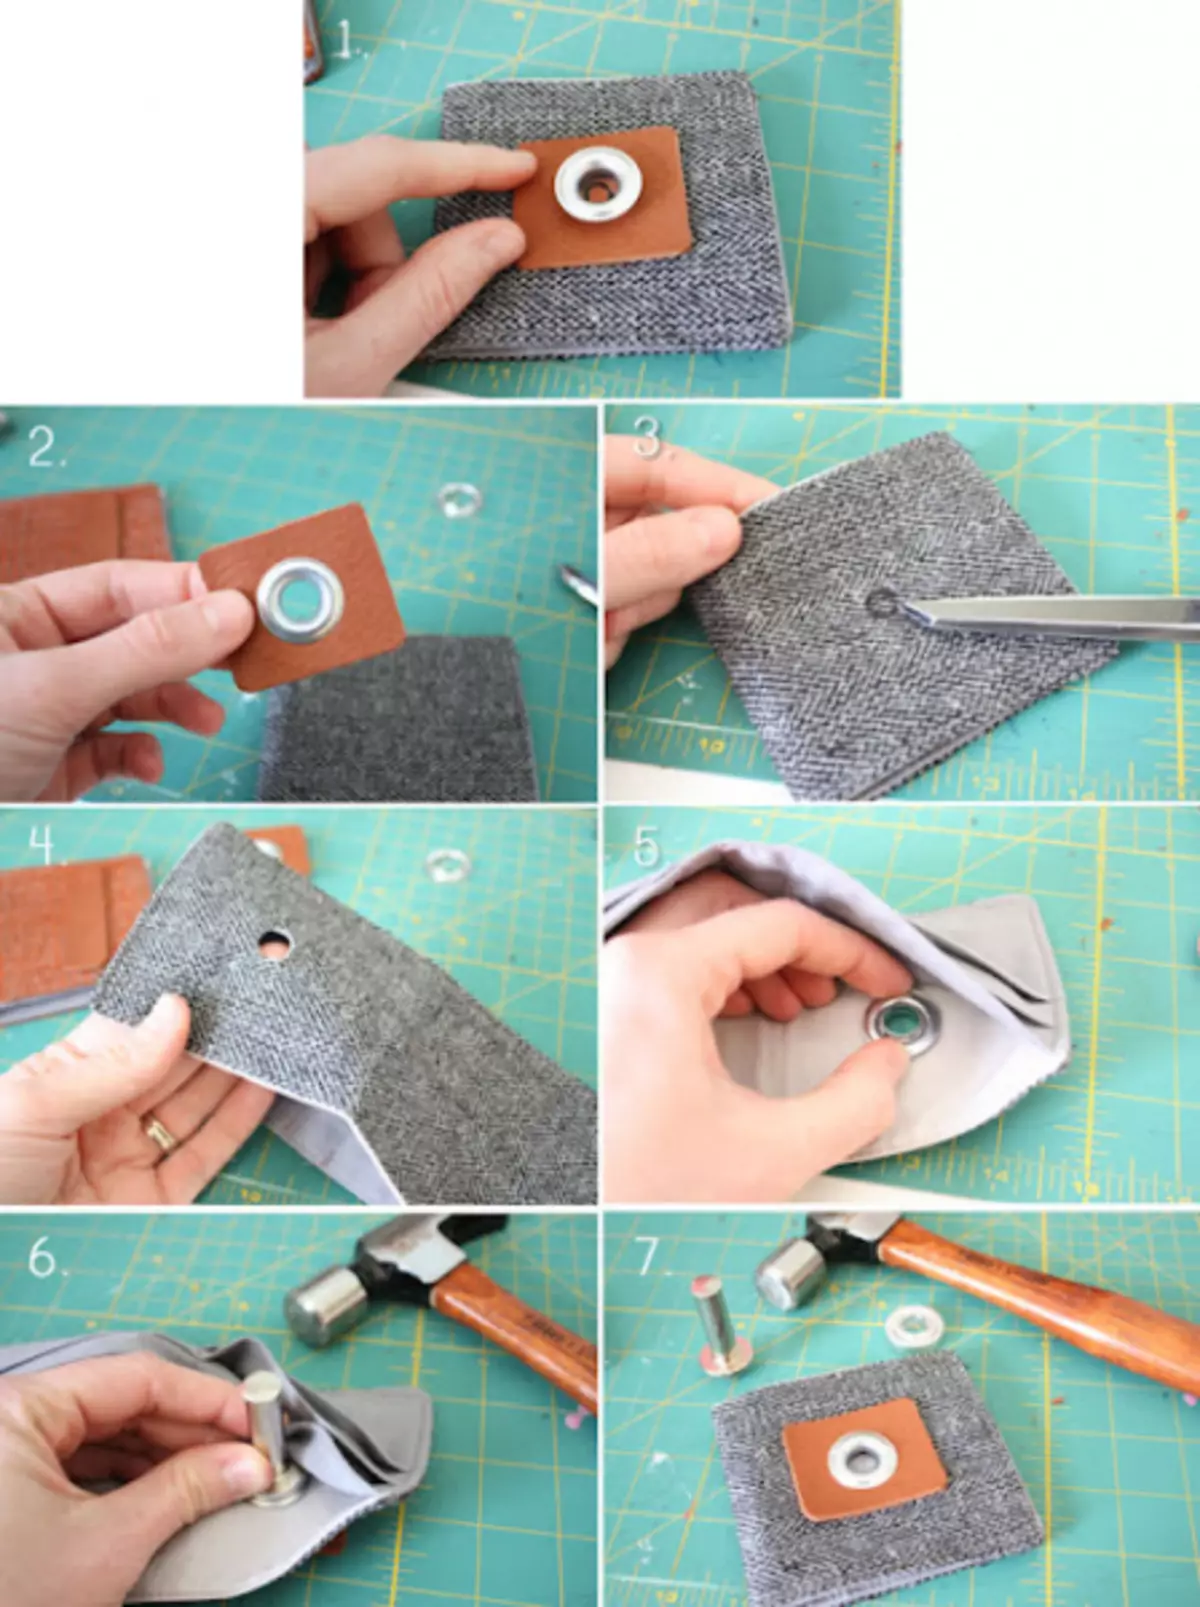
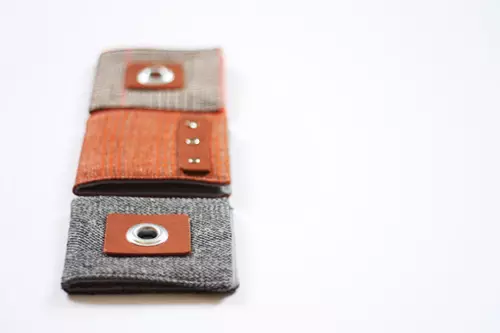
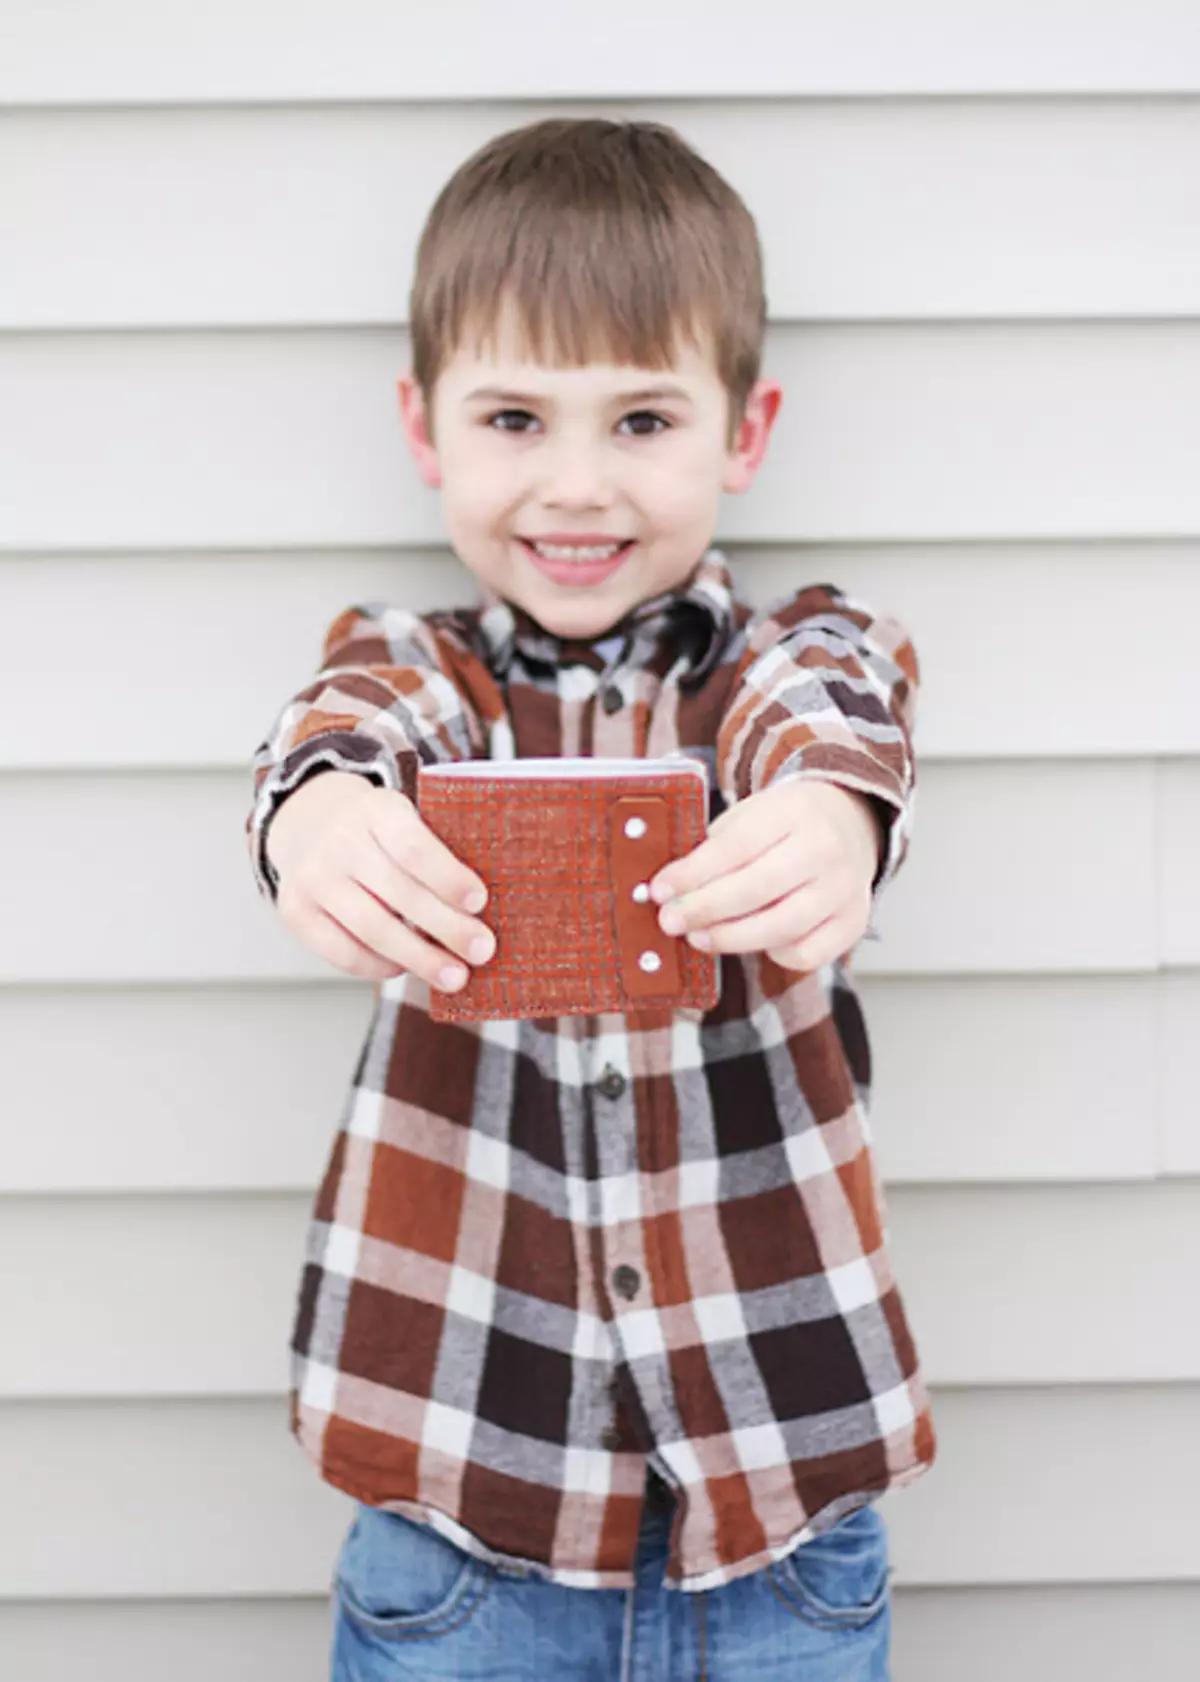
Ready!
That's all. We had a rather simple and stylish wallet for a teenager. Combine your fabrics, try something new, and create! Enjoy.
If you like the master class, leave a couple of grateful lines to the author's author in the comments. The simplest "thank you" will give the author of the desire to please us with new articles. You can also add an article on social bookmarks!
Encourage the author!
{/ Tab} {/ Tabs}