
For me, the whims has always been a standard of beautiful and affordable repair with their own hands in a small apartment. But it was often necessary to observe how non-compliance with simple rules leads to the appearance of stains, husky plaster, and simply not even tone on the ceiling, which rushes into the eye.

Painting of water-free paint
So that there were no such misunderstandings, alterations and the most discerning - the neighbor questions "why didn't you get there?", I will share my secret and features of this simple work.
Before Poching, I pre-prepare:
- I close the pipe with a film, fix them along the edges of scotch
- Bill windows, doors.
- Cover the rest of the subjects
And I try to smallele the surface of the surface, despite the reliable protection, to keep the film for the following repairs in the apartment, the building mixtures can quickly lead it to disrepair.
Surface preparation
Next, I will share how to paint the ceiling after Pokes: For high-quality preparation of the ceiling for painting with water-level paint, it is necessary to remove the old layer of whitewash, in which many make mistakes. The old layer is not the best basis, all the more - if she is old, because the material over time loses its properties, and I had to see more than once as very old whiffs simply, or cracks appear on it.

Second layer of bliss
For moisturizing the old bliss, I repeatedly used a garden sprayer - the grandfathers affordable analogue of expensive electrical sprayers, it is pre-it necessary to rinse it well inside.
The wet roller on a long handle can also be moistened to the ceiling, but it has shortcomings - angles, decorative elements are poorly wondering and increase the corruption of the room, then I still have to spray the room with a spray with a spray, so that even to nourish dust, especially if the ceiling was painted with chalk.
Article on the topic: Border tape for bathroom: Masters reviews
Removal of defects ceiling
The result of whitewashing water-level paint
After that, I take the hammer and carefully clutch the joints between the slag blocks (if I see them) the corners, the places near the fixture of the lamps - here are often "surprises" in the form of hollow spaces on which the plaster is kept miracle. And it was after my work that she could fall to the customer on his head, for which I carefully examine the ceiling every time.
After inspection, when detecting defects, I close them with alabaster or putty. TECHNOLOGY is as follows: wasting well defect to remove dust and moisten the surface - for mixtures on a cement basis, this is especially important, then I do not touch this place for at least a day
Belim the ceiling do it yourself
Then we carry out the existing stains on the ceiling with the help of chlorine copper or white, they can penetrate the following layers and spoil the appearance of the ceiling.
Putty
It is important for a good appearance and a more durable ceiling to shap surface. When working, I use carrying with a powerful lamp of about 100 watts, it helps to detect the slightest irregularities that are sometimes not visible even in daylight.
Poles the ceiling with your own hands
Then, after a day, the putty, and the detected defect that I corrected well grabbies them, then I cleaned with fine-grained emery paper under the lamp turned on. For the perfect result and ceilings with serious defects, I do 2 layers of putty - the first in this case, I cleaner with a rough stripping, the second, finishing - fine-grained.
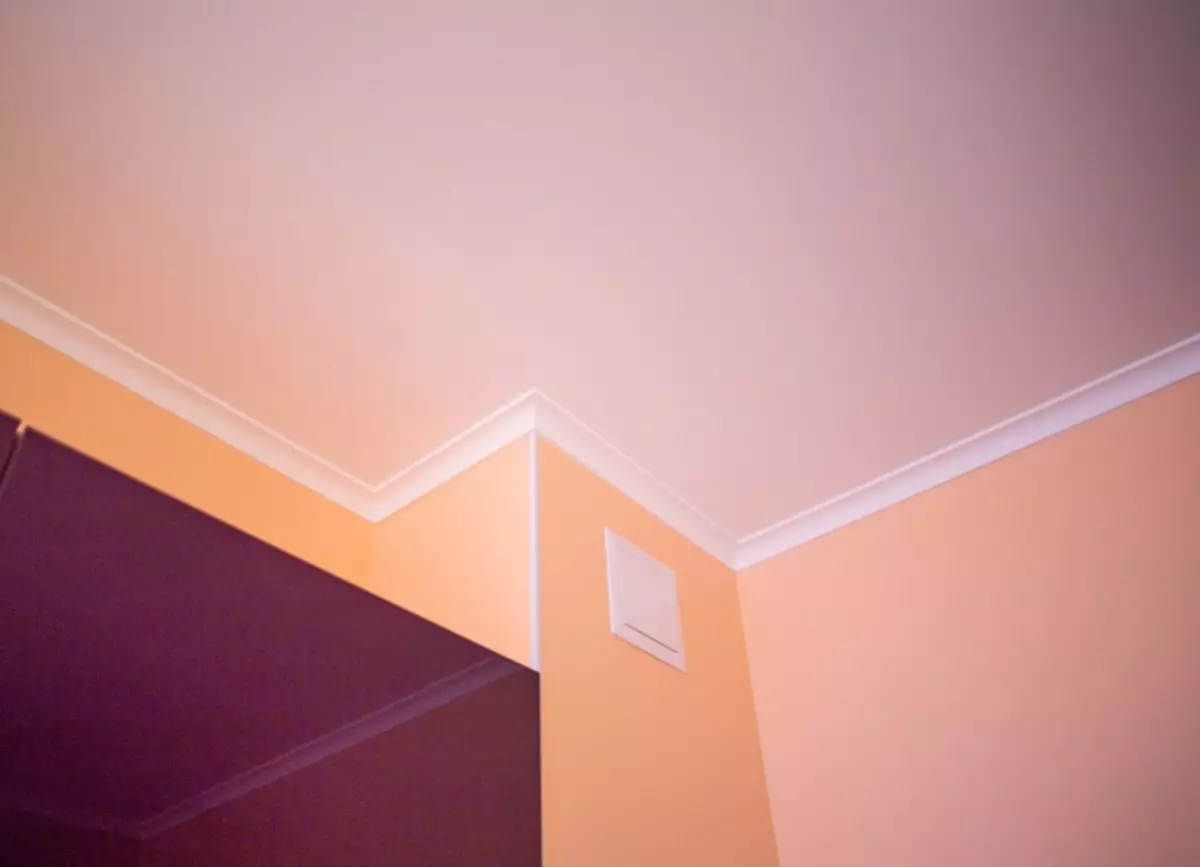
Special attention is paid to the corners - to achieve the perfect angle, I equally equally equally to the ceiling plane, but also a small part of the wall adjacent to the corner.
Grinding ceiling
After putty, I am a stingy surface, it helps to save on a whitewash and guarantees increased quality of work, since it seals the top layer of putty and creates an additional barrier film from the stains, in case the neighbors are flooded on top.
Article on the topic: How to paint the walls: the use of roller and brushes
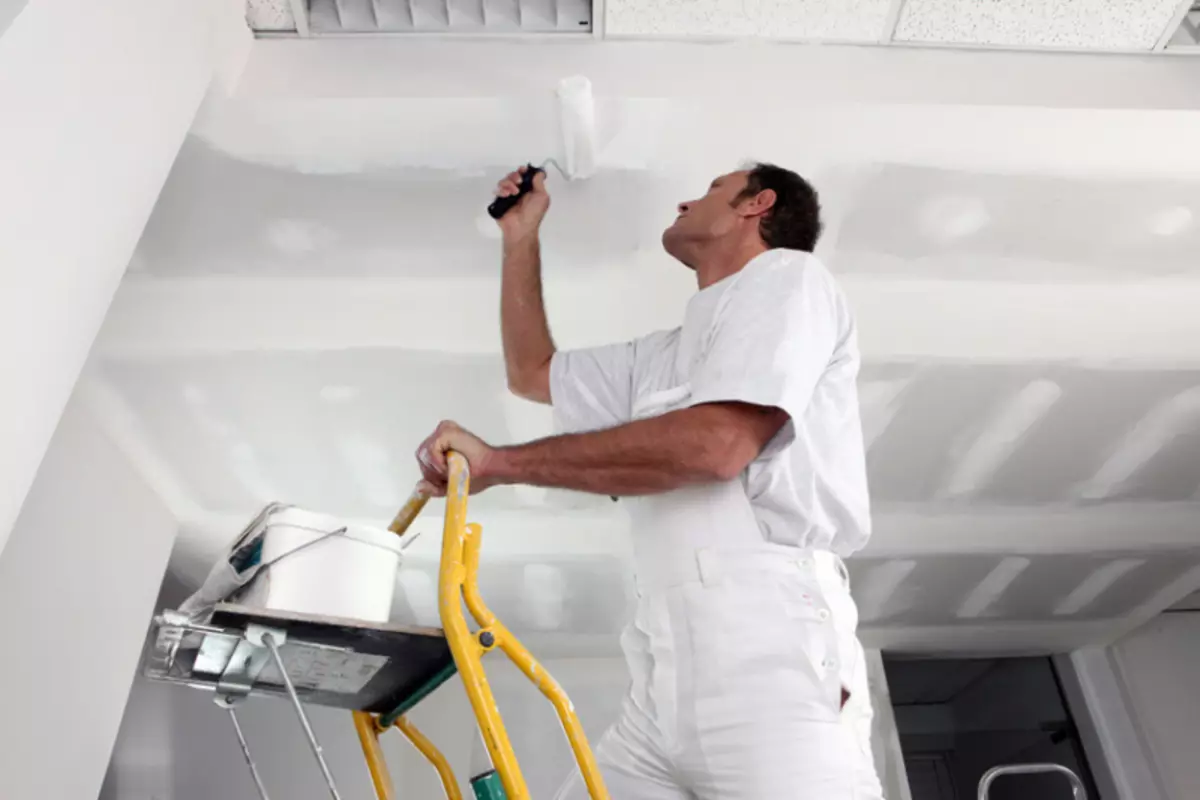
Painting the ceiling with your own hands
I dilute with water in a ratio of 1: 4, after which I nanohes the mixture to the surface of the roller, so that the surface is well soaked, use the spray gun and the sprayers, since we will not win anything on the primer, but on the contrary, for clay surfaces I am nanous 2 layer, because Clay is a very loose material.
Poles the ceiling
For whitames, I use water-emulsion paint for many reasons:
- She is more stable than chalk either lime
- Does not require additional preparation.
- It does not have an unpleasant odor.
- More resistant to pollution than other materials, thanks to which is widely popular.
Painting works of water-level paint
If we have a spray compressor in the garage, it significantly simplifies the task, even in the absence of collapral collars, you can make various nozzles with your own hands working on the principle of collapse. I had to meet even with a nozzle, which included 2 hoses, like a gas welding cutter, one was supplied to the air, on another mixture, which exceeds even the paintopult and facilitates the significantly load on the brush in contrast to working with the paintopult.
In the extreme case, for the blasting of the water-mounted paint, you can use the same sprayer. But I had to experiment for a long time with the selection of the spray tip - the sprayer is designed for water, and the density of whitewings is higher, so it is necessary to puncture more pressure, and it is necessary to make a wider tip with their own hands, like a kraskopultum whose diameter was picked up experimentally.
When working with various sprayers for water-level paint, it is important to have a respirator, pre-stick all the adjacent surfaces - plinth, wallpapers, seating of switches, I also stick to the plinth with small pieces of film along the entire length, so that it is not necessary to hook the wallpaper, and the departing of the dish-emulsion spins are not Seen on the walls.
Article on the topic: How to make wooden clamps with their own hands
The work passes quickly with the substantial savings of water-level paint, which can be diluted with water, the work of the roller with tassels is much longer. But here there are many advantages - a layer of water-emulsion paint turns out to be thicker, thanks to the roller coating, which means more durable, stable and durable, rather than when working with fragments.
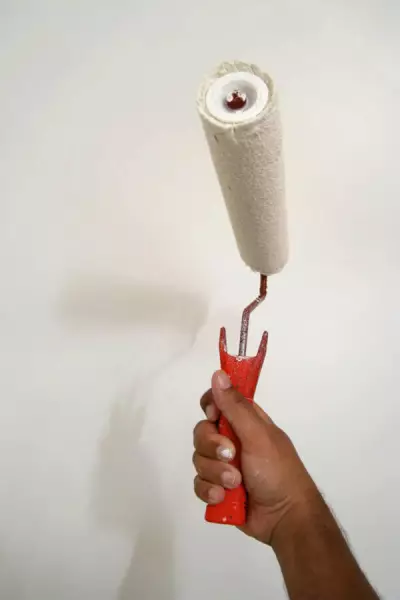
In the absence of a roller, the painting of the water-level paint can be carried out with a wide brush, the same principle is gently wetting the tip of the brush in the liquid, after which it is easy to apply the whitewash, we look at the ceiling paint in bubbles, there are no glances and drops when crossing fresh layers.
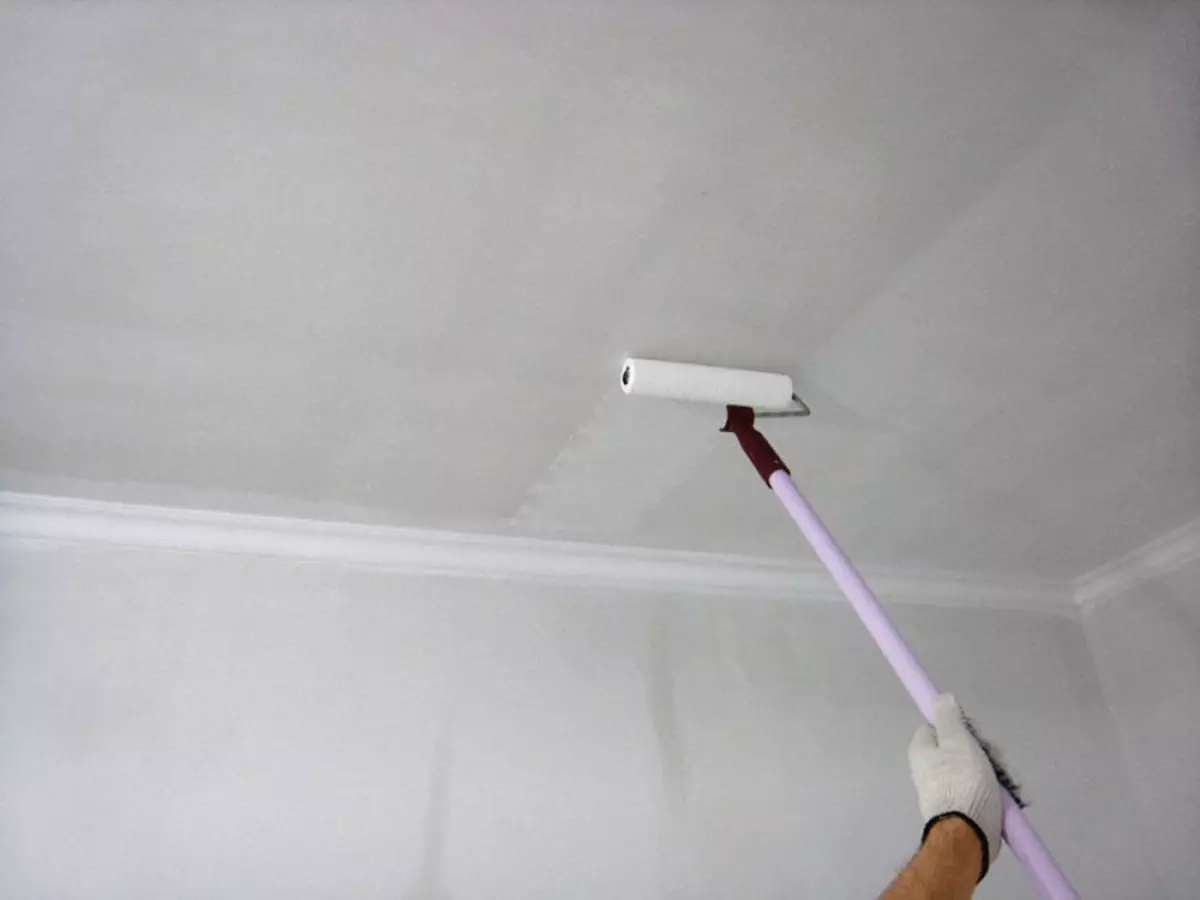
Inaccessible places I am paint a thin tassel, on its base a little higher hand, I wear a plastic lid from under the primer or paint, which can also be put on the roller, so that your hands are clean.
When applying two layers of water-mounted blots in one direction, traces of roller and brushes will be visible. Especially when painting, the tassel should necessarily press 2 layers in different directions.
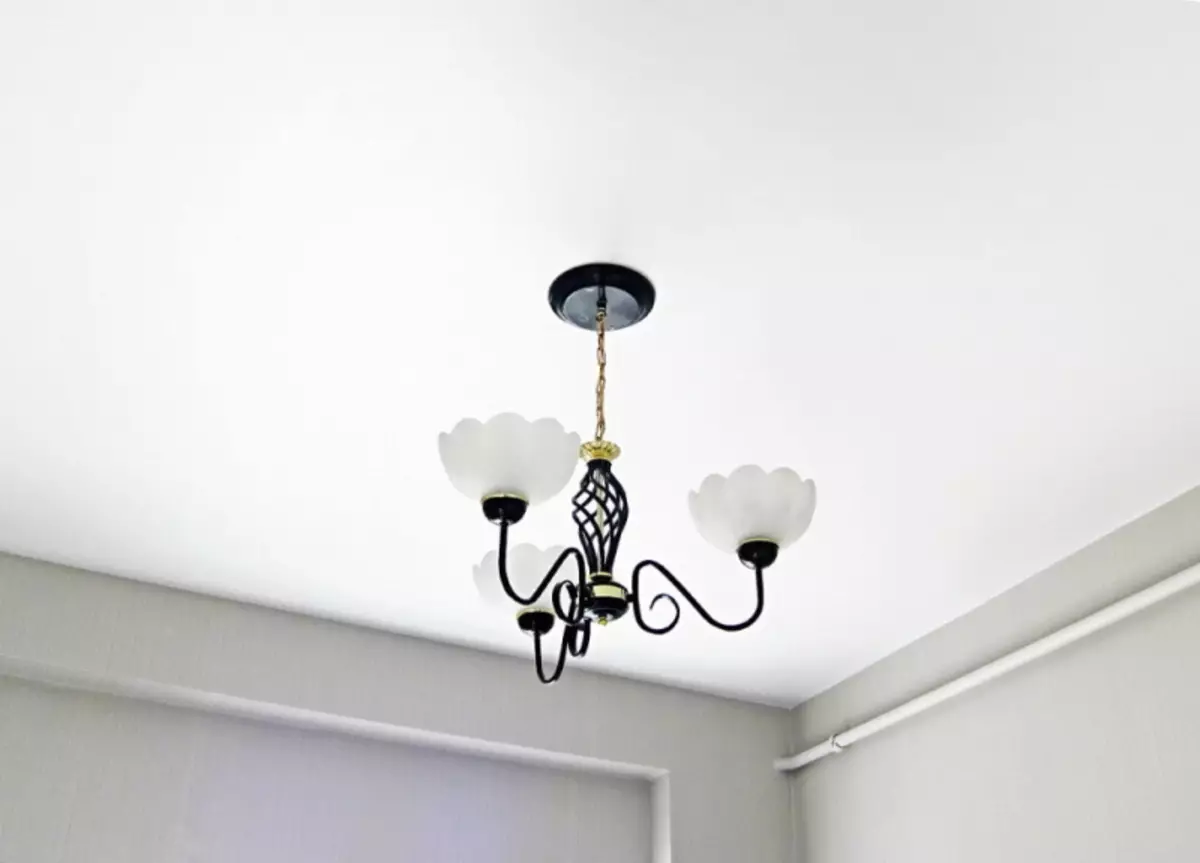
Ceiling painted water-level paint
After the work, the water-mounted paint is easily flushed until it dries off, so I never worried about the hoses from the sprayer, the paintopult, tassels and rollers, most importantly - do not forget to rinse with clean water on time.
After a complete drying of the water-emulsion bliss, I carefully remove the entire film, the water-level paint is usually not lagging behind next to the film, but sometimes it happens that there is a non-smooth mark on the fastening of the film, or the ceiling is painted in some places on the joints, I neatly correct such seats fine brush.