
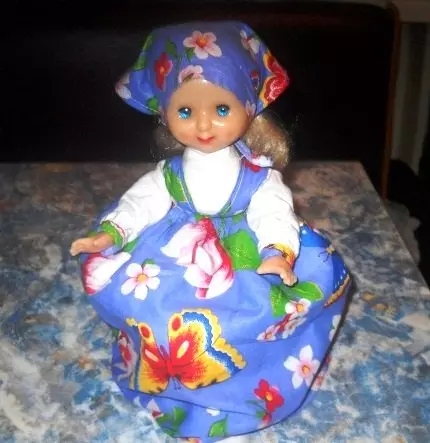
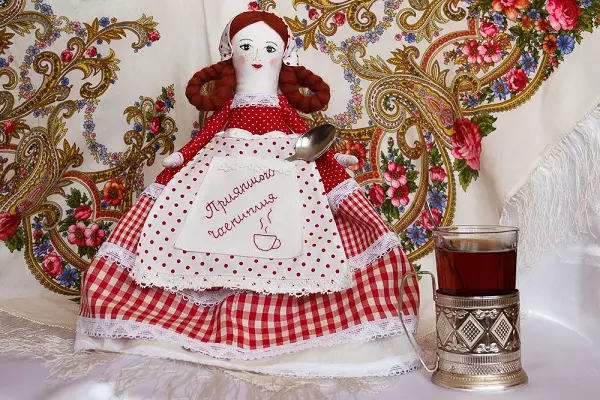
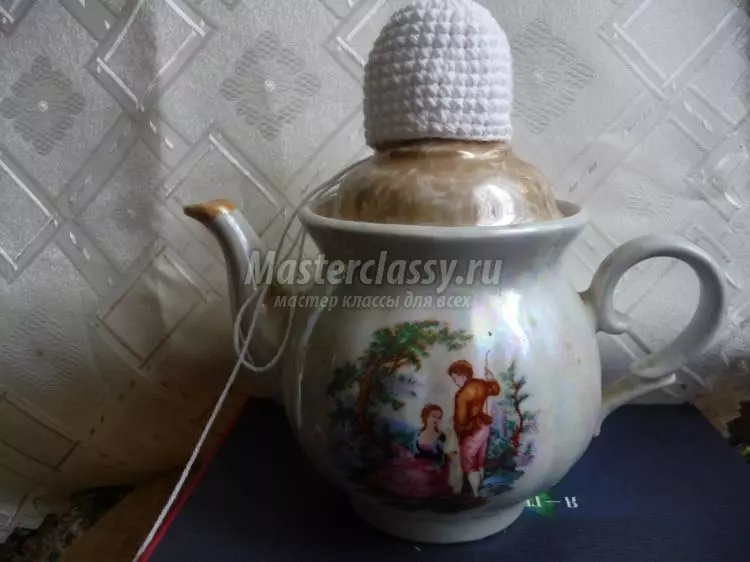
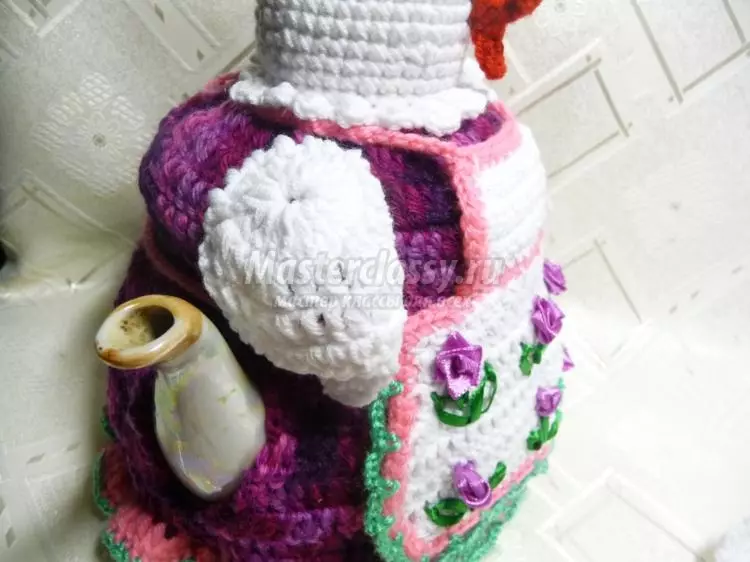
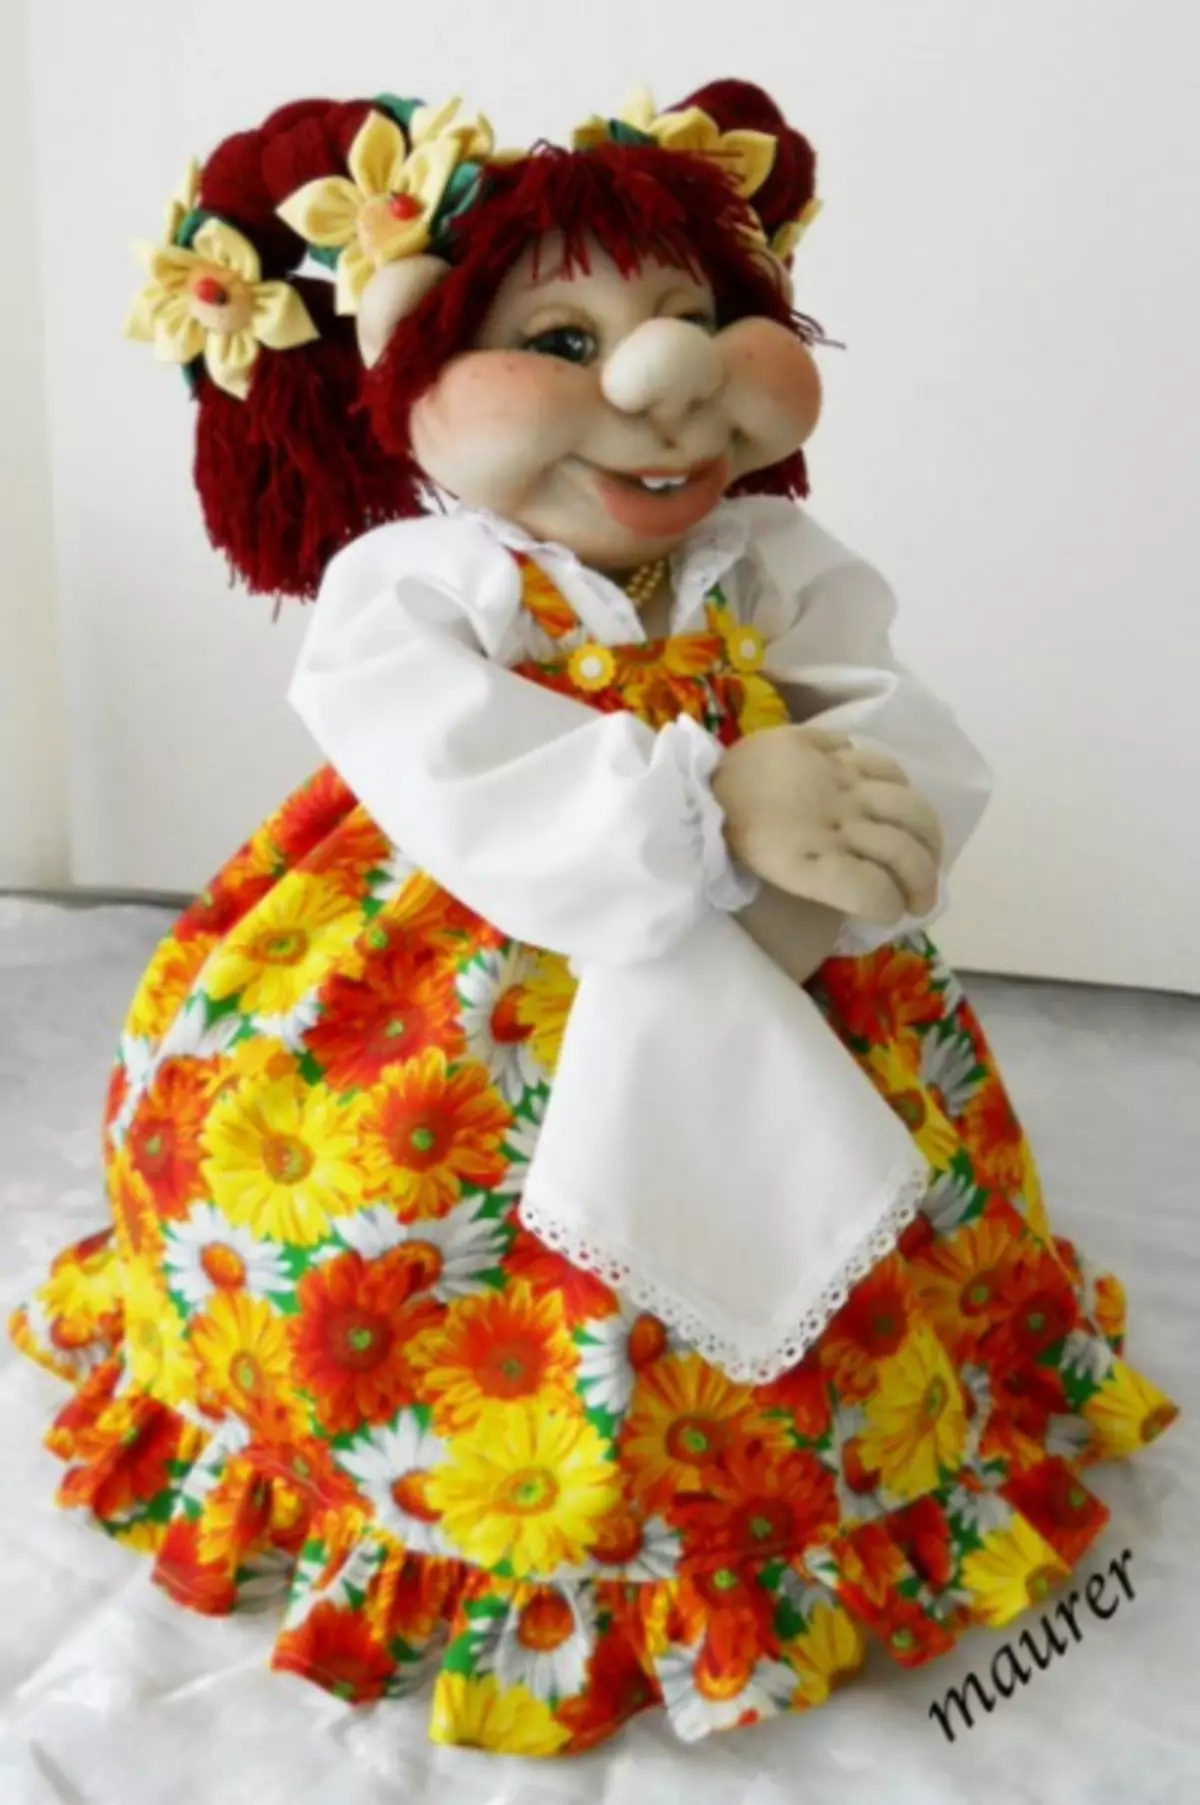
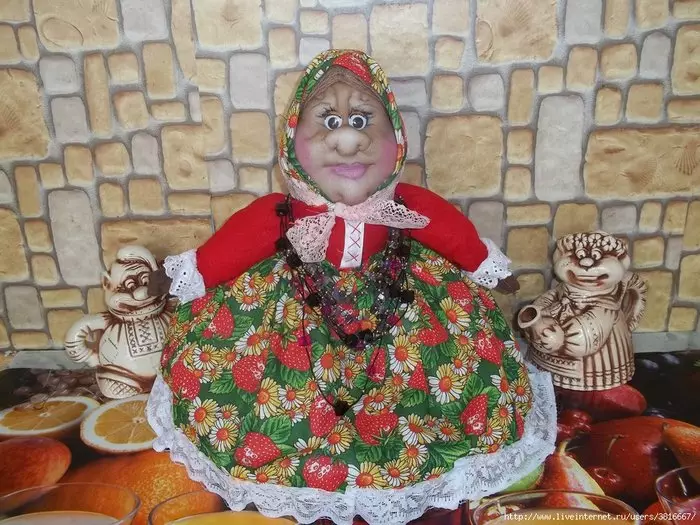
For a long time, the kettle is decorated with women who used to dressed samovars to keep the heat longer. After all, it was earlier to heat the big primacy, a lot of time was required. But already such devices do not use, but the teapots decorate the original dolls continue. Apparently due to the fact that earlier samovars were large, and the pupae - lush, and now this tradition remained. If such a woman is performed on the kettle, taking into account all the traditions, it will be the best decoration in the kitchen and on the table during tea party. In addition, such cute dolls can be given to their friends and relatives. And the dolls are possible from various materials that will be in the house of the needlewoman, you can not even look for something special.
Many women are made of fabric, but modern craftsmen showed that it is possible to make very original warms with a hook and threads.
Hot warmer
Very original will be a grandmother on a kettle in the form of a chicken made by crochet. It will decorate each table and make a tea-stamped tea. We can say with confidence that such a height on the kettle will remember every guest and, most likely, wants such an interesting decoration for himself. Therefore, you can with the help of a master class, which will be presented to make a very attractive thing as a gift.

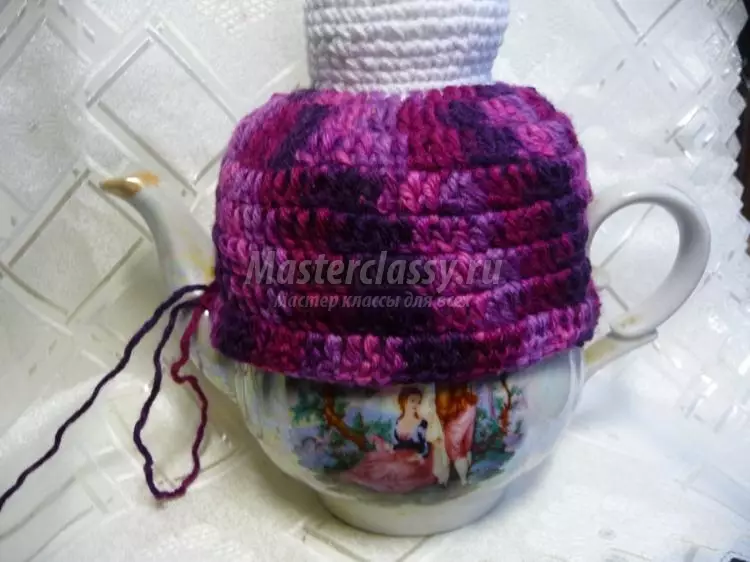
In order to associate such a height, it is necessary to have an item to which this heater will knit - the kettle, the yarn for knitting various shades, hooks at number 2, beads for eyes, ribbons, flowers, bows.
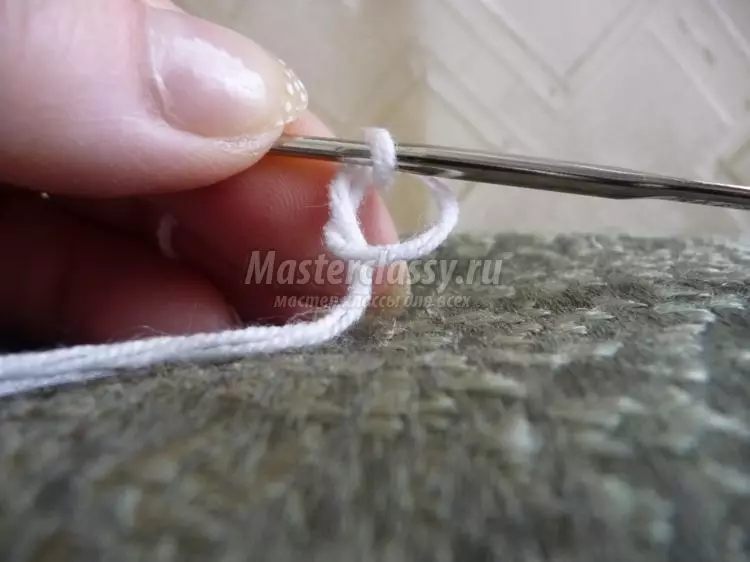
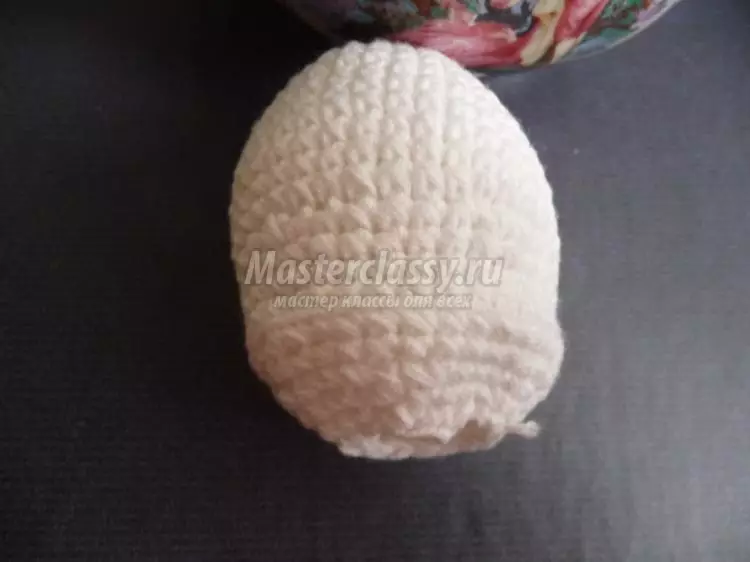
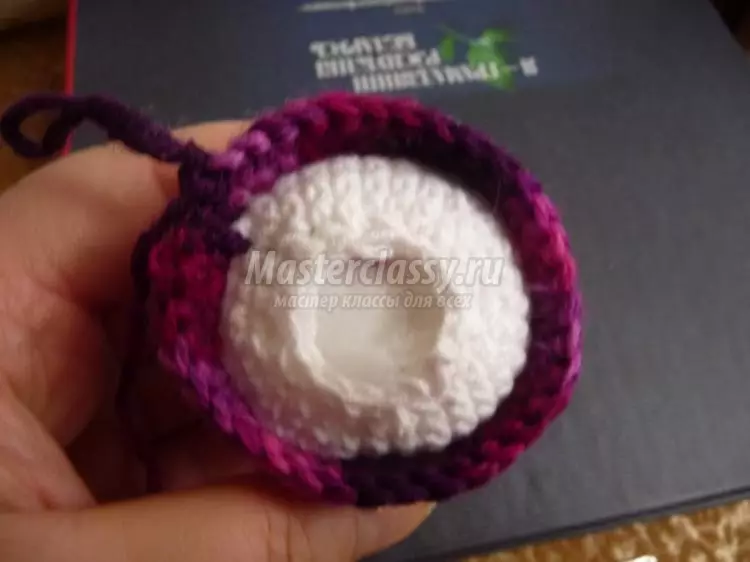
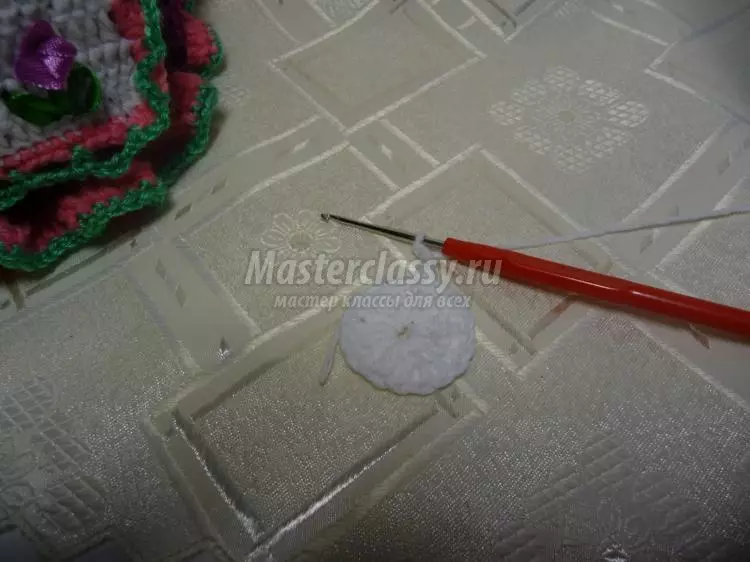
In this master class, knit must begin with the head.
1 row: Make 4 air hinges and connect them, and after tied 2 loops for lifting. 2 row: 10 columns are needed without a ring under the ring. 3 row: add in each column without a nakid, there should be 20 columns.
Article on the topic: Origami butterfly: A simple scheme of bills and modules with photos and video
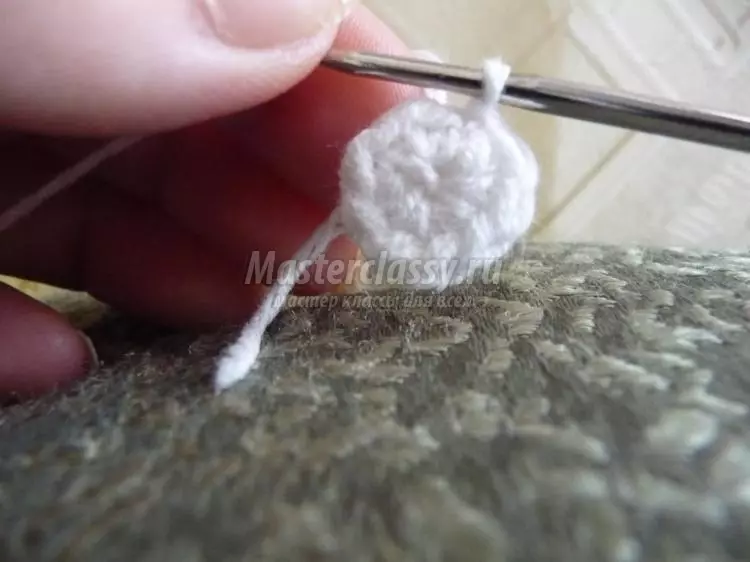
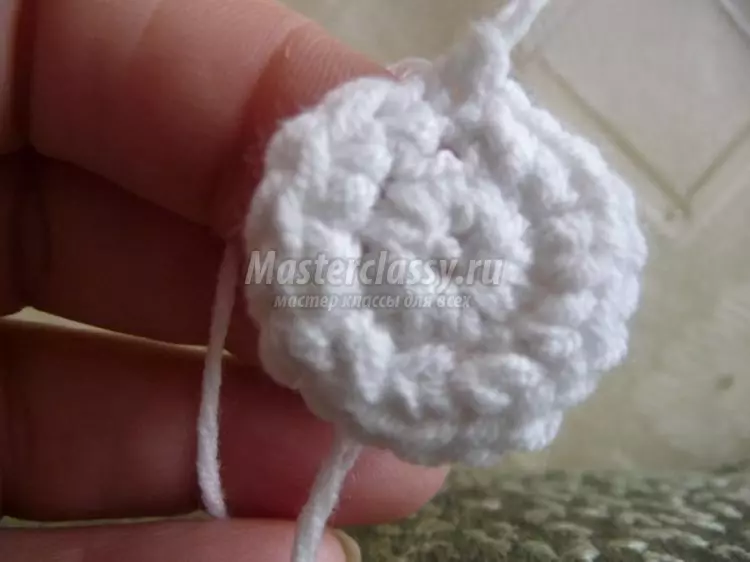
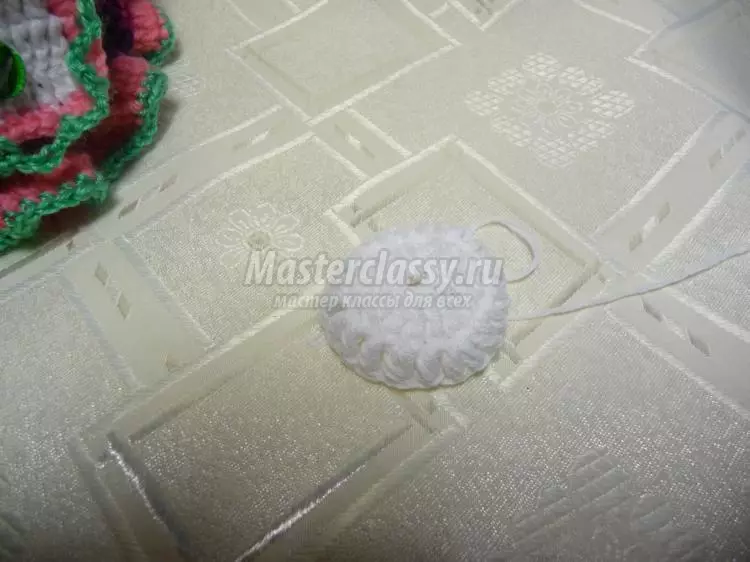
4 and 5 rowes: Knit 3 columns without a Nakid and make an increase, in a four row there should be 25 columns, and in the fifth - 30. 6-7 rows: all 30 columns are inserted without a nakid. 8 row: Making 7 columns without Nakid and also a gain, it should be 34 columns. 9-12 rowers: I have 34 columns without Nakid. 13 row: 6 columns without Caid, we reduce up to 30 columns. 14-16 Routes: Insert 31 columns without Nakid. 17 row: insert the columns without an on the back of the back side, and there are 4 dilutions, it should be 26 columns.
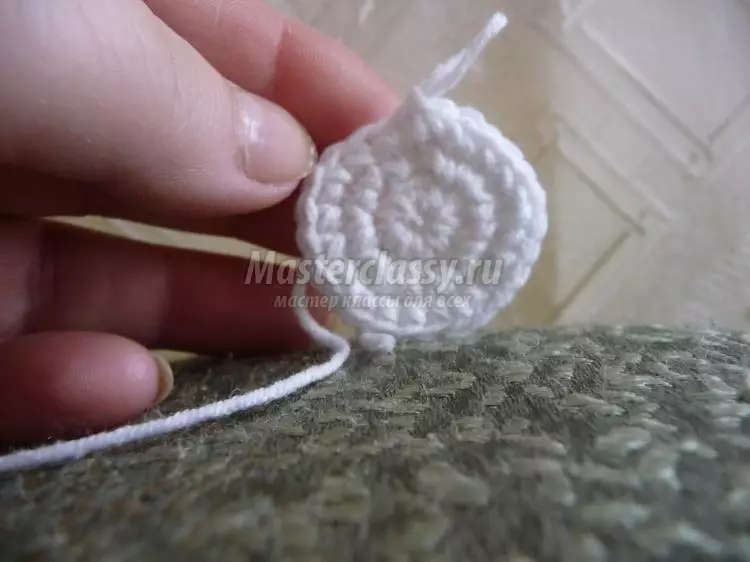
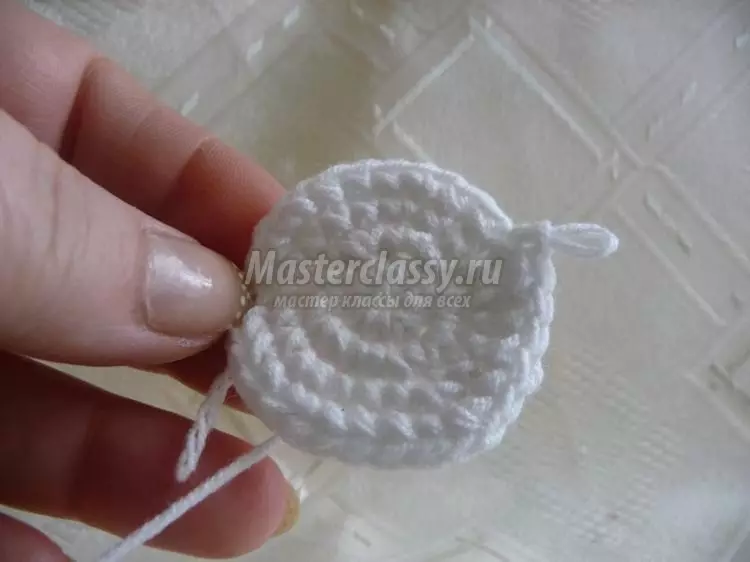
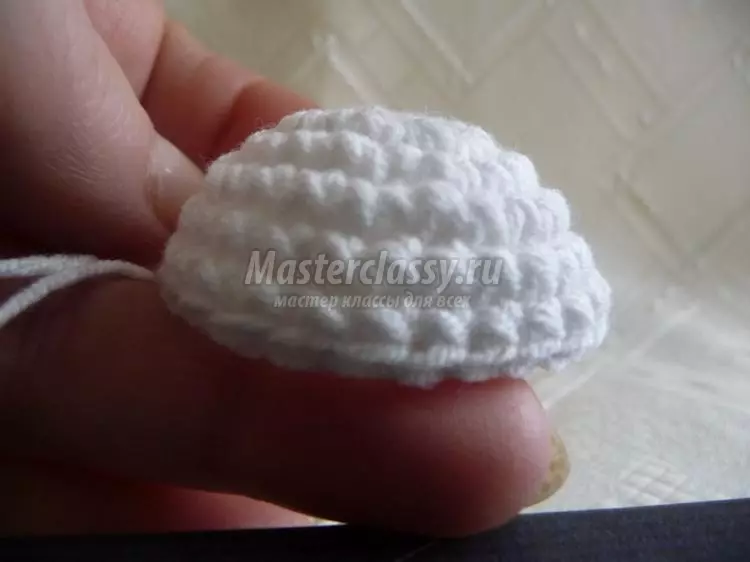
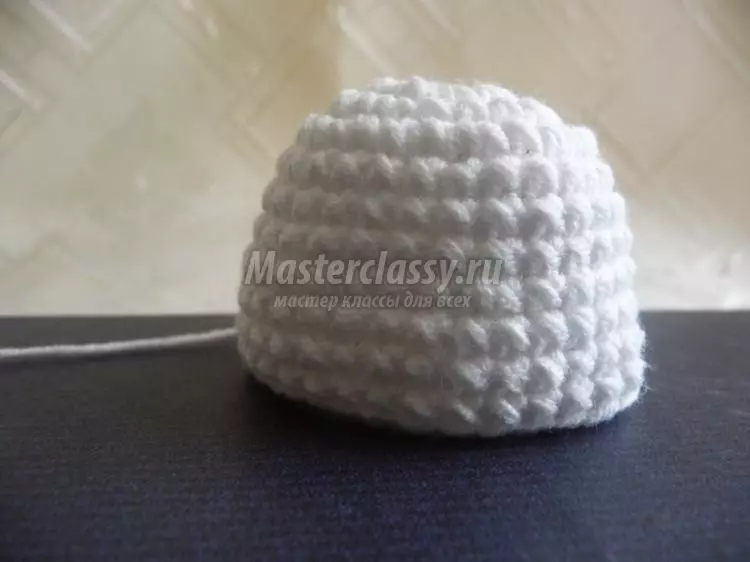
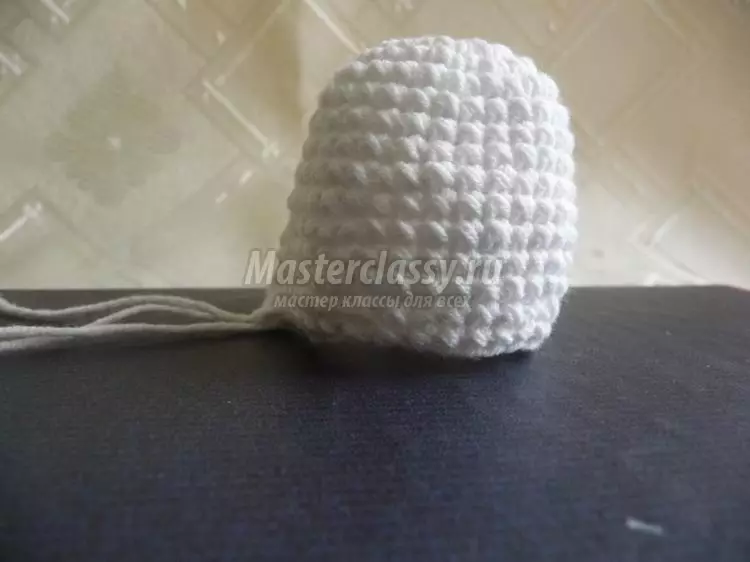
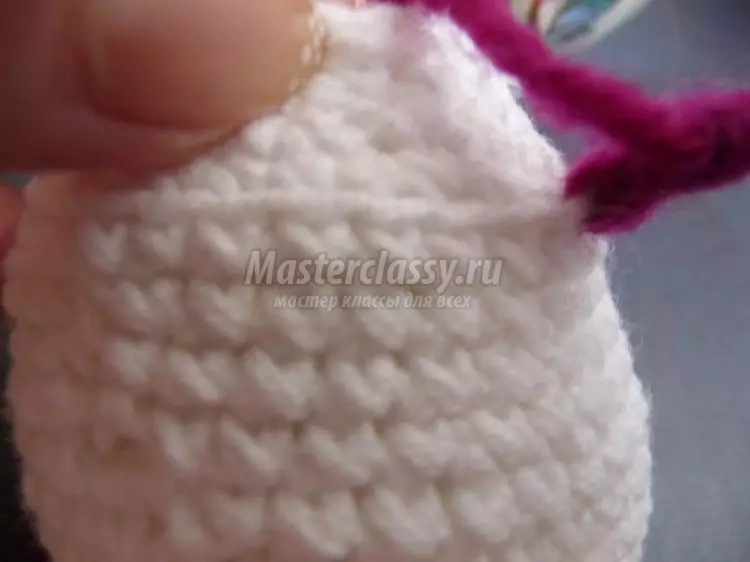
18 row: I will hold the columns without a nakid, so we make 4 dilutions, as in the previous row. 19-22 rowers: to check the same as in 18, then the head will begin to decrease. This is already the head that needs to fill with Syntryburg.
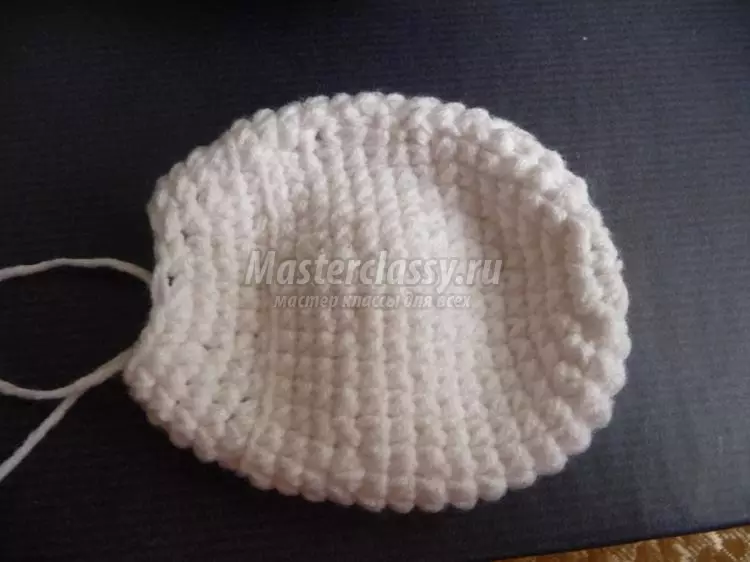
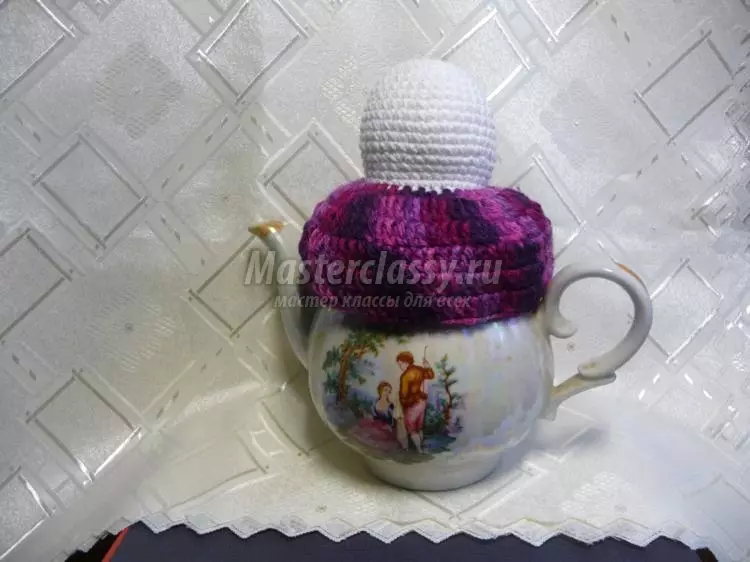
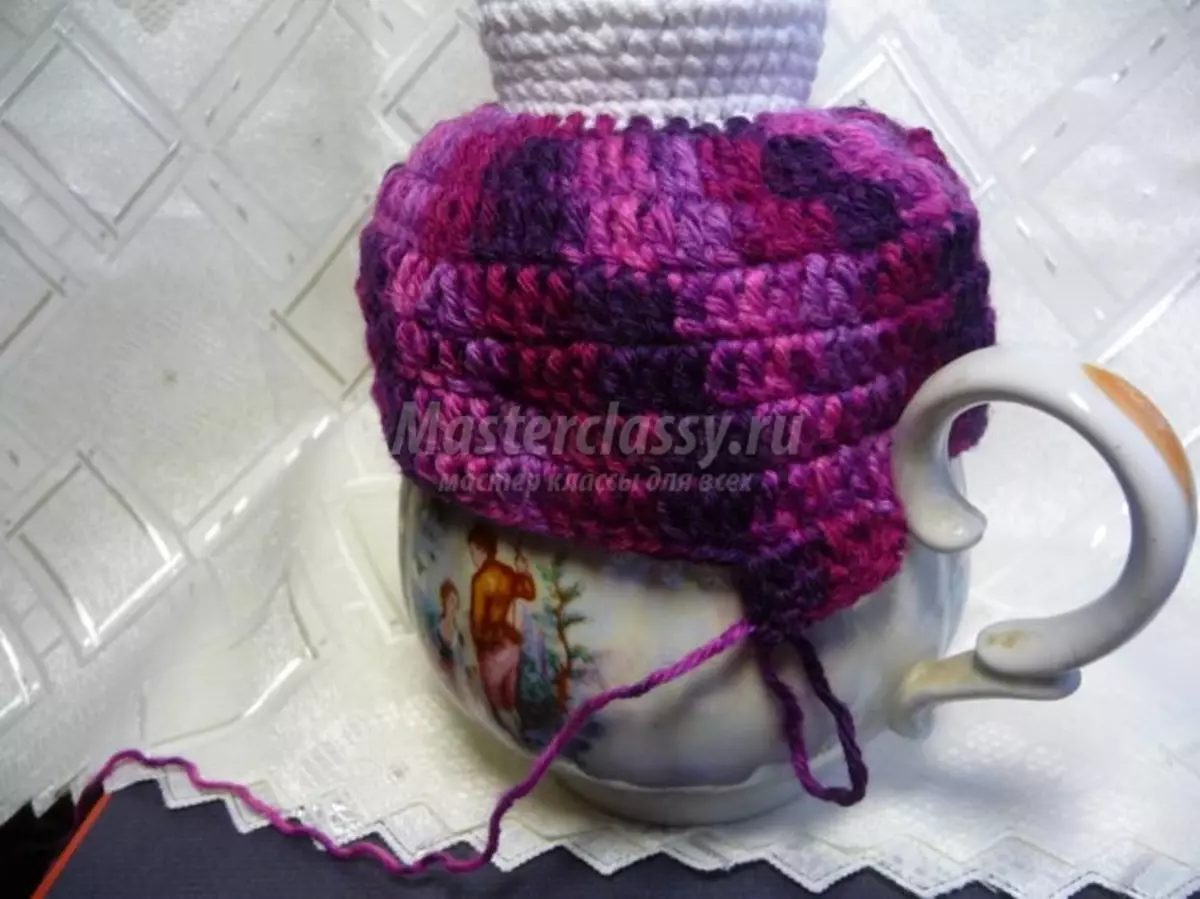
Knit dress
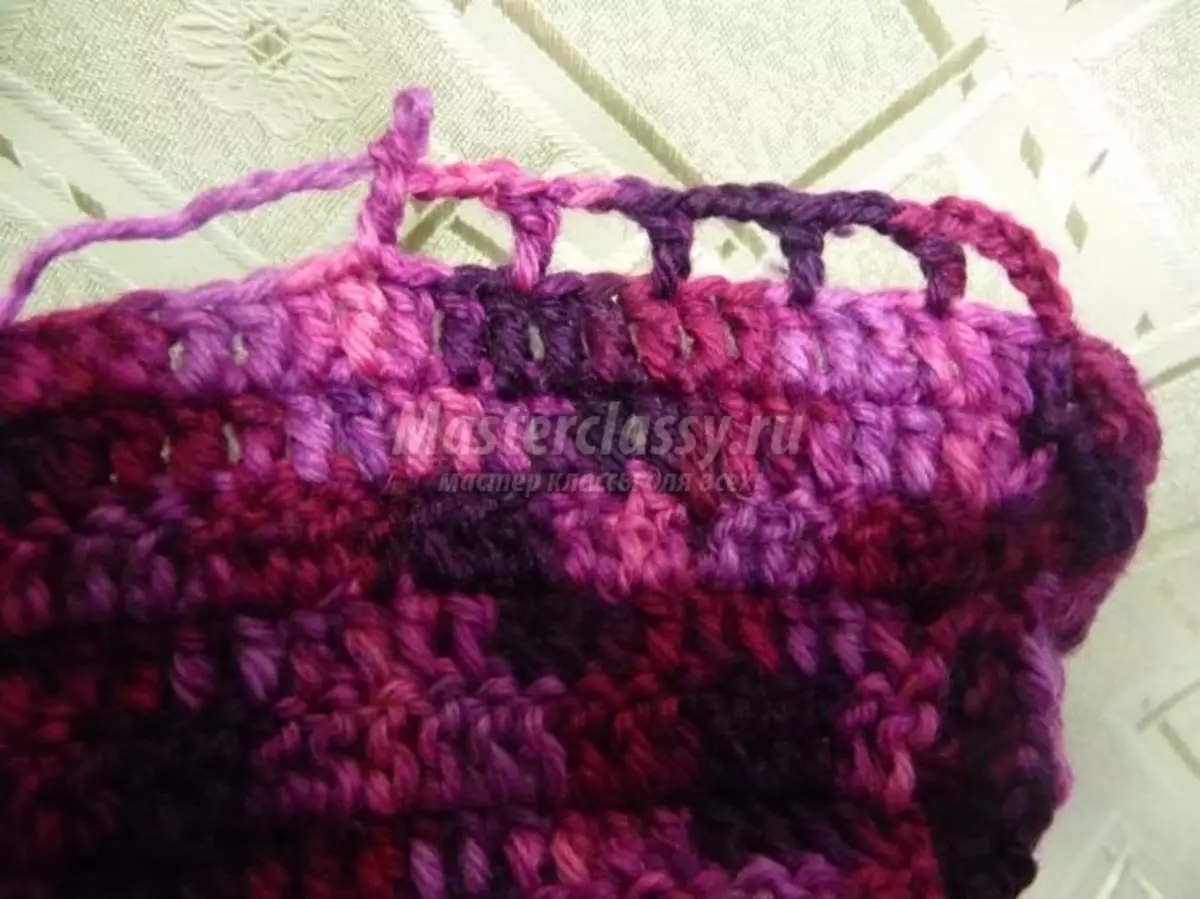
1 row: I insert the columns with Nakida row, which looks like pigtails, formed when they were tied for the back string - 30 columns. 2 row: We are tied, with the additions in each column with an attachment, two columns with an attachment. There should be 60 columns. 3-6 rowers: Slip columns with Nakud.
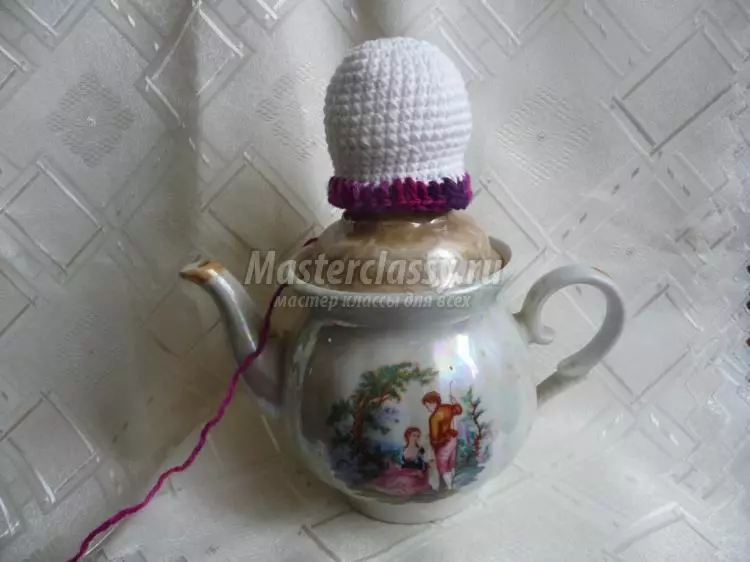
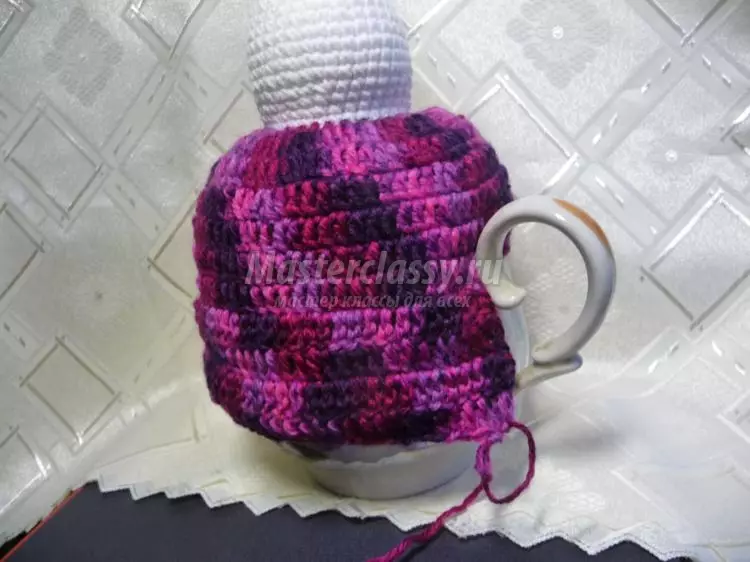
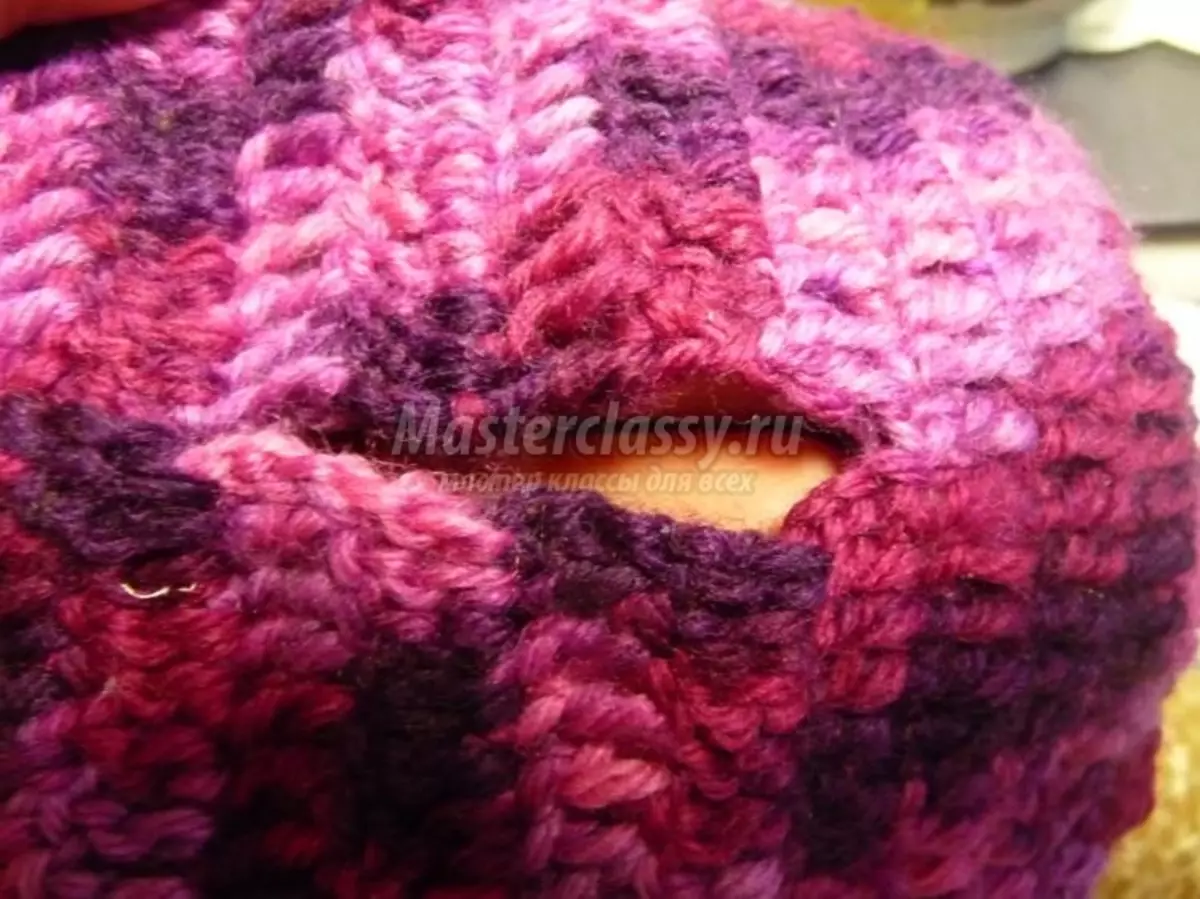
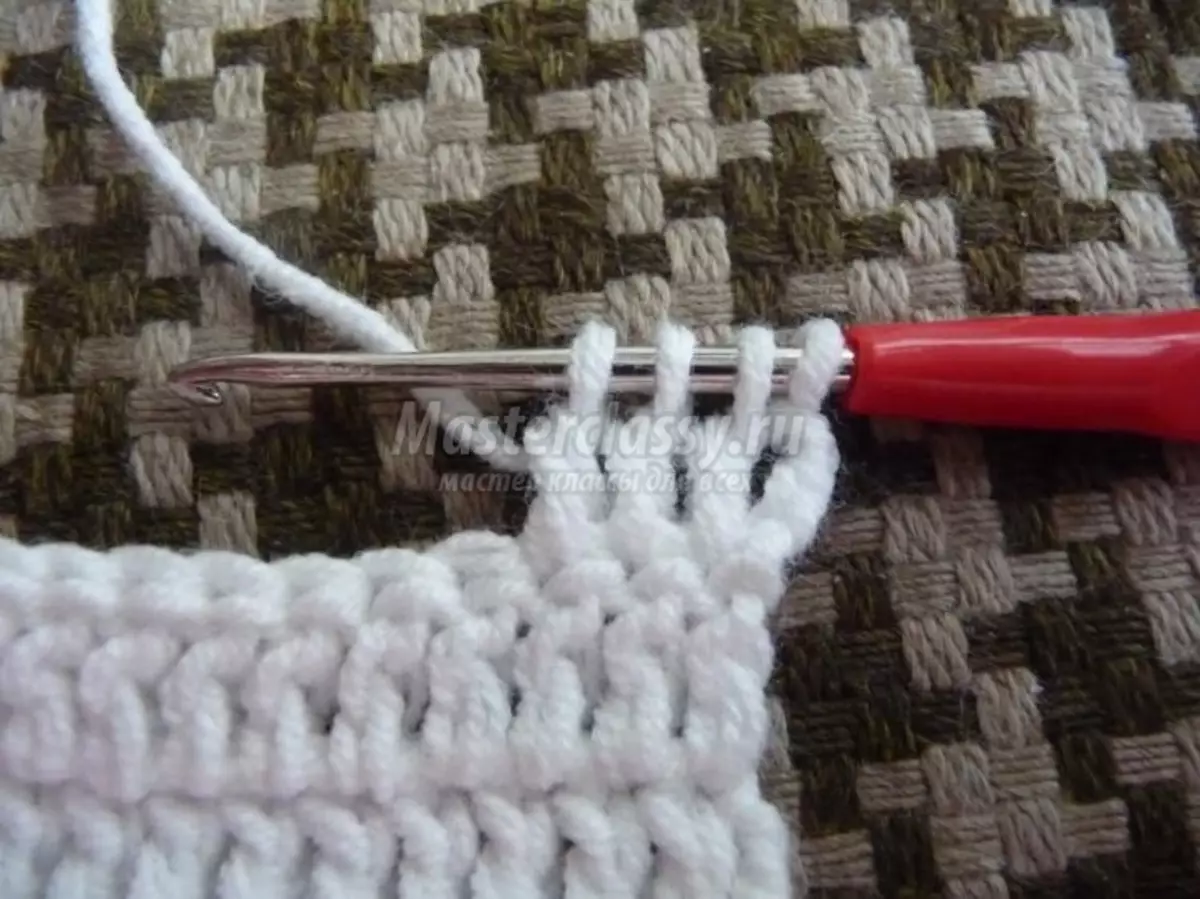
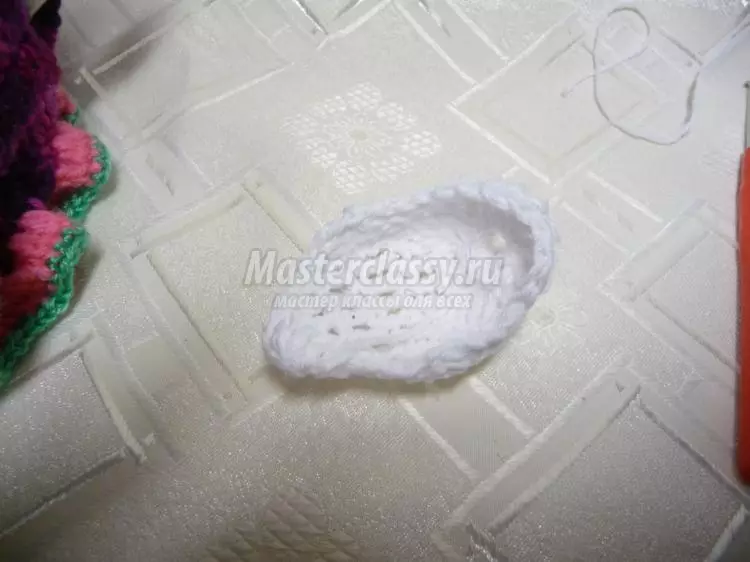
In the execution of this grandmother, you must be tied to the kettle handle and then knits with reverse rows. Trim thread and connect near the pen. Further, the columns will be knit with nakid to her and turn back, and sticks again to the handle on the other side. When the knitting reached the nose of the kettle, you need to make a hole. Knitting unfolds and knits to the handle. Slit until the desired hole for the nose and handles are formed. After the already circular, depending on the height of the kettle.
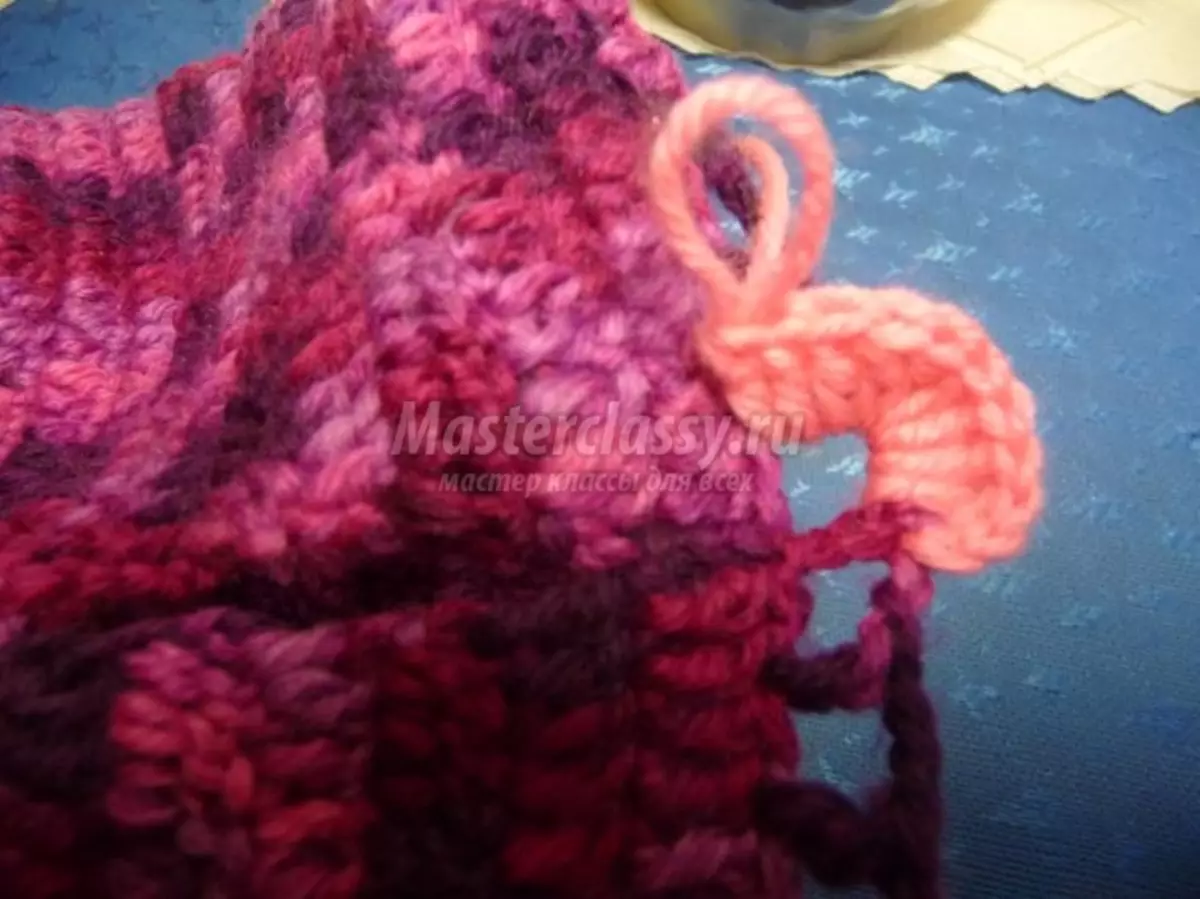
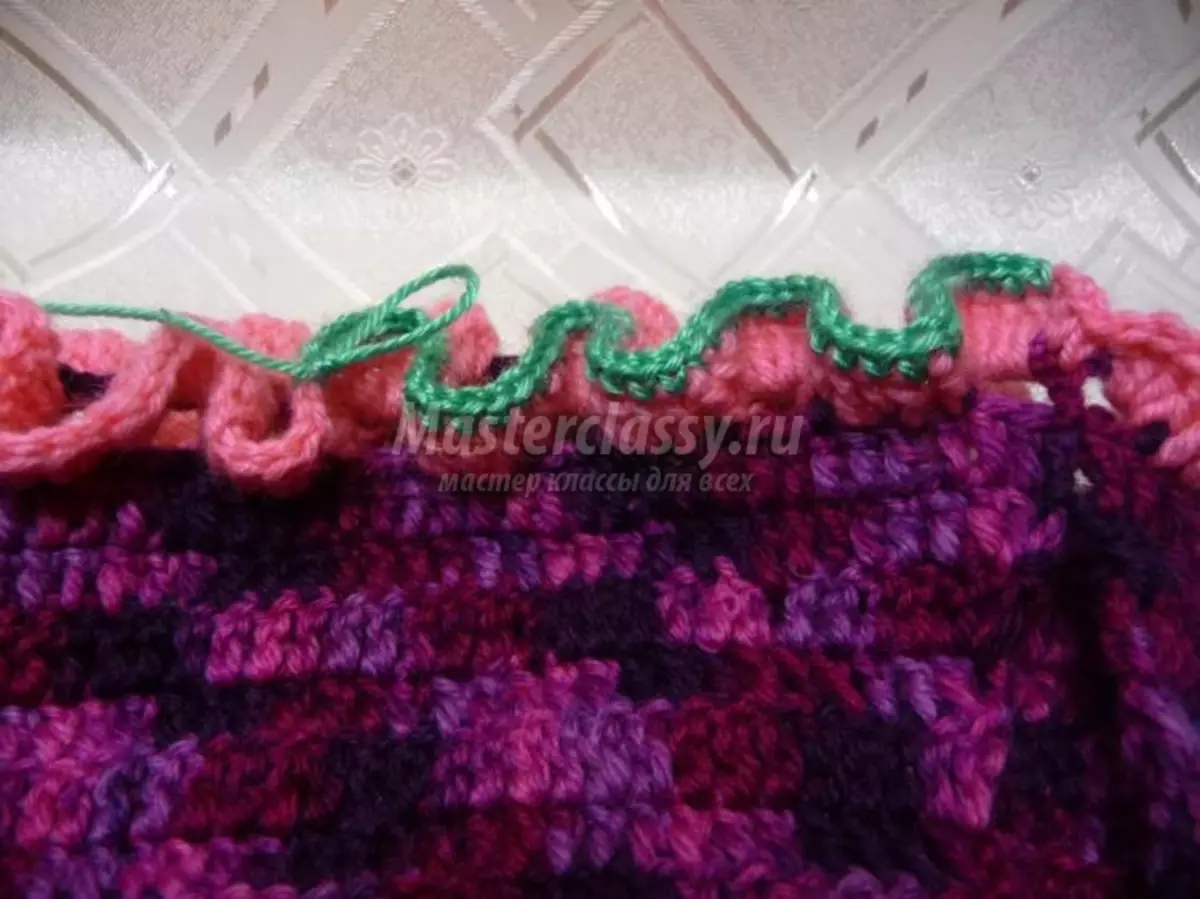
The floor of the dress is tied up in the form of a lattice - 2 air loops, then a column with an attachment, in line in the third loop of the base of the skirt. Now I am in touching Ryushi: knit five columns with nakida on top of the cell, after five columns with a wall from the side of the wall, now the same columns from the bottom and continue so to knit the entire row. Put the resulting ruffles of another color by turning the columns without a nakid.
Article on the topic: African flower Crochet with Schemes: Slippers and toilet rug
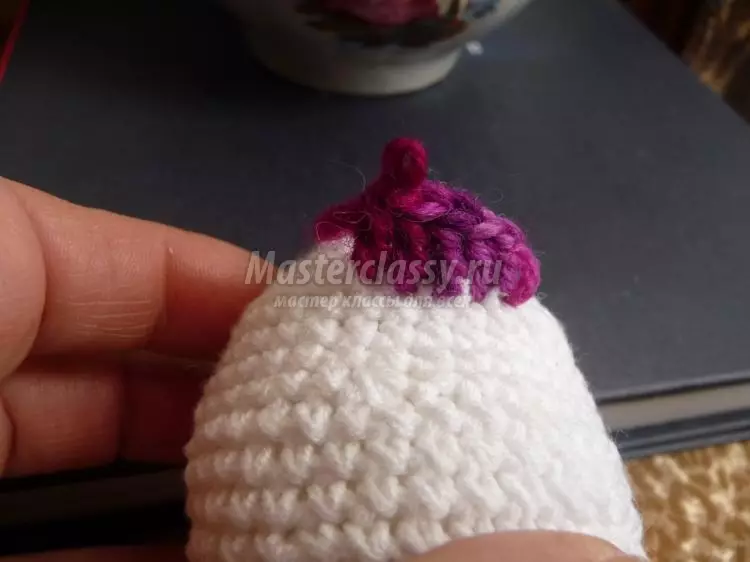
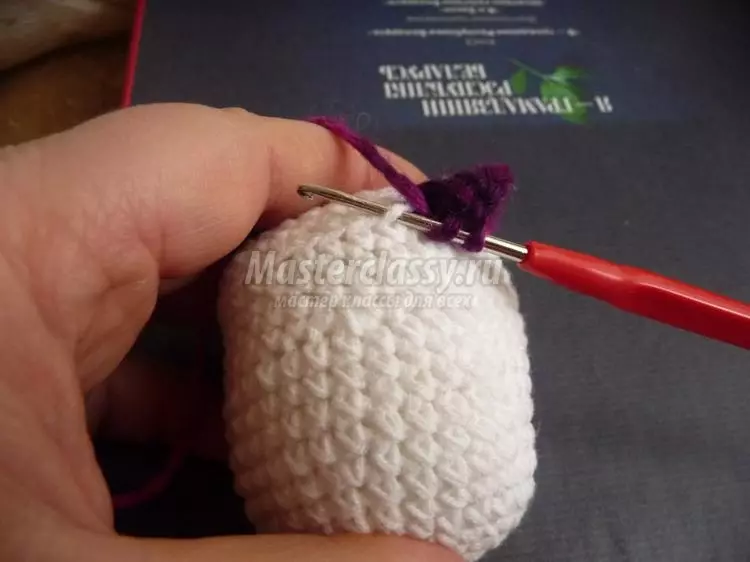
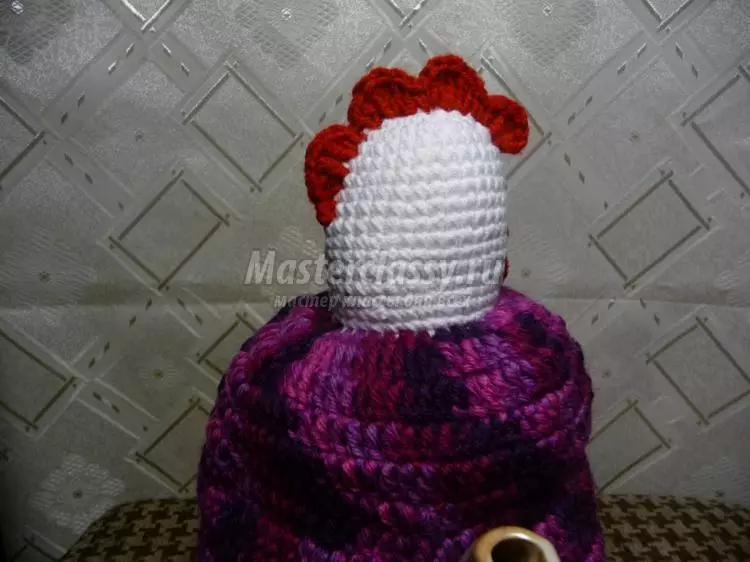
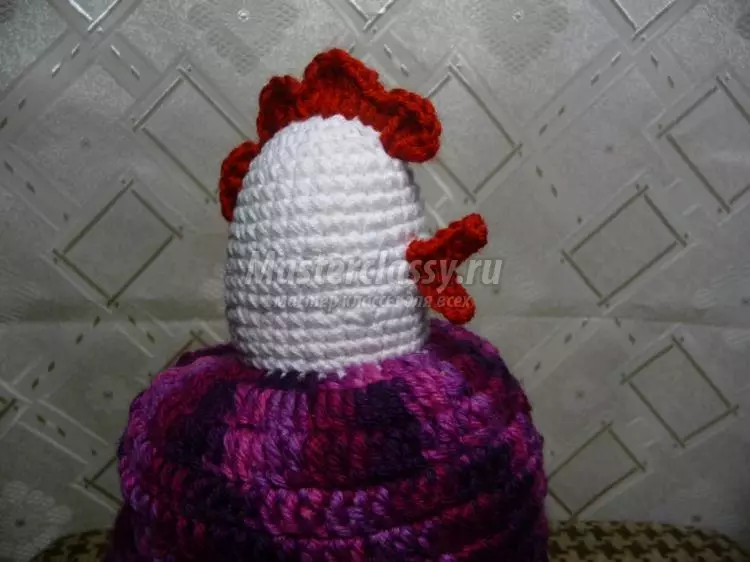
In the middle of the bound head you need to make scallop. Knit one column without Nakida, then two columns without Nakid, two columns with two nakida, two columns with an attachment, a column without a nakid and so four times. We have 4 aircraft and return with the help of connecting loops in the first and with this looper knit the next part of the keyboard. Linen by fixing.
Beads are sewn to the place of eyes. We watch photos.
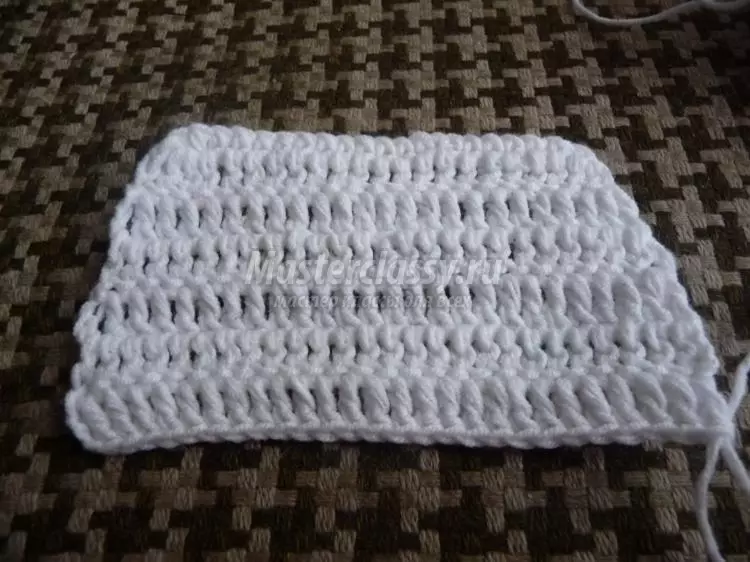
Start apron. It is necessary to link 22 aircraft.
- 1 row: We begin to knit from the third looper from the hook 20 columns without a nakid;
- 2 row: At the very beginning of the row, they feed the three columns from the primary column, then 18 columns with Nakud and the remaining column - three columns with Nakud;
- 3 row: At the very beginning of the row, it is necessary to check from the primary column three columns with an attachment, then 22 columns with nakid, and, as in the second, in the last column, in the last column, three columns with Nakud;
- 4 row: it is necessary to peck 28 columns with Nakud;
- 5 row: At the very beginning and in the end, it is necessary to check 3 columns with Nakud together. The shots after such a recess should appear rounded.
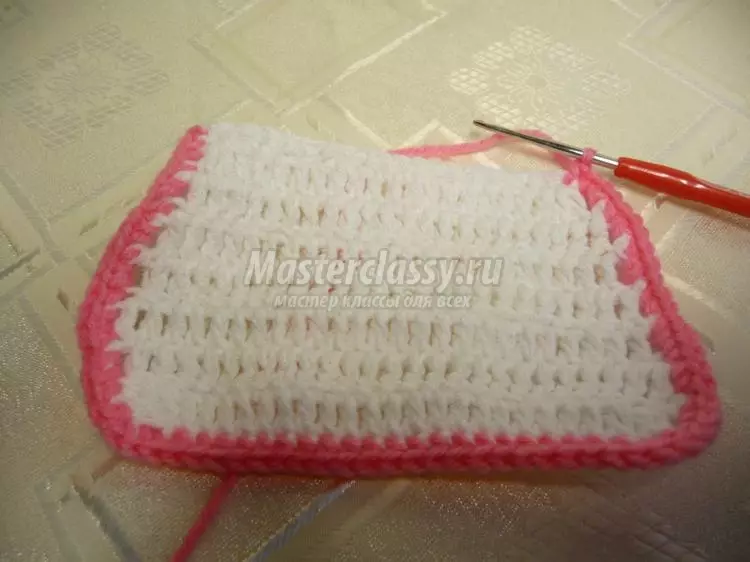
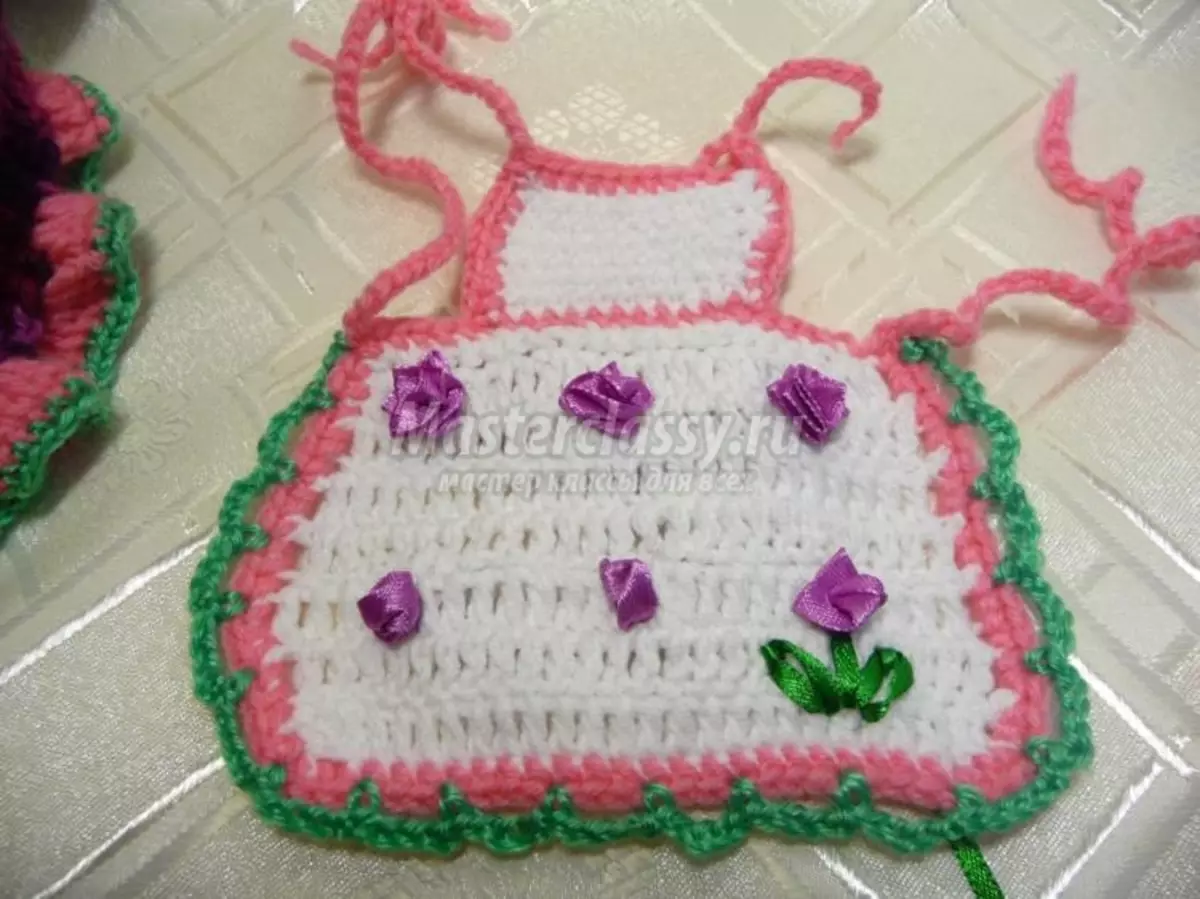
Take the resulting item on the edges of another color columns without a nakid. We make a chain from the air to get tires. With satin ribbons make flowers and leaves.

Now you need to tie the wings for the chicken:
- 1 row: to ring 15 columns with nakid;
- 2 row: knit 3 columns with nakida and make adds to the end of a row;
- 3 row: half anteen by columns with nakid;
- 4-5 row: at the very beginning and at the end of the row it is necessary to derive from 4 columns;
- 6 row: knit all columns in one row;
The wing is connected, symmetrically fit and the second. Seet to doll.
Article on the topic: Weaving from twine for beginners: Ideas for interior with photos
Step-by-step instructions that were provided above will help everyone with ease to associate such an original decoration for the chairs.
There are still many ways to make such beautiful dolls that will decorate the kettle. Very often sew pupae from Cappon, plastic. Single women for chairs are quite popular and look just like real. Many may seem to make it difficult to perform such a handicraft, but the pattern will help in the manufacture of this product, as well as a detailed description. And here is a grandmother for chairs ready!
Video on the topic
This article provides a video selection, with which you can learn how to make a grandmother for the kettle yourself.