
Helmet of Greek Goplita do it yourself
So, the master class on creating a helmet of Greek Goplita.
My sons learn at school. Pupils of the fifth grade in such schools are studying ancient Greece, and at the end of the year show the play, in our case, according to the fragments of "Iliad". Accordingly, costumes and scenery are made by students and their parents :) We needed to create a Greek goplit costume.
In this master class, I would like to tell how we did a helmet. I must say that I have rummaged the whole Russian and English-speaking Internet and satisfying me for details did not find, therefore, I hope that my research will also come up to someone.
Since from the very beginning I did not plan to write an article, then the initial stages will be more likely verbal description.
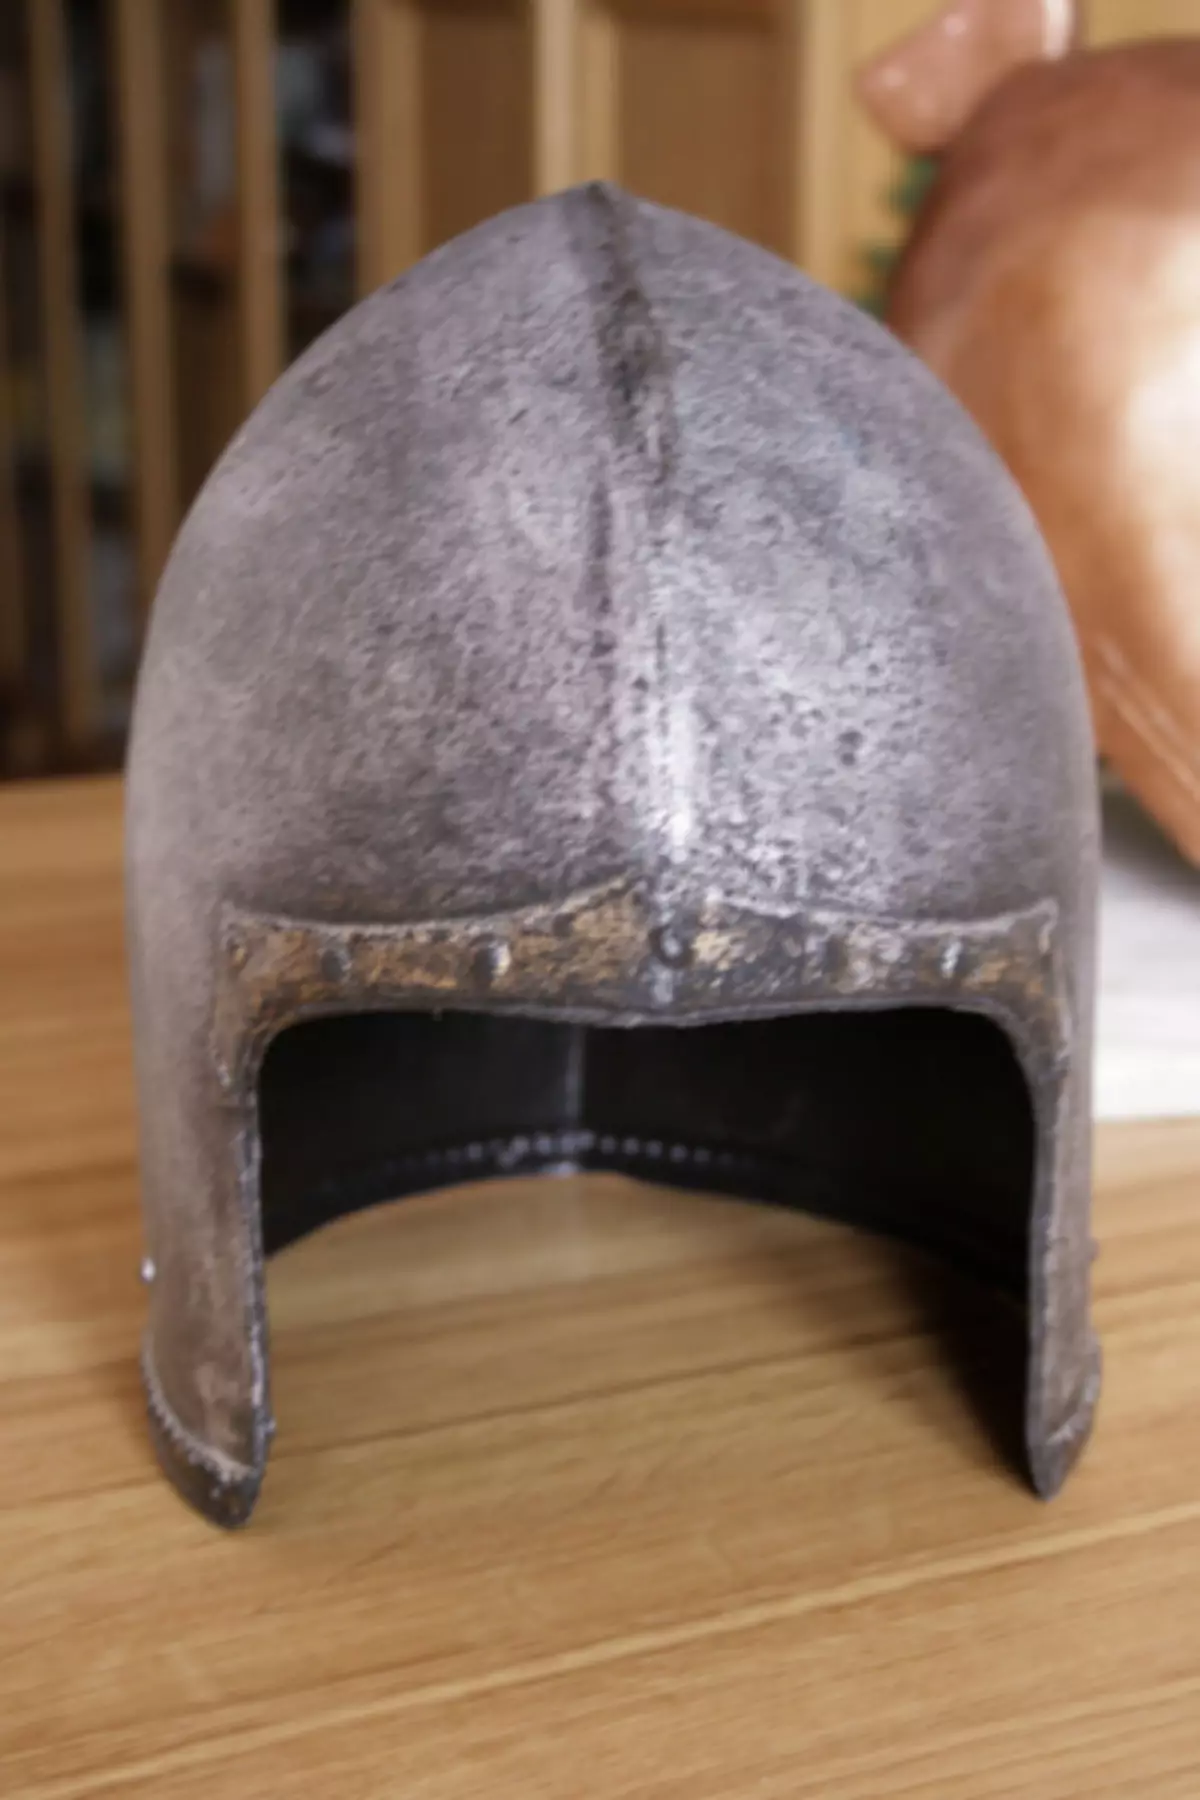
Our choice fell on Papier-Masha technology. As a basis for a helmet, you can use a model of sculptural plasticine, a pouring from a jar or a flower pot, well, etc., we caught such a plastic helmet of the Russian hero
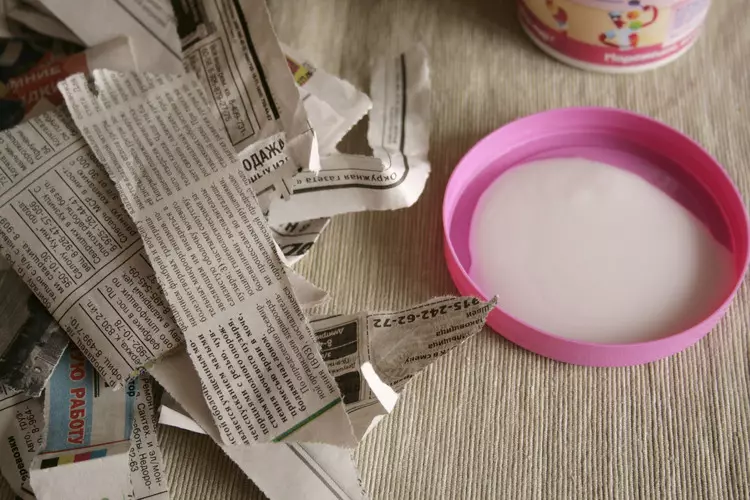
1. Cook Clace, I used the following recipe:
In 250 ml of warm boiled water thoroughly stir 3 tablespoons of flour.
In the pan, we pour 250 ml of hot boiled water (they say it is important) put on the stove, and stirring, stirring, pouring a flour with a thin jet.
Cook, constantly stirring, to the first bubbles.
We give cool.
Add a PVA construction glue in proportion 1: 2 (1 - glue, 2 - Kleister).
Ready to store is better stored in the refrigerator, as it will quickly deteriorate.
2. We are rotten newspapers on the strip, length 8-10 cm, width 2-3 cm, all edges of pieces should be torn.
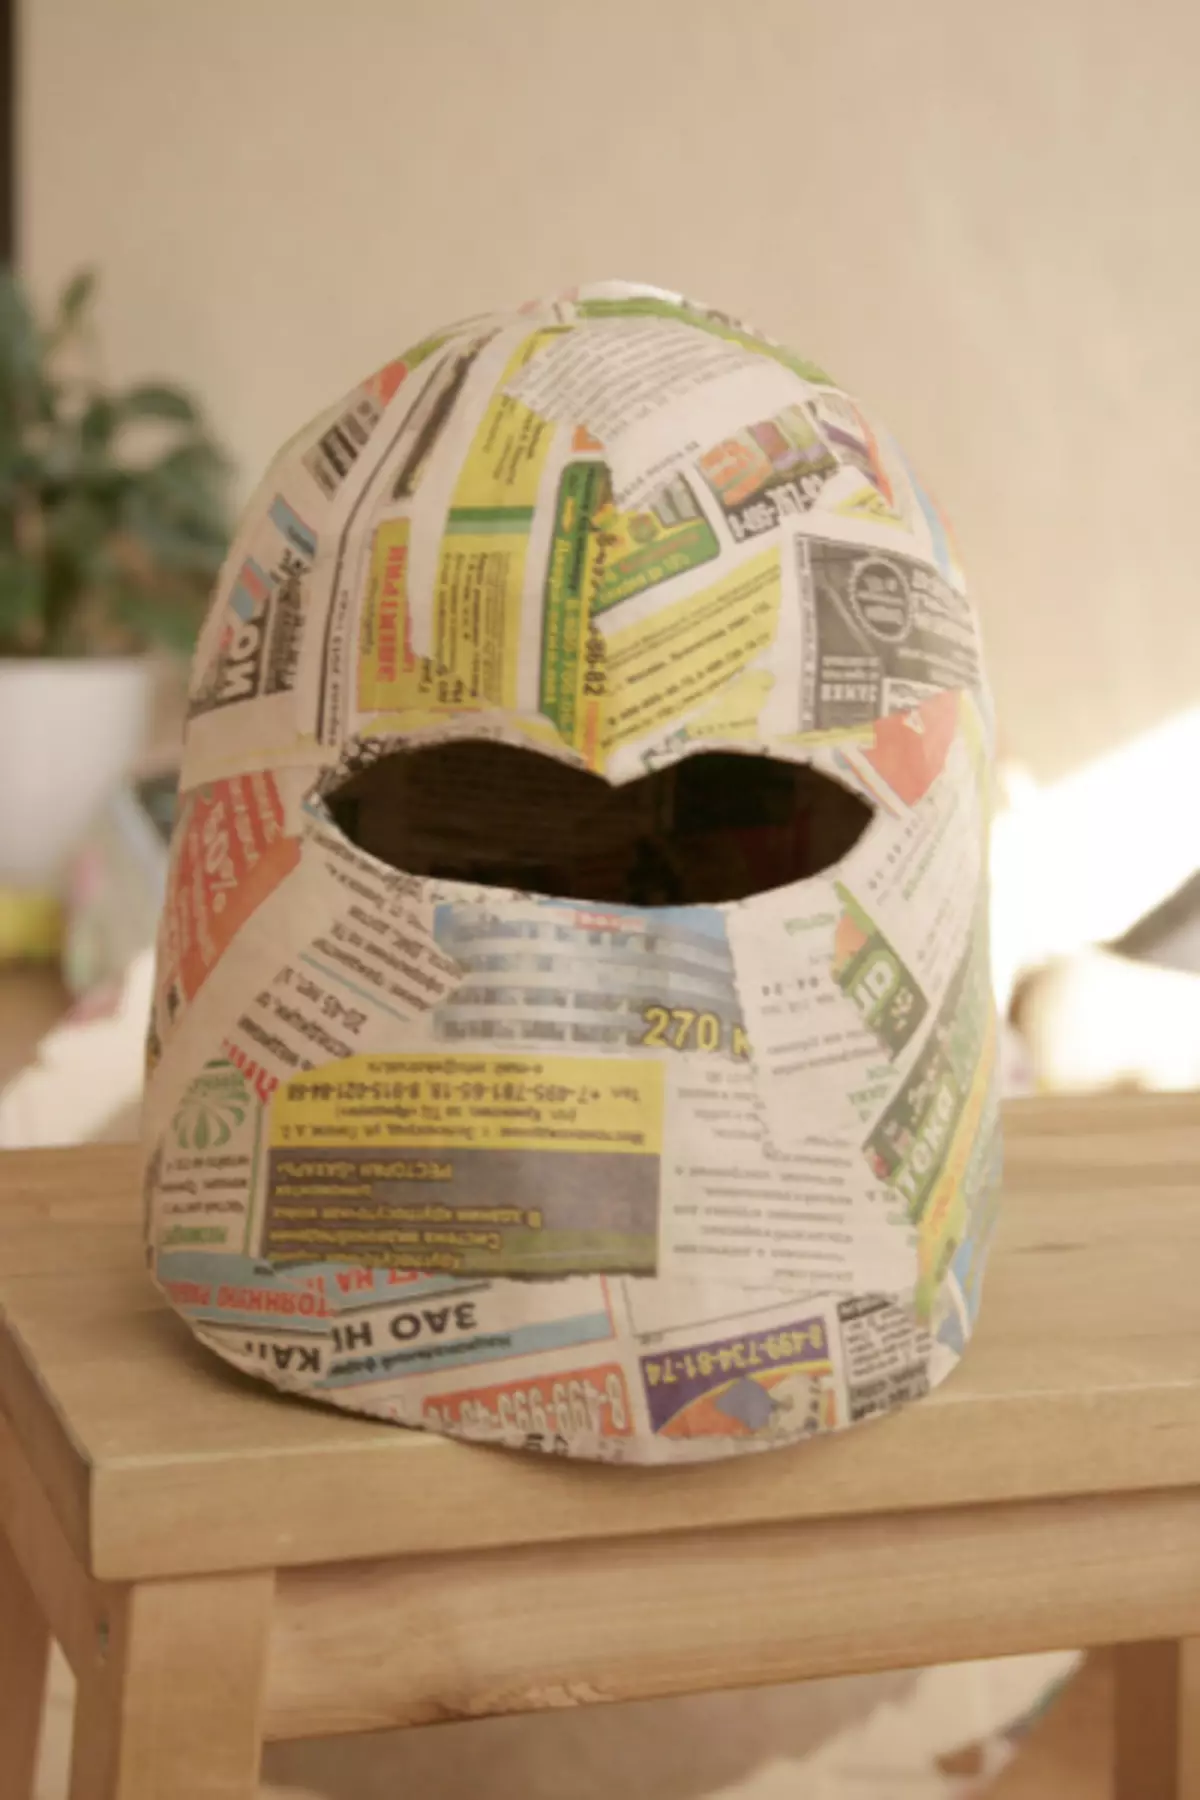
3. Since the helmet initially, our boy was small, we increased the volume of the pupil film, and on top closed all the food film so that the workpiece was then easier to be easier.
Article on the topic: Wallpapers
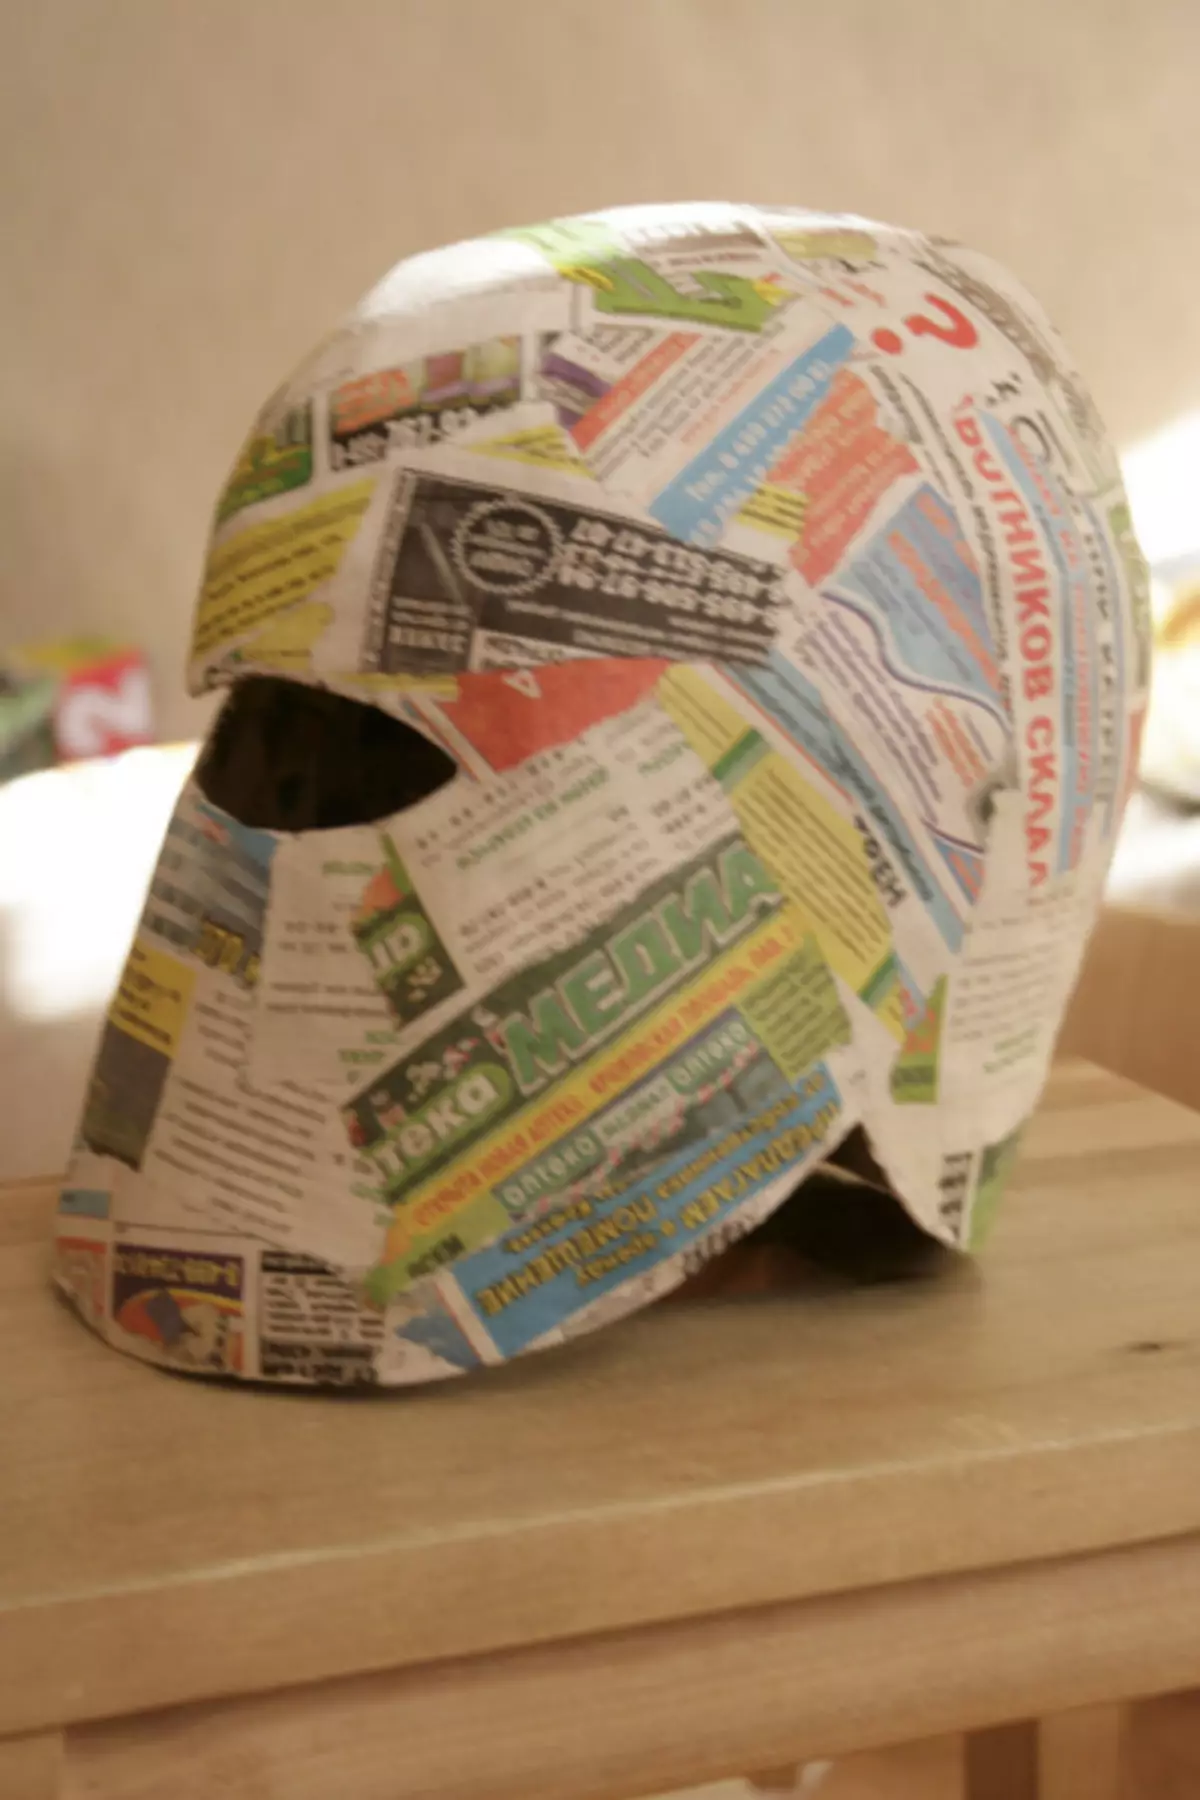
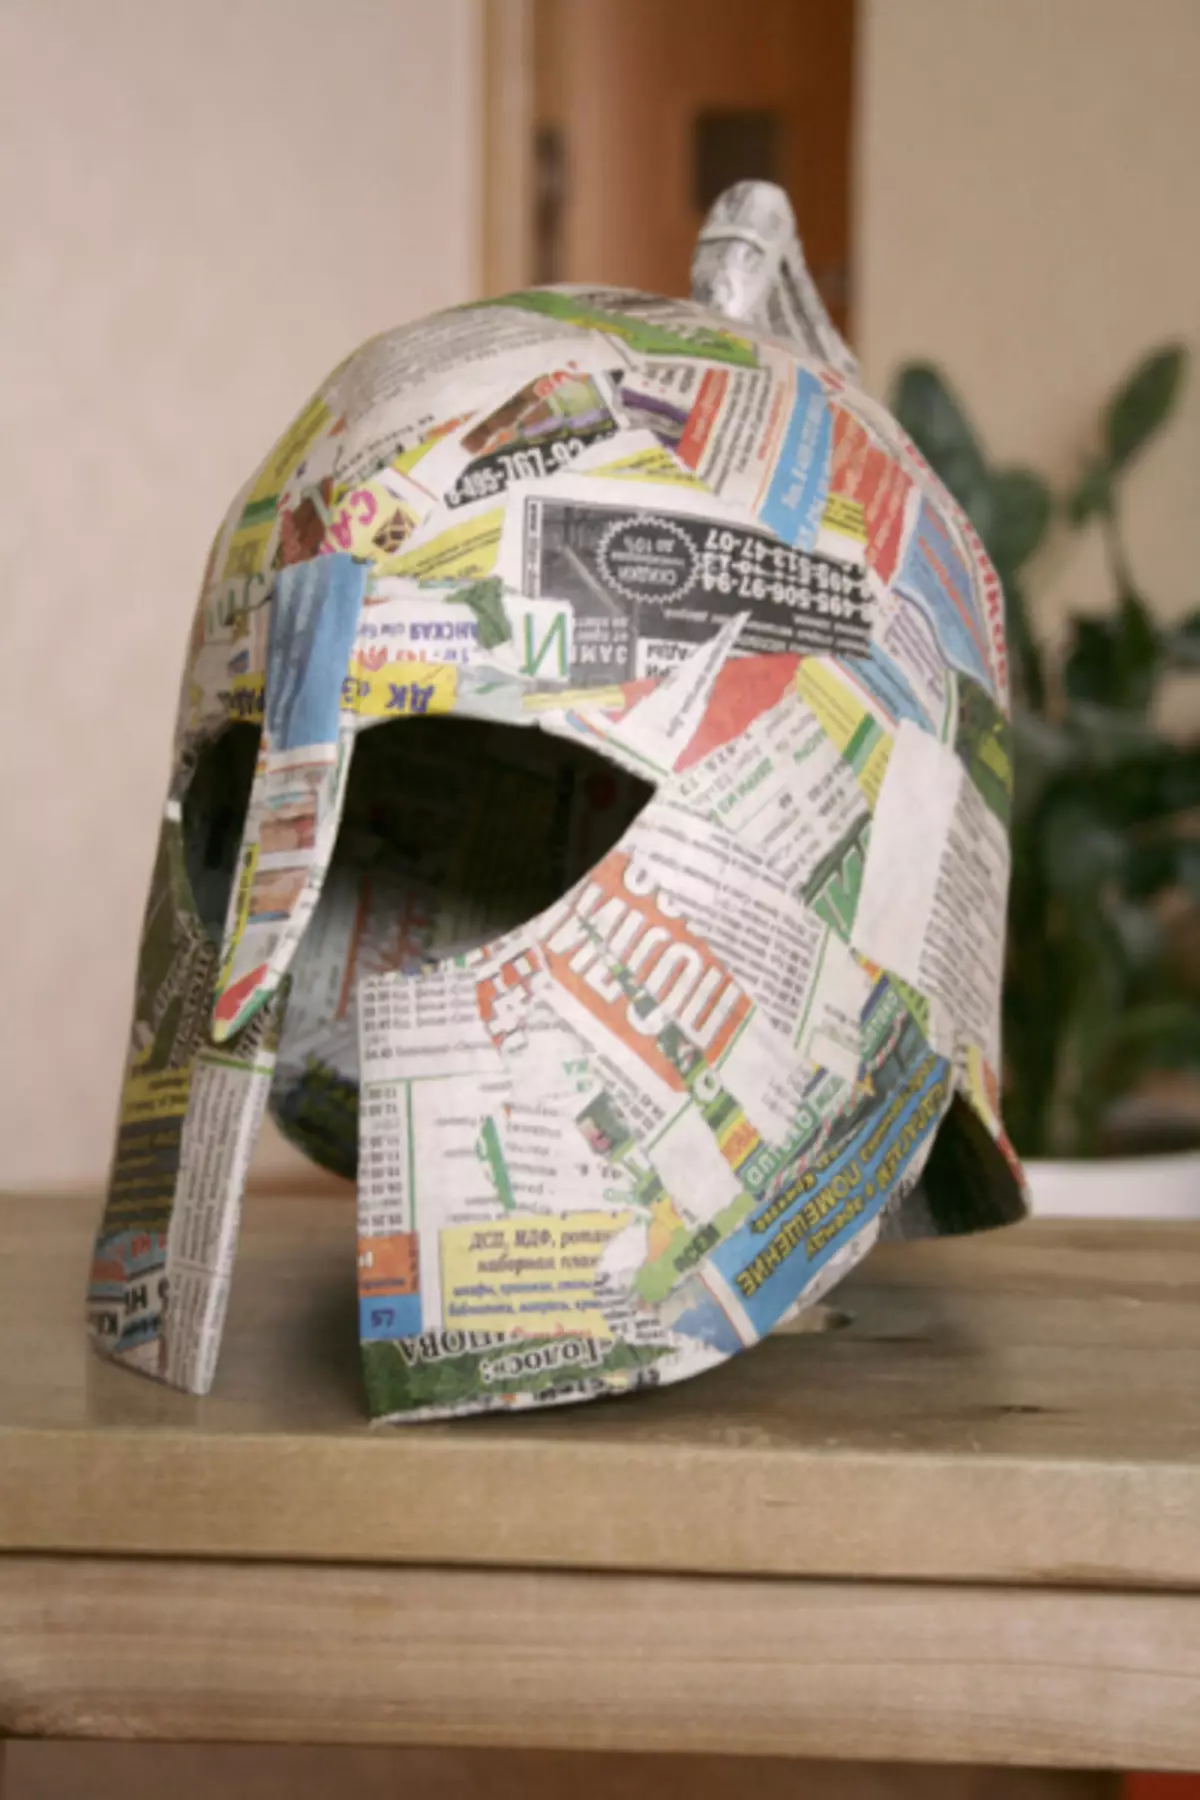
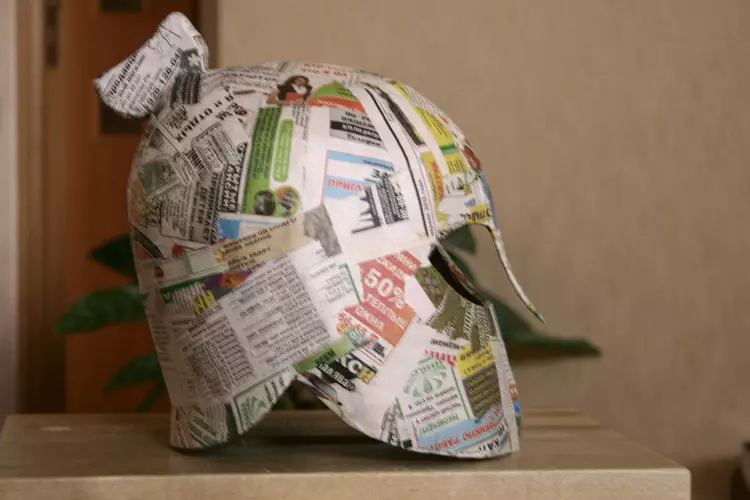
4. We start sticking the newspaper layer behind the layer right on our blank. It is very convenient to use advertising newspapers in work, as on the one side - color printing, and on the other - black and white. Accordingly, color-black and white layers can be alternate, as well as by the location of the paper blocks: vertically horizontally.
5. The paper is most convenient to smear right hand, your glue into glue, you need to carefully monitor that there are no air bubbles between the layers of the newspapers and excess glue.
6. Thus, we put 8 layers of the newspaper and left to dry for several days. It is not worth a hurry to shoot, since the upper layers may seem completely dry, and below, the film will still be wet.
7. Then we removed the workpiece with the blanks, I had to cut in front of the center line to almost the top of the top, since the filler billet was very tightly decorated with a blank.
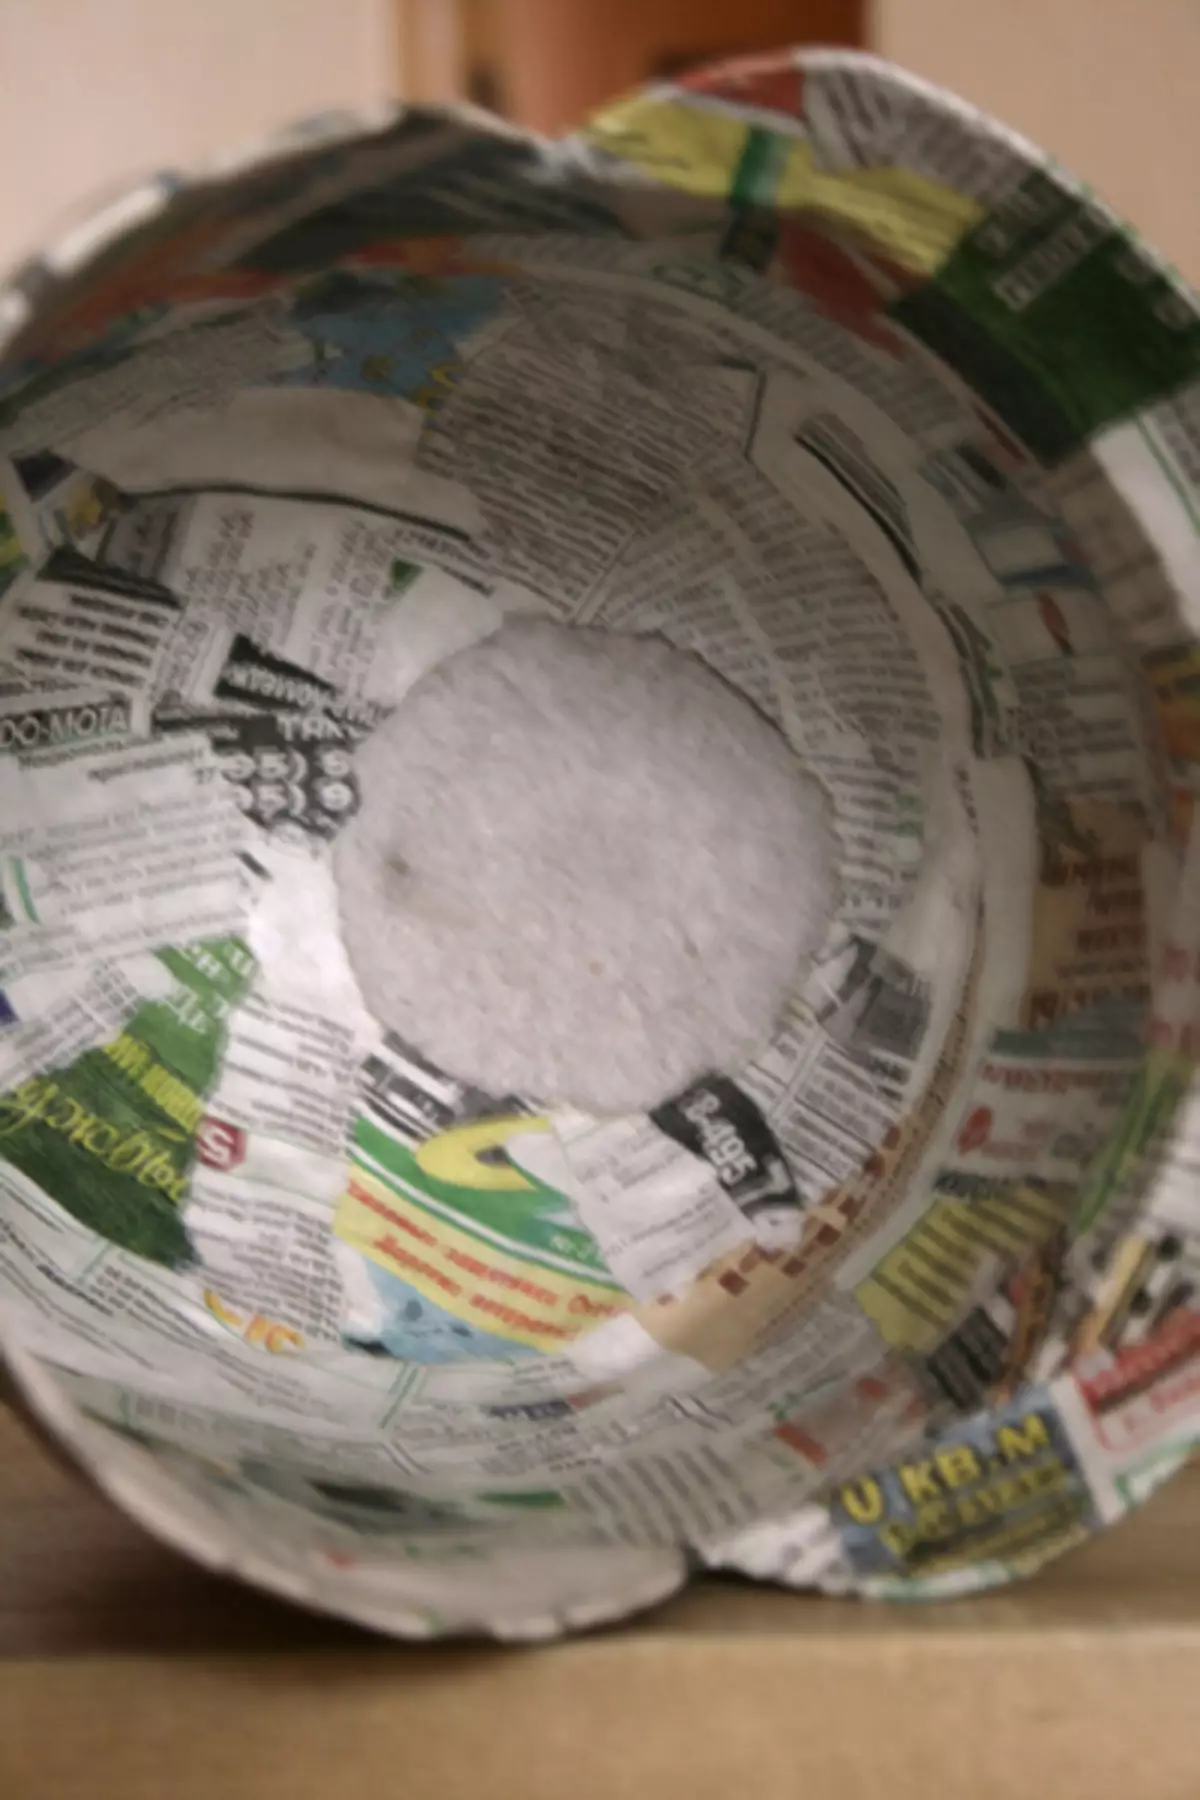
8. Cut the sockets and grow up with the help of cardboard nasks, all of this were blocked by several more layers of the newspaper, carefully following the incision not shifted. It turned out such a billet. It was spuning out already, putting on a saucepan, suitable diameter.
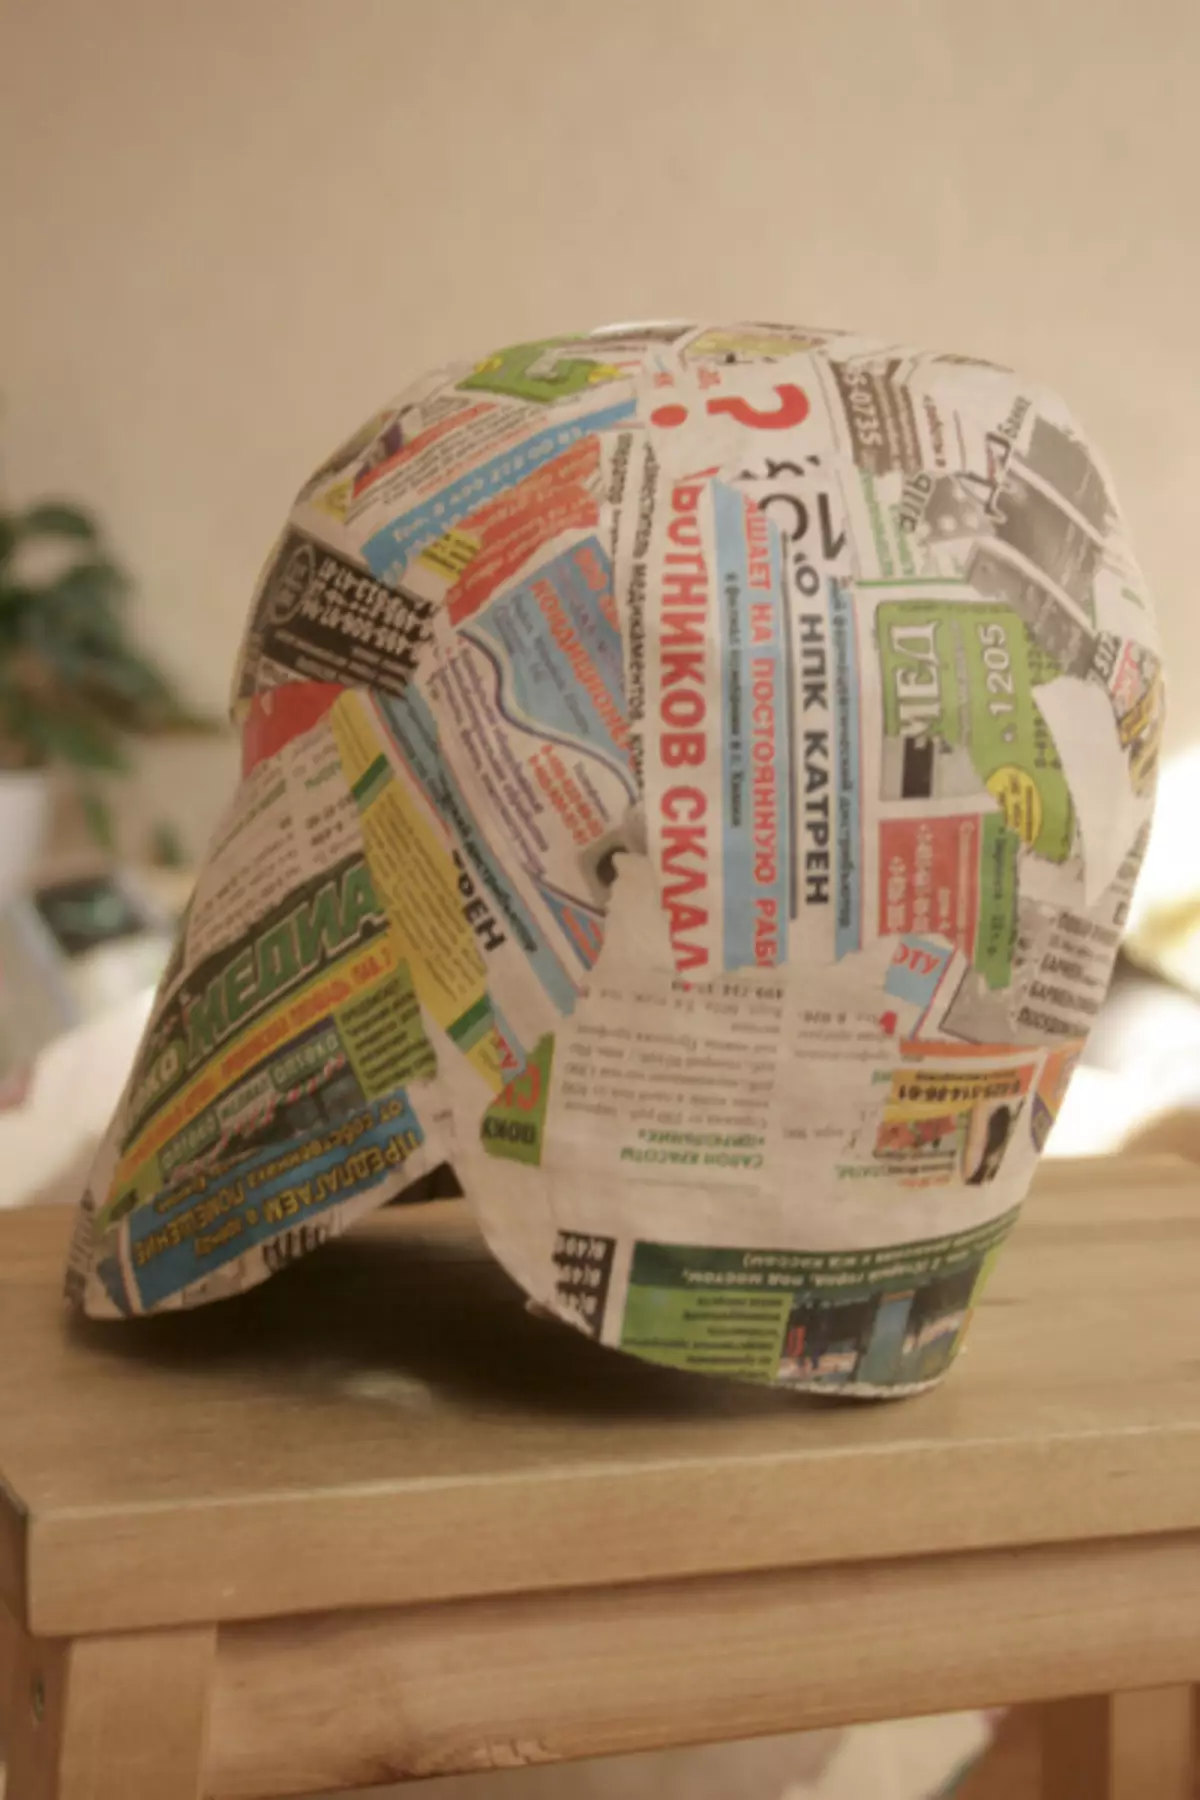
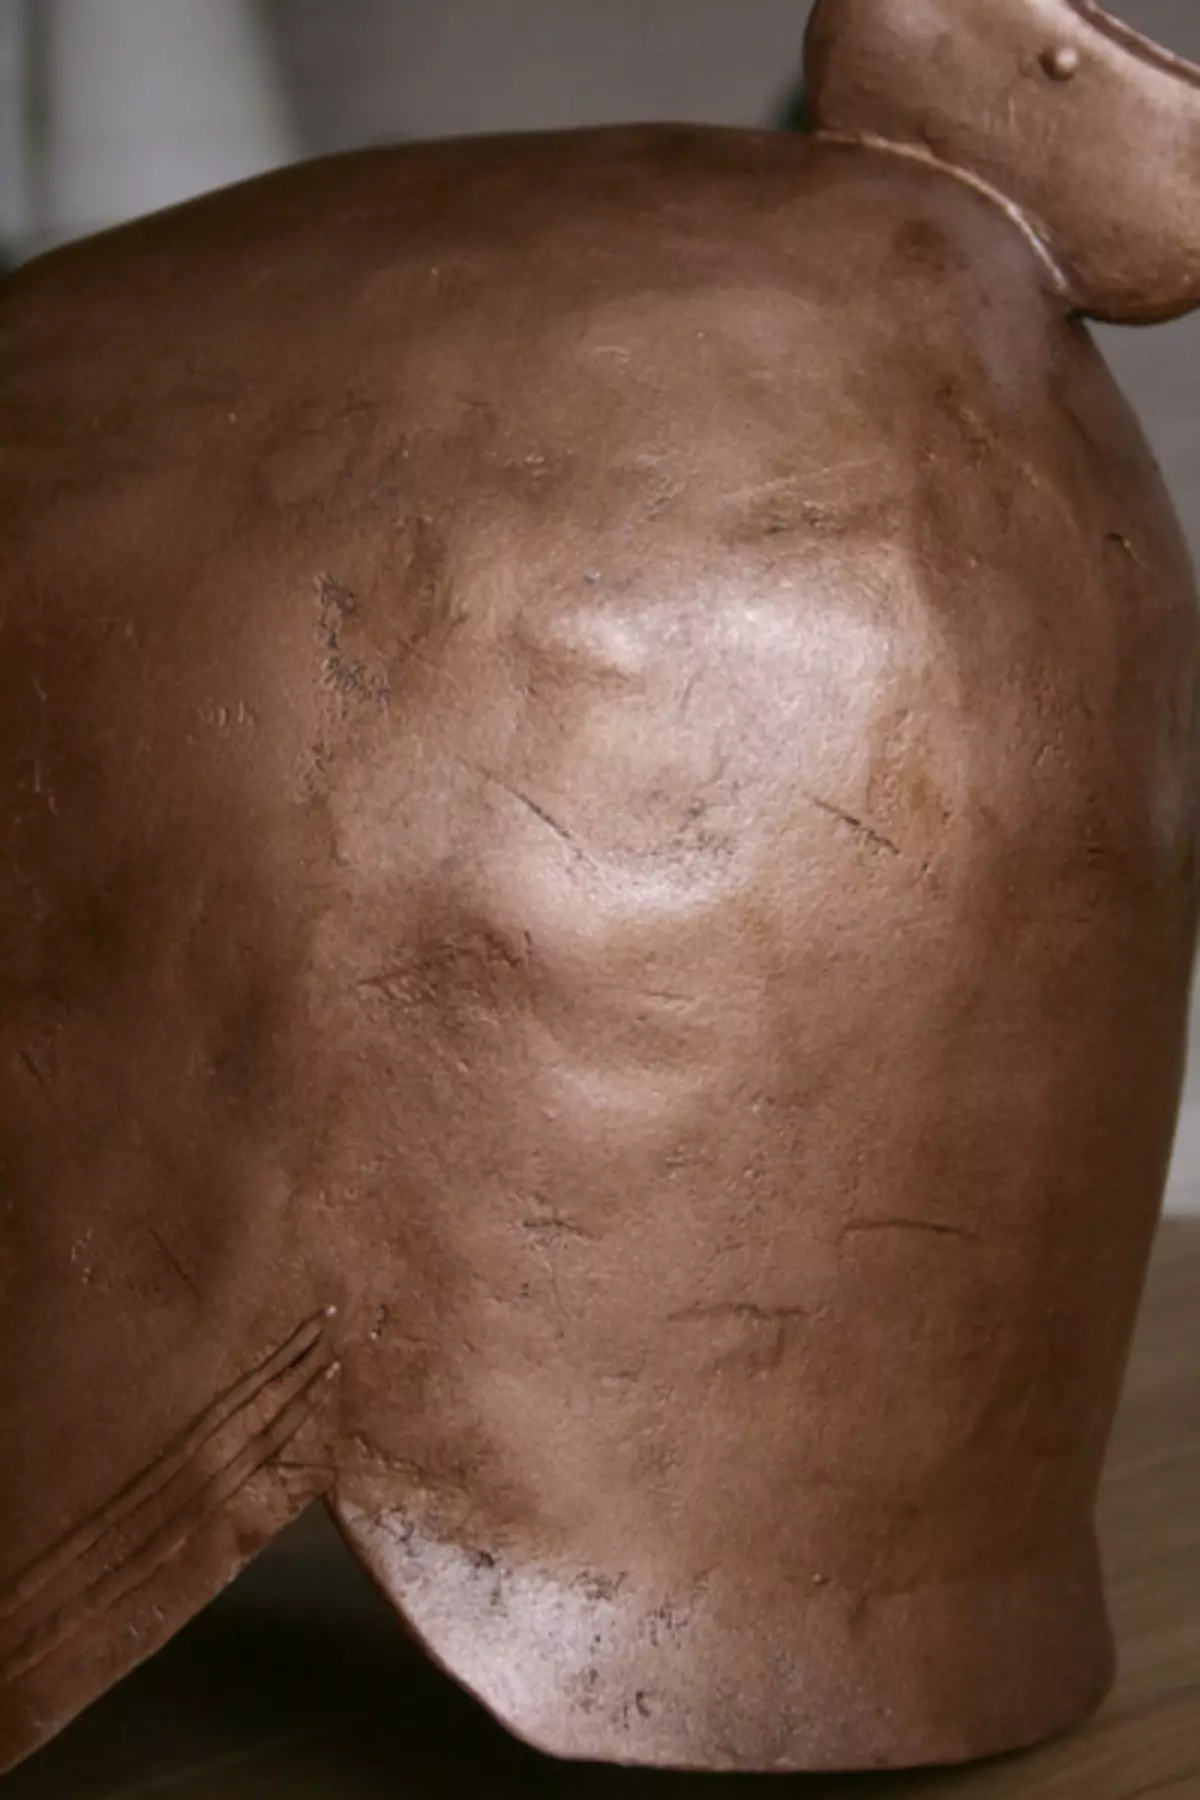
9. Now you need to make a backdraft of a helmet and a plume. Scrap We made from several layers of papier-mache on silicone form for baking, it turned out such a "shelf", protruding outwards. Dried and lined to the back of the helmet.
10. The plumage is made of corrugated cardboard, covered with a layer of mass of egg grids.
She looks like this:
Under the plumage, we cut the hole so that it soooo is tightly into it and glue it with the glue of PVA. From the inside, align the surface of the helmet in the same mass, this is how it looks in the raised form:
This photo shows a part of the helmet that protrudes backwards.
Article on the topic: Socket in the bathroom: Features of choice and installation
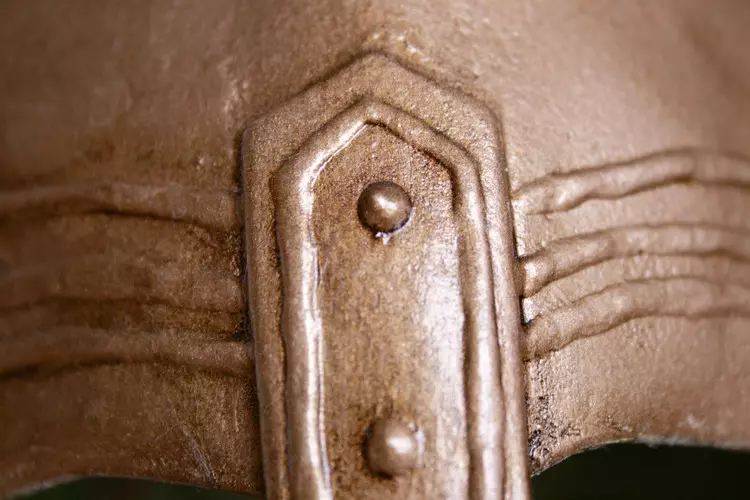
11. Slap the hole between the nashechniki and from a piece of papier-mâché, carved between them make a nanger. Break it into place with the help of PVA.
All the helmet is soldered out 3-4 layers of the newspaper, as a result we get this workpiece.
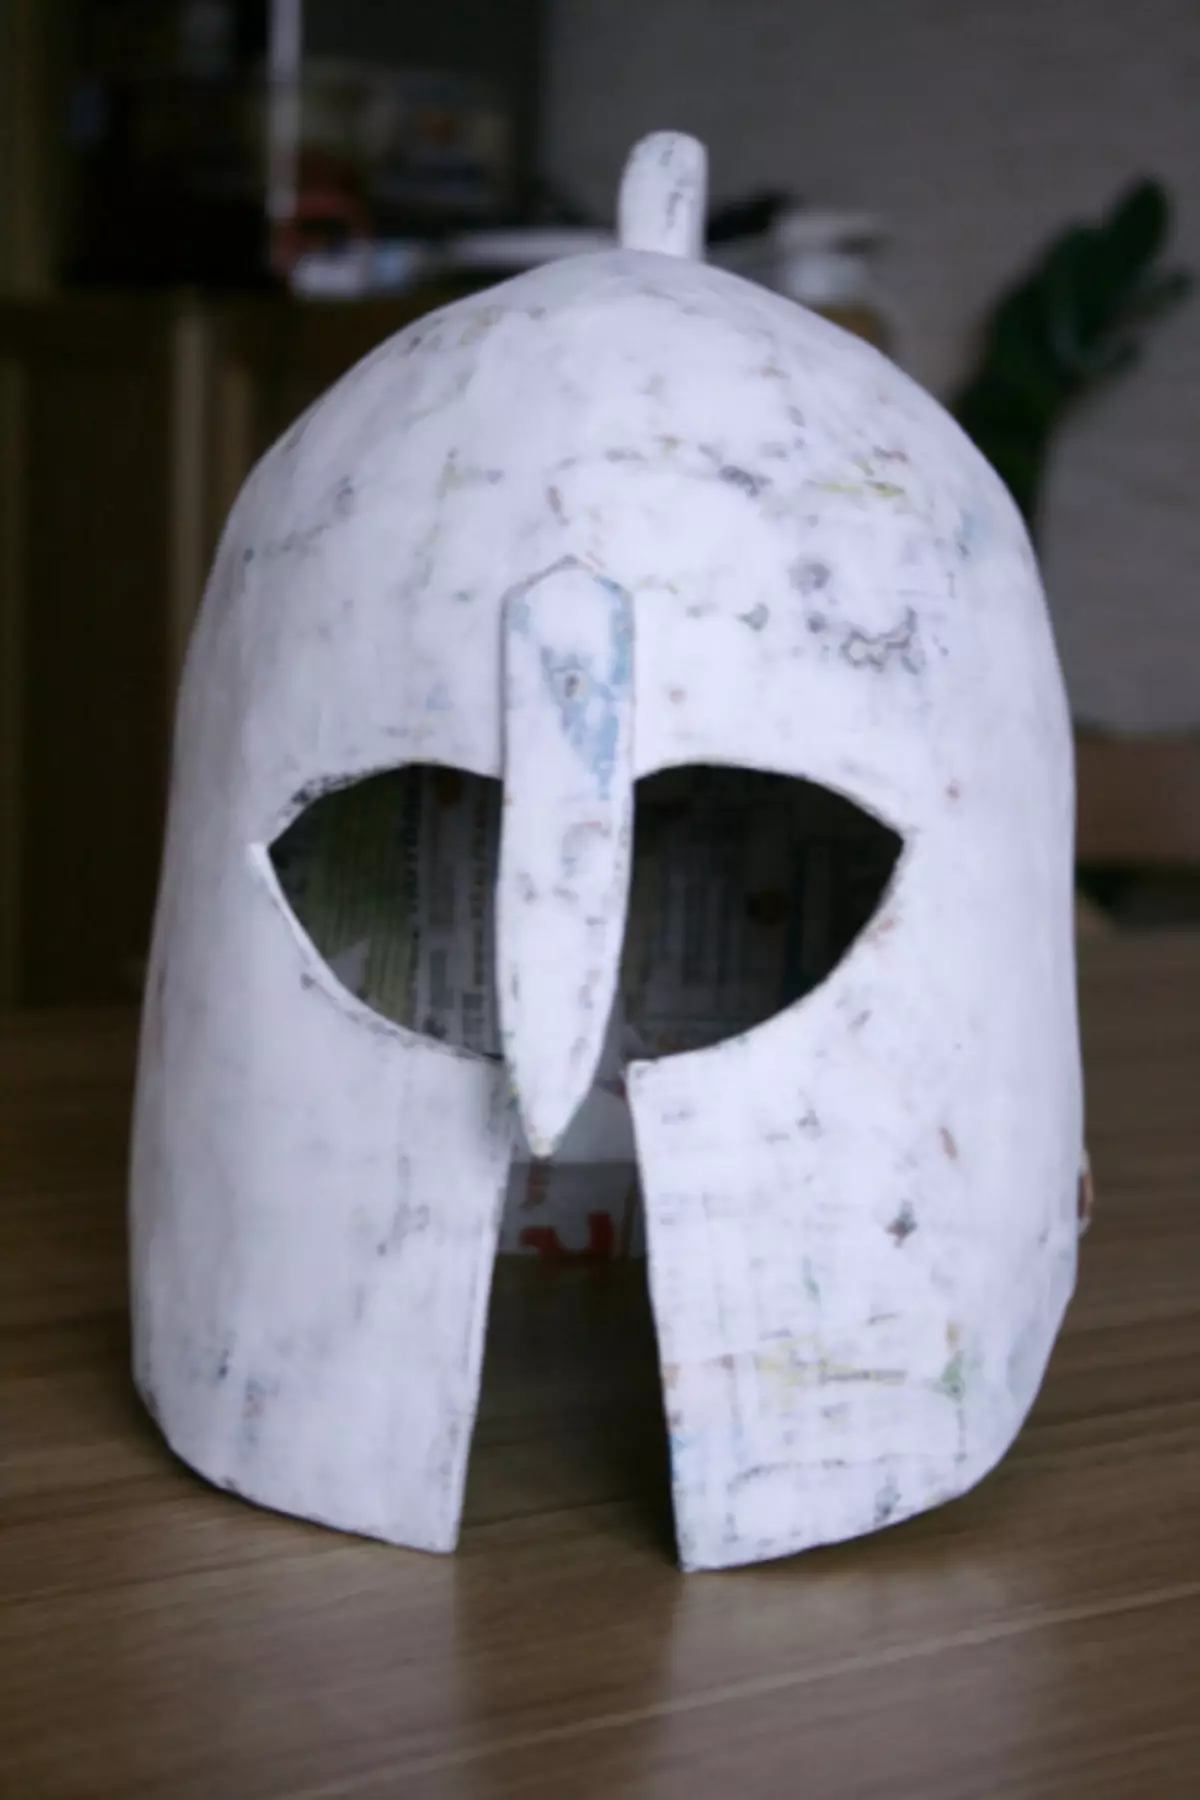
12. Grind Helmet Cleaster.
13. Cover the helmet acrylic putty
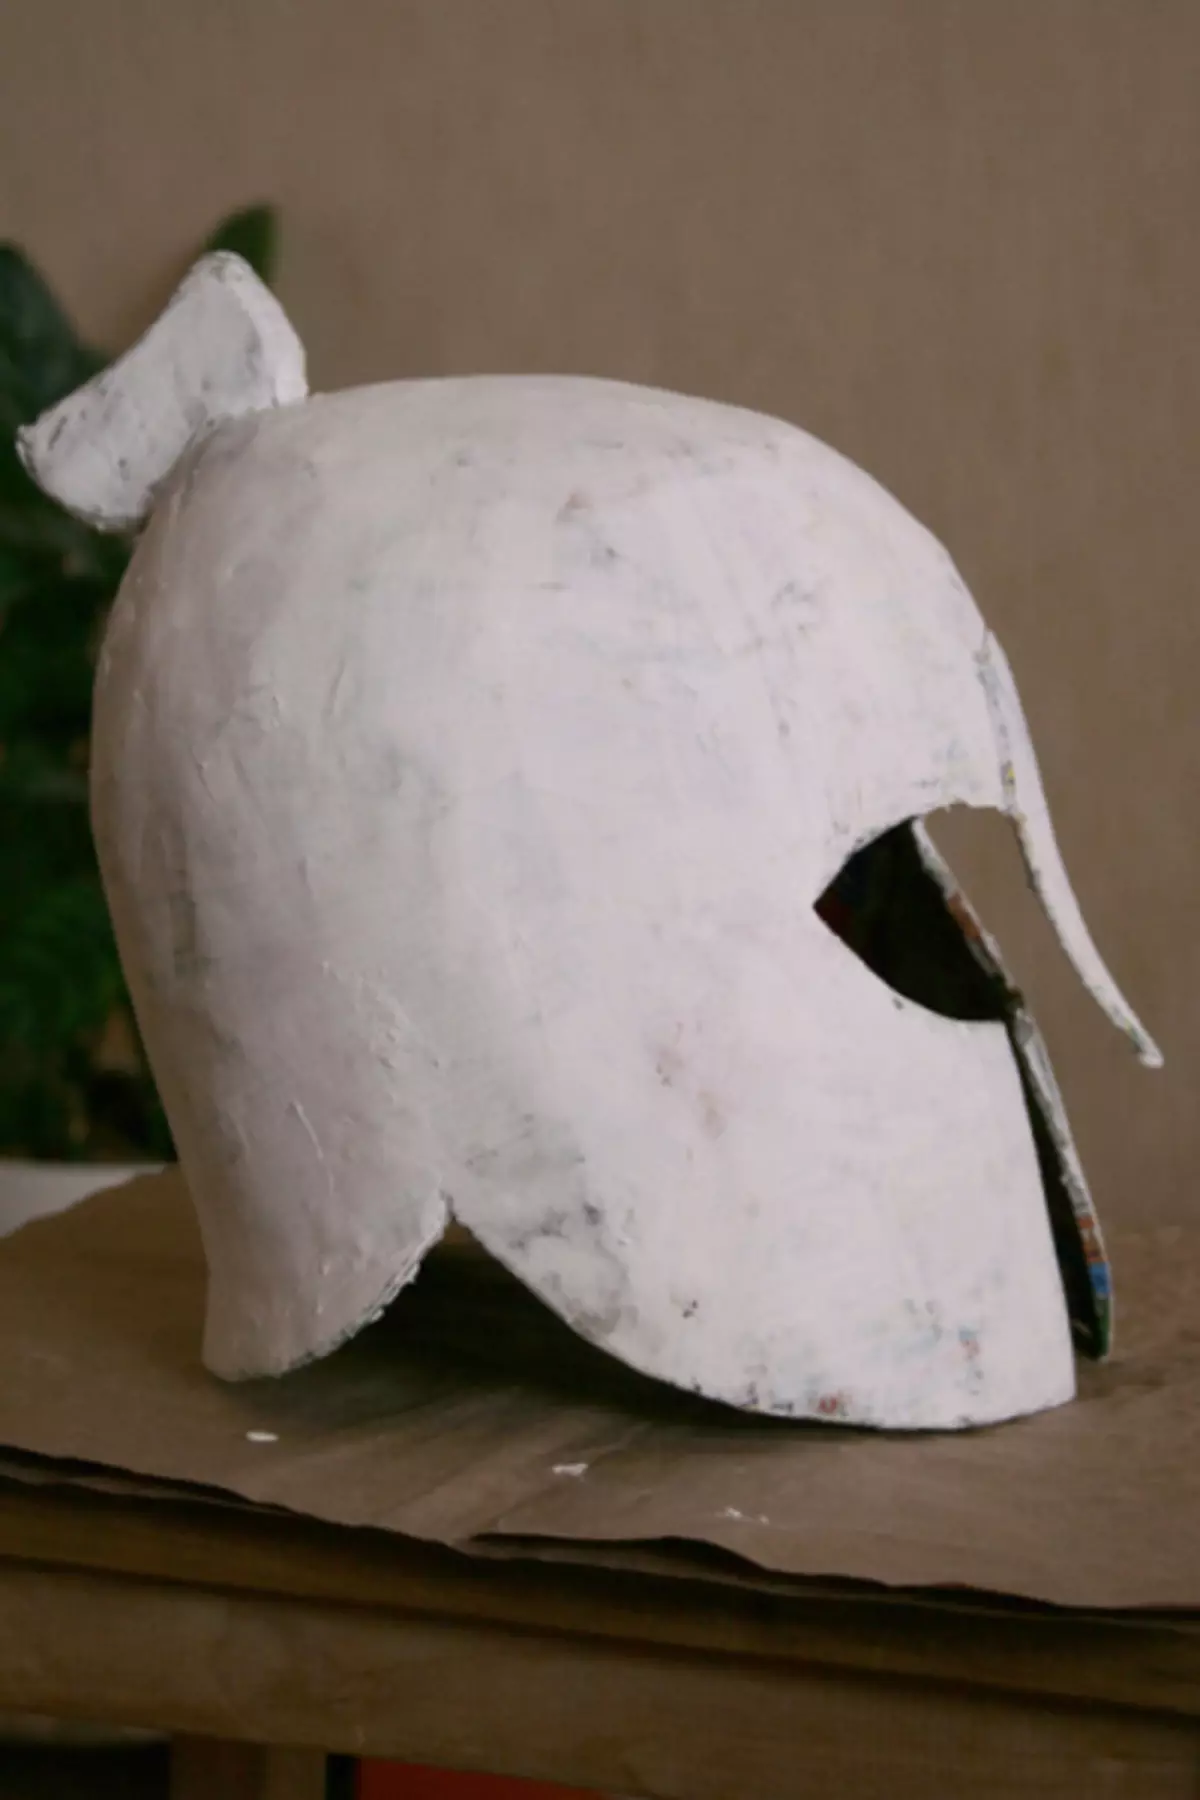
14. Schlifyuye №5, and then with zero.
15. We are planning a pencil outline of the future "chasing"
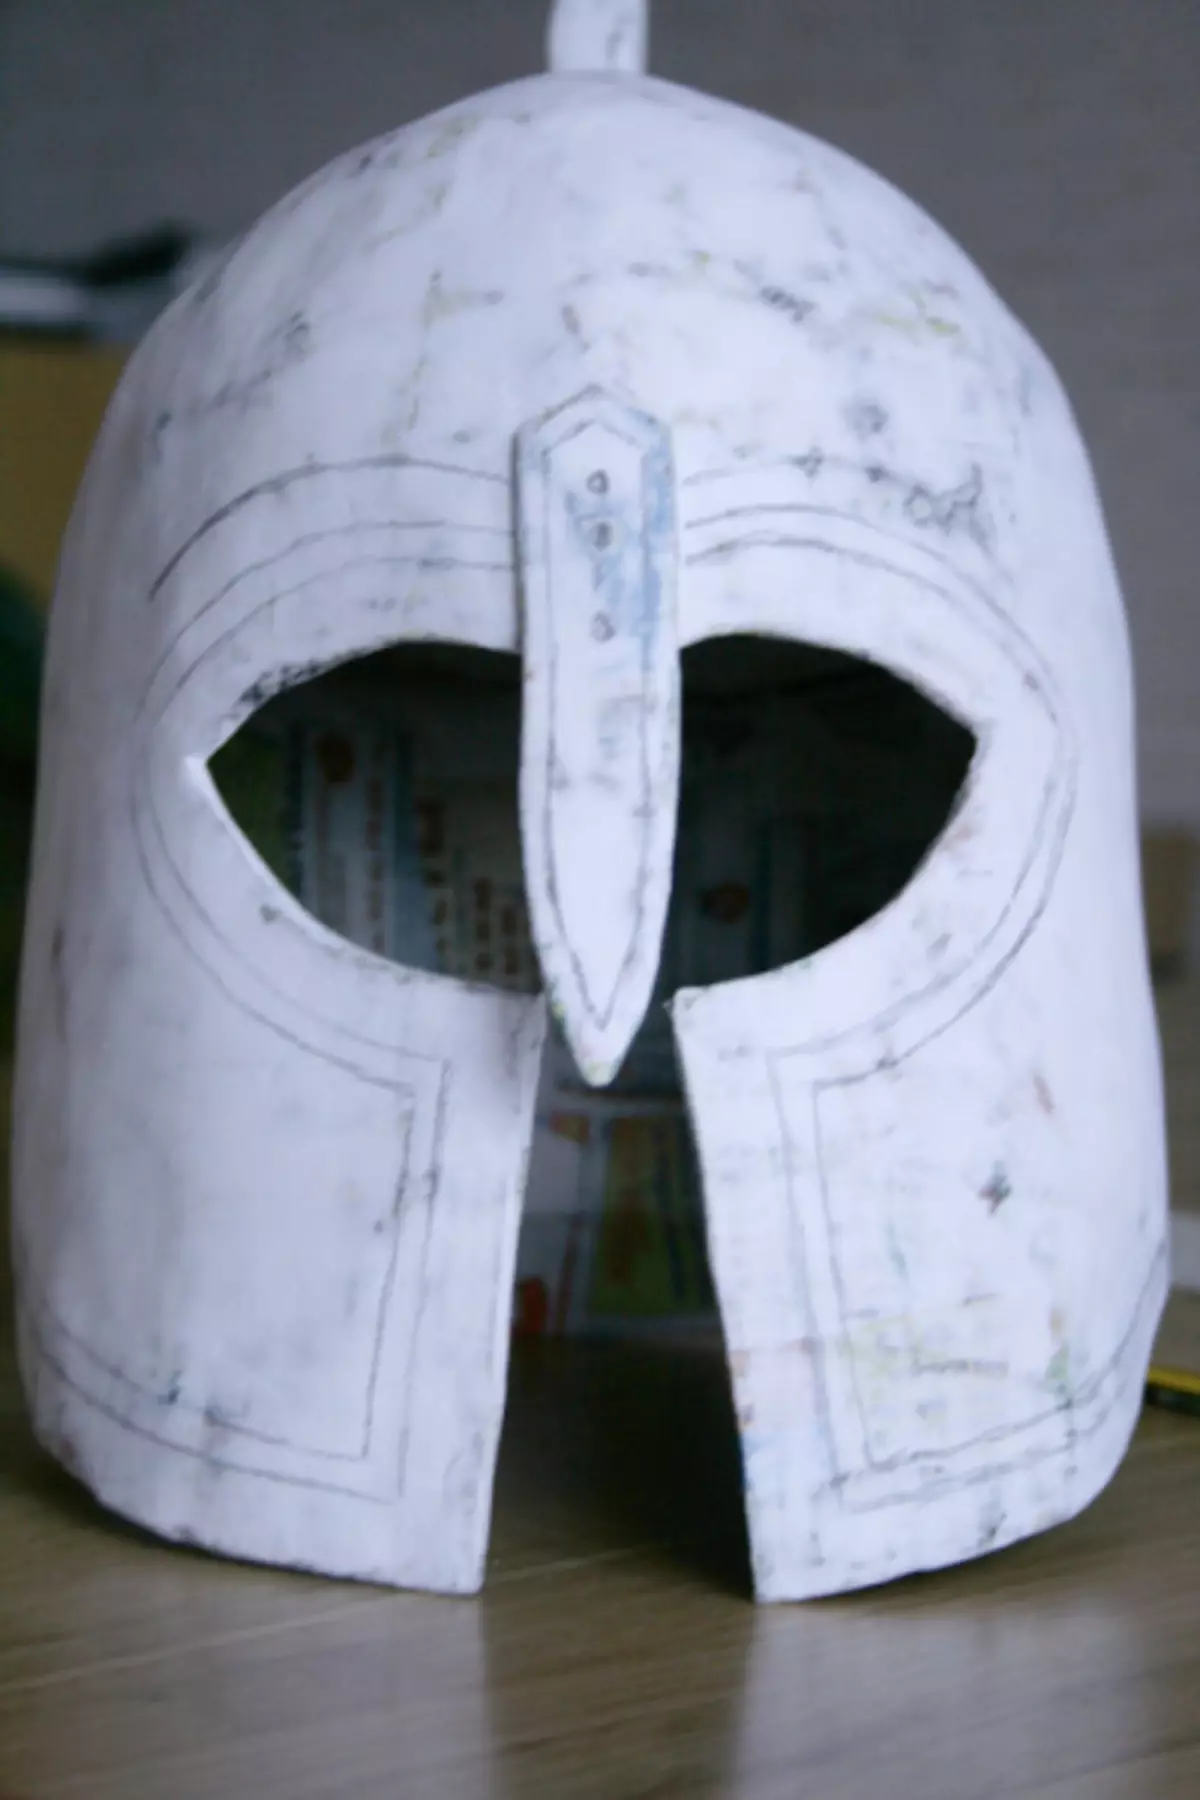
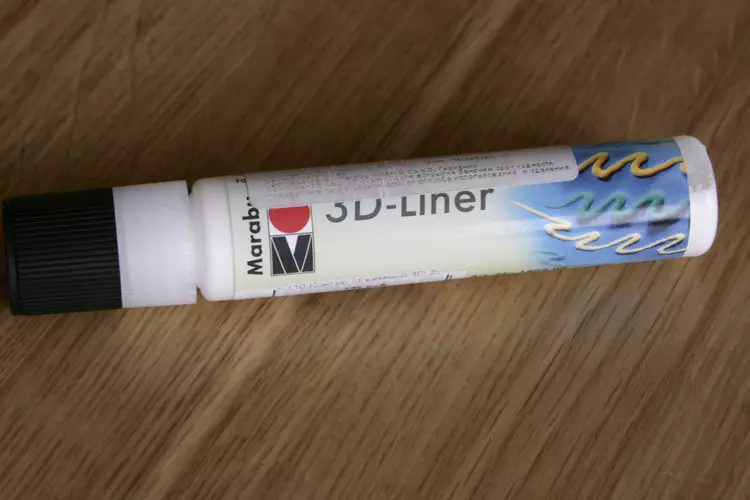
16. We apply a 3D loop outline on the outlined lines, we obtain volumetric items.
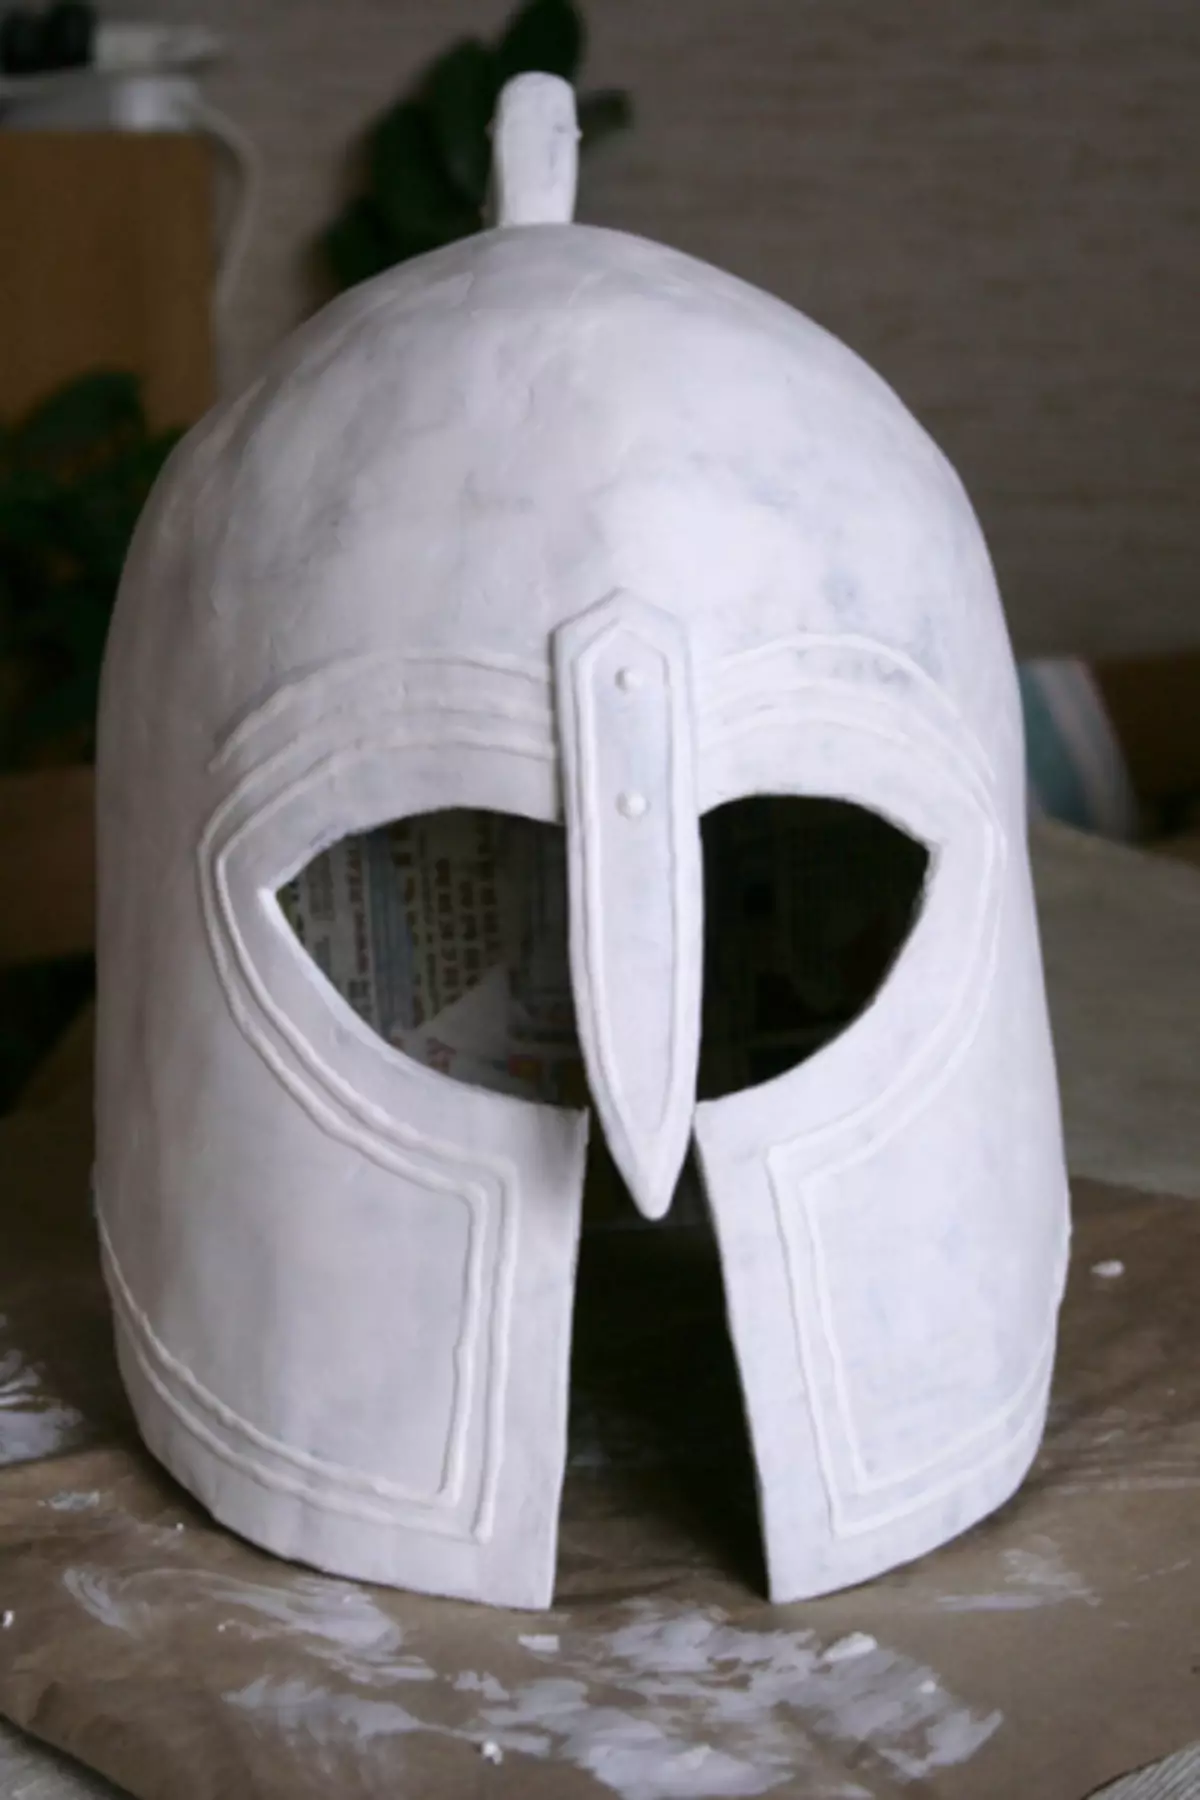
Let dry.
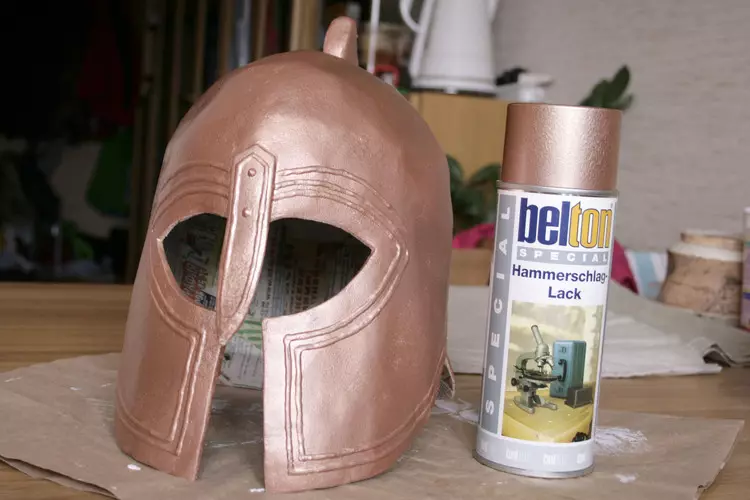
17. Ground the wrath of diluted acrylic paint and cover the helmet with paint-spray "Copper hammer". We try not to apply paint too intensively, they can arise. Despise.
18. We apply a brush bitumen patina. It is better to do in small fragments. We remove the surplus patina with cotton disks. Copper acquires a more yellow shade, in the "shells" delayed black color.
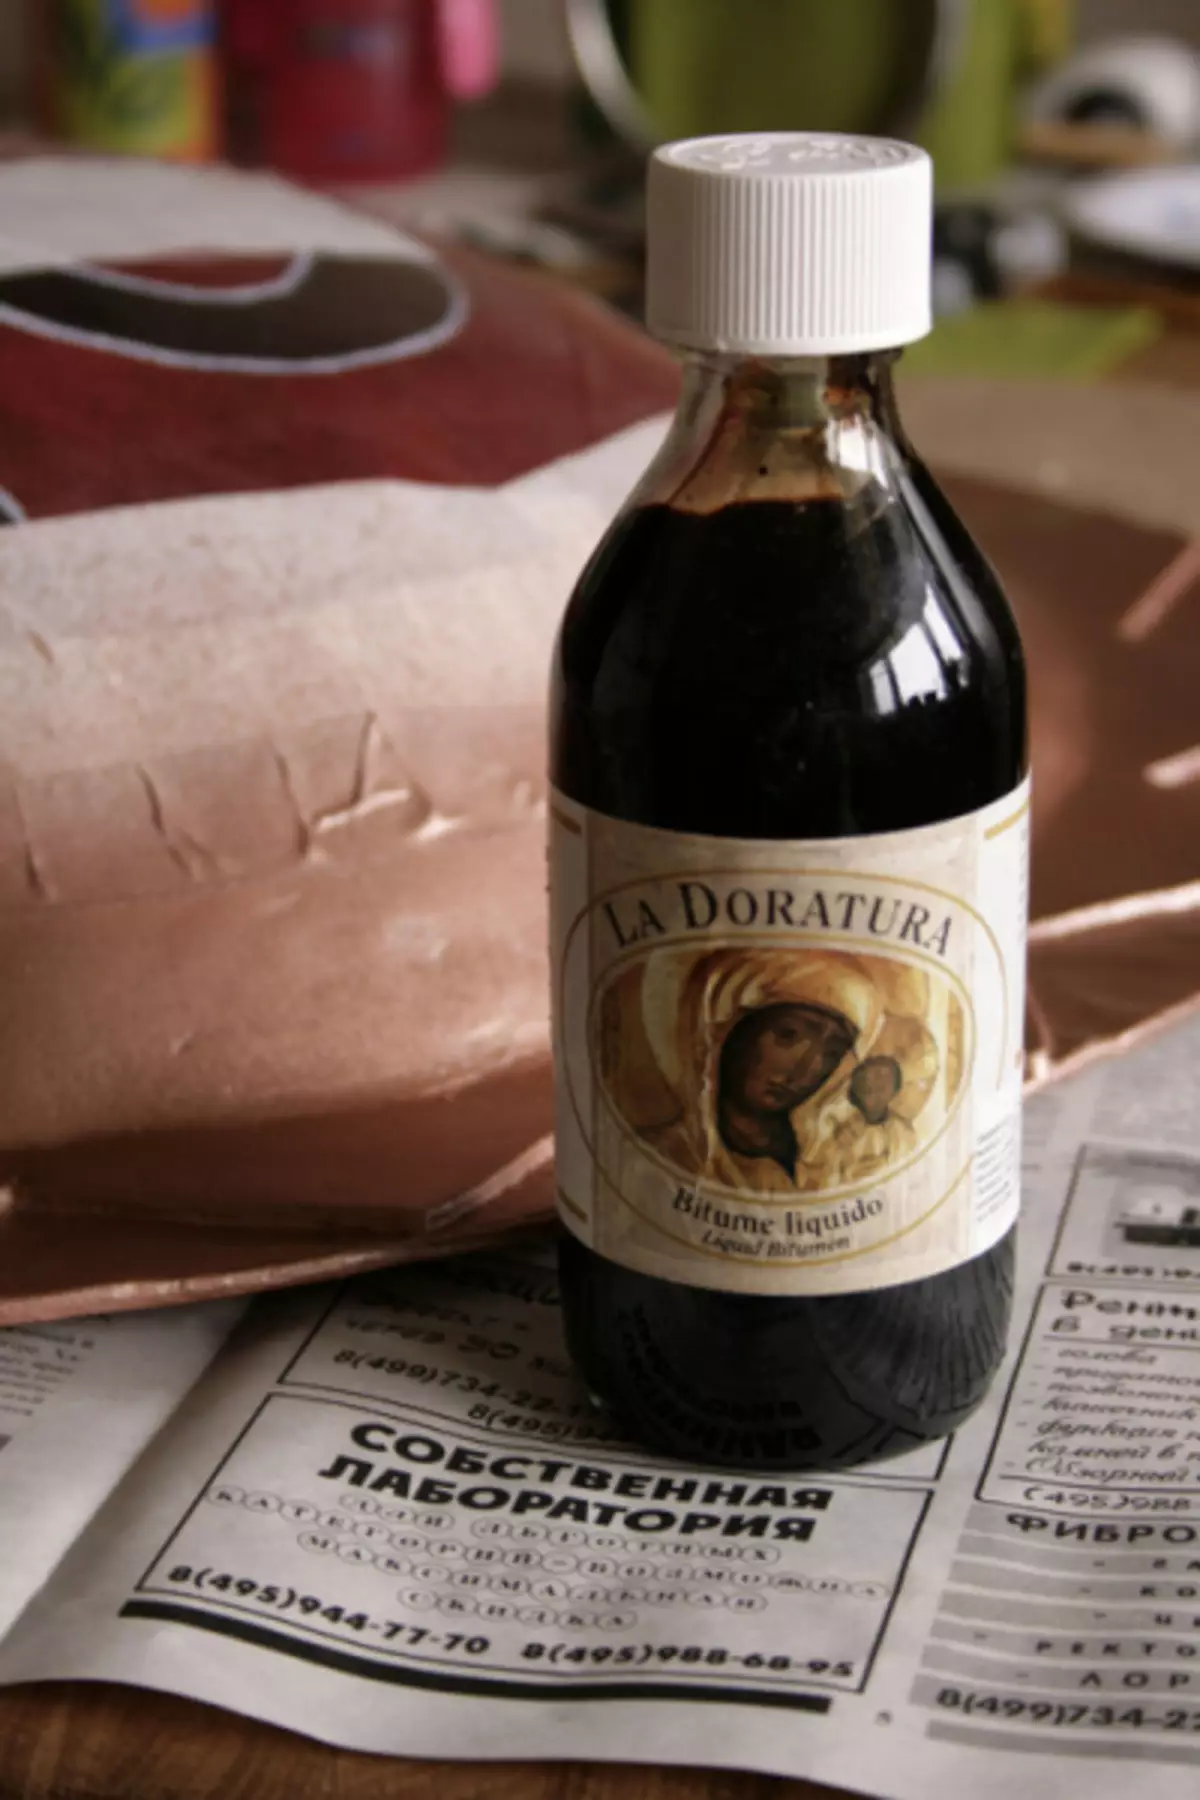
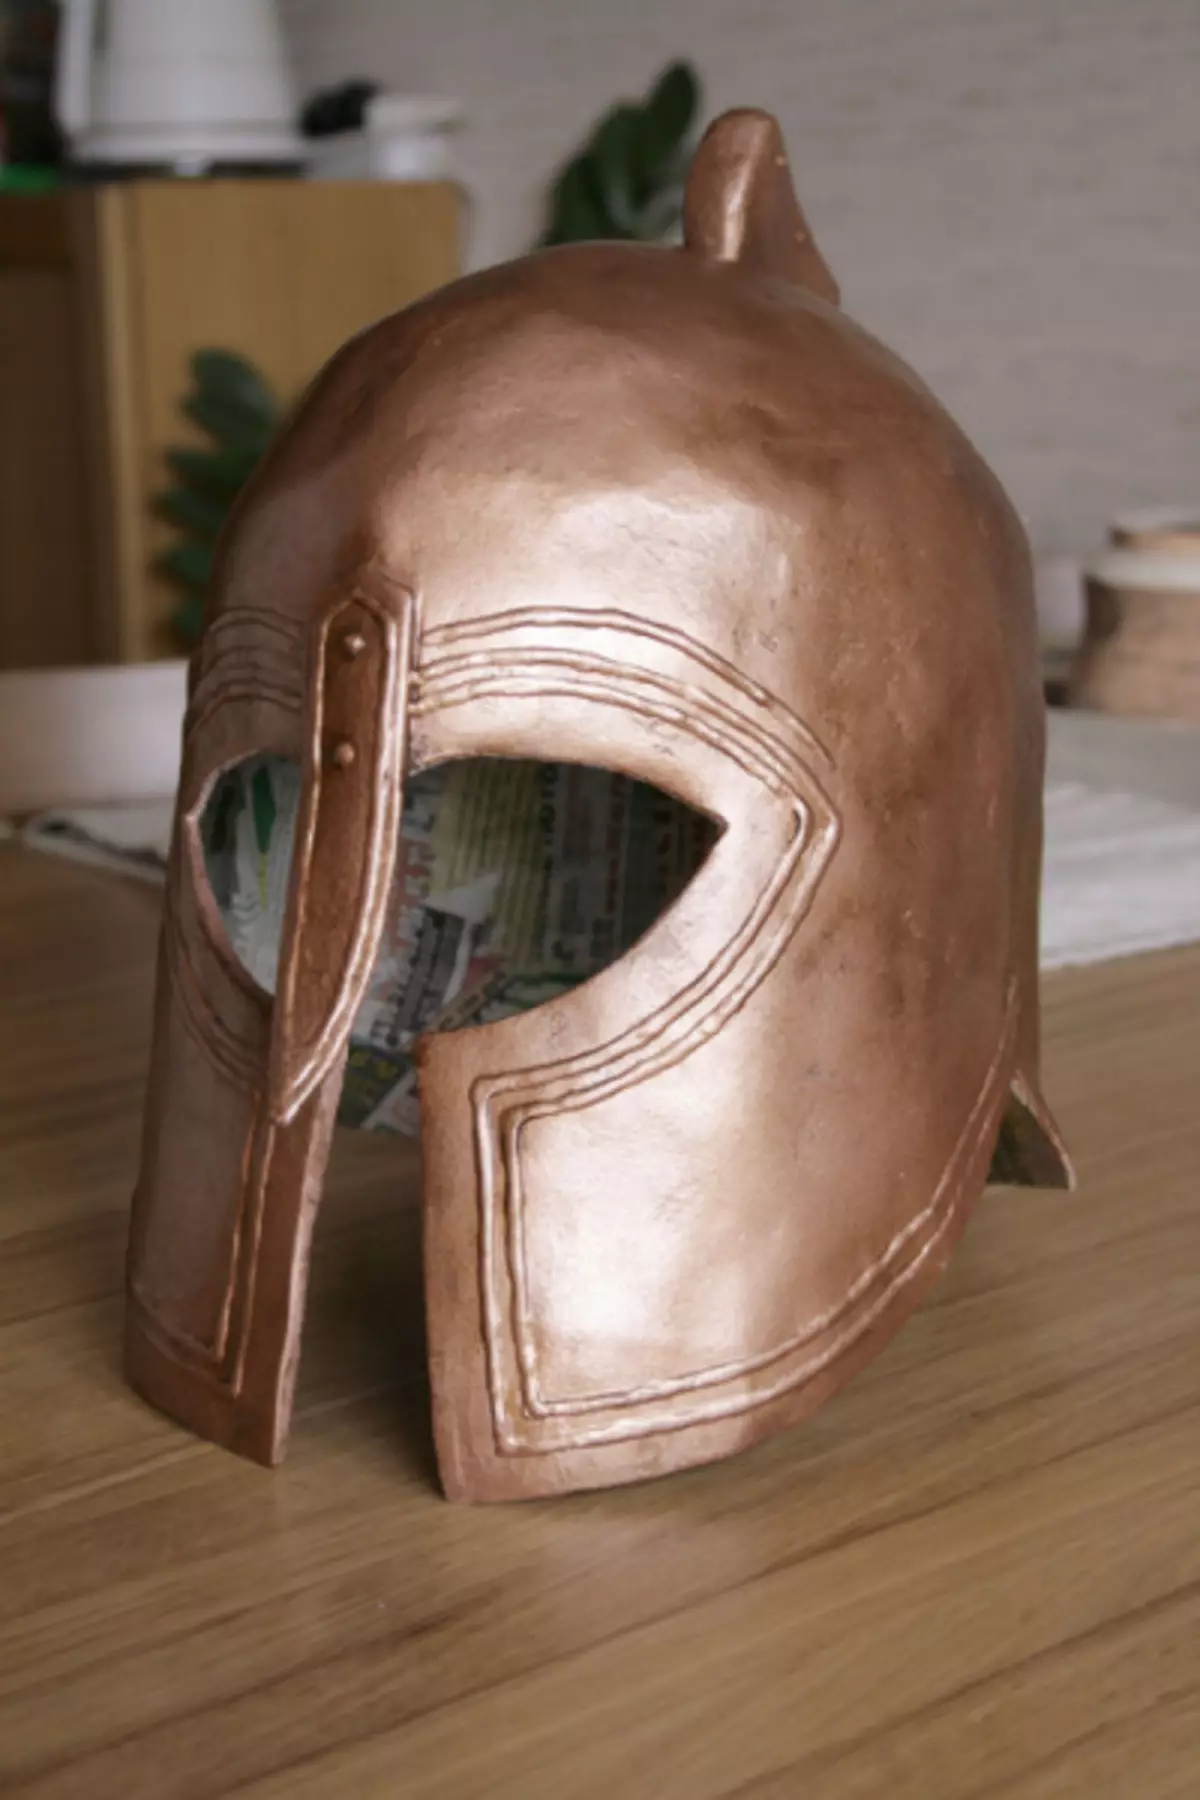
We remove the surplus patina with cotton disks. Copper acquires a more yellow shade, in the "shells" delayed black color.
19. To create a cap of the helmet, we used a real horse tail.
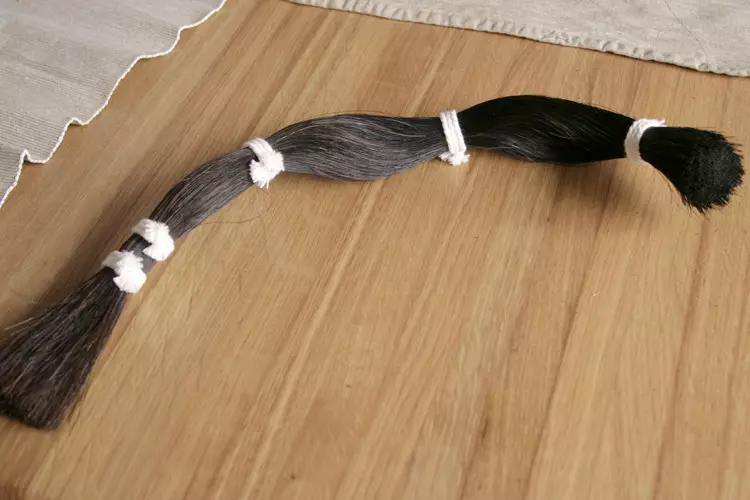
20. With the help of threads and textile glue, we divide the tail on small bundles under the size of the slot in the plume.
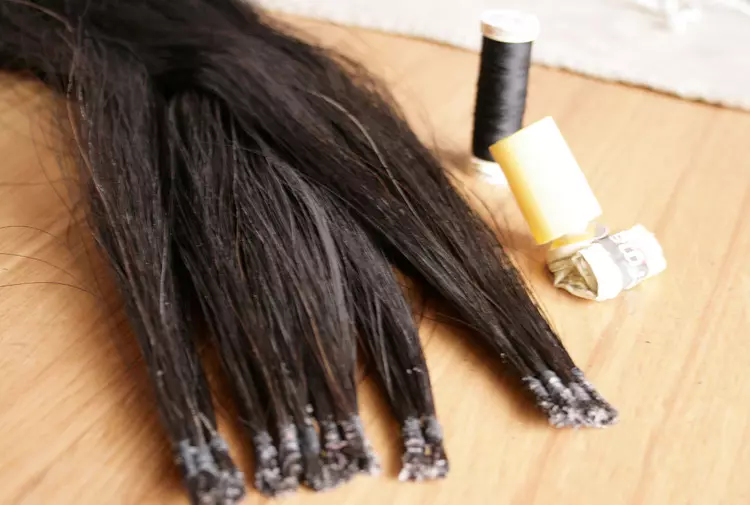
21. Insert the bundles in the gap.
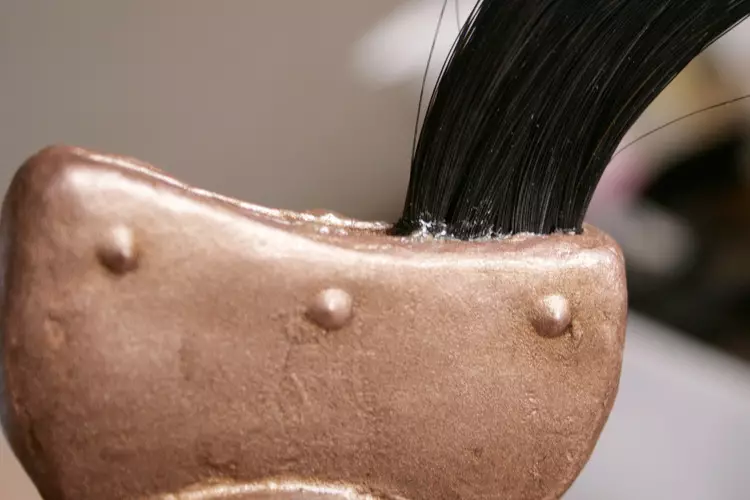

21. Well, in fact, everything, the helmet is ready.
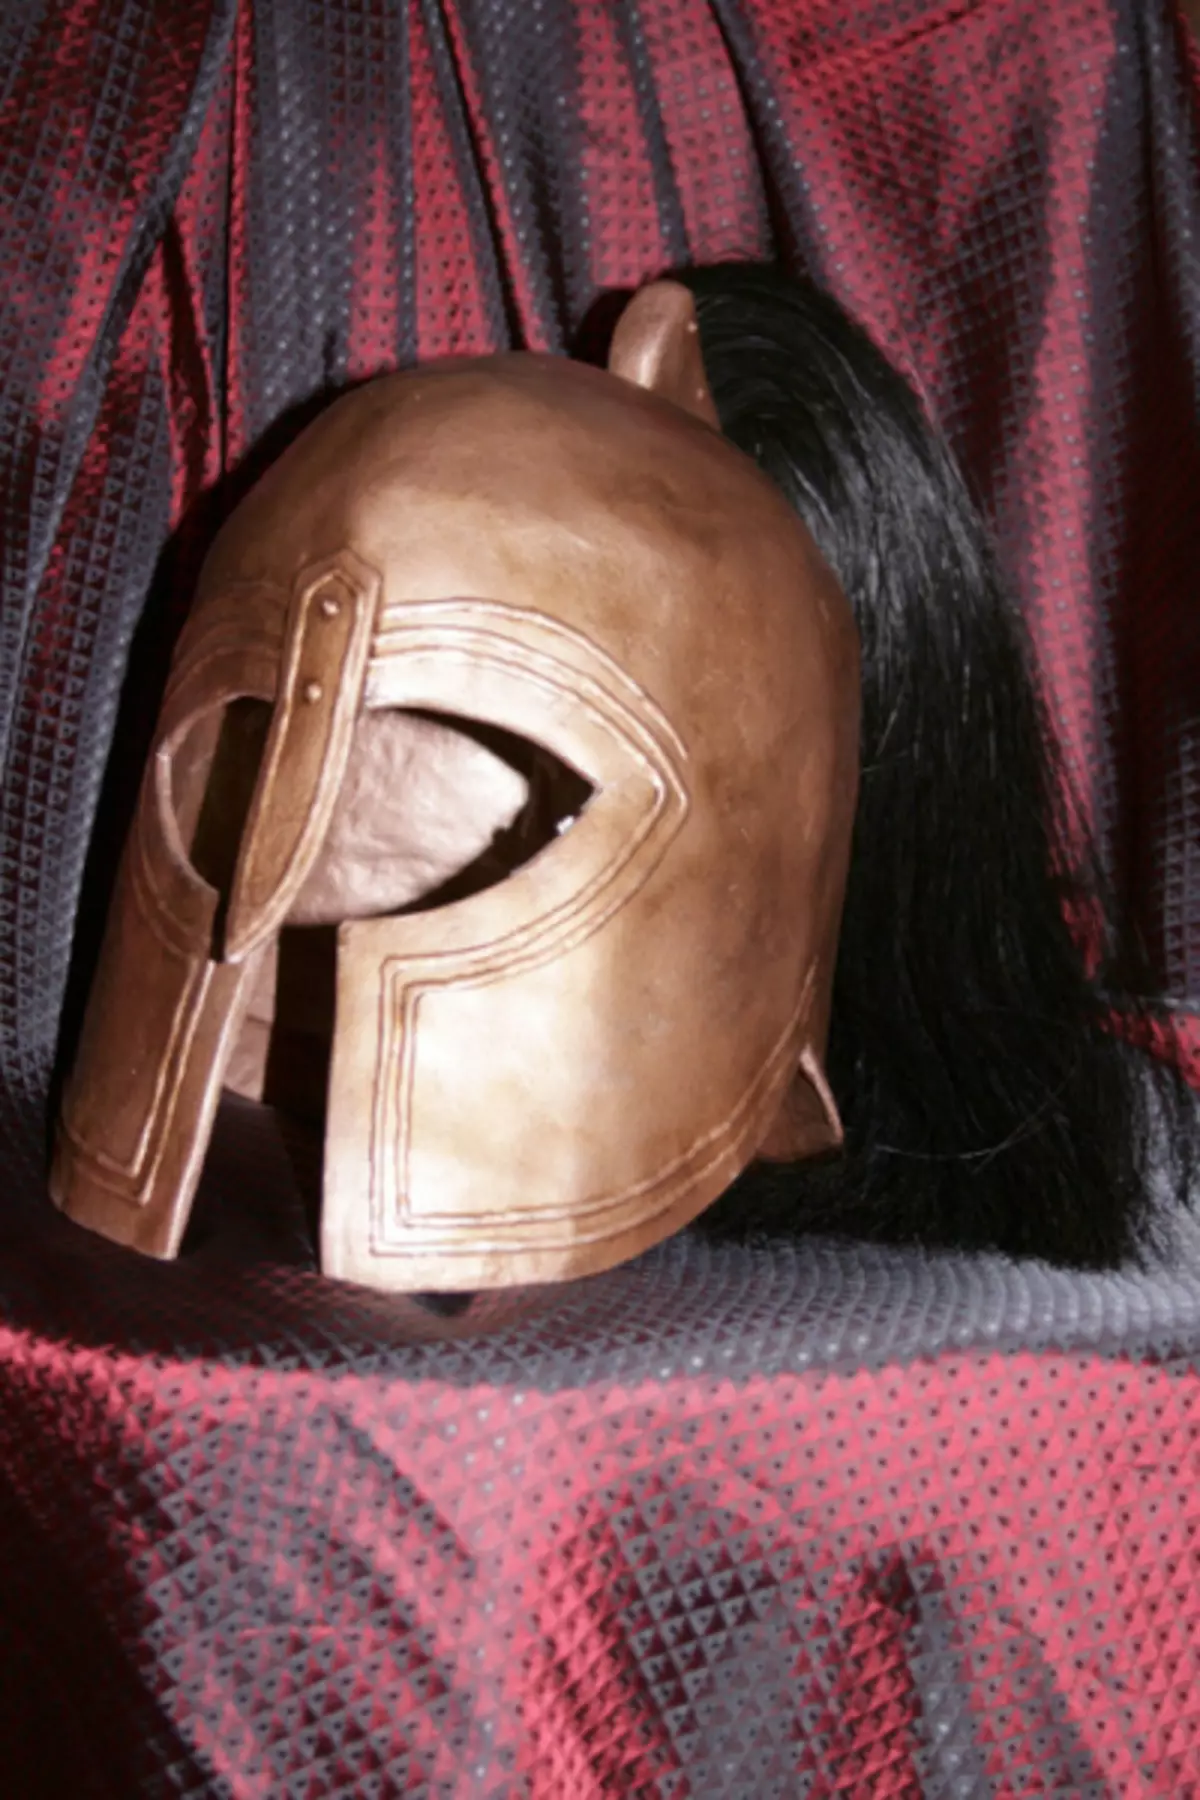
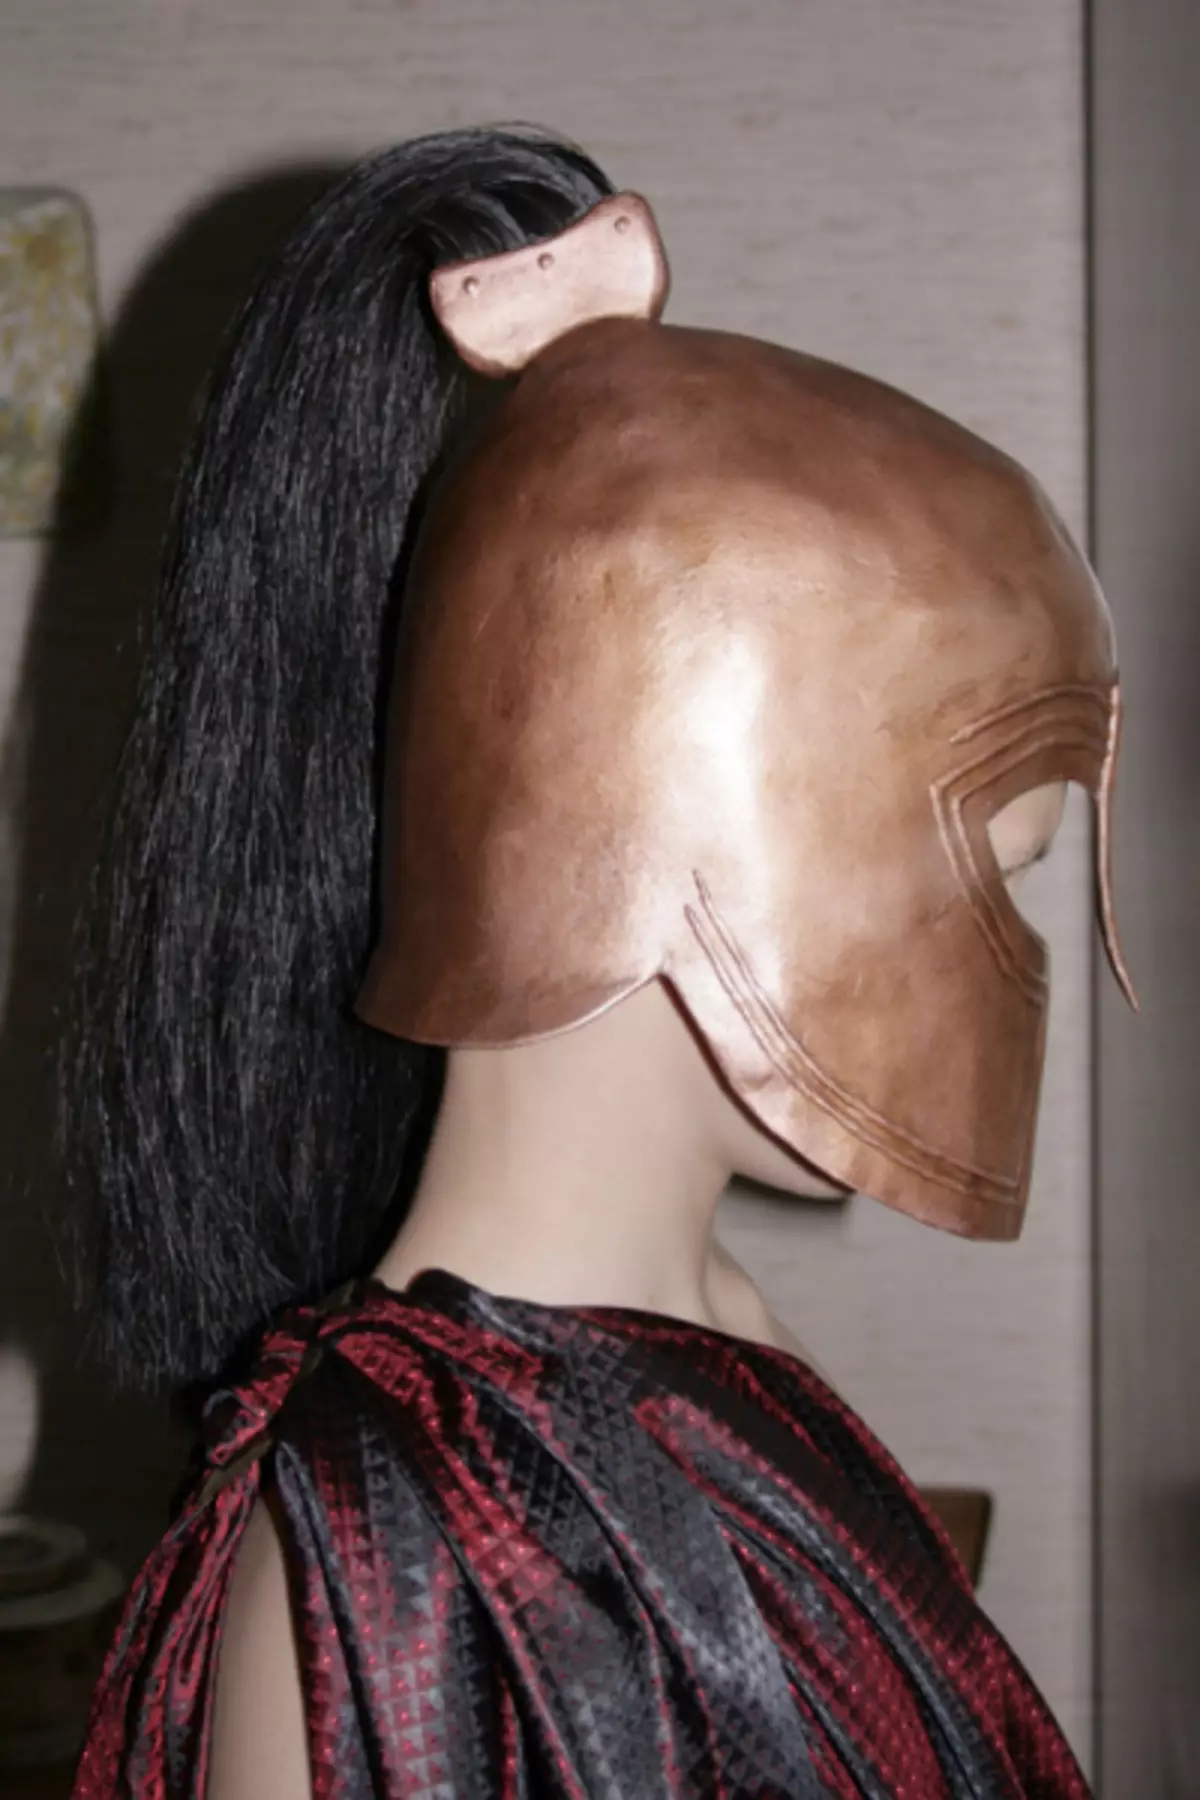
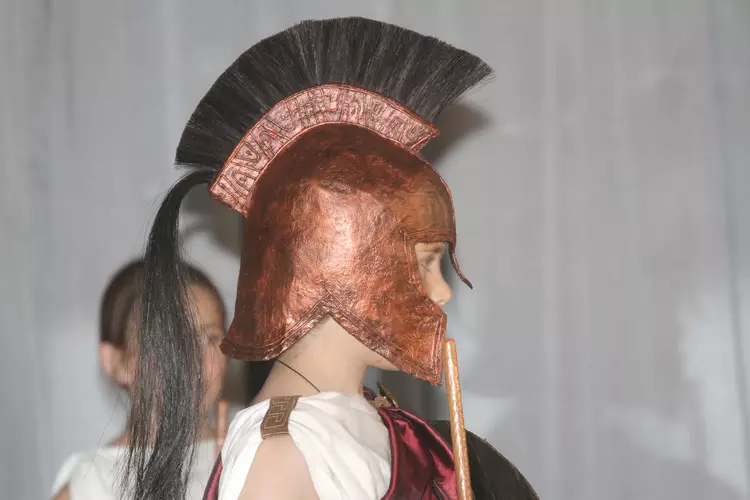
Back view.

And side.
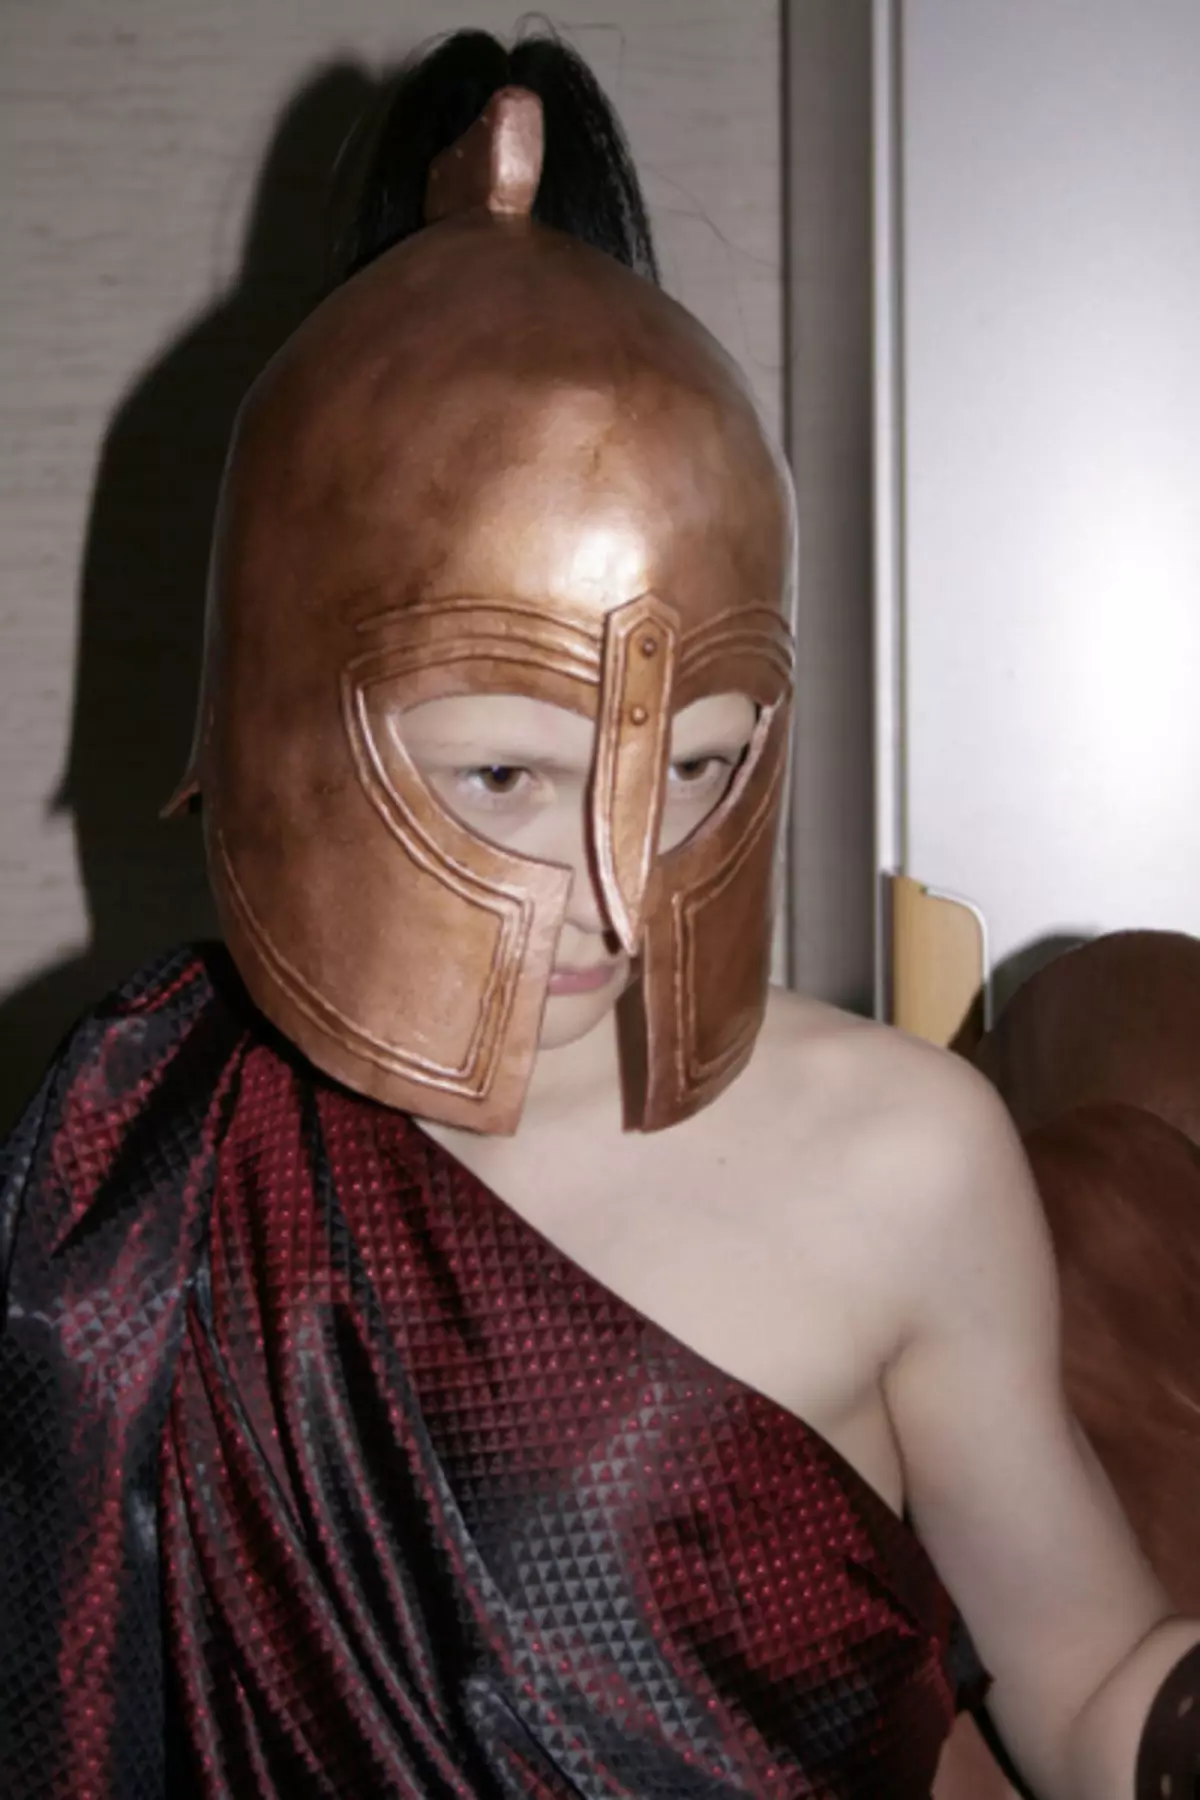
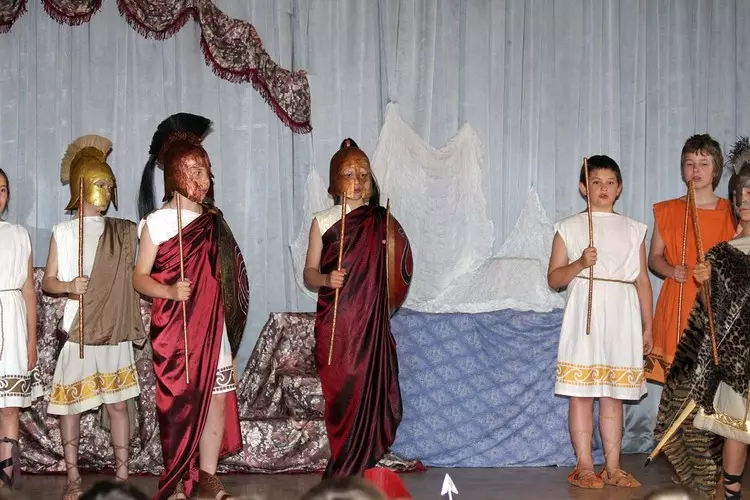
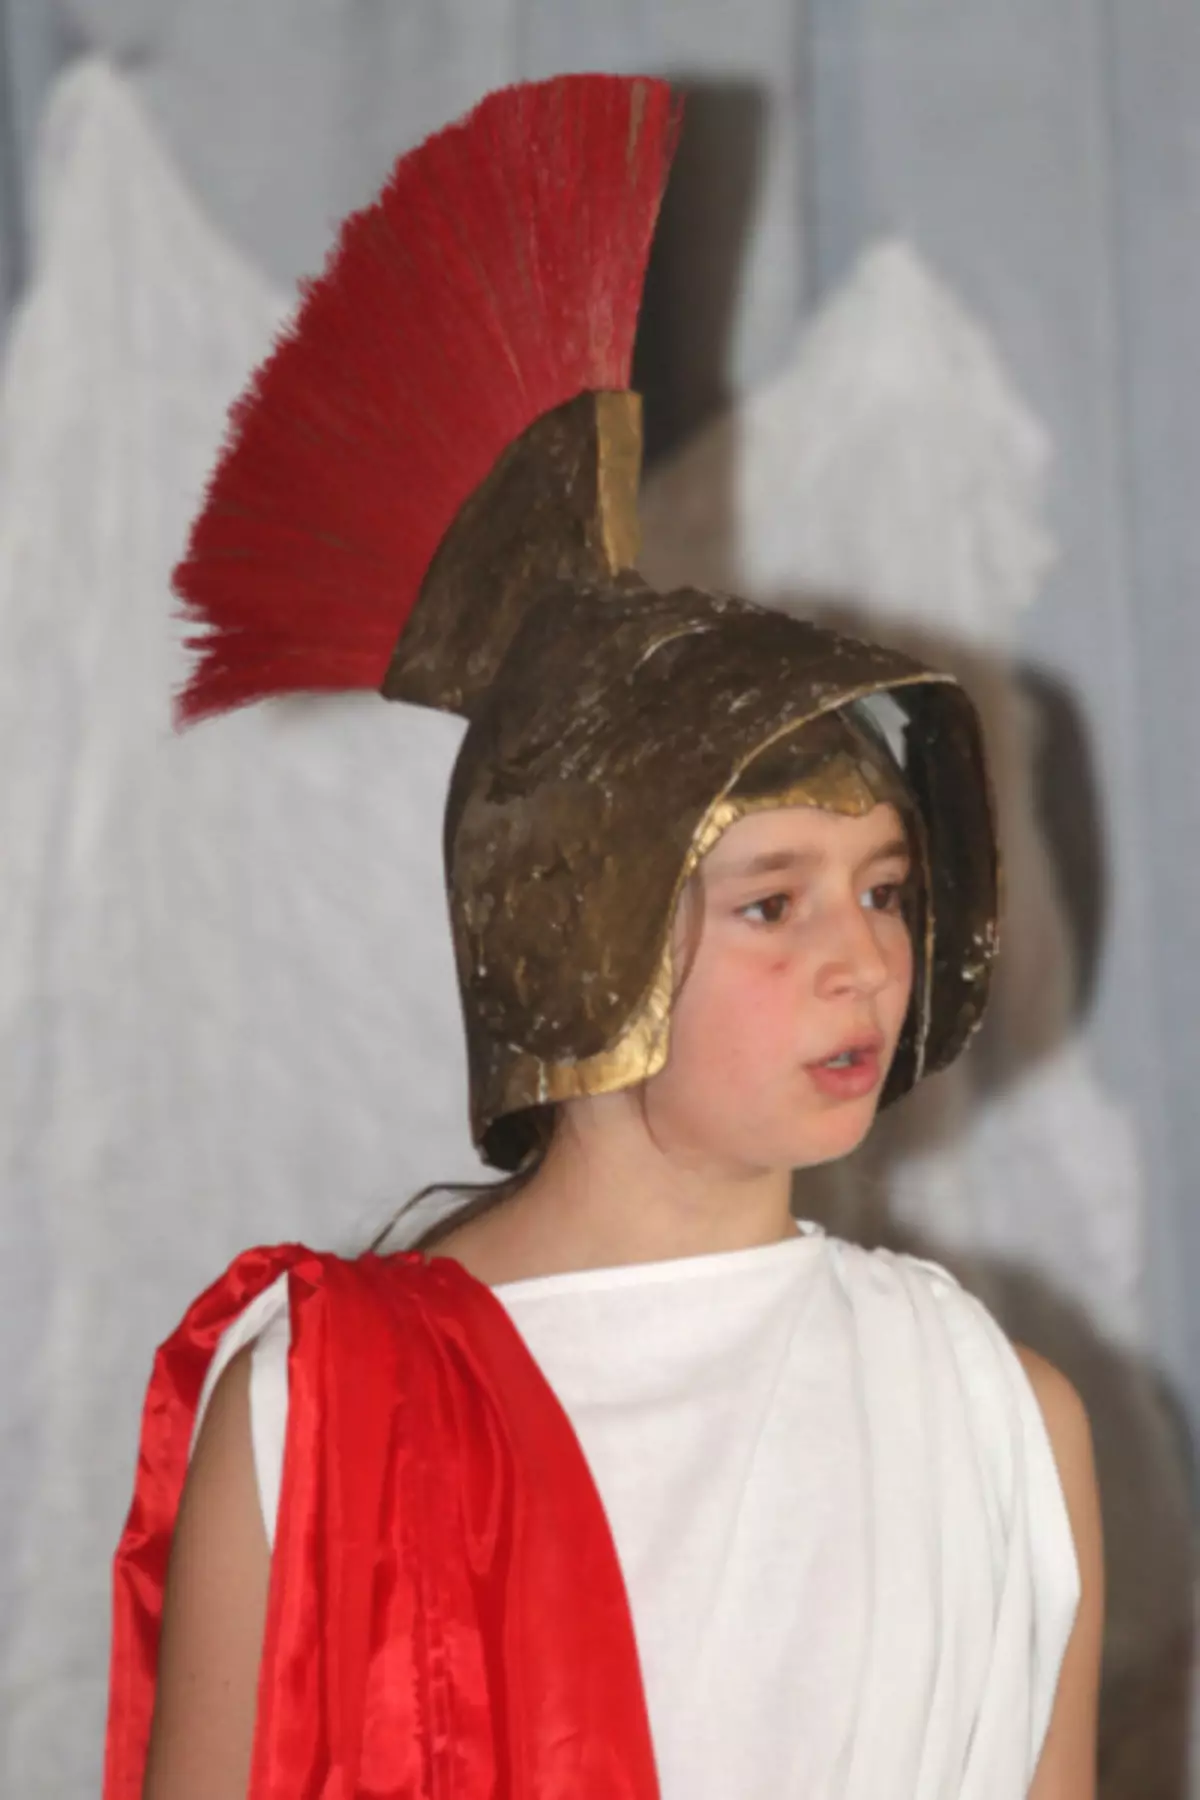
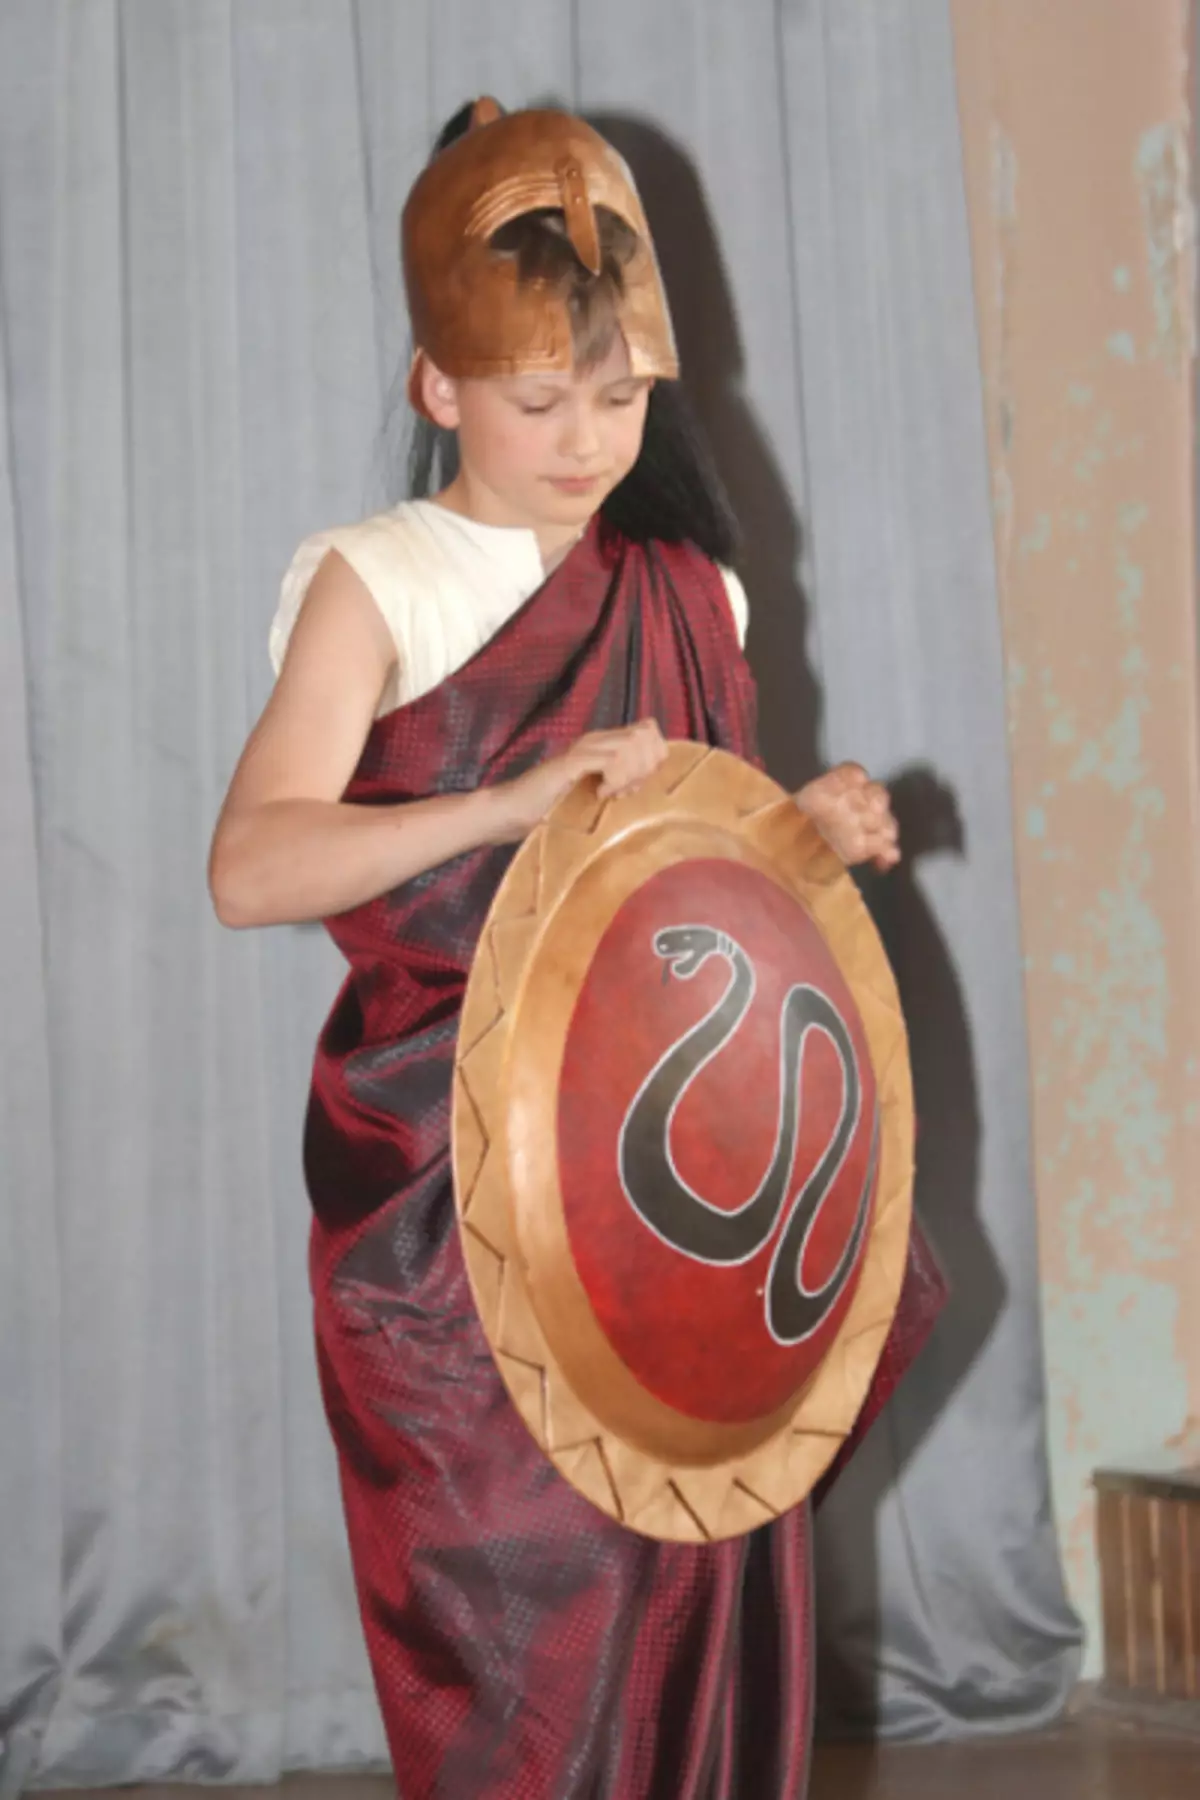
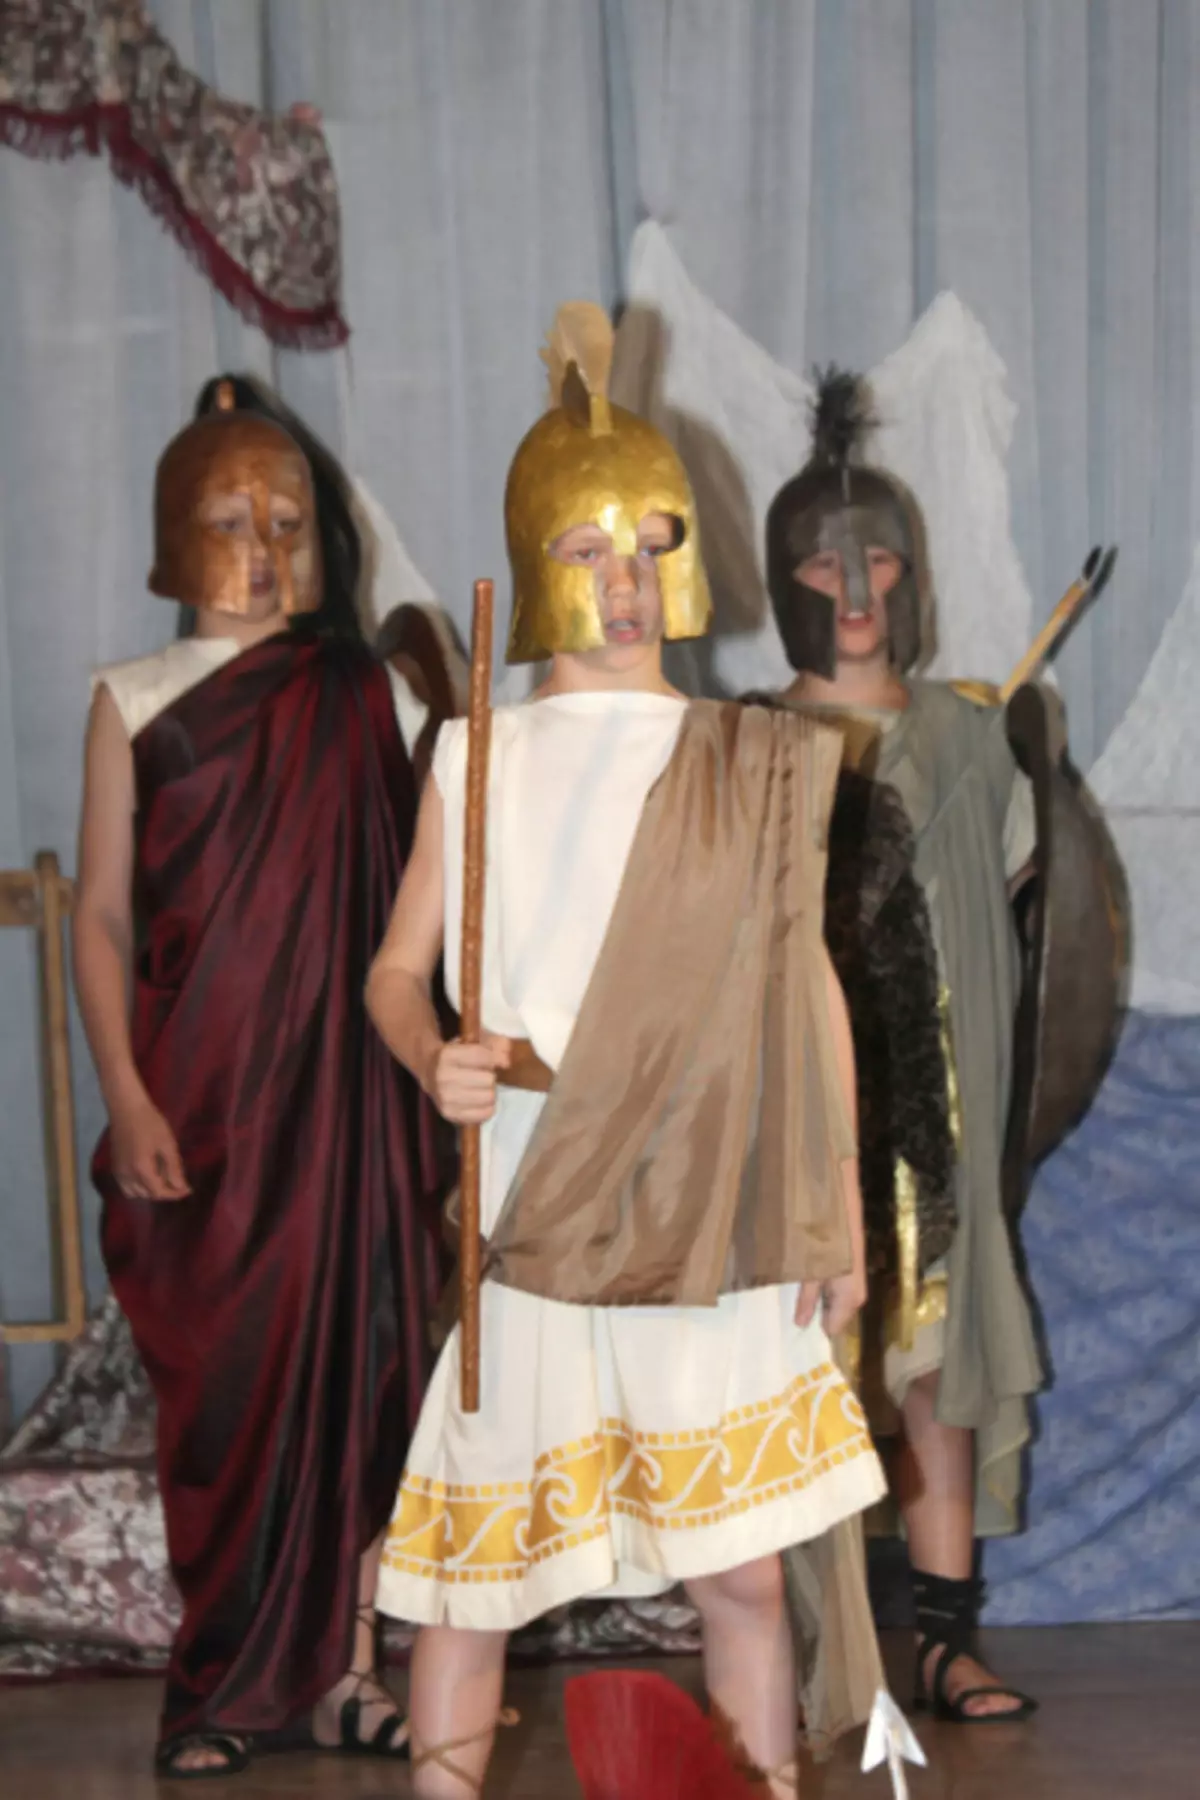
22. Here are some photos from the performance.
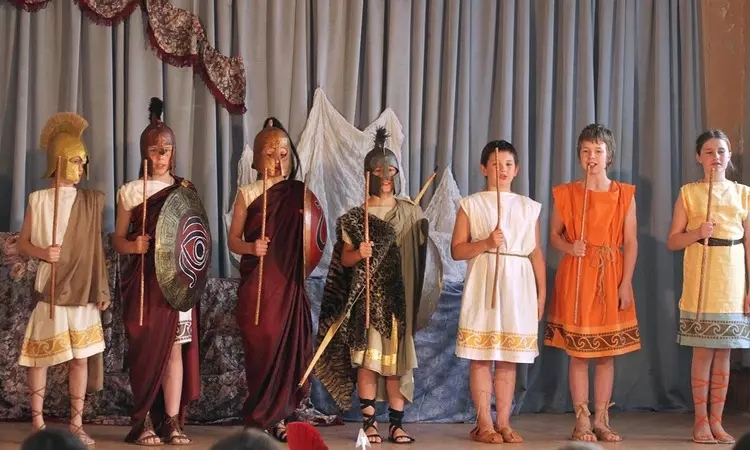
All helmets are made of papier-mache on this billet. For plumes were used: pile from the brush, threads, painted broom :)
Rejoice at me, since I got a tremendous pleasure from the process, especially if you consider that this is my first attempt to do something out of papier-mache.