Ladybug crochet is a very cute and creative product that you can please our relatives, children or friends. This wonderful handicraft can be used as a toy for a child, and as a pillow, and just like a souvenir. Such a ladybug made by her own hands can be an excellent gift for the most beloved people. After all, these are the most useful and good insects that will not leave anyone indifferent. This master class on knitting ladybugs with crochet will help even novice needlewomen learn how to knit such a miracle and delight themselves and their loved ones.
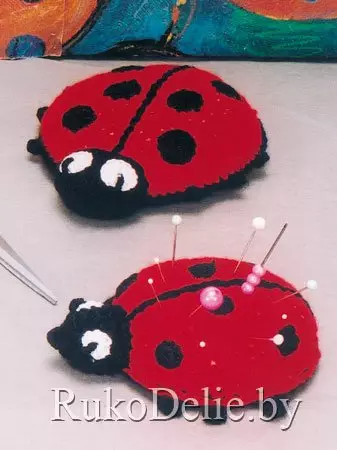
Homemade needlenet
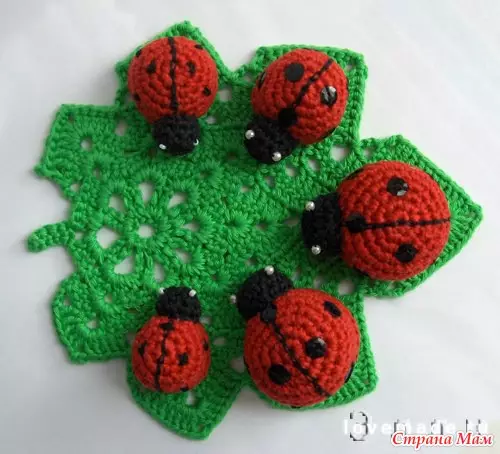
This cute needle ticking on the technique of "columns without Nakid."
Necessary materials for work:
- red, black and white thread for knitting;
- hook (should approach thread thick);
- material for packing (syntheps, wool);
- A piece of cardboard.
Knitting the abdomen of the abdomen of ladybugs is very easy. This part of the product knits with black threads. First you need a chain of four airclakes to close in the ring using connecting columns. Then you need to start working on knitting your head as black threads. For this, the 8 pillars without an attachment to check under the loop of the chain in the first row. In the second row to make 16 columns without Nakid. In the third and fourth rows - 32 columns without Nakid. In the fifth and sixth rows to check 48 columns without Nakid. The seventh and eighth rows include 72 columns without Nakid.
The back knit on the same scheme as the head, but with another number of hoppers. In the first row - 4 columns without a nakid under the loop of the chain. The second row is written by 10 columns without Nakid. The third row consists of 15 columns without Nakid. Fourth row - 20 columns without Nakid. The fifth, sixth and seventh - 25 columns without Nakid.
Article on the topic: Weaving vases from newspaper tubes for beginners with video and photos
The next stage is the assembly of all parts of the cow. Cut the circle from cardboard, in diameter is slightly smaller than the diameter of the body. To impose this item on the associated abdomen, and from above - the back and sew around the circle. Do not forget about packing pads syntheps. The legs of God's bows (only 6 pieces) to tie out air loops. Black thread in the center of the back to embroider a striped with a tambourine. Head also fill watt and sew to the body. The eyes of a white thread and six black dots on the back fit like this: a chain of five air loops to close into the ring using a connecting column and tie 15 columns with an attachment under the loop of the chain. Black pupils on the eyes are embroidered with a novel seam. The needle is ready!
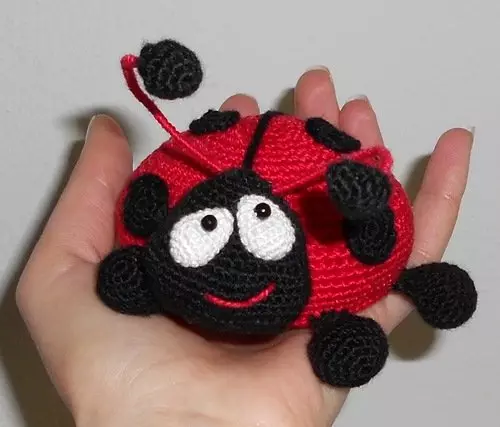
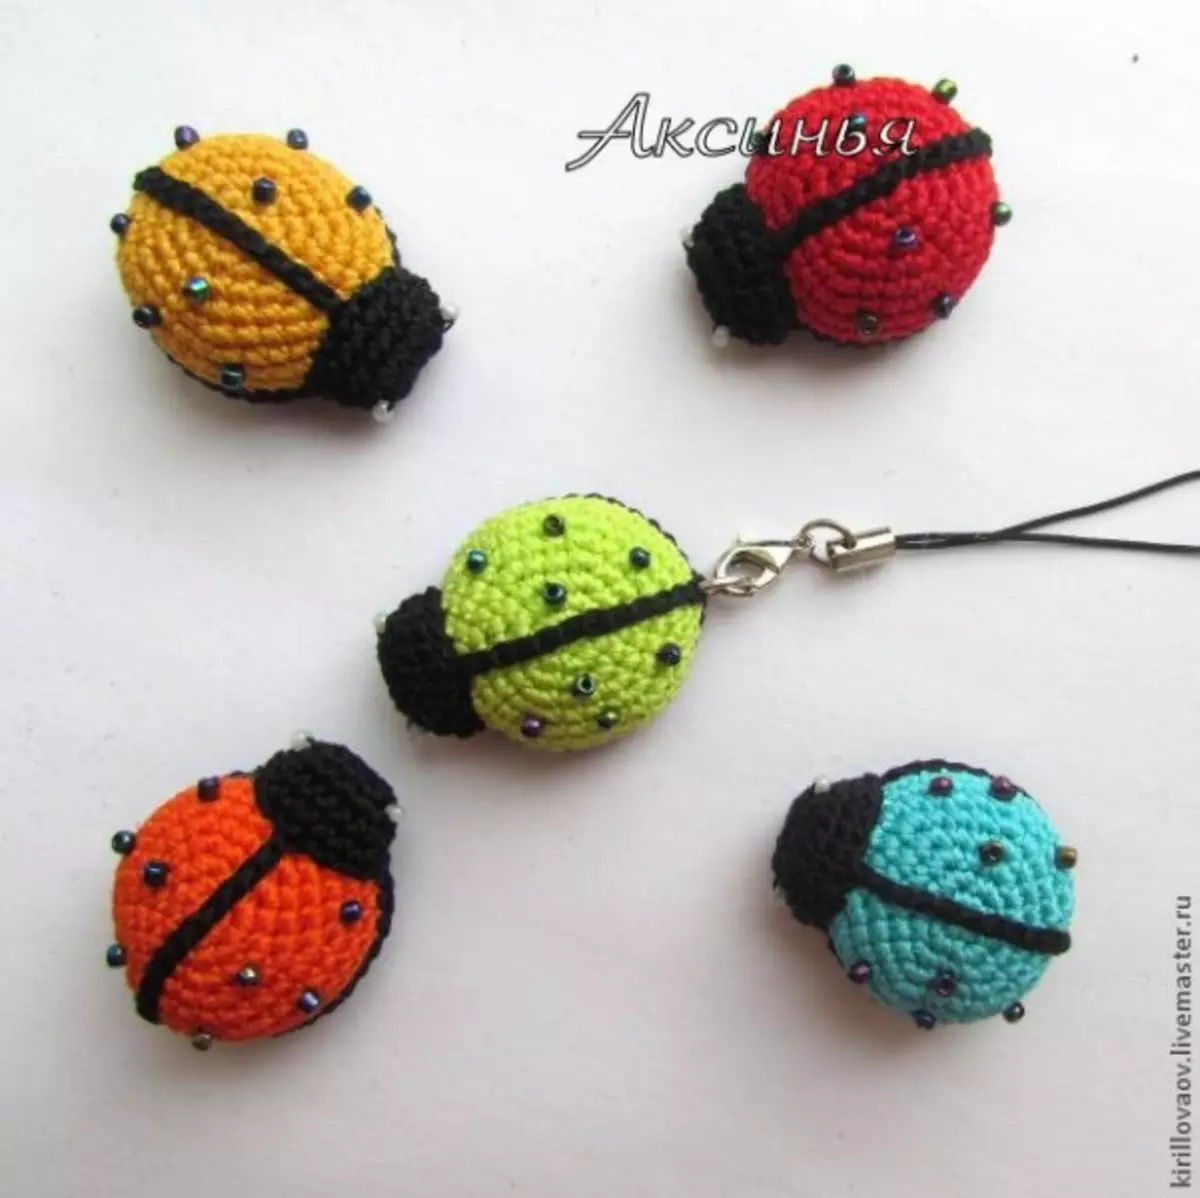
Knitted keychain
In the same way, you can make the carts of God's cows.
For this crafts, you will need another black and white beads for eyes and points, a needle with a black thread and a base for keychain.
At the beginning of work it is necessary to link the top of a red thread according to the Amigurum scheme. Amigurumi is the Japanese art of knitting soft beasts. The scheme and the description of knitting looks like this:
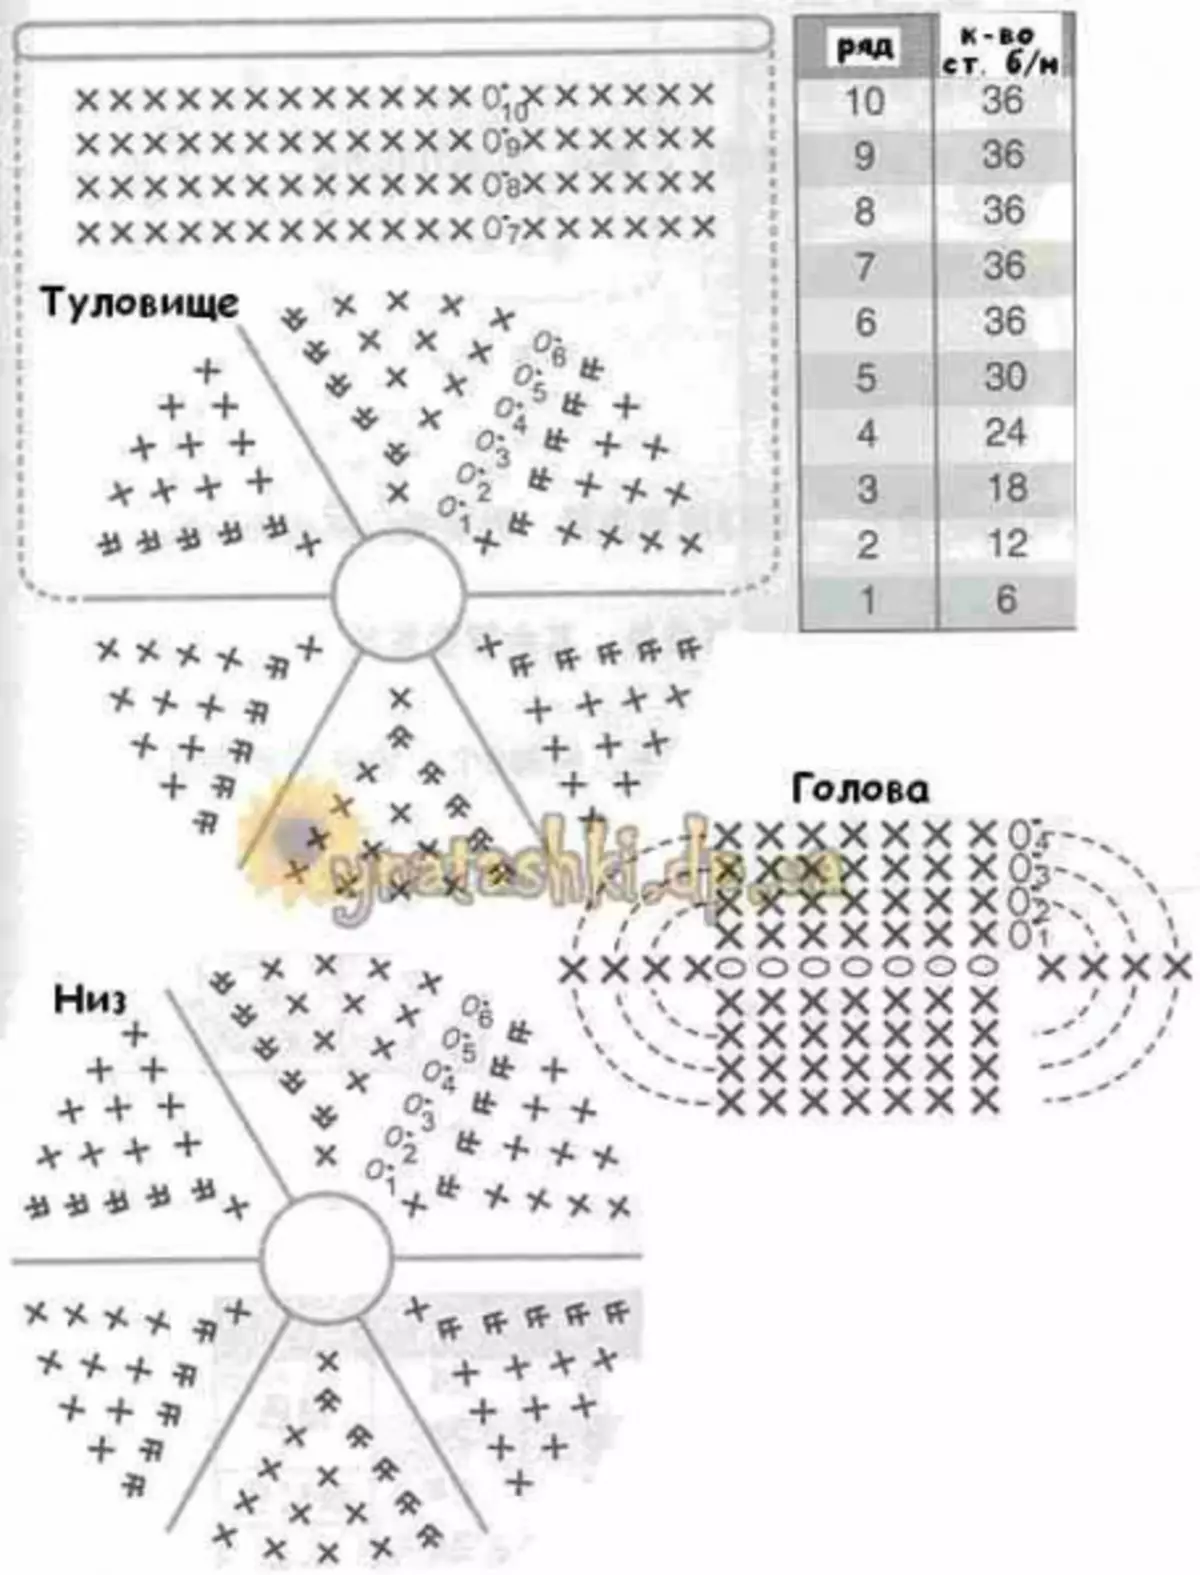
Knit on the helix, without connections at the top. Then bind the bottom, as well as the top, the black thread from the first one along the sixth row. Next, tie the abdomen and back together. Before the final compound, I fill God's cow with Sinypruna.
Then tie a separation strip from air loops in an amount of 18 pieces. The remains of the thread do not cut off the sheltered head will close the joint. To stick the head of the ladybug. Send it to stitches to the belly. As an eye and dots to sew beads. At the end, turn the ring from the key fob. Keychain "Ladybug" is ready!
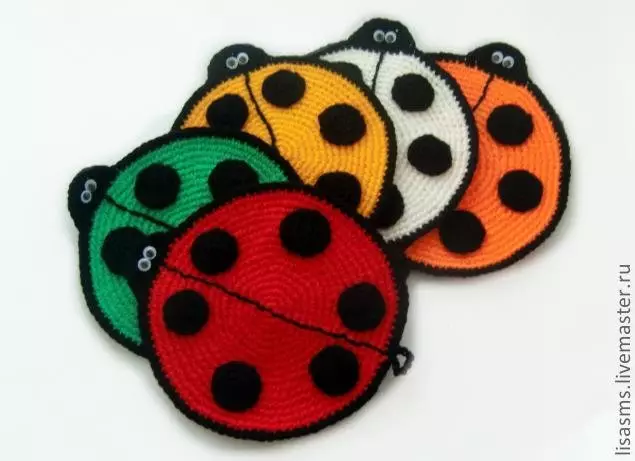
Bright tack
For such a funny and positive craft, you need to have yarn of red and black, hook, thread, needle, glue and plastic eyes.
The start of work must begin with the inspections of three aircraft and closer to their ring. In the same ring, tie 6 columns without Nakid. At the end of a row to make a connecting column. The next row is 12 columns without Nakid. Each subsequent row to add six columns without Nakida. Cut the circle to the desired diameter. Then take a needle, insert it into the yarn of black and flash the separate strip on the back of the neck "back needle."
Article on the topic: Cap for the girl do it yourself: Scheme with description and video
Head to stick with black yarn 8 bars without an attachment, turn the craft and tie as many columns without Nakid. Take the resulting billets with black yarn. At the end of the row to make 10-15 air loops. Then tie black mugs (specks on wings). Sew six circles on the back. Do not forget about gluing the slices.
This is what happens: