
In the yard of winter, the time of the new year, which means that you need to transform your apartment with the help of various festive decorations. Many original crafts can be made with your own hands. For example, a snowman from cotton disks is one of the simplest handmade applications. Below we provide several ways to make this decoration.
1 way
What will be required for work:
- cotton discs;
- paper of different colors;
- scissors;
- Cardboard sheets;
- Wooden sticks from ice cream;
- buttons or plastic eyes;
- plasticine;
- threads (rope) for the manufacture of scarf;
- glue.
Job description step by step:
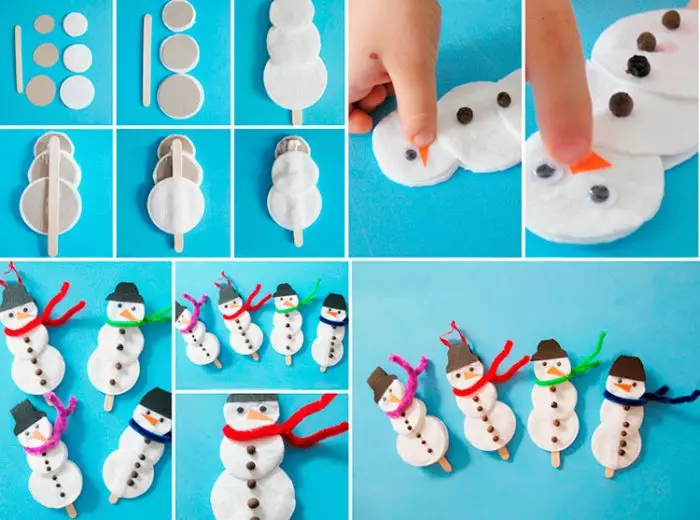
- Prepare three cotton disks. Two of them to make smaller in size (the second is less than the first, and the third is less than the second).
- From the sheets of cardboard cut circles of the same size that the resulting cotton disks.
- Glue with cardboard circles.
- Glue wooden sticks to circles.
- On the opposite side of the sticks stick three cotton disks in size.
- From plasticine to prepare balls and attach them to a snowman as a button.
- Eyes stick to the head of a snowman.
- Cut carrot nose and hat made of colored paper.
- All elements glue to a snowy little man.
- Bring a scarf from the rope to the resulting snowman.
Snowman ready!
2 way
This application can be performed with the child.
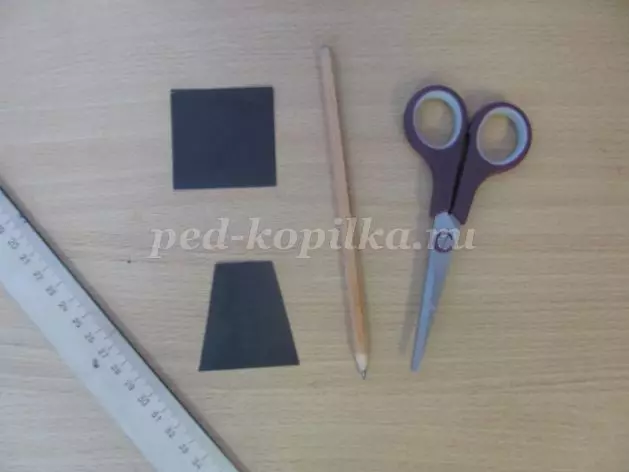
To work, you will need:
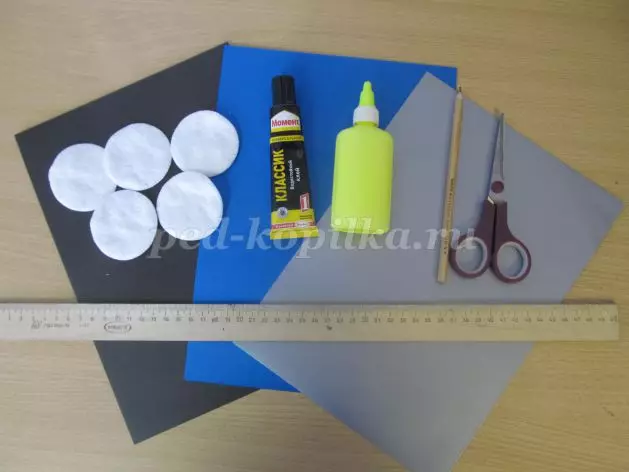
- Color cardboard (blue, black, silver);
- two types of glue (moment and pva);
- cotton discs;
- line;
- pencil;
- scissors.
Additional materials for design:
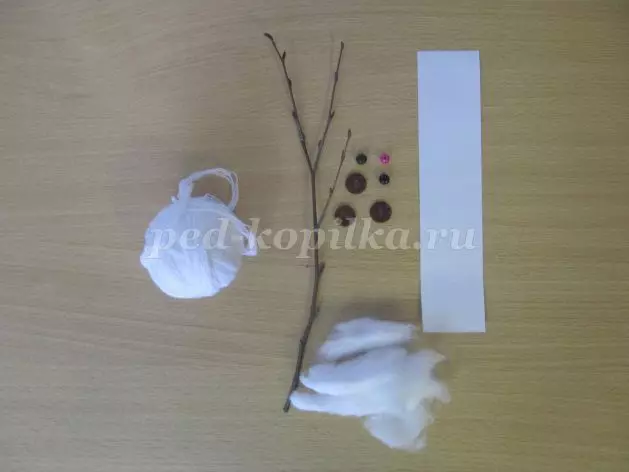
- wool;
- Thick threads;
- Buttons;
- beads of various sizes;
- Little branch of any tree;
- White paper.
Go to the description of the work.
First prepare the application frame - measure 2 cm from all sides on the back of the silver cardboard using a pencil and a ruler. Spend lines. Rounded corners on two sides.
Article on the topic: Painting of stones with your own hands with photos and videos

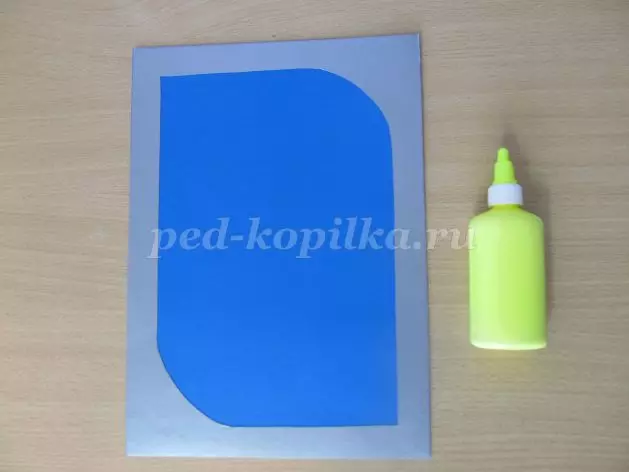
Cut the resulting middle. This is the framework of our applique.
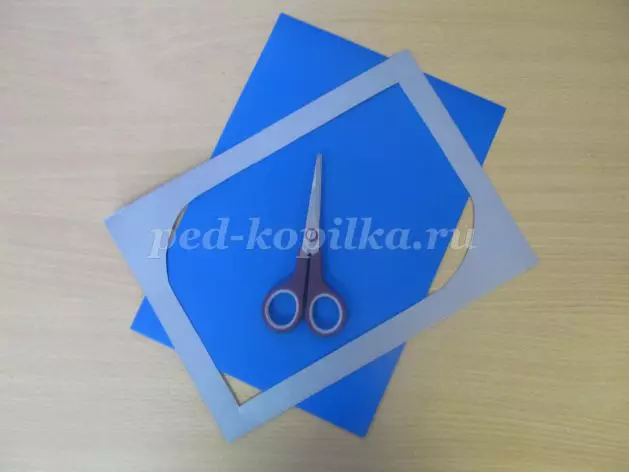
Frame glue to blue cardboard PVA glue.
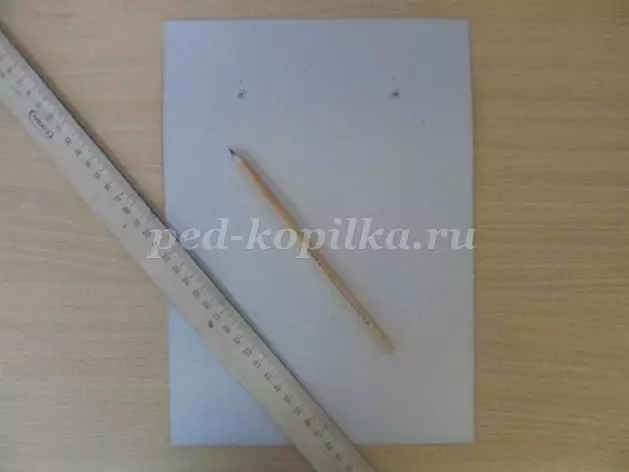
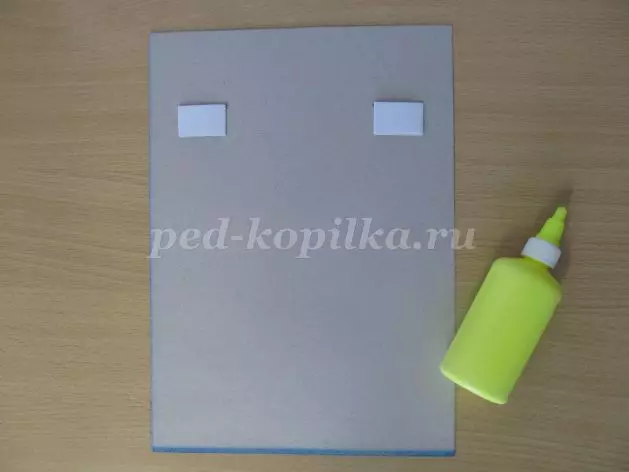
Then on the other side of our product, masters of loops for the thread, with the help of which the application will be placed on the wall. To begin, it should be noted two points that should be located at a distance of five cm from the top and five cm from the sides of the picture.
Now it takes white paper in the amount of 4 × 20 cm. Bend three cm from the edge (as in the photo below). The remainder of the glue and the entire strip is completely bend. It is important that the glue does not get to the middle. The resulting element is cut in half into two parts.
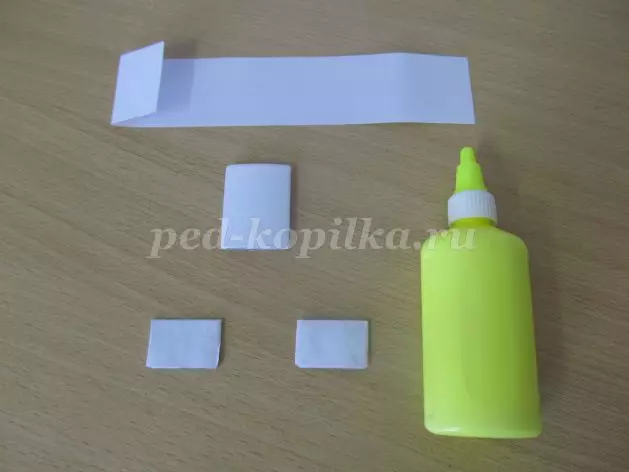
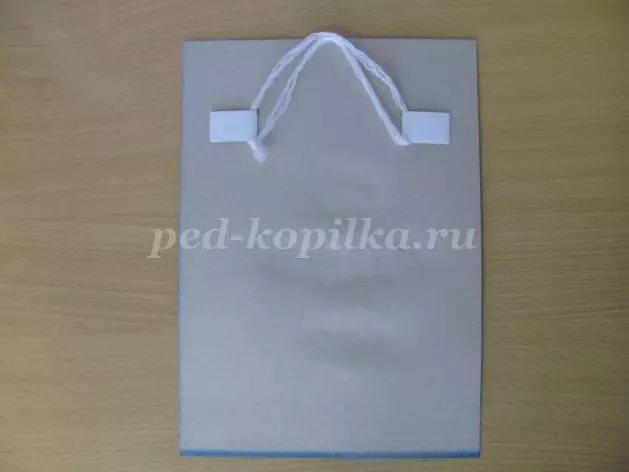
The two elements that turned out, glue the cardboard to the previously marked points. Thus reached a loop for the thread.
Stretch through the loop thread about fifty cm and make a node at the end.
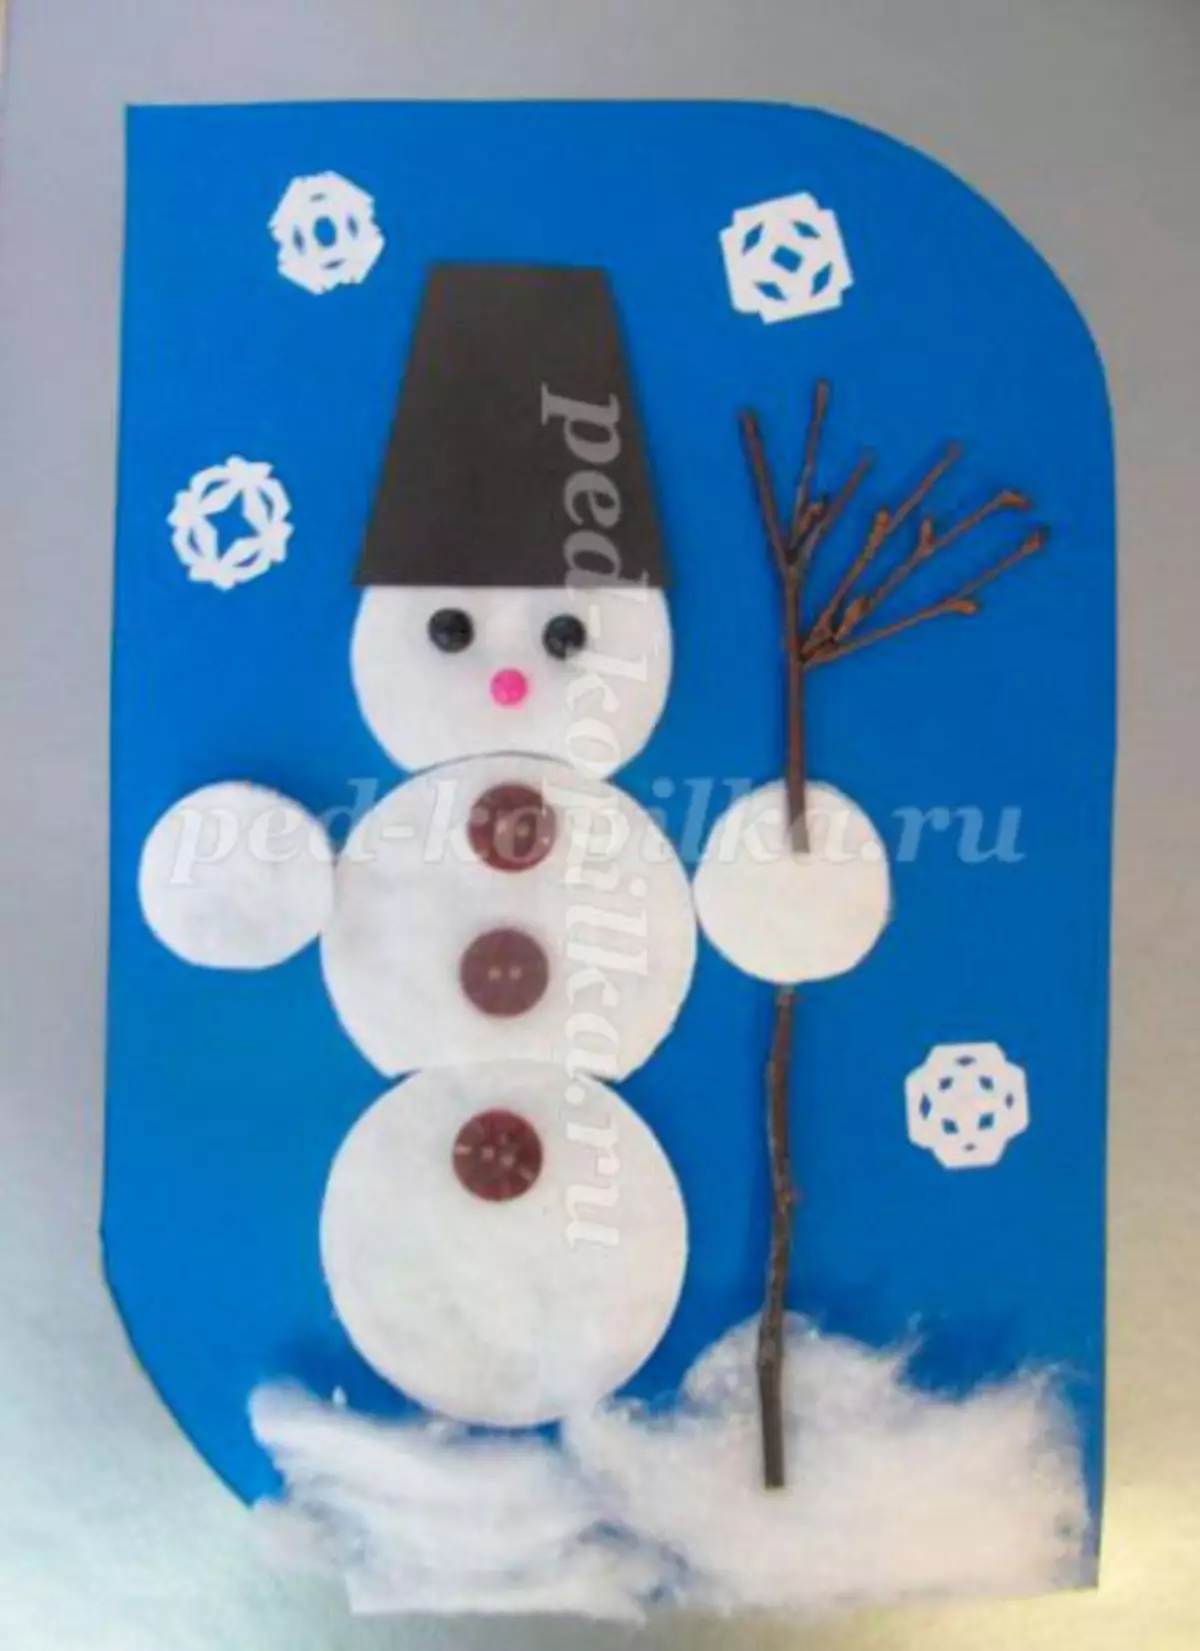
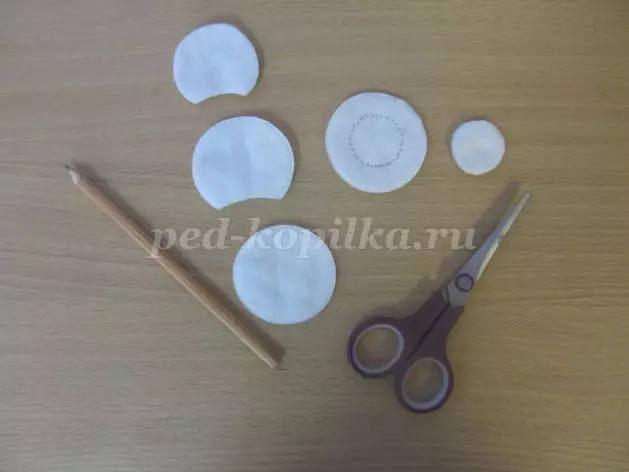
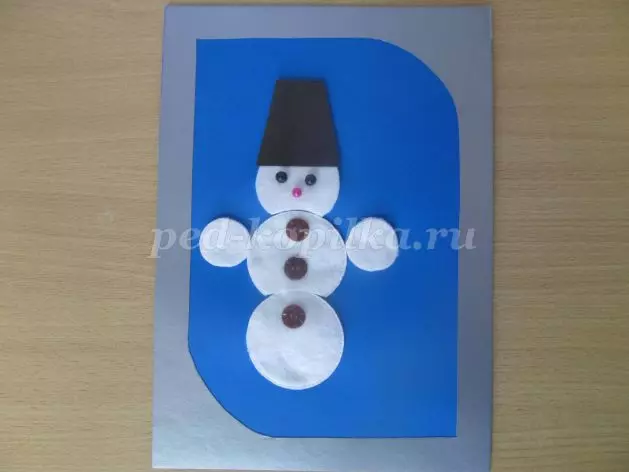
Next, you need to make a snowman for our appliqué. To do this, you will need cotton discs: one left as it is, the second cut off the lower edge (it will be a torso for the future of a snowy little man), the topical disk (head) should be smaller in size than the second, it also cuts off the lower part. Of the two other disks, cut two circles with a diameter of three cm - these are future hands.
With the help of PVA glue on the opposite direction to glue the finished mugs.
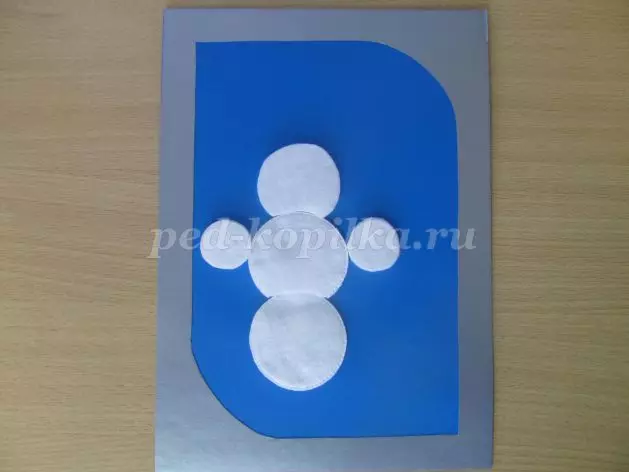
Make a bucket for the resulting snowman. To do this, cut the square of about 5 to 5 cm. Next, from the square, cut the trapezoid, in which the first base is 3 cm, and the second 5 cm.
PVA glue glued to the head of a snowman obtained bucket. Also glue two beads that will become eyes and one smaller is the future nose. Buttons attach to the body of a snowman. For these elements, it is better to use the "moment" glue.
Article on the topic: Decor of transparent Christmas balls do it yourself
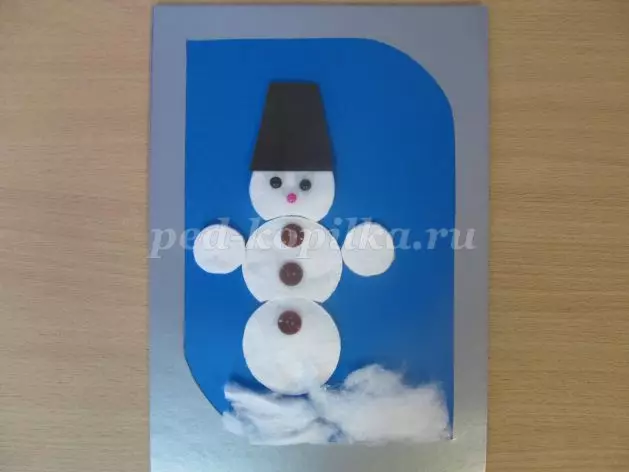
Then the wool will be required to create snowdrifts under the snowman.
With the help of the same "moment" glue to back up a tree twig to the hand of a snowman. It turned out broom.
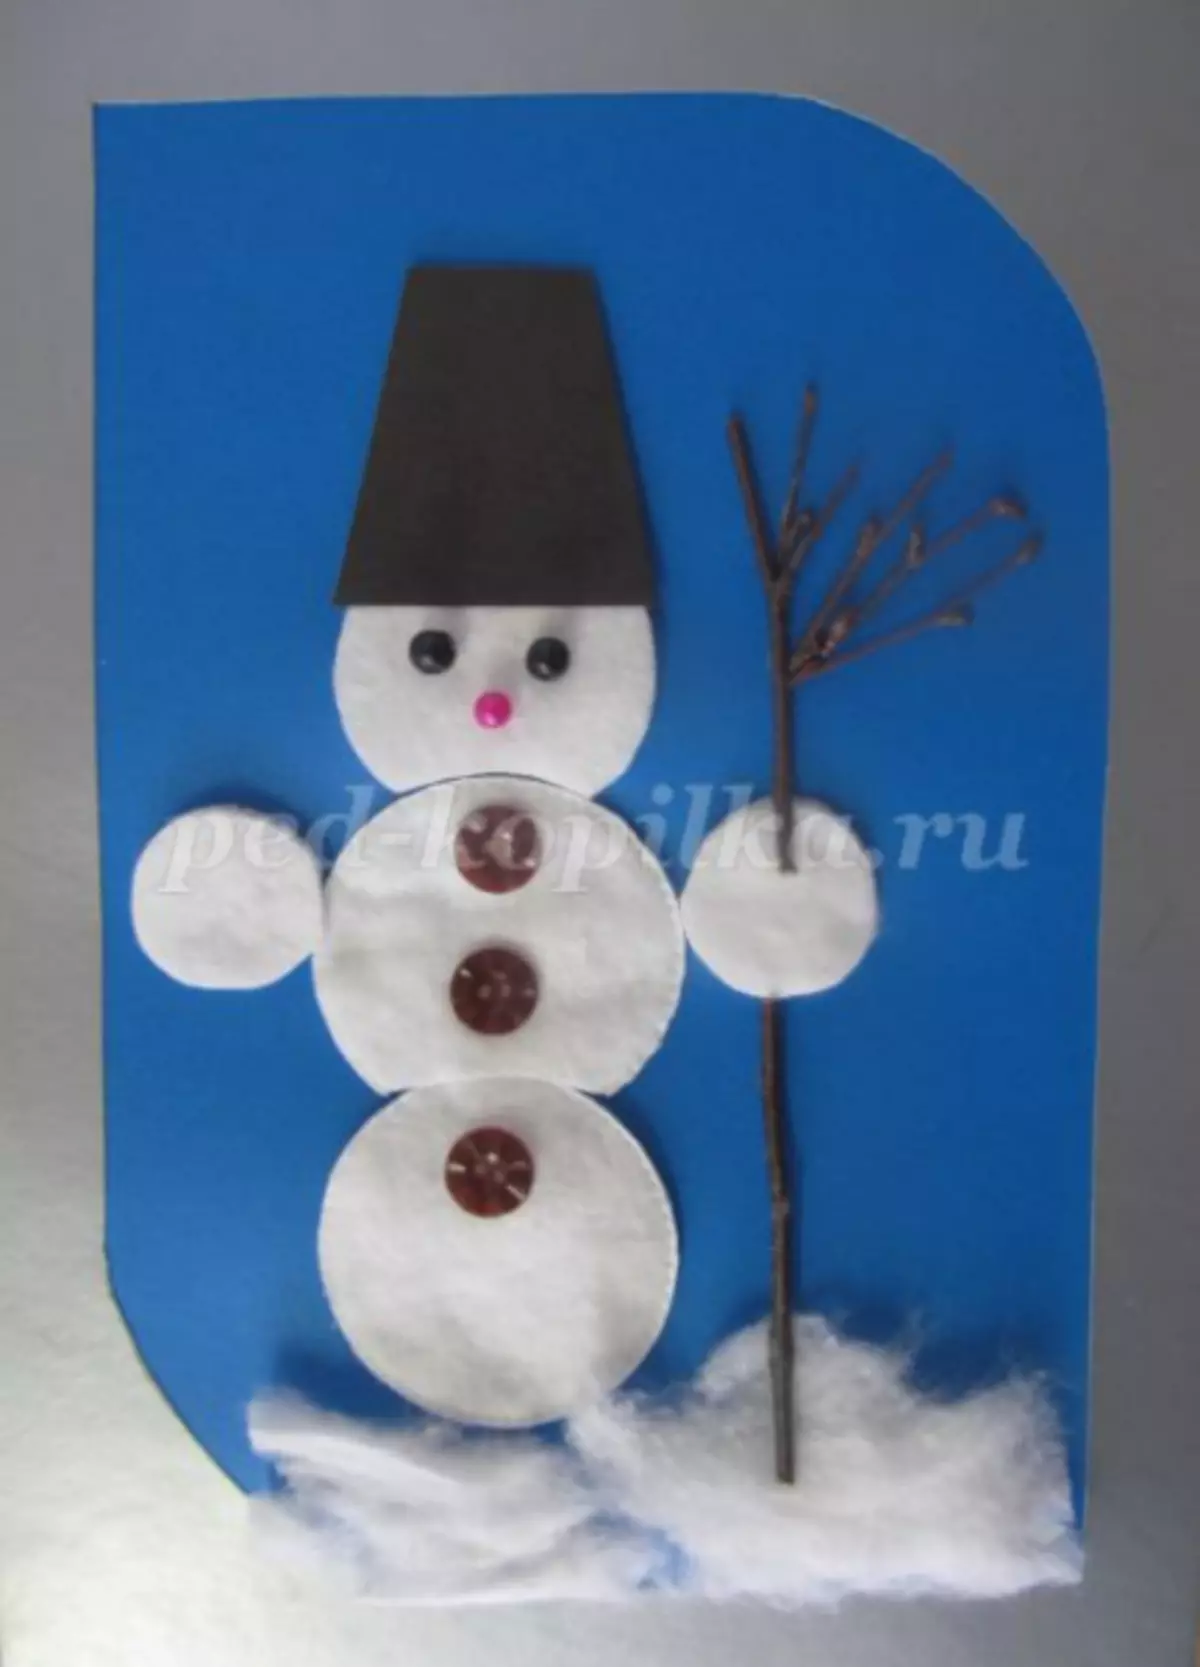
Application is ready. Optionally, you can embellish the picture homemade snowflakes.
3 option
This exemplary is very simple. Even a child can cope with such work.
What will take:
- cotton discs;
- glue;
- black marker;
- Colored paper and cardboard;
- Multicolored threads;
- Clipping (can wire).
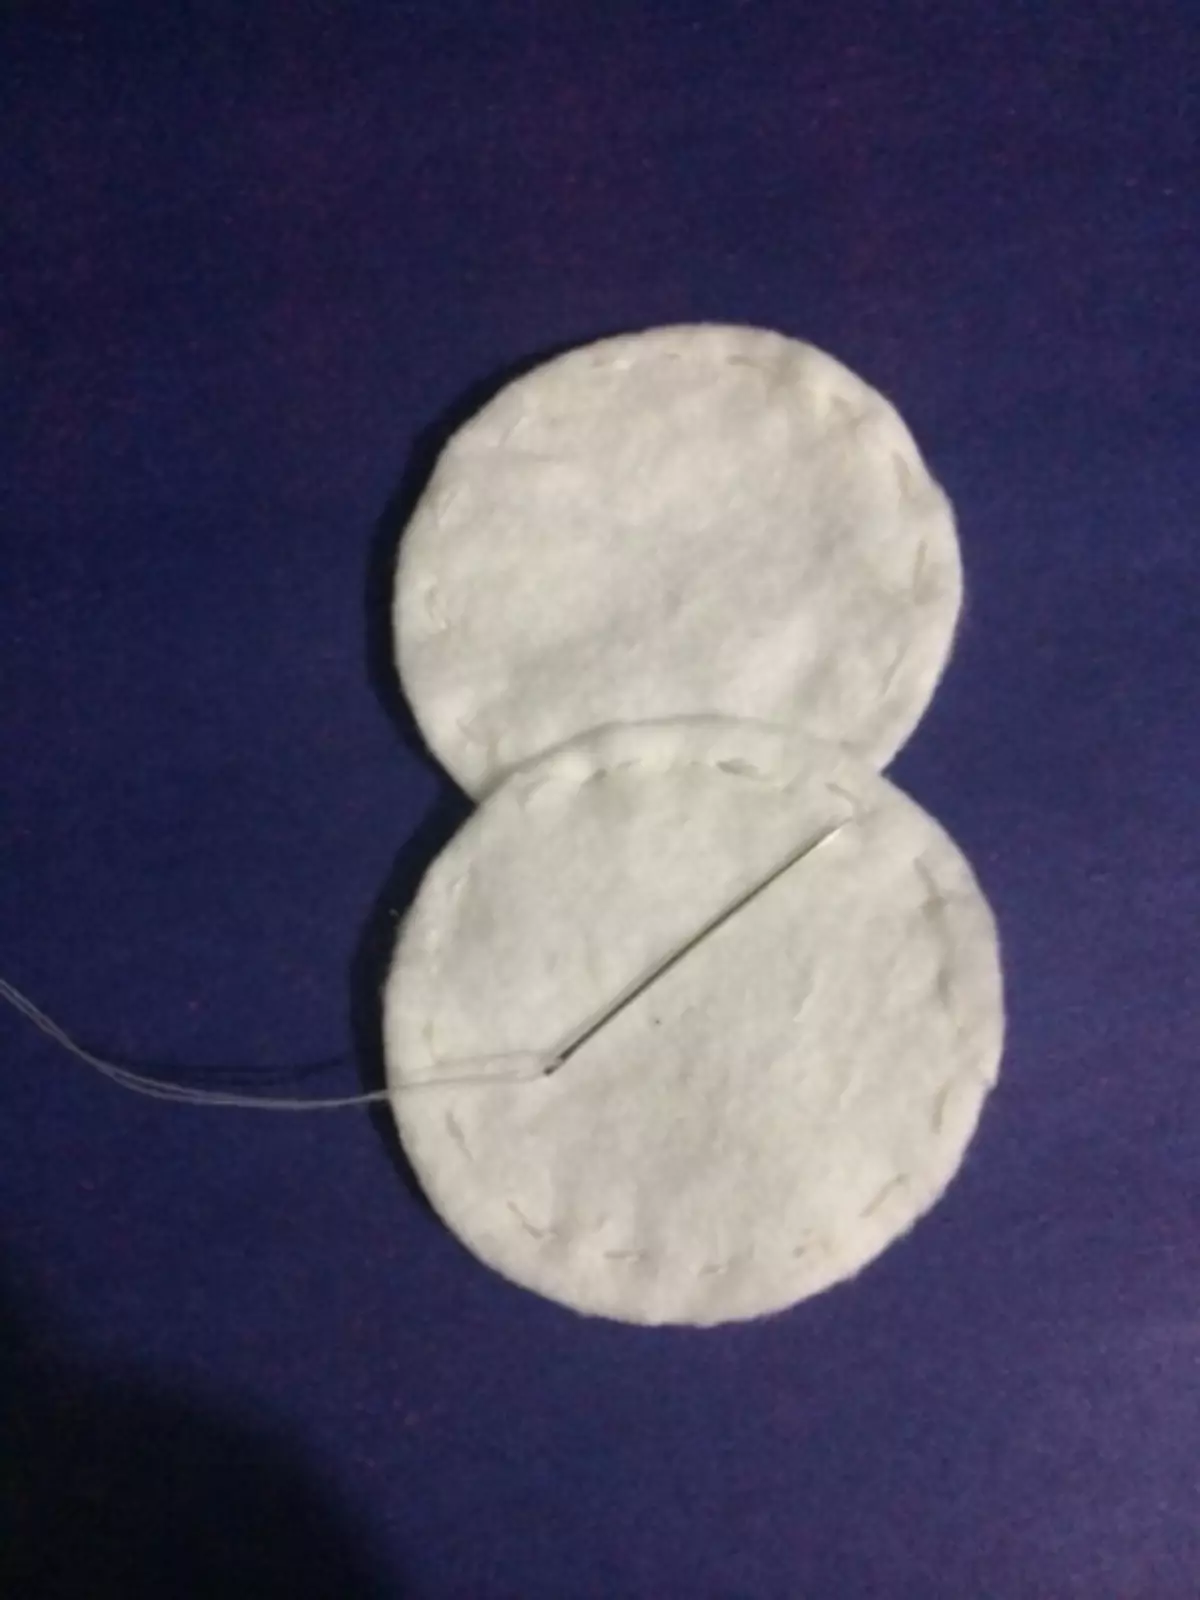
Getting to work. Prepare two cotton disks: flash the edges with white threads, while stitching them with each other.
On a note! If there is no desire to sew, you can glue the edges with glue among themselves.
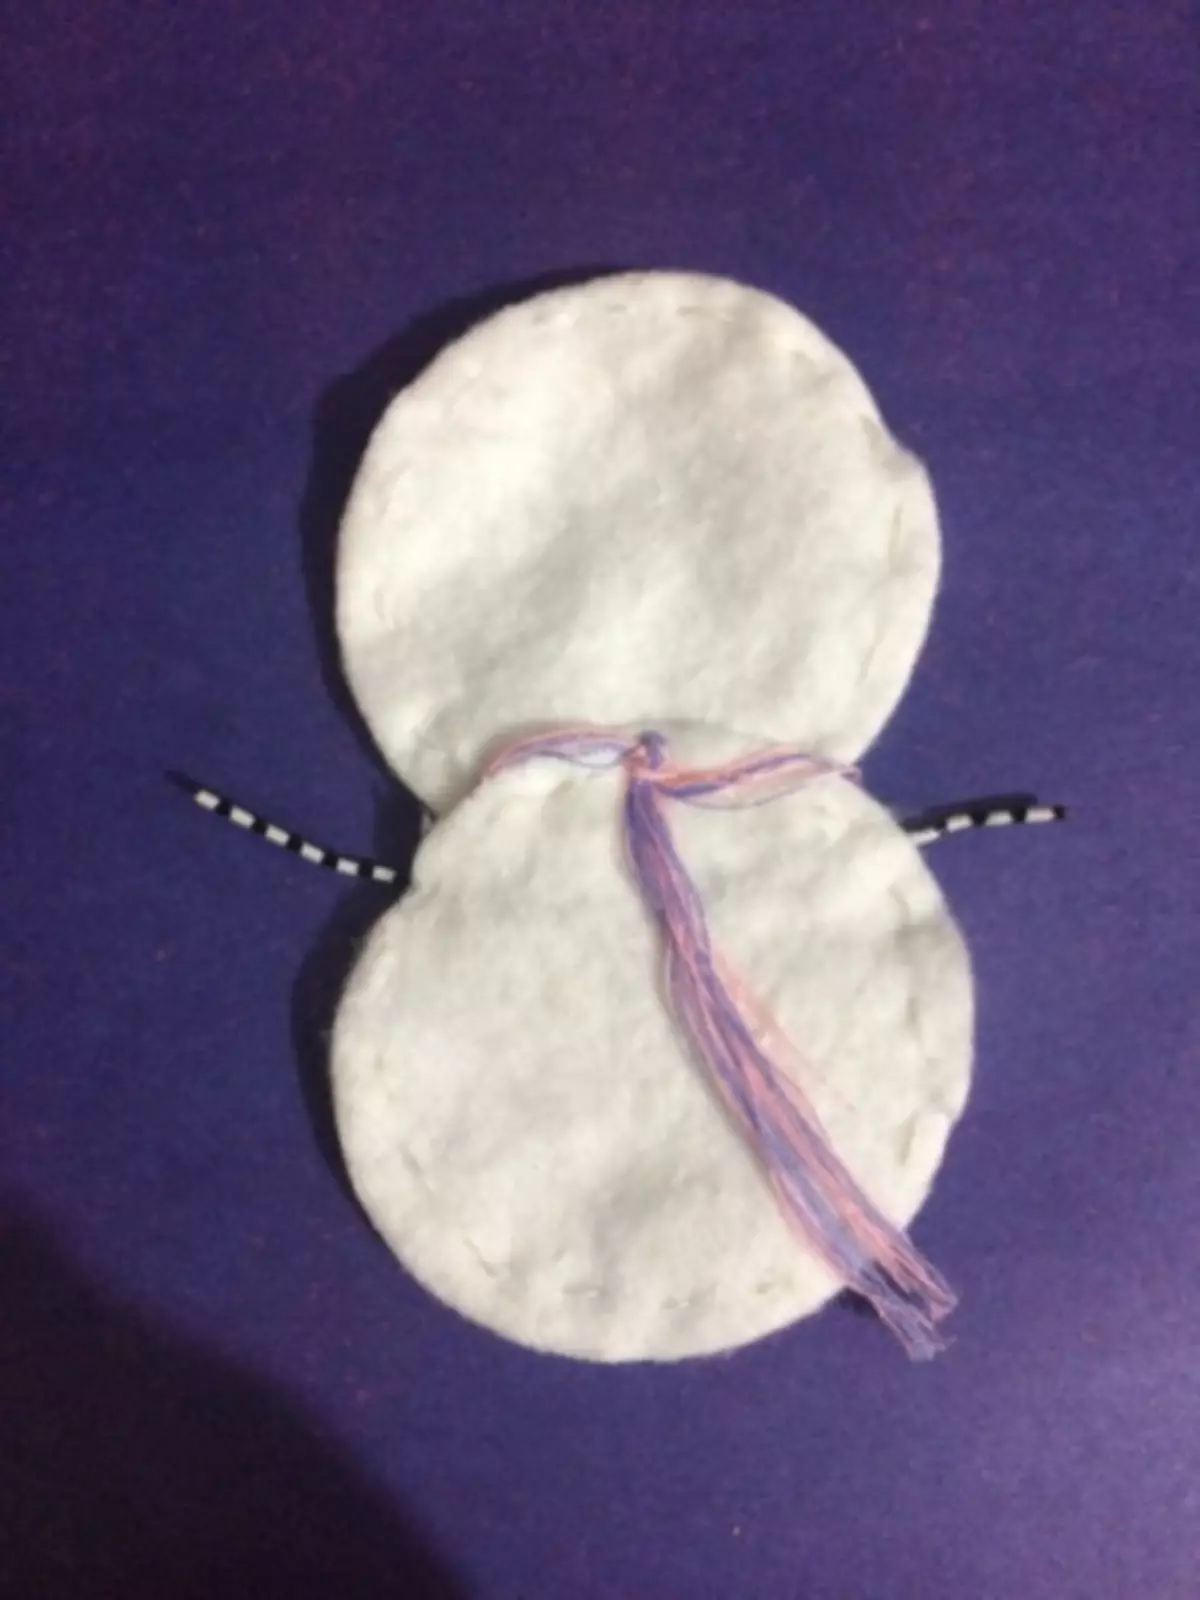
Threads of different colors (in the photo lilac and pink) to tie around the "neck" of a snowman in the form of a scarf. The handles can be made of clips or wire - just insert them into the disks.
The marker draw the eyes, mouth and buttons of a snowman.
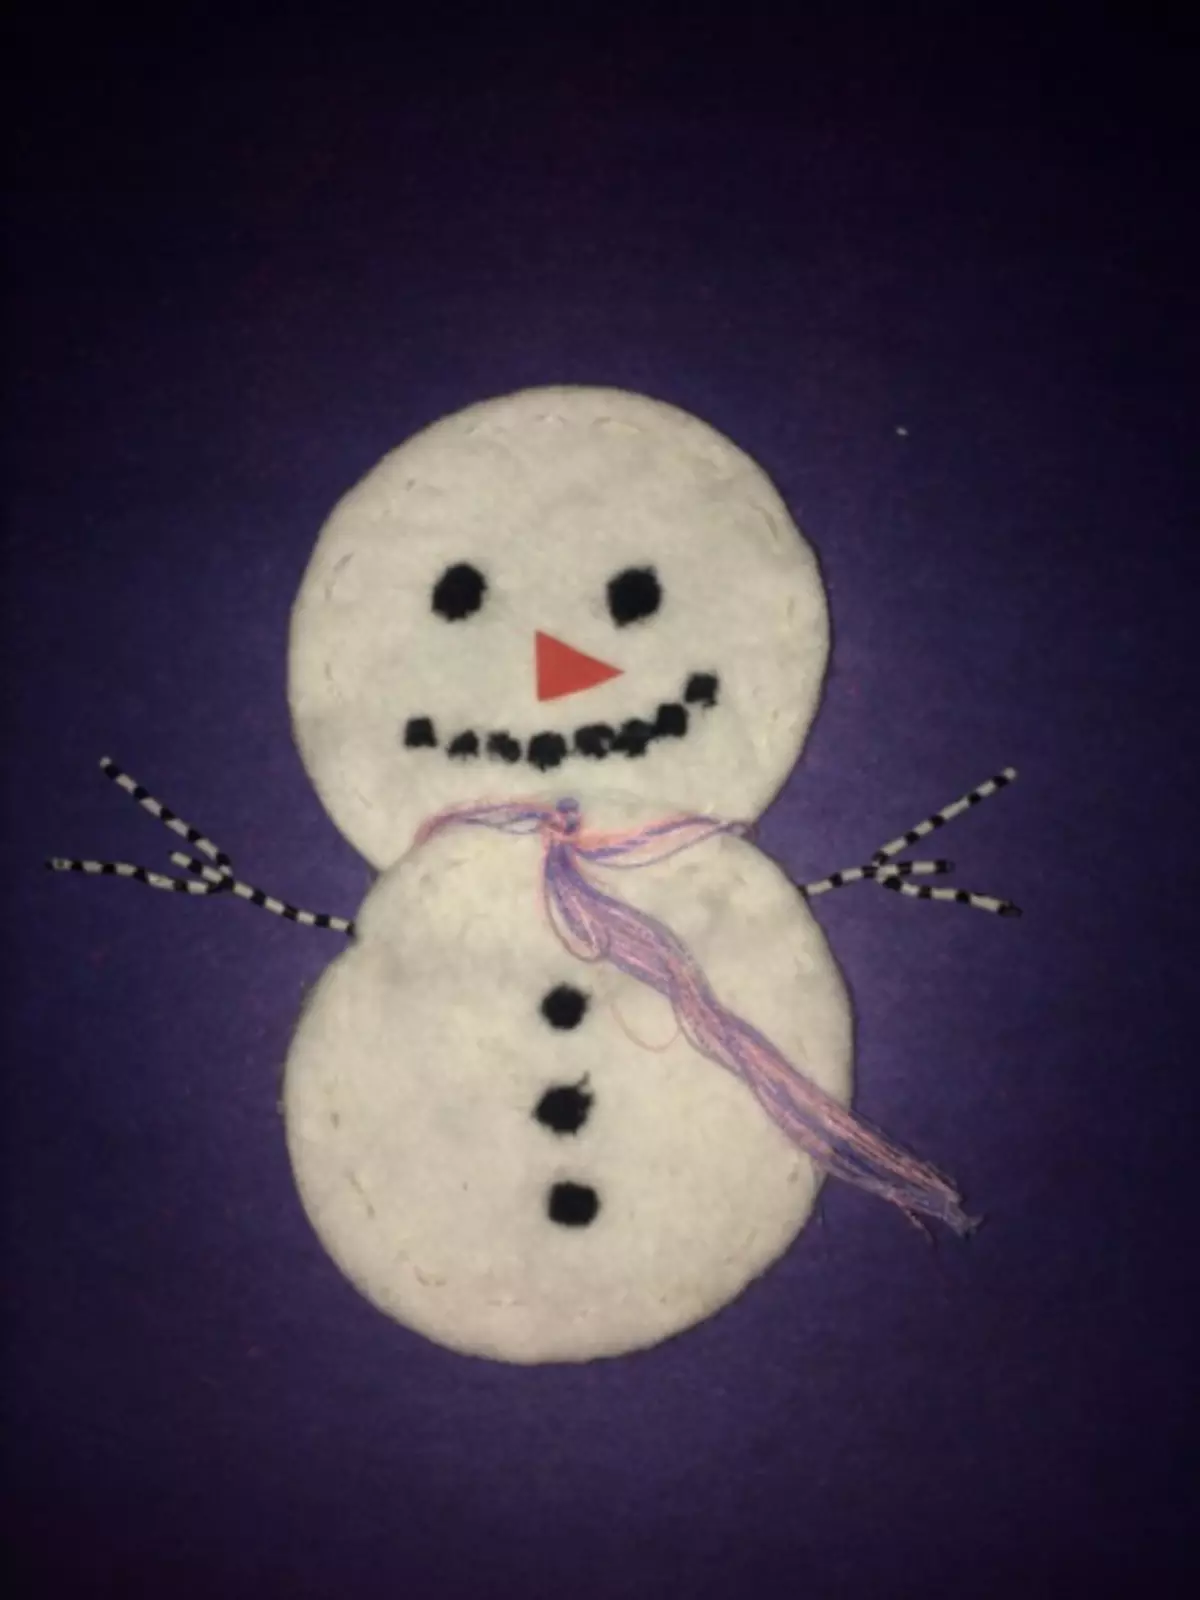
Hat and nose cut out of colored paper and glue your head.
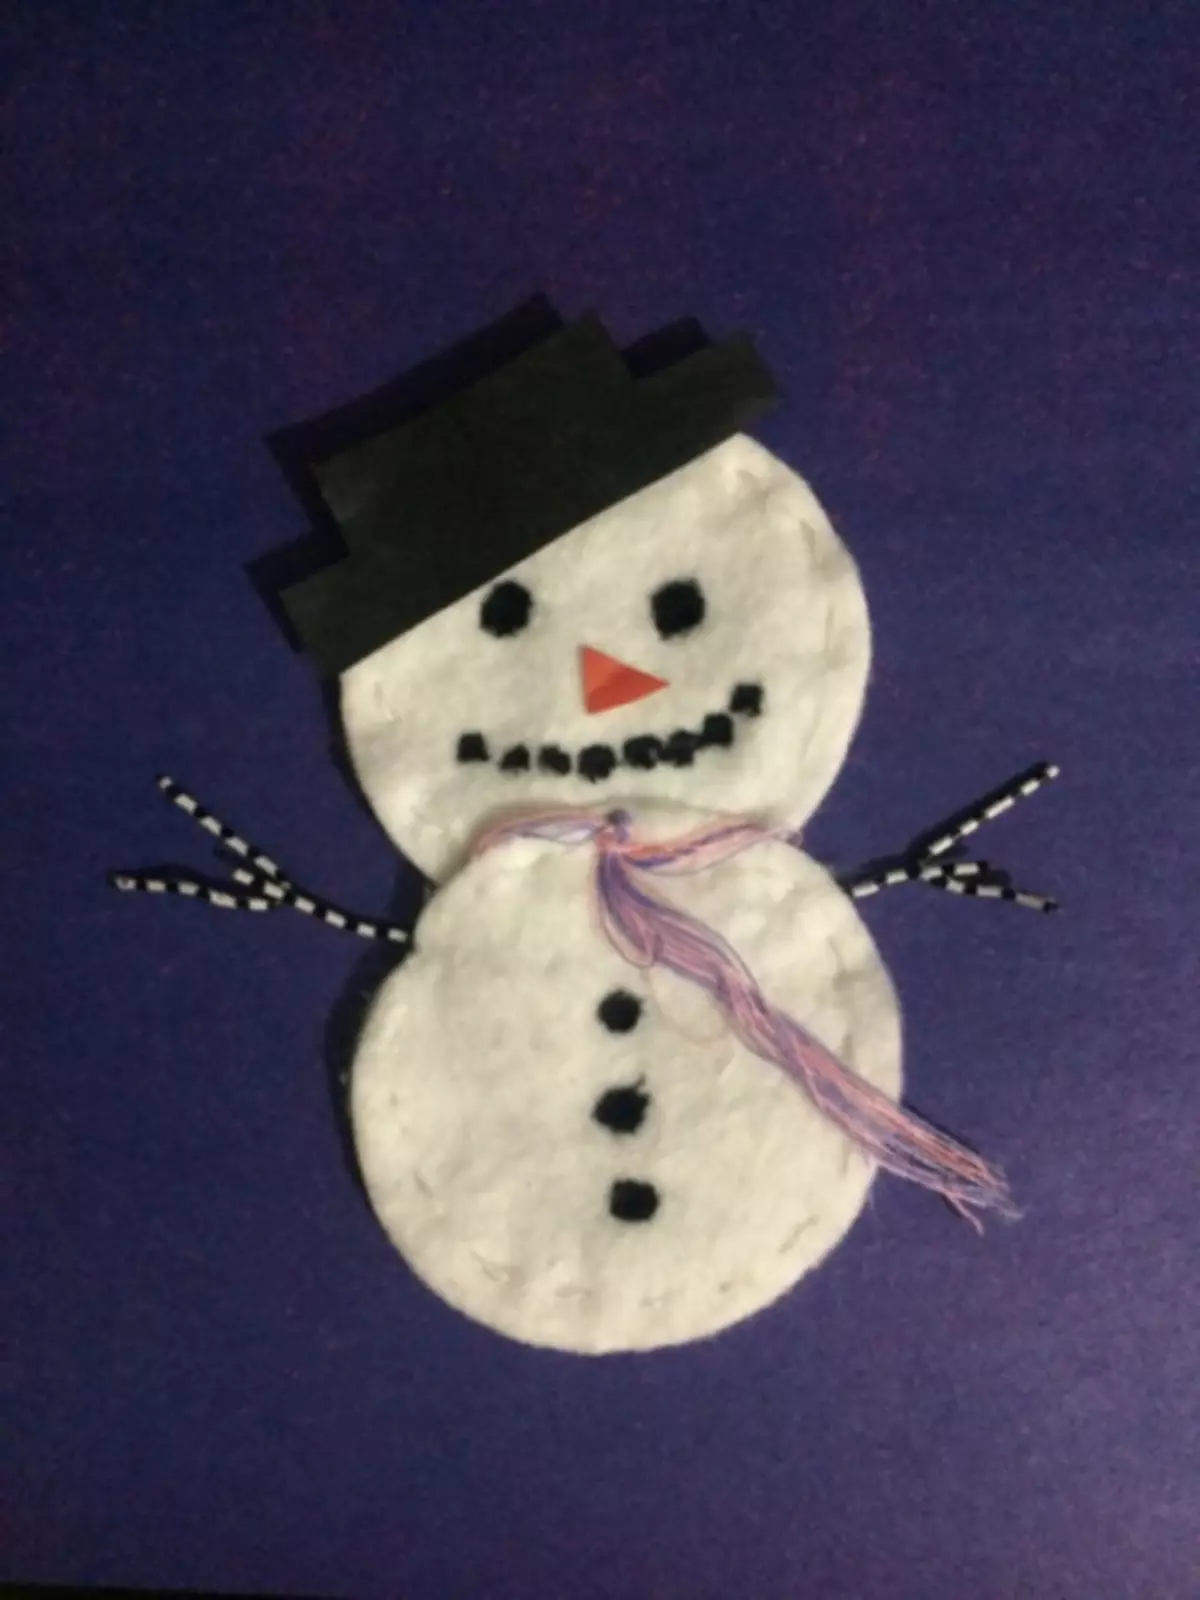
Crafts ready! Then the work of your imagination. For example, a snowman can be glued to a folded cardboard for a postcard. You can also attach a loop and hang the product on the Christmas tree in the form of a toy.
Other versions of snowmen of cotton discs:

Here are such crafts with your own hands, you can quickly and easily make from the remedies. Also, it is also possible to connect your child to this process, which will serve as its shallow motility.