Autumn - time when you want to bring a little more warm and comfort to the house. And even such trifles such as fakes made by their own hands help. One of the most unusual, original and beautiful fakes from straw are obtained. Straw is lightweight and malleable material, with which it is interesting to work.
What can be made of straw?
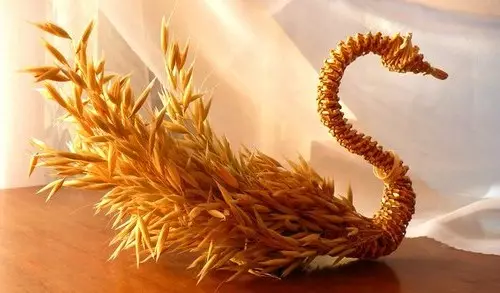
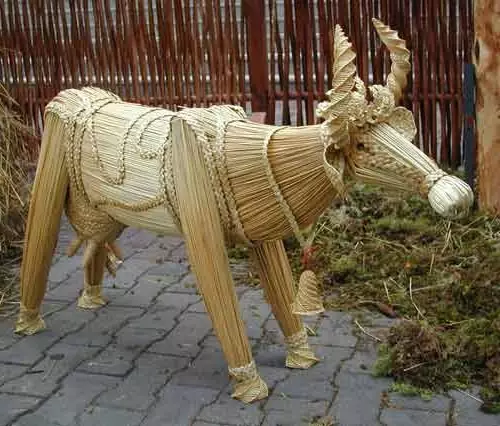
The ideas for crafts can come up with a lot, ranging from simple bouquets with the addition of autumn colors and pupae from straw, which used to be erected for a holiday harvest in Russia, and ending with complex paintings, some animals that can be done with children, flower pots decor , Mirrors and photo frames and other crafts for home.

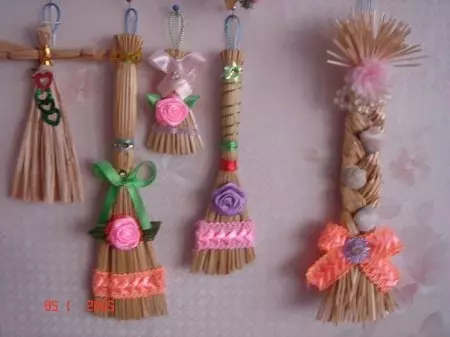
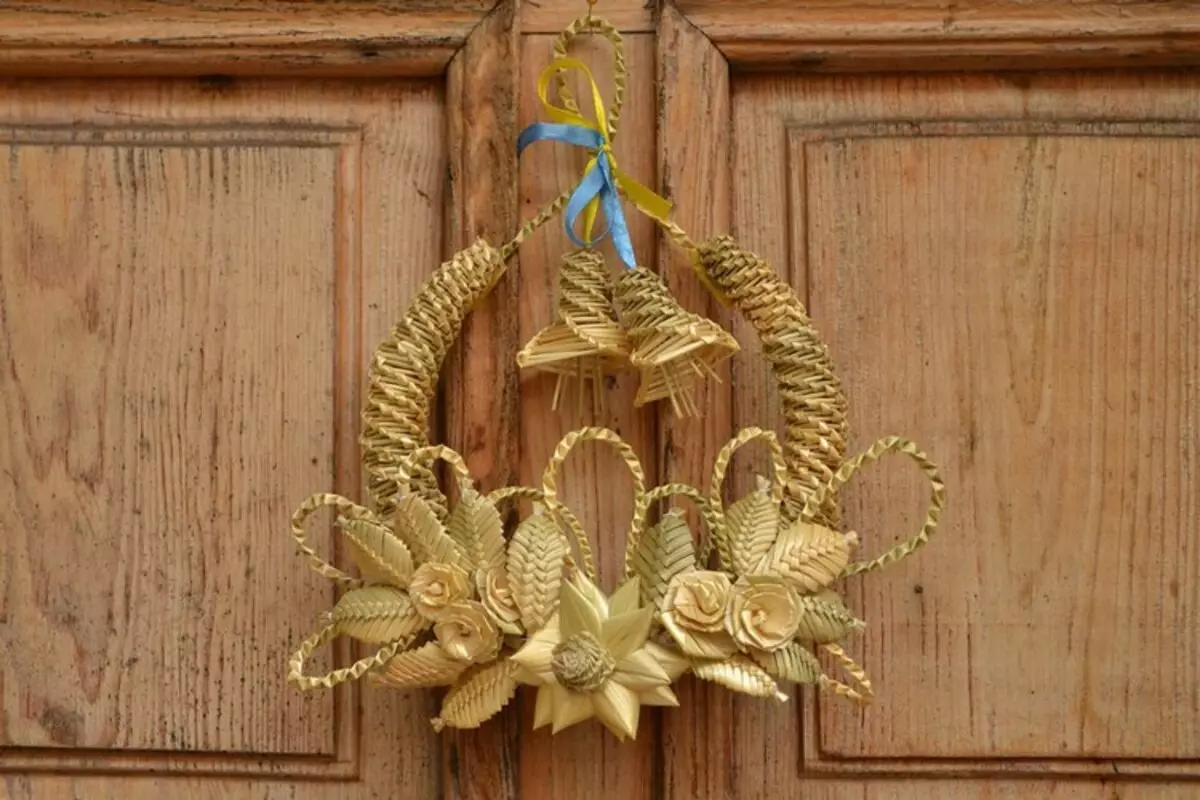
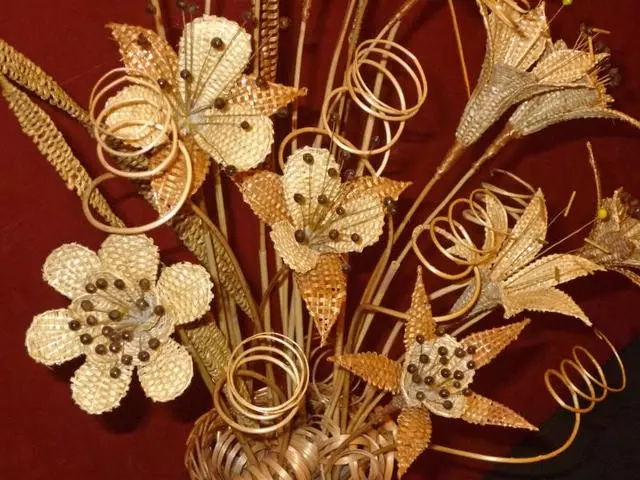
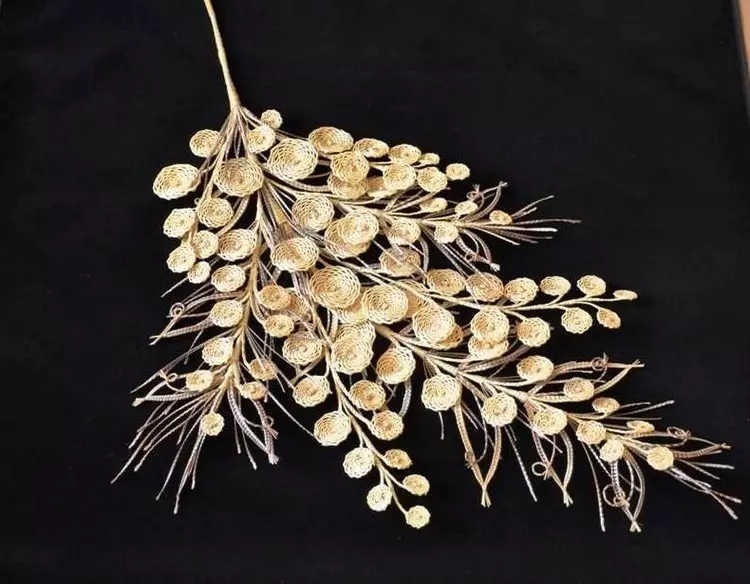
Bouquets of straw do it yourself
Bouquets of colors made from this natural material will be very impressive. In order to perform one such flower, you will need a cloth with color and nonsense threads, wire, paper or cardboard, glue, scissors, ammonia, hydroperite (several tablets) and water.
How to do?
To begin, it is necessary to make a solution of water, ammonia and hydroperite. In this mixture, straw is left for 6-8 hours, depending on the saturation of your solution. Then thoroughly rinse the straw tube and cut them along the fibers. Gently stick the resulting tapes on paper, thoroughly press them so that there are no bent ends. Then take the second sheet of paper, it is preferably more dense, and, having previously drawn stencils, press it to the resulting layer of straw stalks.
Article on the topic: Bedroom design in a country house: layout, lighting, decor (photo)

From the back, cut out a few neat leaves and stick the flavors to them. At the edges, separate the leaves with threads, sticking them to glue. After the resulting product dry, cut it out. Then make another 6 leaves and drag the circle from the cardboard. The leaves are glued to a circle on both sides, then pinched the flower in two places and connect all the elements into one composition with the wire. Flower can be decorated with ribbons or beads. To create a bouquet, make several such flowers.
Here Master class, how to make a flower bell straw:
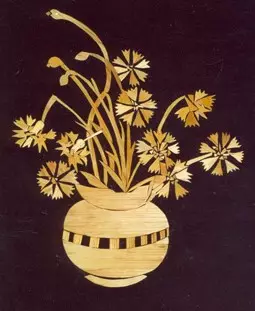
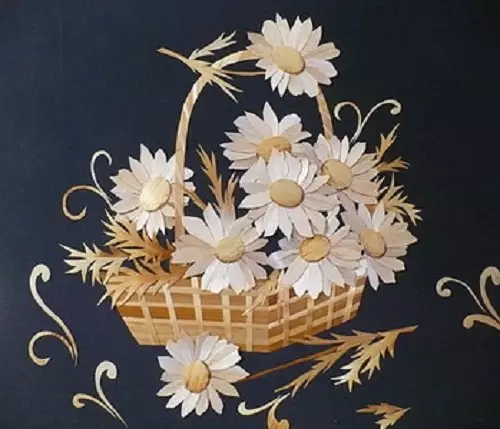
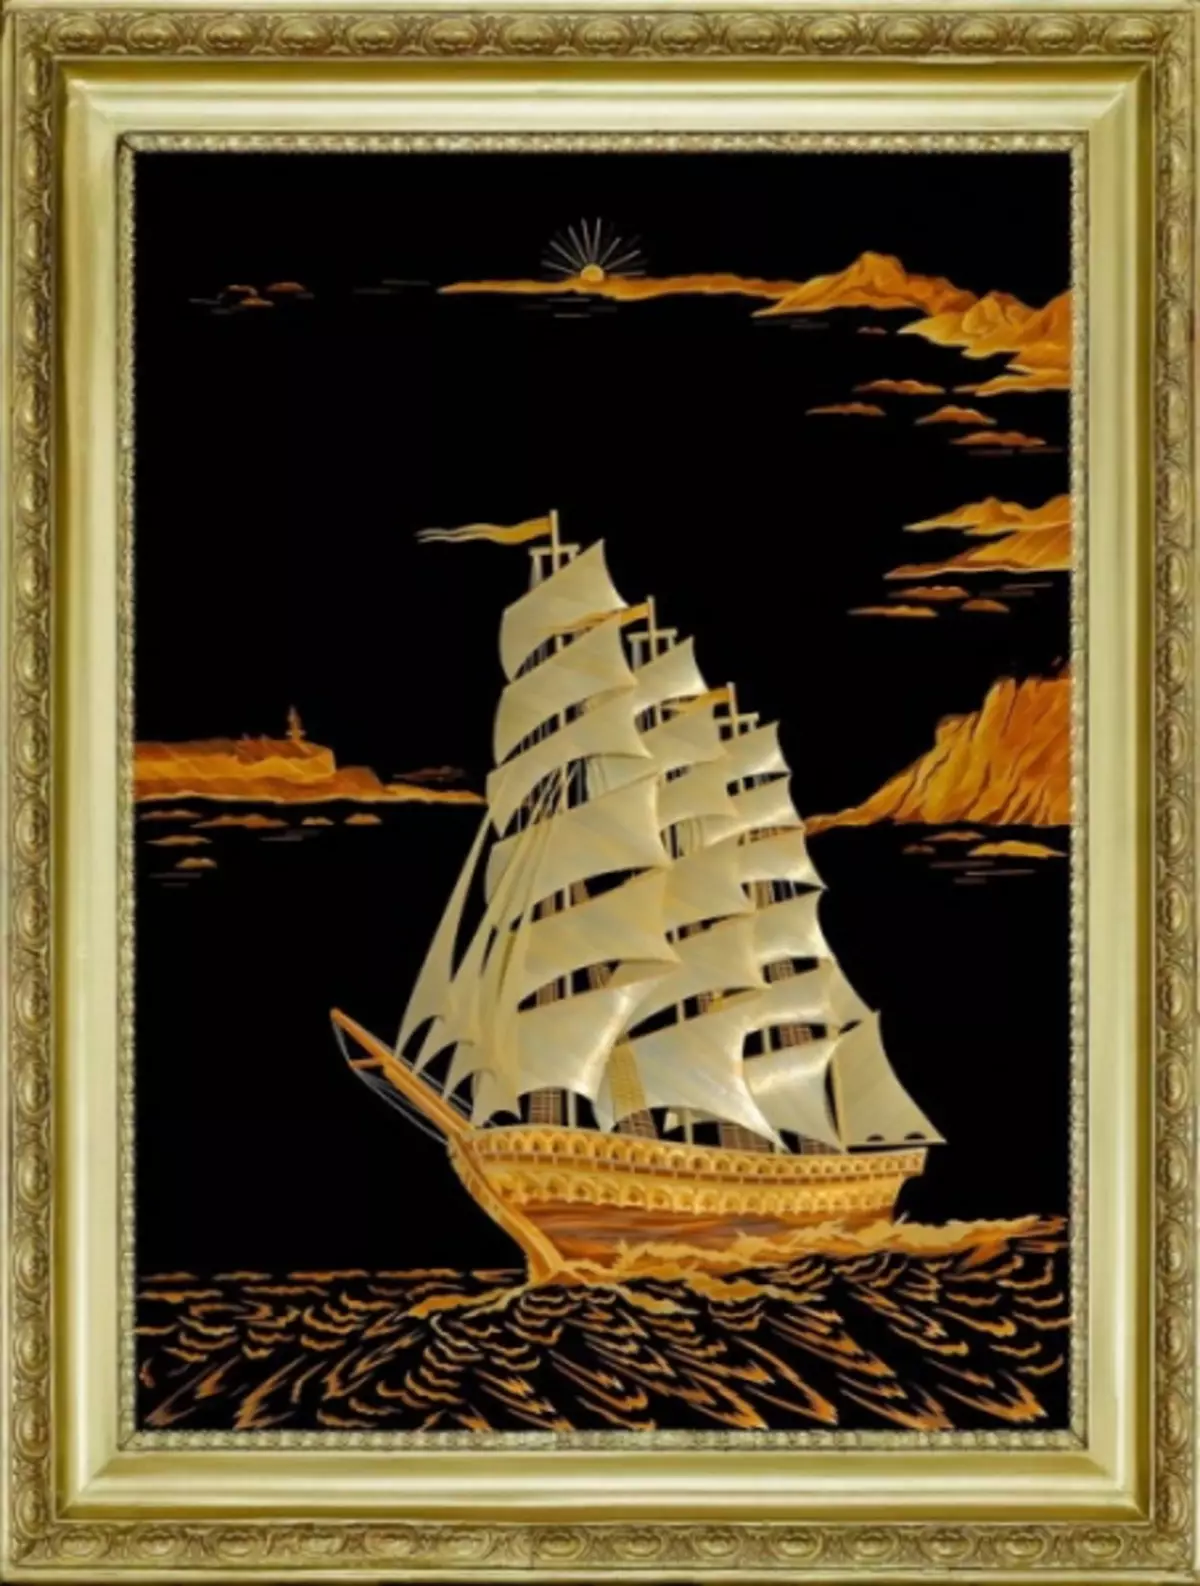
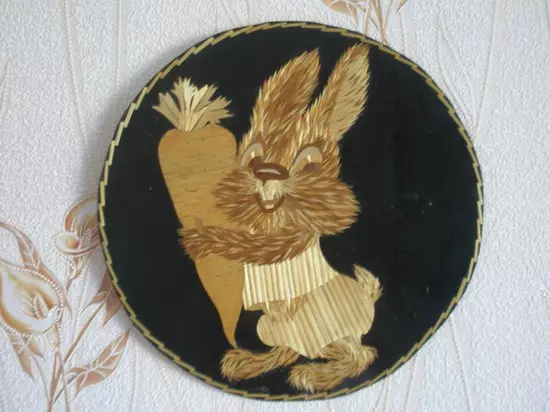
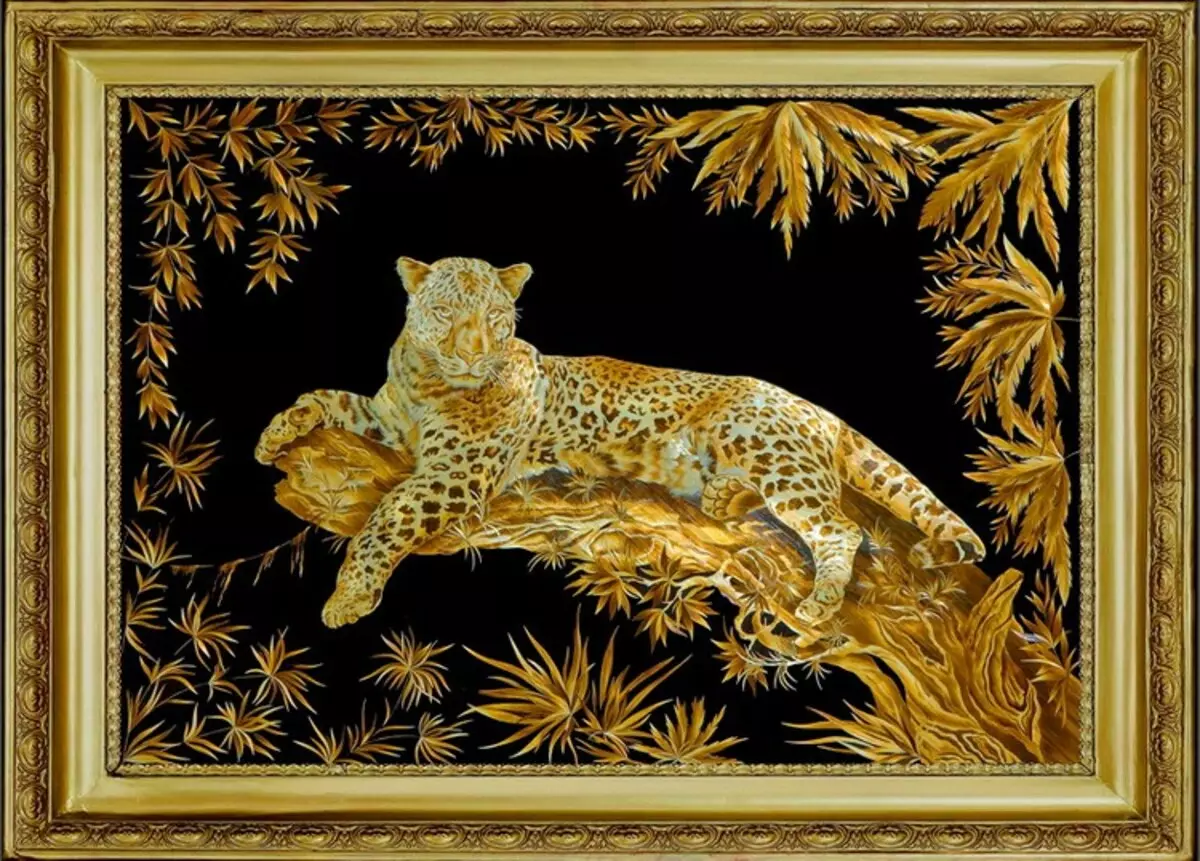
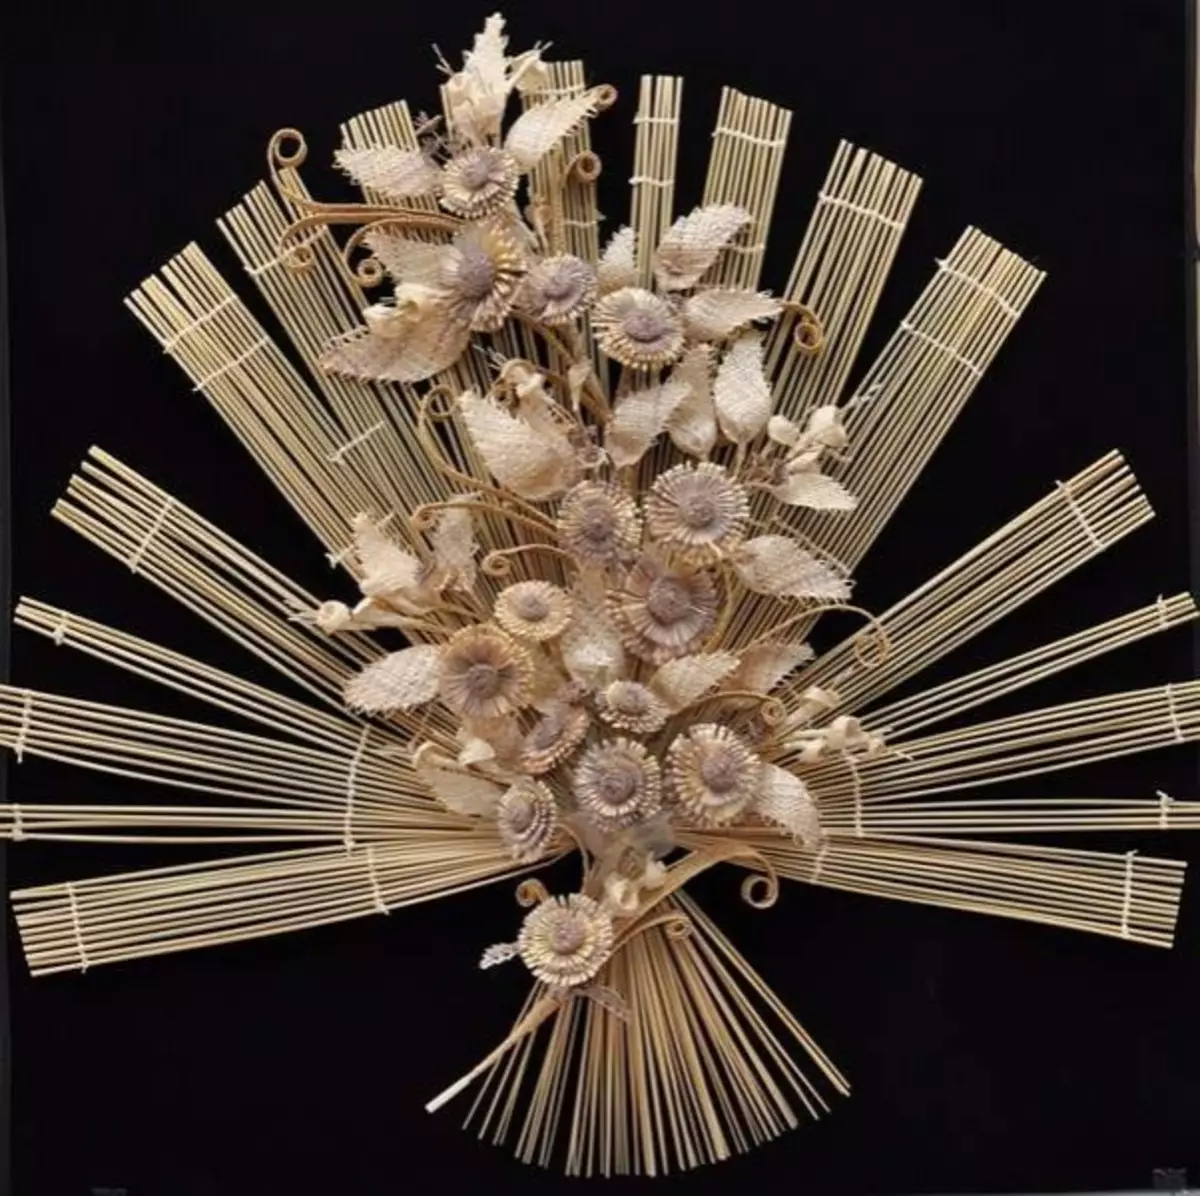
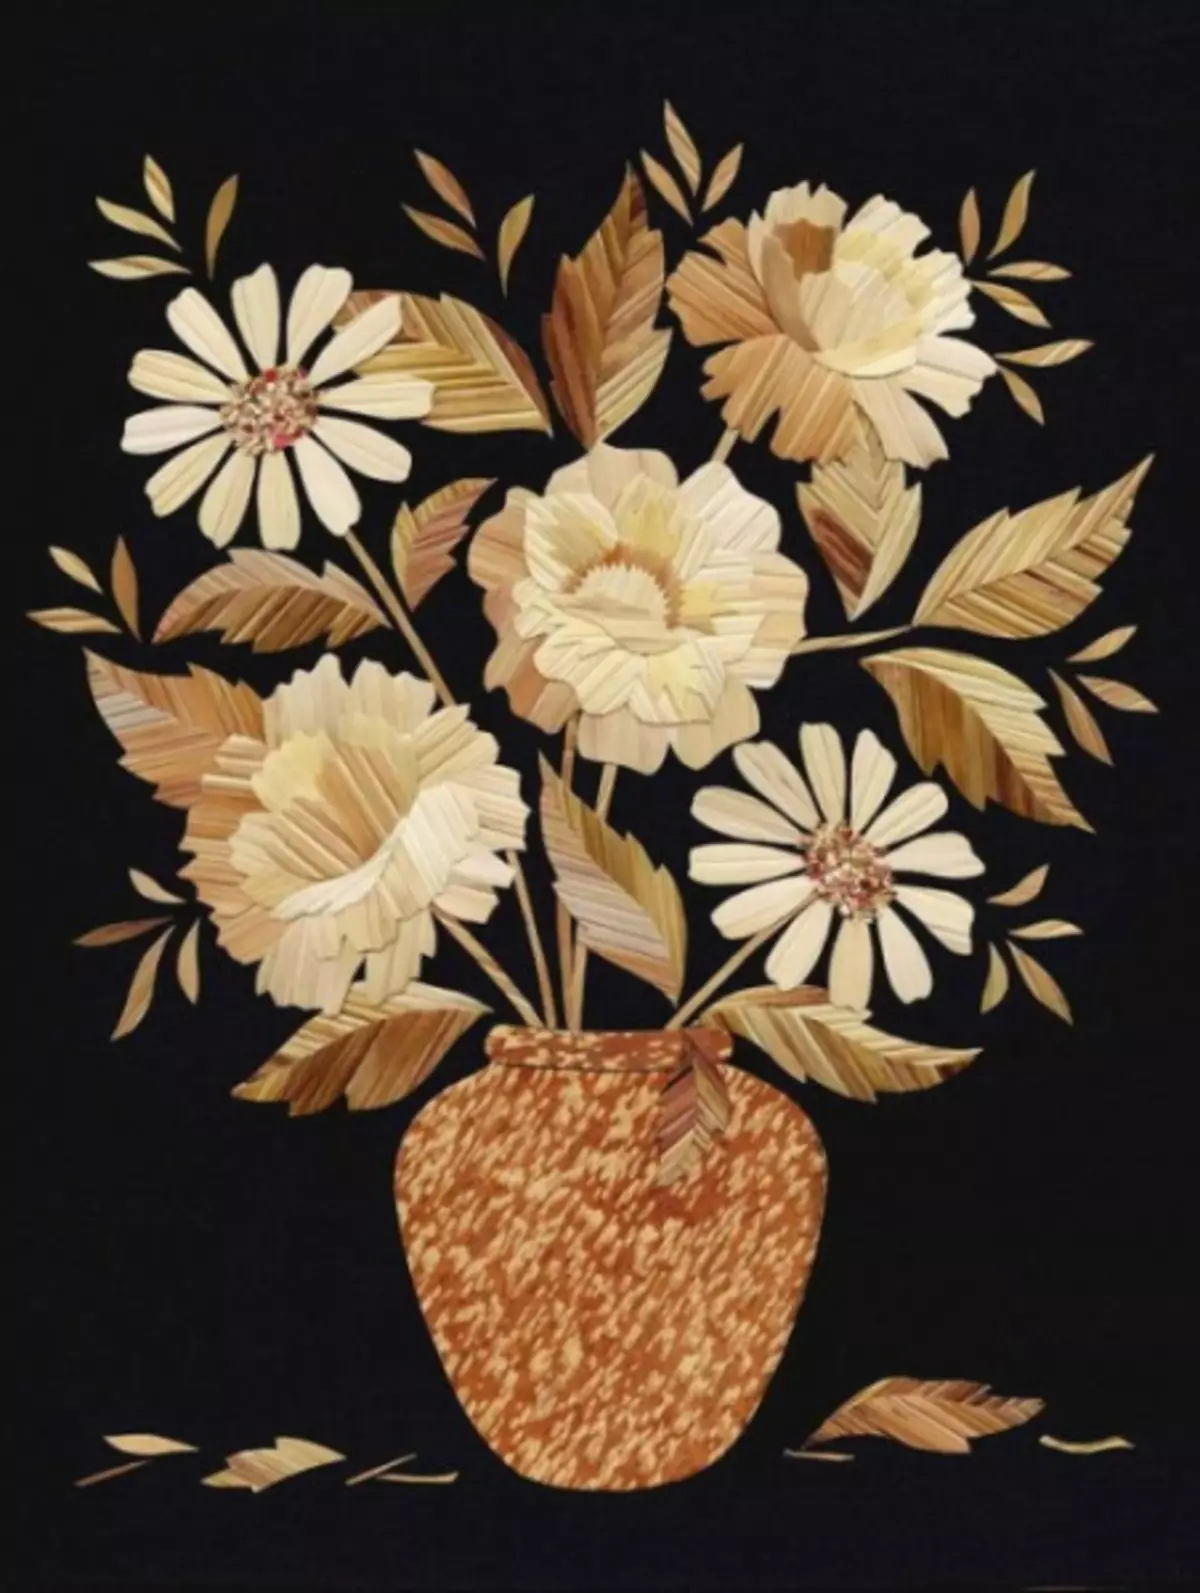
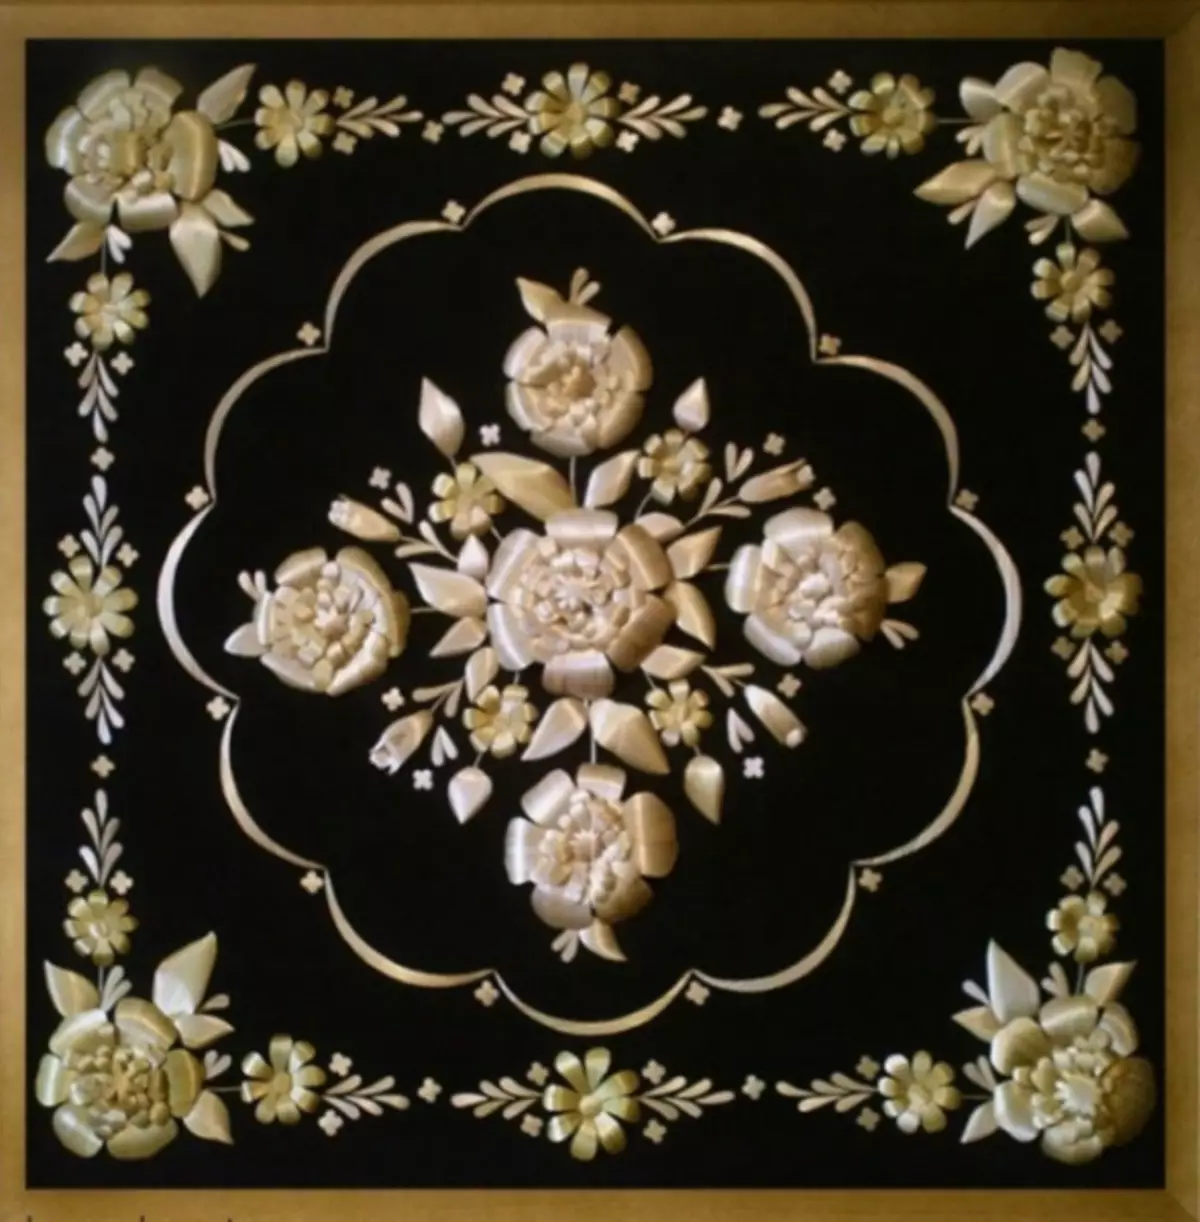
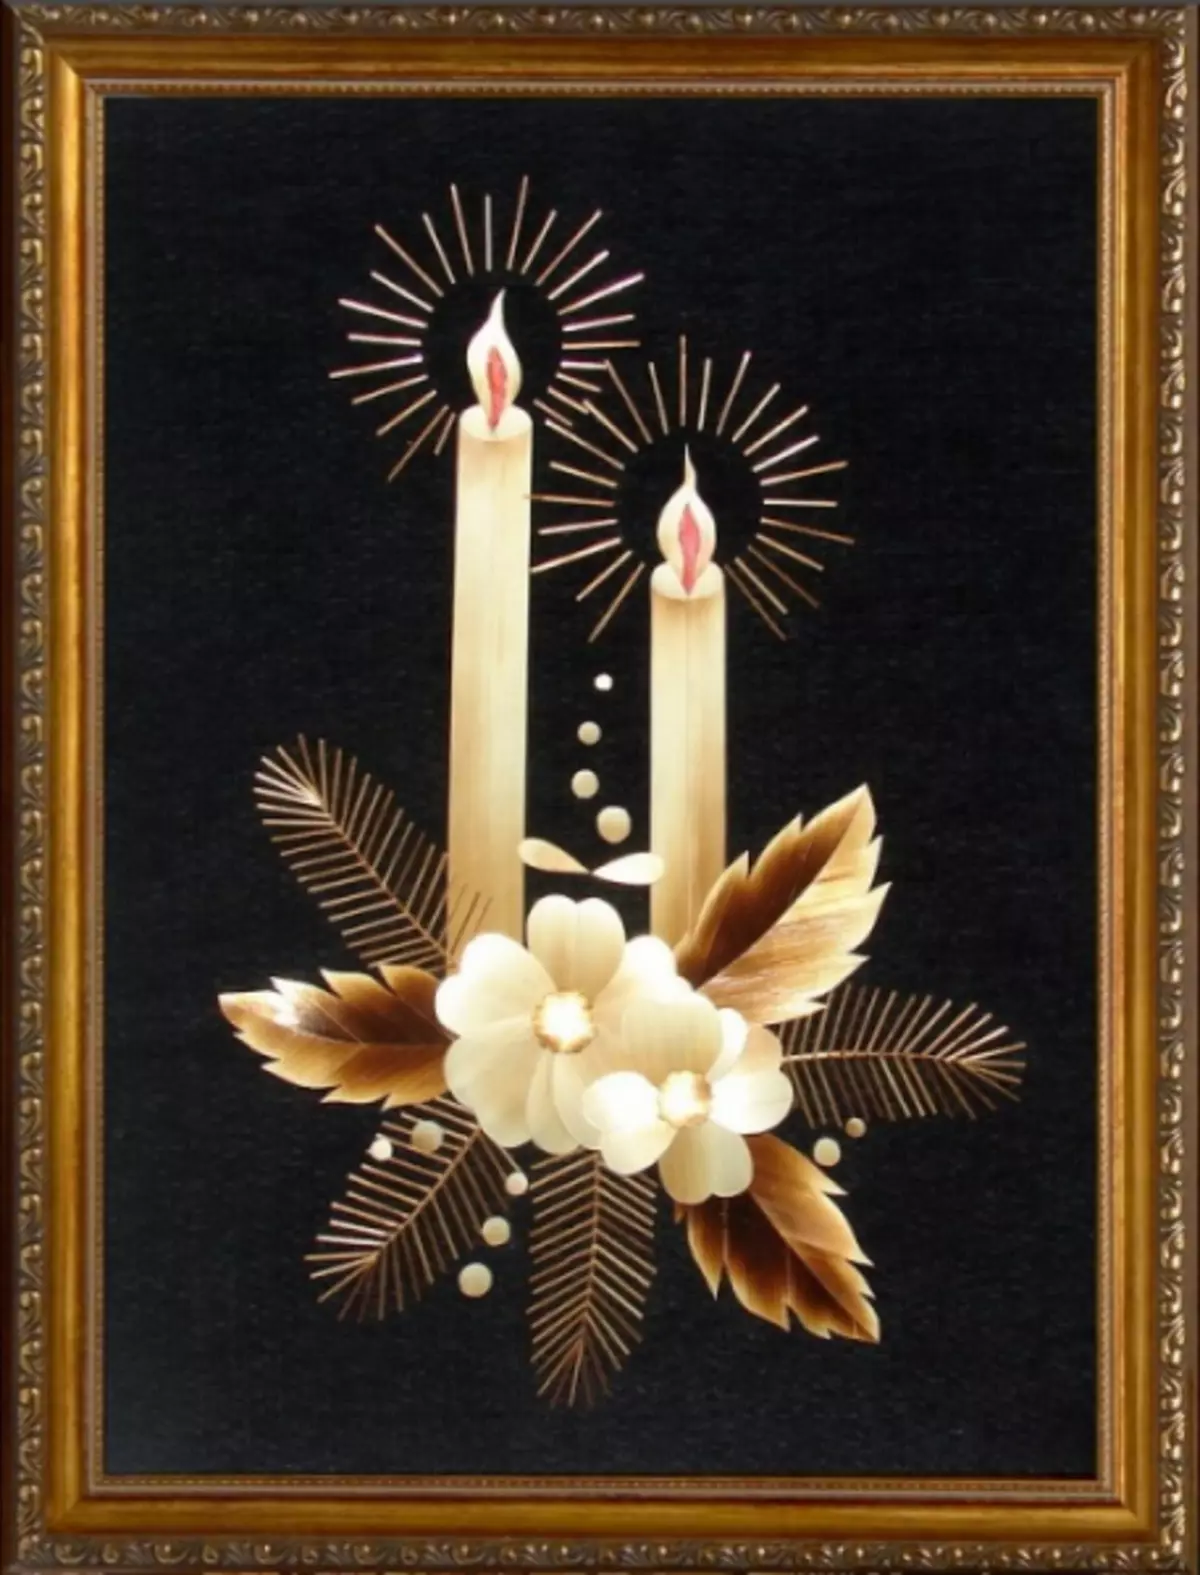
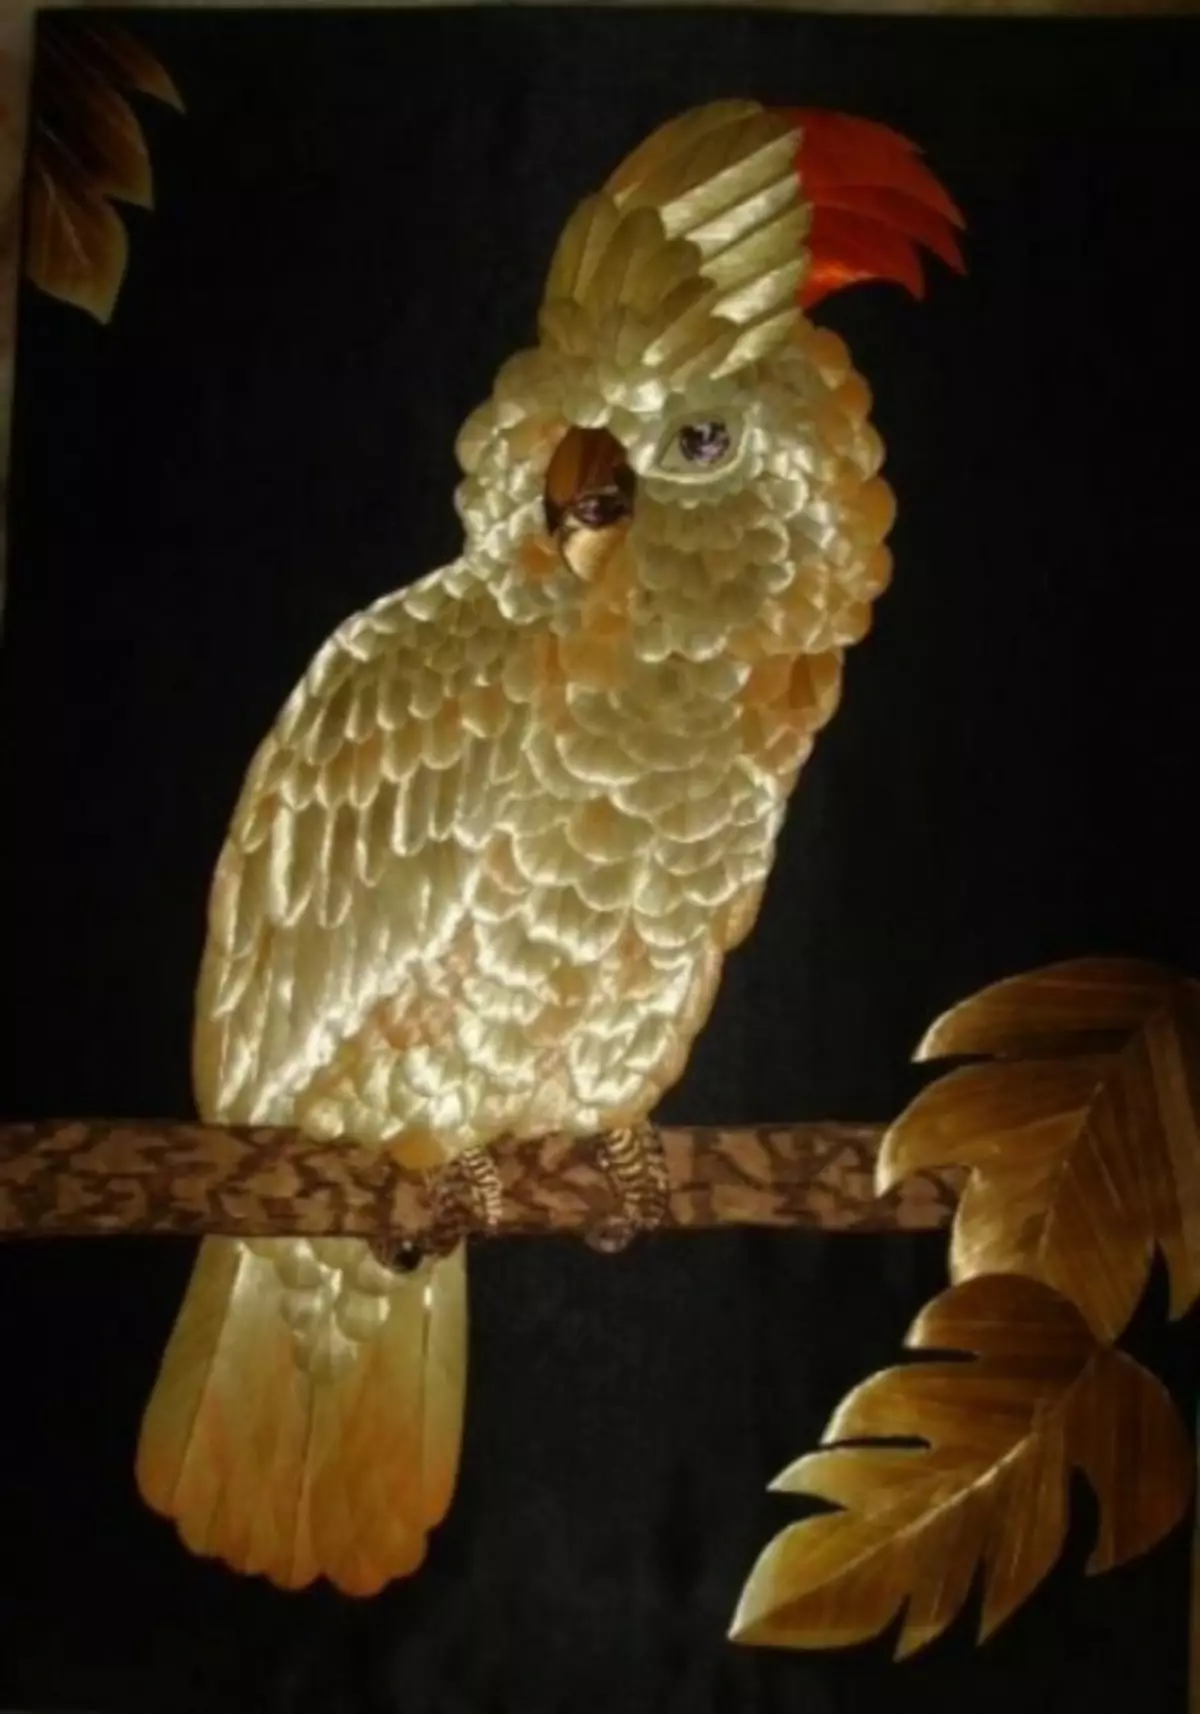
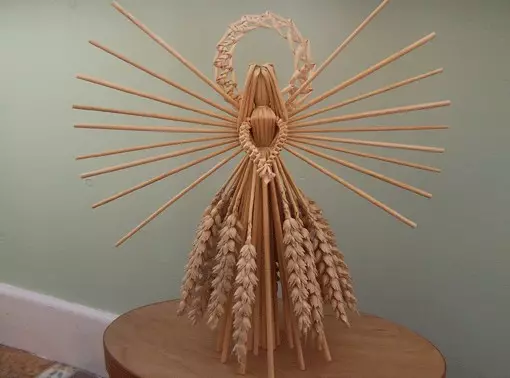
Paintings from straw do it yourself
One of the most popular techniques is the manufacture of simultaneously flat and visually volumetric paintings from straw. It is easy to master it yourself, it is enough to figure out how this is done, even though it is a rather laborious process.
How to do?
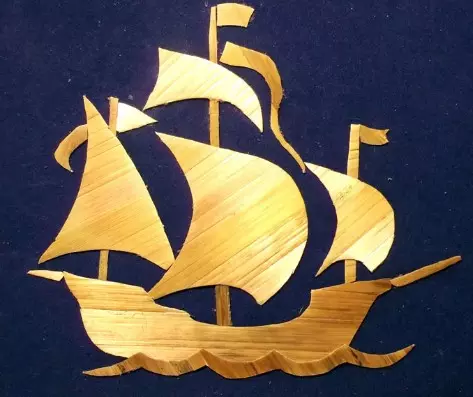
To create a neat and beautiful pattern of straw, you will need, again, scissors, dense sheets of paper (or cardboard), glue, brushes, pencils and, of course, straws. First of all, you must come up with that you will portray on your "canvas". Next, draw the main parts on paper or take as the basis, for example, pictures from coloring, books and magazines. Please note that the foundations of your picture we draw not on the paper that will be the basis of the fake, but on any other.

Then prepare the straw in the way it was mentioned above: omit into the ammonia solution, cut with straw scissors, turn the iron. Glue the straw to the drawn parts, let them dry, then carefully cut. After all, you can safely take a paper or cardboard sheet for the basics. We glue the resulting pieces of the picture directly to the "canvas", carefully pressed. Picture ready! If you want to make it a little brighter, spread it with paints or ribbons.
Article on the topic: Repair and manufacture of furniture with your own hands: Choose furniture legs
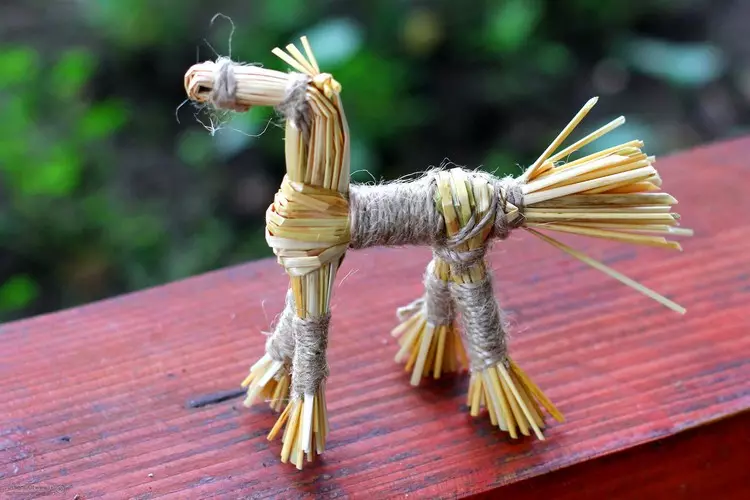
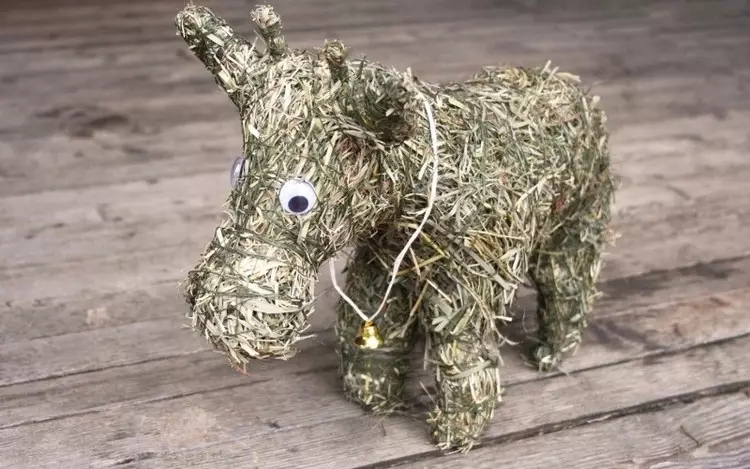
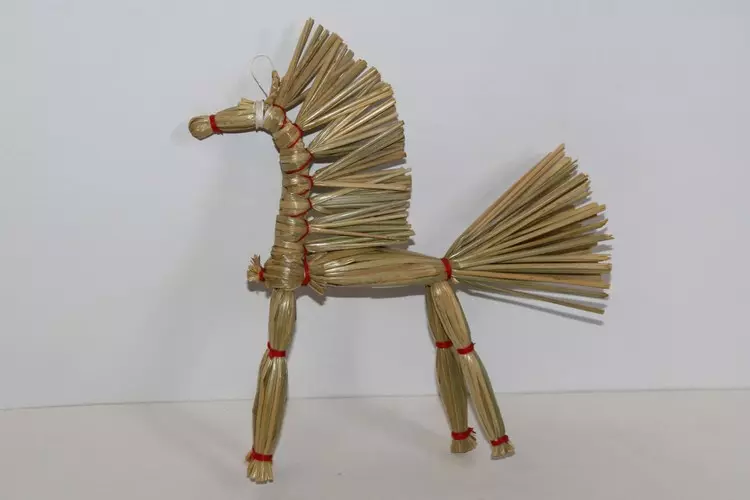
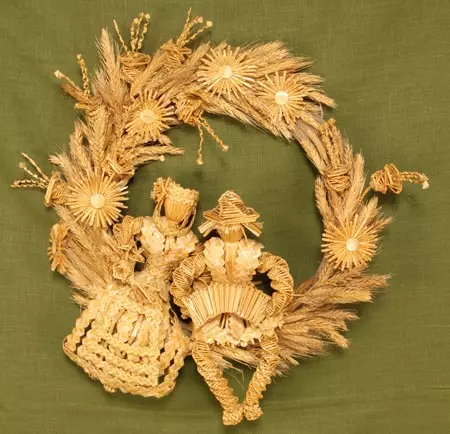
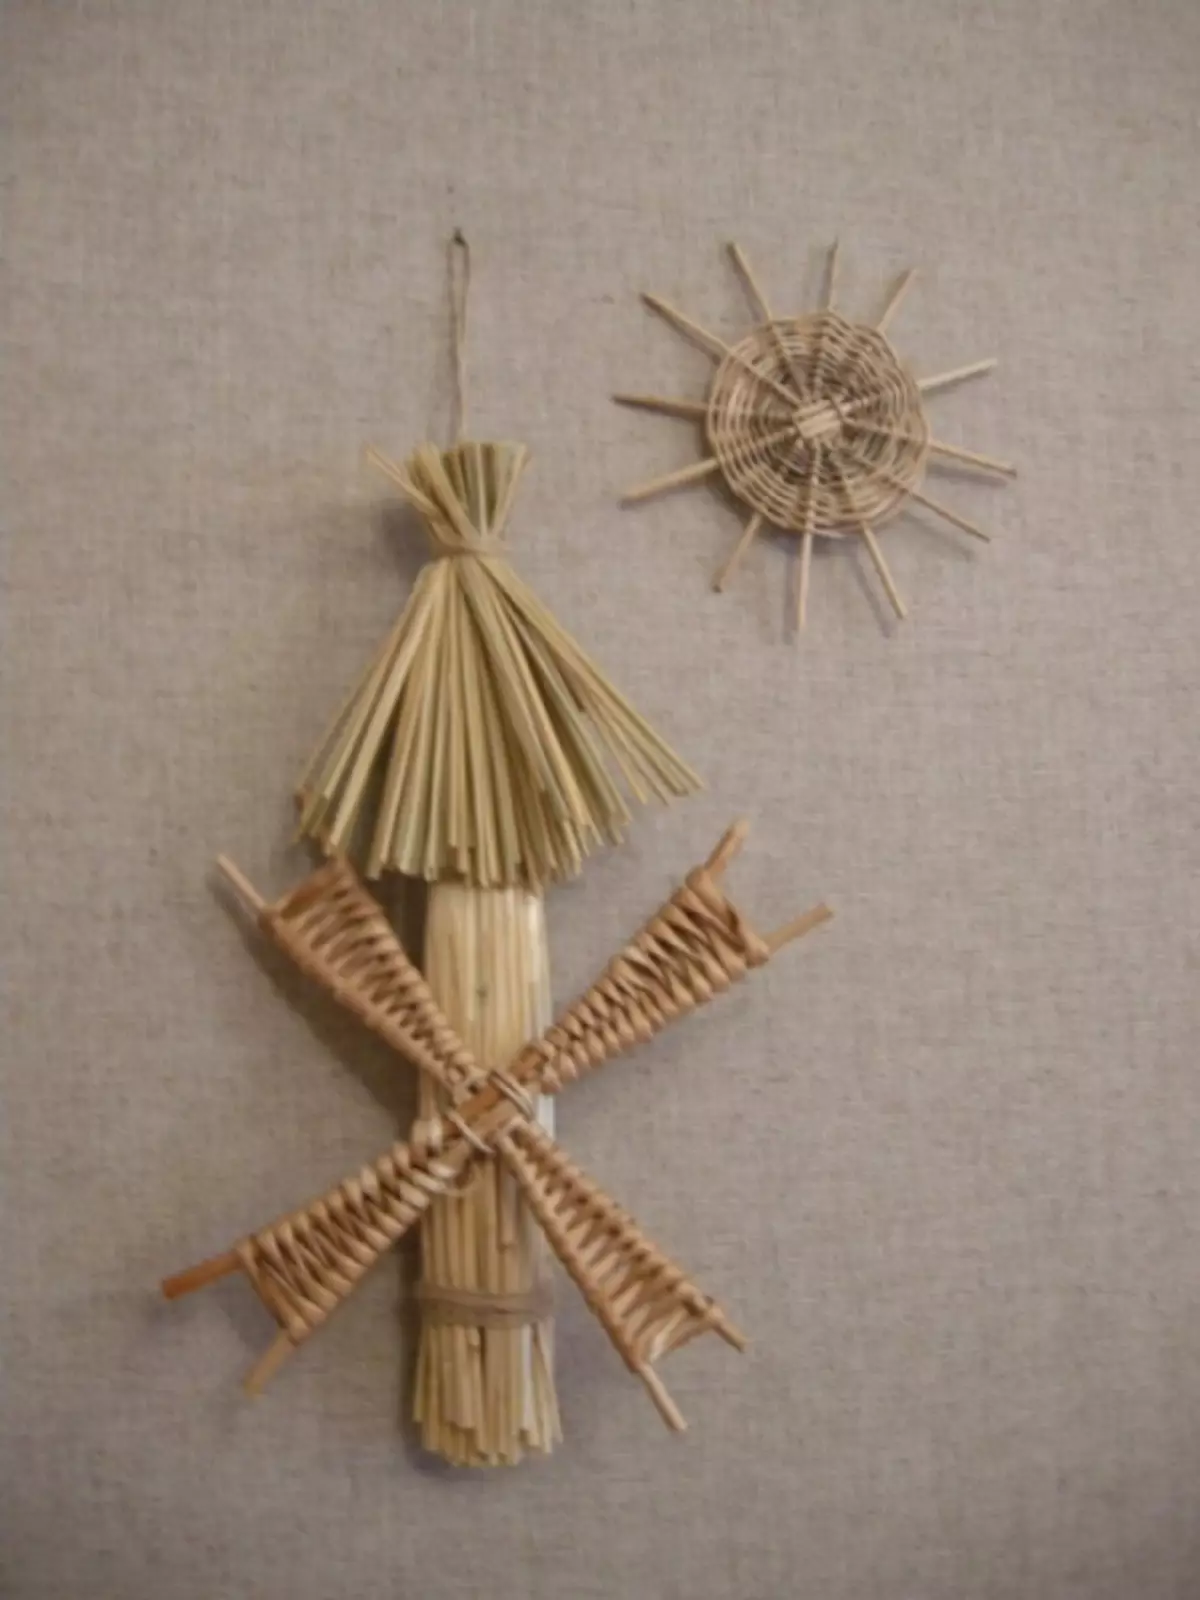
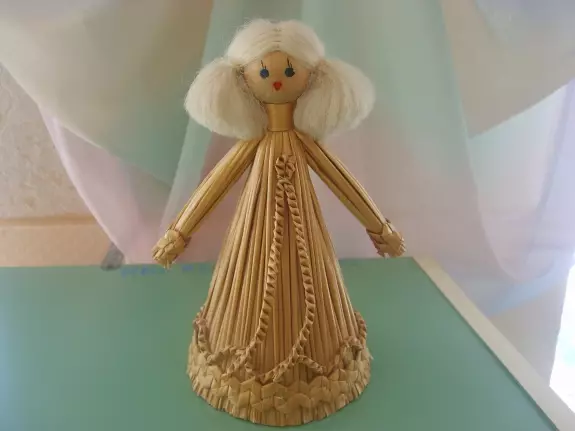
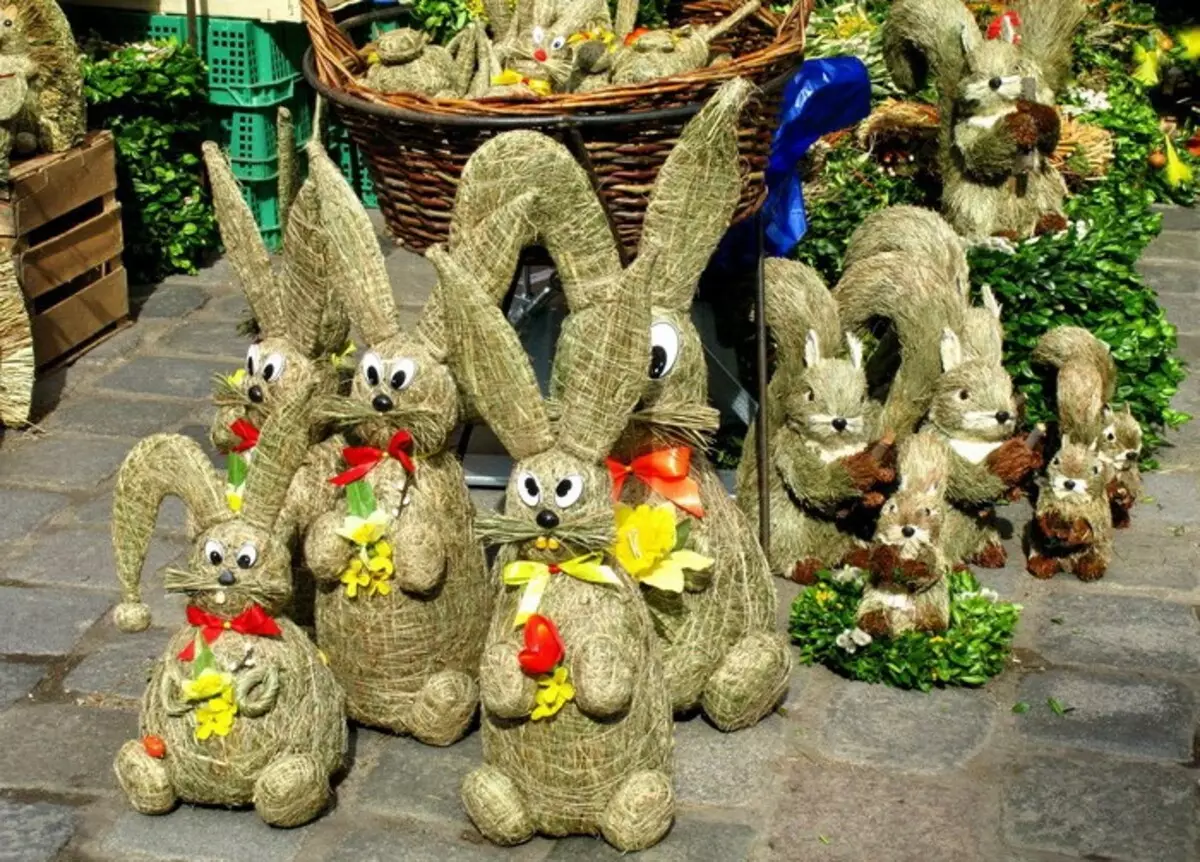
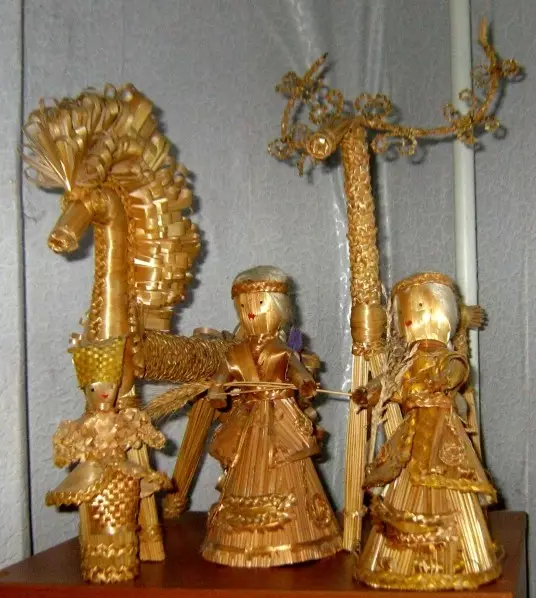
Straw dolls do it yourself
The manufacture of straw dolls is the occupation that our ancestors loved to engage so much. In order to make one of these dolls or facing, you will need toothpicks, wire, scissors and fabric.
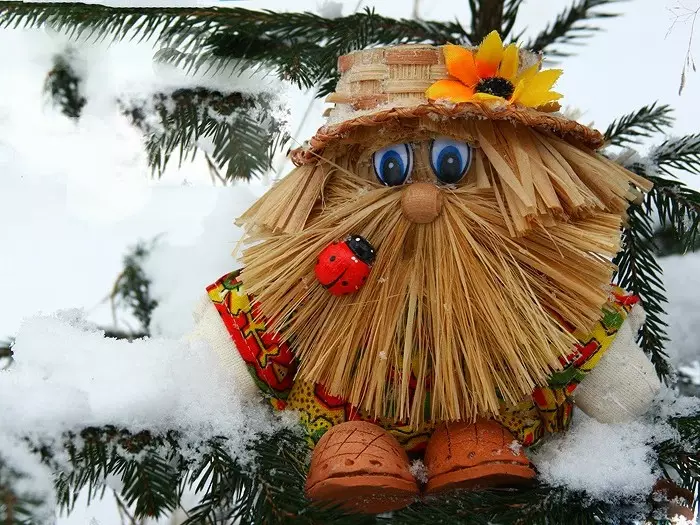
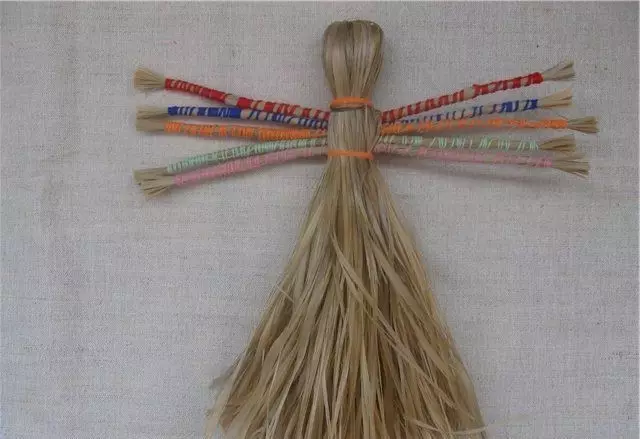
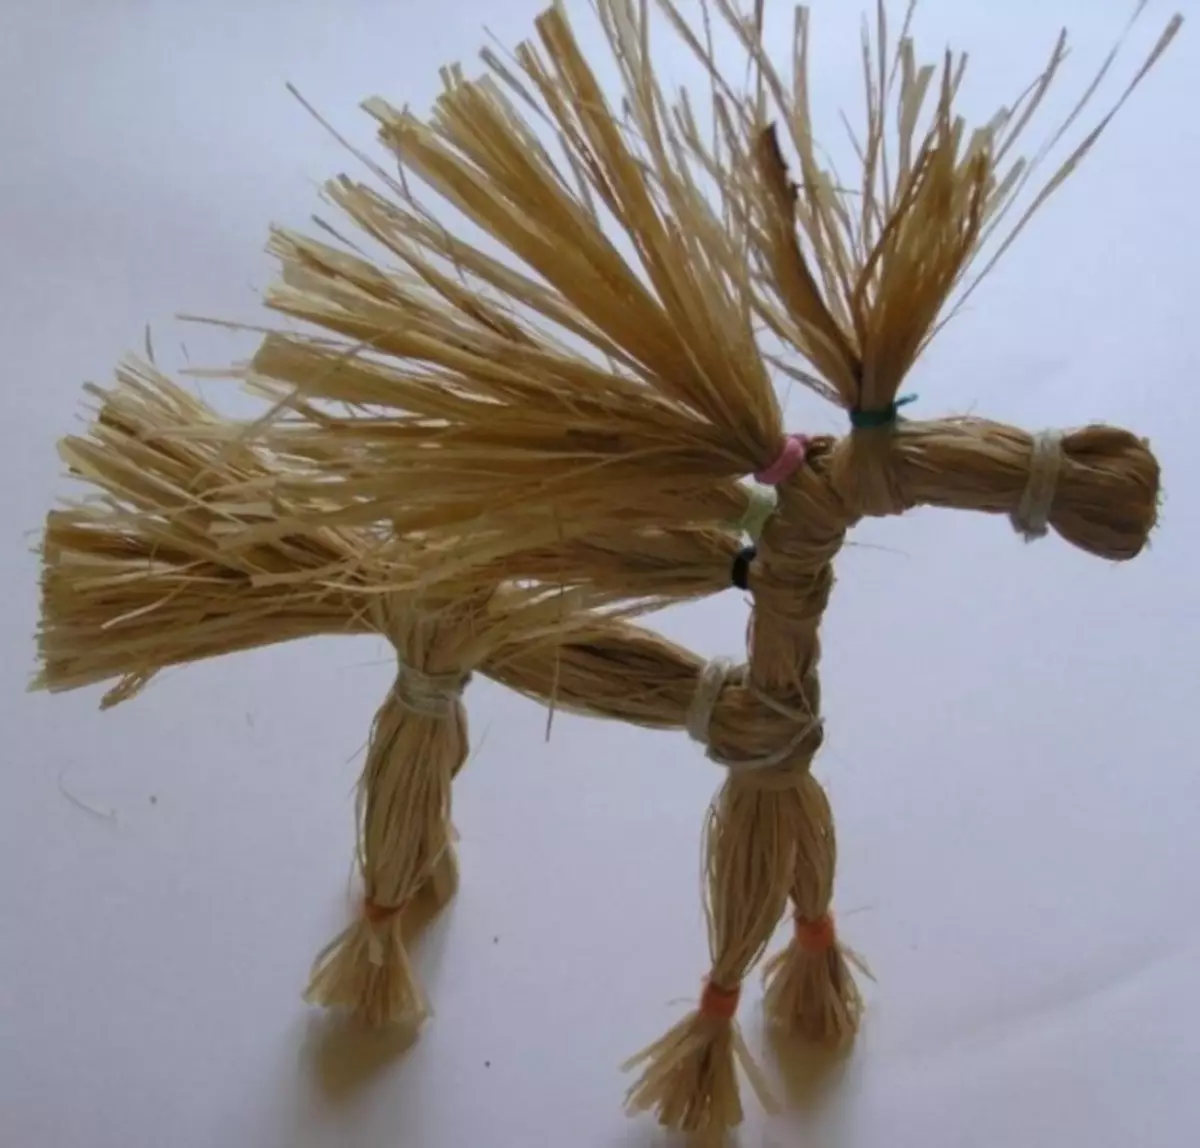
In this case, it is not necessary to straighten or smoothing the straw. It must be simply poured so that all straws are the same length. Bend them to in half, so that the ends remain smooth. Determine where your doll head will end, and then gently mark it with a wire. Next, form the waist, again totting it with wire. If the doll breaks, insert into the node between the "head" and "body" toothpick like the spine. Hands can be made as an ordinary weaving made of braids, and with the help of toothpicks - in this case, straw should be wrapped around the rod. With wire, attach the resulting handles to the doll. It will be the last stroke - the toy is ready!
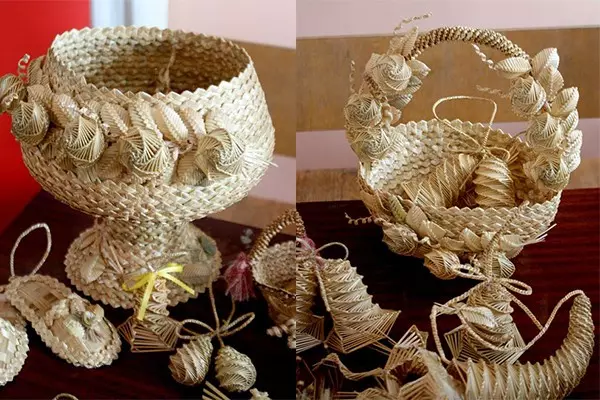
Straw houses do it yourself
Miniature houses made of straw look interesting and fabulous. And, most importantly, they simply fulfill such a fake. For its manufacture you will need dense paper (either cardboard), glue, scissors, pencils, beads or ribbons for decoration and straw. At first it is necessary to make a "frame" of the house, its walls. To do this, take the sheets of cardboard or tight paper and spread them in such a way that when gluing they formed a box.
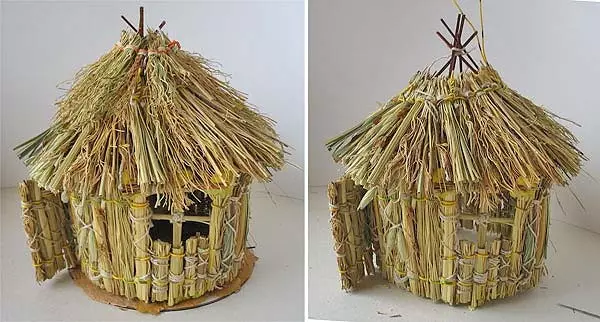
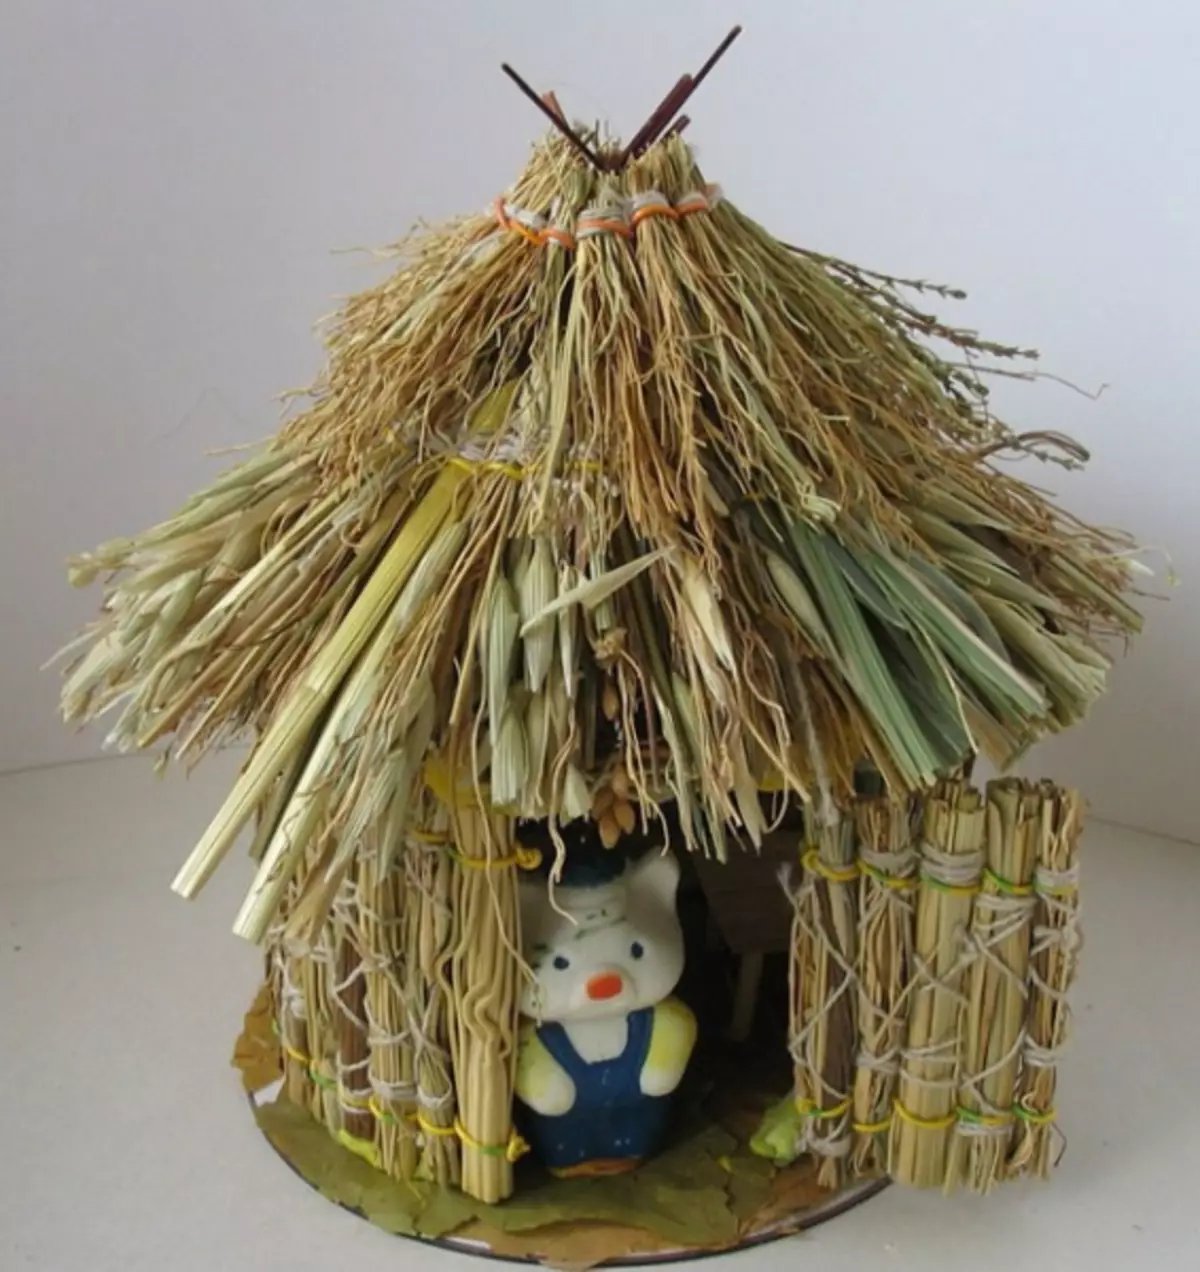
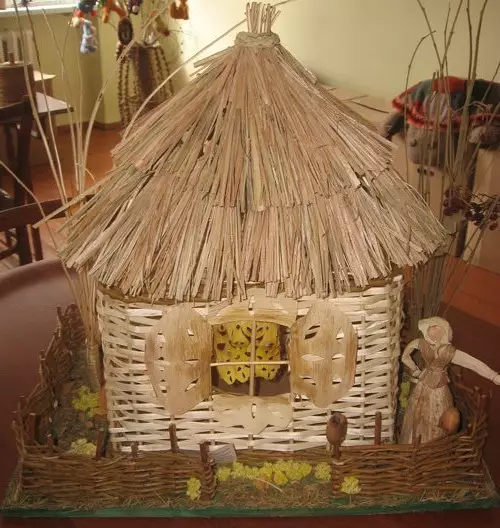
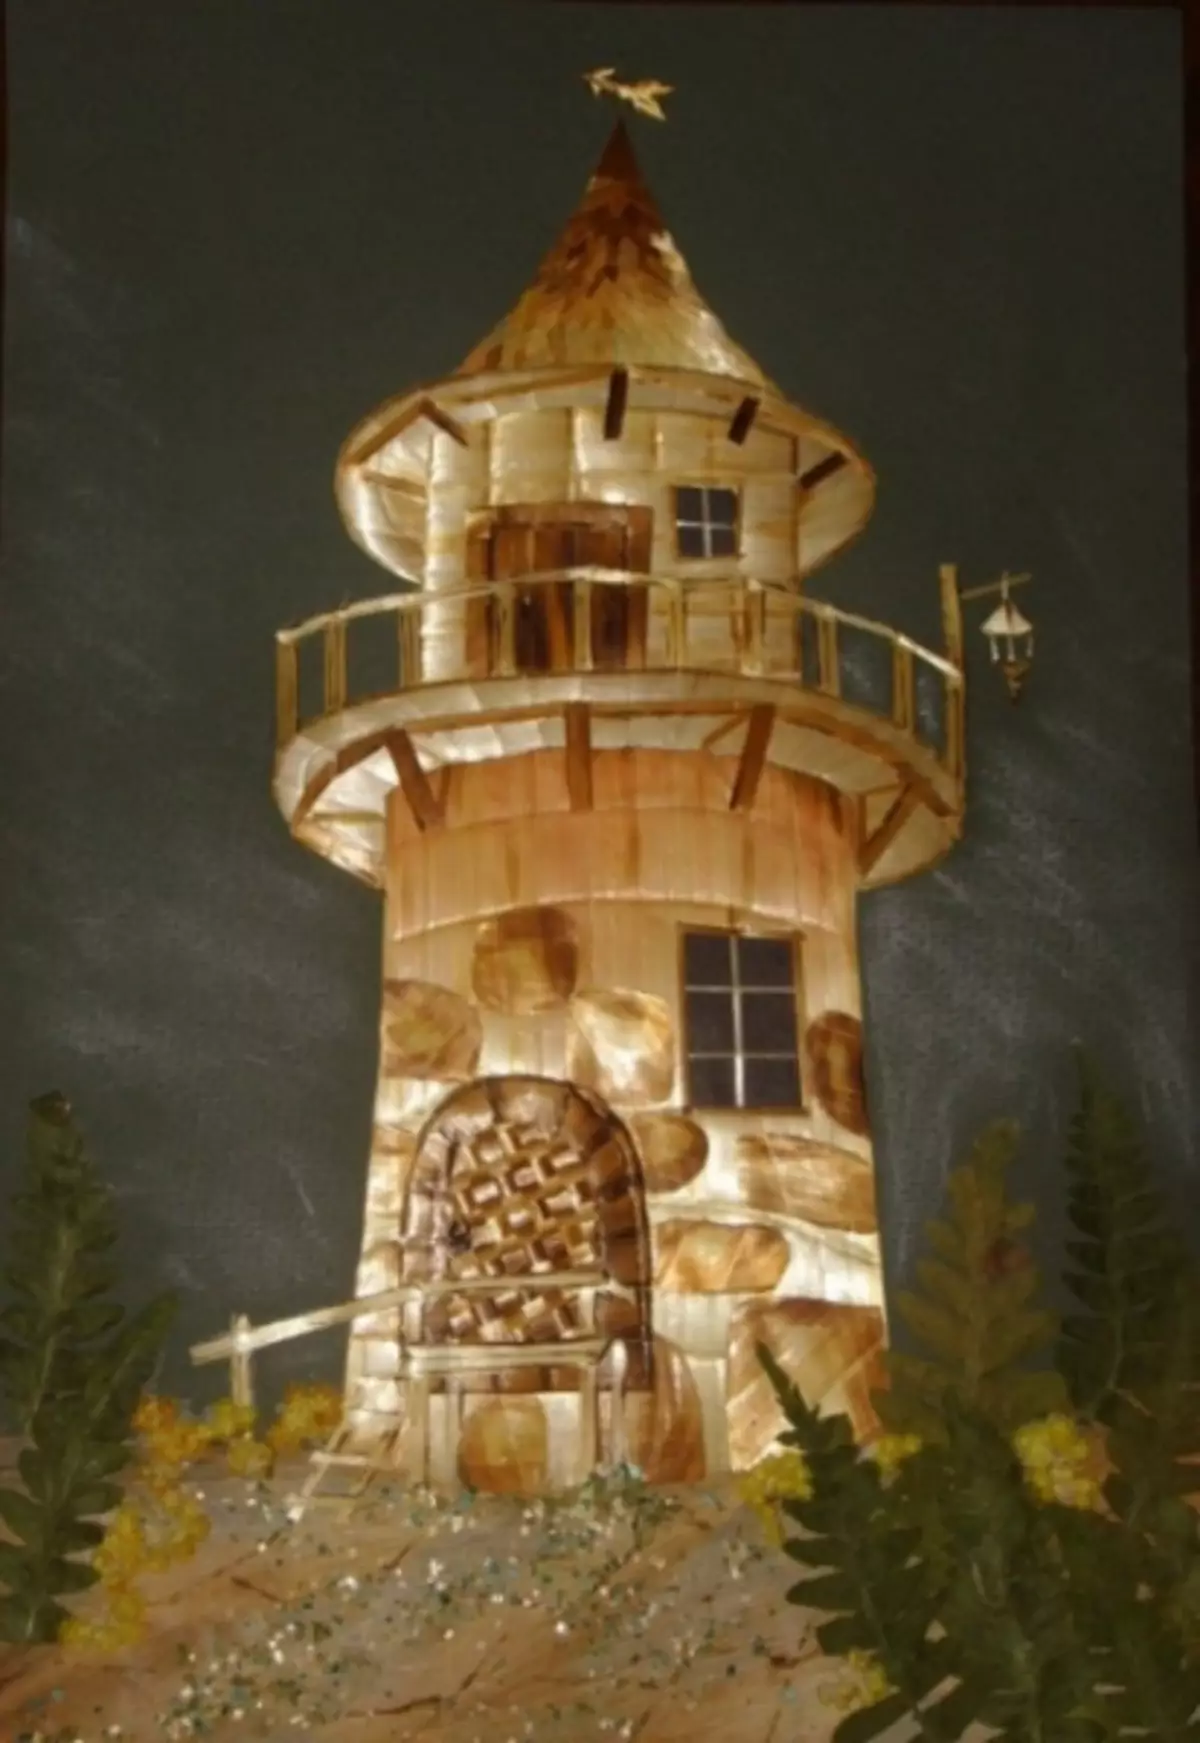
Mark the door and windows of your house, then carefully cut them out. The resulting walls glue into a rectangular box. Then you can proceed to the next part of the work - shook the house straw. To do this, measure the length of its walls so that the straws do not get longer or shorter. After the house walls were blocked, you need to make a roof along the same principle as a box - a triangle should turn out of thick paper or cardboard. Next, the roof is gluable by the beams of straw. We connect the roof with the walls - it turned out a house. In order to make it more beautiful, you can use paints and tassels, additional decorations in the form of feathers, which could "look" from the roof straws. The doors and windows can be decorated with cloth or thin wooden plates.
Article on the topic: Stands for a washing machine
Crafts from straw do it yourself: photo gallery