
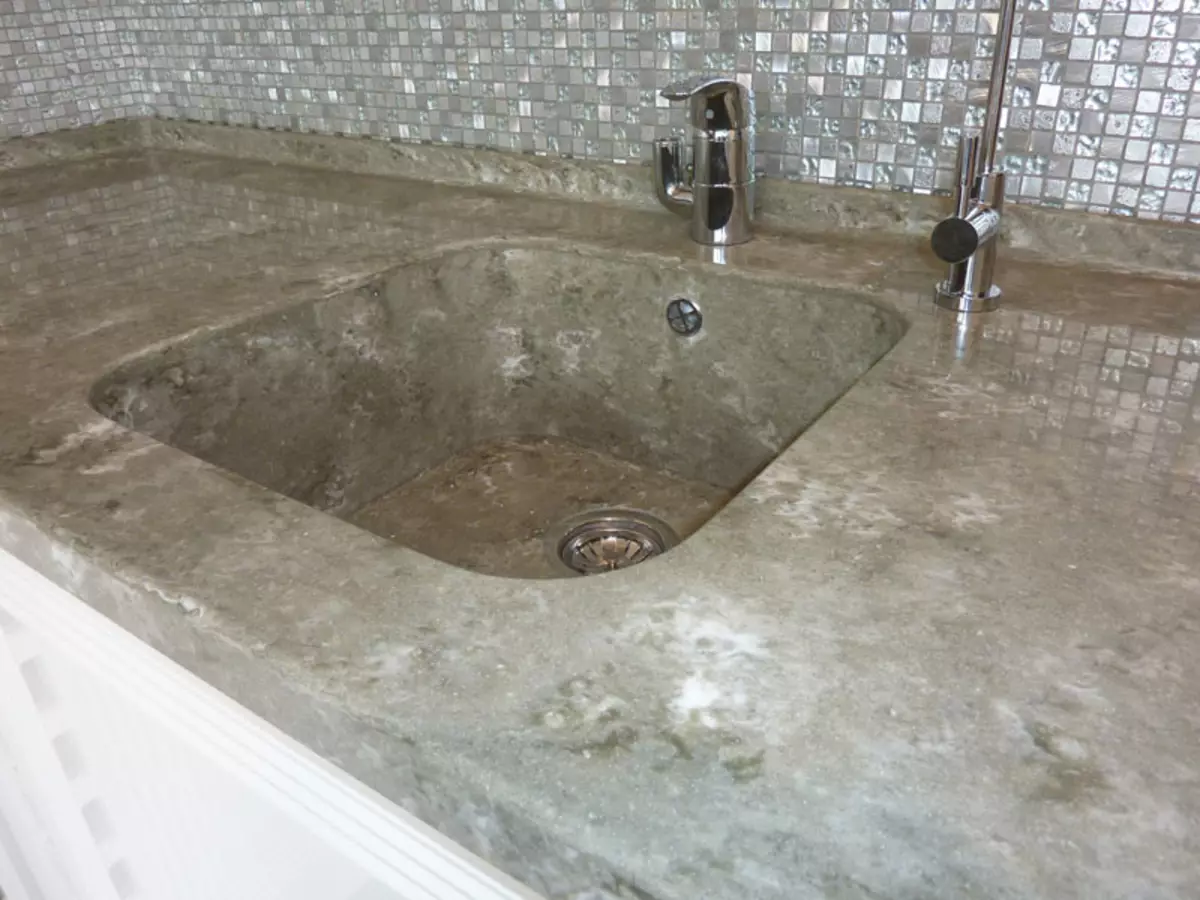
Sinks made of artificial stone every day are becoming more and more popular. This is due to the fact that the positive qualities of the material are increasingly revealed. Artificial stone is a high mechanical strength, weak thermal conductivity and chemical. Resistance. The surface of the artificial stone is performed from the hylicut, this material is usually used for the manufacture of decorative products. Installation of washing from artificial stone is quite simple, so you can cope with it yourself.
The mixer and siphon is better fixed before installing the washing. A sealant is applied to the washing and surface walls of the podstole.
Unlike natural stone, her weight is very small, so you will not even need assistants, you can all make it yourself. Although it is worth noting that the washing installation is responsible, since in case of an error, your kitchen set will be spoiled.
Drain hole: nuances
Unfortunately, not all sinks of artificial stone have ready-made holes for the mixer, filter crane and so on. In such cases, the hammer is used and knock out the hole with a sharp blow. But how do you need to do if there are no holes at all?Diagram Connecting a dual sink.
You just need to drill it. It is not necessary to be afraid to work with artificial material, it is many more stronger than the stone of artificial, and rather in its properties resembles plastic. Drill the hole is better before installing in the sink, since otherwise there is a risk of scratching the facial layer of washing or damage the entire bowl.
Therefore, to the installation flip the sink, make the markup using the bottom nut of the mixer and drill the hole using the usual drill and cutters with a diameter of 35 mm. In the same way, drill the remaining necessary holes.
Article on the topic: Drainage of the site do it yourself on clay soils: from groundwater, how to make yourself
Installing the mixer
It is very important to seal all the connections to seal, of course, you can use for this pass or fum-ribbon, but it is better to use rubber seals, which is much more reliable and easier.
First you need to spin the mixer into the hoses and tighten them a bit by the horned key.
After that, the mixer is installed in the hole of the washing and fixed.
Make the installation of the siphon exactly according to the instructions, usually everything is explained quite and understandable. Explanations are complemented by step-by-step pictures. When you install the siphon, you will need only a screwdriver.
Installation of washing: Features
Before proceeding with work, you need to prepare all the necessary tools. Mounting is made using a completely ordinary set, which you will probably have any special or expensive devices you will not need.
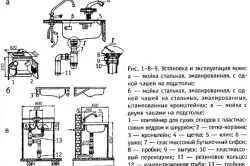
Washing Mounting Scheme.
- pencil;
- Lobzik;
- drill;
- Sealant, for artificial stone it is better to choose silicone.
If the manufacturer of your sink did not take care of the template, then you should not worry, just turn the sink and put it on the worktop. It is important to observe the distance from the exterior edge of the table top at least 5 cm, but again, it is not recommended to do this distance more than 11 cm, since it is inconvenient to operate.
- First, circle the sink exactly along the contour, then retreat the side of your sink to the length of your sink and read another circle, it will be the cutting line.
- For convenience, the countertop is better to remove, but you can continue to work and so. First you need to drill the hole to be able to insert the jigsaw. If a cooler is a round, then one hole is enough, for a square form, drill them from each angle, it will be more convenient to work.
- Then carefully begin to cut exactly on the planted line, not in a hurry. Small deviations are possible, especially those who do this for the first time. Do not disappear, just return to the planted line.
- In order not to damage the surface of the table, use the painting scotch and whore all the places that are most susceptible to risk. After cut just remove the inner part.
- Before continuing to work, Ipell is carefully cleaned by sawdust and dust.
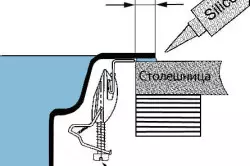
- A sealant is applied to the tabletop, a homogeneous layer is applied, as already mentioned earlier, it is better to use silicone. Application sealant is a mandatory procedure, it will protect the worktop from moisture ingress and, accordingly, from swelling.
- The inner part of the sink is also covered with a sealant, but it can be replaced with rubber. After it serves a little, just turn the sink and gently insert it into the hole. Try not to hurt the sealant, so as not to lubricate it with the layer, otherwise you have to apply it again. Despite the fact that an artificial stone is lightweight, you can use a pair of pinch to protect your fingers during installation.
Article on the topic: Repair of pallets of shower cabins do it yourself

Scheme diagram.
After installing the washing from the artificial stone, it is necessary to remove the surplus of the sealant, before it freezes finally. Use the usual cloth for this.
Installation of washing on the worktop of artificial stone on the principle is similar to the usual. Just need to protect yourself from crumbings when picking. A hole is drilled with a drill necessarily in unwracted mode. If you put small scratches on the surface of the wash from a stone, then you can also get rid of them alone.
Before starting the installation, carefully consider the place where it will be produced. This place must be comfortable, not far from the place where you keep the dishes. Be sure to consult with the hostess, as the kitchen is her kingdom, and the washing is the most important element for her comfort.
Installation of a siphon - recommendations
After the installation is complete, it is necessary to connect a siphon compound with a sewer pipe. To do this, take a flexible laying of the mixer and connect with cold and hot water pipes.After checking the tightness of the compounds, unscrew the aerator from the drain of the mixer. Then open the cranes with hot and cold water and after about five minutes, install the aerator in place. Thus, you will clean the system from the dirt and garbage accumulated in it.
Overhead washing
Mounting diagram of mortise washing.
Installation of invoices is even easier. Here the most important thing is that its size corresponds to your end. You just need to make a washing on the prestole. Naturally, if you have acquired a wash with him, then you need to collect the prestole first.
The siphon and the mixer is more convenient to fix the installation of the sink. A sealant is also mandatory for the washing and surface walls of the underfloor.
Integrated kitchen sinks that actually represent a single integer with the worktop, it is not recommended to install independently, since the process is associated with considerable difficulties that are only the professionals of their business.
Article on the topic: Butterflies on the walls do it yourself: 3 ideas like what to do them
In addition, for installation, special coordinate milling machines will be required, without which the installation is impossible.