
This style is very relevant and original. The cap of the boards is easy to make it easy, moreover, this is an excellent option for beginners, today we will look at it. Another undoubted plus is that products are obtained very dense and warm.
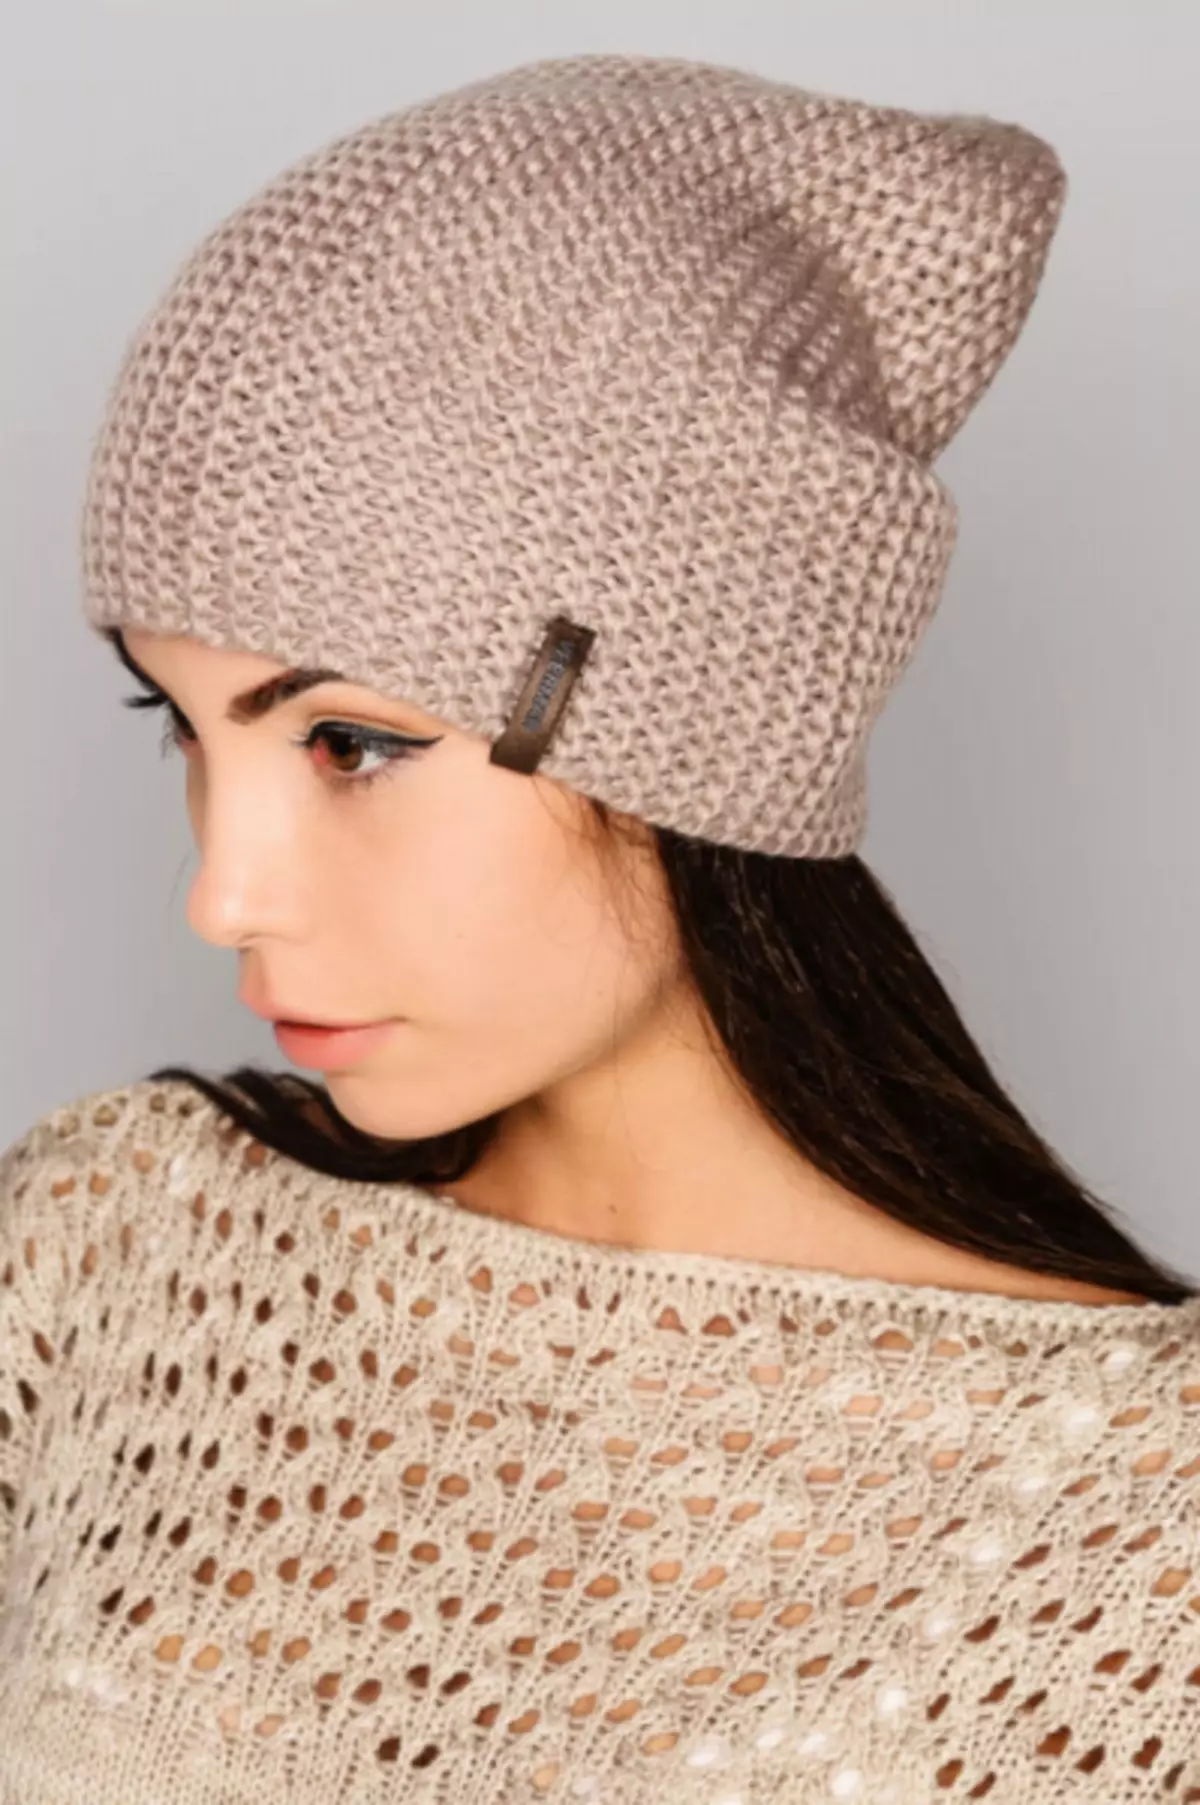

Simple option
First you need to decide on the model and yarn for the head. Thick thread will make a cap massive and will look at the maidy head awkwardly. Therefore, it is better to choose an average or thin thread.
So, we will need:
- knitting needles;
- yarn;
- hook.
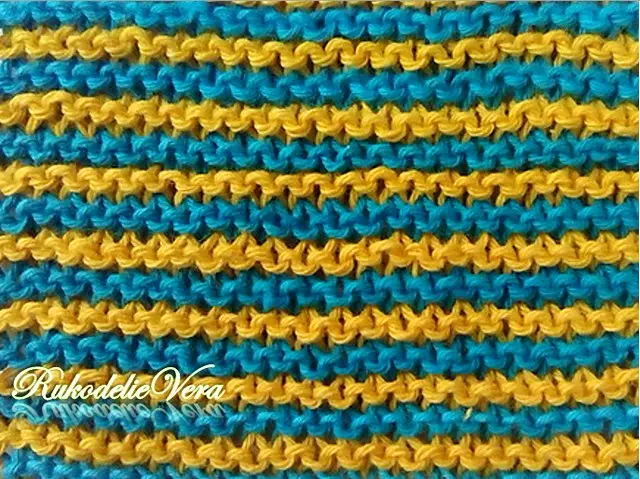
The first 5 rows check with a rubber band or facechair (after the cap will be ready, bend the gum twice and flash). Next, while sticking the gum, knit strictly according to the instructions.

Type 56 loops and stick a row of facial loops, then distribute 14 loops on each needle (4ps). Check a number of hinges. Now we alternate a number of invalid and facial, the size of the web depends on your head sizes, we will take about 16 cm. It is time to "subscribe" our cap. To do this, check first 1 facial, then 2 facial together. A number will definitely complete 2 facial. Check the remaining hinges with an invalid side.
Turn over the product and make another row to the outflow. A number of invalible loops. Turn over and over again. The next number is out. After 8 loops remain, check the outstanding row, and then just pull all the loops with the hook.

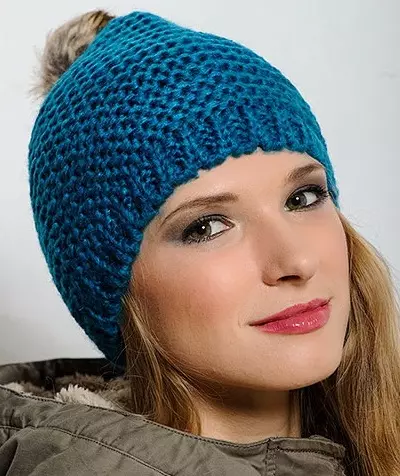
If you knit a hatching mating cap for the baby, then decorate it with a pompon. He attaches a progress and attractive look, and now we can make it easier. To do this, first decide on the color. There are two options: either you make this accessory in the color of the caps, or a shade harmonizing with the product as a whole. Take the cardboard and cut two rings.
Dimensions depend on how you want to see the result. The greater the ring, the wider with the pompon diameter, respectively, the less ring, the less diameter.
Take two rings, fold them together and wrap the thread in a circle. It is not necessary to regret the yarn, thanks to a richly wrapped rings, the product will be fluffy and stuffed. Now cut the thread, stretch the rings and tie the middle thread. Remove the cardboard and straighten the pomponchik. Take a thread with a needle and a trick ready for a ball. If you want to be a double option, then enter the loop to Pompon, and the button to the header, now you can decide for yourself when wearing a dear image, and when classic.
Article on the topic: How to wash the viscose in a typewriter, iron, and what to do if the fabric
In order for the hat to get more magnificent, you can change the size of the spokes, for example, one row to lie to thick, one - thin, everything depends on your imagination. For the product looks more careful, use the reverse hinge set. Apply this principle and then when you finish work.
Getting to the bottom
As soon as you master the knitting skill, your loops will become smaller and even more, and the speed will increase significantly. We will analyze two schemes for the bottom of the cap.

- with shutters through the ranks;
If you knit for the first time and have not yet learned to intuitively distribute the loop to the rows, then for the beginning, calculate everything on paper. For example, 5 times 4 loops, 2 times 8 loops. And the remaining loops pull the thread.
When you knit the pattern, do not forget to take into account the rapport. Draw a shutdown scheme so that you get to save the drawing as much as possible.
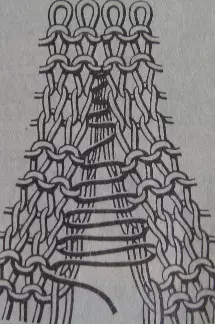
- Formation of wedges.
As a rule, 6 or 8 wedges are applied, so for a start, decide which you use and what is suitable for your pattern (if it is). The loops are closed either at the beginning or at the end of Kliniev. To rounding the bottom of the bottom, make 2 loops together through one or two rows.
Vertical binding


We will need all the same tools.
The main condition of the vertical mating is the work from left to right. In this method, be sure to pick up the knitting needles and the thread of one diameter. Remember that in our articles we use the number of loops for the average person, you take into account your sizes and preferences. Type the required amount of looping and tie a canvas in any way convenient for you. Work over the wedge repeated from 6 to 10 times depending on the size of your head.
Wedge, which is repeated, consists of non-touching rows. Follow the description. 1 row - Leave 12 loops at the end and wrap the thread around the first loop. 2 row - 11 loops. 5 row - 10 loops.
Article on the topic: Crochet. Japanese magazine
Next, knit in this way so far as one looping remains. When the required size is achieved, torn all the loops across the front side. The last row does not close, and see the first. Next, by hook. Another happy is ready!
Video on the topic
Thematic selection of video lessons with a detailed description: