
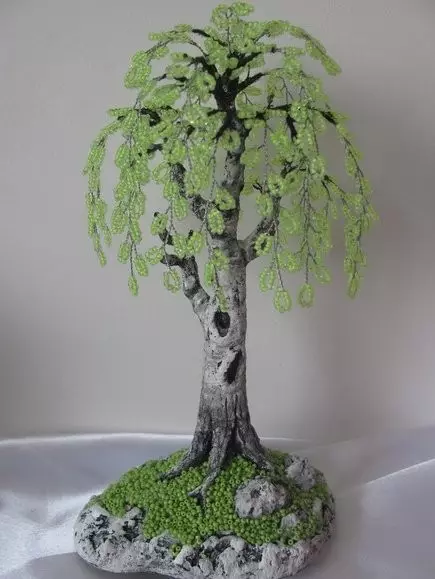
"White birch under my window" - words familiar from childhood to every Russian man, a white birch - for a long time it is one of the main symbols of Russia, and, probably, no one would have refused to have this village at home, and from beads such a product It looks very nice. In this article, we will offer you to make a birch of beads, step-by-step instructions will help make the craft quickly and efficiently.
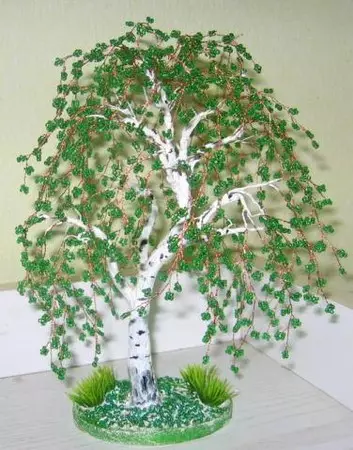
You can make a winter tree or autumn, but we will create a tree in the "flourishing forces", summer, with green leaves, bright and very beautiful. This master class is very detailed and more designed for beginners, but even if you have experience with beads, it will be useful for you.
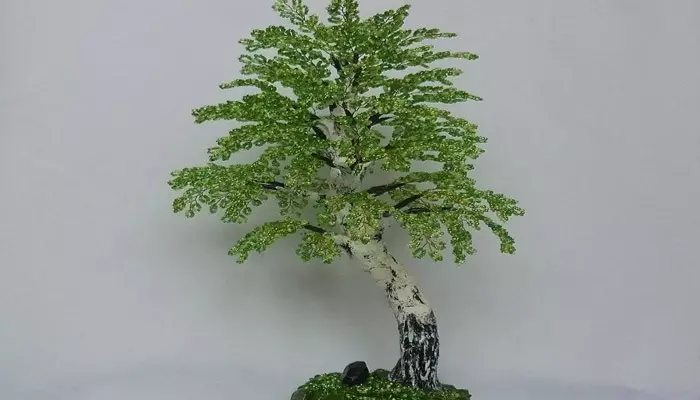
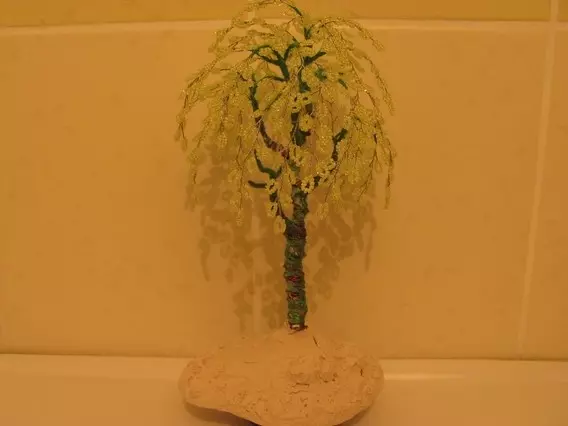
Birch will be with medium sizes, about 25 centimeters, you can do and more, but in this case it will be necessary to correctly calculate the amount of material, the work circuit will not change.
You will need:
- Bright green beads for leaves (better bright shades);
- Green, pink and yellow beads for decorating;
- Wire 0.3 mm;
- To make a barrel, copper wire, preferably thickening;
- Threads Muline green;
- Alabaster;
- PVA glue;
- Something for the stand (you can take a piece of drywall);
- Primer;
- Gypsum;
- Paints of black and white color.
Now we are in stages to explain the essence of the work, read everything carefully, the work is simple, but it will take quite a lot of time for his performance.
We make the basis of birch.
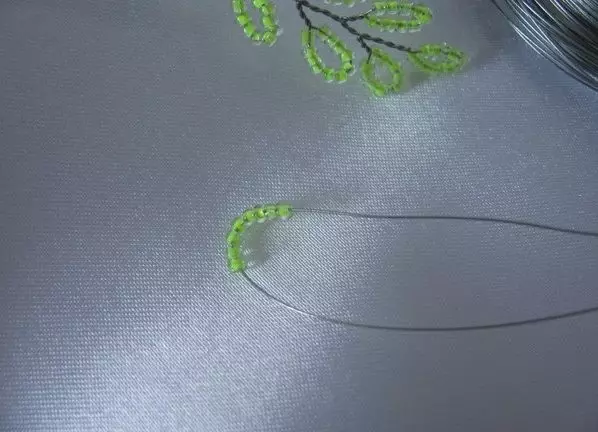
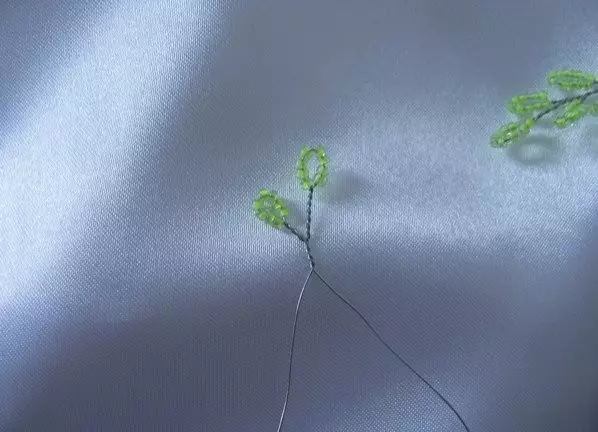
- Cut the wire, approximately 30-40 centimeters. Take wires of different lengths so that the branches are not the same (you have never seen a tree in life, in which all branches of the same length). We ride on the first wire 8 of the beads, form a looping from it and twist in 6-7 revolutions, as depicted on the second photo.
Article on the topic: Chamomile mood. Napkin with camomiles crochet
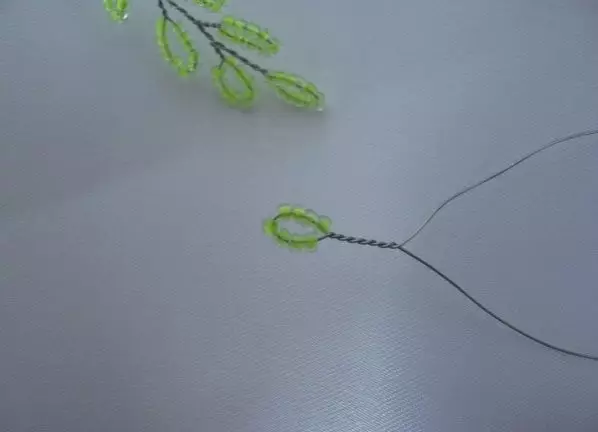
- Now we wear 8 beads on this wire and twist, connecting with the first sheet.
- We continue the weaving in the same spirit until we do the number of leaves you need.
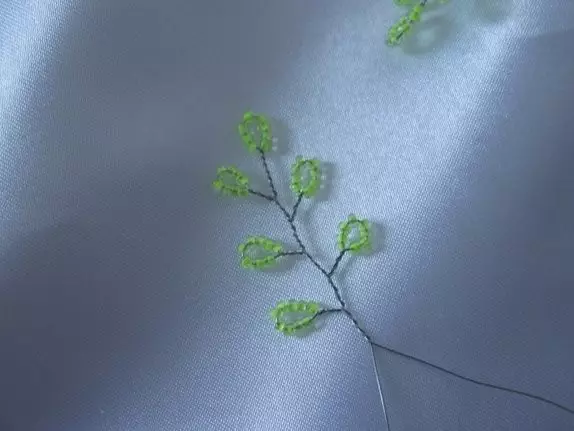
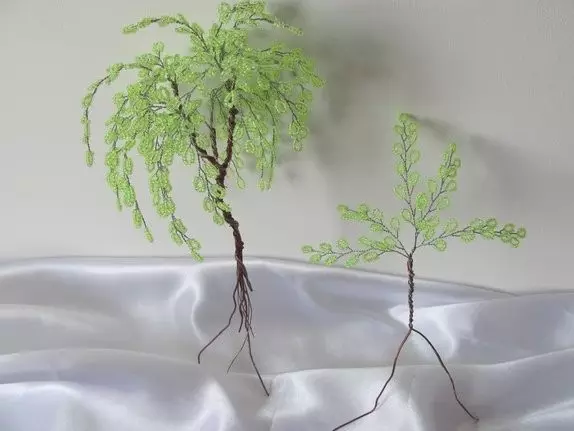
- When everyone splured all the leaflets, twist the tips of the wire and cut the unnecessary. The first twig is ready, thus make the remaining branches, in the quantity that you consider it necessary, but the number must be multiple. We have 33 branches.
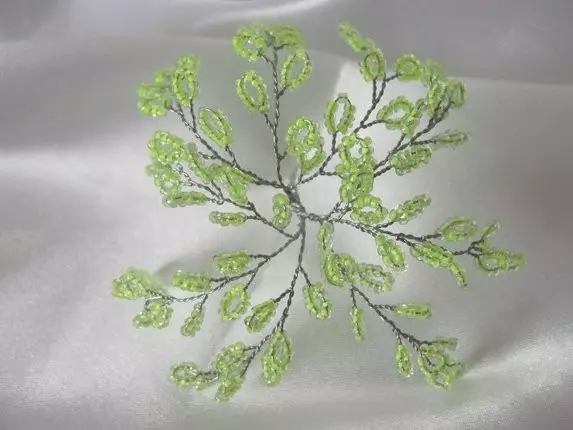
- Now we make big branches, twist them with each other three pieces.
- Now we will make the top of our tree. We take three triple branches and twist them with each other.
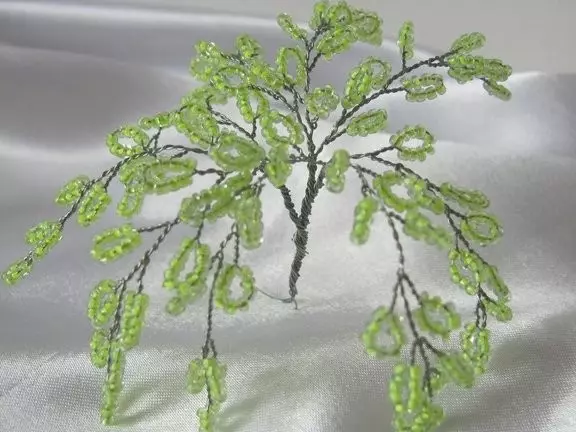
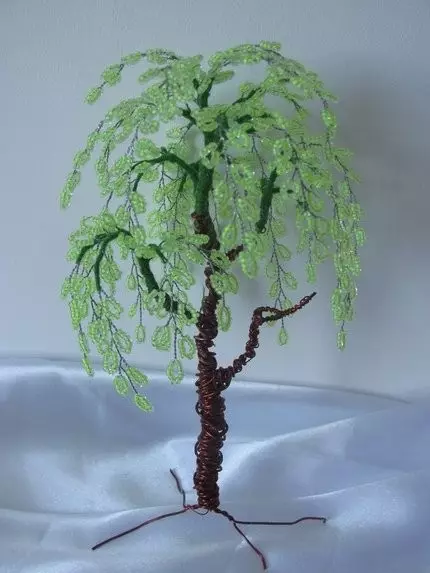
- We begin to make the trunk. We take a copper wire, fold it in half and screw to the ends of the twigs.
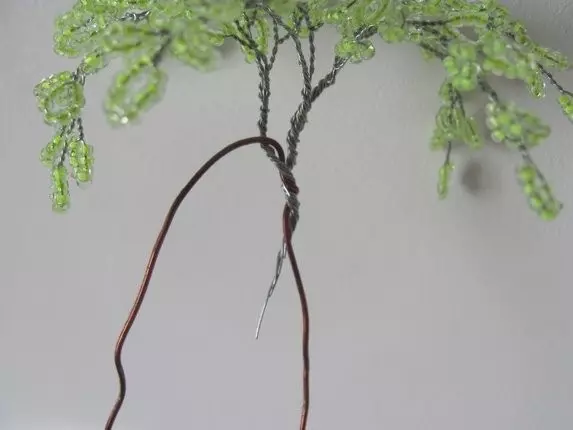
- Twist the copper wire, thus forming the base of the trunk.
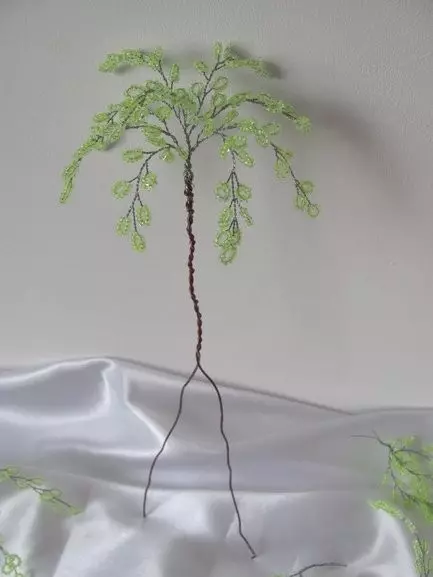
- The remaining triple branches are screwed to the trunk. Try to attach these branches closer to the top, so birch will seem lumbard.
- Now you need to make another tip and attach it to the trunk, a little lower than the first.
- Next, we will give a twig more: To do this, twist 5 twigs, to the trunk you need to fasten it below the first two.

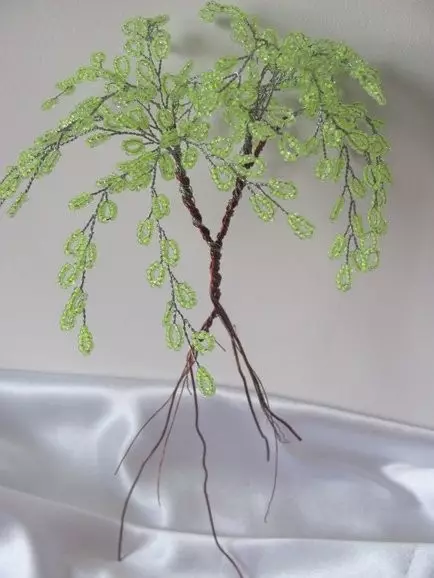
- Those branches that remained, also twist at 5 pieces and fastened to the trunk.
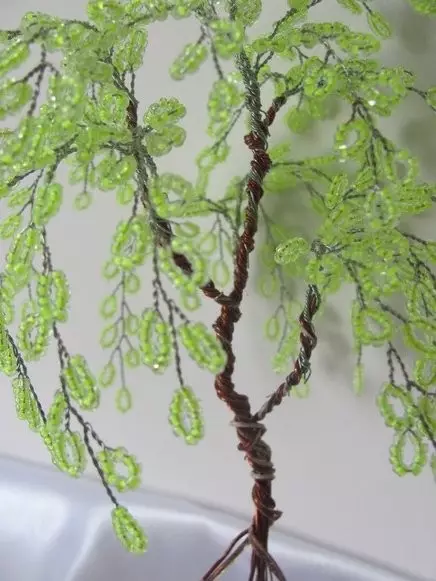
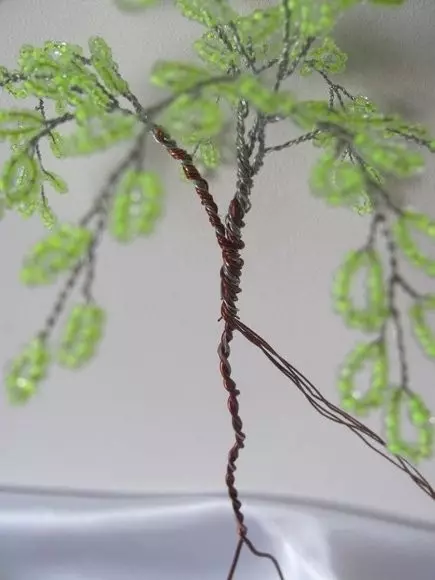
Decorating the village.
Take the green threads and wrap them around the barrel and branches, having pre-lubricating them with glue. Wrap a birch firmly, not leaving spaces.
We make a stand.
- Cut out a piece of drywall in such a form as you want, so that your support is, the diameter is not very small to be stable.
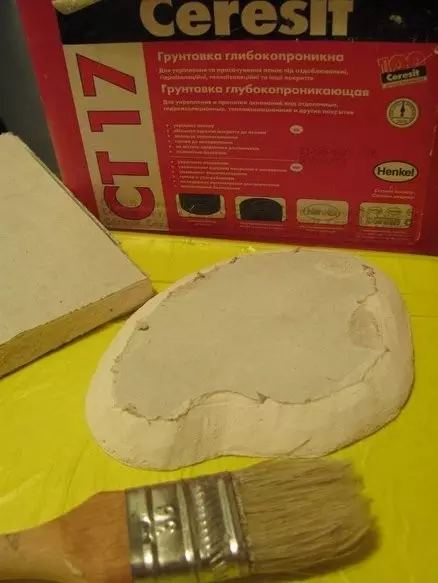
- Our future stand is stuffed, we apply a plaster and put on it a tree.
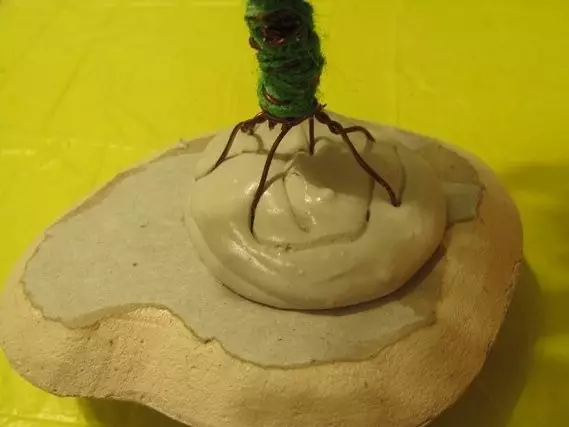
- Wait when the gypsum will dry, and wear the wire with plaster.
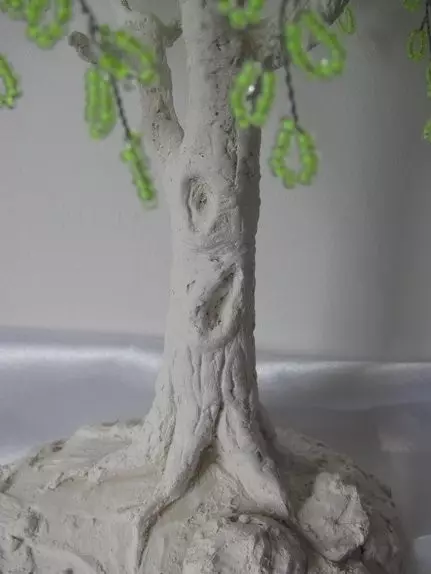
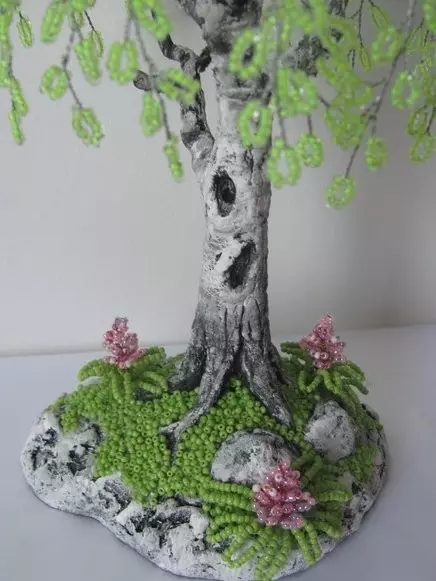
- Now, mix the plaster and PVA glue (1: 1), add a little water to this mixture. We apply a solution on the trunk of a tree, giving it a natural look at this.
Article on the topic: how to sew a school backpack with your own hands: Pattern with description
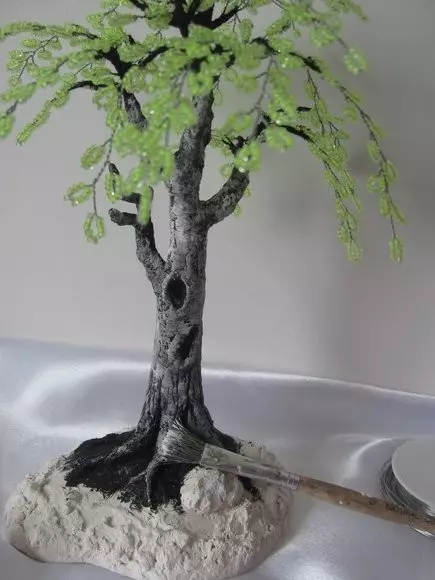
- We are waiting for it when all this is dry, and we finish thin layers first black paint, and then white.
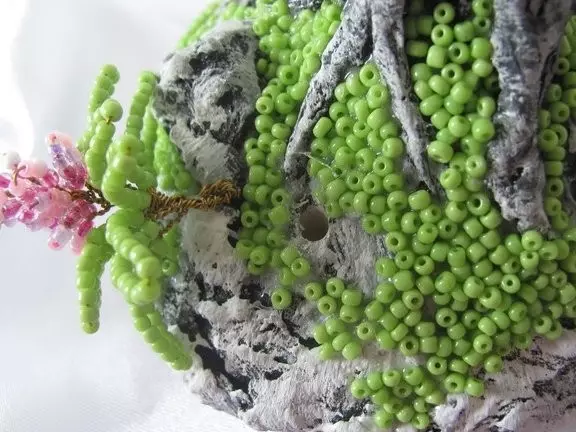
- Decorating a stand. Apply glue on it and sprinkle with green beads.
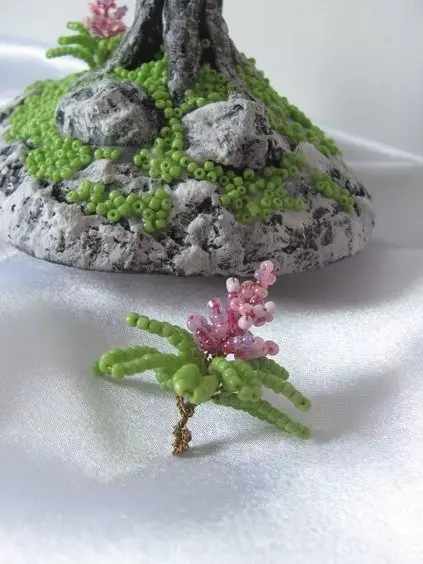
To decorate, you can make small flowers and install them on the stand, for this you need to do small holes, pour them with glue and stick the flowers there.
Birch is ready.
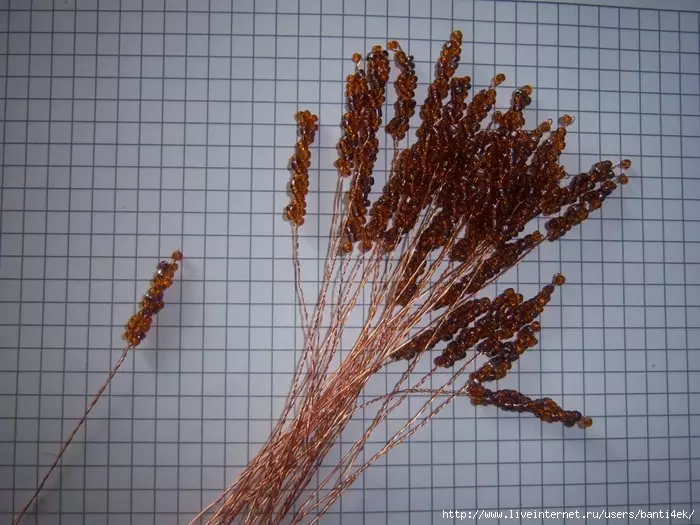
You can make the same birch with the earrings, for this they need to be made separately from a brown or golden bead.
In order to make earrings, we take a wire for about 20-25 centimeters, we put one bisper on it, twist the wire so that it does not go anywhere. Now we put a few beads on both ends of the wire and twist it at the end. We screw the carefully used earrings to the branch.
Do not scare the complexity of the weaving process. You will get a surprisingly beautiful tree, if you attach a little effort, such an exercise can be an excellent interior decoration or a wonderful gift that accurately surprise the recipient.
Video on the topic
If you have any questions, you can see the video lessons data, some of them offer some other weaving techniques birch from beads.