
Mitenks are very popular today. They are so warm, comfortable and very comfortable, especially in the era of sensory gadgets. You can knit this miracle with knitting needles, and crochet, as you are comfortable, but today we suggest you consider several ways to knit mitten with crochet for beginners.
Patterns for knitting mittles a huge amount, here you choose. But if you are inexperienced, it is worth starting with the simplest patterns. We bring to your attention a few detailed master classes for knitting the simplest mittles.
The simplest pattern of "columns"

We need:
- yarn;
- Hook number 2.
Knitting start with a set of an air chain. So, proceed.
Determine the length of the chain themselves, the length of your gum depends on it, it will take 20-25 air loops for the standard, but if you want to make elongated mittens, then you can dial more.
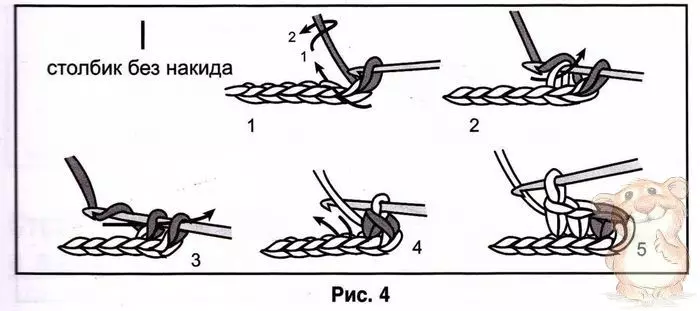
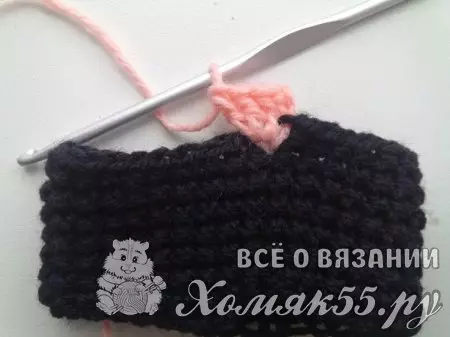
By typing 25 air loops, we make one more to lift. We knit a number of columns without a nakid, clinging only for the rear wall of the loop. Having reached the end of the row, we make the lift loop, turn the knitting and knit the second row. The number of rows will depend on the width of your hand.
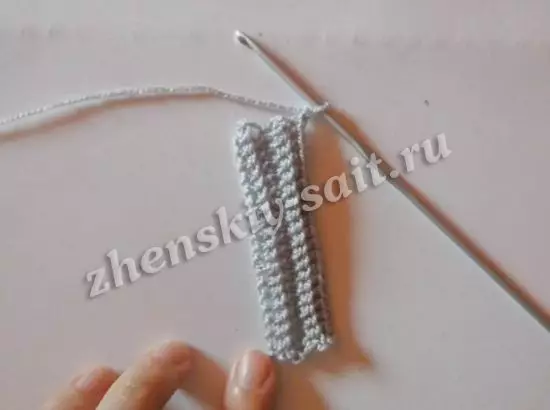
When you take to the desired size, we connect the two sides by connecting columns.
It should turn out in the photo:
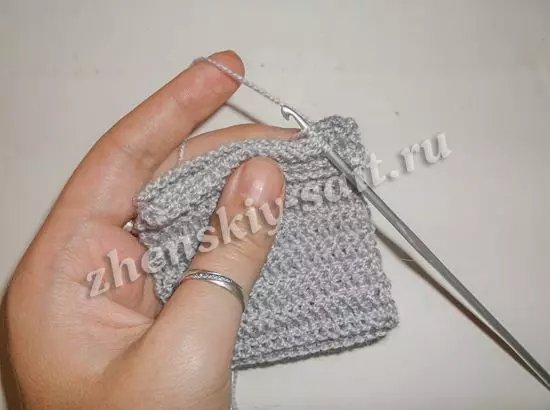
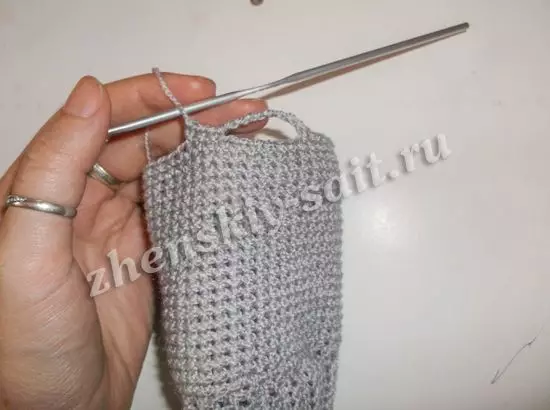
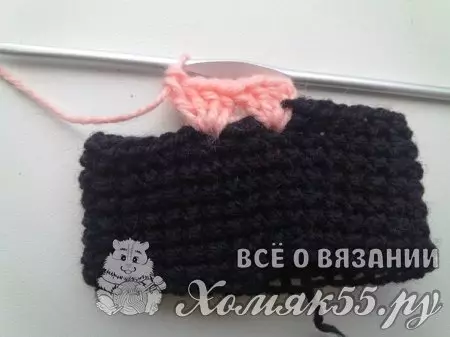
Now proceed to knitting your palm. You can not turn the thread so that there is no extra unnecessary nodules, but continue further.
Knit in a circle by columns without Nakid.
We occupy our future Mitten, if necessary, make an increase.
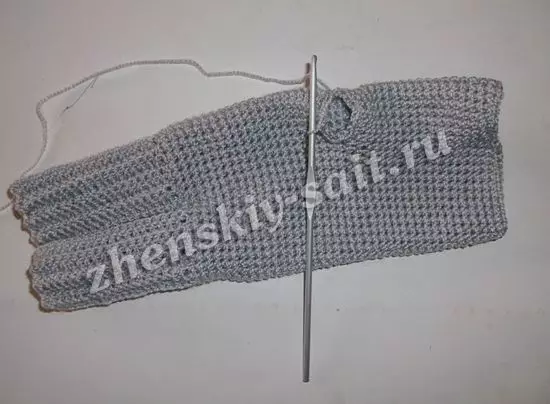
When you reach the thumb, you need to make several air loops, forming a place for our finger, count the number of loops according to your size.
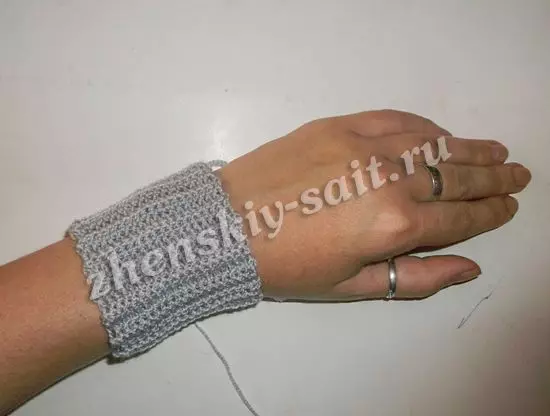
And continue to knit until the end. The length of the Mitten is calculated so that your marigolds are outside, therefore, you need to check the noggle on the Mizinz. We fix our last row of the connecting loop and tear the thread.
Article on the topic: Flowers from beads with their own hands: Schemes of trees and colors with a master class, photo and video
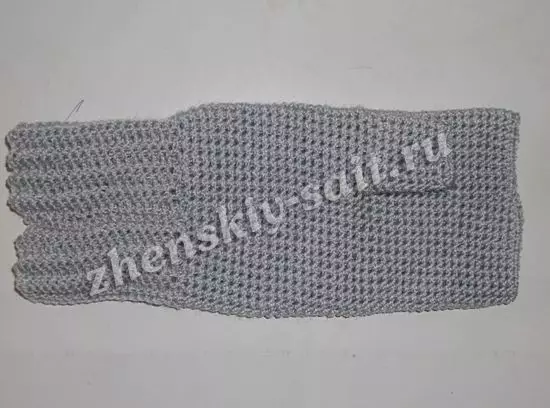
Now proceed to knitting thumb. To do this, it is necessary to make an initial loop and combine it with the nearest looting in knitting. We continue to knit according to the previous scheme, in a circle, columns without Nakid.
It should turn out in the photo:
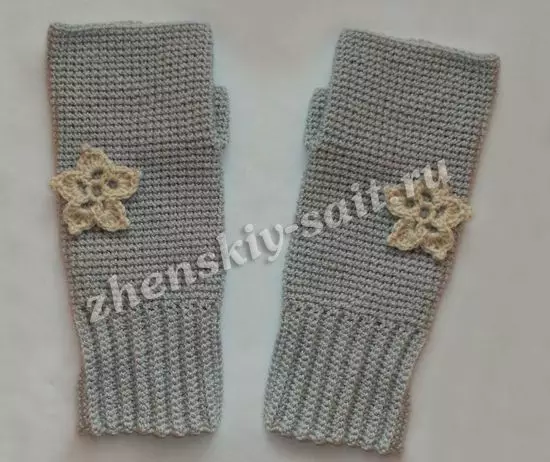
In principle, our Mitanka is ready, it remains only to associate the second handle in the same way. You can embello a little, tied onto an openwork flower.
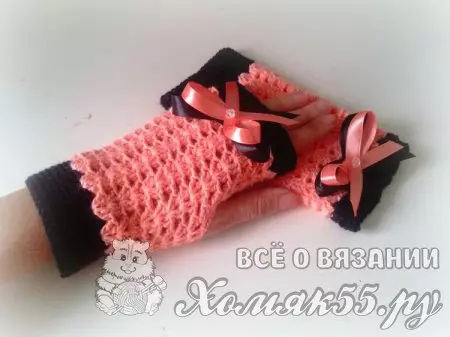
Openwork
Another option of beautiful openwork mitts. At first glance, the pattern may seem complicated, but it is not. It is enough to have minimal knowledge in the crochet area, and the detailed scheme describe simplifies the task.
We need:
- yarn of two colors;
- Satin ribbon of two colors;
- hook;
- beads;
- needle.
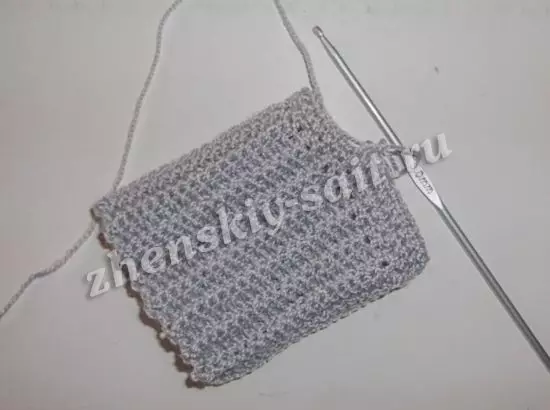
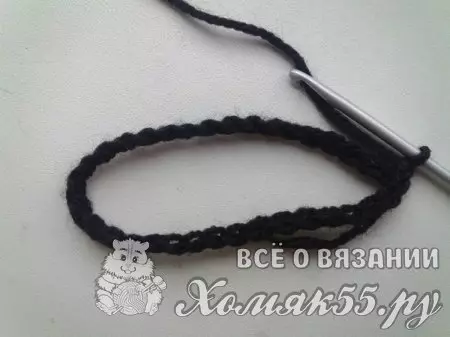
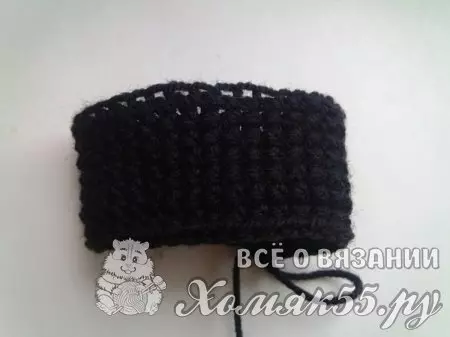
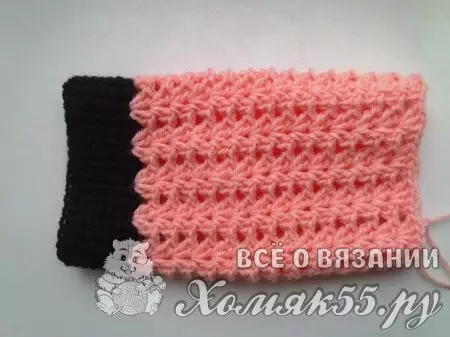
We start with knitting gum. For this, in our case with black yarn, type air loops, the number of loops depends on the girth of your brush.
And they see the desired number of rows by conventional columns without Nakid.
In order to proceed to knitting the main pattern, it is necessary that the number of loops is multiple.
We attach the yarn of another color, in our case it is a peach, and proceed to knitting according to the scheme.
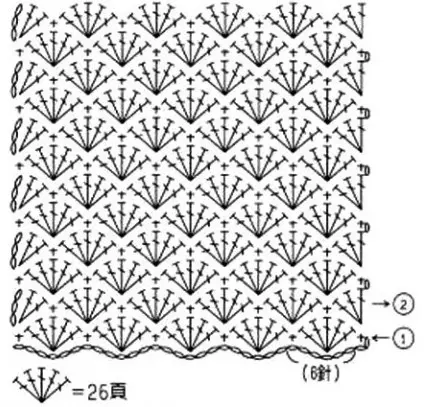
Note that 5 columns with Nakud are in the scheme, in our case, we need to check only 4, but the essence of knitting is the same.
We recruit 3 air loops. At the same place, we make three more columns with Nakad. So you have to get some fan.
Further, passing 2 loops of the lower row, in the third, insert 4 columns with Nakud.
Thus, they are tied to the end of the row.
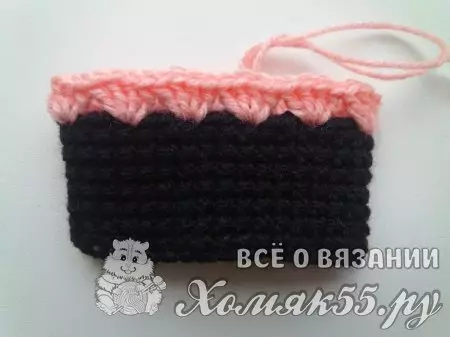
To make the transition to the next row, it is necessary to check the connecting loop in the middle of the fan, they see the new fan.
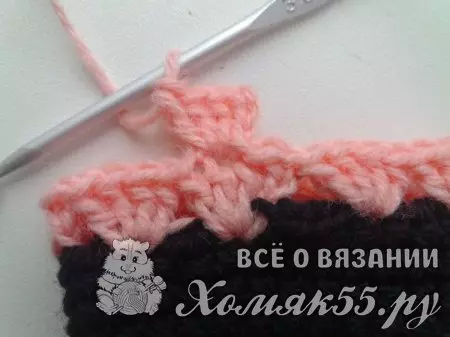
Our next row is so farther and prone through the middle of the lower veser.
Article on the topic: Crochet grid with pattern of patterns and description
Slip the required number of rows to the thumb. Now we need to take place for it. To do this, we have another row in the drawing, and instead of the last veser, we are tied by a column with three nakis.
The next row is signed as shown in the photo.

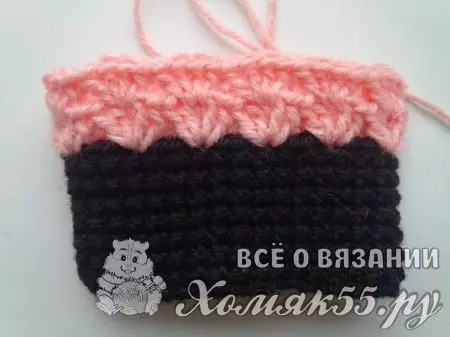
And we continue to knit until the desired length.
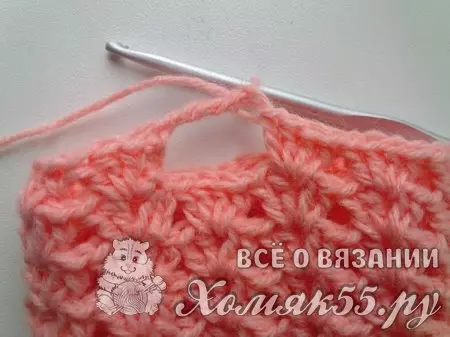
Big finger can be tied with ordinary columns without a nakid, and you can leave a midst of a thumb, like with us.
Decorate with ribbons and beads.
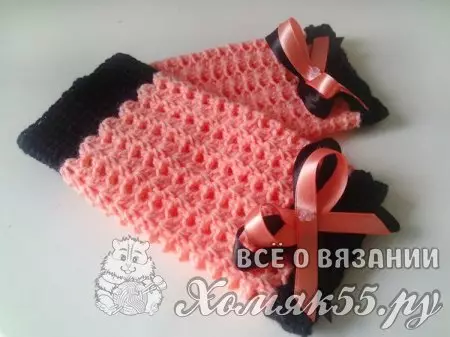
As you could make sure there is nothing complicated, and each, even the most starting, master can repeat it. This option is very well suitable for the girl.