
To dress the child in the kitten - it's a simple thing. Just even it is necessary that a monophonic dressing suit with fur cuffs and a collar drawn by mother's cosmetics nose and mustache. But about how to make feline ears, the master class of this article will tell in stages.
Ears from cardboard
The most expensive way in terms of money and time is the way to get ears like a cat - make them from cardboard.
For cardboard days, you will need the following:
- cardboard two colors (external and inner ear);
- paper glue;
- Scotch;
- scissors;
- hair band.
In general, the ears from any material are attached on the rim, therefore this accessory will be considered in the manufacture of different feline ears.
According to the following template, cut from cardboard 6 parts: 4 external ear, 2 internal.

The details of the inner ear glit to two parts of the outer ear, after which we fasten the glue two large parts in their vertex. After drying, we attach the ears on the rim. To do this, bend sharp angles at the base of the parts inside, and then we attach them from top to the rim of the thin strip of the tape.
If there is no rim, the ears can be attached to the cardboard hoop from the cardboard strips, as shown in the diagram:

Cardboard parts can be enclosed by a satin or other cloth, as well as the rim itself, as well as use patterns from artificial or real fur, which are also sitting on glue or silicone.
Knitted version
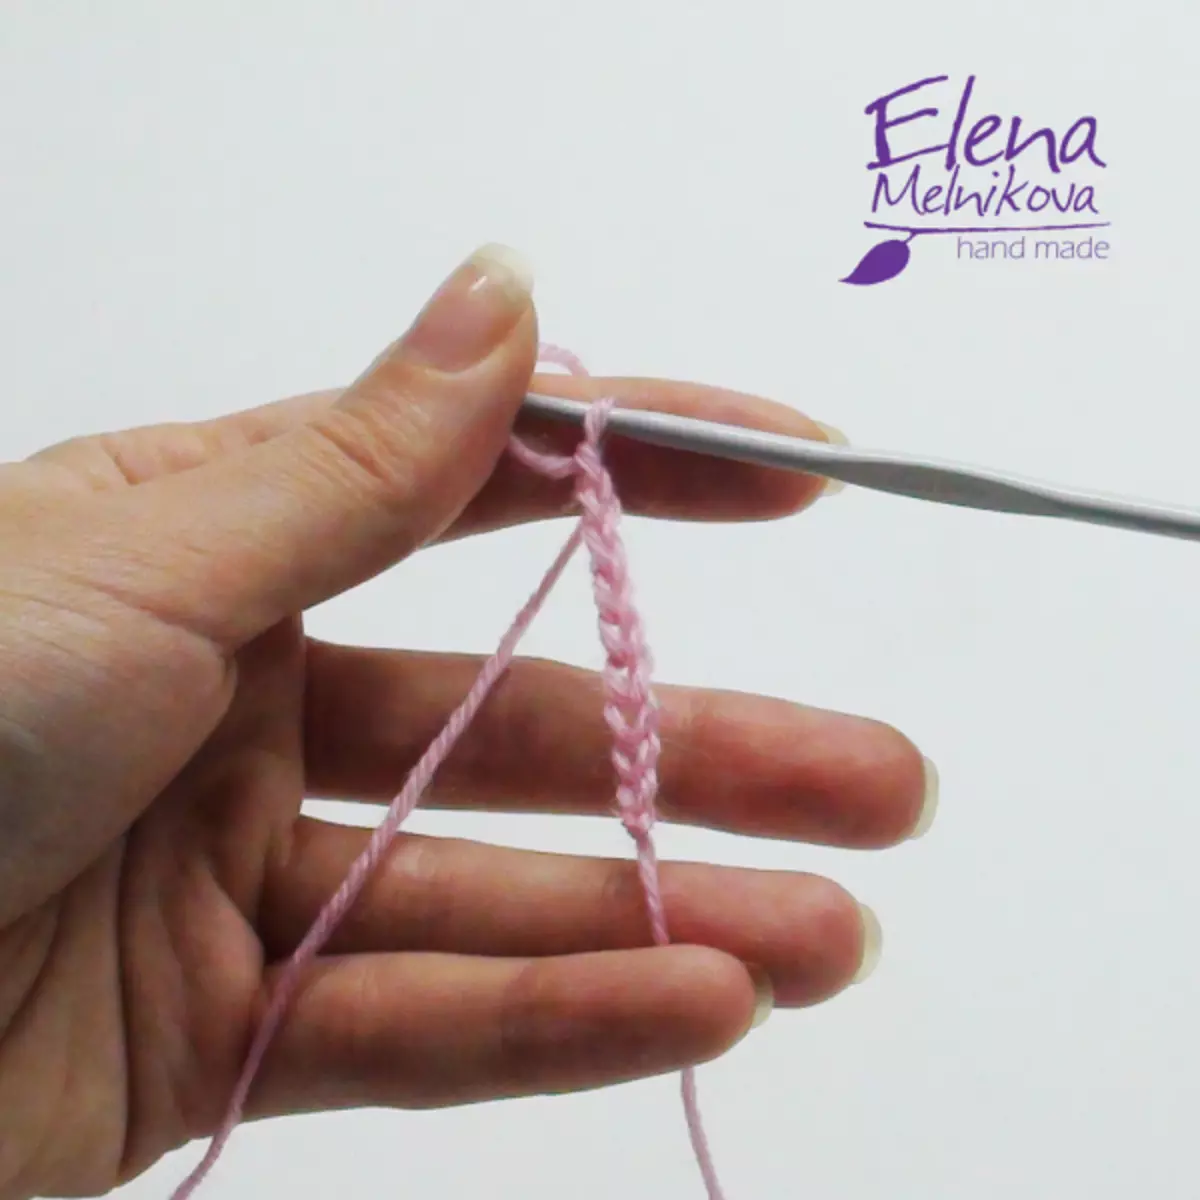
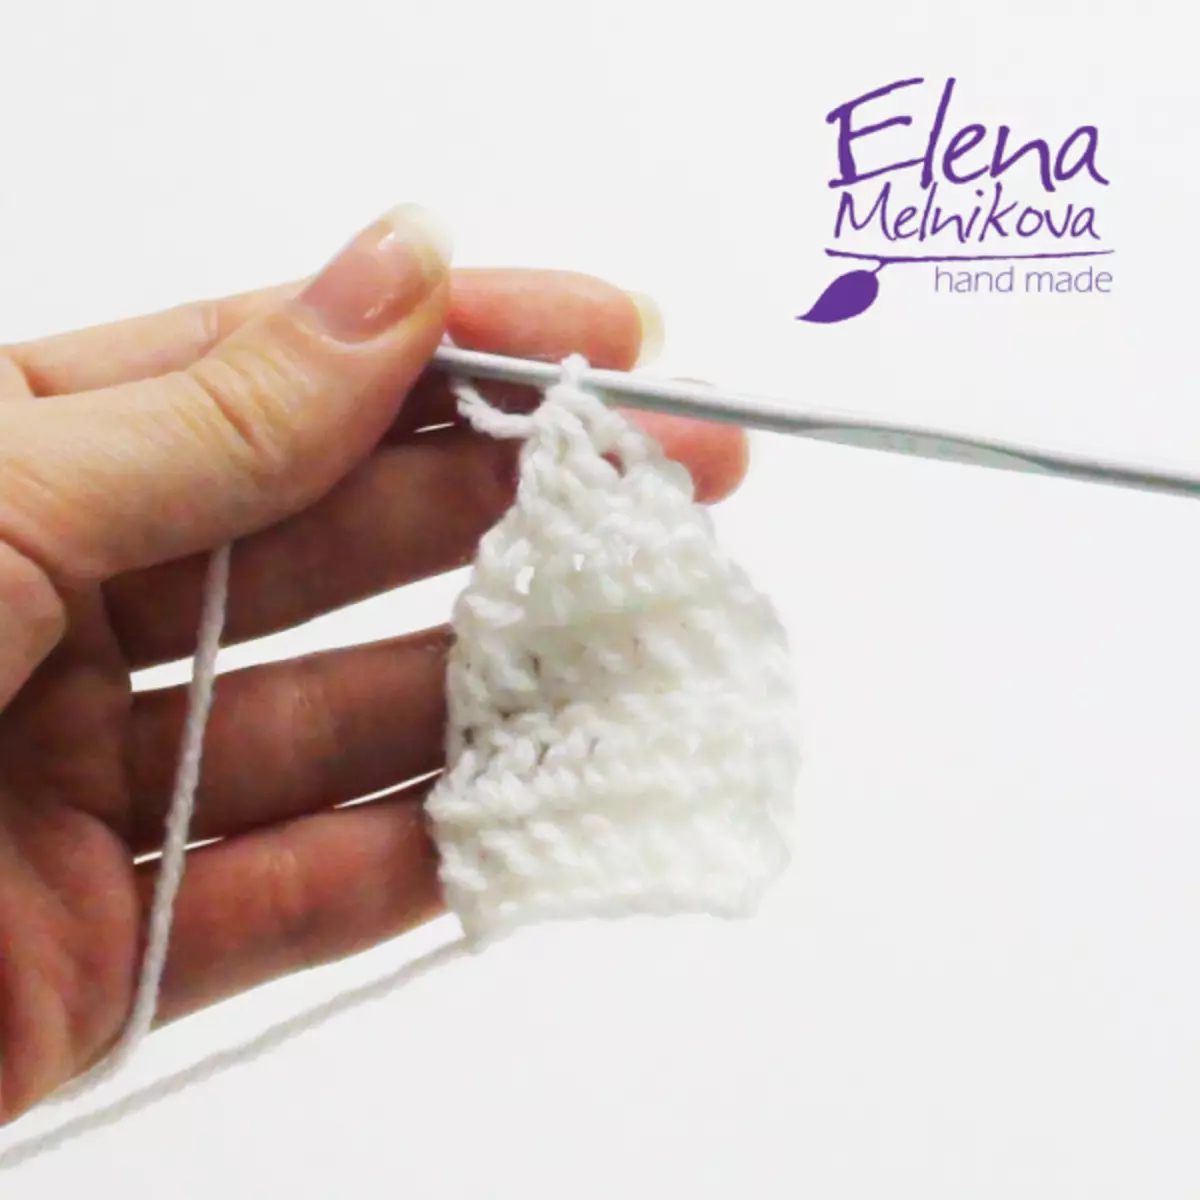
In order not to paint your hands in glue, you can use the crochet and tie the cat's cat. For the inner and outer part of the ear will need yarn of two colors. To connect the inner ear, it is necessary to make a loop, which is imposed on air 10 loops.
Article on the topic: Means that will help get rid of mold in the cellar or basement
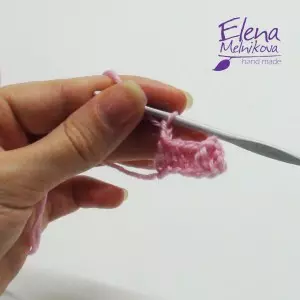
After the nakid made, knit the cape column, which should be kept in the fourth loop on the account of the hook.

Then it should be done to the end of the precipitated columns, make two lifting air loops.
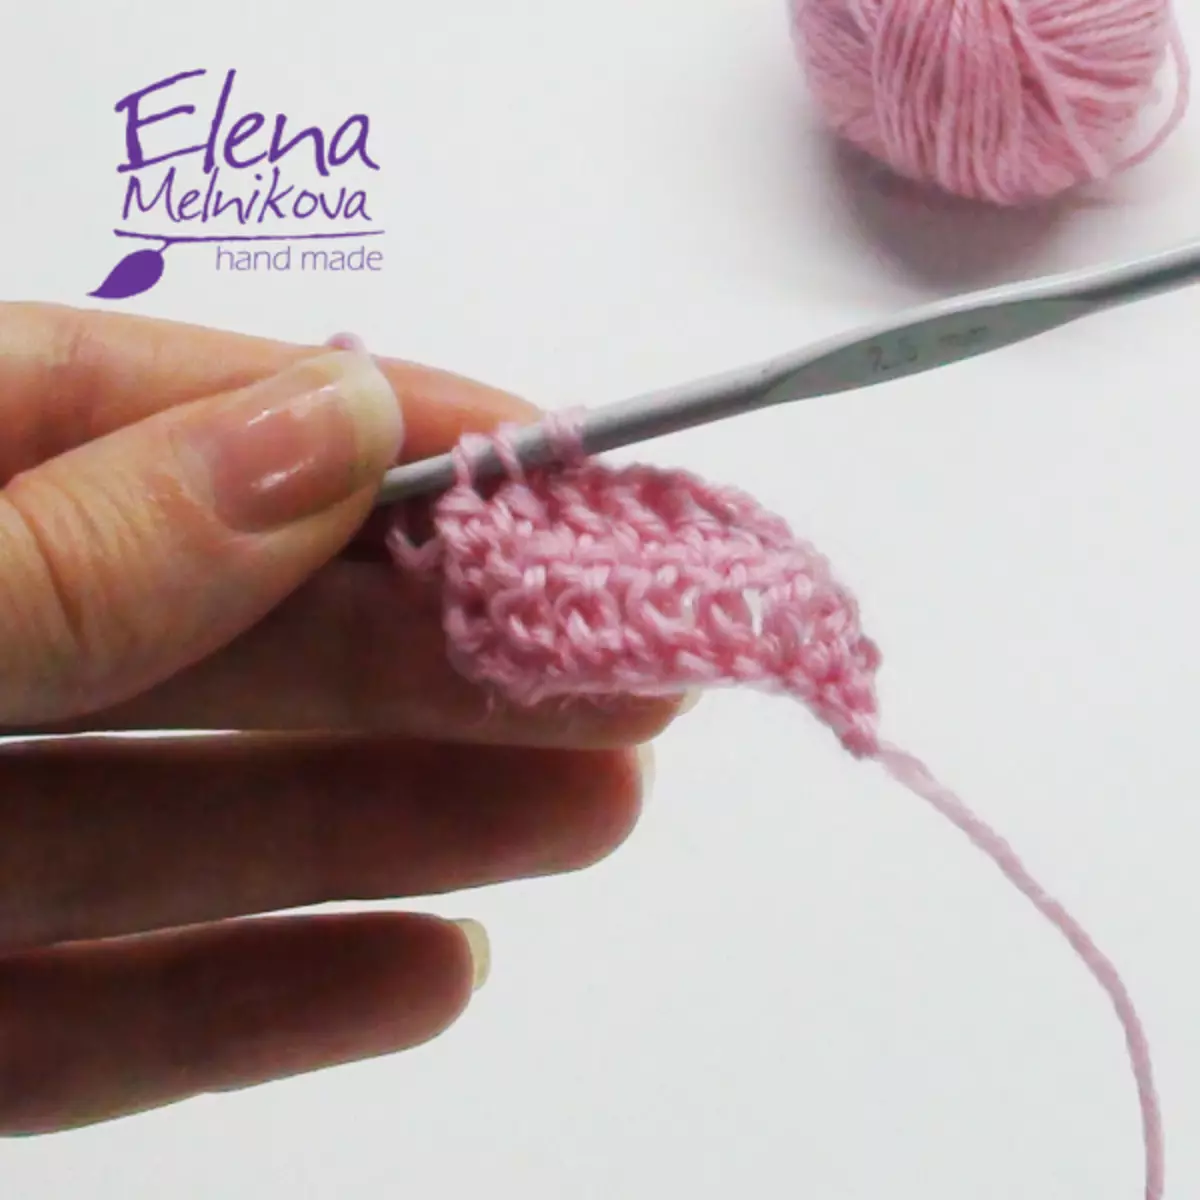
Turning the work, inserting a cape column in the next, knit until the end of the series, after which we leave two columns from the previous one.

By sticking the cape, you need to make a nakid and put the hook in the air loop of the previous row. Next, knit the column to the last three loops, through which you should stretch the thread, having reduced the ending of the row.
After that, we make two lifting air loops, we are on the cape columns, we leave three columns at the end of the row. The decrease is made in the following two columns. Stakes №3 and the last in the previous row need to be left, thereby having a gravel in the previous row. Having turned the work, we make two air lifting loops, after which the precipitated column in the next column of the previous row. The following two columns need to be kept together, after which knitting ends, while the remaining tail is not needed to hide.
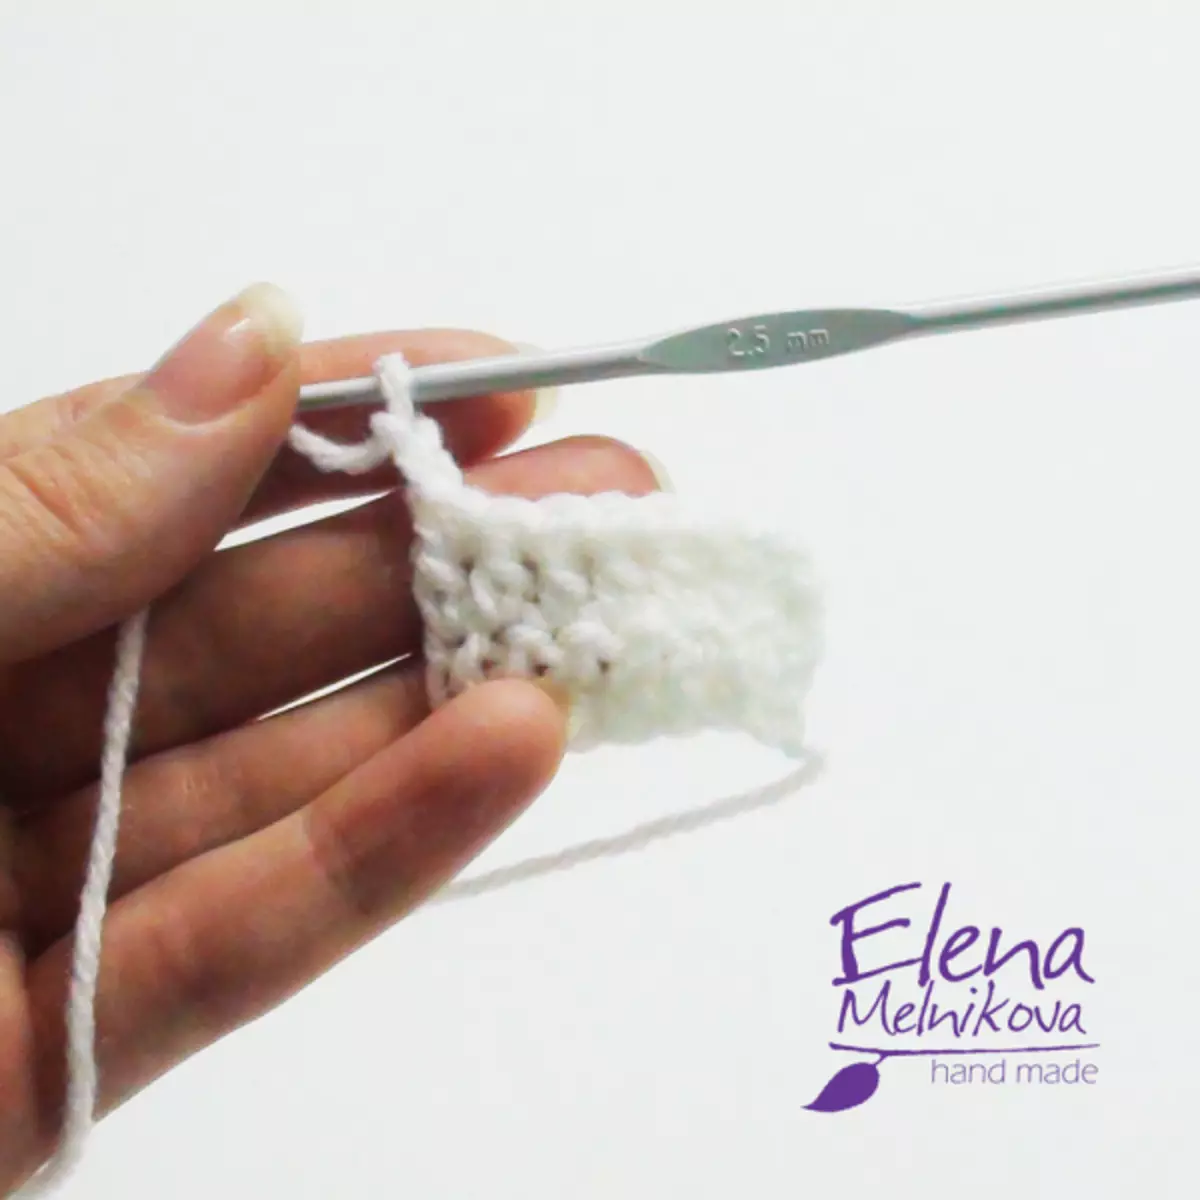
Starting to knit the external ear, we leave a long tail after the loop, after which there are a set of 9 air loops. After that, a column with one nakid is in line with a hook from the hook, knit to the end of a row with one nakid's posts. The width of the details of the inner ear and the external should be the same. Next, we assign so many rows so that the rim in the transverse girth is covered with pleasure. Add two air loops.
The following row varies for the right and left ear. In the first case, we have a row for the rear wall of the loop, in the second - for the front. The next knitting continues for the detail of the inner ear, putting the item to fit the row. The last two columns need to be kept together, after which turn and tie 2 air lifting loops. After that, we knit a row by the cage columns, making a gravel at the beginning of the previous row, leaving a batch from the air loops was not accused. Next, two columns of the edge are pronounced together. After that, knit 2 air lifting loops, we combine 2 columns with Nakud, leave the last column.
Article on the topic: Application of palm in kindergarten: Hedgehog and swan pictures with photos
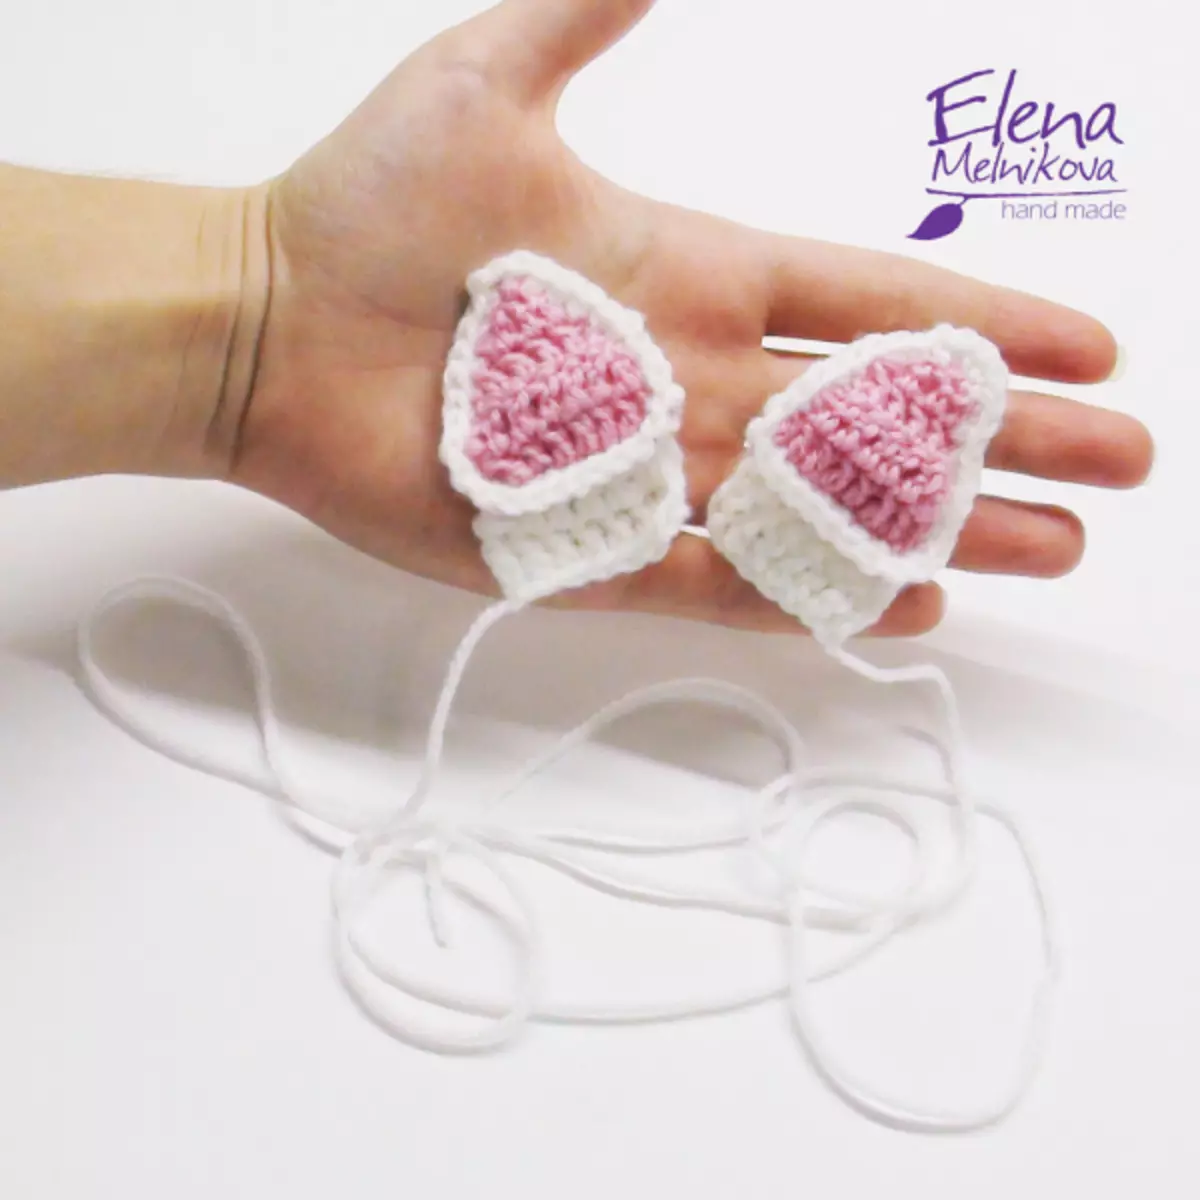
Next, you need to connect two parts by sticking them with the columns without a nakid, and at the end - a connecting column. Received ears we attach to the rim.
More visual knitting of the ears is represented in the scheme:

Differences in the technique of creating your own cats for a masquerade suit on a boy or a girl not so much. The greatest difference in artificial ears for boys or girls is color.
In addition, there are some more differences between Cat's ears from Cat:
- What the ears are attached: hairpins, bows, hair rims are more suitable for girls, while cardboard hoops or bandana - for boys;
- Material: Atlas, long-tusty fur - maiden ears, cardboard, fleece, felt - boys;
- Form: Rounded, wide more girls, and pointed and narrow - guys;
- Design: the use of decorative elements, like a sparkler and rhinestone, is understandable, more suitable for the devotional dress.
Video on the topic
A selection of video for creating cats: