
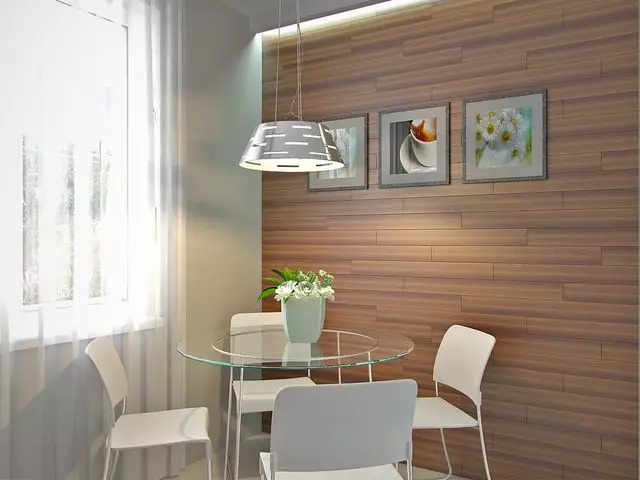
The traditional destination of laminate is to cover the floor. However, often this material is used when repairing an apartment in a very unusual role - as a material for the design of the walls. Sometimes this is done for saving considerations if the floor laminate remained and there is an opportunity to consume it.
But more often the laminate is used on the walls as a very independent design element, very unusual and stylish. If you also have such an idea, we will tell how to fix the laminate on the wall. On the video you can see the process with your own eyes.
Pros idea
Despite all his unusualness, the idea to attach laminate on the walls is not such a bad idea. Laminate has a number of good qualities:- will fit into the overall design of the apartment and will be harmonious with the floor;
- Easy to care (well wash, it is easy to repair);
- Its installation is easy and accessible to everyone.
What way can you attach laminate?
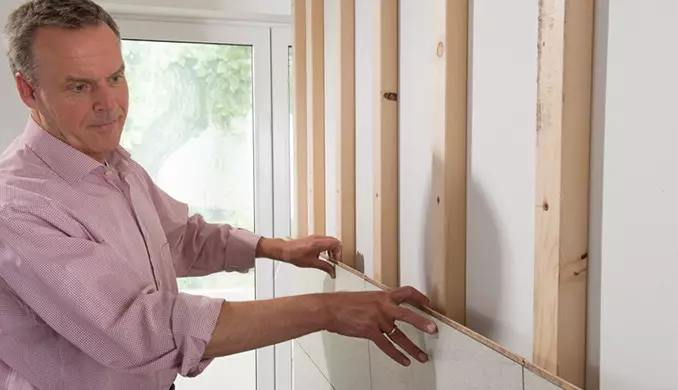
There are two ways to fix the laminate on the walls - put the boards on the glue either on the crate. In the first case, smooth walls are required and their surface is very durable (the boards of laminate have a lot of weight, therefore, if you do not remove the old plaster, after installing the wall they can fall along with the old cement). In the second case, the condition of the walls is not fundamentally.
Preparation for work
- Preparation of material for work. As usual, the laminate should be unpacked and pretty give to fly around in a warm apartment about two days. During this time, the material will take the ambient temperature;
- Preparation of the surface. The walls should be aligned by making the surface perfectly smooth, so that the magnitude of the errors is minimal. Uneven walls will have to put off. The solidity of the walls is better to check the rule, preventing discrepancies more than two or three millimeters.
- Special attention - corners. They, too, if possible, should be straight. The meaning of such attention to smoothness is understood: irregularities under the laminate on the floor can be leveled by a soft "playing" substrate. On the wall, the boards are attached to a solid surface, and it must be smooth.
- Dismantling of platbands doors and windows.
- Calculation of the need for material. Multiplying the width for the length of the alleged fragment on the wall, get the area of material. To this size it is necessary to add interest ten per trimming, fitting.
Installation of laminate
In the presence of smooth walls, the panels are glued directly on the wall using liquid nails glue. If the wall is a curve, you need to make a crate. To make it, the rails of 20-40 mm wide are needed, perpendicular to the direction of the board. (Metal profiles can be used as a crate, which are used when mounting drywall structures. Finally, you can use special fastening systems for wall lamellas on the walls). They are stuffed at a distance of 30-40 cm.
You can glue on the wall any laminate, including from any type of lock or without a lock at all.
Next, follow below the manual:
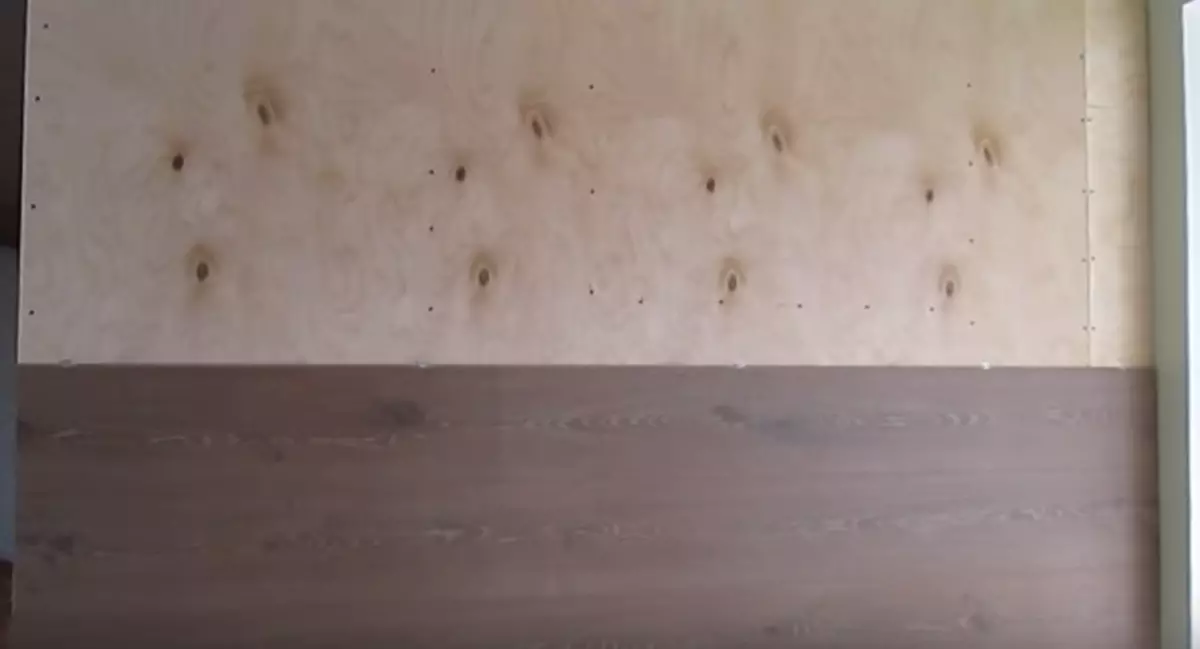
- Select starting point mounting. If laying is planned only in the upper part of the wall, it is necessary to start from the upper left corner (for the "left-directed" masters - on the contrary, from the upper right corner). If you need to sneak the lower part, then start better from the bottom left.
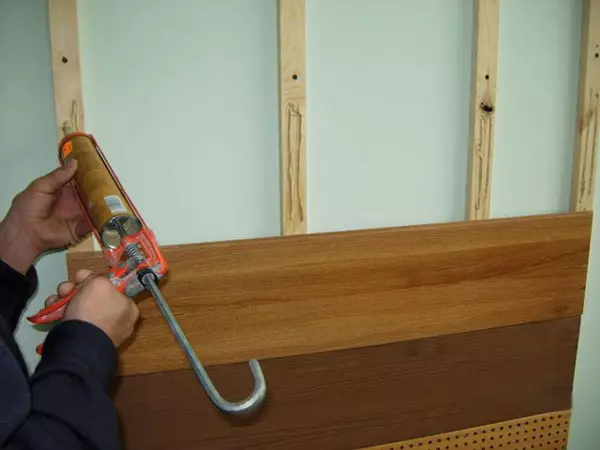
- Apply on the reverse side of the board the glue "Liquid nails" based on silicone, you can use special glue for panels. Glue-treated board press with power to the wall. In the same way to do with the rest of the panels. If the boards have locks, then for better gluing should be mounted with glue and grooves.
- In the same way, the entire surface is covered. If the installation is made from below-up, then for strength, it is recommended for the bottom board to nourish the racketer to the wall, the bottom board will be based on it and it will create an additional stop of the entire design on top.
- If the panels are glued to the crate, they will need nails or special fasteners, called kleimers, they are sold in any shopping department. Sometimes kleimers do not give normally enter the grooves in the castle. In this case, it is enough to neatly trim the fastening site in such a way that the groove goes into its place.
- Install all the boards and proceed to the design of the corners and places of connection with the floor and the ceiling. This will require plinths. You can choose the desired type and size in any construction store.
Article on the topic: How to choose a night chart for your bedroom, to pay attention to?
Video with a story about how to mount the boards is easy and simple. By the way, in this video, a simple idea is proposed, how to make a laminate laying laminate on the curve without applying the crate:
Important nuances
As you know, the design of the decoration of the laminate can be consisting of horizontal, vertical and even diagonally spaced strips. What is the features of the installation by a vertical direction?Vertical method of laying
A very spectacular result gives vertical laying of laminate. Laying is very simple, it is important to highlight the walls very high quality.
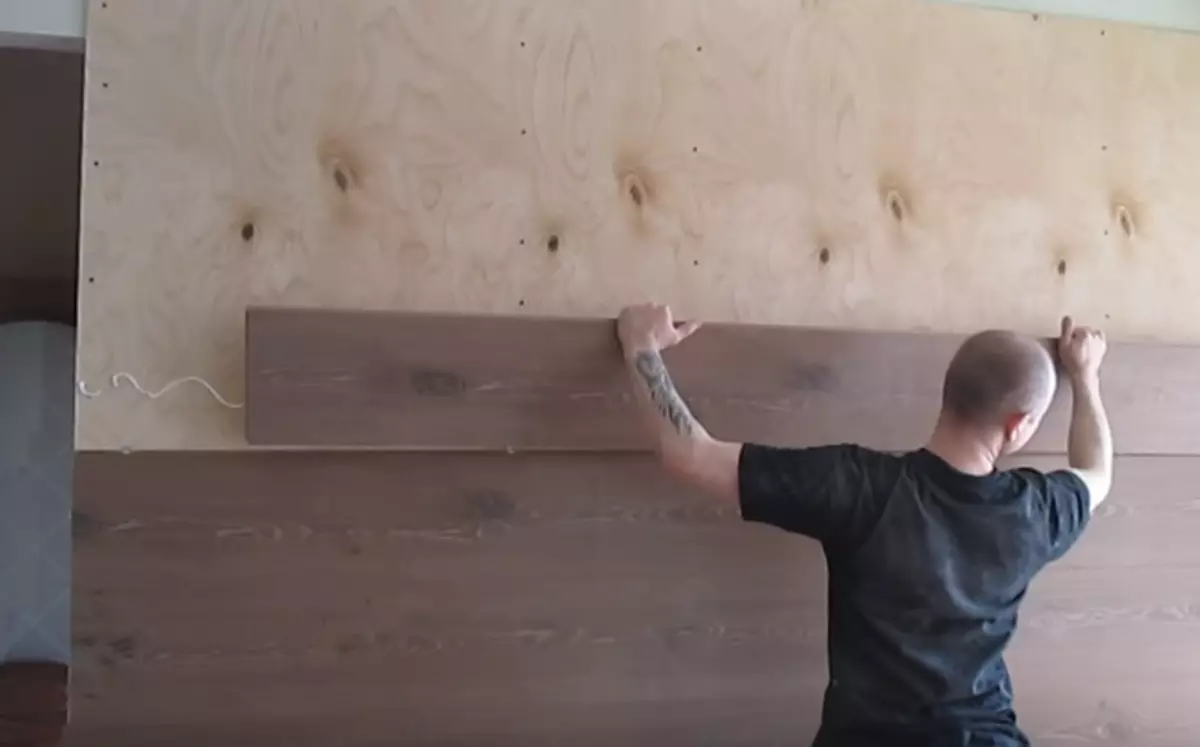
Horizontal way of laying
If you lay the boards of one length, then this option seems easier and cheaper - there will be no waste and trimming. At the same time it is necessary to remember that all the joints will be on the same line, so it is better to close their plinths. Laminate is a truly heavy building material, and to avoid collecting boards in the harmonica under its own weight, the boards must be additionally fixed by transverse fnethoods on the joints.
The plinths are fixed to the walls on a dowel-nail, and the holes are allowed to be drilled even through panel joints. It is better if vertical plinths will be located in a step of at least one and a half meters, even if the length of the panels goes along the entire wall without interrupting.
This is due to the fact that fastening of entire panels goes only in the locks of one direction, so without additional fixing measures under the weight of the panels, the wall can be broken down.
An even greater strength of the design will inform the laying of the so-called comb when the laying occurs with alternating the whole strip and half. To do this, make the required amount of halves, having gone in advance by the need for integers and cutting fragments. This method of laying will provide more uniform loads on the panel connection sites and help to avoid trouble.
Next, we give a video telling how you can use the method of mounting the decorative wall decoration by laminated boards when the balcony is designing:
Article on the topic: Ideas for the balcony with your own hands (photo and video)
The given video for sure convinced you to make the installation of panels on the wall not such a difficult thing, as it sometimes seems.