

Preparatory work on the installation of the riser starts indoors directly under the roof. Here, as a rule, there is already an output of the sewer pipe, which must be increasing and conducted through the roof. It will be more difficult to do this if the roof is covered with metal tiles, as there is no special peeling. But, there is nothing impossible, and now you will learn how with your own hands to withdraw the sewer riser on the roof using the universal peelning peel.
Conclusion of sewage riser. Order of work
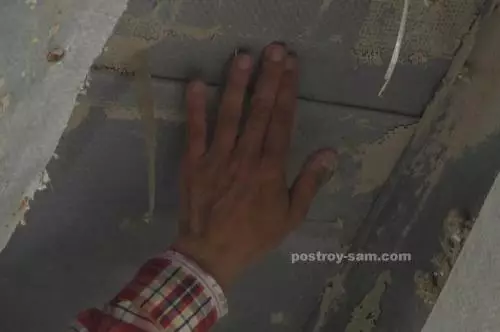
Remove part of the roof insulation over the sewer pipe output. Determine the distance between the elements of the roasting and notice the place in the middle so that the hole does not hurt the penetration.
Care the waterproofing film to get to the metal.
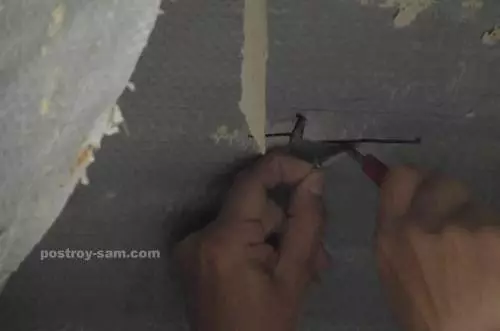
With the help of self-train, make a pass-through hole as a label.
The sewage output should be selected depending on the climatic conditions in which he will have to function. In regions with cold frosty winters, it is recommended to use a warmed output to avoid its frost. If the climate is soft, quite the usual thin exit. It would be nice to pick it up in the tone with the color of the roof.
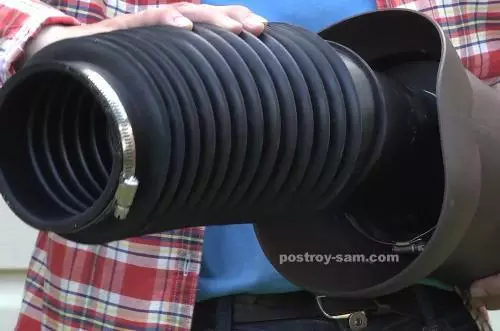
It is very difficult to calculate the entire design so that the sewage tube clearly coincided with the protrusion. Therefore, for their reliable connection, use a corrugated pipe by attaching it to the sewer output.
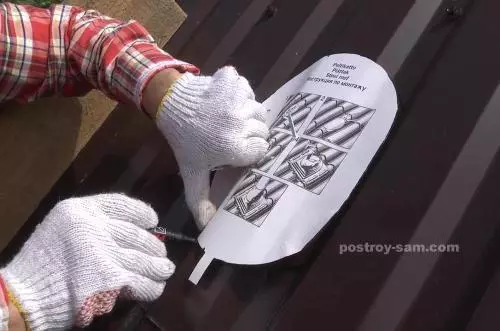
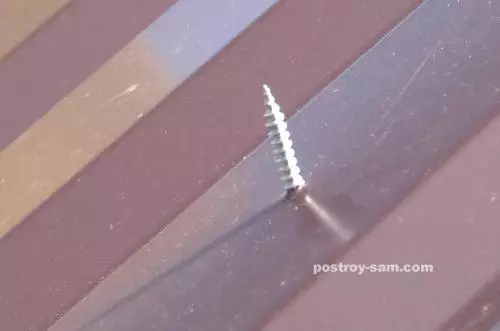
The next stage of installation work is carried out on the roof. Attach stencils to the roof, putting it in the center to his label - self-tapping screw. Cut the necessary hole in the profile on the outline of the outline.
Article on the topic: Design ideas of a private house - 40 photos
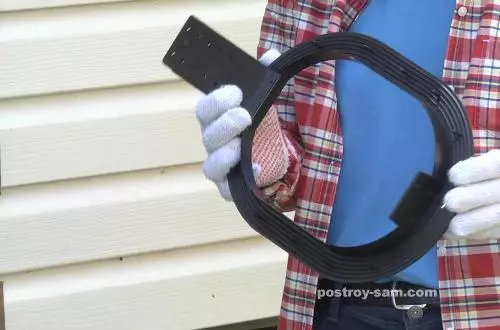
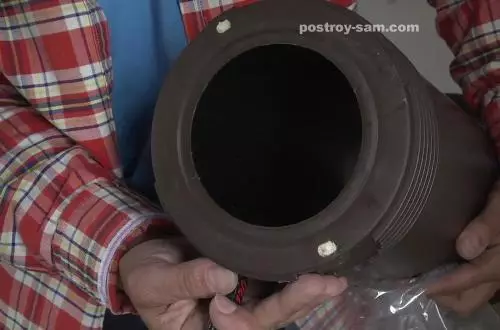
The penetration must be hermetic, for this, uses a special insulating element. It must be applied to the finished hole in order to manually give it the form of roof relief.
The prepared element is fastened with the help of self-tapping and strainer sealant, as it does not cause undesirable metal reactions.
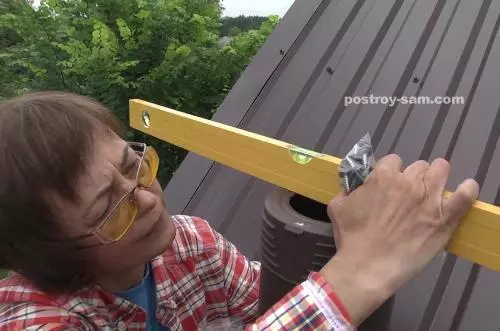
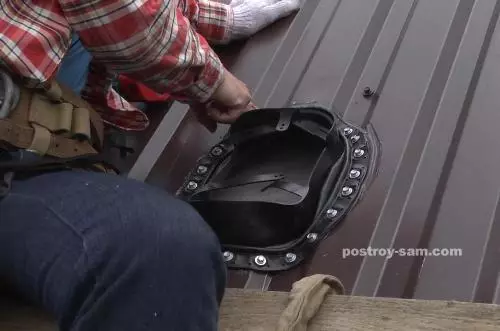
Now it came to secure the penetration. Do not forget to hook the fastening ears of the seal behind the protrusions on top of the base of the penetration. In the installed passage element, we mount the sewer outdoor together with the corrugated tube. Before conspiring the entire design, align it using a construction level.

External work is over, we return to the room. To remove the riser, you made a hole not only in the roof, but also in the waterproofing film, and now it needs additional isolation that will save from the occurrence of the exit place. It is for this purpose that a hydraulic seal is used. It is attached around the perimeter of the opening in the waterproofing film and to the elements of the root and under the hole. Connect the sewer pipe with the corrugated tube.
Despite the complexity of the design, you will be quite able to withdraw the sewer riser on the roof yourself.