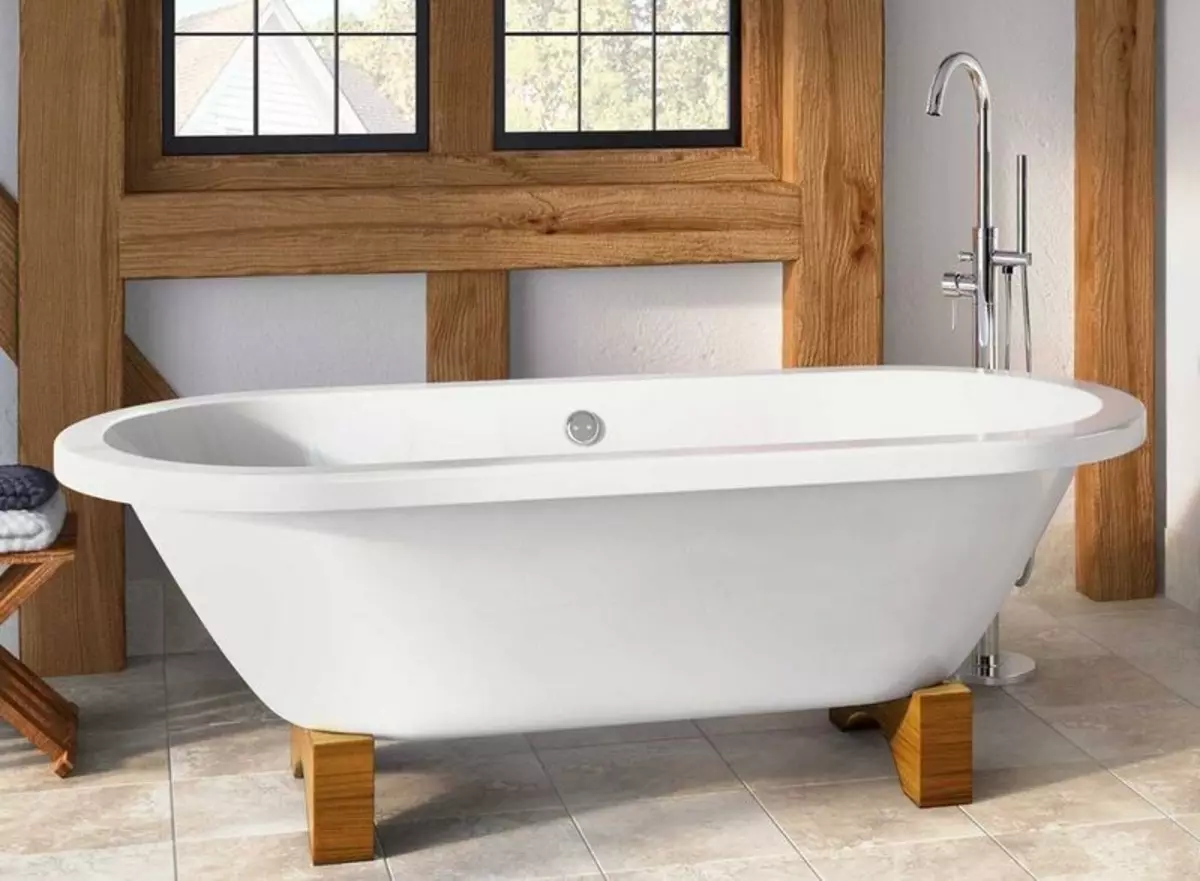
To date, there are several options for installing a bath. The most popular of them are supporting legs and a brick basis. The first way choose those who seek the maximum to leave free space even in such a small place as a bathroom.
If the bath rests on the legs, then the floor under it remains free. This means that you will have less problems with cleaning, and you can always carry out the small repair of plumbing under the bathroom without dismantling the support. In addition, open access to the space under the bathroom allows you to constantly keep this zone clean, to remove the puddles of water, dirt on time, and the objects that fell there during bathing.
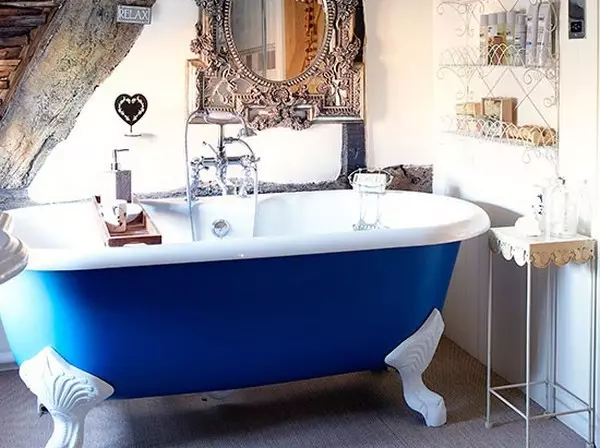
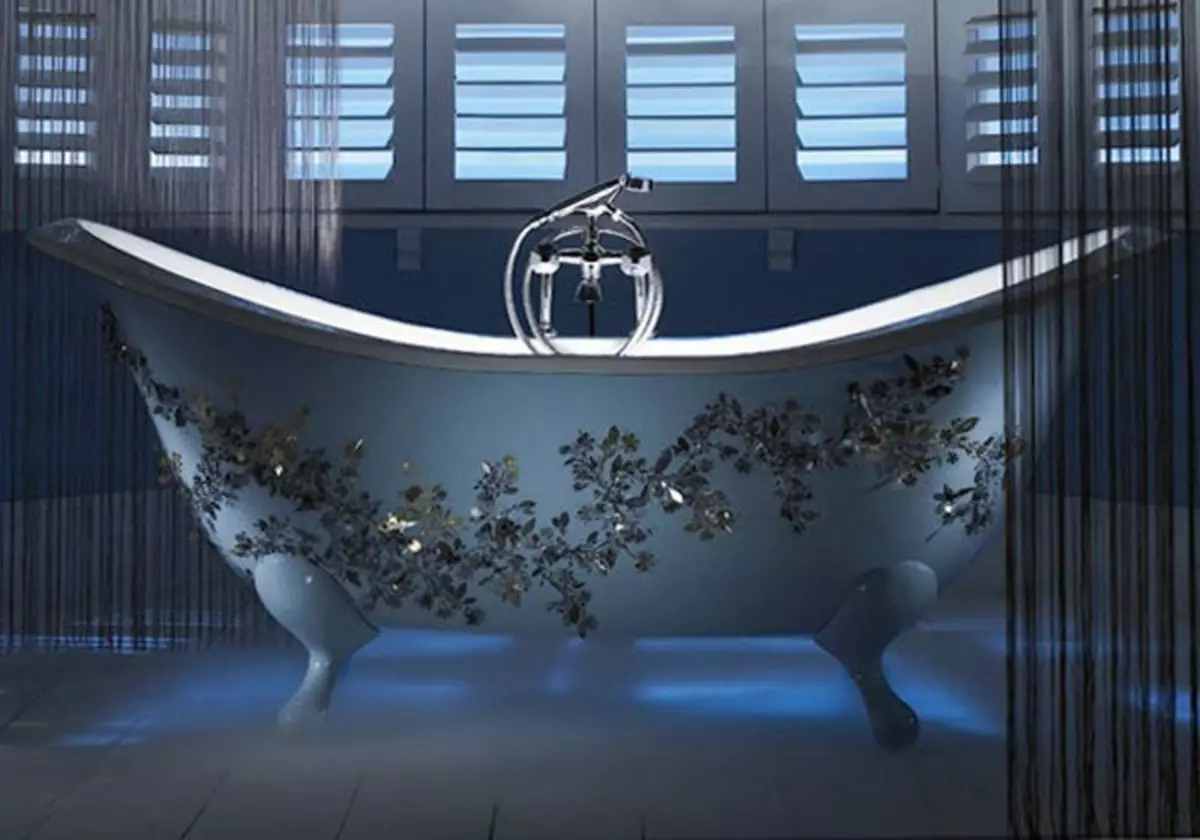
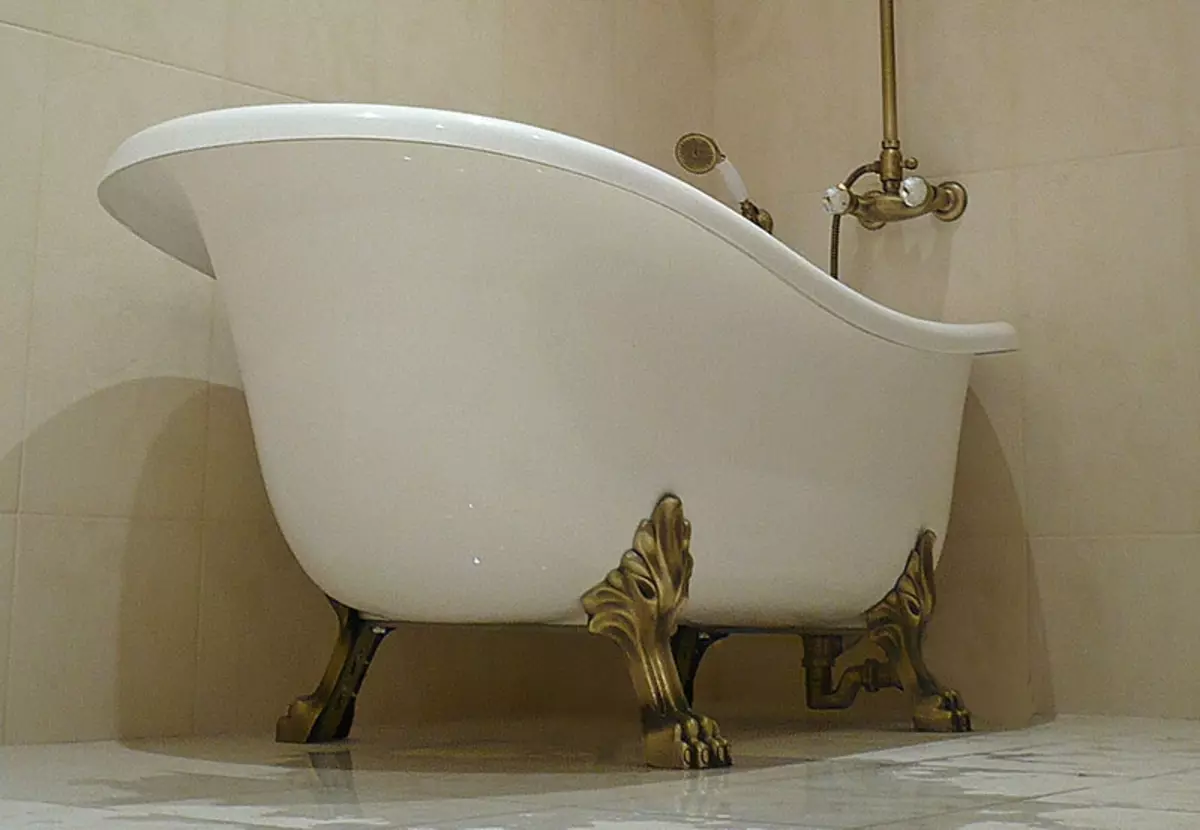
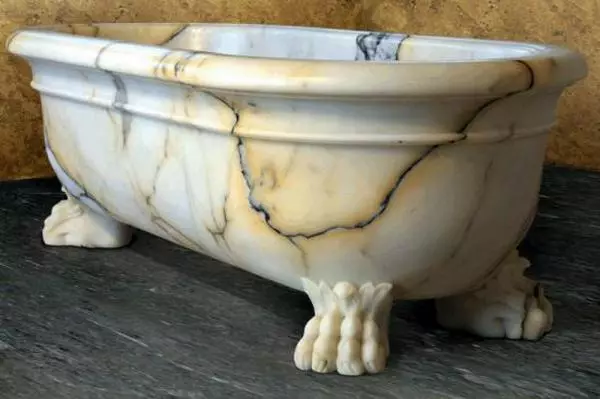
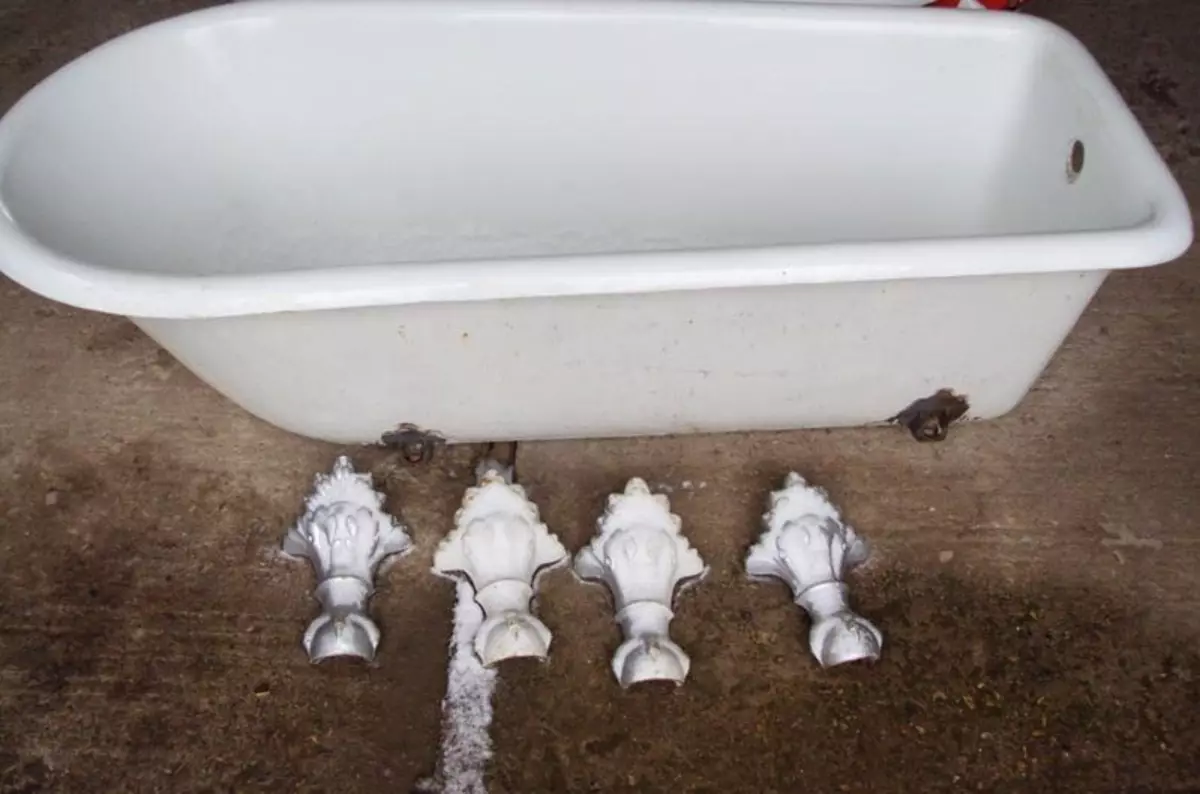
In addition to standard installation legs, there is a wide range of decorative supports, which will look great in the interior stylized under the classics, baroque and other retro directions.

About what rules for the flooring on the legs exist for baths of different types, read in our current article.
Bath varieties on legs
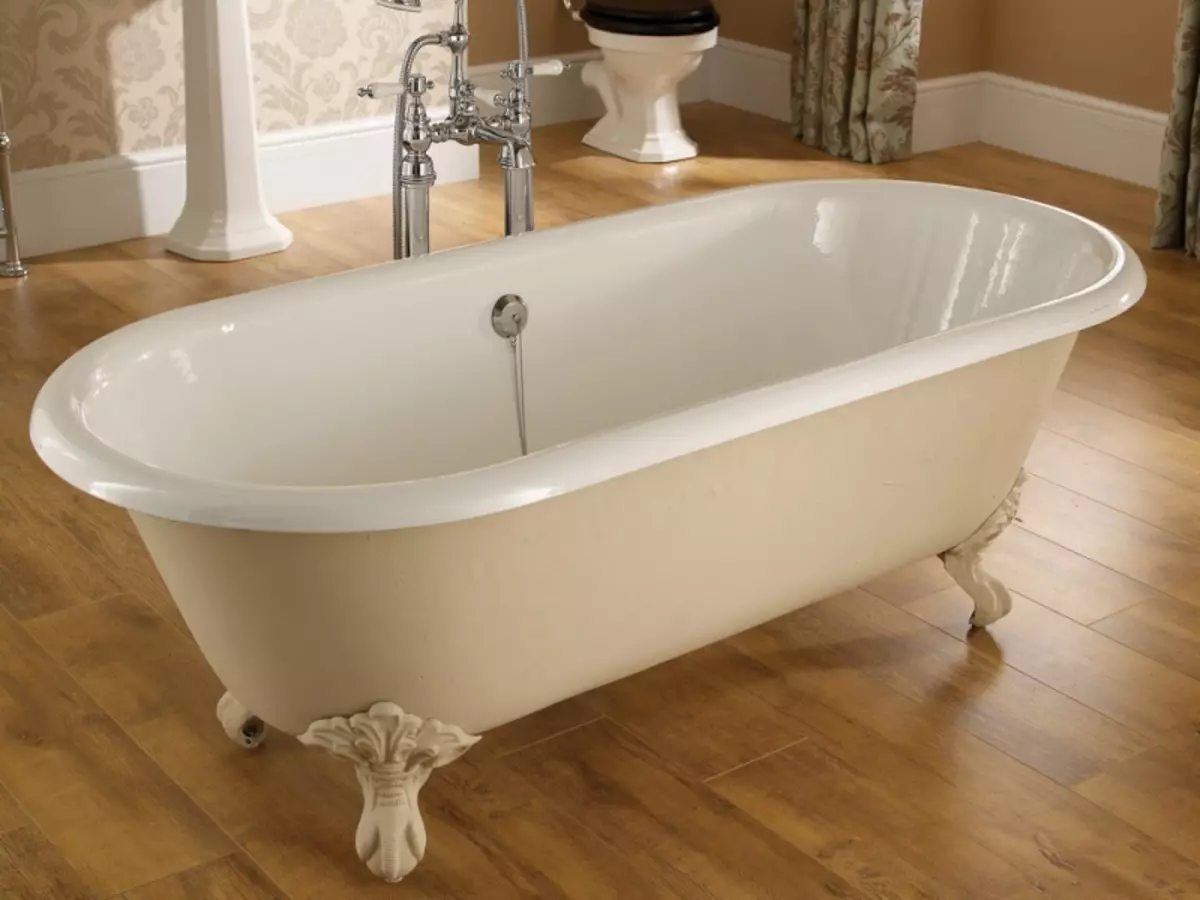
Cast iron
The most first baths running into mass production were made precisely from the cast iron. This material is incredibly durable and wear-resistant - the cast-iron bath will serve its owners not one decade, without losing its initial properties. Plumbing from cast iron is distinguished by durability, good thermal conductivity and unpretentious in care. The minus it is that the cast iron is very difficult, which complicates the transportation and installation of plumbing equipment made from this material.
Steel
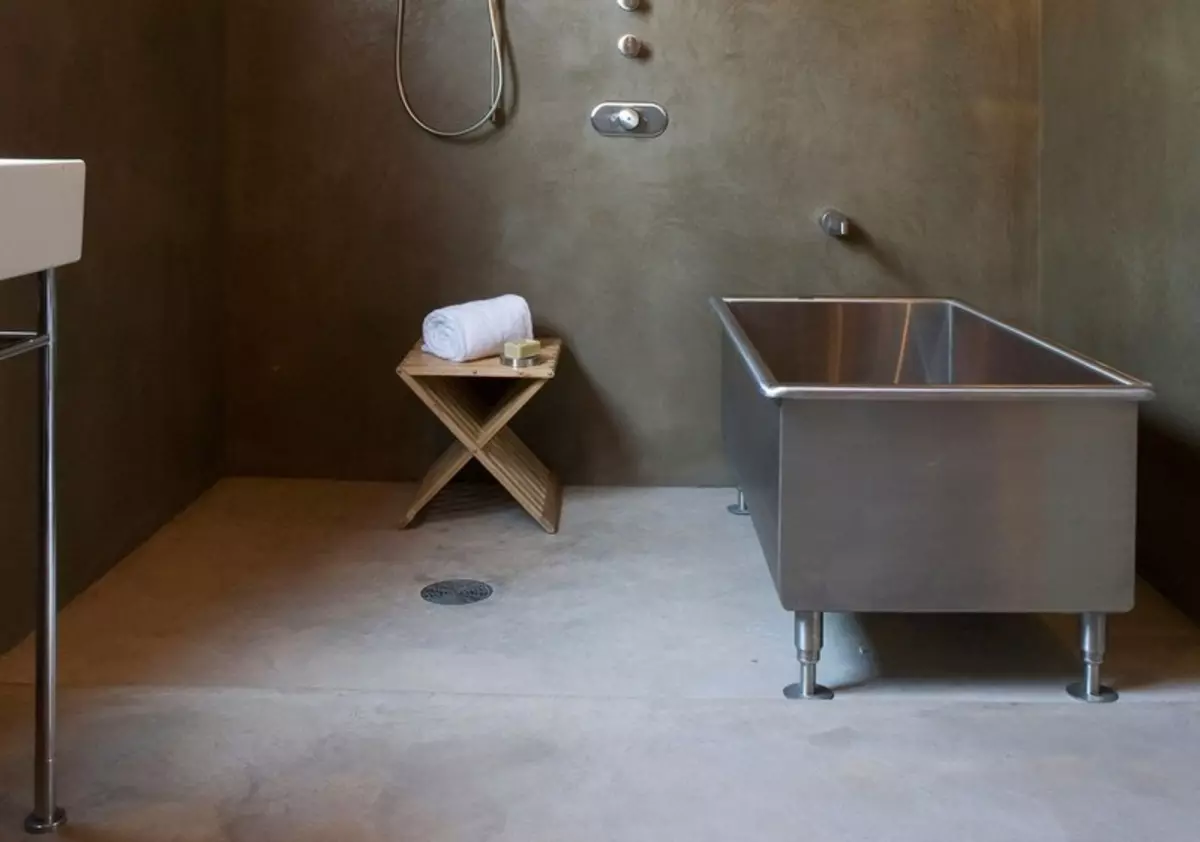
Steel - the material is quite durable, but not as heavy as cast iron, so it is more popular with buyers. Another plus in his favor - steel plumbing belongs to the class of budget. The bath from steel just install and it is not difficult to care for it. Large flaws in such a bath will be two: a short service life and a complete lack of noise insulation.
Acrylic
Acrylic is more modern and expensive material than cast iron and steel. From acrylic today, not only baths, but also other types of sanitary equipment are produced. Plumbing from acrylic has a wonderful appearance, pleasant to the touch and, especially important, non-slip surface. The minus acrylic bath is a fragile structure of the material, which eliminates the use of cleaning agents containing aggressive substances in its composition.
Article on the topic: How to build a house from a bar: technology + photo report + video
In addition to the three materials, in the assortment of stores selling plumbing equipment, there are plastic baths, kvaril, marble and other materials such as artificial, so natural origin. We will not dwell on them in detail, since our task is to tell about the most common varieties of baths.
Required tools and materials
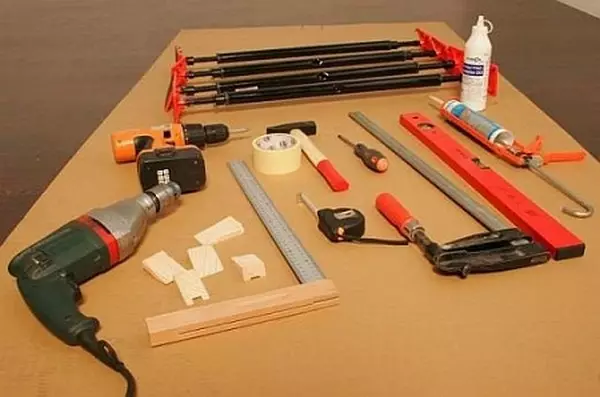
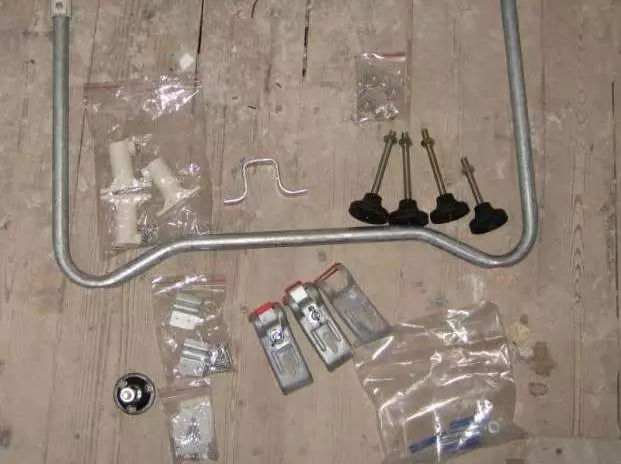
In order to install a bath on the legs, regardless of the material of its manufacture, you will need the following consumables and equipment:
- pencil or washed marker;
- roulette;
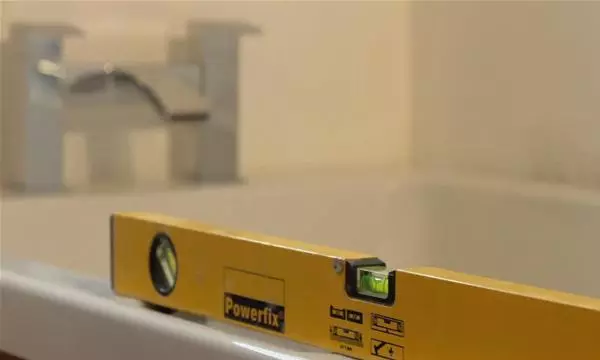
- building level;
- set of adjustable legs;
- Support frame for font;
- set of fasteners;
- Sanitary sealant based on silicone;
- Drill or perforator with a set of drills.
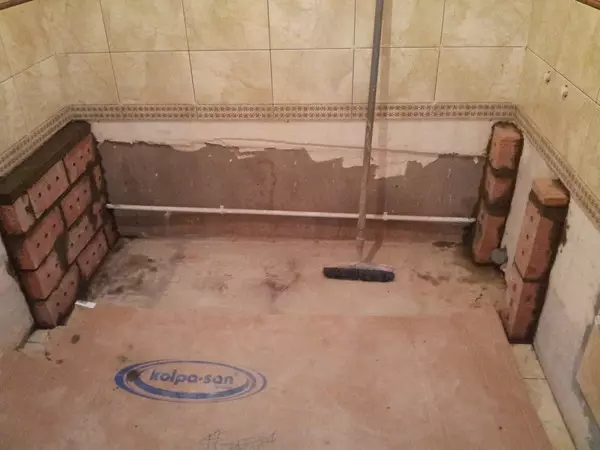
Preparatory work
Before proceeding directly to the installation of plumbing equipment, it is necessary to prepare the workspace. First you need to dismantle the old bath.
Together with the bathroom, it is advisable to replace the entire system of plum-overflow, so without regrets, we remove the old siphon, the mixer, etc. Previously do not forget to block hot and cold water in the bathroom.
If necessary, clean the floor and walls in the zone where the bath will be installed, from residual building materials. Clean all surfaces from dirt and mold. After that, it is recommended to process with a special antibacterial composition that prevents the formation of fungus and mold.
We sweat all the garbage from the floor and lay it with a cellophone or old newspapers. Workplace is ready, you can start the installation of the bath on the legs.
Installation of cast-iron bath
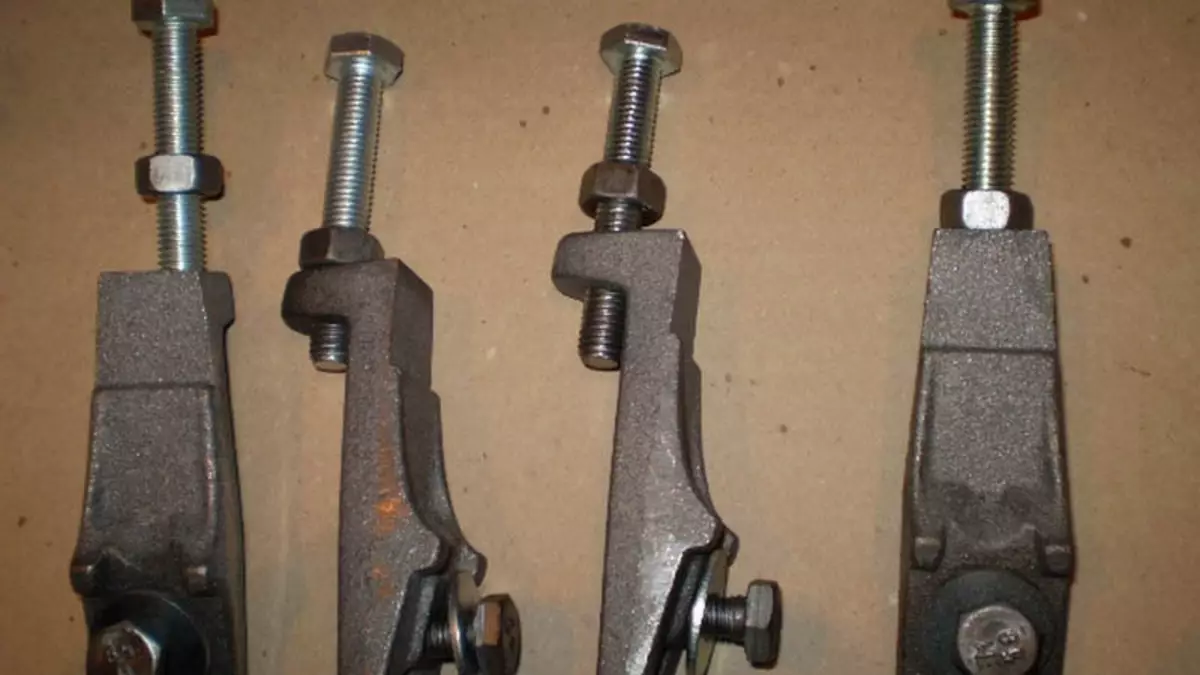
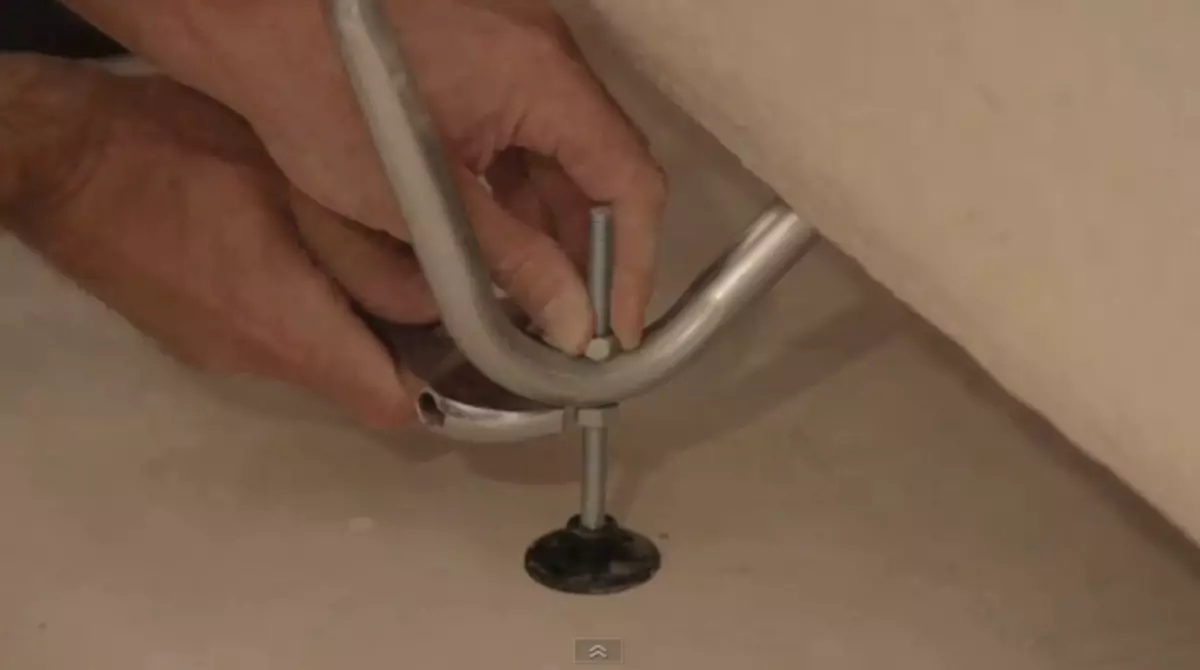
- Since the floors in our apartments are often not even smooth, it is recommended for each of the support legs to start installing adjusting screws. With their help, it will later be possible to align the bath horizontally so that the drain system is overflow-worked normally.
- Footballs to the bath Breppy pairly - first two front, and then two rear. There are several options for fasteners - "Velcro" (legs on a self-adhesive basis), wedges and tie bolts. Adhesive-based legs should simply press the bath bottom for a few seconds. Wedges are clogged in pre-drilled holes. Coupling bolts are also inserted into the holes and tightened firmly.
- The second pair of legs is mounted on the bottom of the bottom down the bath. At the same time, under the direction, on which there is no more legs, a reliable support is established, capable of withstanding the weight of the cast-iron bath.
- When all four legs are in place, the bath should be aligned in the horizontal plane. Use for this construction level. Special attention is paid to the parties that adjoin the walls. The gap between the wall and the edge of the font should be as small as possible.
Article on the topic: How and what to do a birdhouse in the country or in the yard (41 photos)
Installation of steel bath
Setting the legs on the steel bath is much easier, since the plumbing device from steel weighs several times less than a similar, made of cast iron.
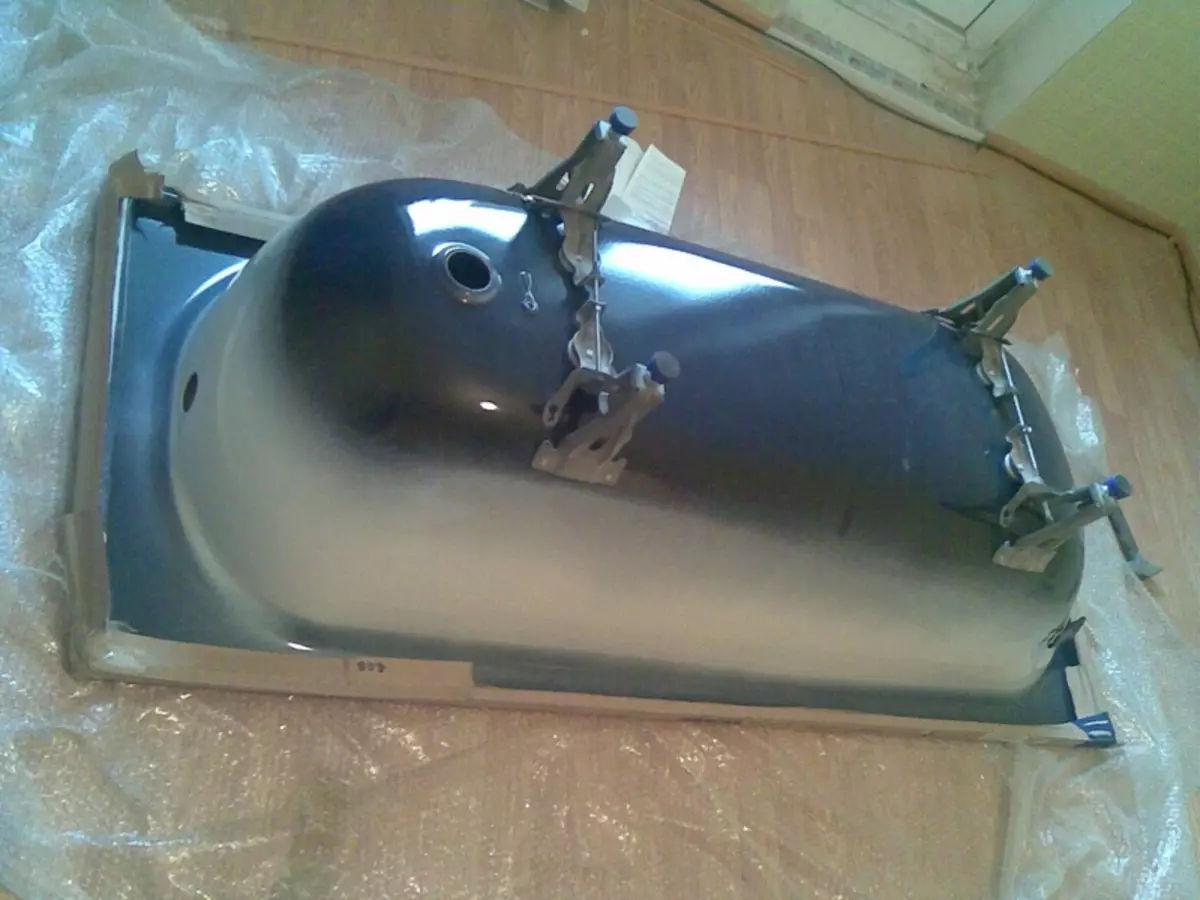
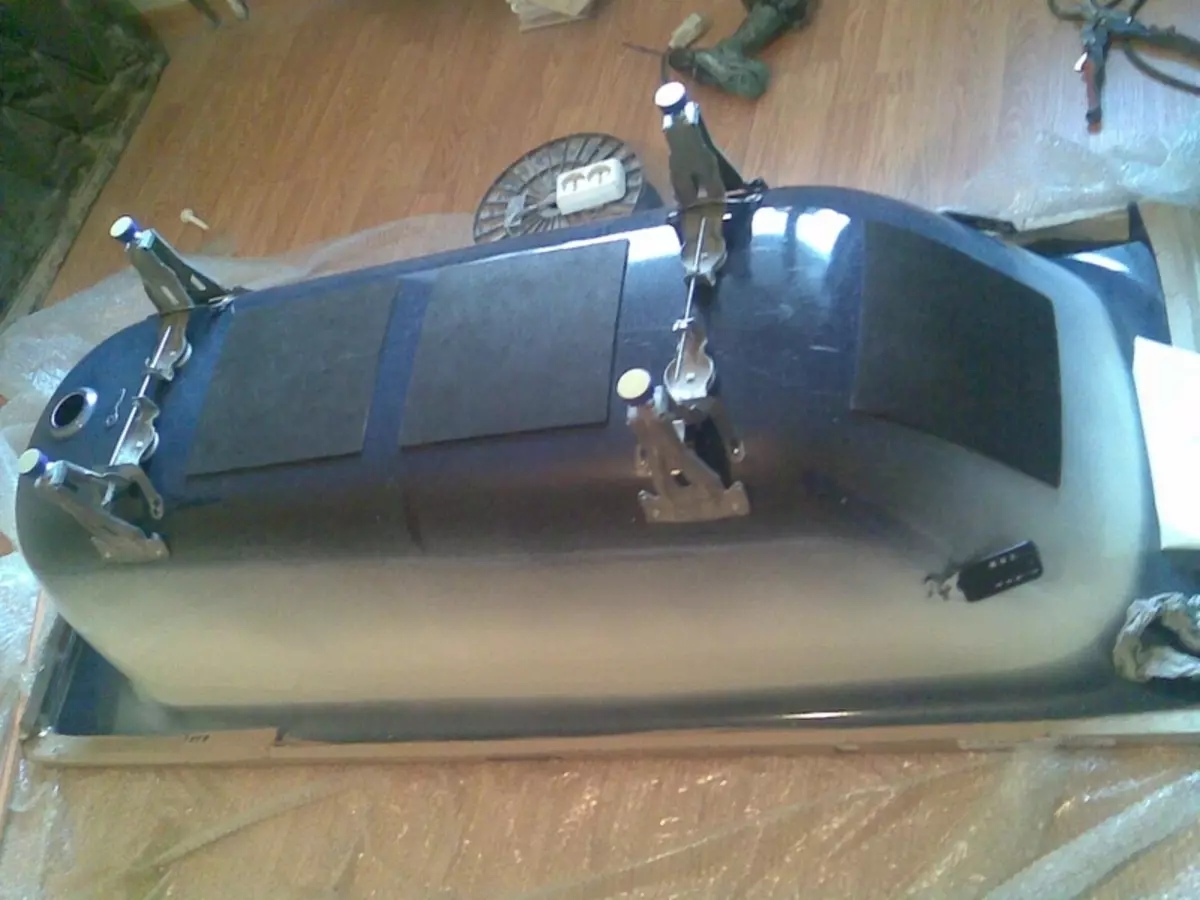
- I turn the bath with a bottom up and trying the support legs to fastener places. The first pair of legs should be located between the center of the font and the drain hole, at a distance of about two centimeters from the latter. The second pair will need to be installed as close as possible to the opposite edge of the font.
- If this is necessary, carrying a metal profile neatly straighten, trying not to damage the bath.
- The support legs to the steel bath are usually attached using adhesive-based linings. Before removing the protective film from the pads and glue the legs to the bottom of the bath, the fasteners should be deguted. For this, any solvent or alcohol solution is suitable. We warm up the lining with glue, separate the protective film and tightly press each of the support legs to the bottom.
- After the adhesive composition grabs, the adjusting studs must be attached to the legs. They have threads, so you can just score them into the tips of plastic. Then firmly fix the studs on the legs using nuts.
- Using the building level, we find the right position in the horizontal plane for the steel bath. We make marking on the walls and, according to it, install the bath in place.
- If you wish, you can stick several plates for sound insulation.
Installation of acrylic bath
Acrylic baths are designed, most often, it is for installation on legs. This greatly facilitates the task, since the set of supports and fasteners, as a rule, comes with the device, and the sequence of steps is described in detail in the installation instructions.
- As in all previous cases, the first thing you need to try the supporting legs to the place of installation and make marking.
- The next step is the drilling of the holes. Acrylic is fragile material, so the bath in no way should be drilled through. Be sure to use the drill limiter.
- Then we set the basic fasteners on the bath - the guides for the frame and the supporting legs.
- Now you need to mount the drain-overflow system and install it in place. A acrylic bath wall is already mounted with a siphon.
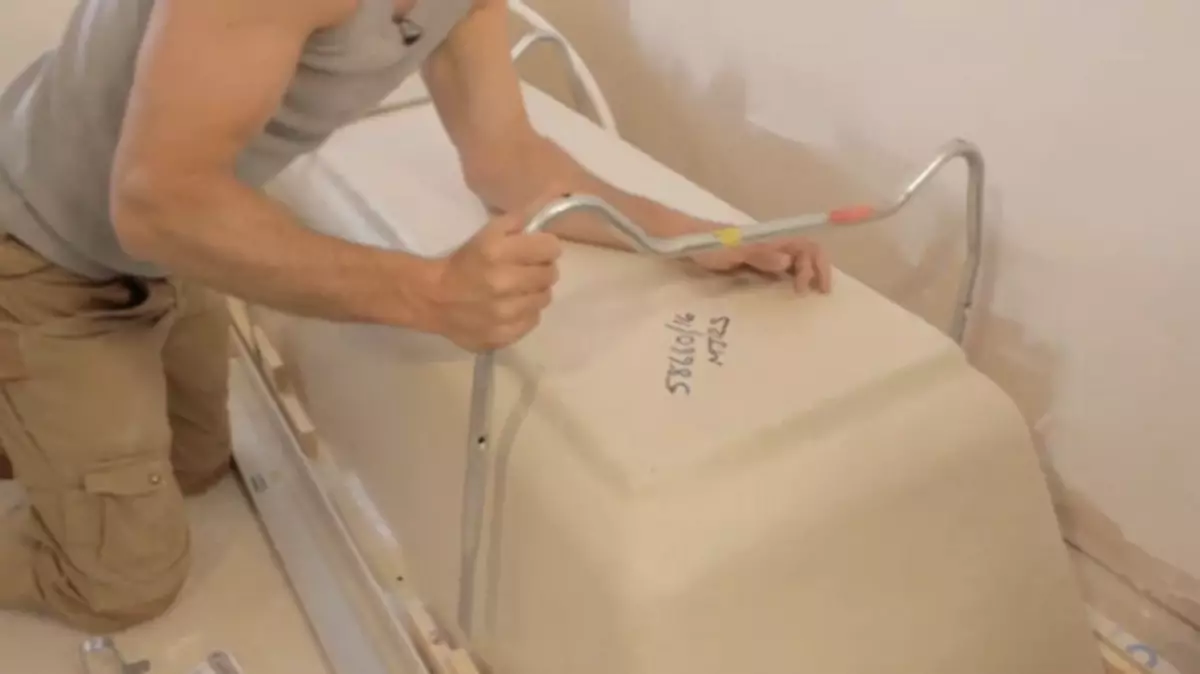
- I turn down the bath bottom down and carry it to the place of installation. We take the construction level and determine the optimal position for it. We leave on the walls markup.
- In accordance with the markup made, mounted mounting hooks to the wall. They will give the design additional strength and protect the bath from the deformation.
- Now the bath can be safely installed in place, because it will serve not only legs, but also metal hooks.
Article on the topic: We make the repair of the balcony with their own hands in stages
The final stage
After all installation works are over, you need to make many small, but important cases.
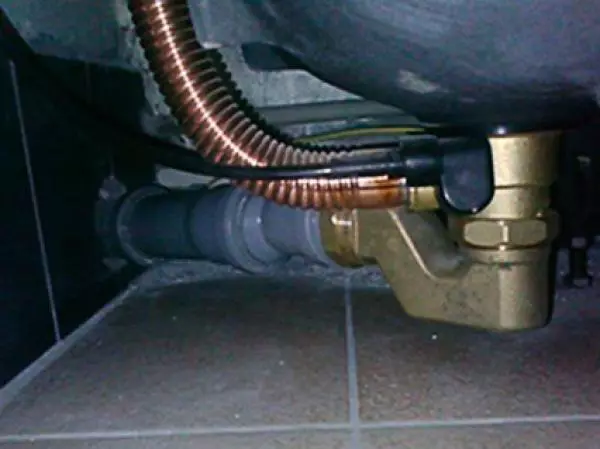
- Install the mixer and the drain-overflow system (if you did not do it at the main stage). We connect the bath to plumbing pipes.
- Now you need to check our design for tightness: we close the drain and fill the bath with water. After a few hours, it is thoroughly examining all compounds for leakage. If those are found, eliminate them with the help of sealant for the bathroom.
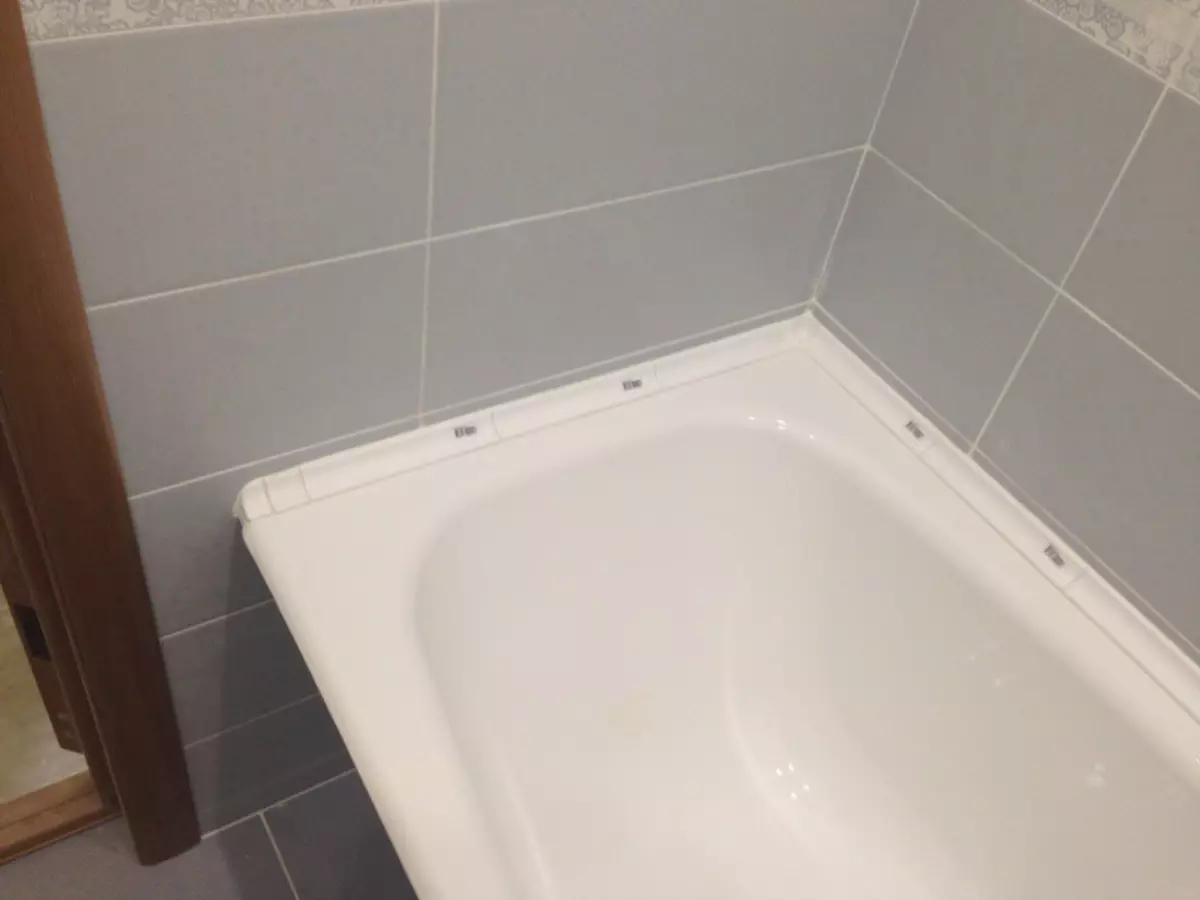
- The next problem that needs to be solved is the sealing of the gap between the wall and the font. To do this, you can use one of the proven methods - sealant, border ribbon or bath corner.
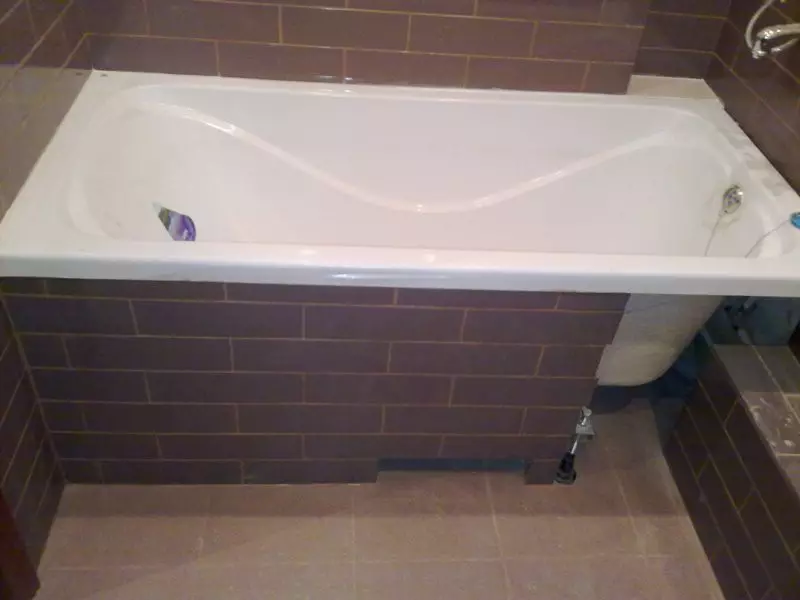
- In conclusion, you need to take care that not always a closing reference design was hidden from prying eyes. For these purposes, a decorative screen is usually installed under the bath. You can collect it yourself from drywall and bind with ceramic tiles, and you can buy a ready-made sliding screen of plastic or plexiglass.