
Do you cope? Of course, because there is nothing superpower. It is enough just to have the necessary tools and clear instructions. And of course, no one cancels a common mind and a pair of hands that are not afraid to work hard.
Preparatory work
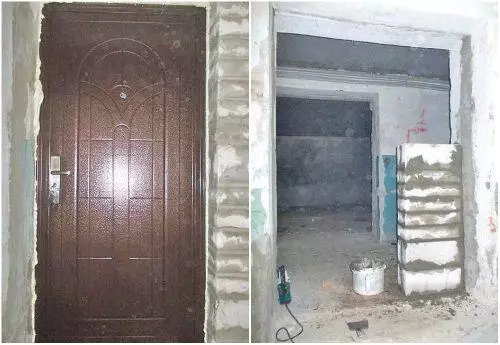
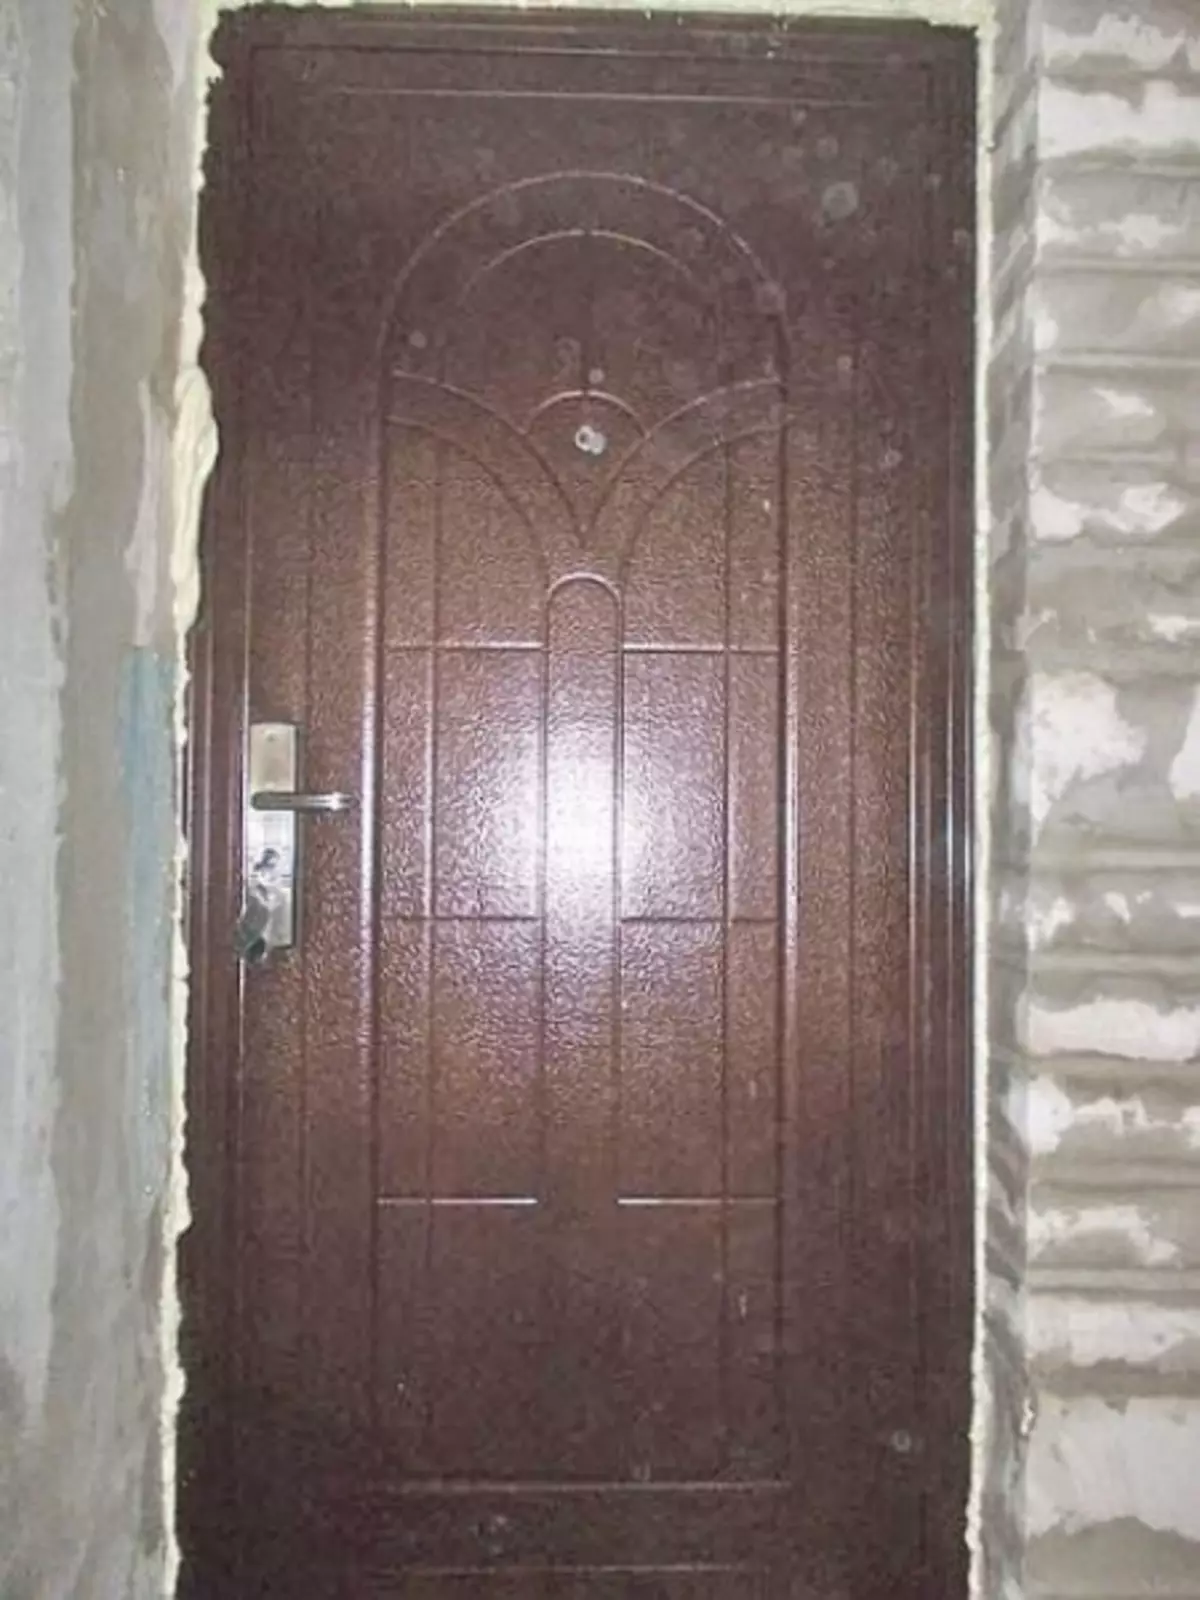
Take a simple example of installing an inlet metal door.
The situation is often found when the existing doorway is different from the size of the acquired standard door. At the same time, make the opening is always much easier than to expand it. Therefore, it makes sense to pick up the doors with this moment.
What is the standard door width? The door canvases differ in the width in 100 mm increments in the range from 600 to 1000 mm. In this case, the 600-800 mm canvas are used for interroom doors, and the entrance doors have a width of 900 or 1000 mm. This is due to the fact that any furniture of standard size should be easily held through them, as well as household appliances.
So, our opening needs to be accurately adjusted for the size of the doors with the door-box attached to them.
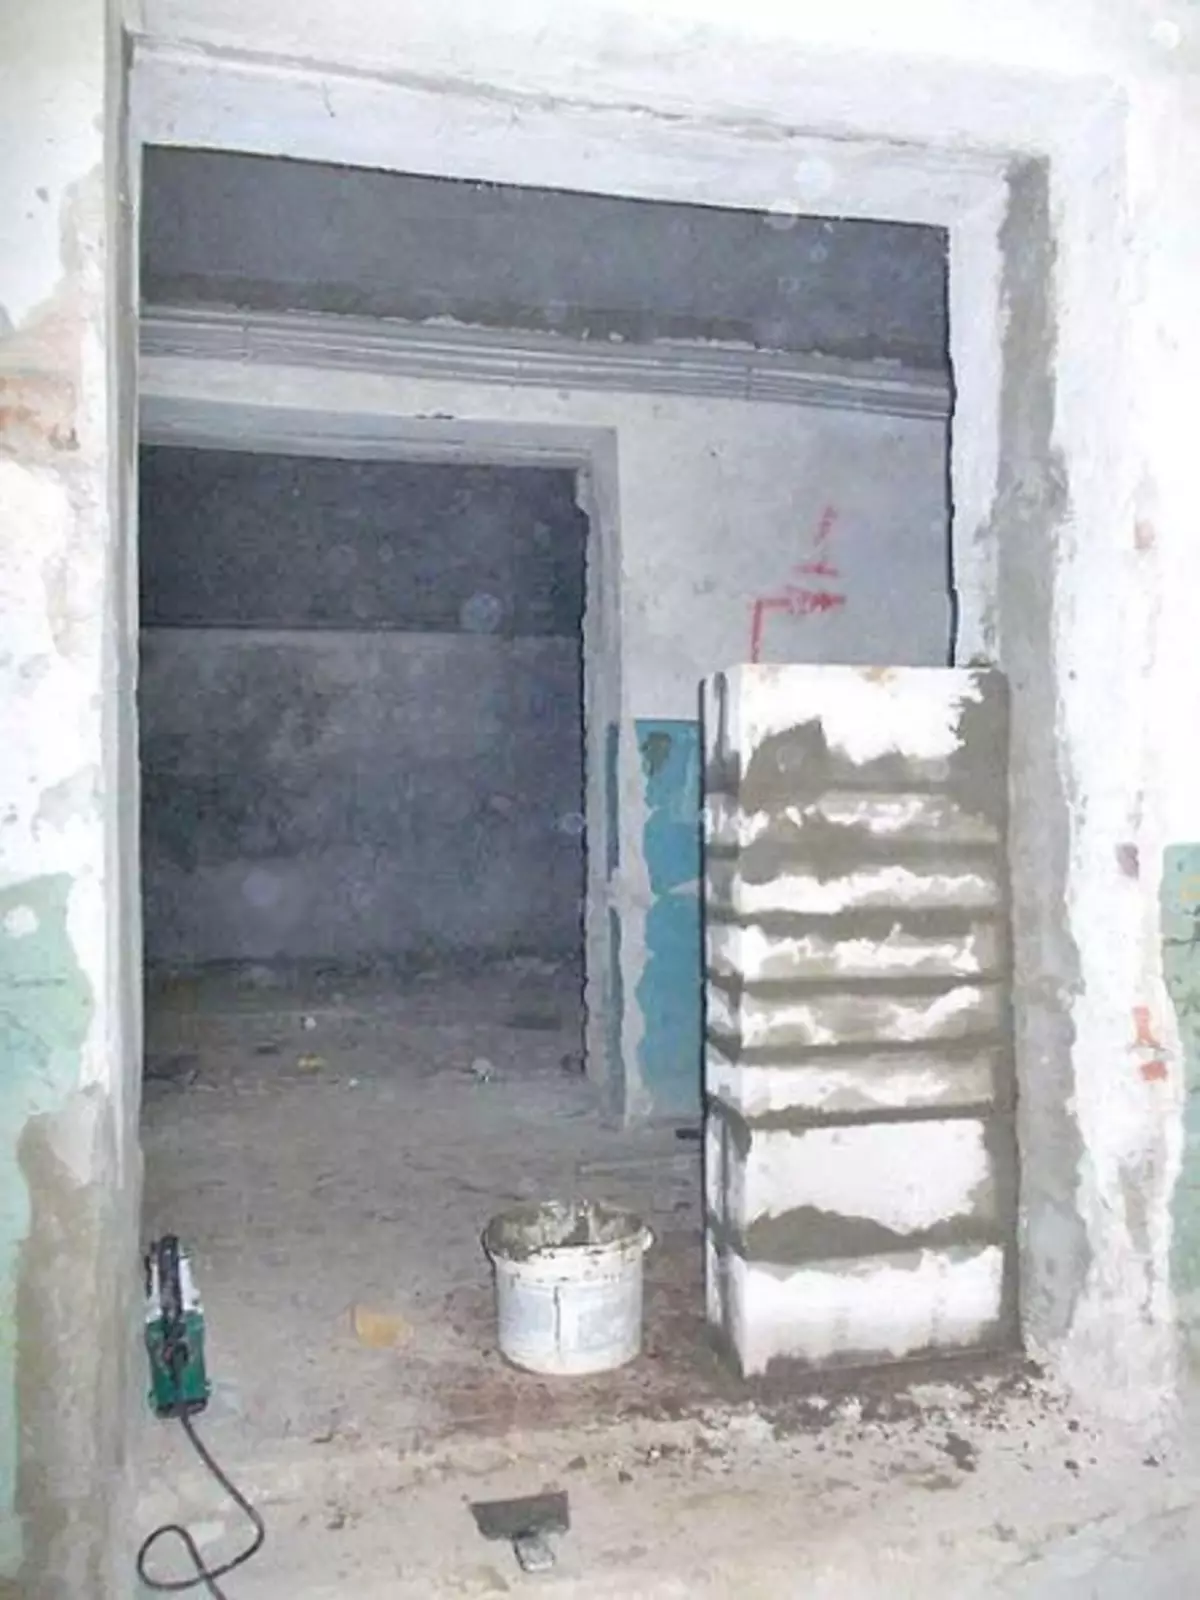
You can reduce the opening using white silicate brick or slag block. Can use aerated concrete. And in order to increase, either a perforator, or a Bulgarian with a diamond disk. Of course, there is a specialized technique for these purposes, but it is used only by experienced masters.
Article on the topic: Application in the interior of apricot wallpaper
With the width of the door of 900 mm, the opening for it should be 2080 mm in height and 980 width. This is enough to put the box and provide a technological gap that allows you to align the door when installing. Later it will be filled with mounting foam.
Installing the inlet metal door
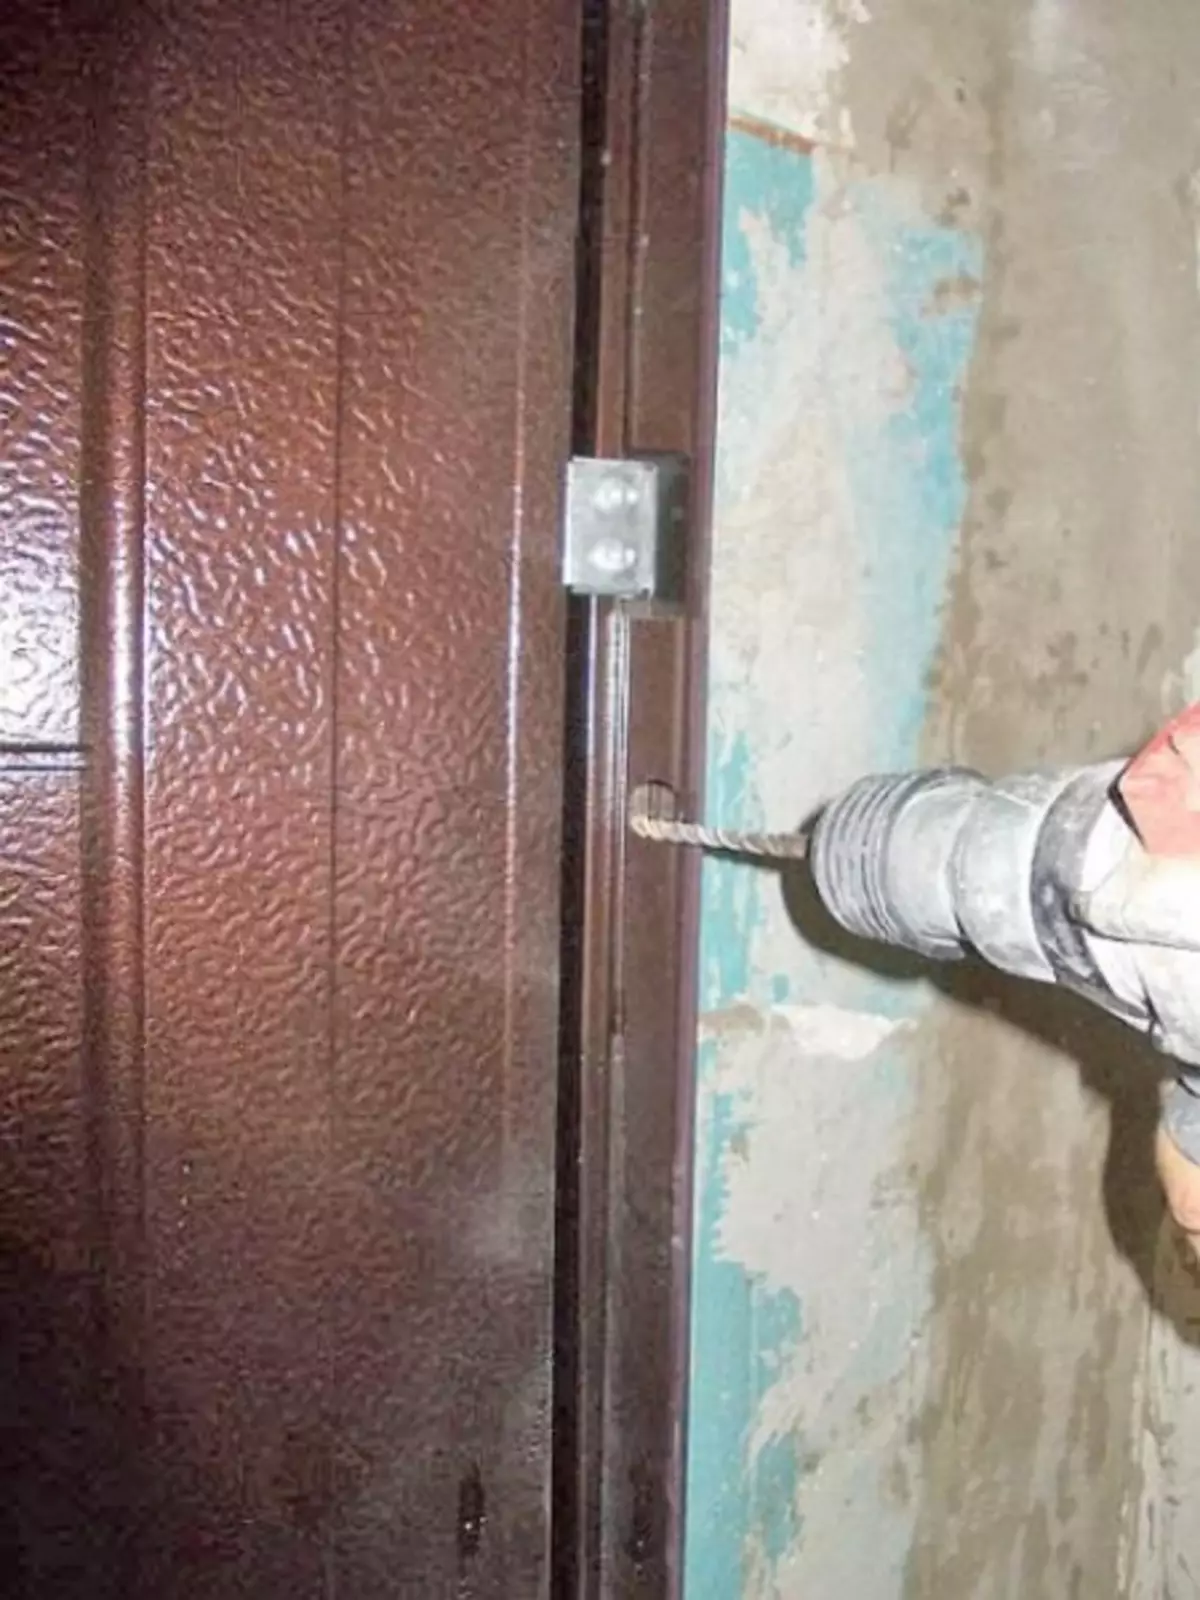
It is more convenient to install doors with assistant. Because the door itself has a lot of weight. And it will be much easier to install it when someone can support anything if necessary.
So, with the help of the level, the correct position of the doors is determined. While the assistant holds them in the right position, the master marks the place of fastener of the anchor screws. The strength and reliability of the door will depend on the quality of their installation. Experienced specialists omit markup and immediately begin to drill holes in which anchor is inserted. With this approach to the case, the assistant assistant is practically needed.
You need to start the process from the loop. They are tightly clamped with a mechanical key. Then you can repeat the process on the opposite side of the Lutka. This operation must be considered with all the responsibility, because it is the most difficult and main part of the installation.
Shimo- and thermal insulation of the entrance door

After the door is inserted, it is necessary to ensure insulation of the room from drafts and unwanted noise. For this, the space between the box and the opening is filled with the mounting foam. There are cylinders that are equipped with a special tube. However, the consumption of the material in this package is very large. A simple pistol for foam will significantly reduce the overrun of the mounting foam. Specialized packaging are produced for it.
It is advisable to produce when closed doors. Because foam when expanding creates some pressure that can deform a new door frame. Even if it is made of metal.
Often there are recommendations to warm up cylinders with foam in hot water. However, it is necessary to remember that with increasing the temperature of the foam in the cylinder expands. And when the temperature specified on the package is exceeded, it can create sufficient pressure so that everything around it turns out to be filled with foam after a small, but loud "Vesuvius eruption". If you do not want to have about 50 or more liters of a foaming sealant, flying away to all four sides, then follow the instructions for use specified by the manufacturer.
Article on the topic: Plastering of door slopes: Stages of work
It is enough at room temperature of the canister well to shake it before applying.
You need to blew all the cracks that there is on the side and on top of the door. At the bottom of the foam risks being destroyed under the influence of the load on the threshold at constant walking. Therefore, the gaps between the floor and the threshold are embedded with cement mortar.
Foam for complete drying is needed about 6 hours. Therefore, it is desirable for this time to leave the doors in the closed position and do not use it. Family can go to visit this time, arrange a trip to the cinema or a walk in the park.
Adjusting entrance doors
After 6 hours have expired, you can open the doors and adjust them. If your door is installed invited wizards, then, as a rule, they do not perform after-installation adjustment. You will need to make a separate call. Even when the door works at first glance well, the adjustment still does not hurt. This little thing will significantly extend the service life with new entrance doors.
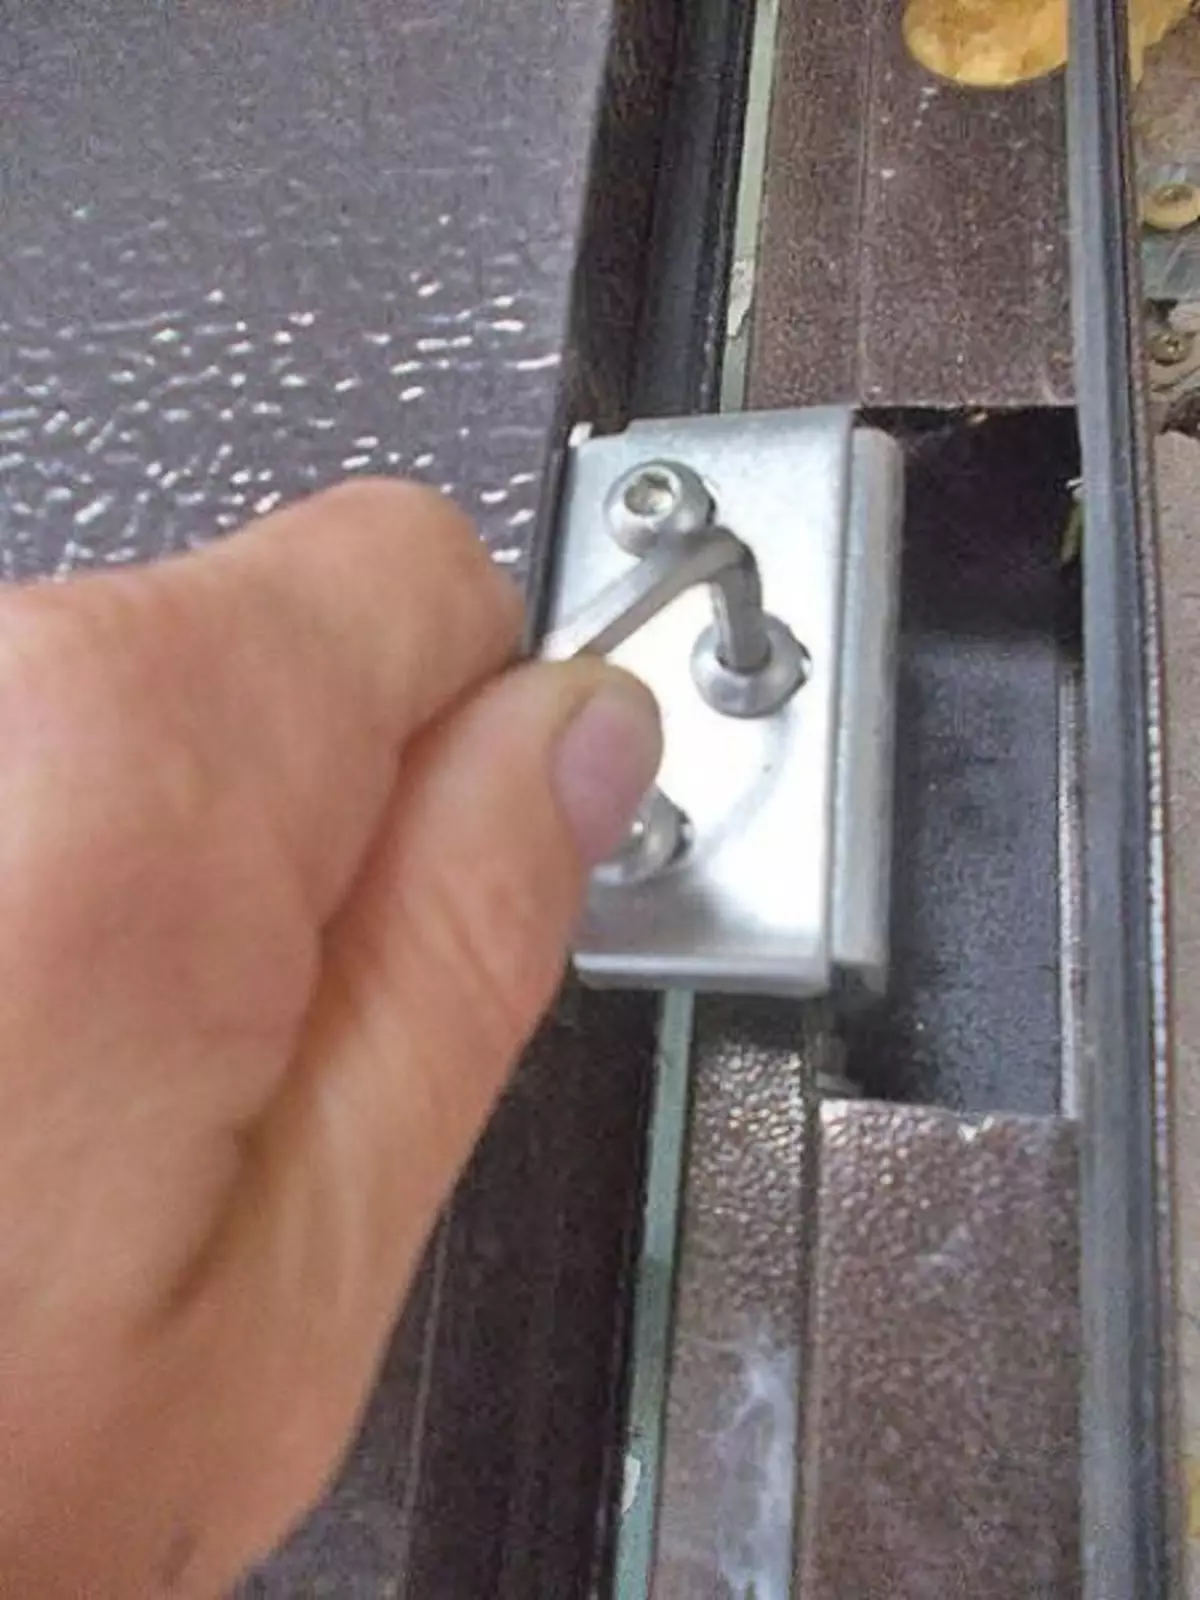
Even the unresolute dialing of the door canvase in relation to the box can adversely affect the state of canopies and locking mechanisms. Therefore, if there is a desire to extend their service life, you need to take care that the gap throughout the perimeter of the door is the same. As a rule, manufacturers are attached to the hinge doors having the adjustment function.
Each of the three loops, which hold the door, has three triangle screws. They have holes for the hexagon key. On the middle canopy, you need to relax all the screws, and on the upper and lower two, which are located in each other.
You will see where a bigger gap. With the upper gap, you need to relax the third screw of the upper loop, and at the bottom gap, respectively, below.
At the same time, it is necessary to regulate the gap, which is located from the loop. When it is correctly adjusted, the rest will rise as it should.
Article on the topic: Wall lamps for the bathroom
When the gap is set to the desired value, a relaxed screw is clamped, after which the remaining screws are tightened on the upper and lower loop. The average loop is fixed last.
Here, perhaps, all. Now your doors will serve you faithfully long enough.