
It is important to stick to the concrete wall correctly and qualitatively, in which case it will last for many years of the year, the tiles were considered one of the most expensive and sought-after materials. Its impressive properties were popular even with a limited choice between a white and bluish tint of 15x15 cm. Durable, durable, easily washable material reliably took its place on the kitchen area, in the bathroom and bathroom, as an outdoor coating. Today, on the shelves of shops, there is a widest choice of tiles, from a budget version to the design execution.
What to choose a tile and how to glue it on the wall
If it is intended to punish the room with a tile, it is necessary to deal with its views and diversity that manufacturers offer. First of all, it should be noted that the tile is considered an environmentally friendly material and is made of natural clay.
When choosing a tile, special attention should be paid to its quality, characteristics and manufacturer
Distinguish 3 main types of tiles:
- Cafe for outdoor work. It is easy to distinguish on labeling in the form of snowflakes. This means that the material is resistant to temperature drops.
- The wall tile is indicated by the image of the palm on the reverse side of the tile or box.
- Outdoor tile is marked with a feet pattern. This means that this material is especially durable and resistant to mechanical damage.
Depending on the porosity and resistance to wear, the class of tile coating differs. A, B, C - from the highest and lower. This is an indicator of the stability of the material to acids and chemicals. For example, for the pools, the highest class A is chosen for the kitchen and the bathroom can be enough class C.
Article on the topic: Types of cassette doors and installation rules
Preparation for sticking tiles on the wall
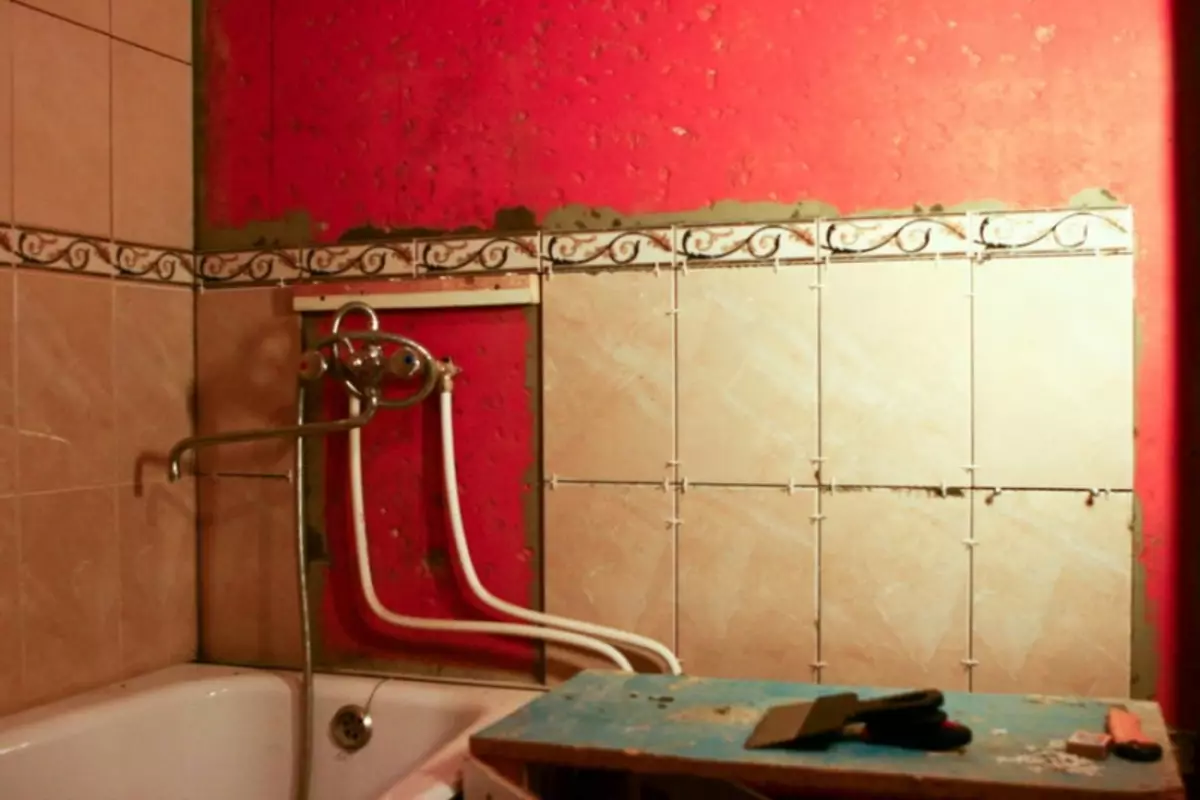
The quality of the coating depends not only on the correctly selected material. But from the proper execution of the work of the preceding tile laying. Prepare the surface for work.
Before you begin to stick the tiles, you must first clean the wall from the old cladding, dirt and dust
Spend the dismantling of the previous coating:
- Limes;
- Paints;
- Wallpaper;
- Old tile.
Each of the listed materials will not allow to keep the weight of the tile. Cold the wall to identify emptiness or detachalies. Remove the old old plaster, it collapses under the weight of the tile. Remove protruding irregularities. If necessary, step up with rough emery paper or remove the protrusions with a mechanical manner. If necessary, run work to restore and level the wall.
It is important that the surface does not have drops more than 1 cm.
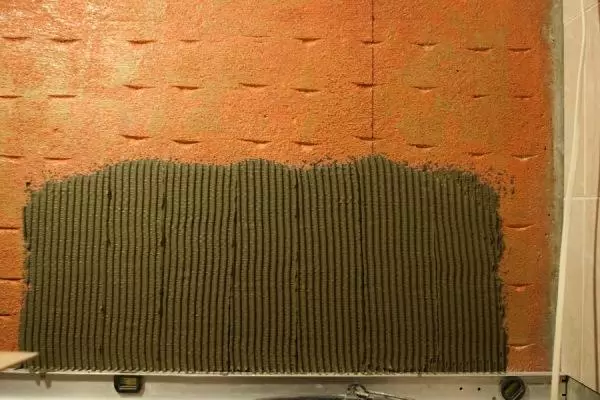
Check the surface of the wall level. Eliminate potholes, spend the grout of the seams. Make notches, it will help the adhesive mass to lock on the vertical wall. Be sure to clean the wall from dust. To do this, use PVA aluminum or special primer.
How to put the tile on the concrete wall
It is extremely rare to meet perfectly smooth corners and walls in the room. If the surface has deep depressions, do not attempt to align it at a time. Apply the layer of plaster and let him dry completely. If necessary, repeat. Too thick layer of coating, applied at a time, will resolve tiles. It is necessary to achieve the wall to be absolutely even, the permissible surface drops should not exceed 3-4 mm.
Many specialists additionally recommend to align the wall so that the tile lay exactly
Advice:
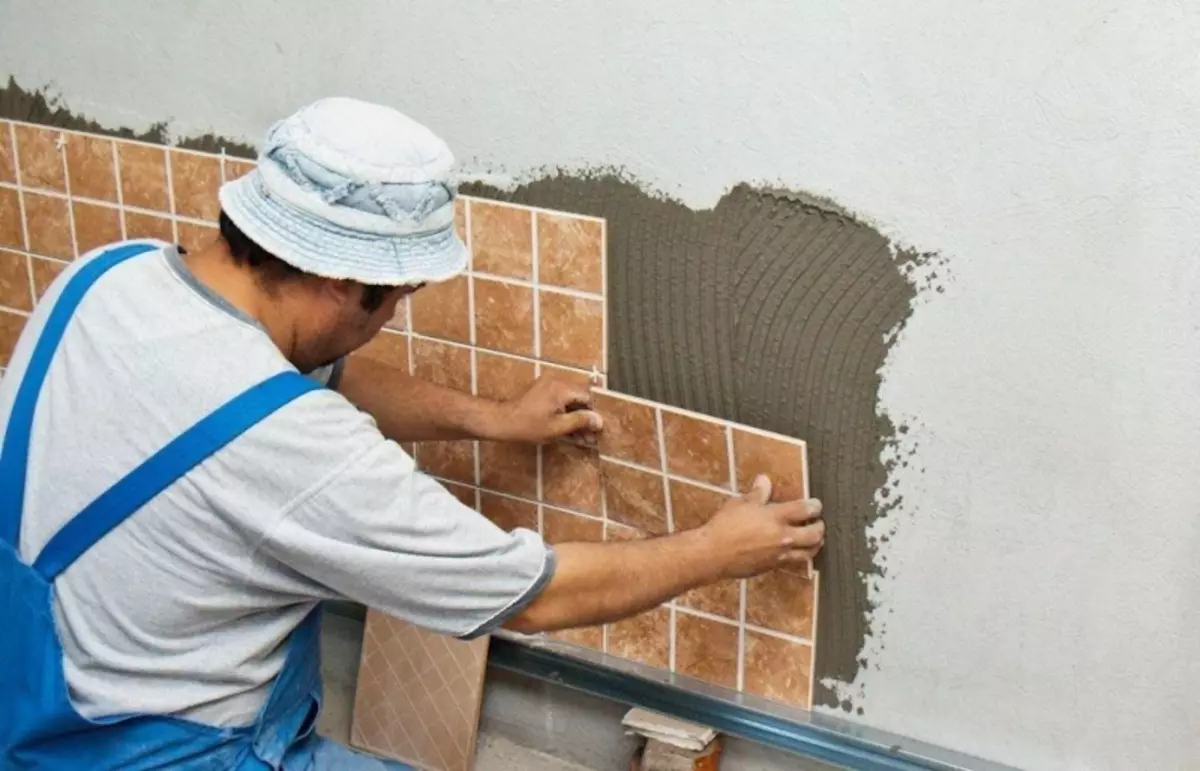
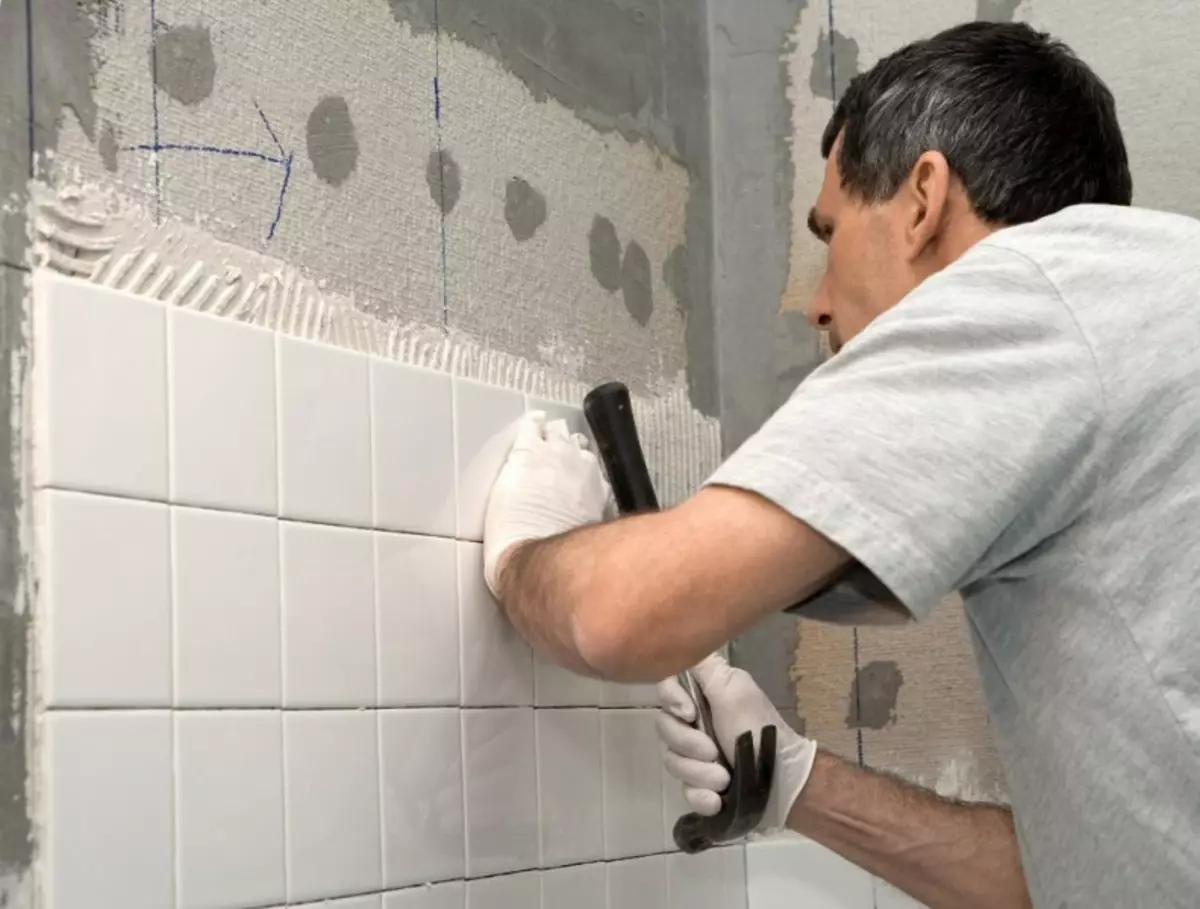
- Apply the composition of 5 points to the back surface of the tile, 4 of which are located at the corners and 1 in the middle.
- When connecting to the surface, the solution should evenly distribute between the tile and the wall.
- Avoid the emergence of emptiness.
- Excess the adhesive mass leaving the edge, remove the spatula.
- Place tile by level.
- To create smooth seams between the stoves, be sure to use plastic crosses that are sold in each business store.
- After installing the tile on the wall surface, remove the tracks from the adhesive or the solution from the decorative surface of the tile.
- Do not attempt to stick more than 2 or 4 rows at a time, since the tile is very heavy material, and the excessive load will lead to the displacement of the tile and the deformation of the seams.
- After a complete drying of the coating, use the mixture for grouting seams.
Article on the topic: how to hang Roman curtains: fastening methods
If you have a sticking of a tile on a clean concrete surface, it will have other features. On the one hand, the concrete slab, as a rule, does not need additional alignment, but this quality is both a minus, since the pure concrete wall gives a bad adhesion with glue or mortar.
For good adhesion, it is better to fill the metal plaster grid to concrete. This will give a strong fight and relieve the tile on the surface.
Responsibly treat the preparatory stage. It is from this that absolutely not a creative part of the work depends on the quality of the adhesion of the selected coating with the surface and its life.
Nuances: how to stick a tile on the wall
If we decided on the design and size of the tile, calculate its required amount. In the presence of decorative inserts, do not be lazy to measure the walls and draw the exact project of the future tiled cover. Think out where the joints and seams will be. When creating a drawing, consider that starting work is better from the most prominent angle, it will help to move shorts to places that are not striking. If you use fine tiles, take it by 15% more than the planned area, part of the material will go on trimming. Use the remaining after trimming part of the tile you can hardly succeed.
In mandatory, not only to calculate the number of tiles, but also prepare tools for work.
Tile glues with nuances:
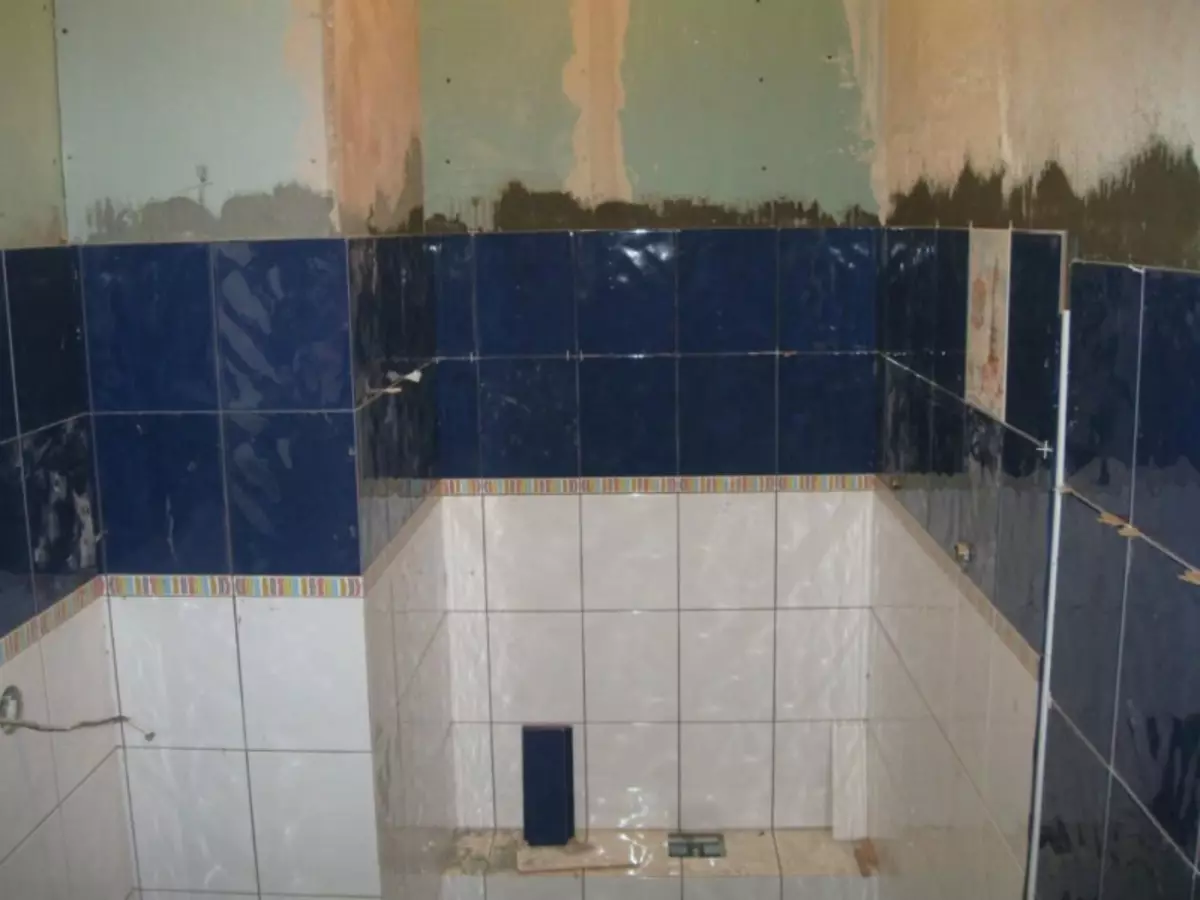
- Using a plumb, determine the main vertical line from which you begin to lay the tile.
- Considering the unevenness of the floor, the first row may have to be trimmed. The cutting joints on the floor will be less noticeable, so, begin to glue the tile from the second row.
- Take advantage of the level and draw a horizontal line at which you will align the bottom edge of the second row.
- For the support of the row, attach to the wall smooth bar. The top edge of the bar must be accommodated strictly along the horizontal line. This simple trick will help keep the tile from the offset down. You can remove the bar a few days after complete drying of the solution, and only after that, close the first row of the tile.
- Clean the room from small debris so that it does not fall into the solution and did not stick to the material or tools.
- To create a solution, you can use a mixture of cement and sand with the addition of glue. Or purchase a ready-made composition in the store.
Article on the topic: Foundation from plastic pipes under the veranda with their own hands
Laying tiles on a concrete wall (video)
Laying the tile, very painstaking work, requiring increased accuracy. If you are not distinguished by the prerequisite and patience, it is better to perform tiled masonry by professionals. It is important to remember that if a specialist takes an expensive thing for his work, alas, it does not mean that he is a good tapper. But a good tie can't cost cheap. Specify your friends and acquaintances, perhaps they have an employee whose work they can recommend.