
Probably it is difficult to present a more functional design in the bathroom than a niche with a mirror or shelves. In Niche, you can store soap items or make it a decor element that emphasizes the uniqueness of the room.
There are many options for the manufacture of niches, for example, its execution in the wall (with space saving), with an unlimited area you can make a design of plasterboard or use the existing opening with communications.
In any situation, a professional approach to solving such a problem will make it possible to get an interesting detail of the interior in the bathroom, which will become an original decoration. Therefore, we will consider in detail the process how to make the shelves in the drywall bath.
The main advantages of plasterboard
To make sure the consistency of drywall, should determine its main advantages as a blank for future niches in the bathroom:
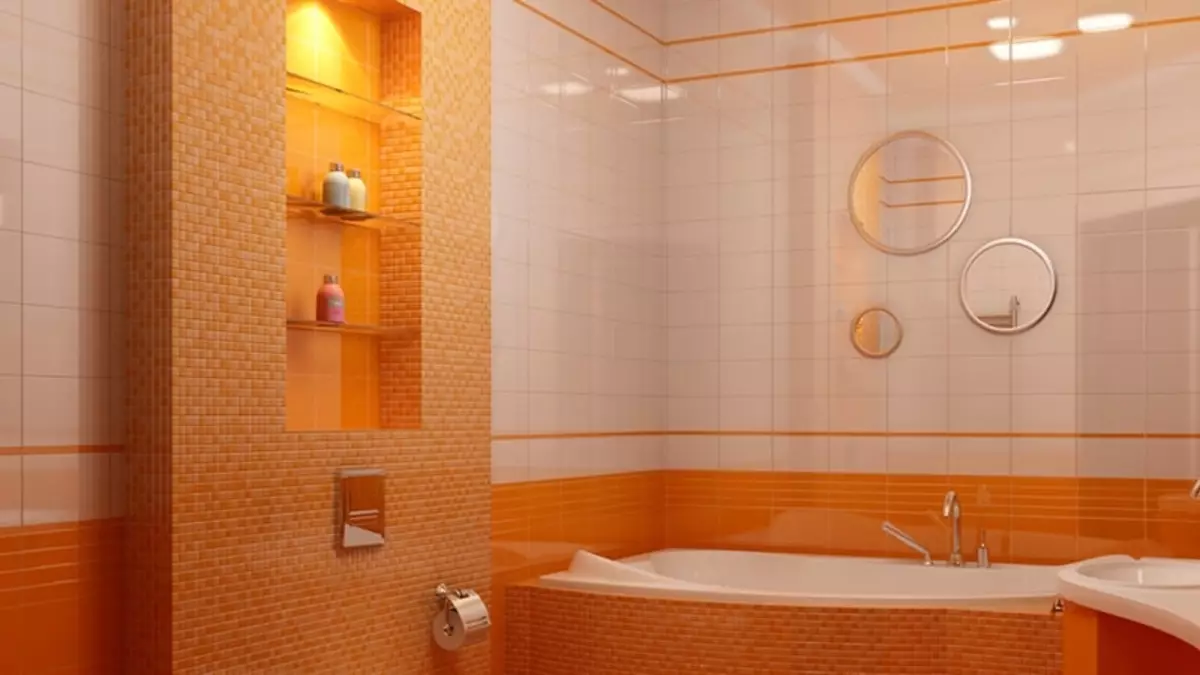
- From drywall, you can build a niches of different parameters and forms, so such structures can be harmoniously combined even in miniature premises using the ceiling, walls, angles, etc. When it is impossible to install full-fledged furniture, you can use an alternative option in the form of niche supplemented by shelves.
- From drywall, you can make unique and reliable barriers, allowing to hide any irregularities. In this case, there is no need to apply a thick coverage of putty, which will dry in a few days. Plasterboard sheet will eliminate all irregularities, making the surface perfectly even, even with curved walls.
- Financial question. Most people pay attention to the price of the material. That is, moisture-resistant plasterboard will be the best solution, the cost of which will be low compared to the most effective results.

Niche from plasterboard
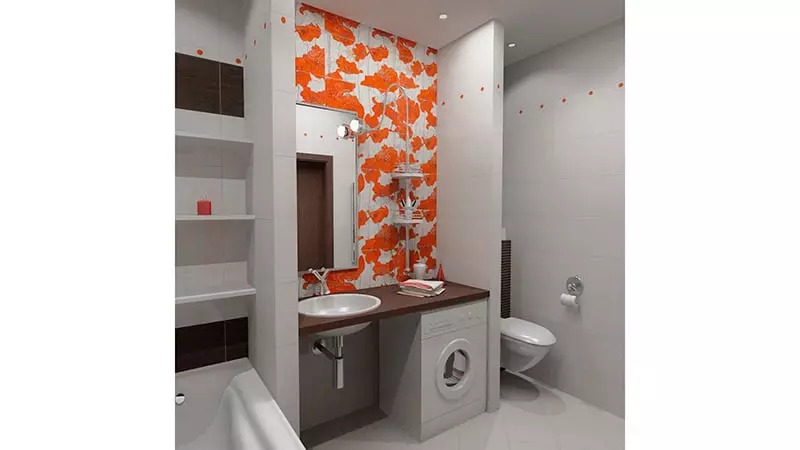
Niche in the bathroom, which is pictured on the site, can serve as a stand for any items. You can additionally attach hooks, shelves or racks for towels. Also, such a design will help hide the toilet tank. But do not forget that the bathroom is a high humidity room, so moisture-resistant plasterboard should be purchased.
Article on the topic: Features of the installation of the steam generator for the shower
A niche in the bathroom, made of plasterboard sheets, will look aesthetic, comfortable and concisely. Performing the functions of an indispensable details in modern design, the niches in the bathroom reflect the semantic load (in large-sized structures you can disguise the washing machine or shower room) and look beautifully (small openings serve for a mirror framing).
Performing frame for plasterboard niche
It is likely that everyone knows that the frame in any plasterboard product is the main part. It depends on the strength and quality of the finished design, as well as aesthetic appearance. The performed frame of a plasterboard niche will be about 80% of the work done, so it should be treated very seriously.

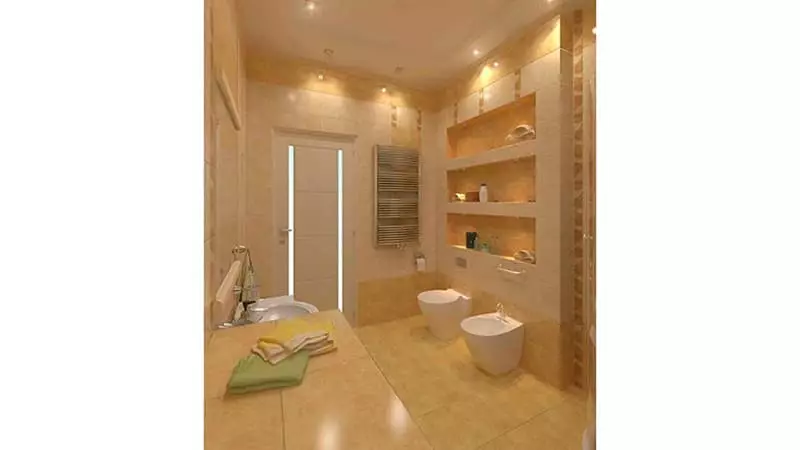
Niche in the bathroom with shelves
Basically, performing independent shelves made of drywall in the bathroom (the photo of the work is presented in the gallery), it should be carried out in parallel to carry out the walls of the walls. Therefore, the problem of alignment of the walls should be approached as a multi-step work.
Works begin with applying the layout of the contours of the future design on the wall. To do this, you can use a booth or laser level.
At the same time, knowledge of geometry lessons and, building parallel lines on the wall, you will need to draw a rectangle with the desired parameters. In our situation, the niche in the bathroom made of plasterboard will be located in the horizontal plane of the wall, which will simplify the work. It will also be necessary to spend 2 parallel horizontals, then two verticals in the closest walls and parallel from the wall with lines on the ceiling and semi note the deepening of the niche. The lines must be reflected in full, as the UD profiles will be recorded in the future.
The profile installation will be the following type of work in the manufacture of the frame. Hammer should be prepared, a perforator, a dowel 4-6 cm long and a diameter of 0.6 cm. Installation of guide profiles is a simple matter, but when it should be performed very neat and attentive. It will be necessary to fix the profile with one hand, and another to do a hole for a dowel in the wall. Such works can make anyone without workout.
Article on the topic: Quarter windows. Mounting window with a quarter
After installing all guide profiles, at the next stage of the installation of a plasterboard niche, the real outlines (rigidity and volume) will be presented. In this case, it will be necessary to twist a pair of UD-profile guides into the common system, which will serve as an angle of the niche. Two such products should be made, one of which will be attached to the bottom of the opening, and the second - up. The angles are attached along the opposite walls and are fixed by carrier CD profiles, which are installed between the floor and the angular part, as well as between the corners and walls. Profile fastening step is 400 or 600 mm, but the first indicator increase the strength and reliability of the structure. The same manipulations should be made in the upper area of the opening area.
Shelves made of drywall in the bathroom
Attention! When carrying out all stages of installation work, it is necessary to control the location of the profile using the level.
In essence, you can talk about the readiness of the frame. Now, after studying the design of a niche of a drywall in the bathroom (photos of which are presented on the site), it will be necessary to strip it with plasterboard sheets. But first, attention is paid to carrying out hidden communications, for which all the required electrocabels are deposited, the pipelines are mounted in the desired position. If necessary, the internal framework of the frame is filled with insulation. Only after all preparatory works can perform a framework of the frame with the final installation of the niche in the bathroom.
Stages of the frame of the frame for a plasterboard niche
There are no difficulties in conducting such works, because the executed frame is 80% of all works. Plasterboard sheets should be cut on parts of the desired dimensions and fasten them to the frame using screws for metal sizes 2.5 cm, with a diameter of 3.5 mm. Self-tapping screws need to be attached at a distance of 10-15 cm (the smaller the step between the fasteners, the better), since the plasterboard will have to withstand the tile load.
Article on the topic: Bathroom coil: Features of choice
Solving the problem with the equipment of a drywall niche in the bathroom, it should be remembered that regardless of the resulting design depth, for it it will be necessary to allocate some space. If the apartment has a small room with dimensions of 1.5 * 1.5 m, then the niche under the bath can be performed only in the remakes available in the wall for communications.

Shelves made of drywall in the bathroom
The procedure for performing a shelf
- At the first stage, the framework is built. If the shelf is not intended to store heavy items, then standard UD and CD profiles can be used for the frame.
- The regiment frame will be carried out by analogy with wall structures. A guide profile is turned on the wall that is fastened with self-tapping and dowels. The guide profile records carrying small screws, called "seeds".
- The framework of the frame of the frame of plasterboard sheets is carried out. Self-tapping screws are used for metal dimensions 25 mm. Communication or backlit may be installed in the resulting shelf. But such works should be carried out before fastening the sheets of plasterboard for the trim.
- The shelf surface is putty. In this case, all the corners are closed with perforated material, and the compound areas are shuck the reinforcing ribbon. After drying the putty, the surface is detected by abrasive. Now the shelf can be painted or covered with mosaic.
Helpful information
It should be remembered for preliminary preparation of all technological holes, which, as they need, become necessary for the maintenance of communications. For example, it can be pipelines hidden in a plasterboard niche.
Niche in the bathroom - option
When arranging plasterboard niches with shelves, you should think about good ventilation.

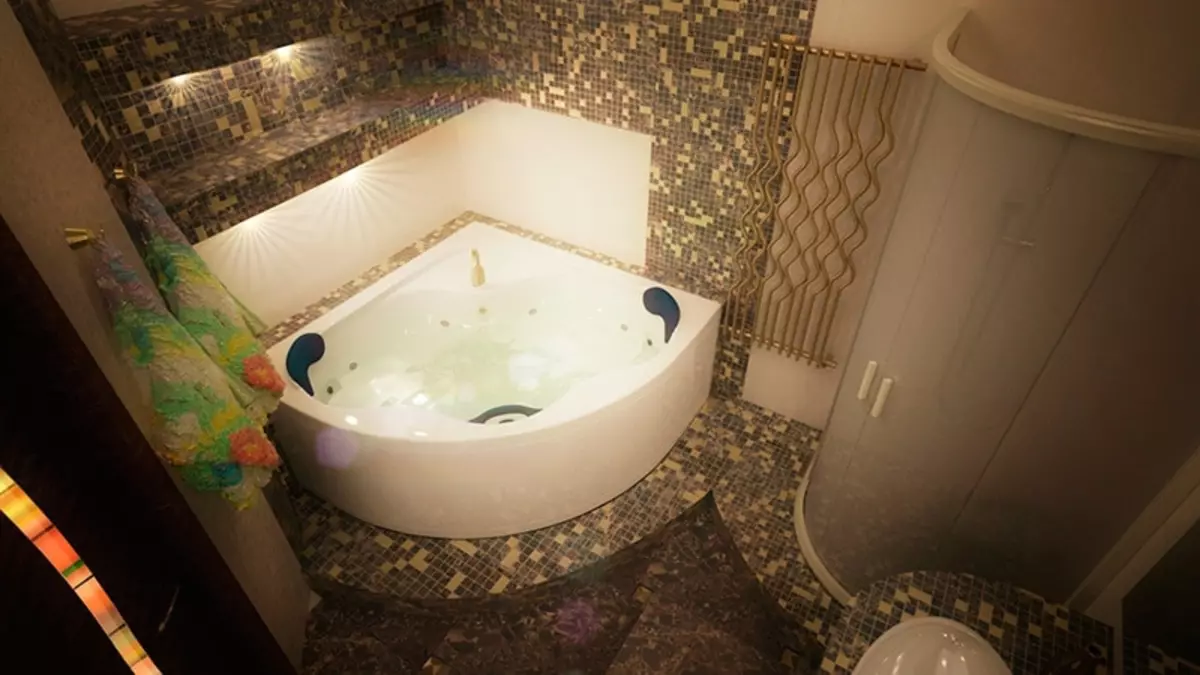
Niche in the bathroom - option
Niche in the bathroom
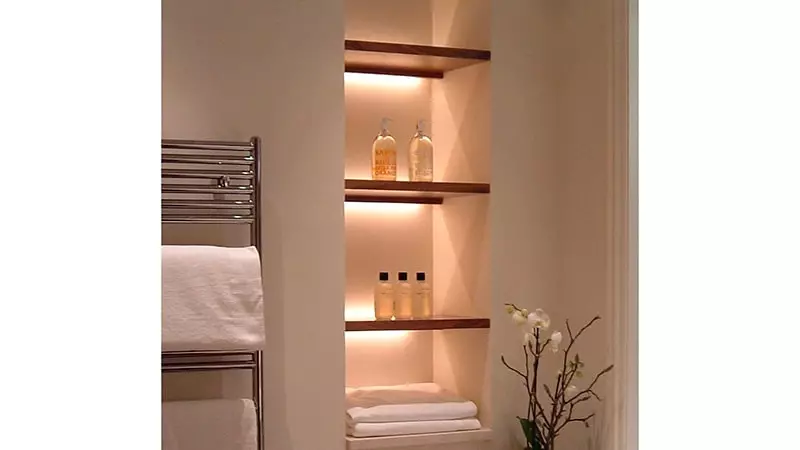
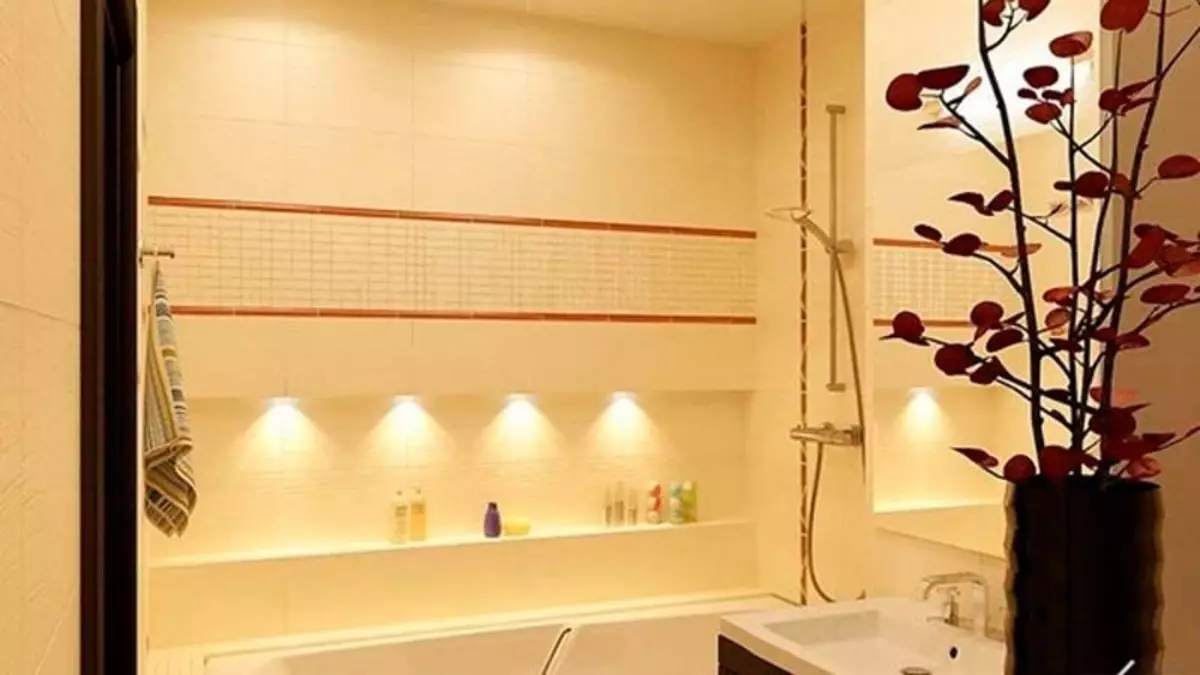
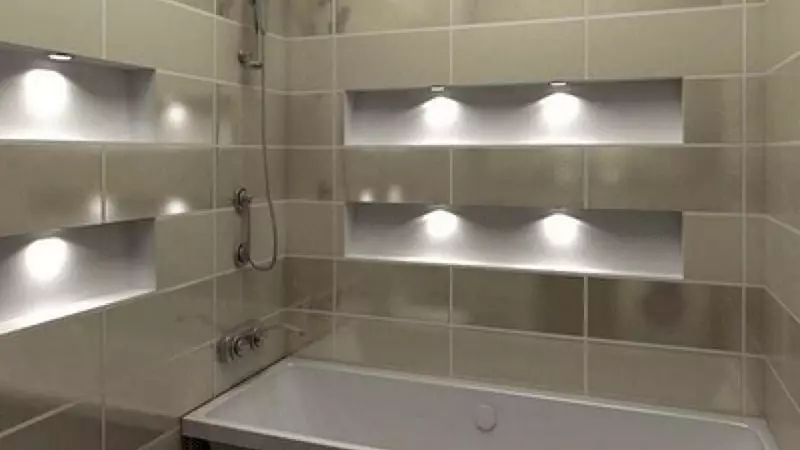
Niche backlit in the bathroom

Shelves made of drywall in the bathroom
Niche in plasterboard bathroom
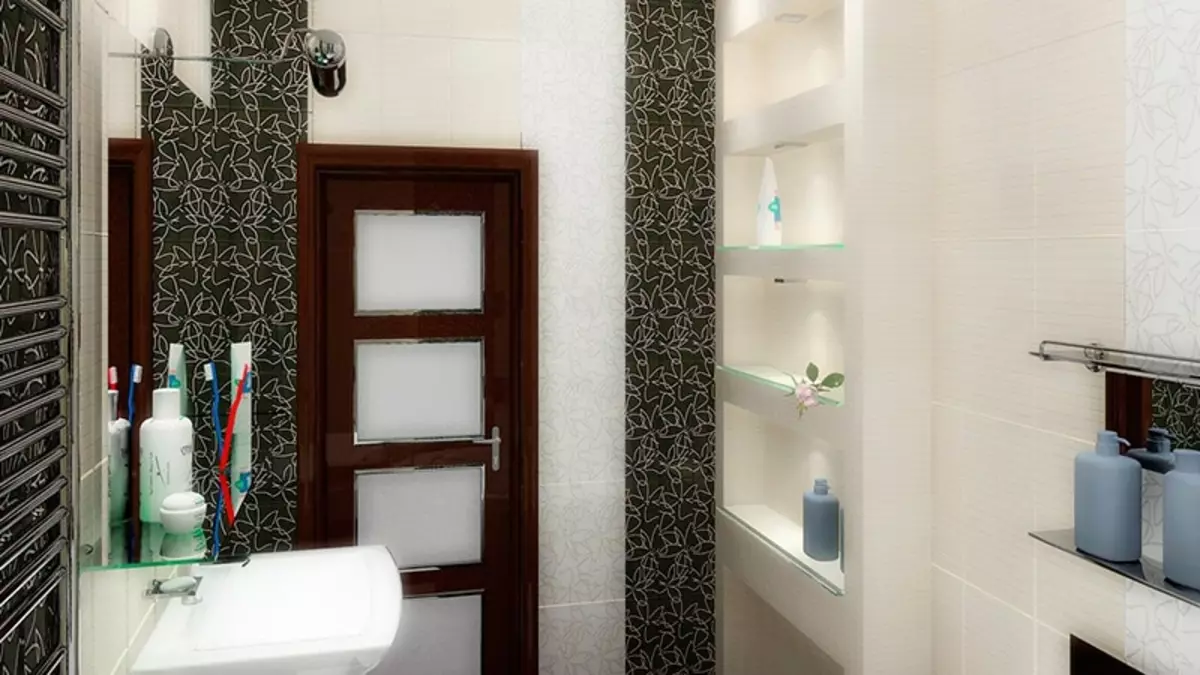
Niche in the bathroom with shelves
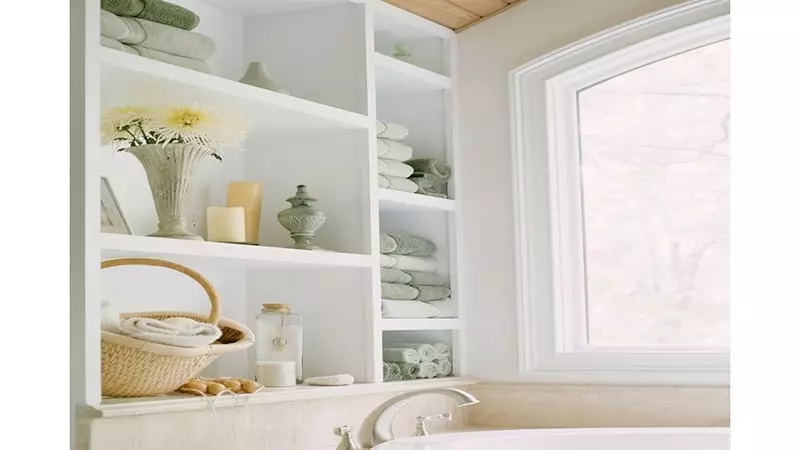
Shelves made of drywall in the bathroom
Niche in the bathroom
Niche from plasterboard