
The hat is a very important thing of the wardrobe, because the head should always be warm. Today in stores a huge selection of caps: knitted, stitched from the fabric, but very few felling caps are very small, even most likely there is practically no, but they look very stylish and are a very warm headdress. How to be in such a situation, when you want a hat fell from wool, and I haven't found it anywhere? The answer is simple - put it with your own hands. Folding hats from wool is not the easiest process, but our article will help you in this difficult business.
"Winter Queen"
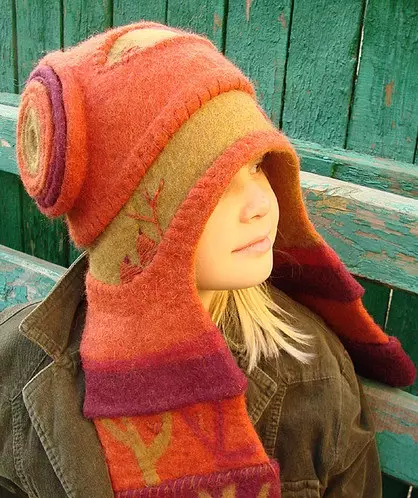
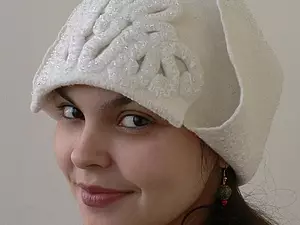
We bring to your attention a master class on felting from the wool of a very fashionable hat-earrings "Winter Queen".
For work it will be necessary:
- Wool;
- Viscose fibers;
- Hook;
- Beads for decoration;
- Threads;
- Film with pupils;
- Substrate under laminate;
- Soap solution based on hot water;
- The machine for felting (if not, it will have to be hung);
- Scissors;
- Needle for beads;
- Flomaster;
- If there is, you can use a roller massager;
- Rock.
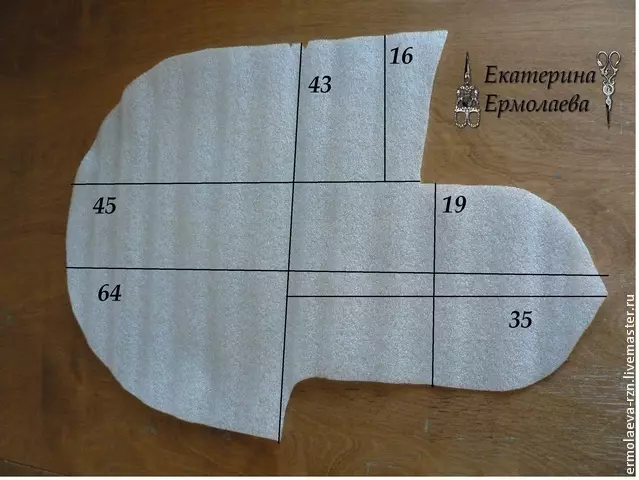
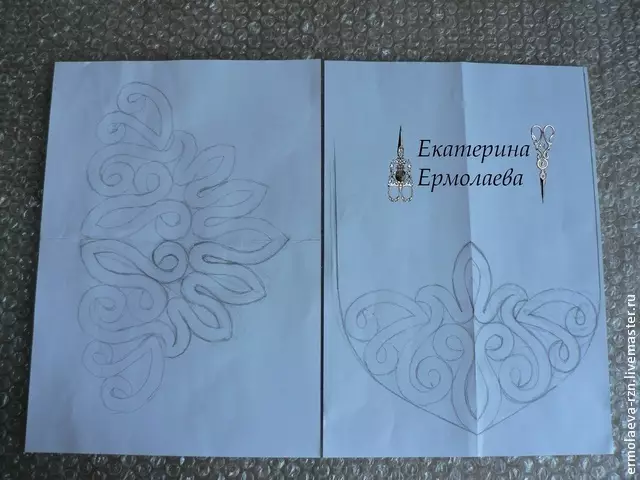
First you need to make the pattern pattern, make a drawing on the substrate under the laminate.
Please note that in this photo, the numbers are specified in centimeters, the pattern is designed for the size of the head 54-56.
On a simple paper sheet we translate your head and the frontal part. On the leaf, you need to draw a pattern, the strips should not be wider than a single centimeter.
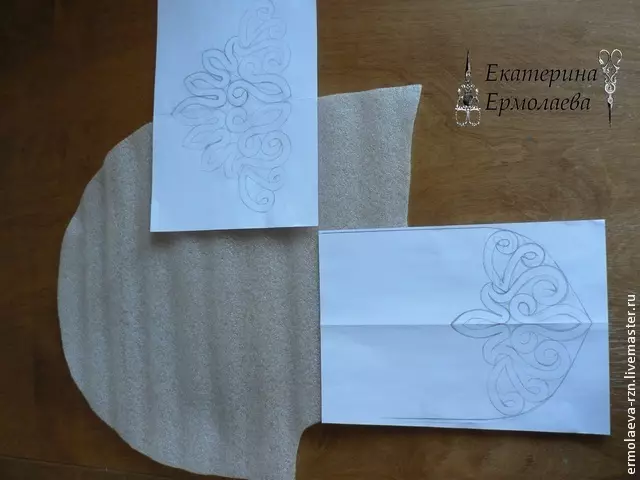
If you do not know how to draw, you can translate the picture from the computer or print and transfer to the paper using a copy paper.
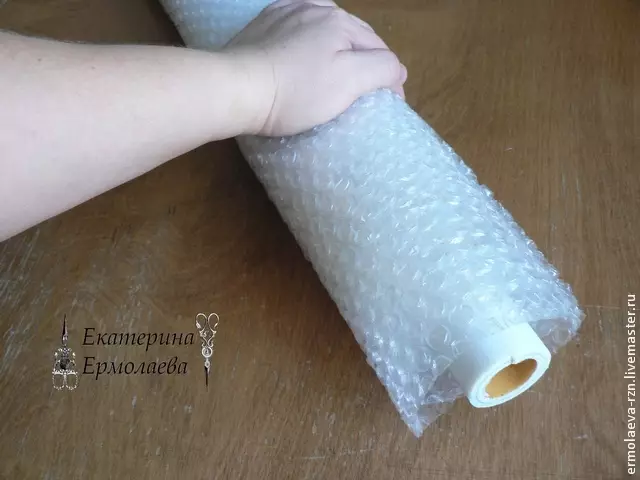
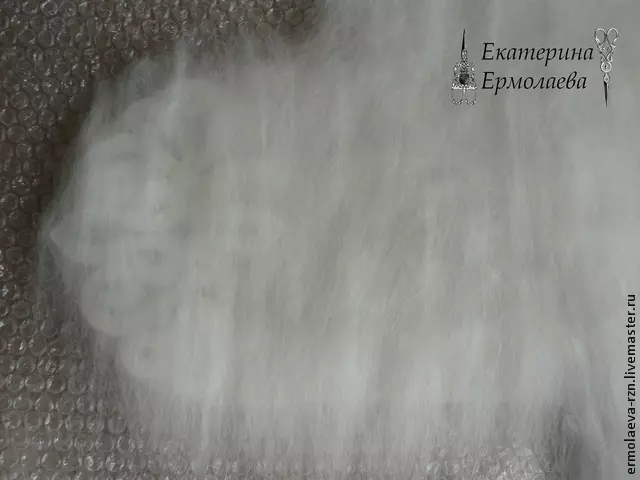
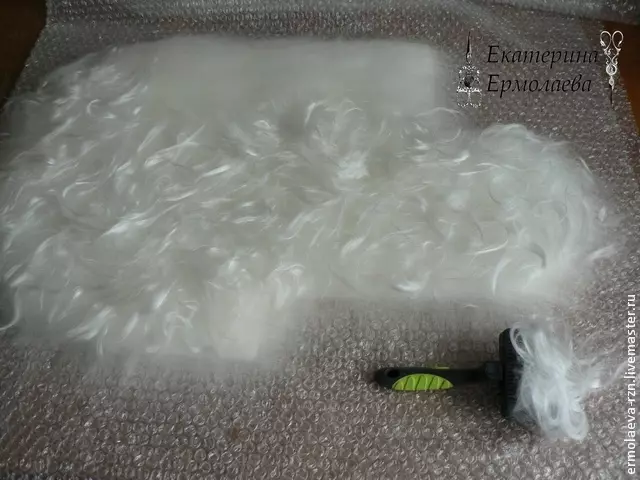
Now we need to make a prefect. We lay off the white wool rectangle, the direction of the wool should be different (vertically and horizontally).
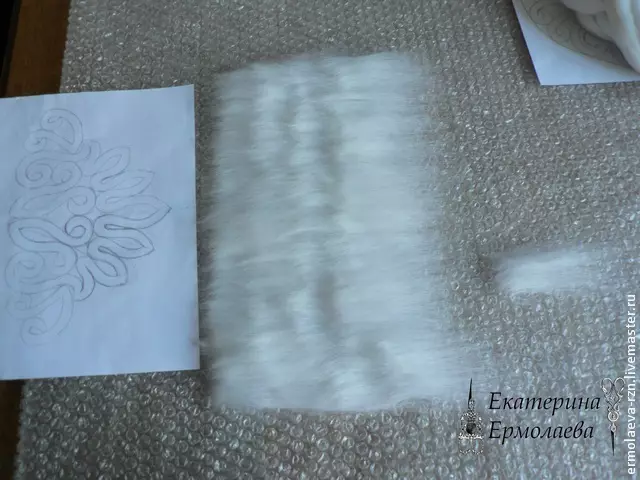
From above on the wool with a dense layer, you must lay out viscose.
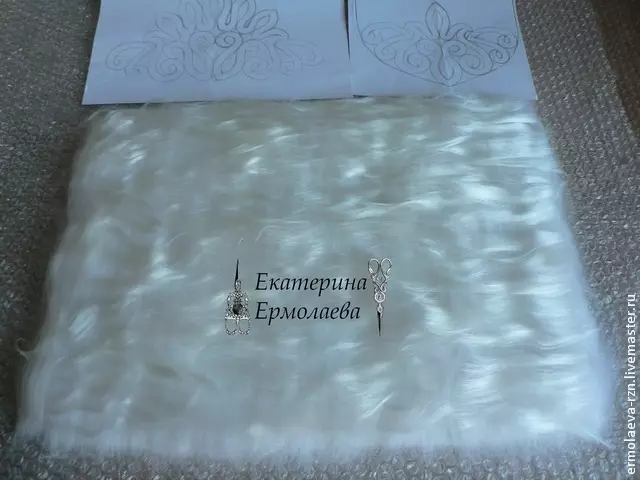
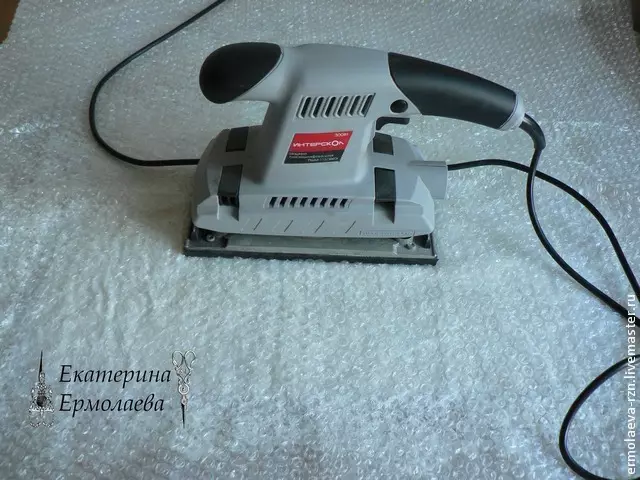
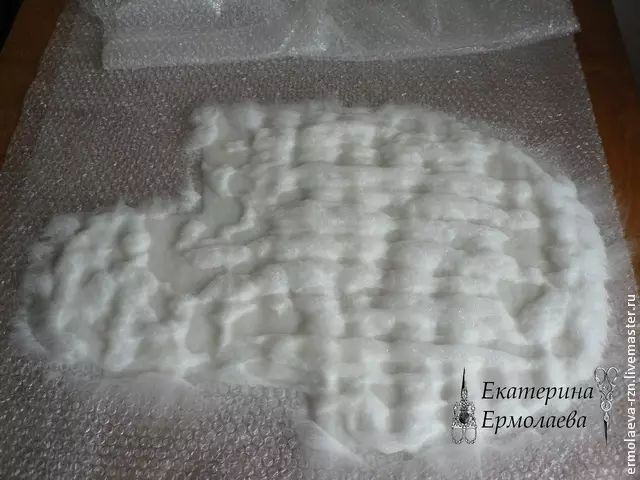
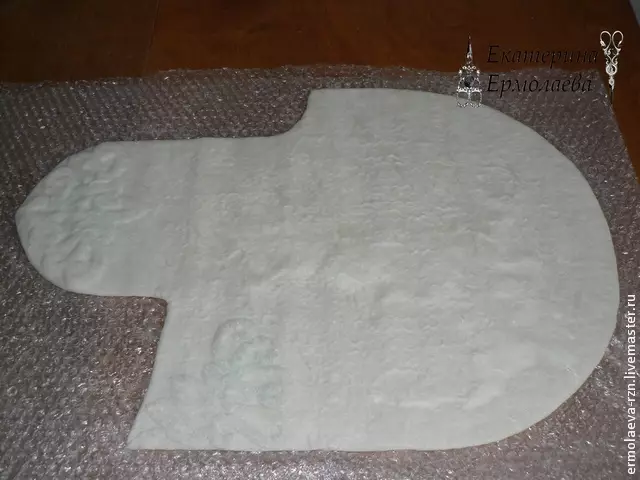
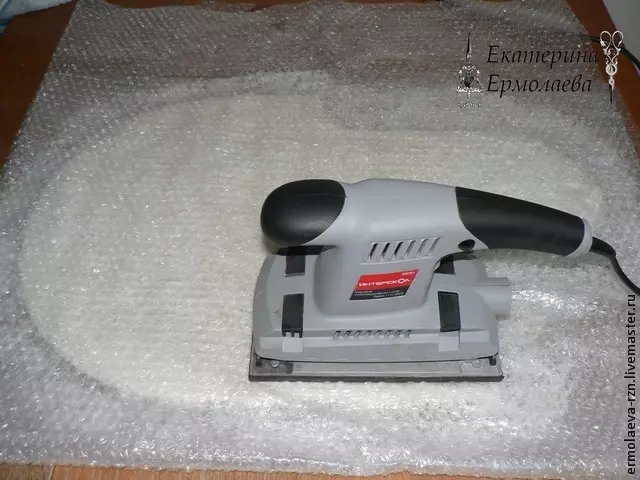
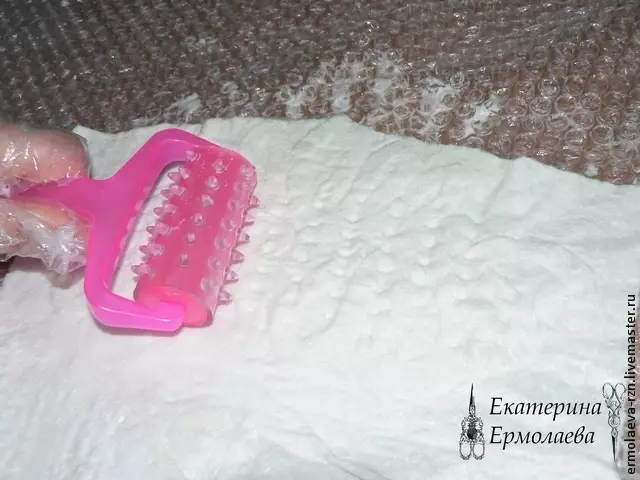
Now all this is wetting the hot soap solution and cover with a bubble film. We proceed with a felting machine, stopping at about ten seconds on each site.
Article on the topic: how to make a bulk paper card with flowers by March 8
Now you screw this workpiece along with the film on the rolling pin and roll around, it needs to be done about two hundred times.
Now the product needs to be smoothed and dry, you can try the iron.
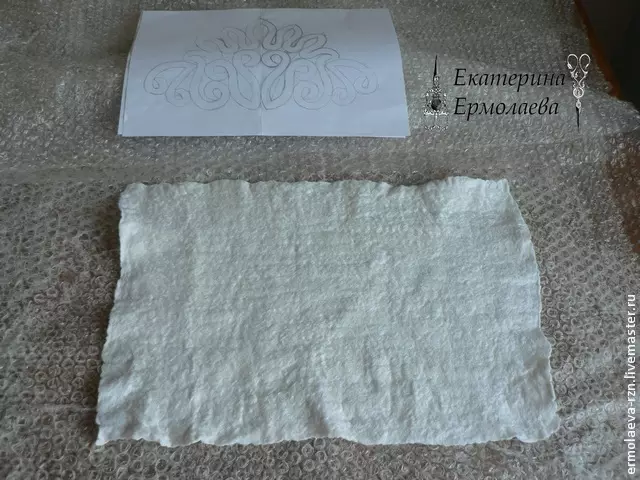
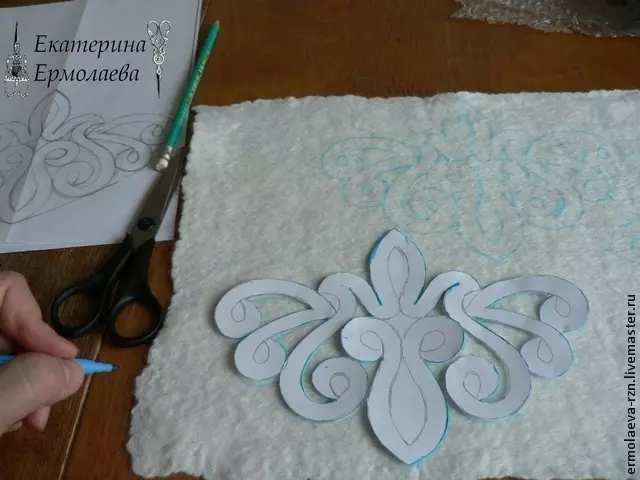
Now we draw a special disappearing marker on the pattern pattern and cut it out.
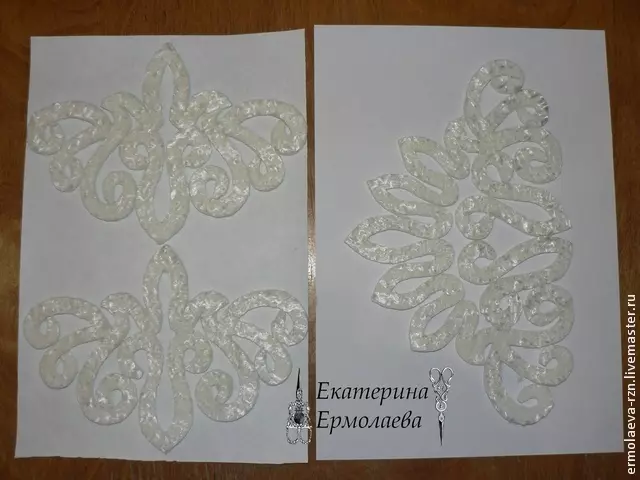
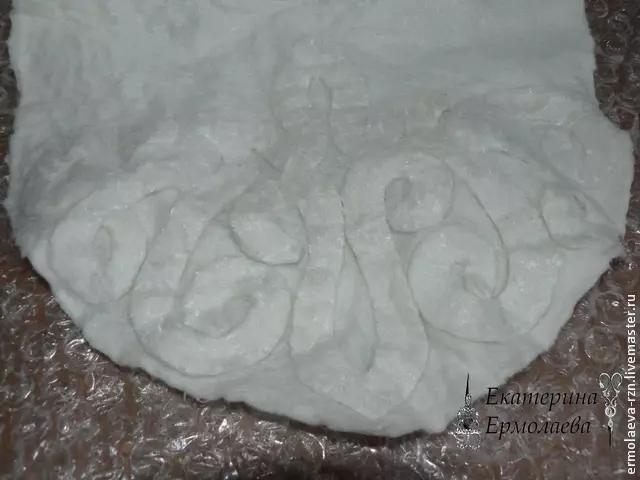
Here is such beauty from us:
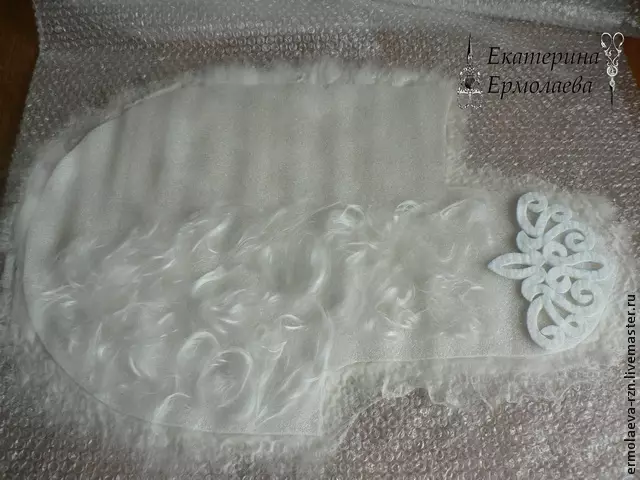
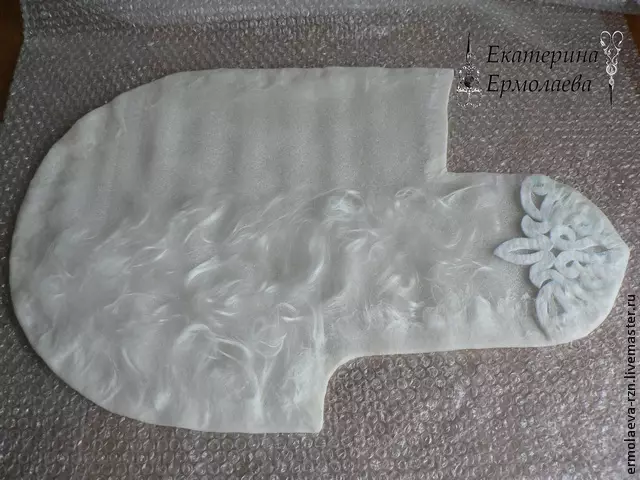
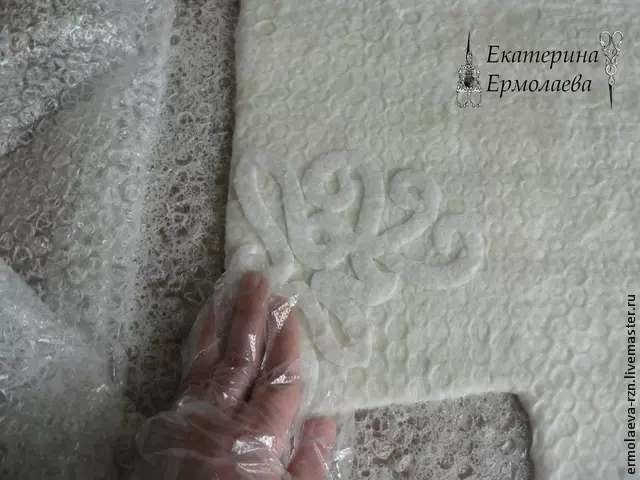
Now we start laying the wool on the header. On the stencil put the applique with the invalid side up (as shown in the photo) and begin to lay the layer of viscose.
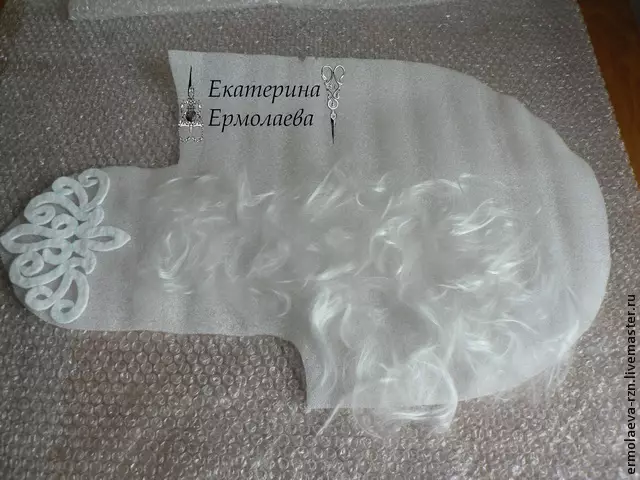
Top we make a layer of wool, lay out thin stripes, slightly going on at each other. We lay out the first layer of vertical, and the second - horizontally.
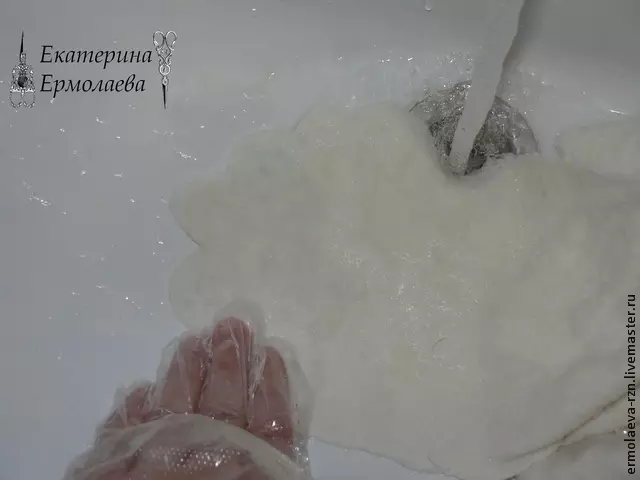
Now we wat the wool with a hot soap solution and cover the pumped film. Evenly distribute water by stencil, while trying not to shift wool.
Now the product turn over and remove the first layer of the pupil film and repeat the same actions as with the first side.
The protruding edges fell to the other side.
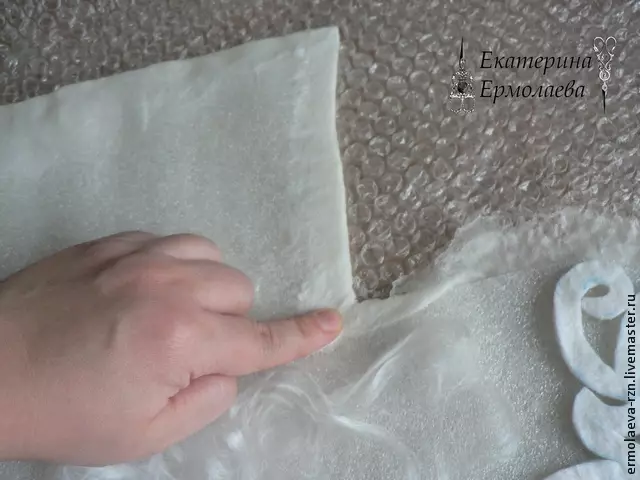
Very gently close the application, in no case shifting it.
While bend edges, try to avoid chances and sharp corners.
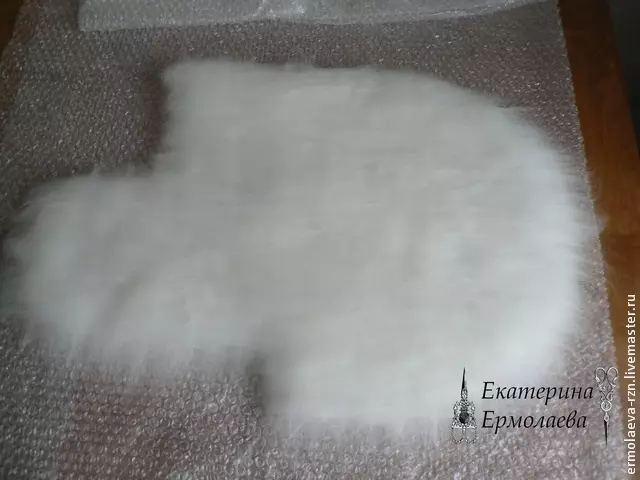
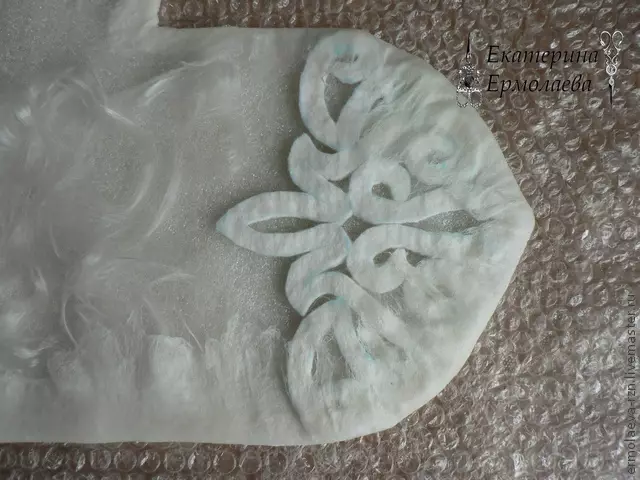
On this side, we also lay out wool in two layers horizontally and vertical. We also lay out the viscose, avoiding the frontal part.
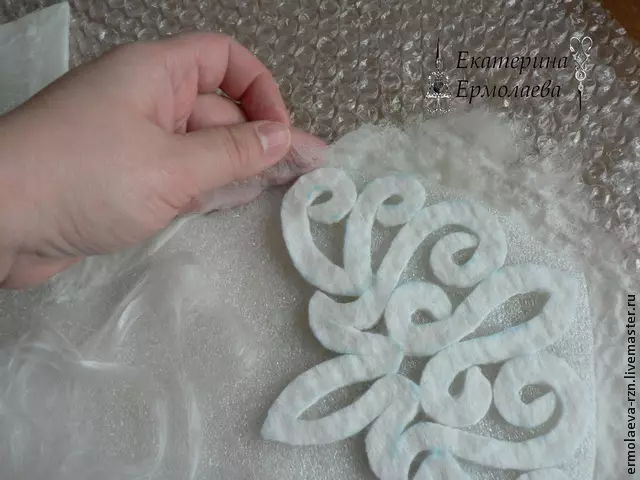
We process the product with a hot soap solution, cover with a film with puffers and turn over the other side. On this side again laying the layer of viscose. We put the second applique element face up. Now turn over the product and lay out the application from this side.
We watrate the workpiece with a hot soap solution, cover with a bubble film and process the machine for felting, no more than fifteen seconds on each site.
Now the application is fingering with your fingers so that it does not move during riding in the roll.
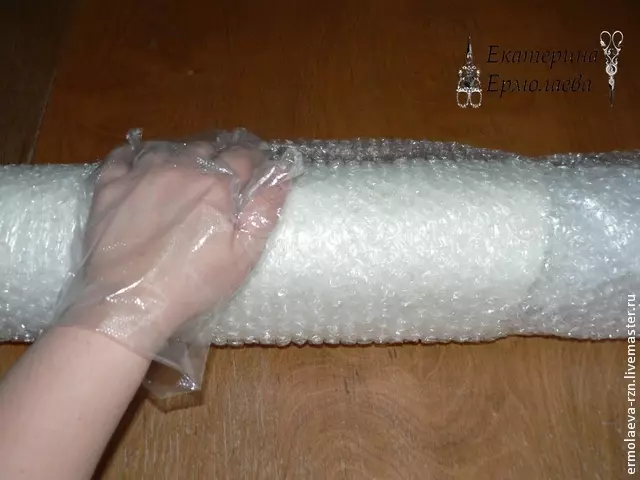
Now we wrap the hat in the "sausage" and rolling on each side about two hundred times.
Article on the topic: Cross embroidery scheme: "Lions" free download
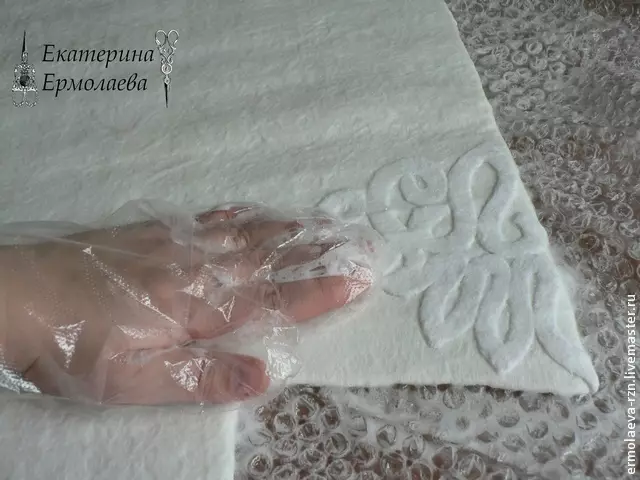
Deploy and again approach the application, but already stronger and confident.
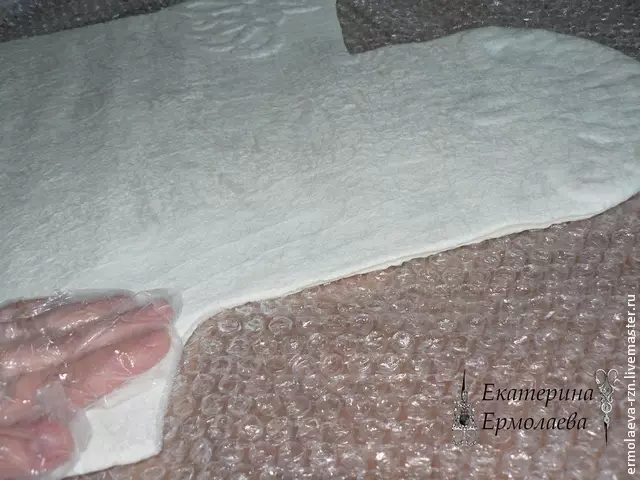
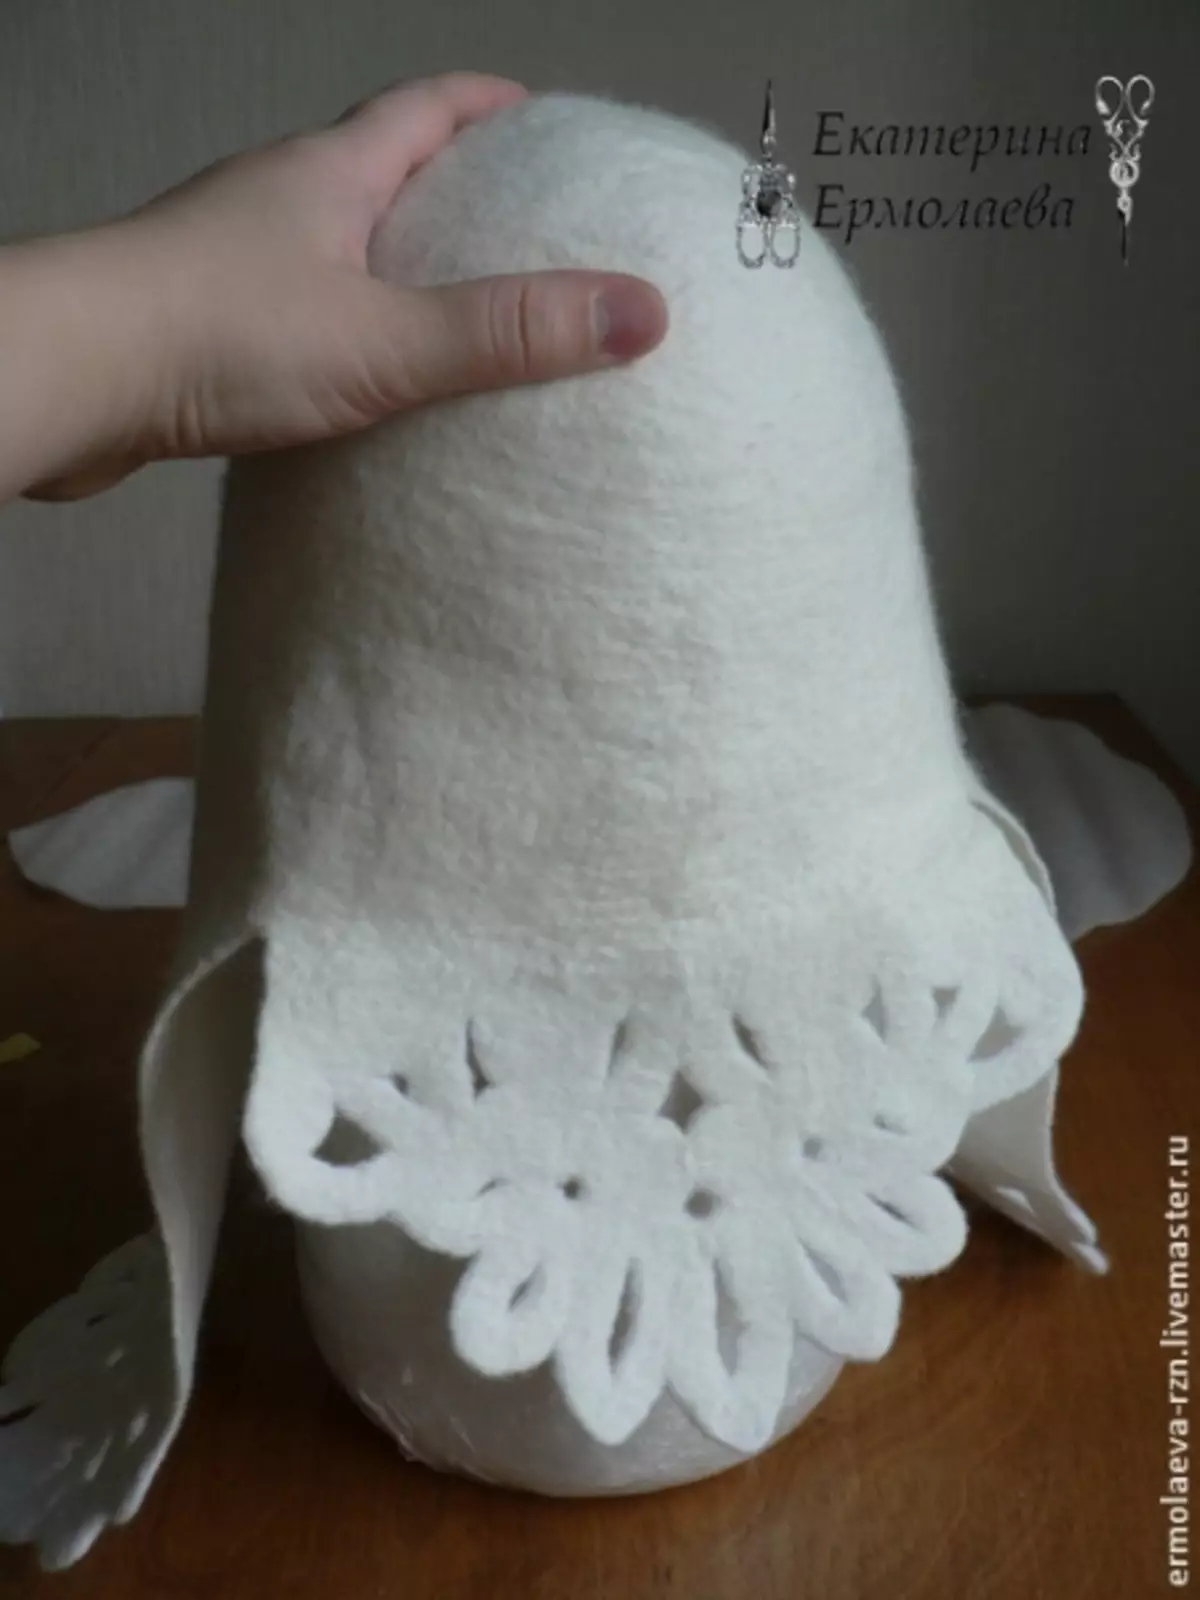
Now I am very careful cutting the product around the edge, try not to hurt the appliqués.
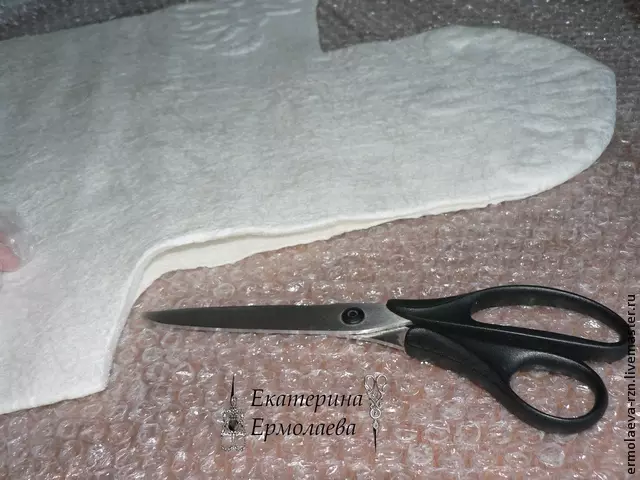
Lot of cuts of sections are slightly pumped.
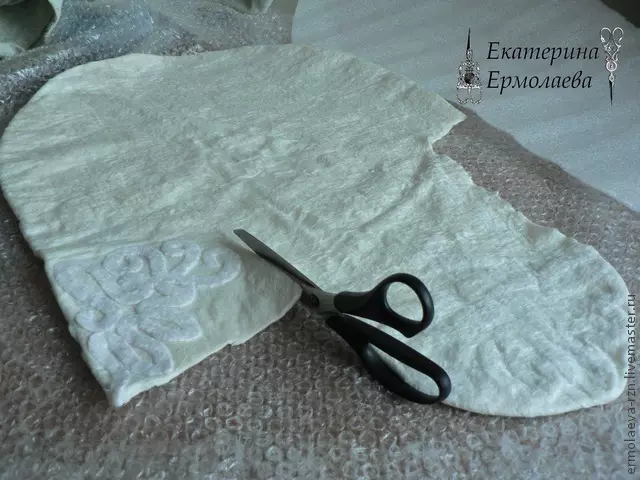
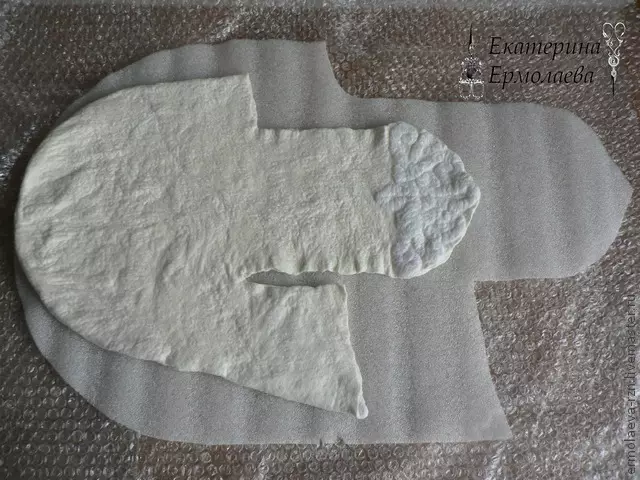
Remove the pattern pattern from the product. Now you need to be very careful to cut between the frontal part and the front.
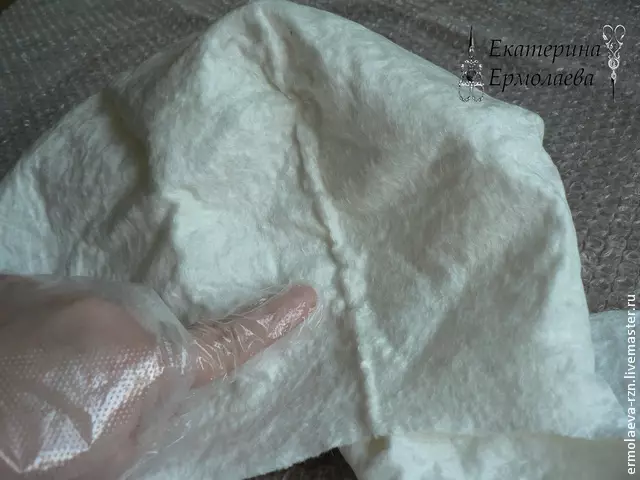
The folds of the folds across all over the perimeter of the caps, align and rented with your fingers.
For faster and high-quality dumping, you can walk several times by the product with a massager.
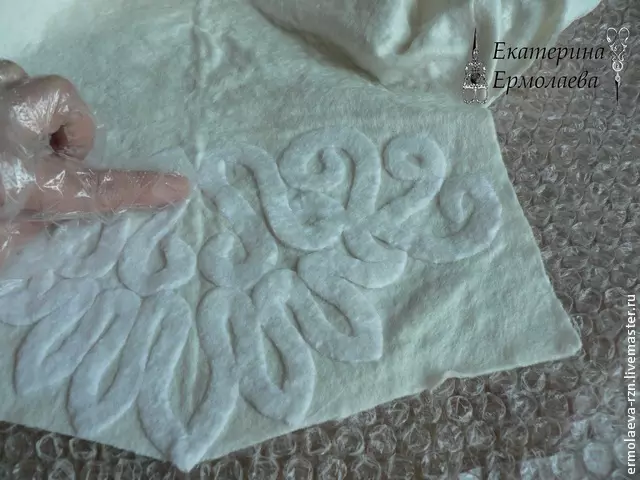
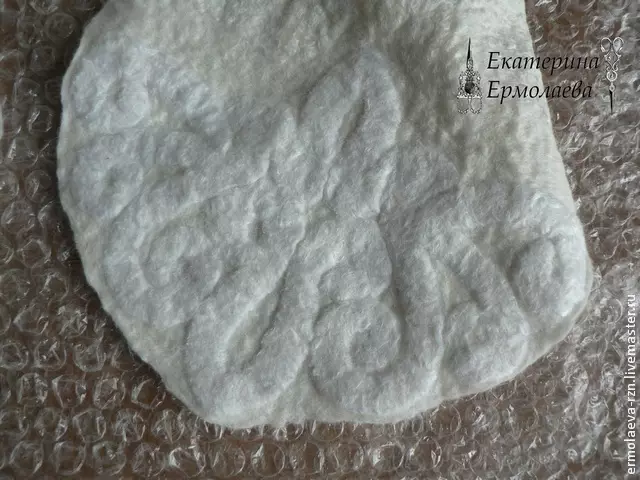
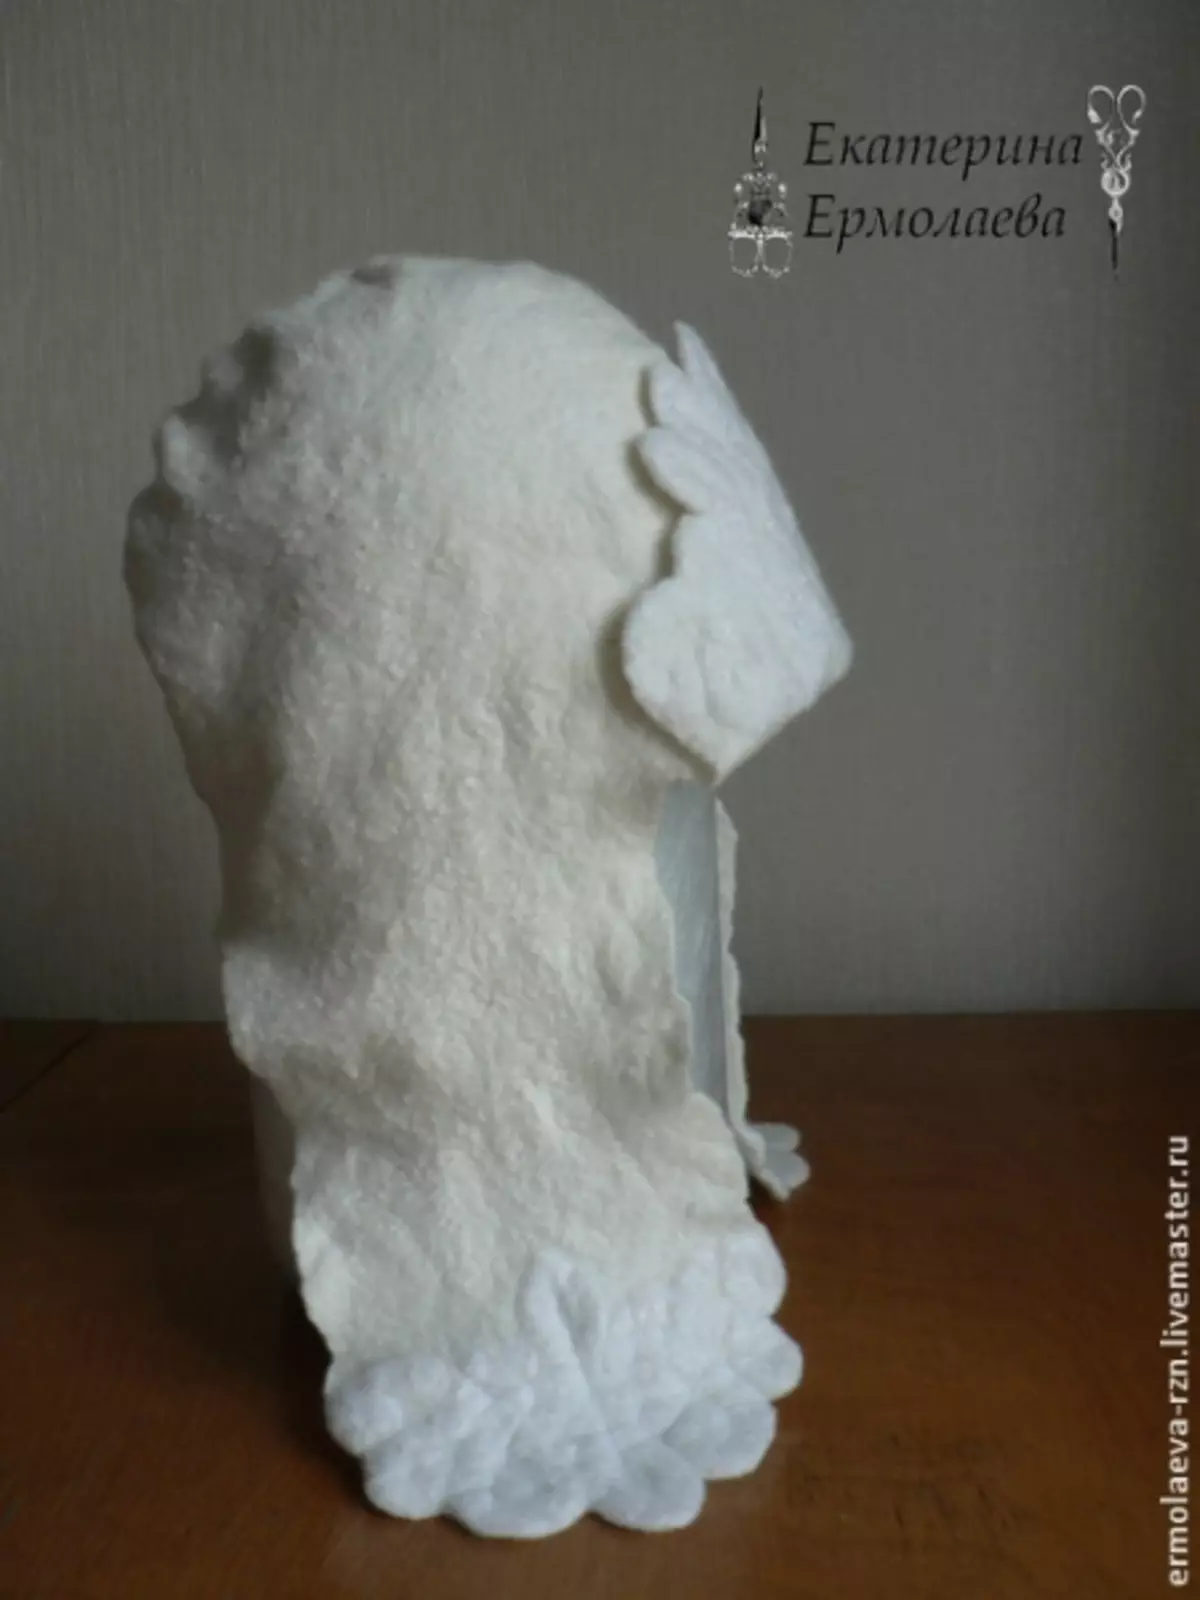
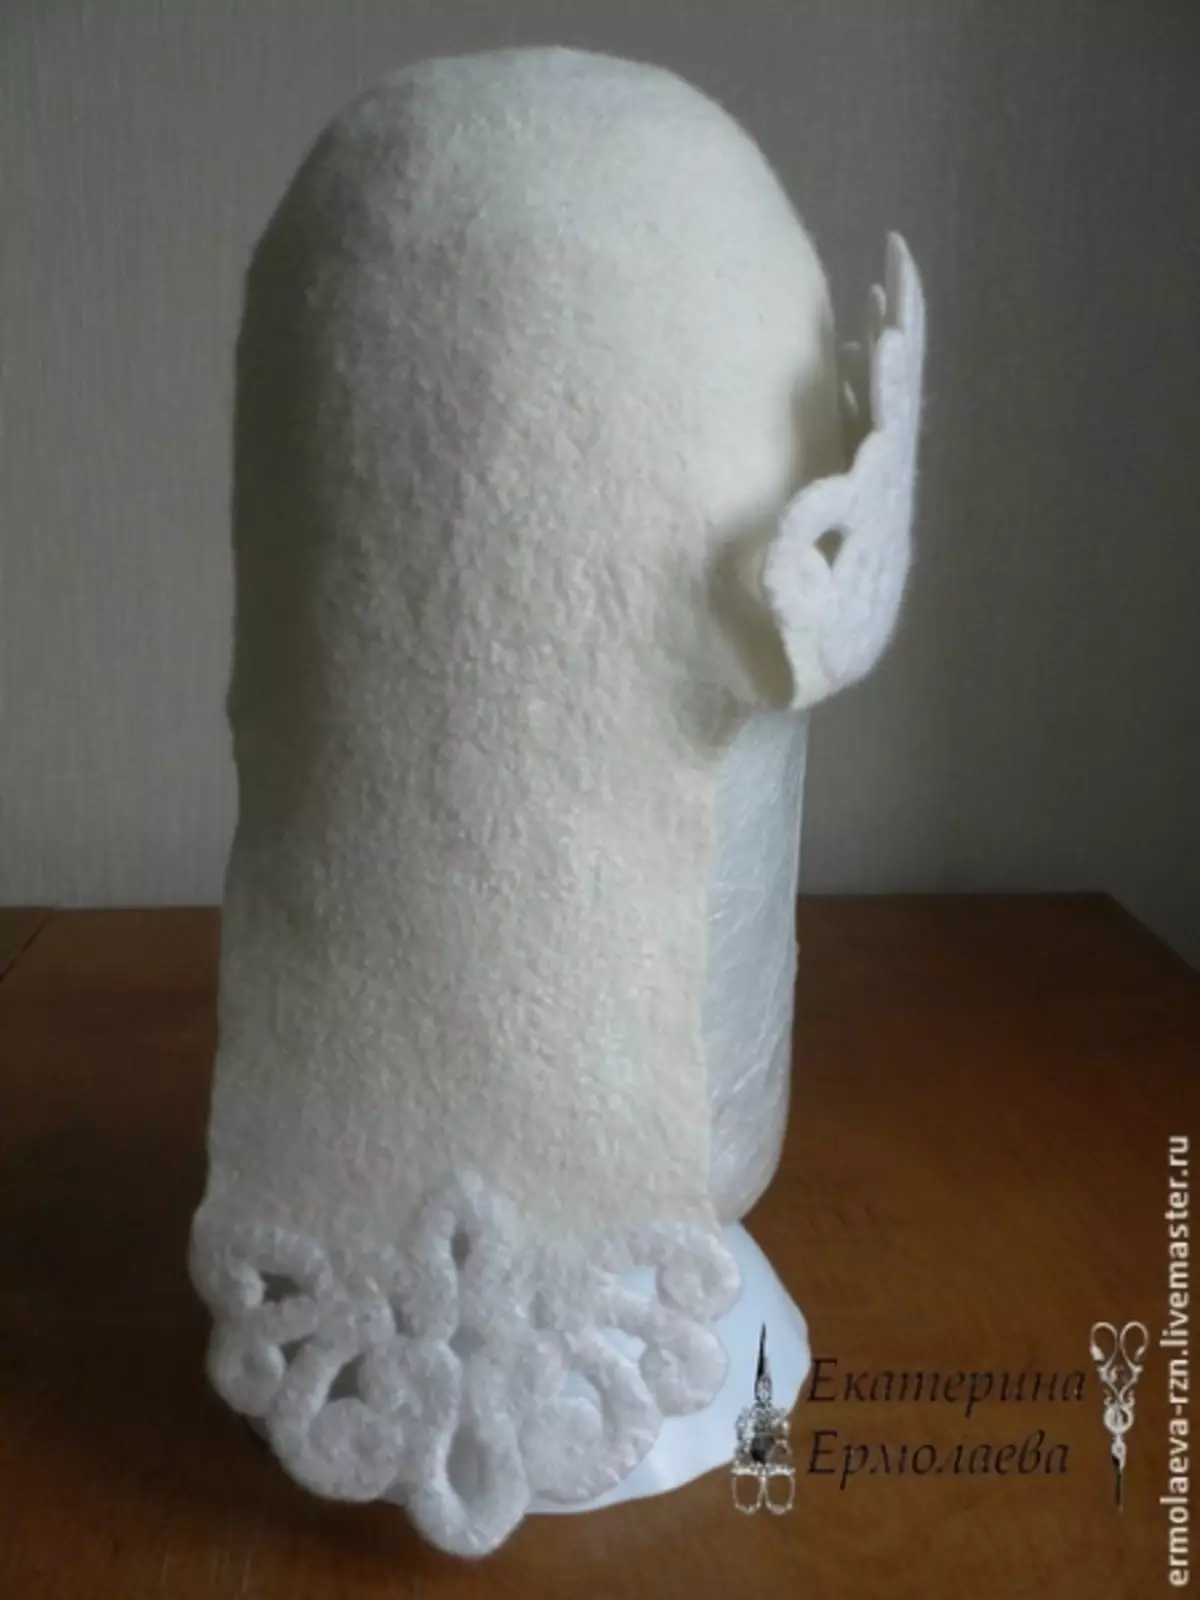
As can be seen in the photo, at this stage of work, the application has not yet finally been pulled to the hat.
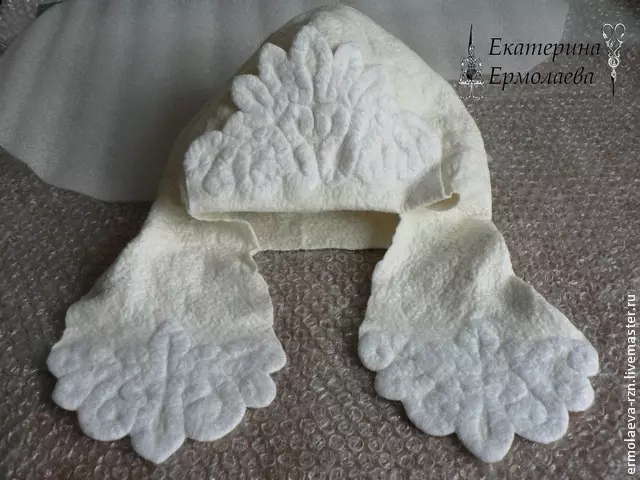
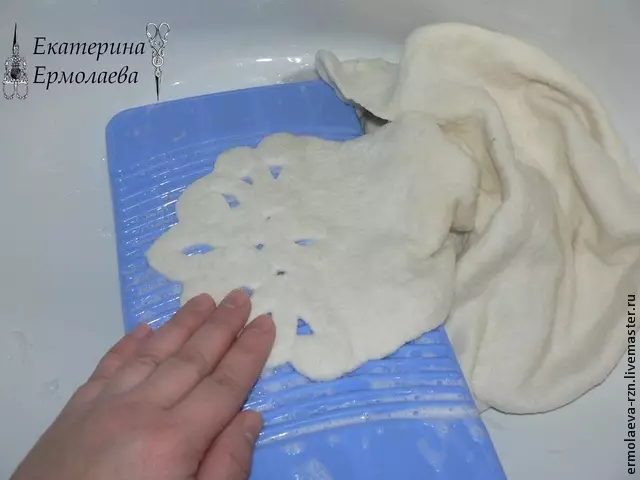
Now, on the towel, we decide our cap in such a way as shown in the photos, we turn into a roll and rolling about two hundred times, while watching the caps of the caps do not fit together to each other.
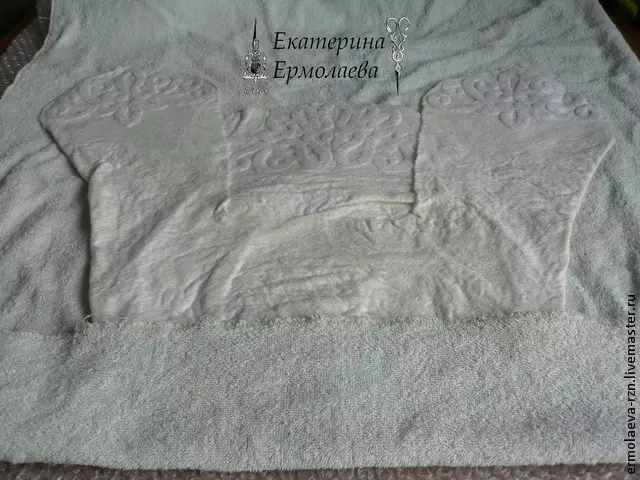
This is how our application should look like after we sang it in a mohair towel.
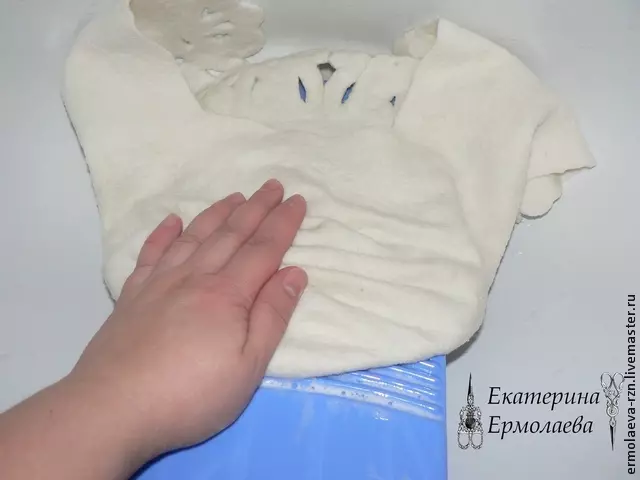
Now we will overeat your hands, for this, moisten the cap with a hot soap solution and start to mive it, mantle as if you work with the dough.
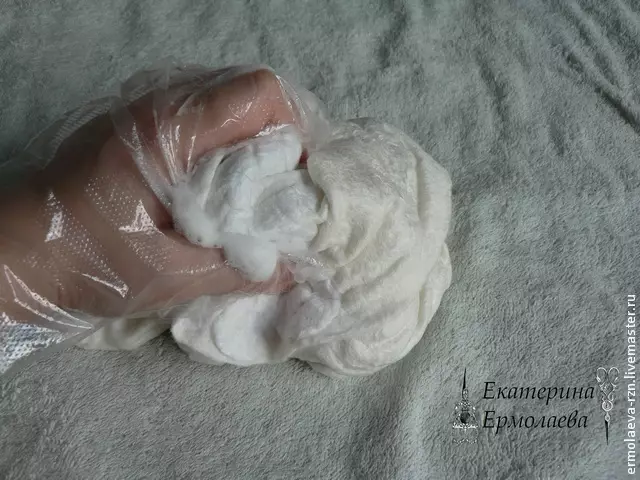
That is how our hat has decreased compared to the template:
Now cut very carefully ears along the applique contour.
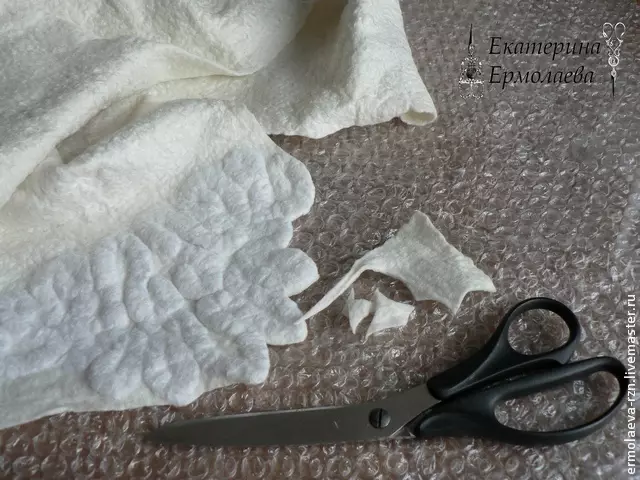
Buy a hat in warm water and try to make the smoothness of sections.
Sample the header if you see irregularities, they need to be adjusted.
Now cut through the holes in the appliqué.
Smoothing all extra folds and irregularities.
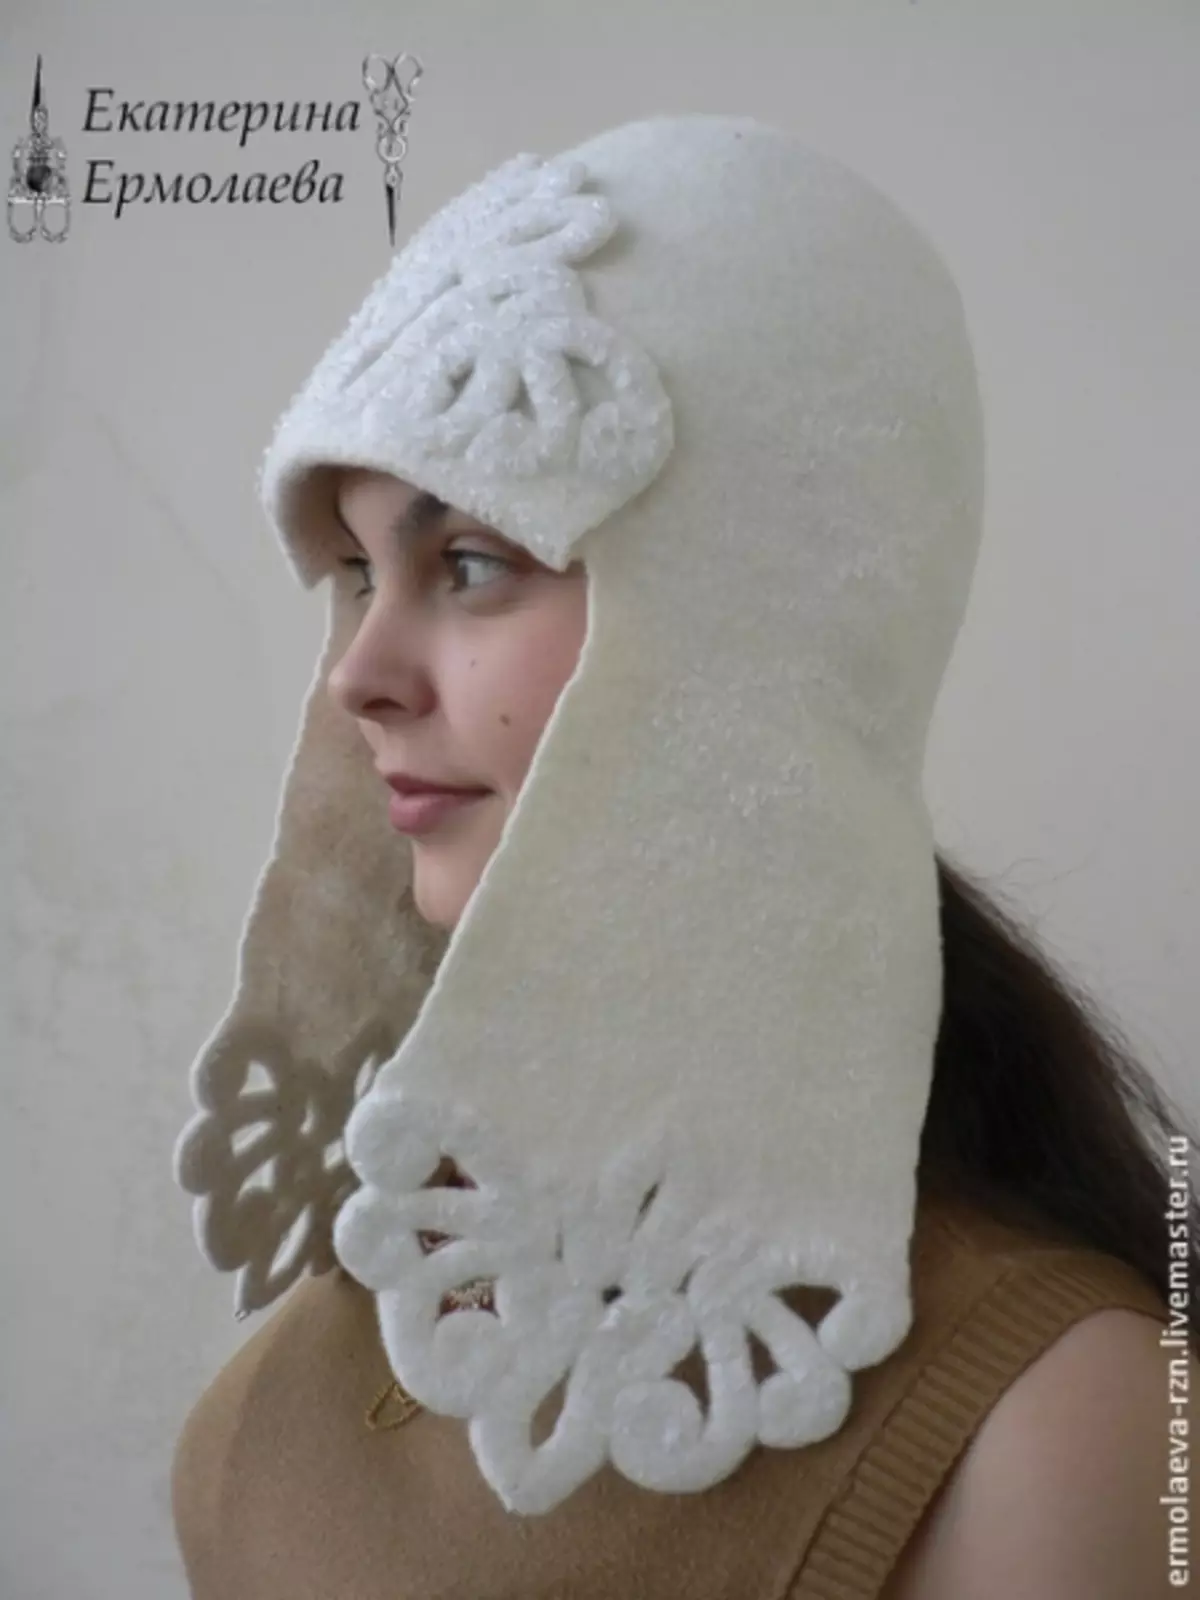
The finished product must be sipped or pasted.
It remains only to decorate our cap by beads and you can safely go out and not be afraid of any winter frosts.
Very often, by felting out of wool, make hats for the bath, the work process is not different from the first master class, but there are their nuances, we suggest you watch a video lesson, and you can easily eat for yourself such a hat.
Article on the topic: Relief crochet column in patterns for plaid and other things
Video on the topic
At the end of our article, we suggest you familiarize yourself with the materials of this video selection to consolidate the knowledge gained and inspire new ideas.