
Fan came to us from the East. The first mention of him refers to China to the VIII-II century to our era. In Europe, he appeared at the beginning of the XVII century thanks to Jesuits and merchants who collaborated with China. And it did not have any relevant popularity and significance at the courtyards of European emperors. It came to the point that during the baroque and Rococo Fan was part of the ceremonial actions and communication between aristocrats. For example, ladies could reveal the fan only in the presence of the queen. As for communication between people, if the woman concerned the open fan of the lips and the heart, she told her chosen one that he was her ideal. If I wanted to show the Uhager that he was not at all suitable, the fan was applied with his right hand to the left cheek. We offer you to plunge into this world, and learn how to make a fan with your own hands.
Paper option
There are several options here. The first, which comes to mind, is a way of childhood. Namely, we take any paper, fold the harmonica from it, tie at the base, reveal, and here the fan is ready. However, if you want a more convenient and reliable design, then this option can be made from paper and chopsticks from ice cream:
For this, just in the fold line we glue the sticks, and at the other end it make a hole and tie a thread. Make such a fan can be used as a fun for children.
However, we offer you the option is somewhat more interesting. Namely fan of paper tubes. For him we will need:
- cardboard;
- newspapers or office paper;
- PVA glue;
- stationery knife;
- pen or pencil;
- acrylic paints;
- line;
- Ribbons, beads and decor at your discretion.
Article on the topic: Tunic with whole-circuit sleeves: master class on sewing without pattern
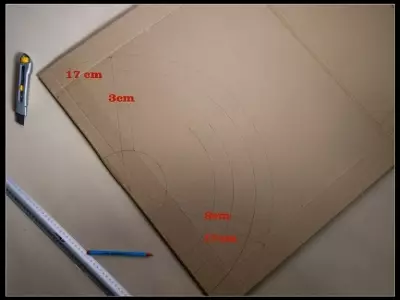
From the cardboard, cut out two bases. To do this, we draw out a semicircle, as shown in the images below. If there is a circulation, it will speed up your work.
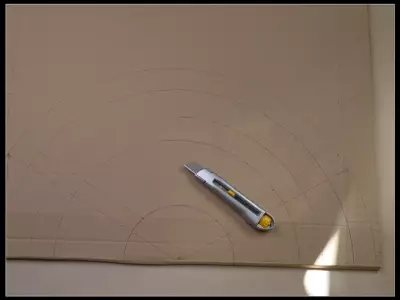
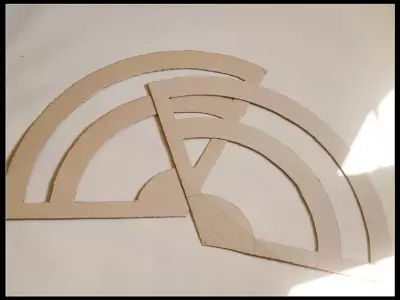
Now with the help of a stationery knife, cut out our items.
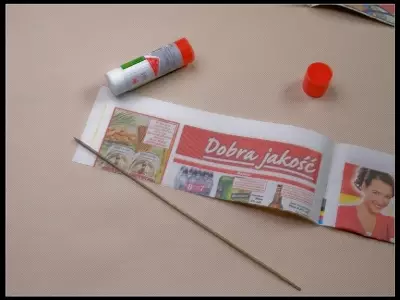
I will postpone the basics to the side. Cut from a newspaper or paper strips of approximately 6-7 cm. We take the needle and, starting with the angle, tighten the tube. At the end, fasten glue. It is better to prepare more tubes in advance.
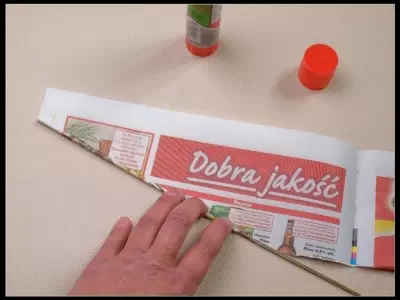

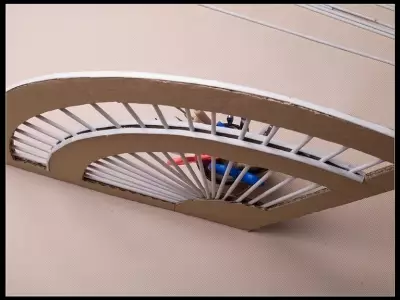
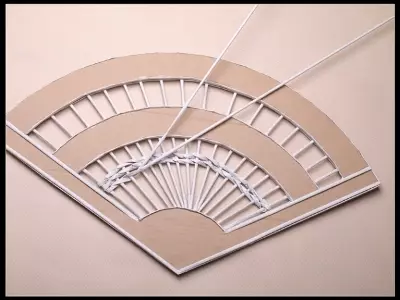
The odd number of tubes are glued to one base, as shown below.
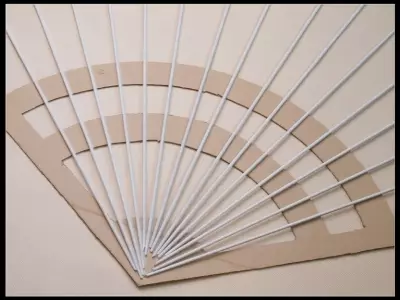
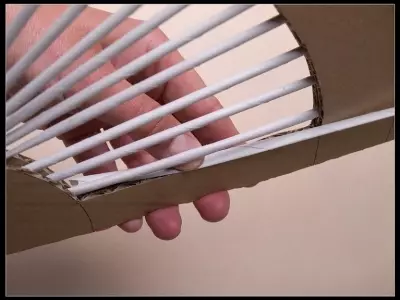
Cover the second half of the base. The tips of the tubes that stick out from above, cut.
All side sides are also closed by tubes with glue.
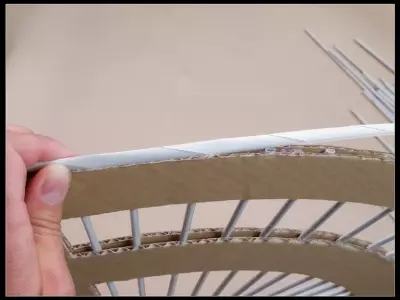
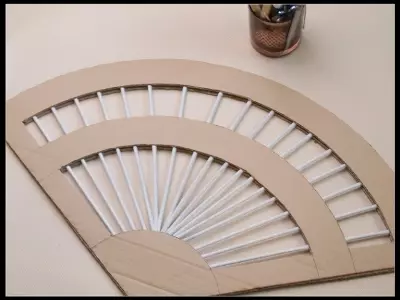
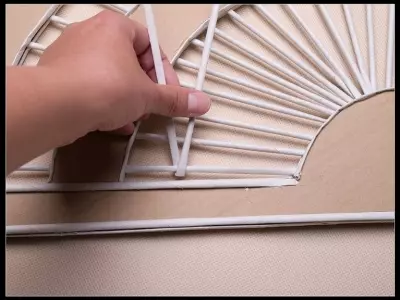
We take a new tube, fold it in half and envelm the first rack of Werera, thus weave to the base of the fan.
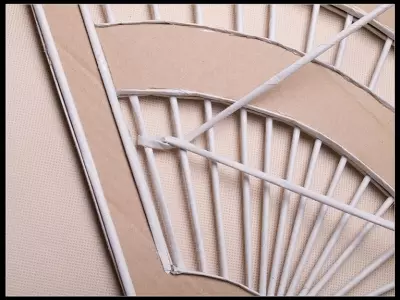
When everything is ready, you can paint the whole fan of acrylic paint.
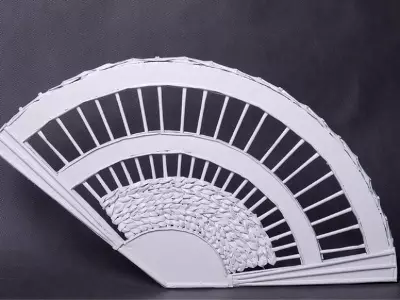
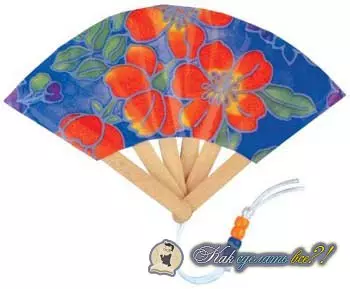
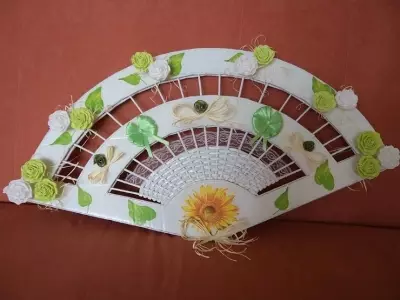
Decorate according to the idea, as in the photo below.
You can paint the fan of the mourn and then looking at him, people will have a feeling that he is made of twigs.
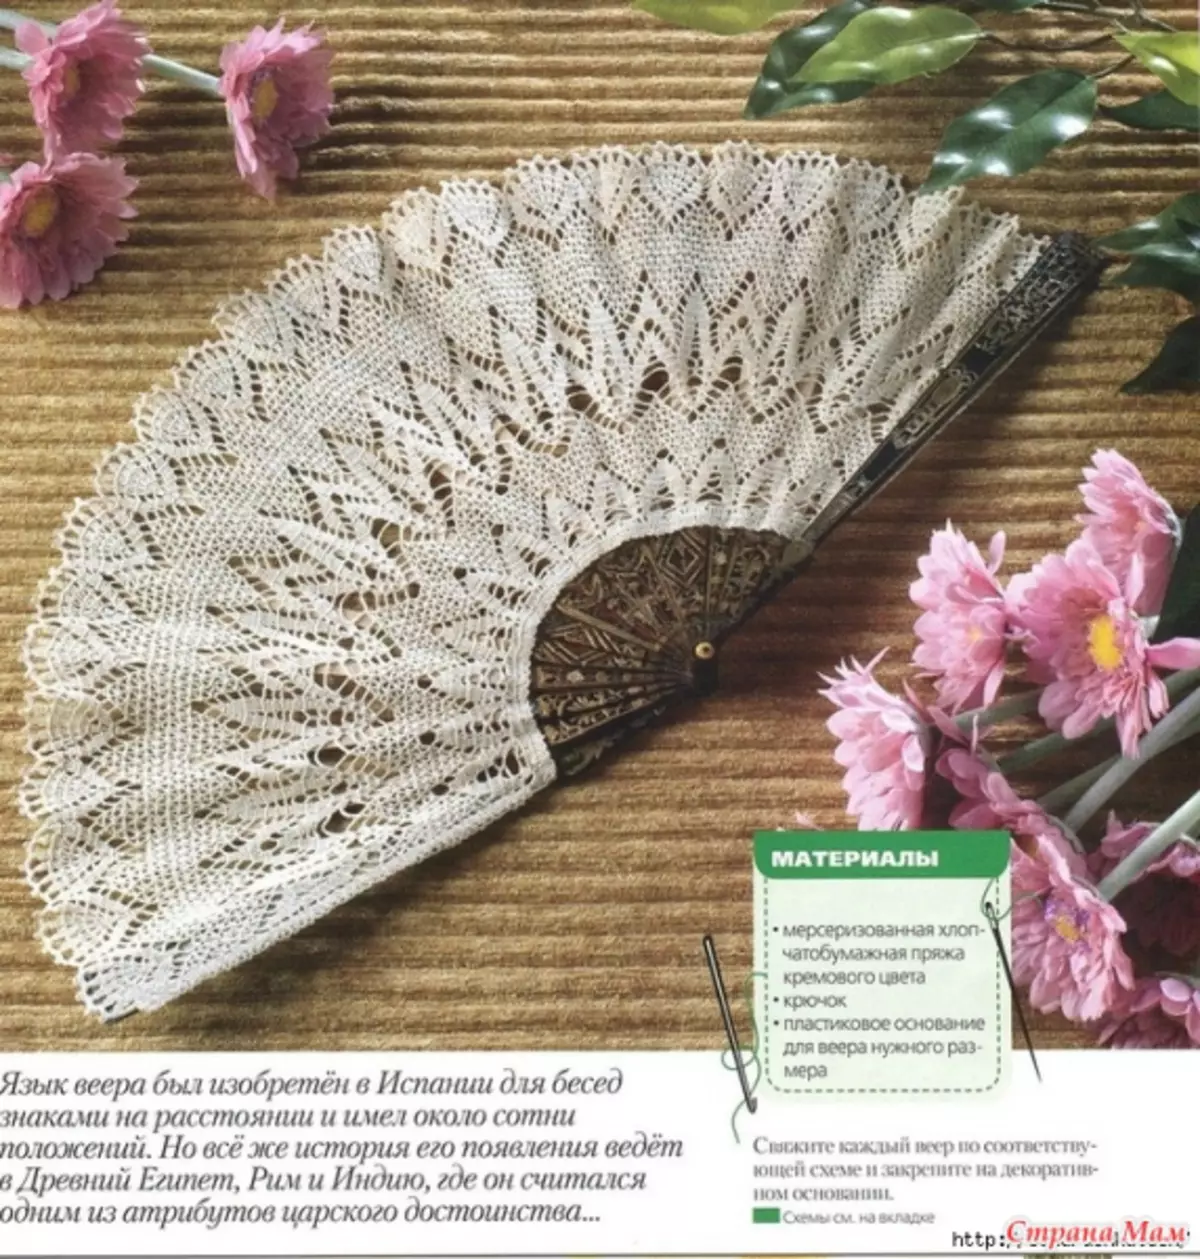
Knitted fan
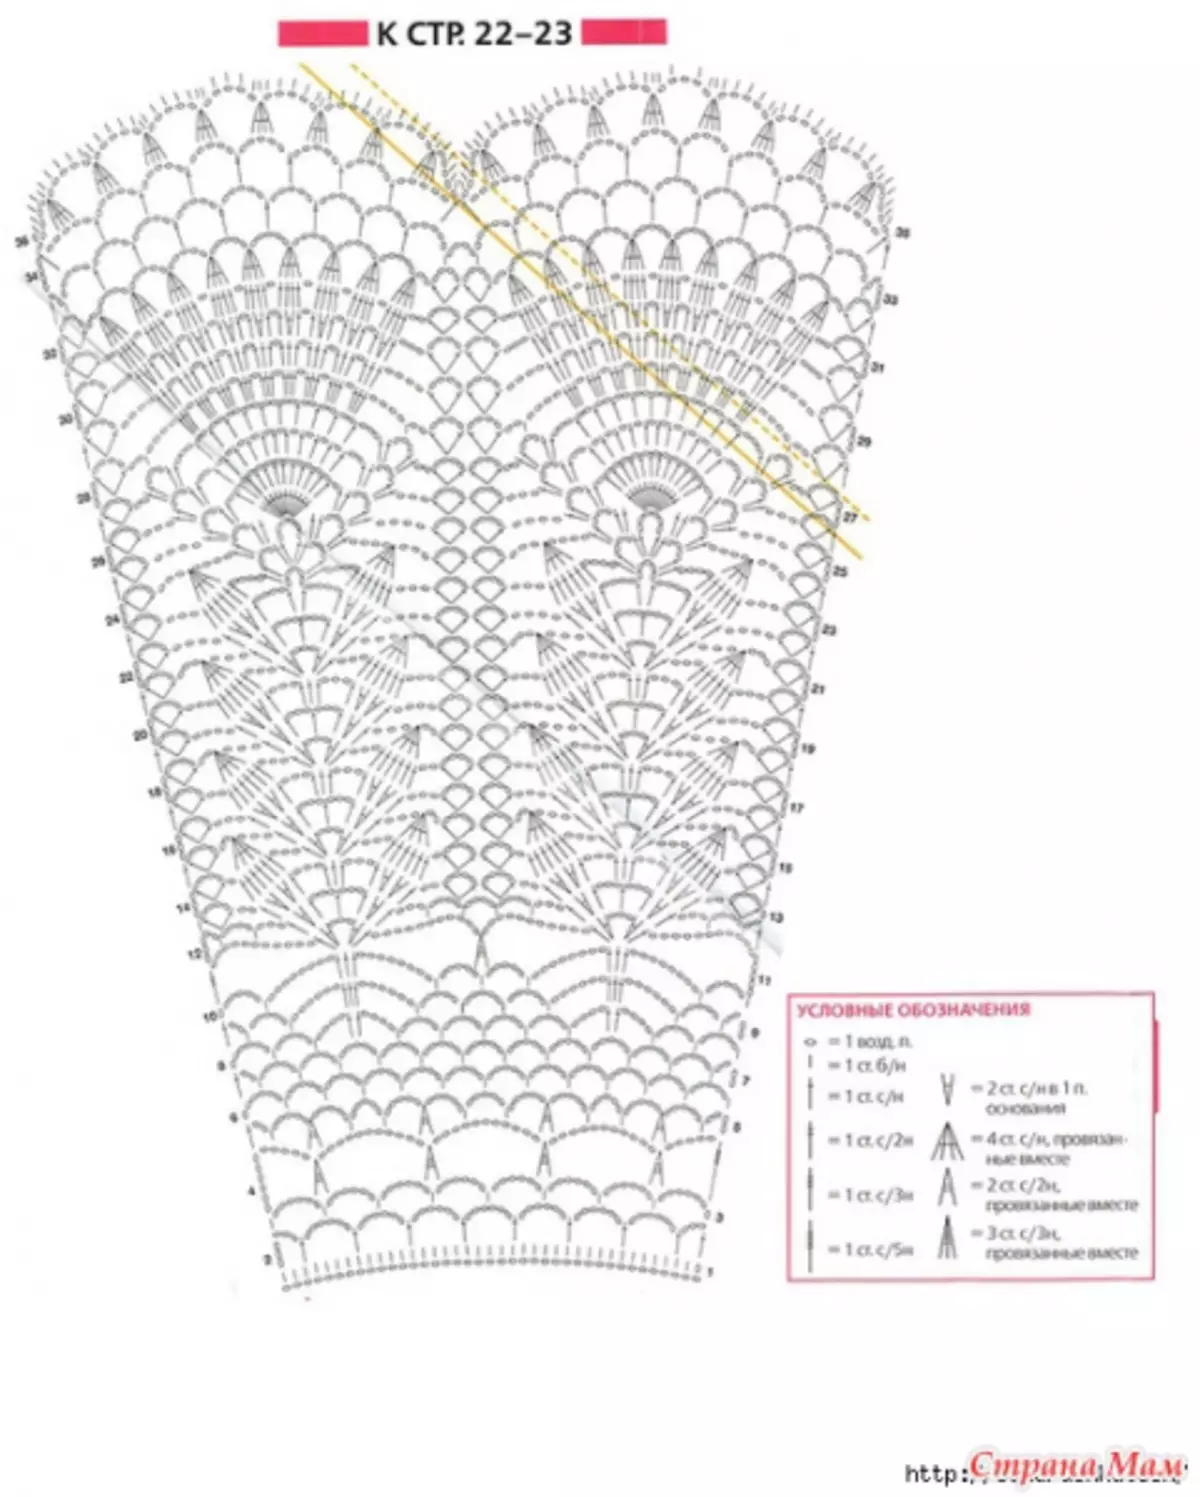
Those craftsmen who own crochet or knitting skills, offer schemes with a description, how can I create a fan using your skills.
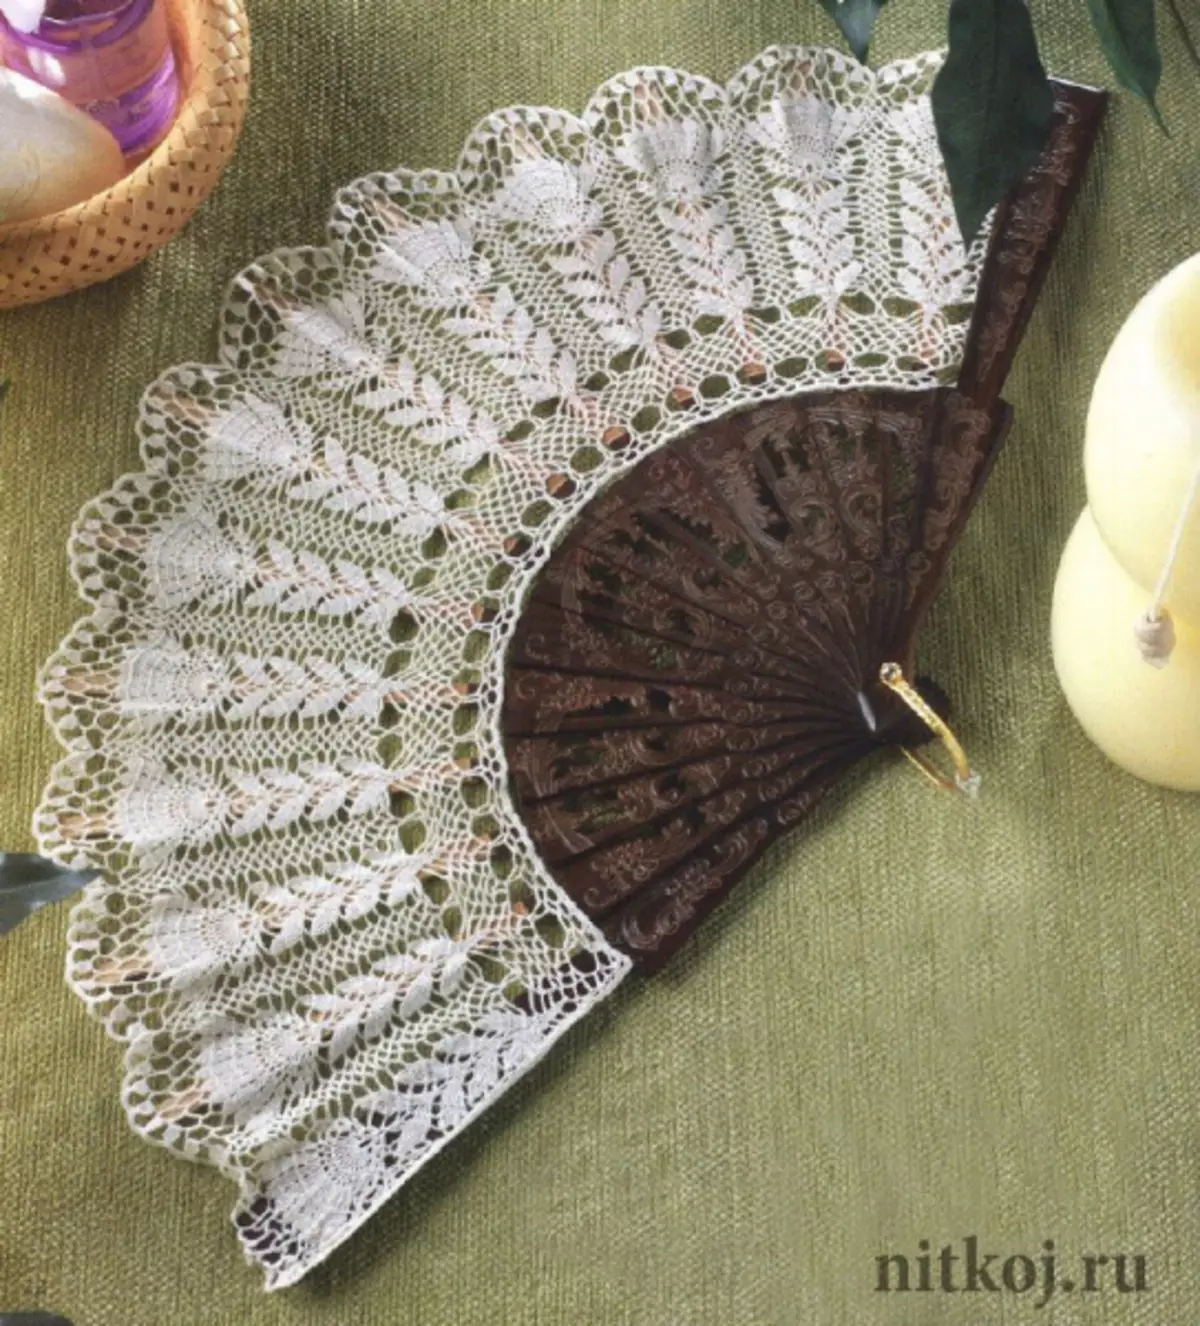
Such a fan can approach you not only on a weekday, but also, for example, for the Bala Masquerade. You just need to select another thread color and use the decor.
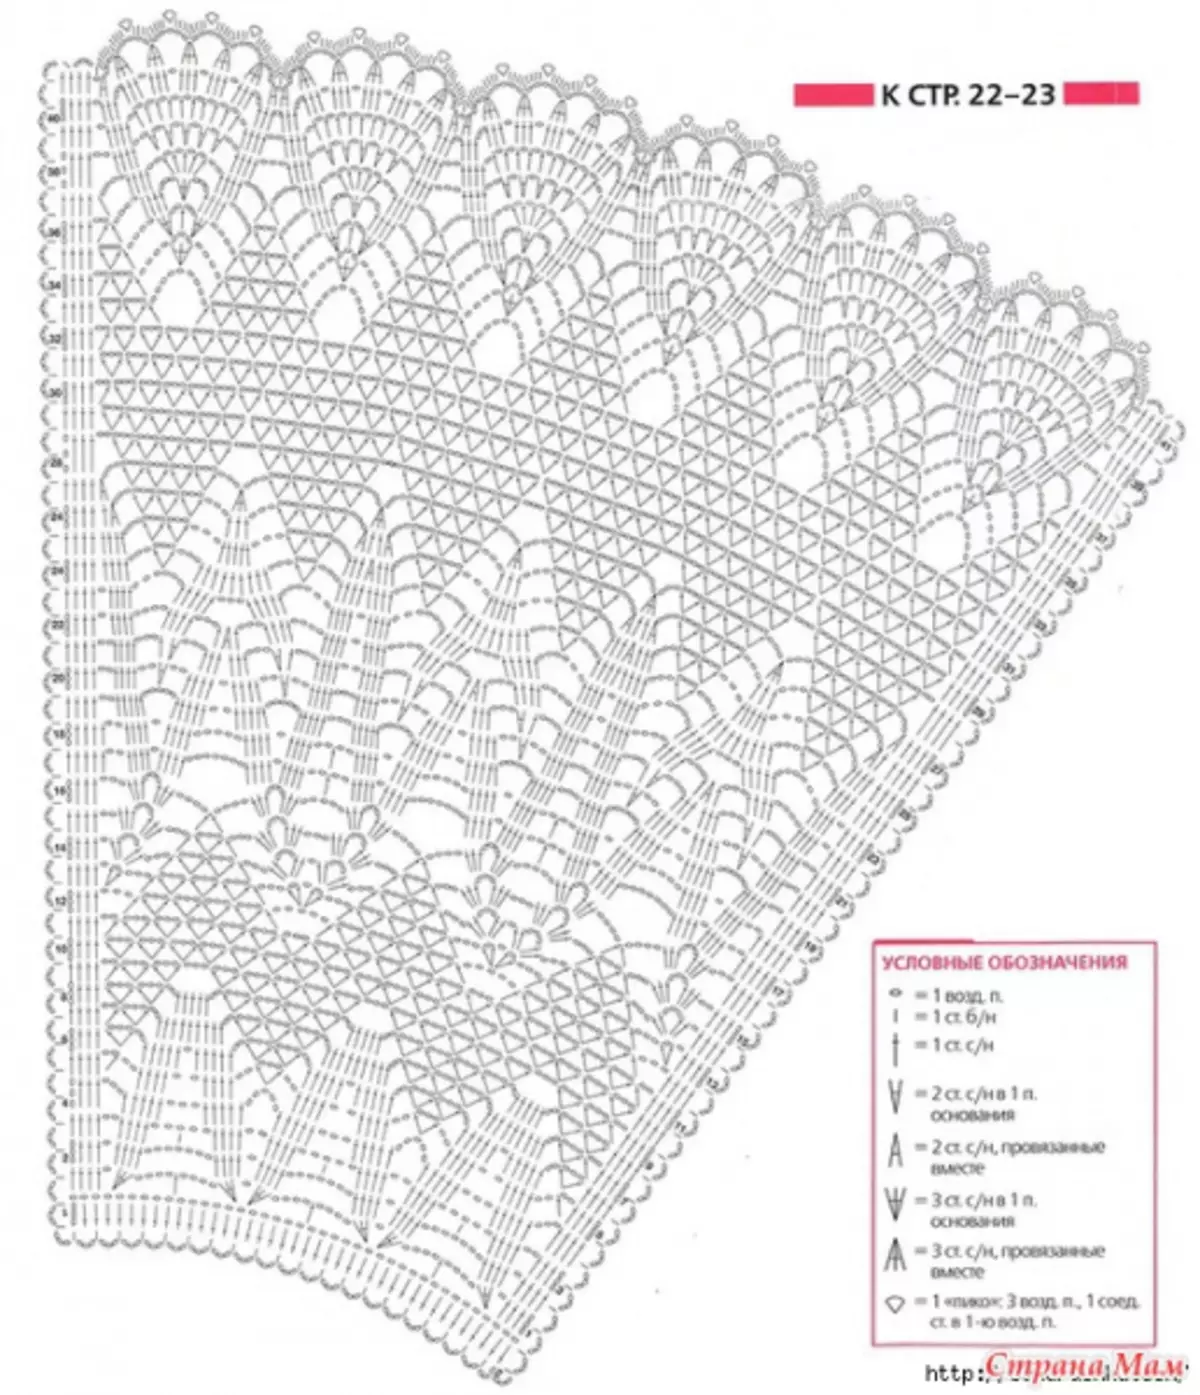
And for these schemes, you can connect the fan not only with crochet, but also with the knitting needles.
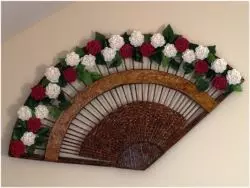
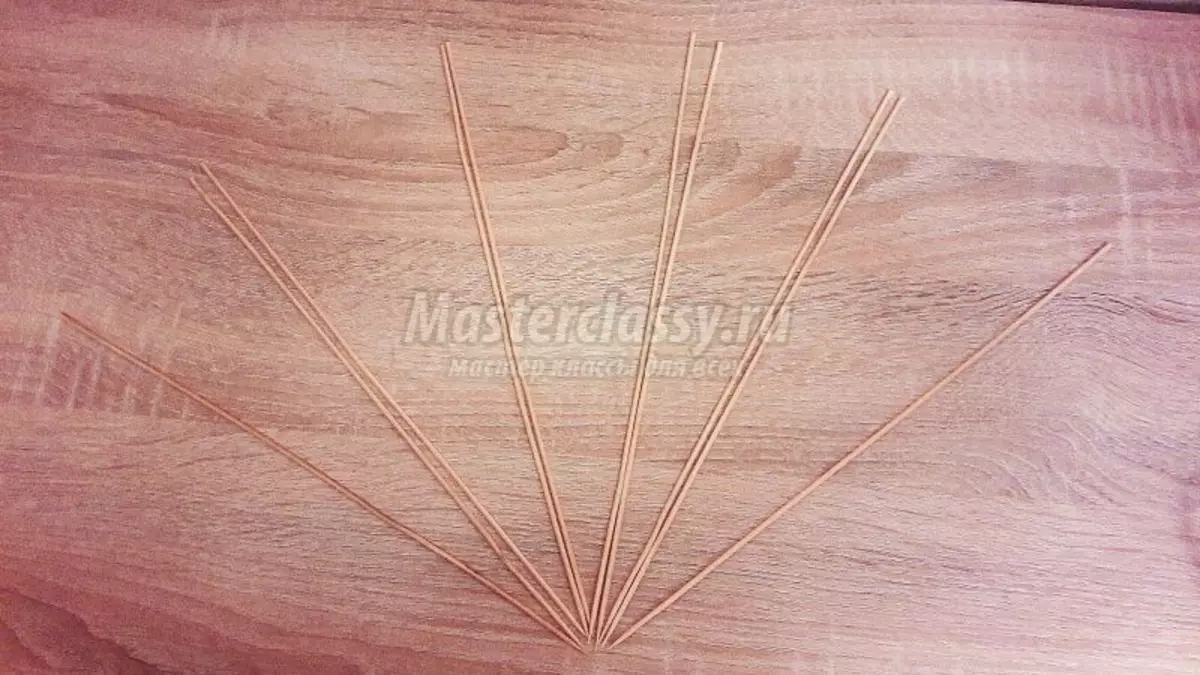
From wooden swipes
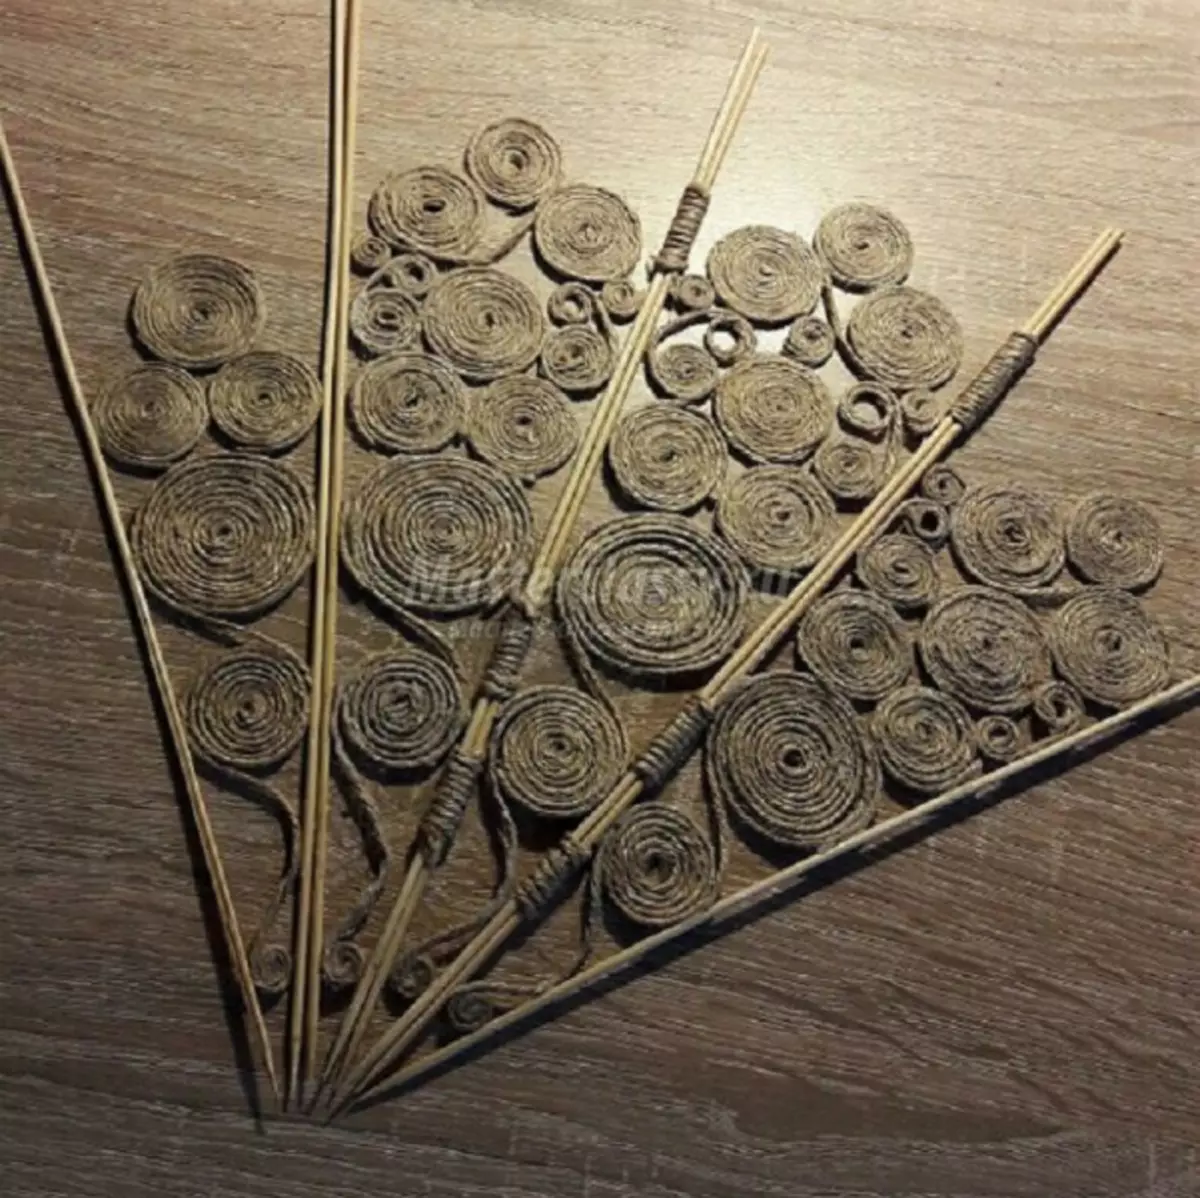
This accessory can perform not only the feature of the addition to along, but also, for example, as a decor of the room. We offer you a master class on creating just such a place. Prepare spanks, jute rope, glue and scissors.
We take 10 speakers and lay them on the working surface. Extreme should be single, but in the middle of the sticks we fold in pairs, also fasten them.
Article on the topic: Hourglass from healthy materials with their own hands
With the help of a jute thread, we twist the circles of different diameters on the helix, fasten glue. And labeled them between the skewers.
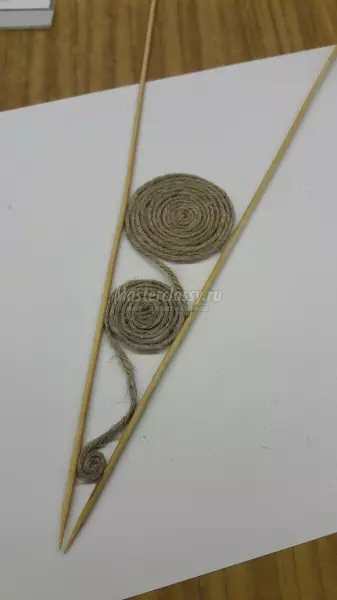
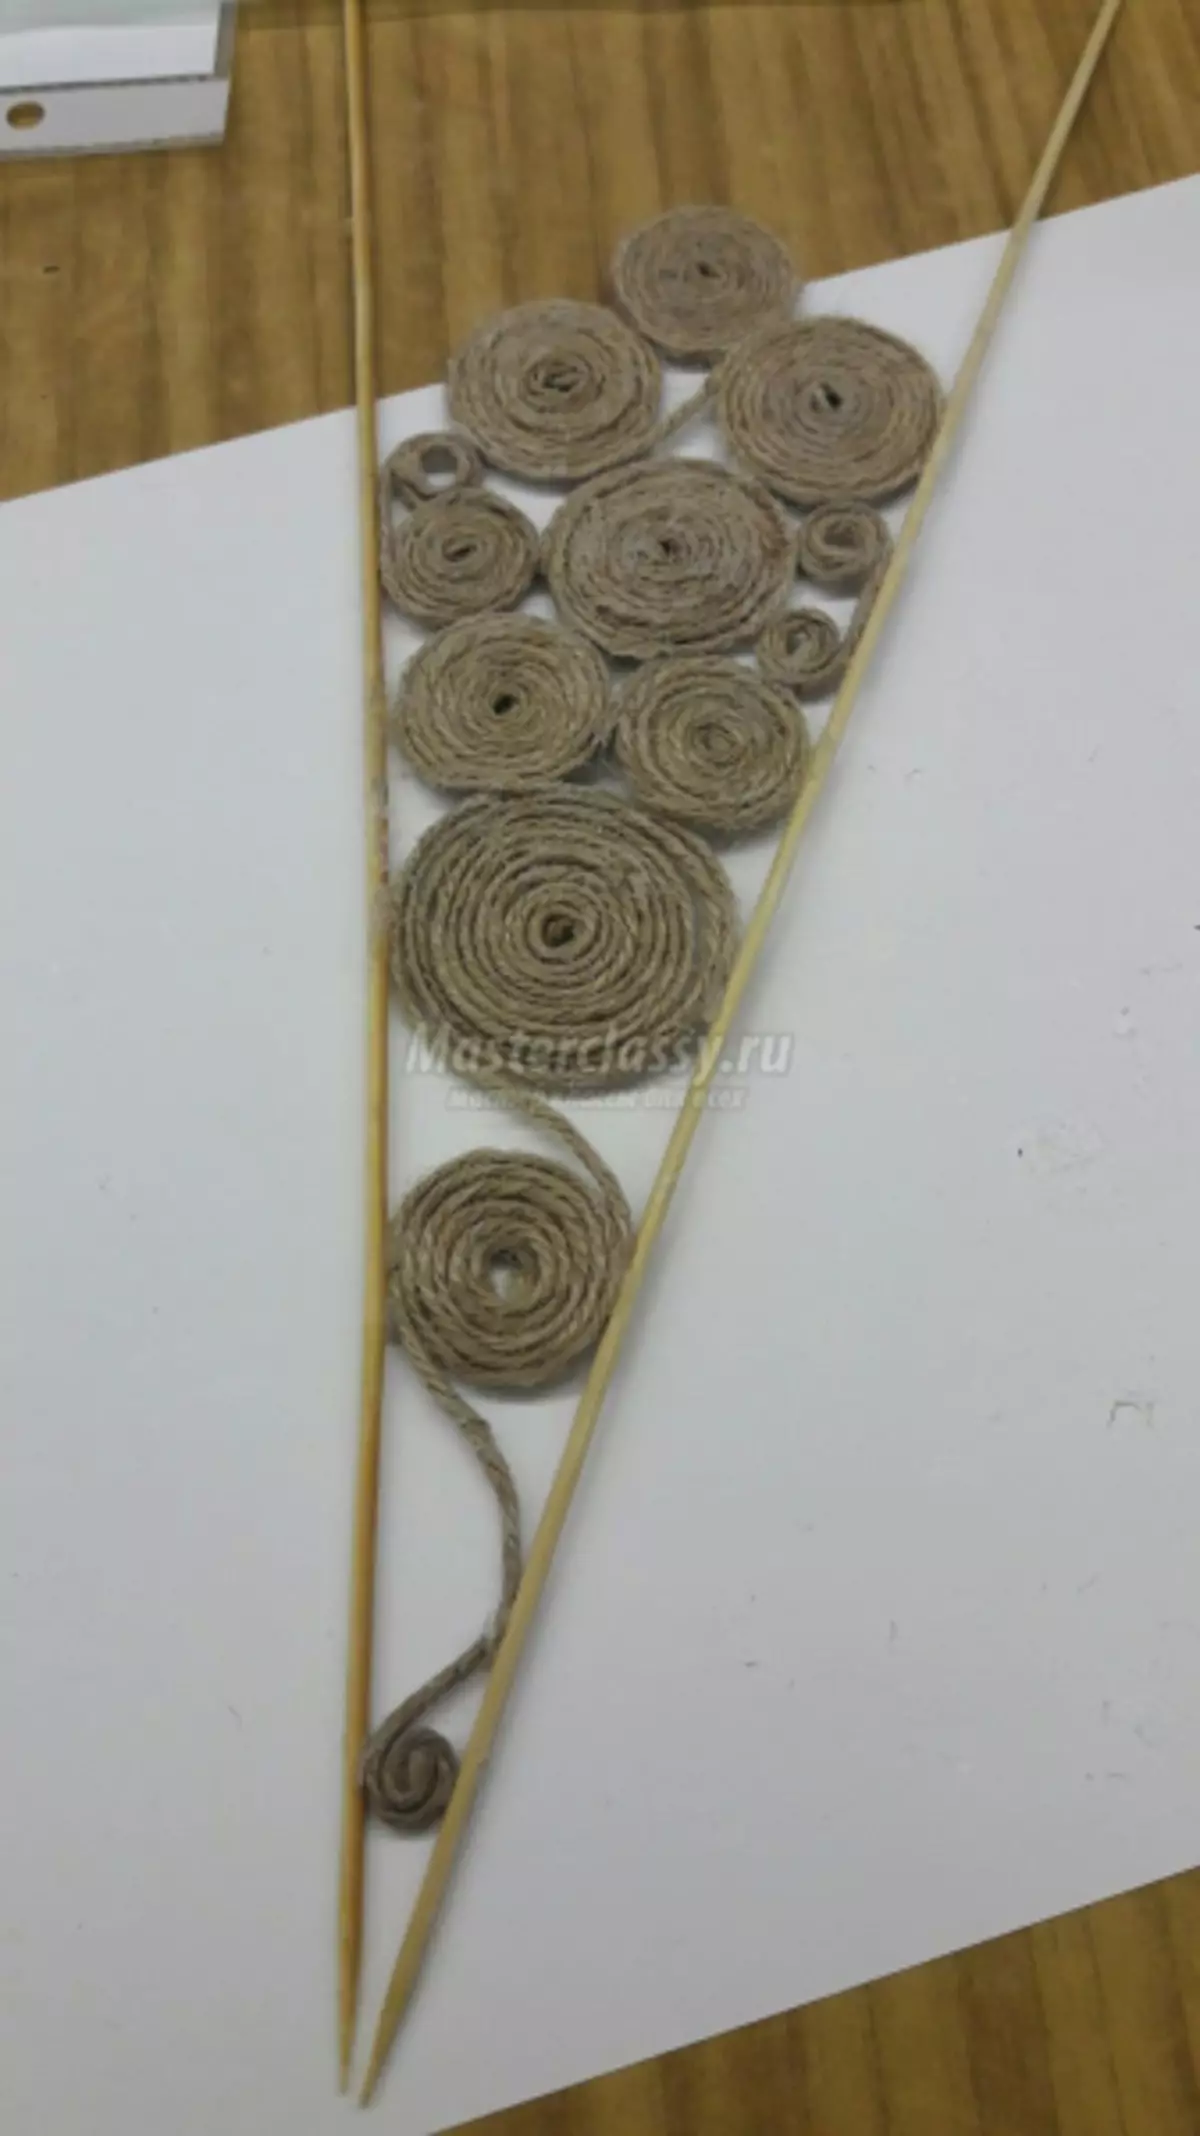
When all segments are ready, then with the help of glue and all the same jute threads fasten them among themselves.
On top also let the thread. At the base we glue a few jute spirals.
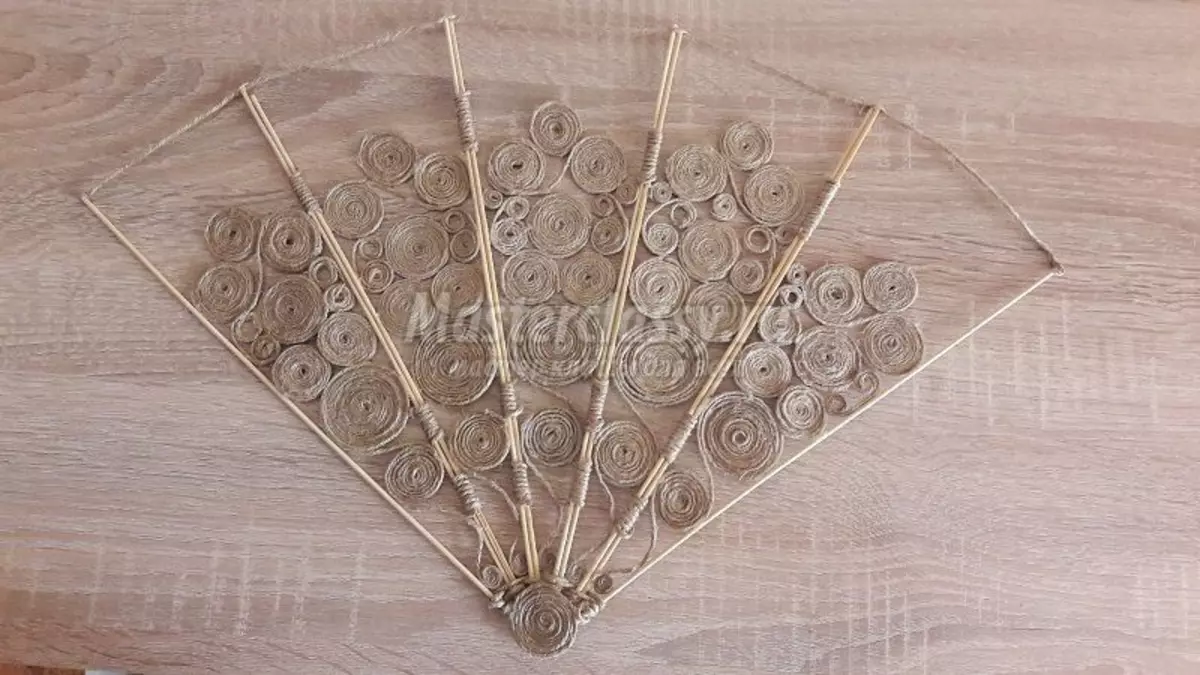
Such a fan will decorate the interior in eco-style, Provence, etc.
Other options and materials
The creation of fares from non-standard materials is also very popular. For example, from disposable forks or spoons, as in the video below.
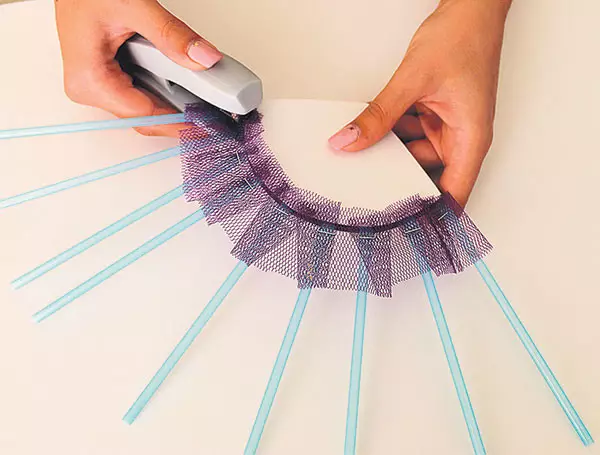
A superior instance is also obtained from the juice tubes.
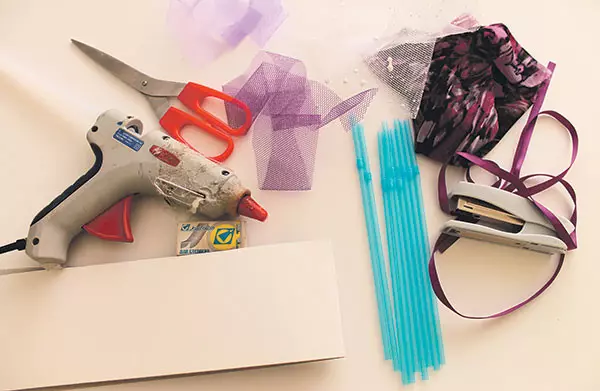
On the base of the cardboard we glue the tube.
If you use a thermal system while working, be careful not to burn and do not melt plastic.
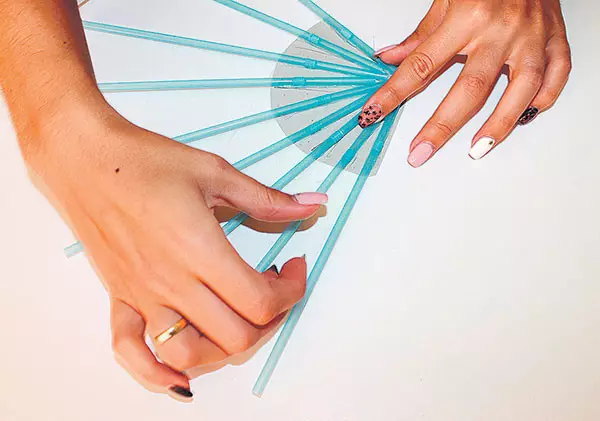
At the base using a stapler, fix the strip of organza or grid. On each tube we lay the fold.
The cardboard base itself is closed by a cut of a beautiful fabric and ribbons.
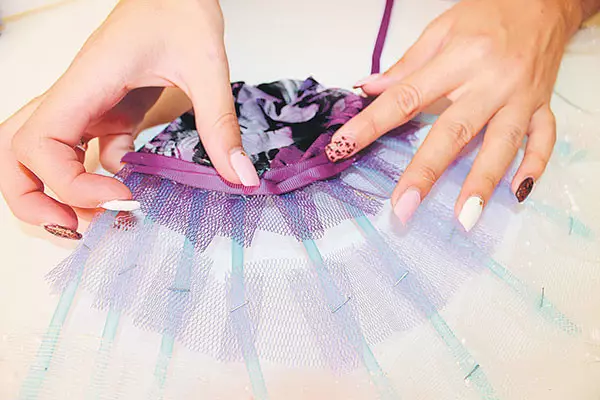
We continue decoking to the top of the tubes.

As can be seen from the article, there may be created by various materials and methods. Do you know how to knit with knitting and / or crochet, do you like working with paper, non-standard materials, are preparing for a summer or party, you can always find for yourself the option that is suitable for you.