
The new year is associated with everyone with the smell of tangerines and needles, with miracles, and, of course, with fir bumps. At first glance, the bumps look at all festively, but it is worth only to include fantasy, as the usual natural material will play with completely new paints. We invite you to find out how to make a Christmas tree from fir bumps with your own hands!
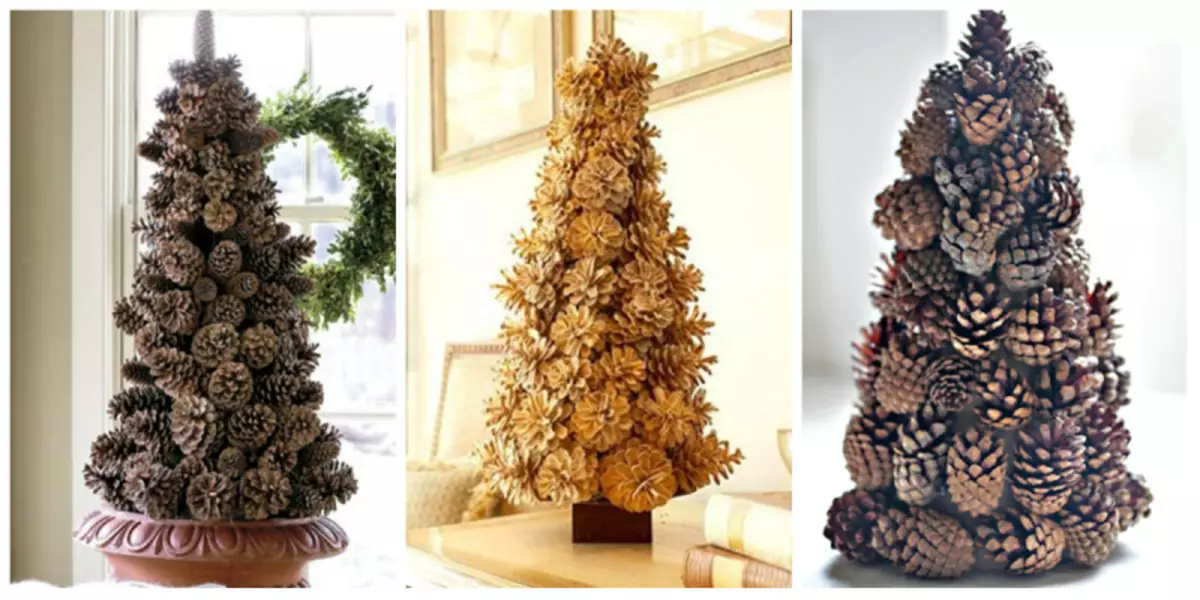
It is very simple to make such a Christmas tree, even a child will cope with this task, so the manufacture of a Christmas tree made of cones can become a great way to make Christmas gifts or festive decorations for the house.
Preparation rules
Very often, the cones falling with fir trees and pines are closed and only after a while they are revealed, thereby changing that initial appearance in which this shishchka was delivered to your home. It can be somewhat overwhelmed by the crawler, so before starting to make a Christmas tree made of fir or pine cones, you can familiarize yourself with some subtleties of preparation of cones for crafts.
- If you want to leave the bumps closed, after collecting them you need to put in a container with a joinery glue literally for 20-30 seconds, this will not allow them to disclose.
- If you collected closed bumps and want them to reveal as soon as possible, there are several ways to achieve this:
- You can put them on half an hour, and then dried on the battery;
- Send bumps into the oven, heated to 250 degrees, for 2-2.5 hours.
- Plus, the heat treatment will kill microbes and small insects living in cones, and will make them safe.
There is also a way to adjust the shape of the cones: you only need to soak it in water for 5-10 minutes, tied with thread and dry on the battery. To whiten the shishchek, they need to soak 5-6 hours in water with diluted bleach (1: 1), then rinse thoroughly and dried.
Article on the topic: Embroidery Schemes for Easter Eggs
Getting to work
To work, we will need:
- Bumps. Their number depends on how much the decorative Christmas tree you want. The more cones, the greater the lifestyle of the pine cones. Cones for crafts need to choose good, without defects;
- Glue pistol;
- Cracks with paint. Color depends only on your imagination;
- Garland;
- You can make such a Christmas tree in two ways: to glue the cones on a pre-prepared cardboard cone or on the base of the Fiberboard. In our master class, the manufacturer will be made according to the second method, with the base of the Fiberboard (instead of the DVP, you can take a sheet of chipboard or any other tight material that is easily cutting).
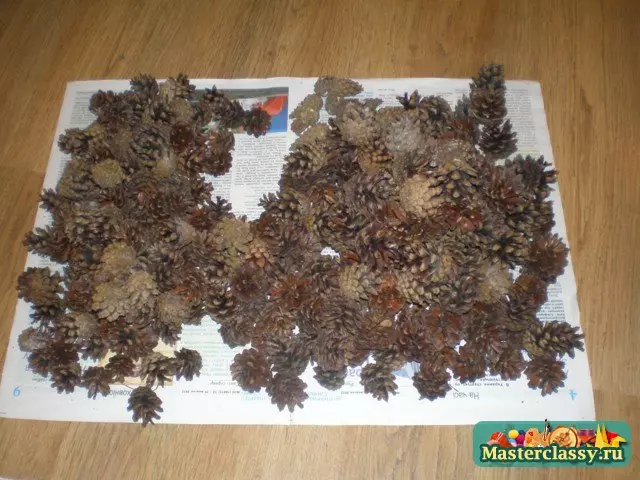
Now that cones have been processed, the first thing must be sorted into large and small. This task can easily trust the child.
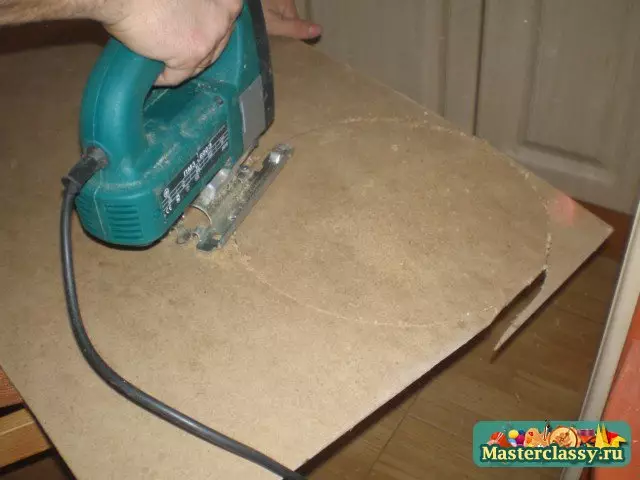
Next, we take our sheet of fiberboard (chipboard or other dense material), it will be the basis of our Christmas tree.
The sheet size will vary depending on how much the christmas tree you want to get.
We have a leaf size of 30 × 30 cm. Circle on it we draw a flat circle and cut out the electroll. Only dad can cope with this task, and thus you can involve the whole family in the process of creating fluffy beauties!
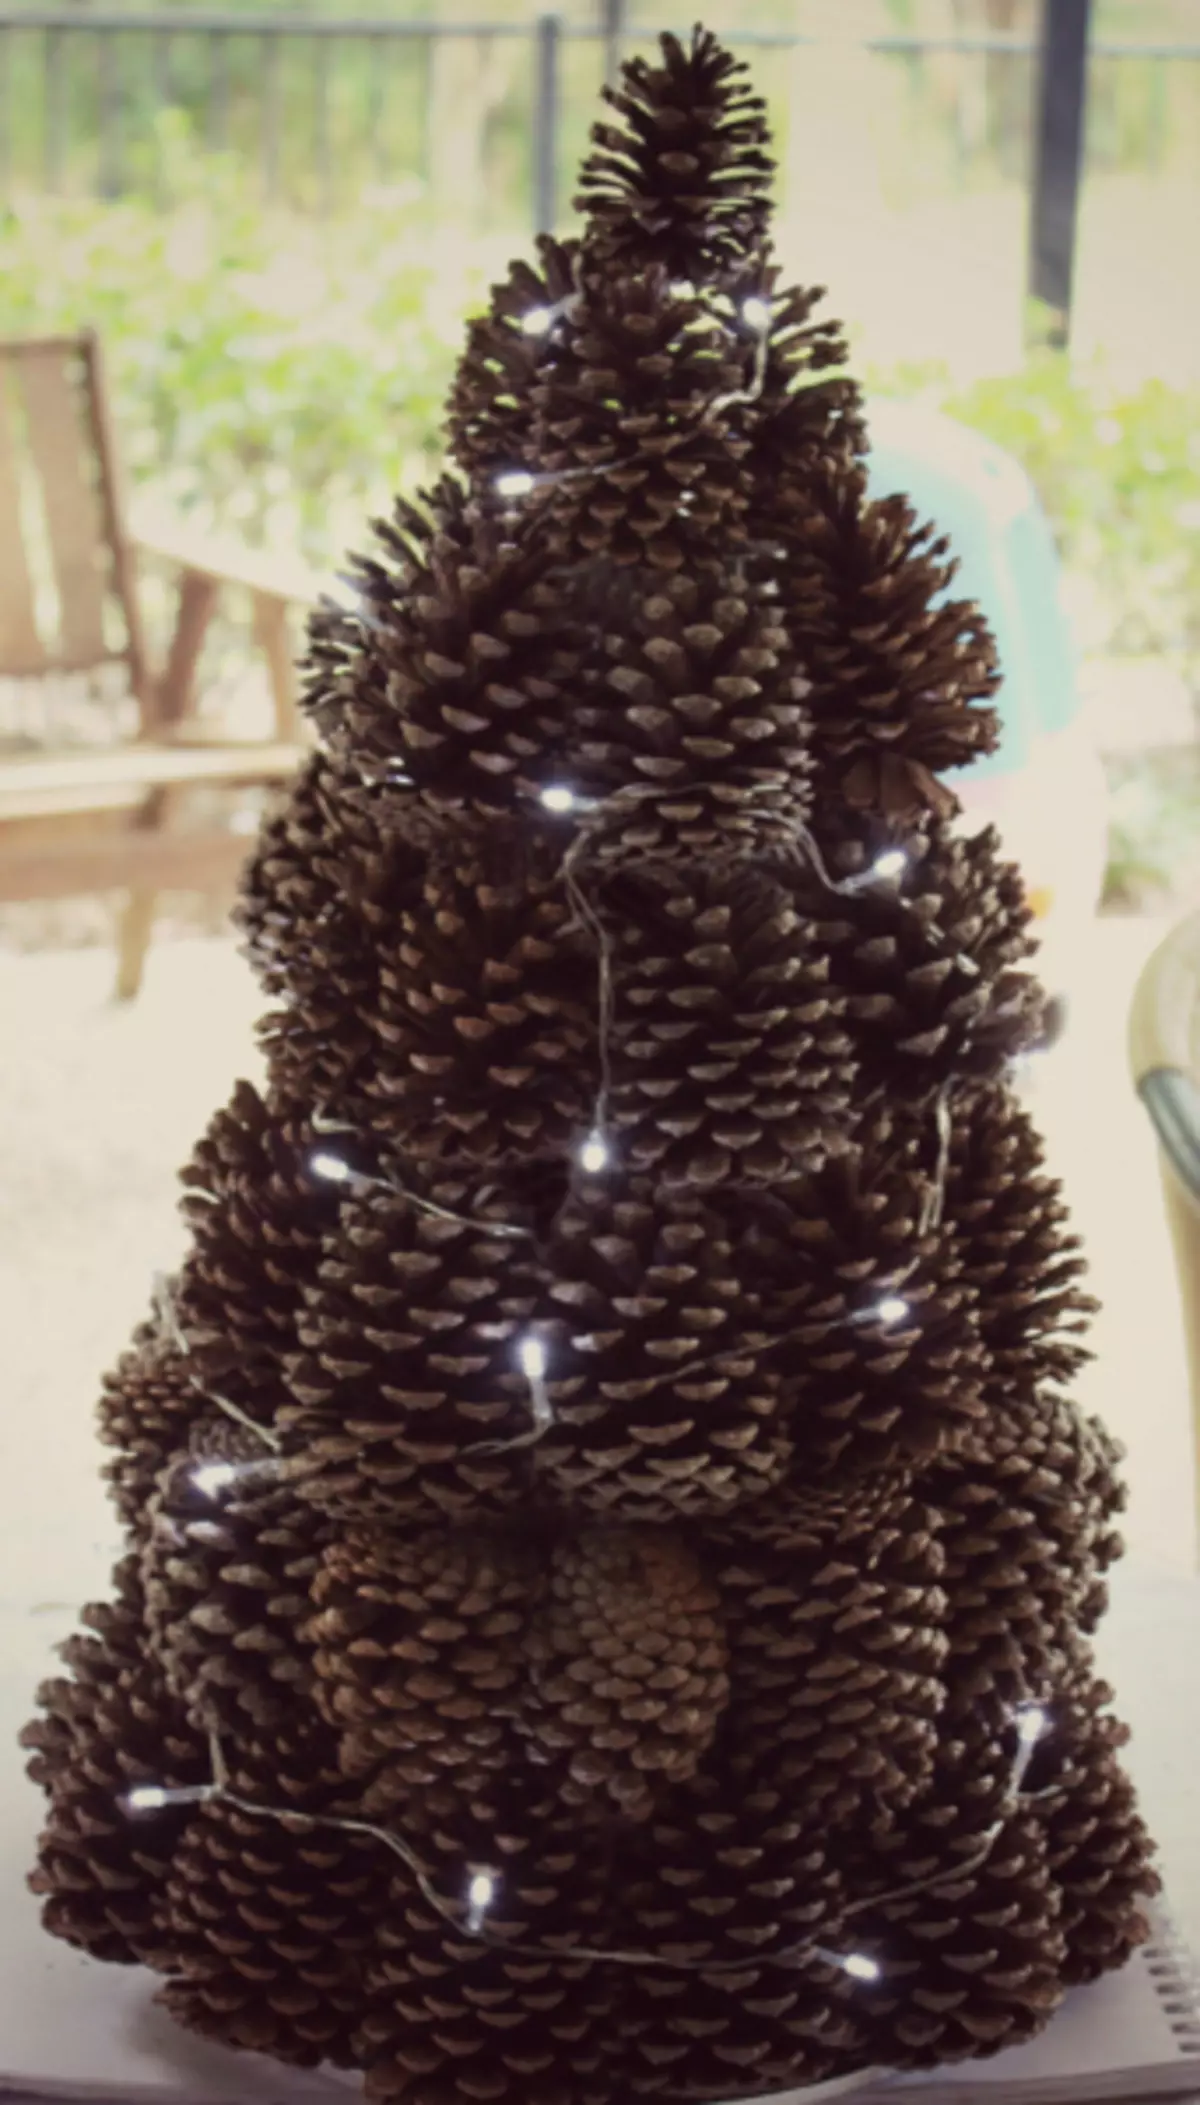
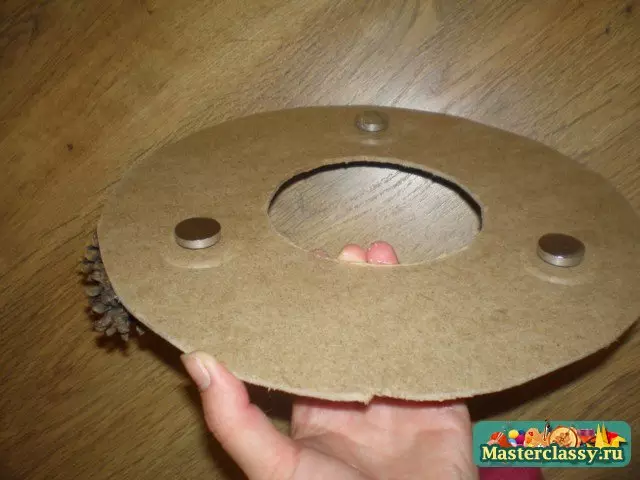
In the cut circle, you can do another circle, smaller, as represented in the photo. It is necessary in order to then put the garland inside the future Christmas tree, thereby creating beautiful overflows and glow.
You can also make legs for the Christmas tree so that it is more stable. You can use special iron legs, and you can buy plastic feet for furniture in the store. The main thing is that the base firmly stood on the surface.
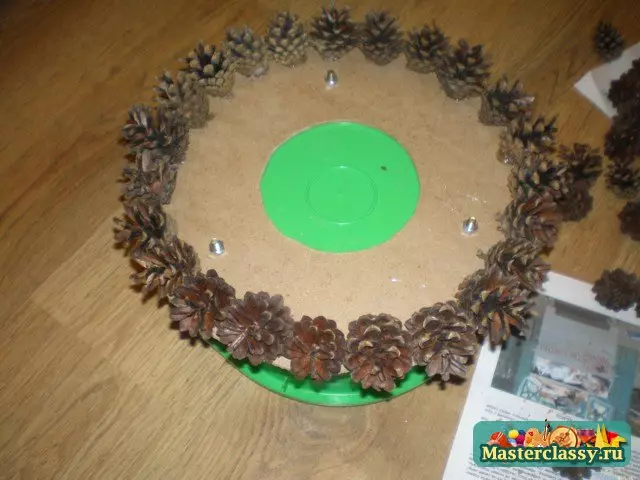
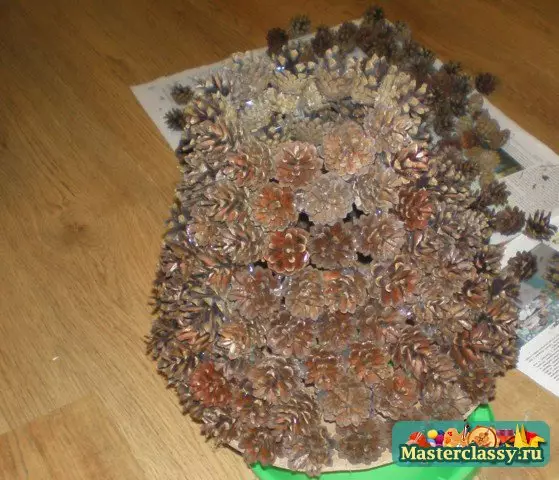
Now directly proceed to gluing cones. To do this, we take the biggest bumps and with the help of the adhesive gun glit them along the edge of our base. The glue is applied directly to the bump itself and to its base, and to the sidewalls to bore the neighboring cones. When the first round is glued, you need to wait for a complete drying and solidification of glue, otherwise the entire design can fall apart.
Article on the topic: Lily of the Lily of Beads and Beads: Master Class with photos and video

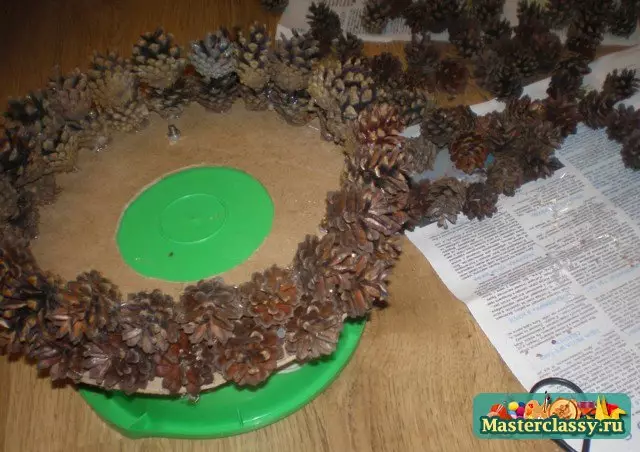
The second row make a little harder: the bumps are attached to each other, in the intervals between the first row's bodies. No need to regret glue if you want to get a steady design. Again, we are waiting for complete drying when we finish with the second next. And in the same way we glue the other rows, with each next slightly shifting the cones to the middle, forming a cone.

For the top of the Christmas tree, it is best to choose an oblong concern with a pointed tip for looked more realistic.
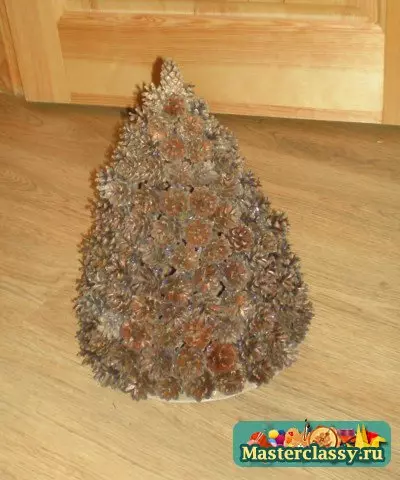
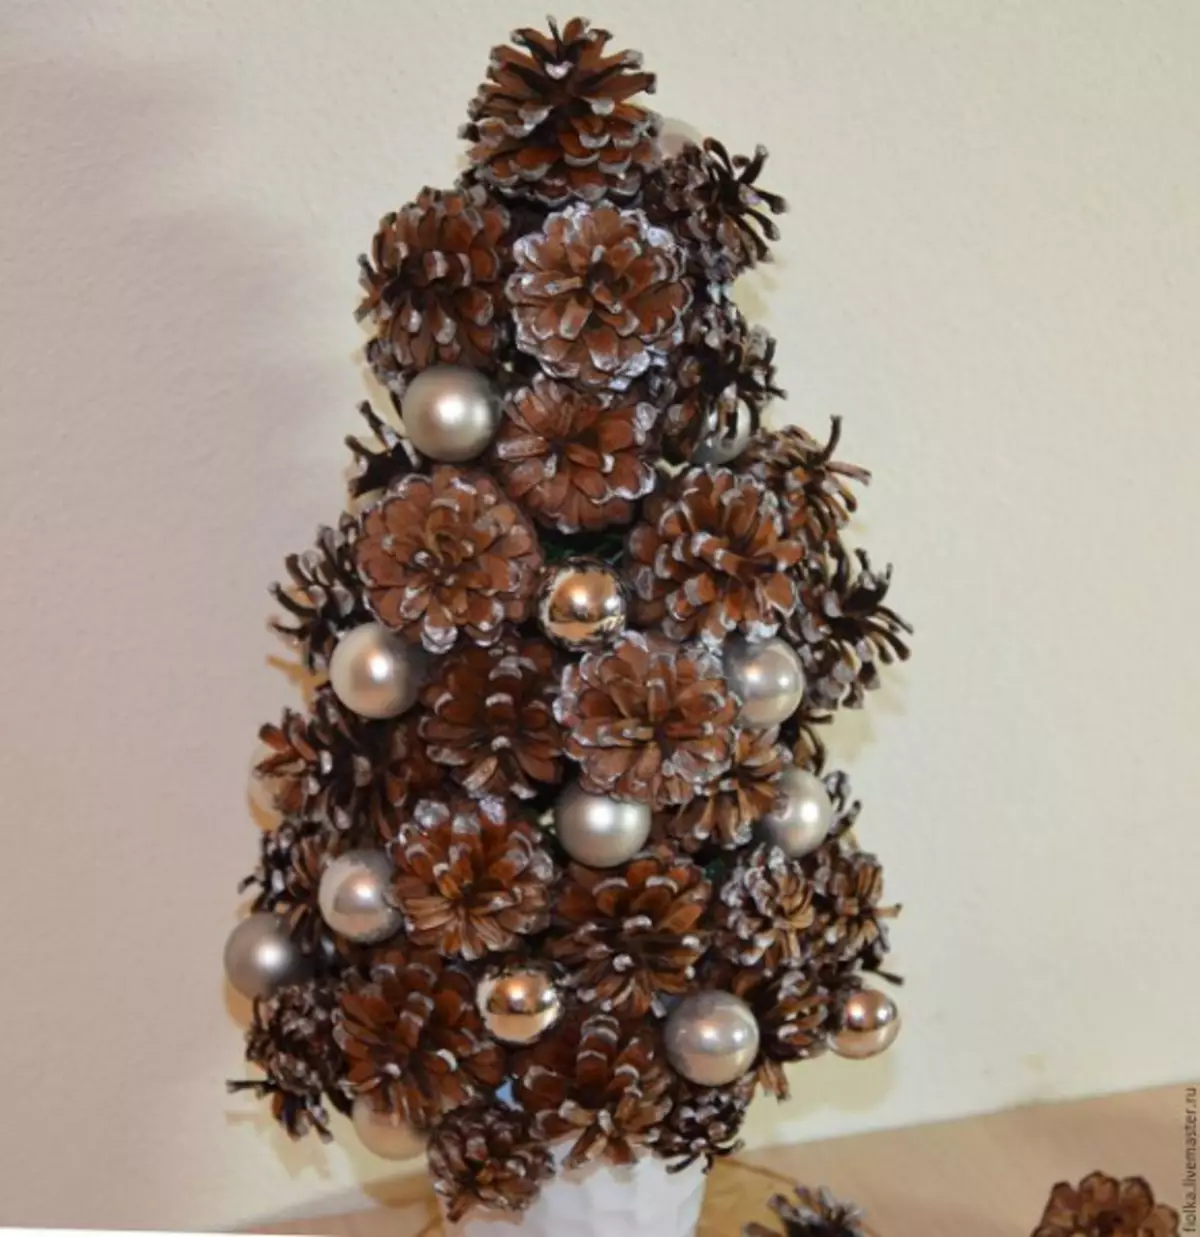
Next, we have a responsible step - painting. It is not necessary if you want to preserve the natural colors of the material. We will cover the Christmas tree with silver paint from the canister. We repeat that the color can be chosen by you absolutely any.
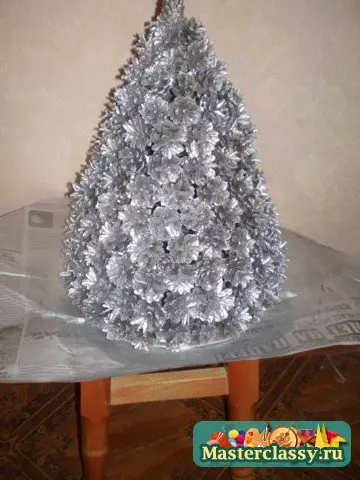
Paint paints best on the street, as such paints have a specific smell, which is not so easy to weigh, or open all the windows in the apartment, and the walls and the floor in the place where coloring will be made, cover with newspapers so as not to blur around. After dyeing, you need to wait for the full drying of the paint.
Now back to the opening at the base. In it, we will place the garland, so that the Christmas tree sparkle from the inside. The decision, decorate the Christmas tree itself or not, remains for you, we threw a few tinsel from above.


And here is our beauty ready! Its manufacturing took about 1.5 hours, not including the preparatory stage, and also turned out to be minimally costly. We wish you a pleasant creativity!
Video on the topic
And in order to fix the process of creating a Christmas tree chips from fir bumps, see specially selected videos.