The genealogical tree with their own hands is a very necessary and important thing for everyone. After all, the family plays a very big role in our life path. The genealogical tree is necessary in order to always remember these relatives, visit them and congratulate them with important dates. Such a product will not be difficult to buy in the store, but it is best to spend a little more time and make it at home yourself. Children can be attracted to the process, because the genealogical tree is bendable to them for a kindergarten or to school.
In this master class, you can find the best ideas for the design and mass of useful information about the sample "Genealogical tree".
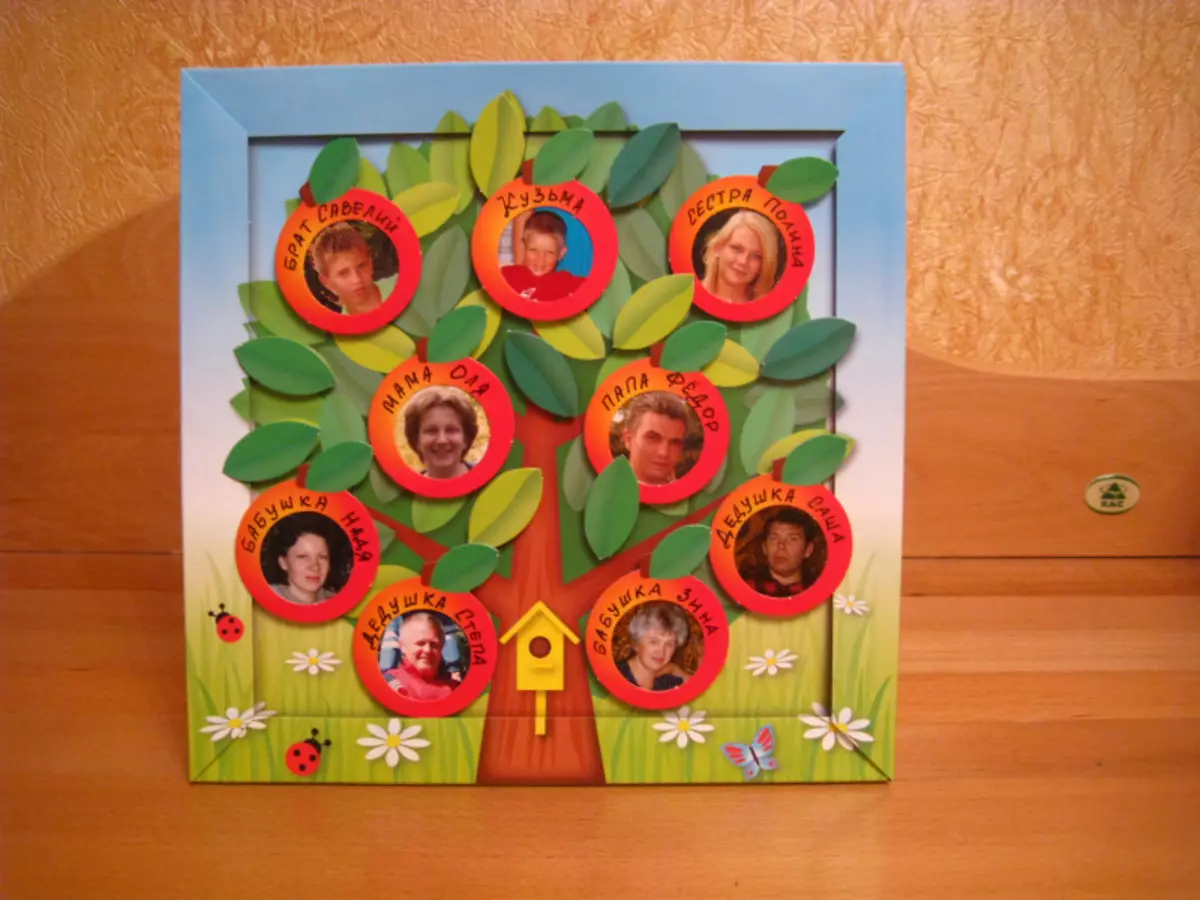
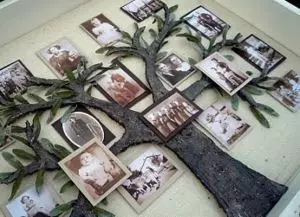
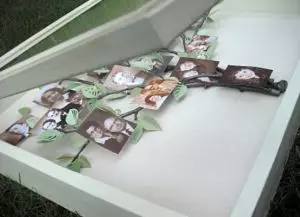
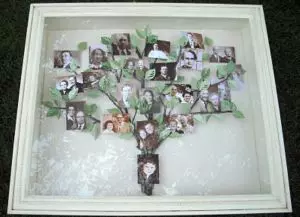
Picture of family tree
Necessary materials for working with a picture of a family tree from photos:
- 4 boards of the same width;
- plywood;
- Rama with glass;
- hook and loop;
- paints (white and brown);
- sackcloth;
- green paper;
- adhesive gun or glue;
- photos and cardboard;
- Putty.
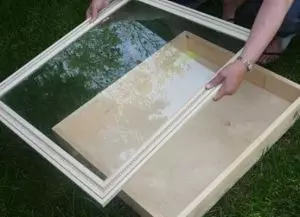
First you need to measure the frame with glass.
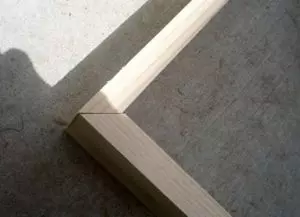
Then make a frame of wooden boards. Width and length can be chosen.
Cut the Fano to the size of the frame and attach to it.
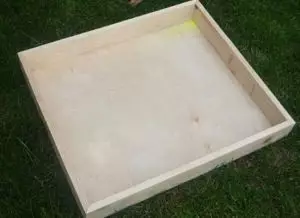
Then make a recess and markup on the frame for fastening the loops.
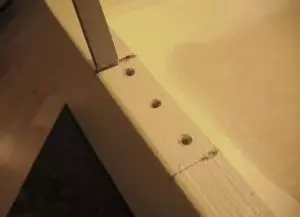
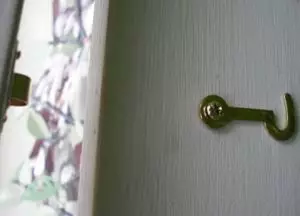
Protect and paint the box and frame. Next, fasten the loops and hook so that you can close it.
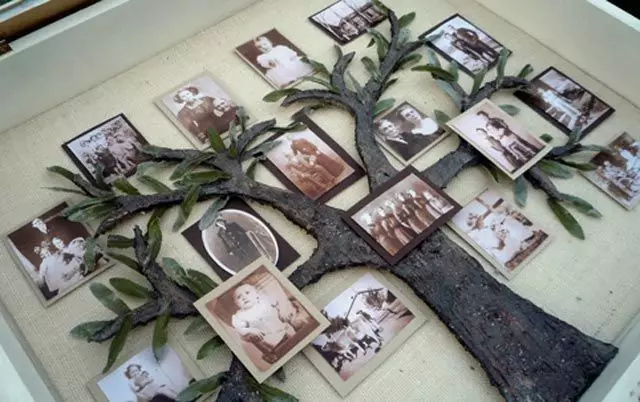
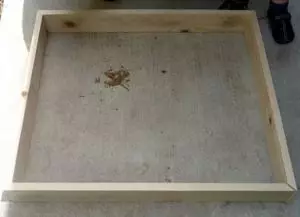
On the bottom of the resulting box, starting from the middle, gluke the burlap or other fabric, which looks natural.
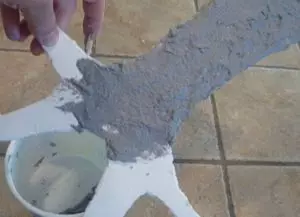
From plywood or thick cardboard Cut the trunk of a tree, apply putty to the entire surface, make roughness and nodes to make the roots look like a real bark. Give dry by 12-14 hours, and then paint brown.
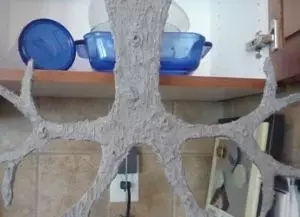
Cut leaves from paper, fold them in half and deploy, glue to the barrel in an arbitrary order. Then cut the photo and glue them first to cardboard, slightly more than the photos themselves.
Article on the topic: Crown of beads with his own hands: Master class and diagram for dolls with photos
At the bilateral scotch, attach a cardboard with a photo in the right order. Picture of the family tree is ready! Now it can be hung on the wall in the living room.
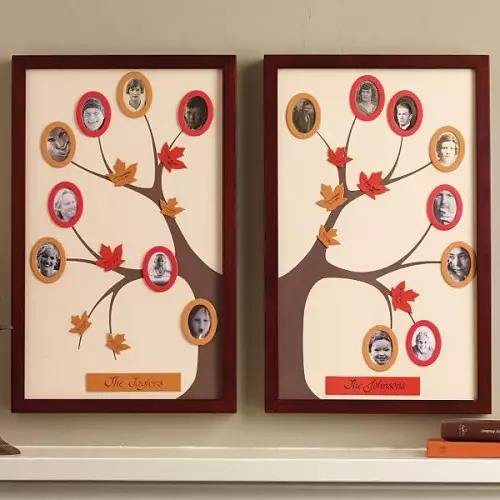
For the manufacture of a family tree, you can use the basics of scrapbooking techniques, bonded branches with glued small leaves and inscriptions.
Tree with hearts
In this part of the master class, you can find out how to step by step to make a family tree in the form of an original craft.
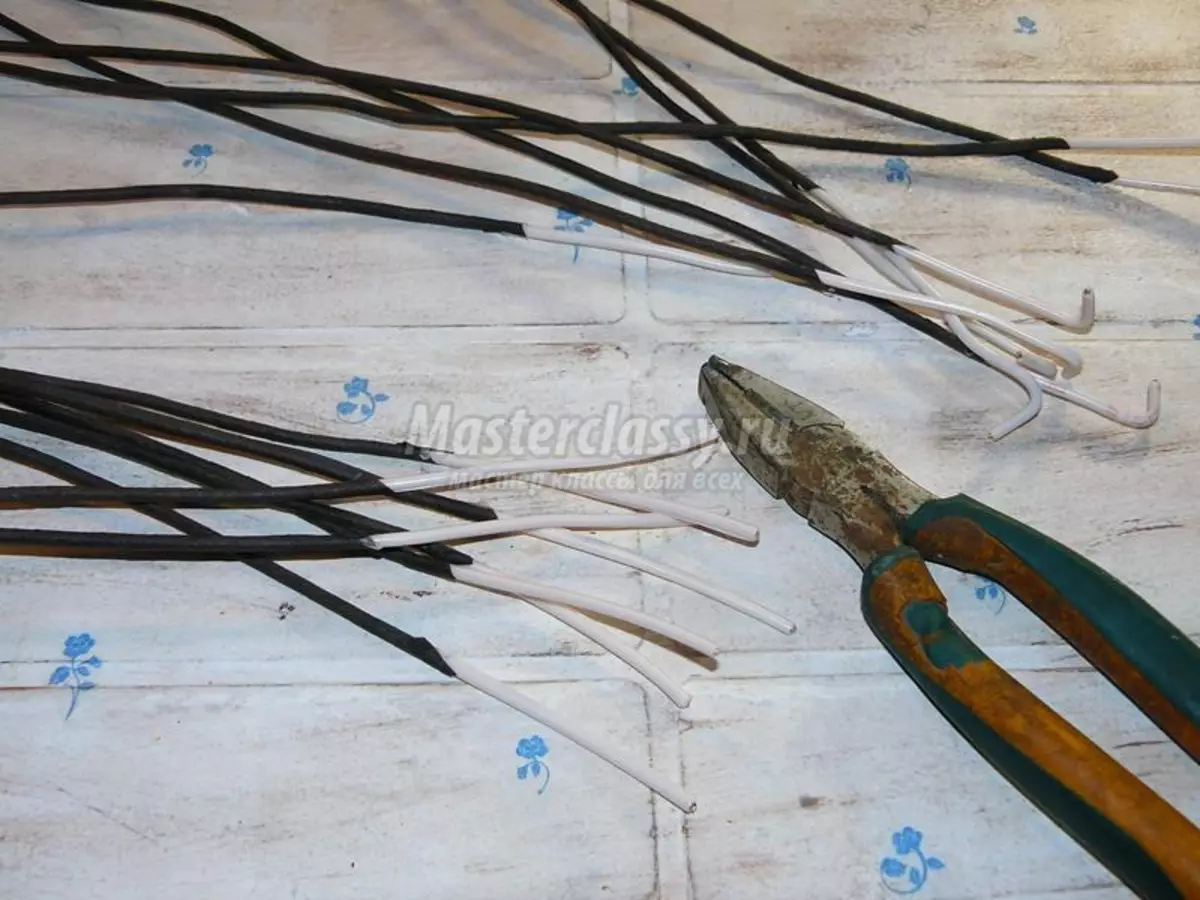
To make a cute genealogical tree with hearts, it is necessary to take the wires about 30 cm. Cash through their teip-tape, but leave the tails unmissal by 5-7 cm.

Thus, spread all 15 wires. For the strength of the tape tape ends to deceive with hot glue.
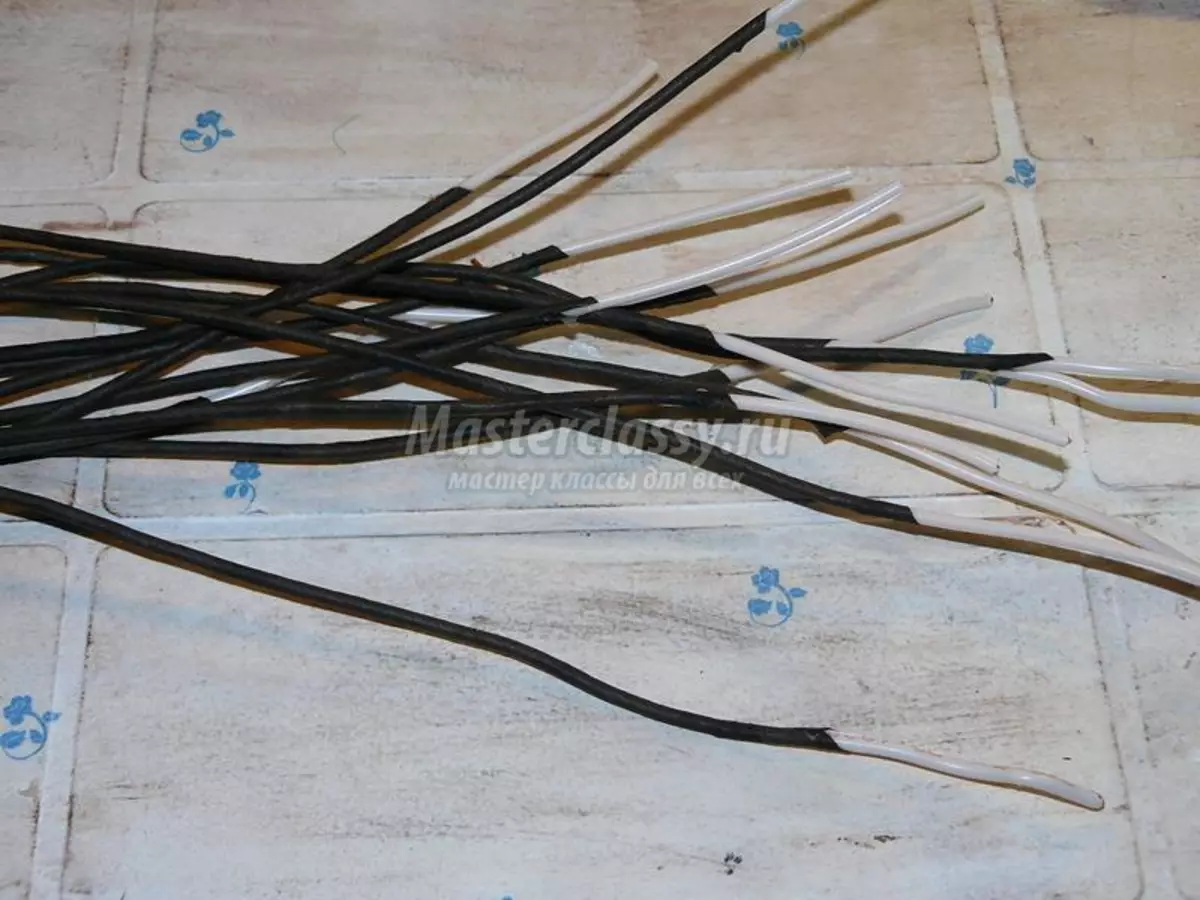
Next to take pliers and get the unmoccined ends of the wire. It is necessary so that the wire does not jumped after soaring the plaster.
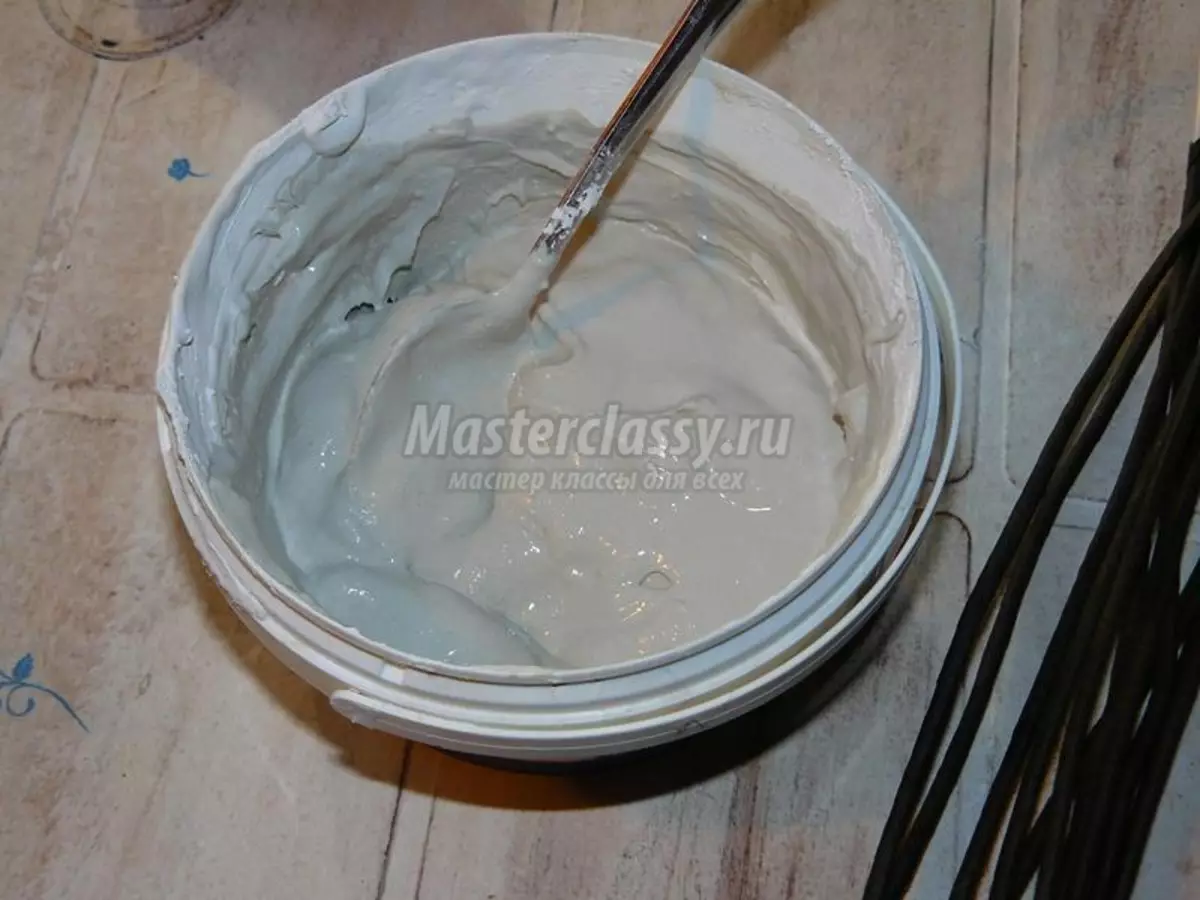
To create gypsum you need to dilute the usual building gypsum with water to the state of liquid sour cream. Pour into the jar, the wires to gather into the beam and insert them into the gypsum. Do not hold for a long time, the gypsum quickly dries.
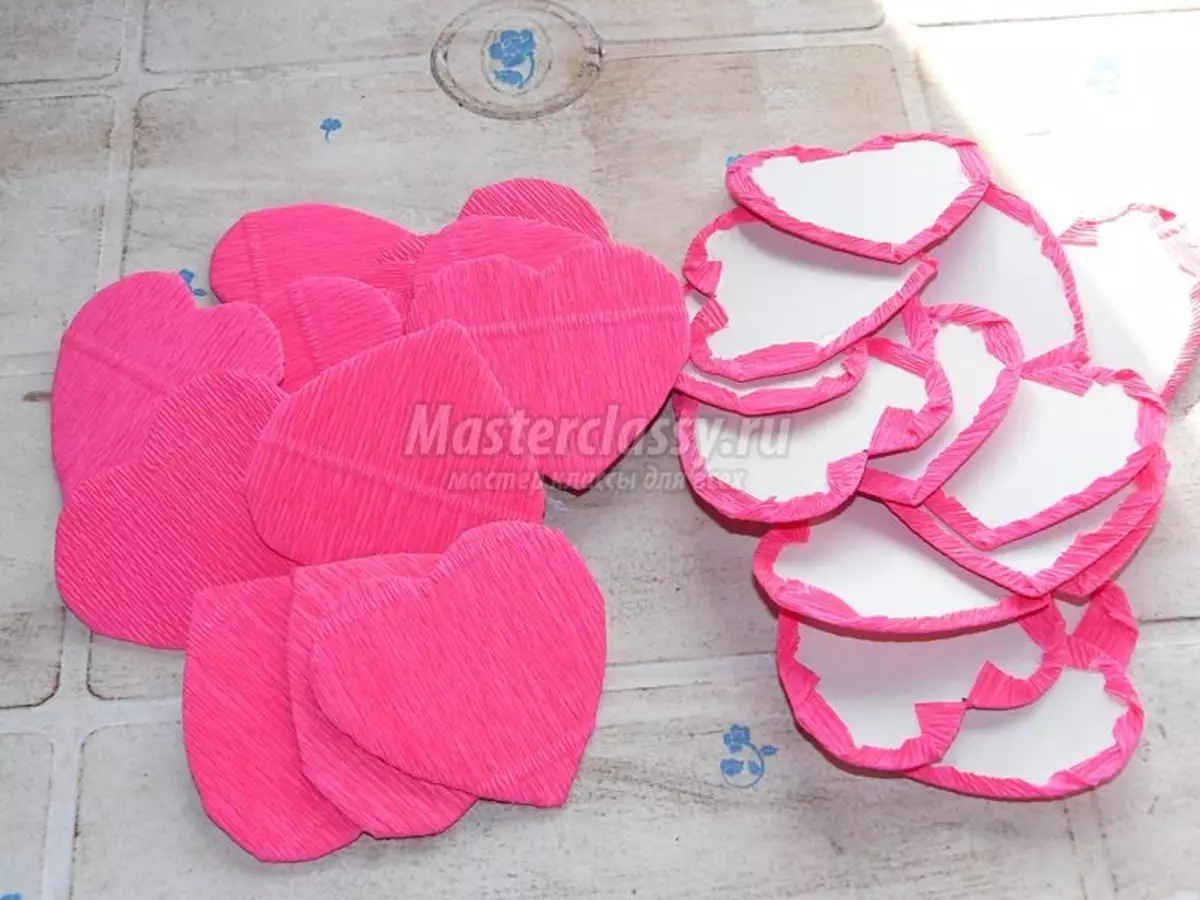
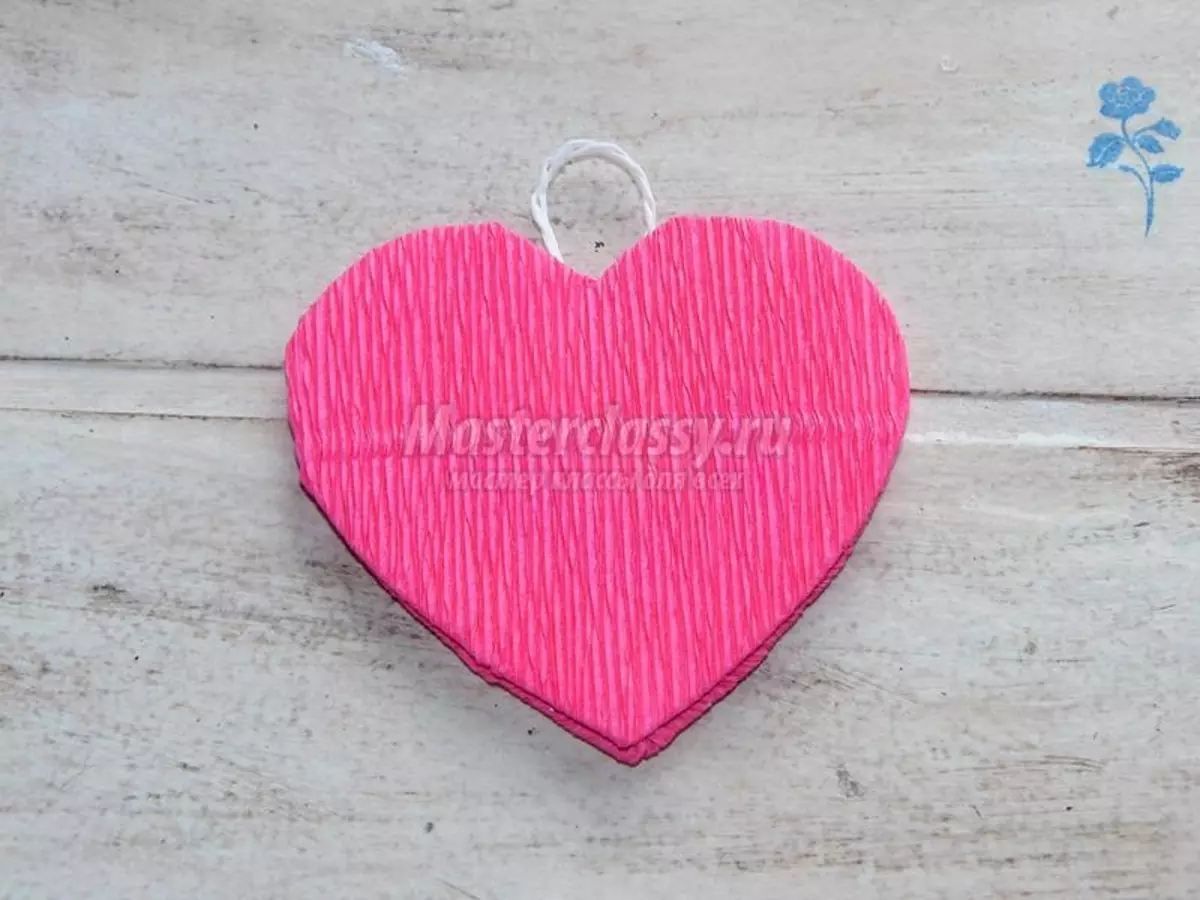
Now you can still leave the frame and begin the hearts. Draw 30 hearts pattern.

Cut hearts with scissors.

Quick paper cut into the size of the hearts, leaving the allowance.

Pleise the hearts of the hearts while pre-cutting the tails of the strong paper.

From the twine to make the tail and glue the heart to the back of the heart.
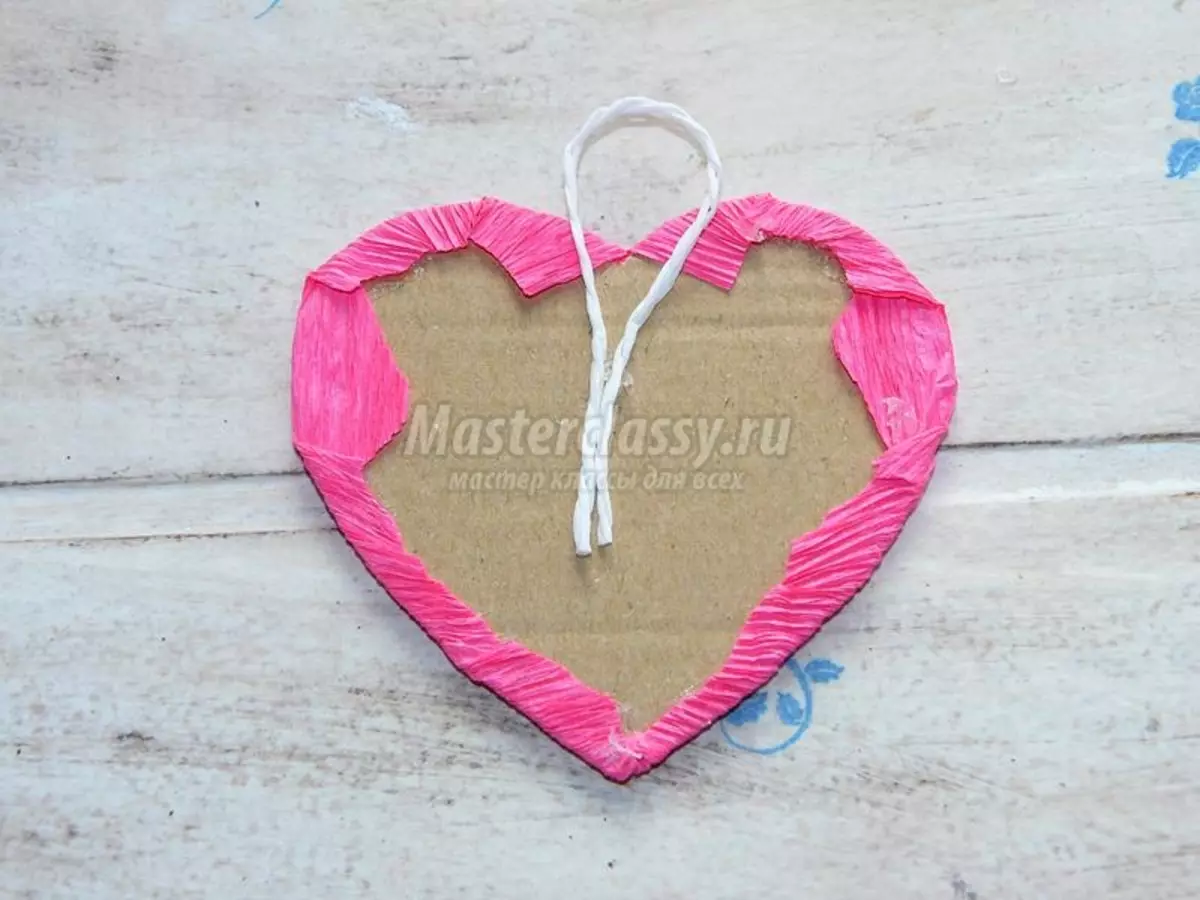
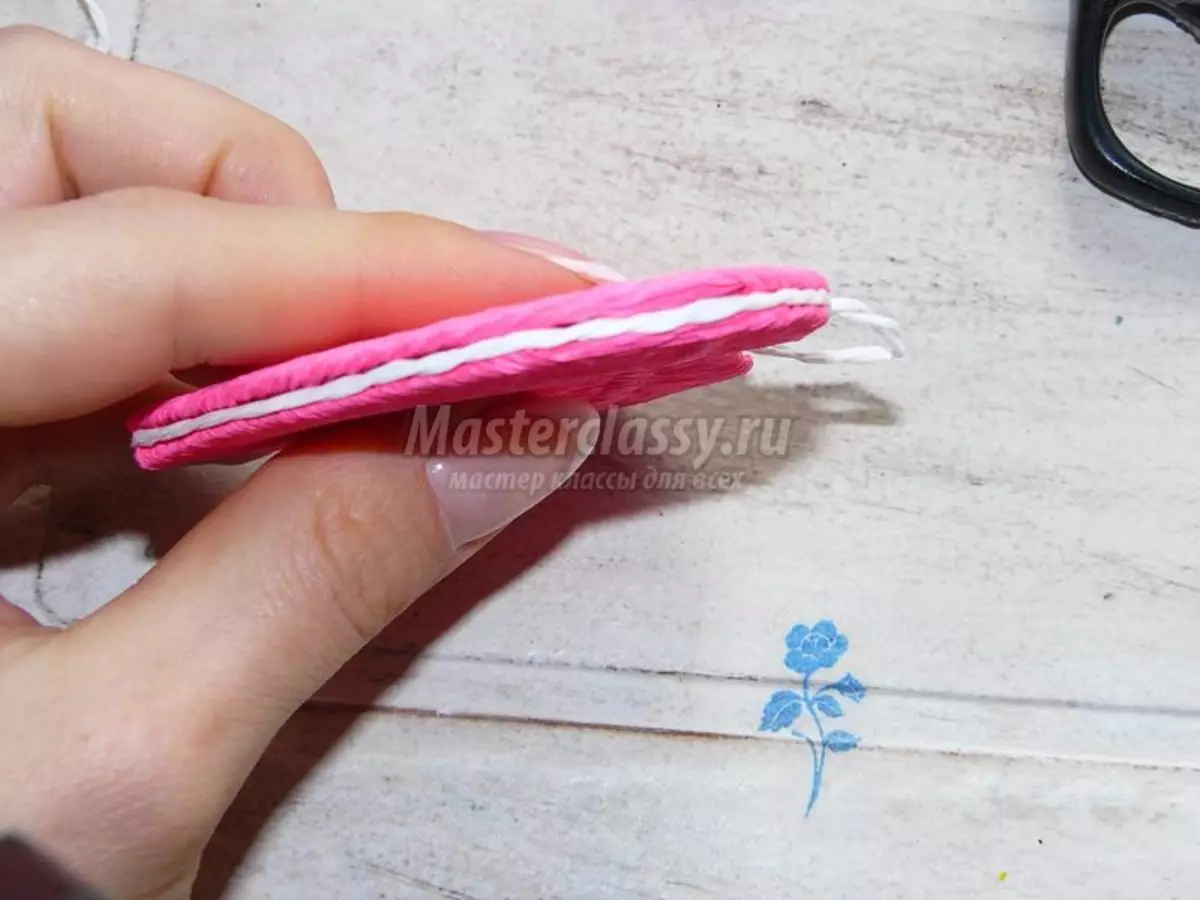
Then take two hearts and glue them together.
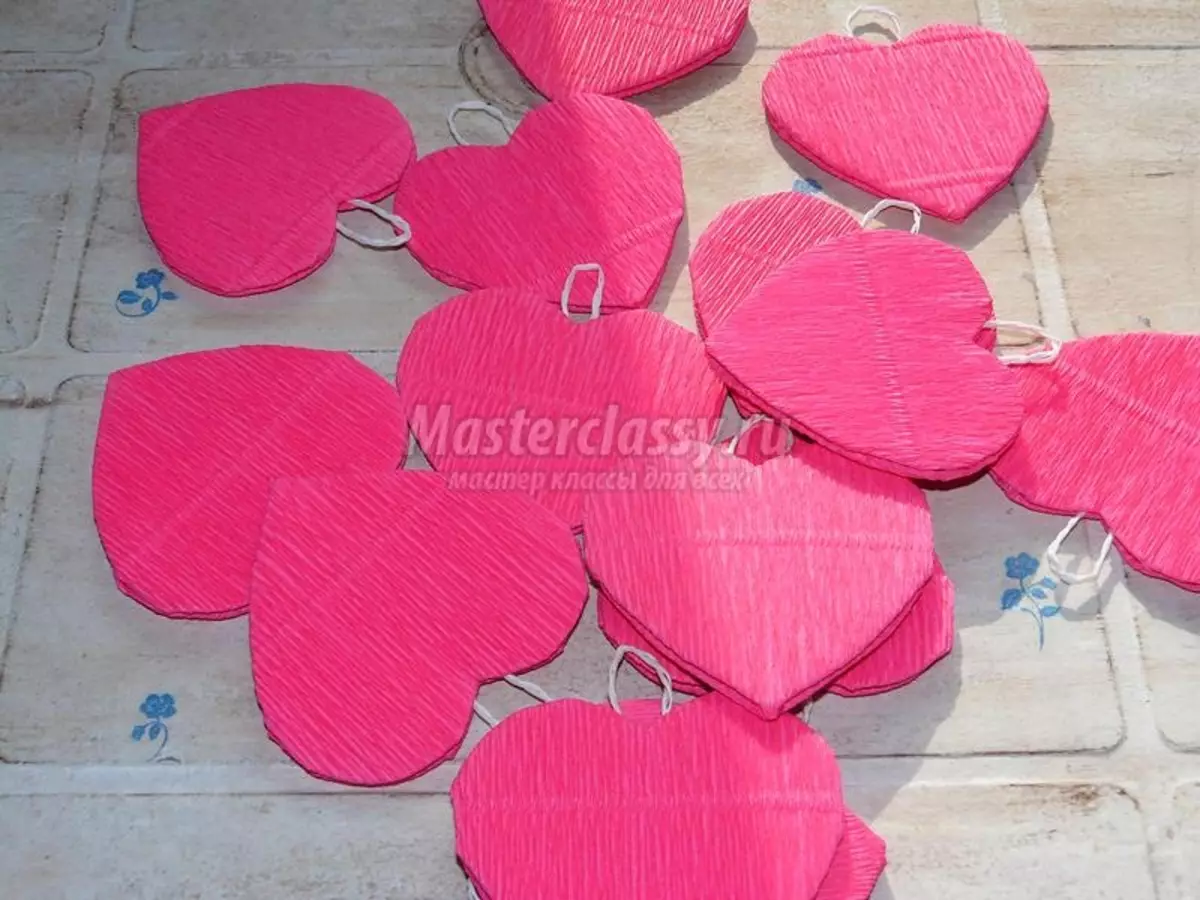
The resulting joints to reorganize the twine.
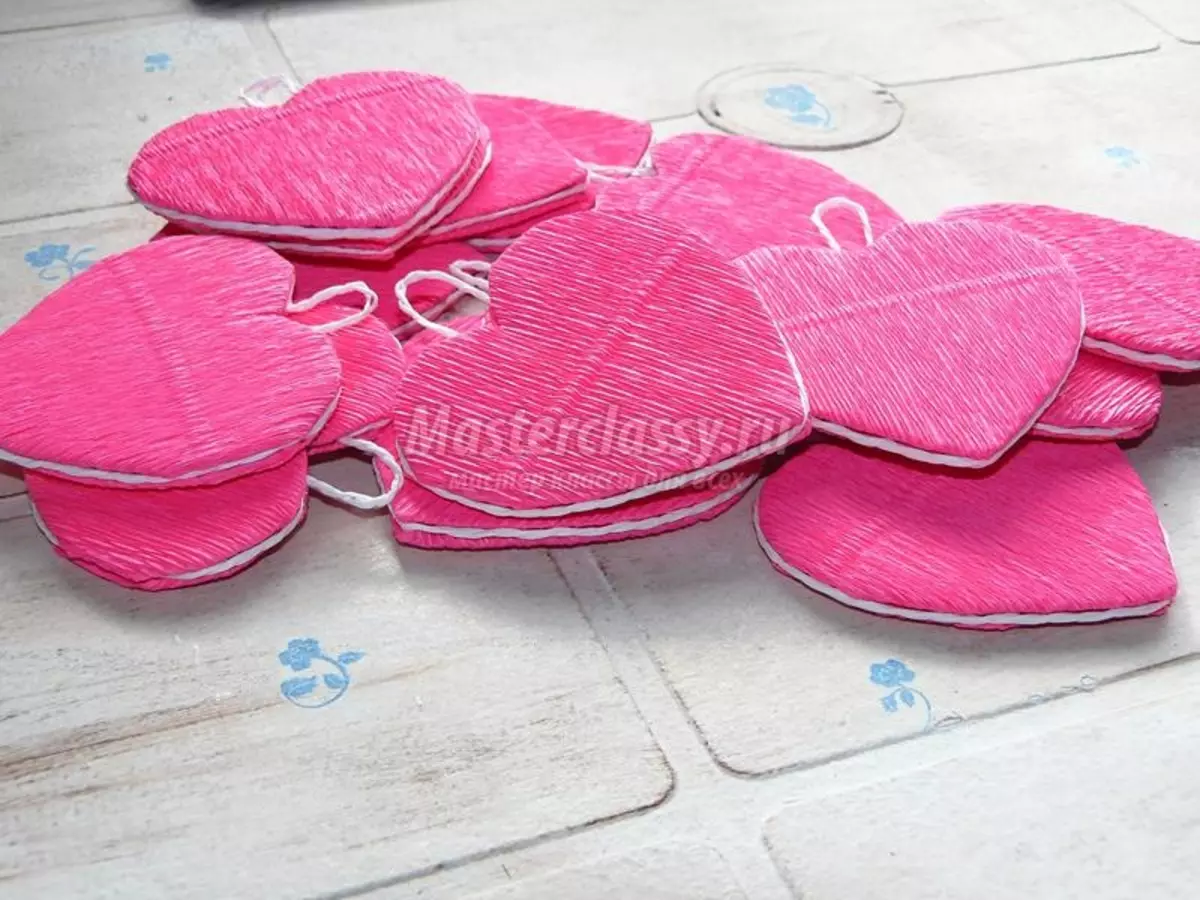
Glue beads from above and below.


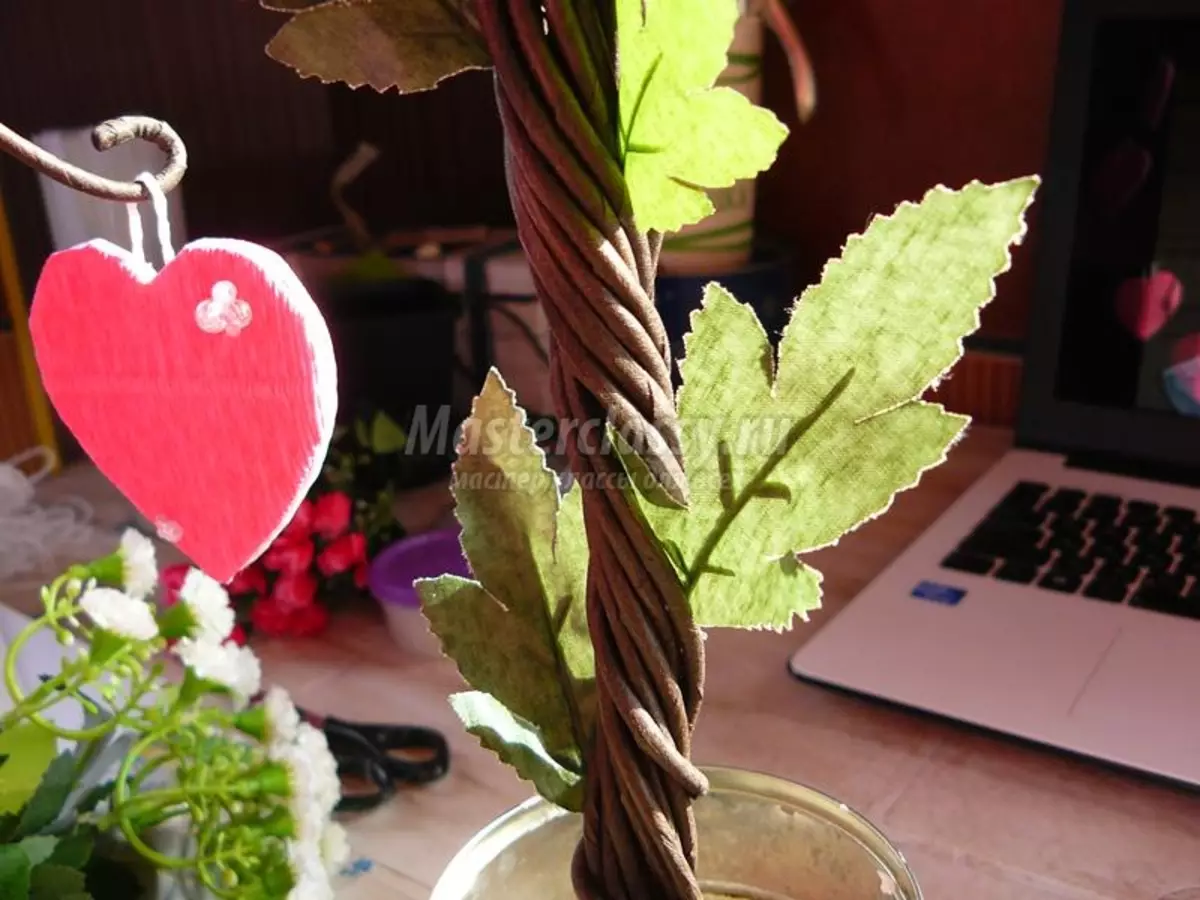
The red heart is invested for an example, on that place should be photos. Size about 5 × 5 cm.

Shut the wires for wood. With the help of pliers, spin the craft edges.

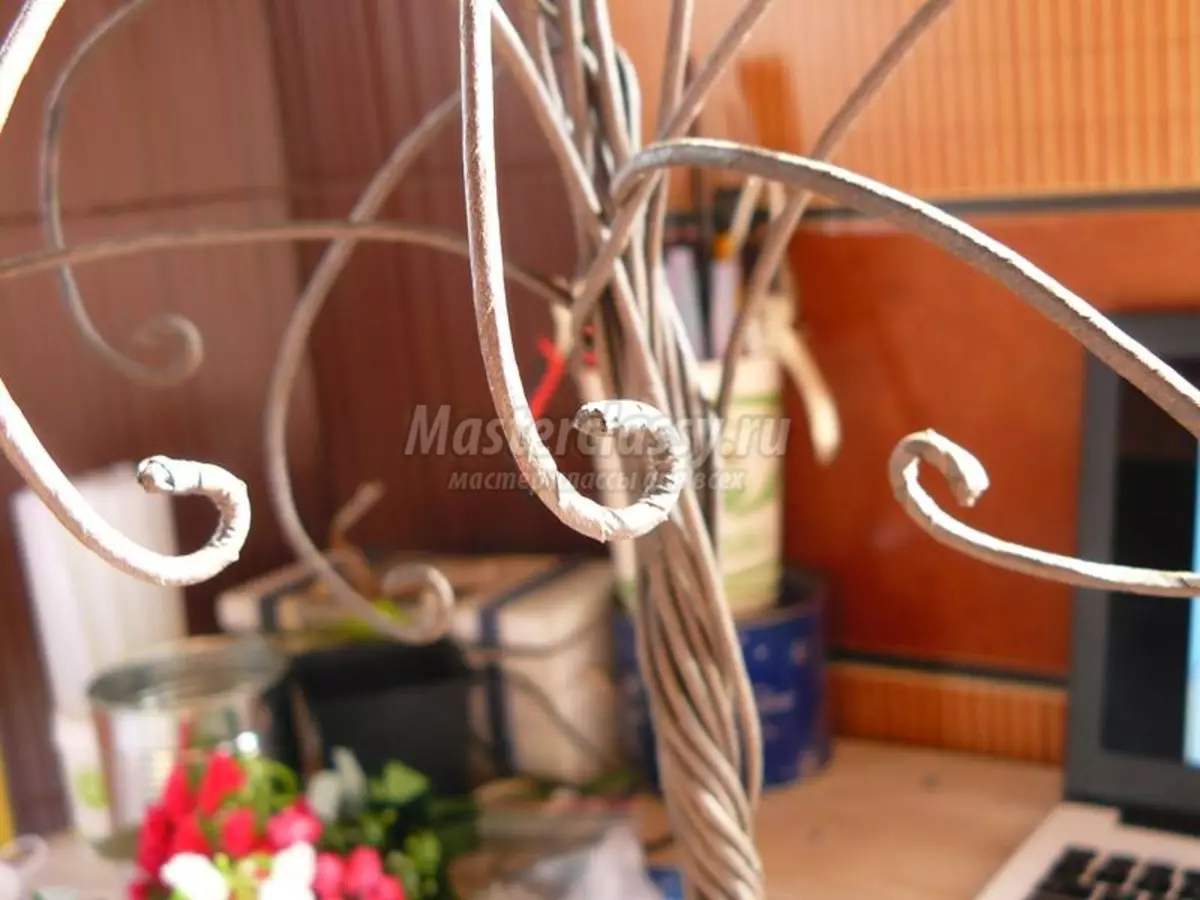
On the formed hooks hang hearts.

Now glue leaves.
The jar as well as the hearts, plane a strong paper.
Article on the topic: Origami Zhuravlik from paper with your own hands: Scheme with photos and video

Pretty genealogic tree is ready!