
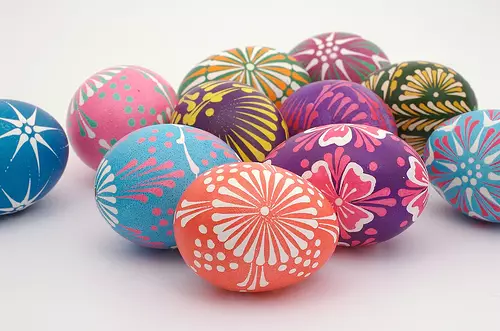
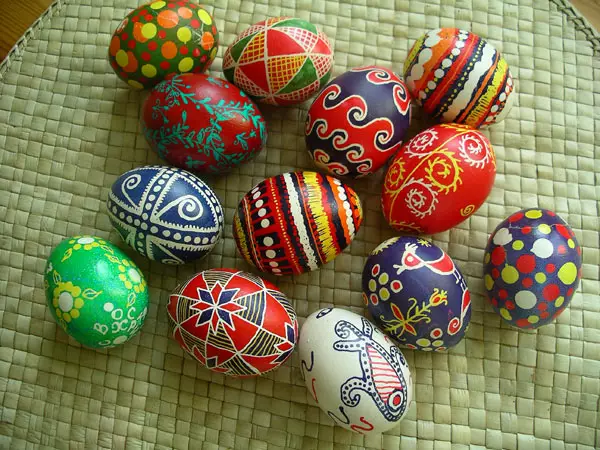
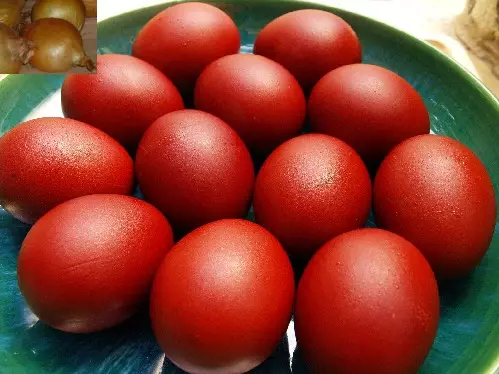
The painting of eggs wax - a master class will like everyone who is preparing for Easter and does not know how to beautify eggs originally. In stores before Easter, all sorts of food dyes are beginning to appear for eggs, markers, stickers and other decorations. Many know how to paint eggs with onion husks or beets. All these ways are quite simple and known. To approach the coloring of Easter eggs creatively, it is proposed to perform patterns, inscriptions or drawings with wax. This can be done in several ways.

We start with simple
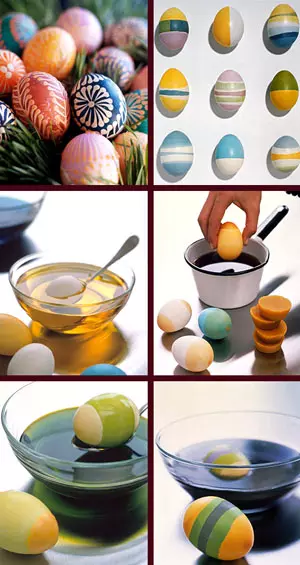
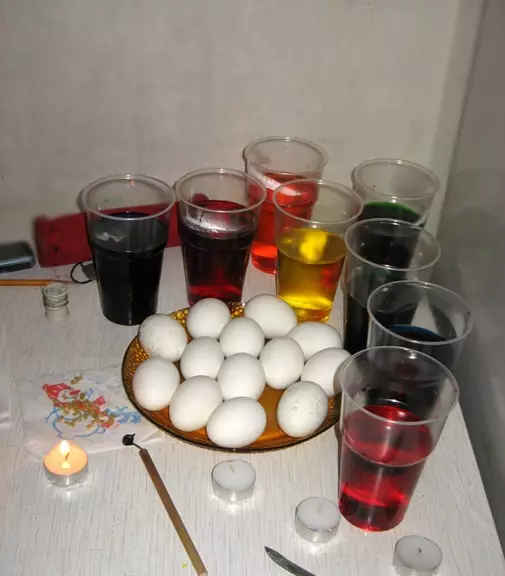
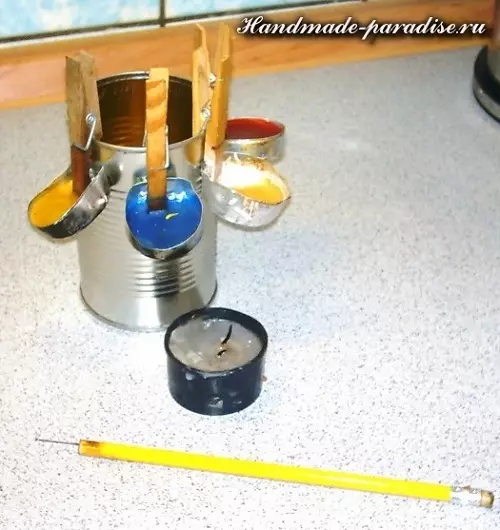
The easiest way that does not require any drawing skills and performed quite easily and quickly is done using wax molten on a water bath, for example, from a candle. Eggs are turned on striped.

The following materials and tools must be prepared:
- Cooked eggs;
- food coloring;
- Candle wax (can be used from tea candles, pre-pulling the wick);
- utensils for melting wax in a water bath (bucket, pan);
- dye bowls;
- paper towels;
- bastard and oven.
How to do:
- paint eggs into bright, inhabitant tones;
- folded pieces of wax in the bucket and melt it in a water bath;
- dip in the wax two sides of the egg (you can not very deeply);
- paint the egg with a dye of another color (dip in a bowl, withstand and give dry);
- again dip in the wax egg, but already a little deeper, and again paint the contrast color;
- Painted eggs lay out on the baking sheet (pre-noted paper), and to withstand 3-5 minutes in a preheated oven to melt wax;
- Remove the baking sheet and wipe the eggs, clearing with wax.
Ready!
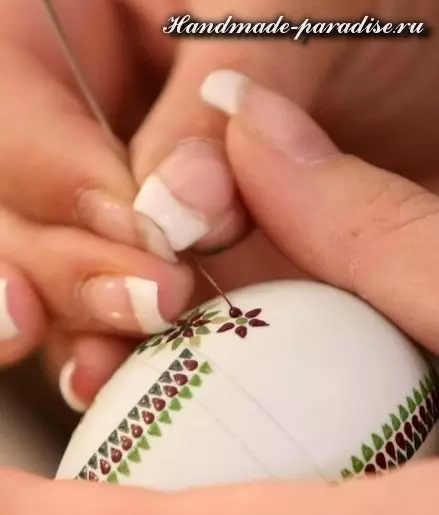
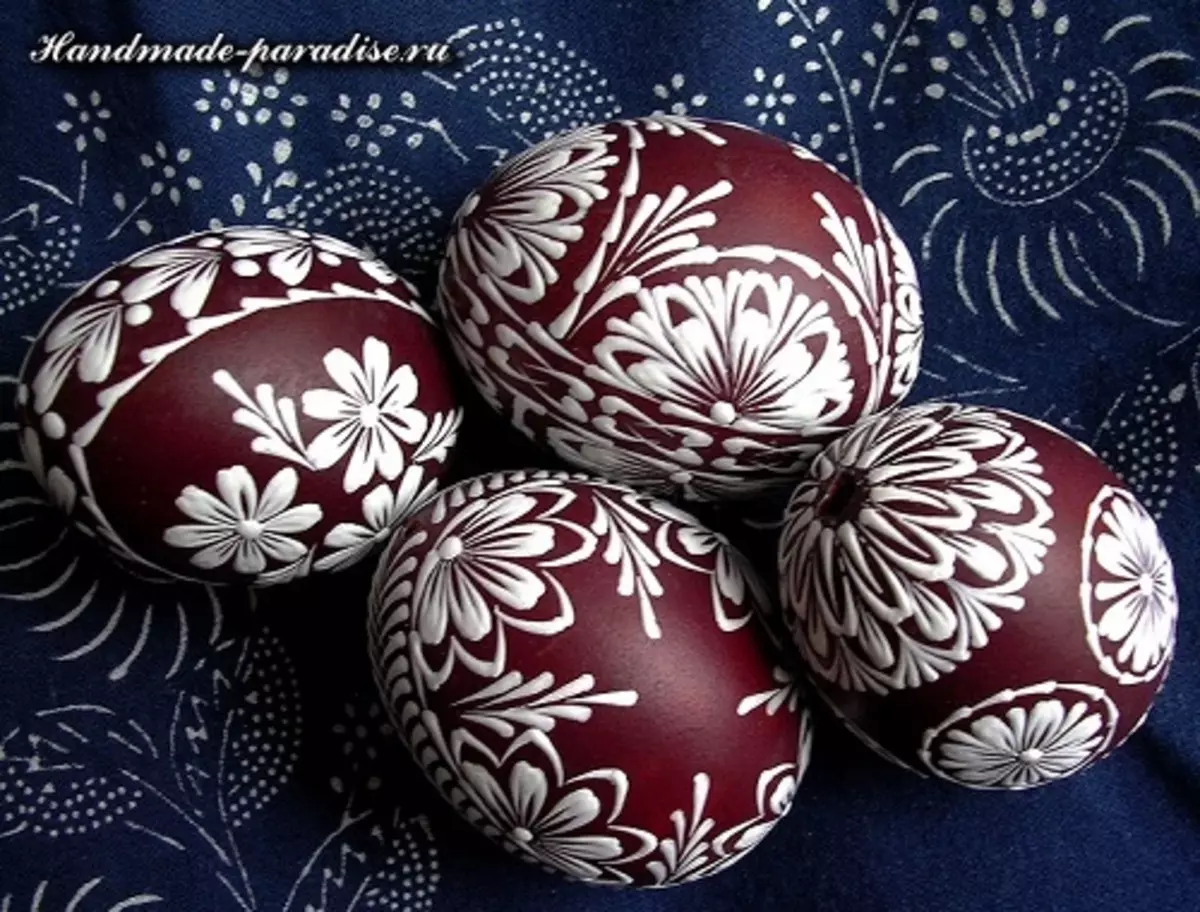
Second option
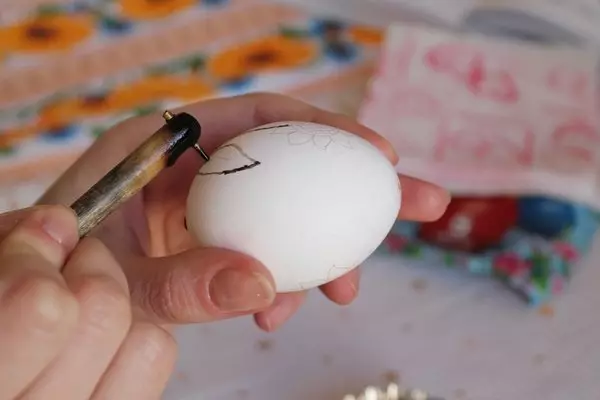
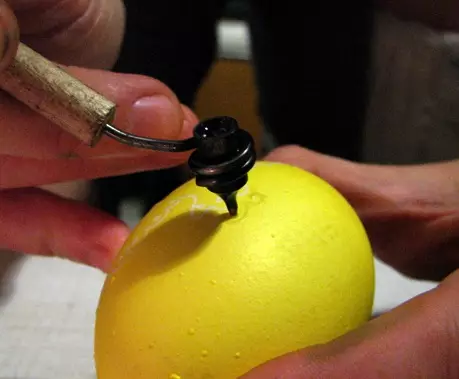
A more interesting way of making painting is done with a writing - a special tool for applying wax drawings. It can be purchased in stores for creativity or try to do it yourself. Read more View Writing in the photo below:


Writing has a nozzle with a spout that is attached to a wooden handle. The nozzle is laid in the nozzle, which is melted on a candle to a liquid state, and then applied to the surface of the egg.
This tool is very convenient, as the wax leaks constantly, evenly, which allows you to carry out straight, continuous lines.
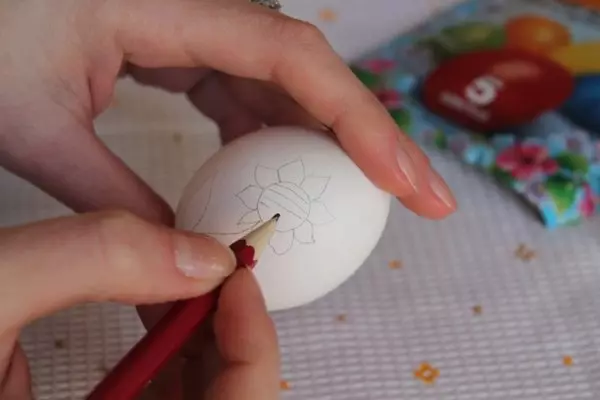
The patterns of drawings or patterns can be simple, especially if there are no drawing skills. Perhaps it is worth making an inscription, for example, the names of those people who will be given eggs. You can use ready-made templates and make a preliminary drawing with a pencil.
Article on the topic: Knit a beautiful crochet poncho
So, for this method of painting you will need:
- cooked and chilled egg;
- Writing;
- wax;
- food coloring;
- bowl or other staining capacity;
- burning candle;
- Paper napkins.
Progress:
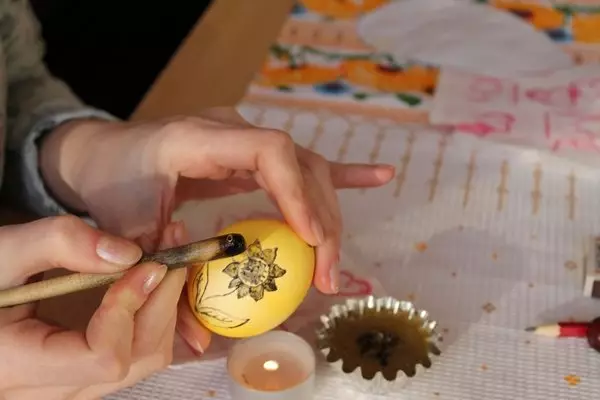
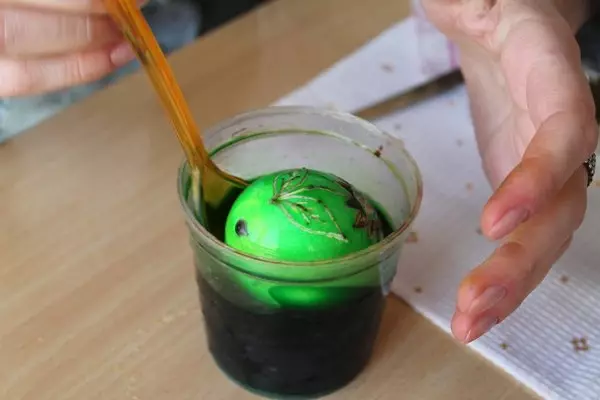
- Apply a pencil drawing or pattern;
- Lay a little wax in the Writing and melt it on a candle to a liquid state;
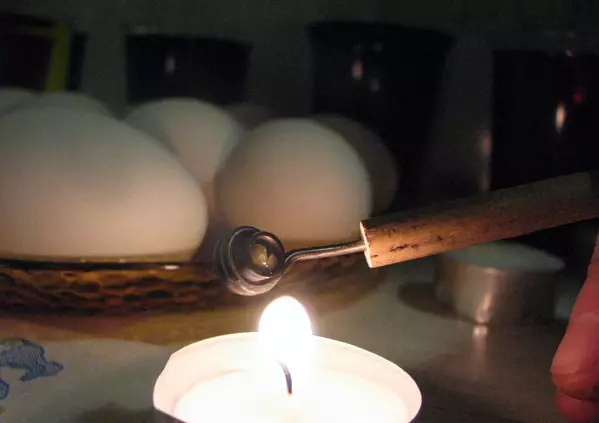
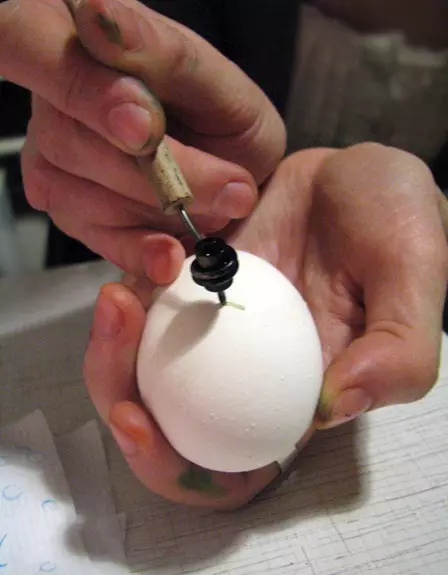
- Apply with a writer with hot wax drawing or pattern on the outlined circuits, periodically clean the spout and heating the tool on the candle;
- Put an egg into the container with the dye of the light tones, after staining, remove and dry;
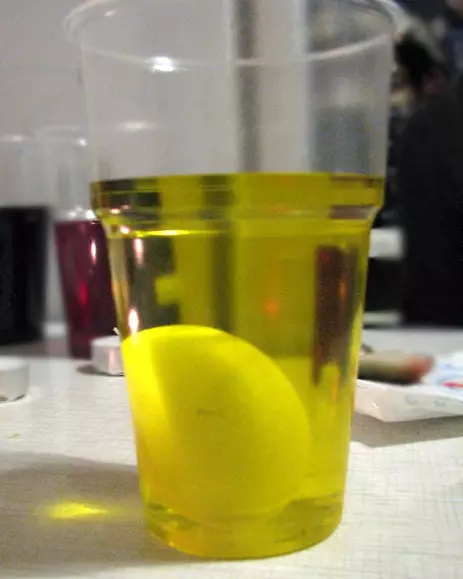
- Apply the following wax layer, for example, paint the necessary parts or make additional contours;
- Painting the egg paint darker tones to overlap the previous color, for example, a red or green color "will absorb" yellow.
- The painted and dried egg heat on the candle to melt wax;
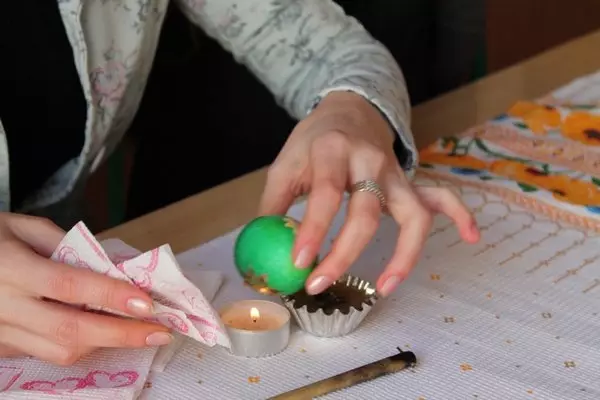
- Wipe the egg with a paper napkin.
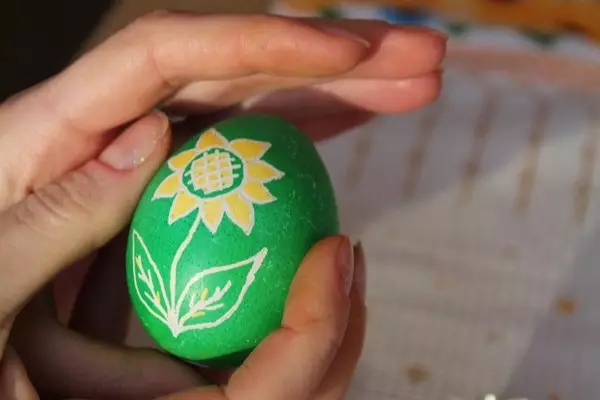
Painting is ready!
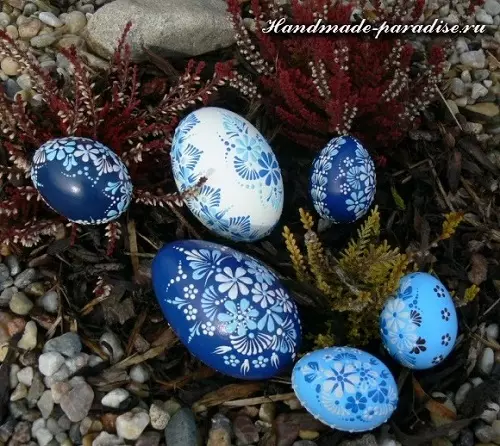
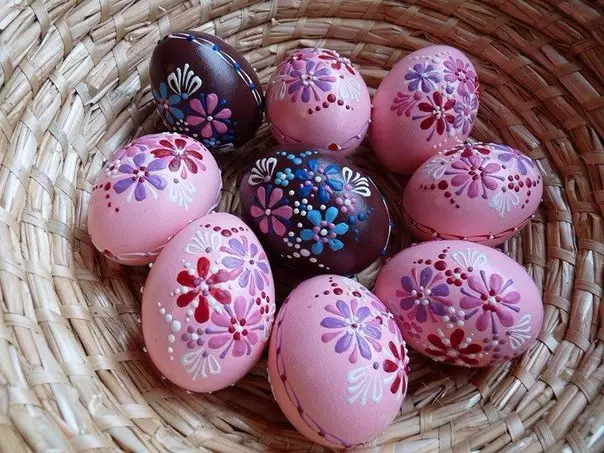
A little color
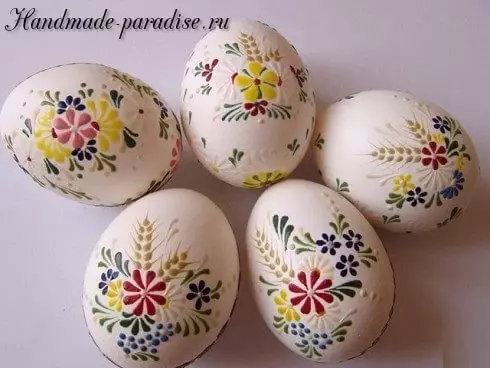
It is beautiful and elegantly to paint the eggs with your own hands using colored wax chalk. This is a more artistic and creative way of painting than previous two options. Most likely, there will be some drawing skills.
It is necessary to prepare:
- boiled screwed eggs;
- food coloring;
- Set of colored wax chalk;
- Wire, needle or thin knitting hook;
- spoons or metal tanks from under tea candles to melting chalk into them;
- burning candle;
- Paper napkins.
If the wire is used, then it must be fixed on a wooden stick, for example, from a brush, or pencil. A needle can just stick. It will turn out tool for drawing.
Instead of chalk, you can use the usual wax with the addition of food dyes in it necessary colors.
To get a painted egg with colored wax, It is necessary to phase in the following steps:
- Paint the egg with the food dye to any color (you can use the onion husk for this) and give dry;
Article on the topic: Pins-Masfiers with knitting needles with photos and videos
- Break chalk and put each color in a separate container (spoon), and then melted to a liquid state on the candle;
- Each time the perch prepared tool for painting into the container with the desired color, start painting the egg, inflicting the pattern with confident short strokes or points;
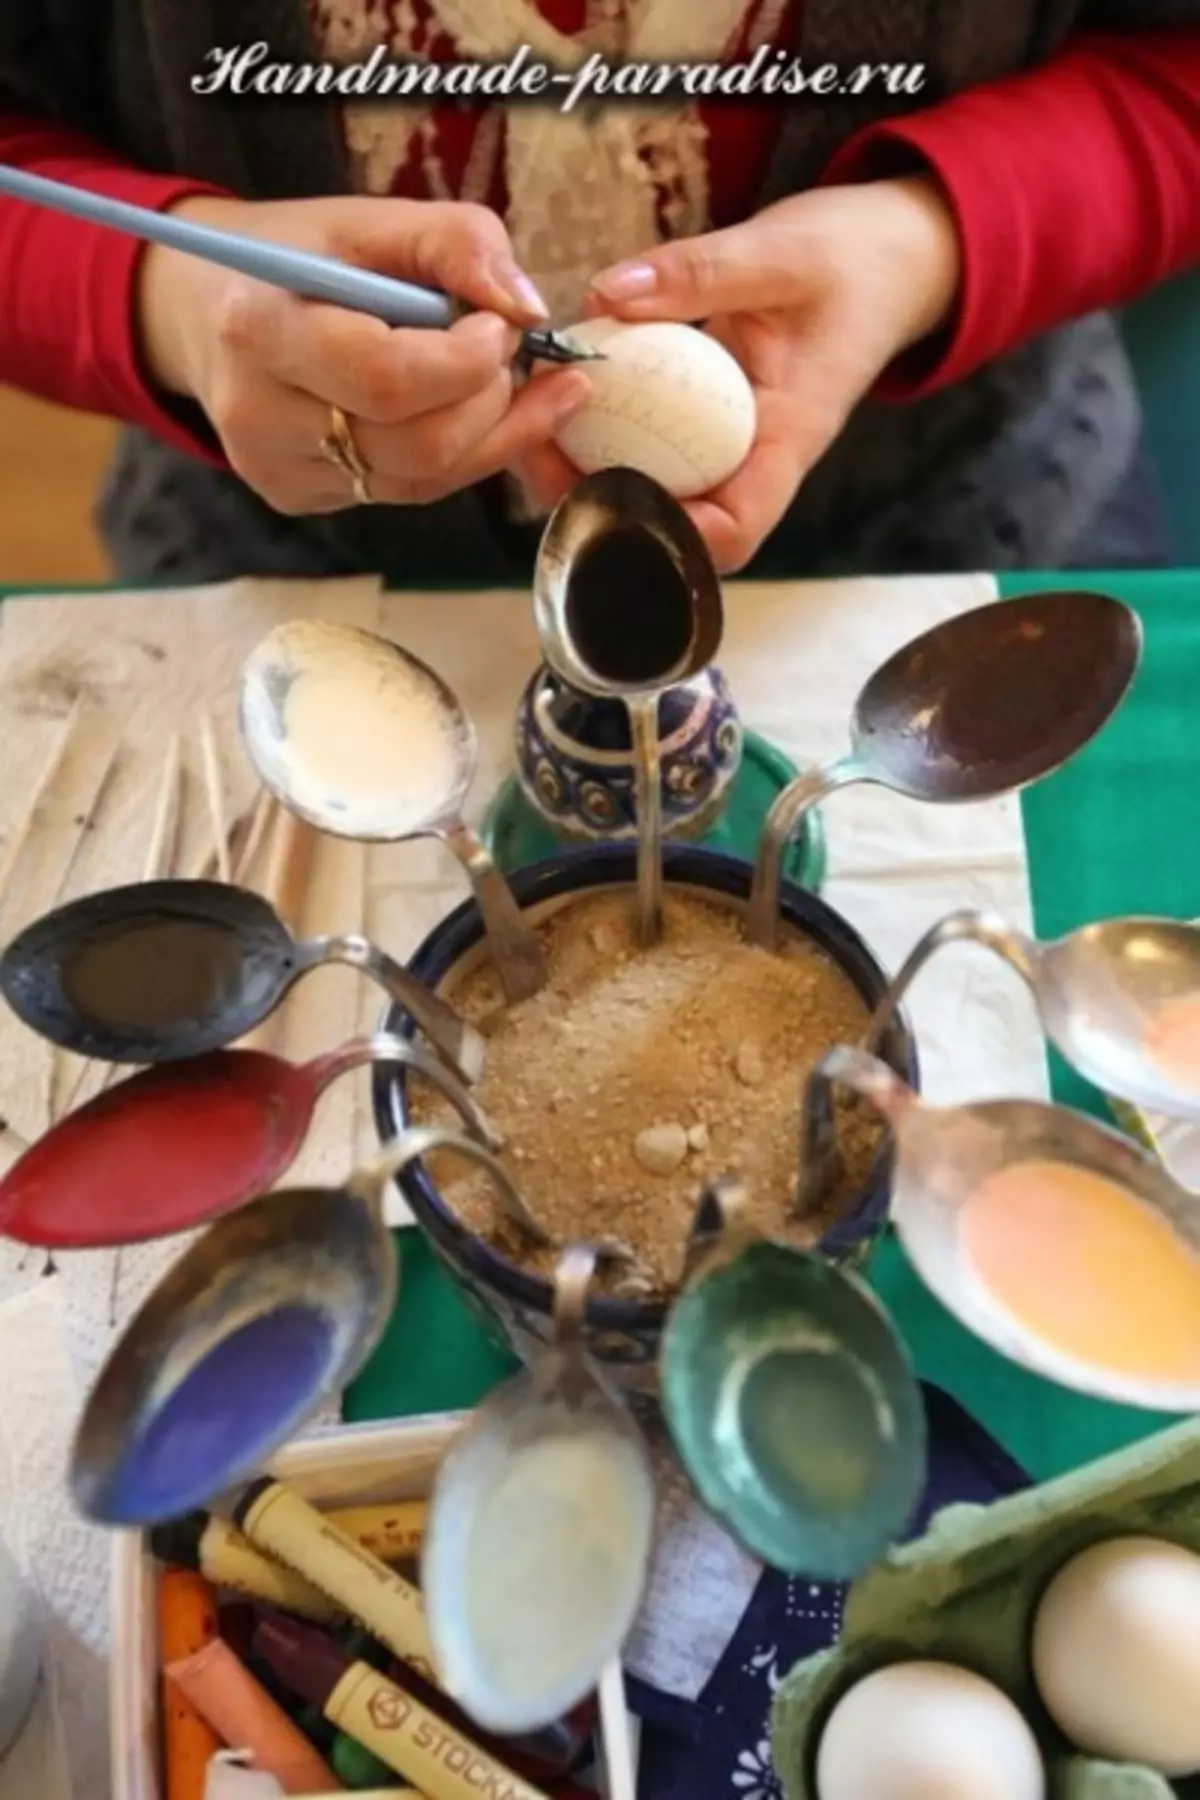
- Make sure that the crafts are always in a liquid state;
- Clear the tool spout with a napkin before changing the color;
- When the drawing is ready, wipe the egg with a soft cloth and lubricate with vegetable oil to impart brilliance.
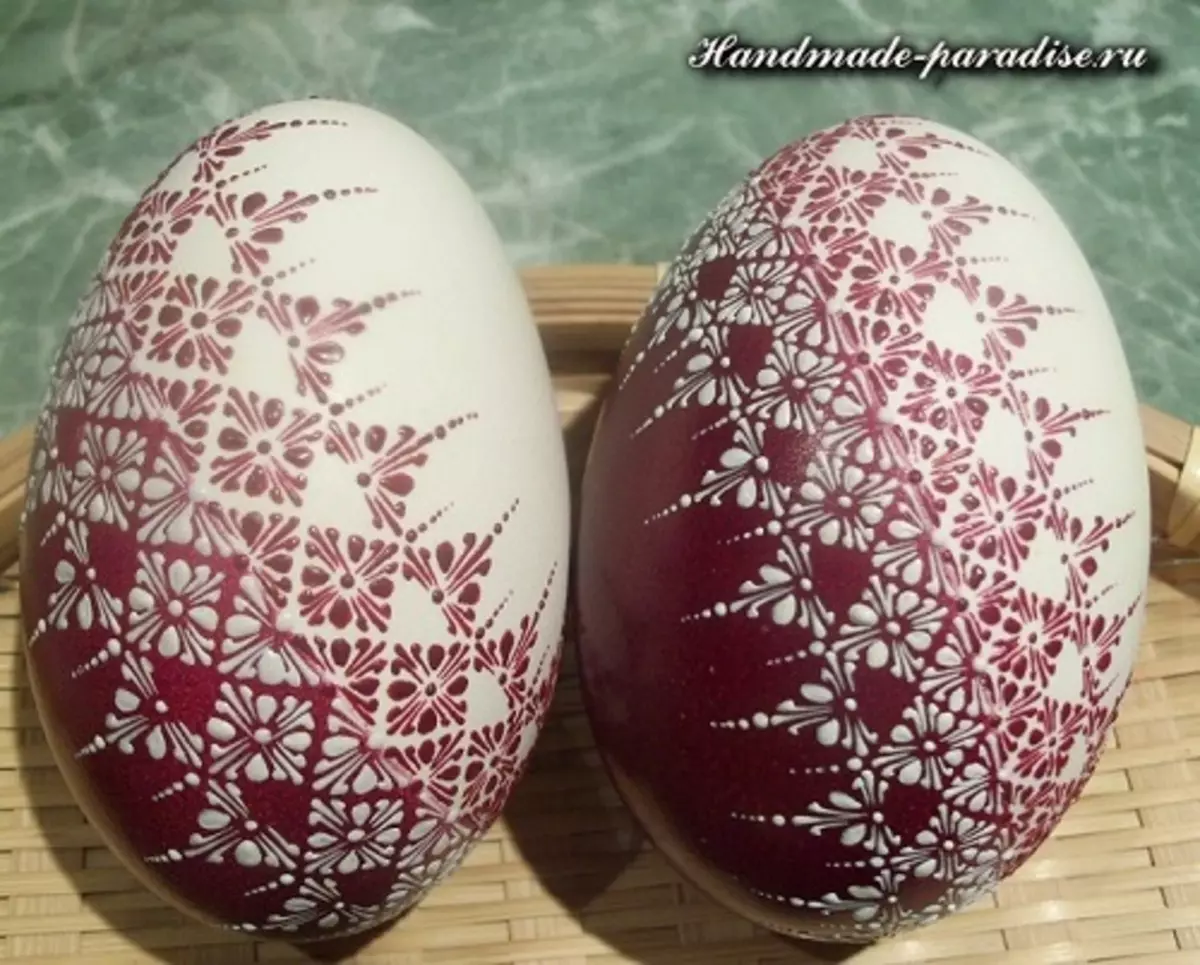
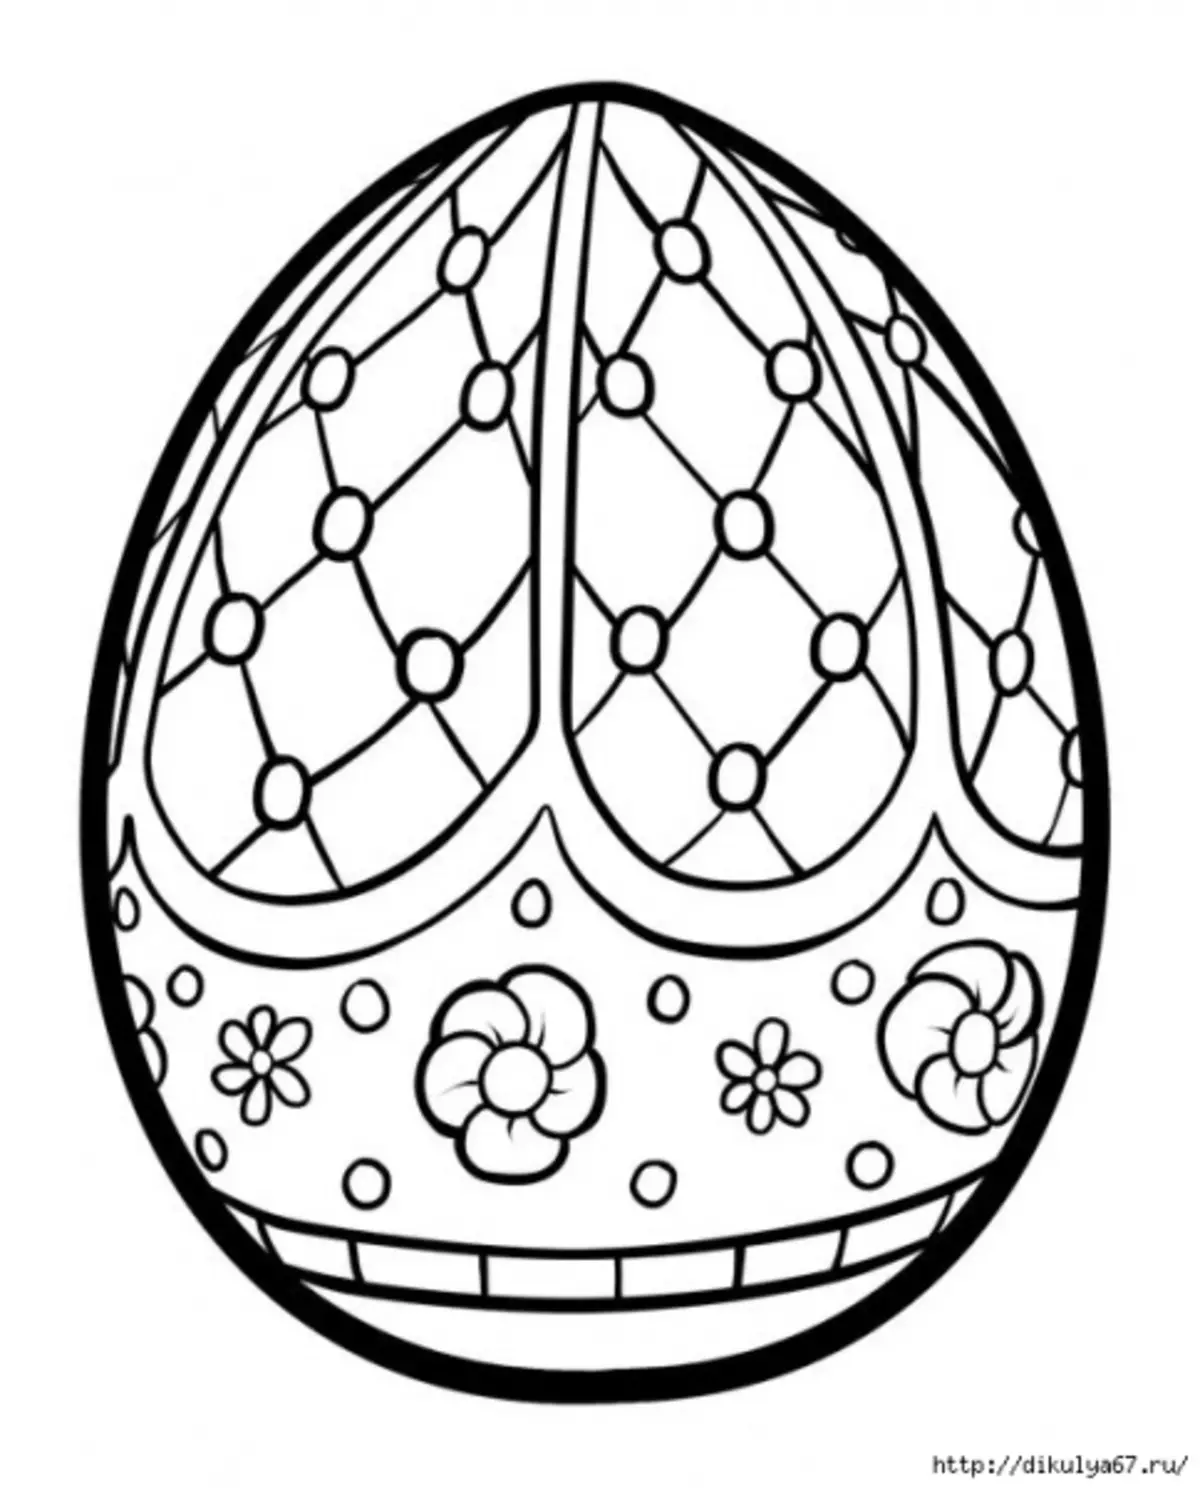
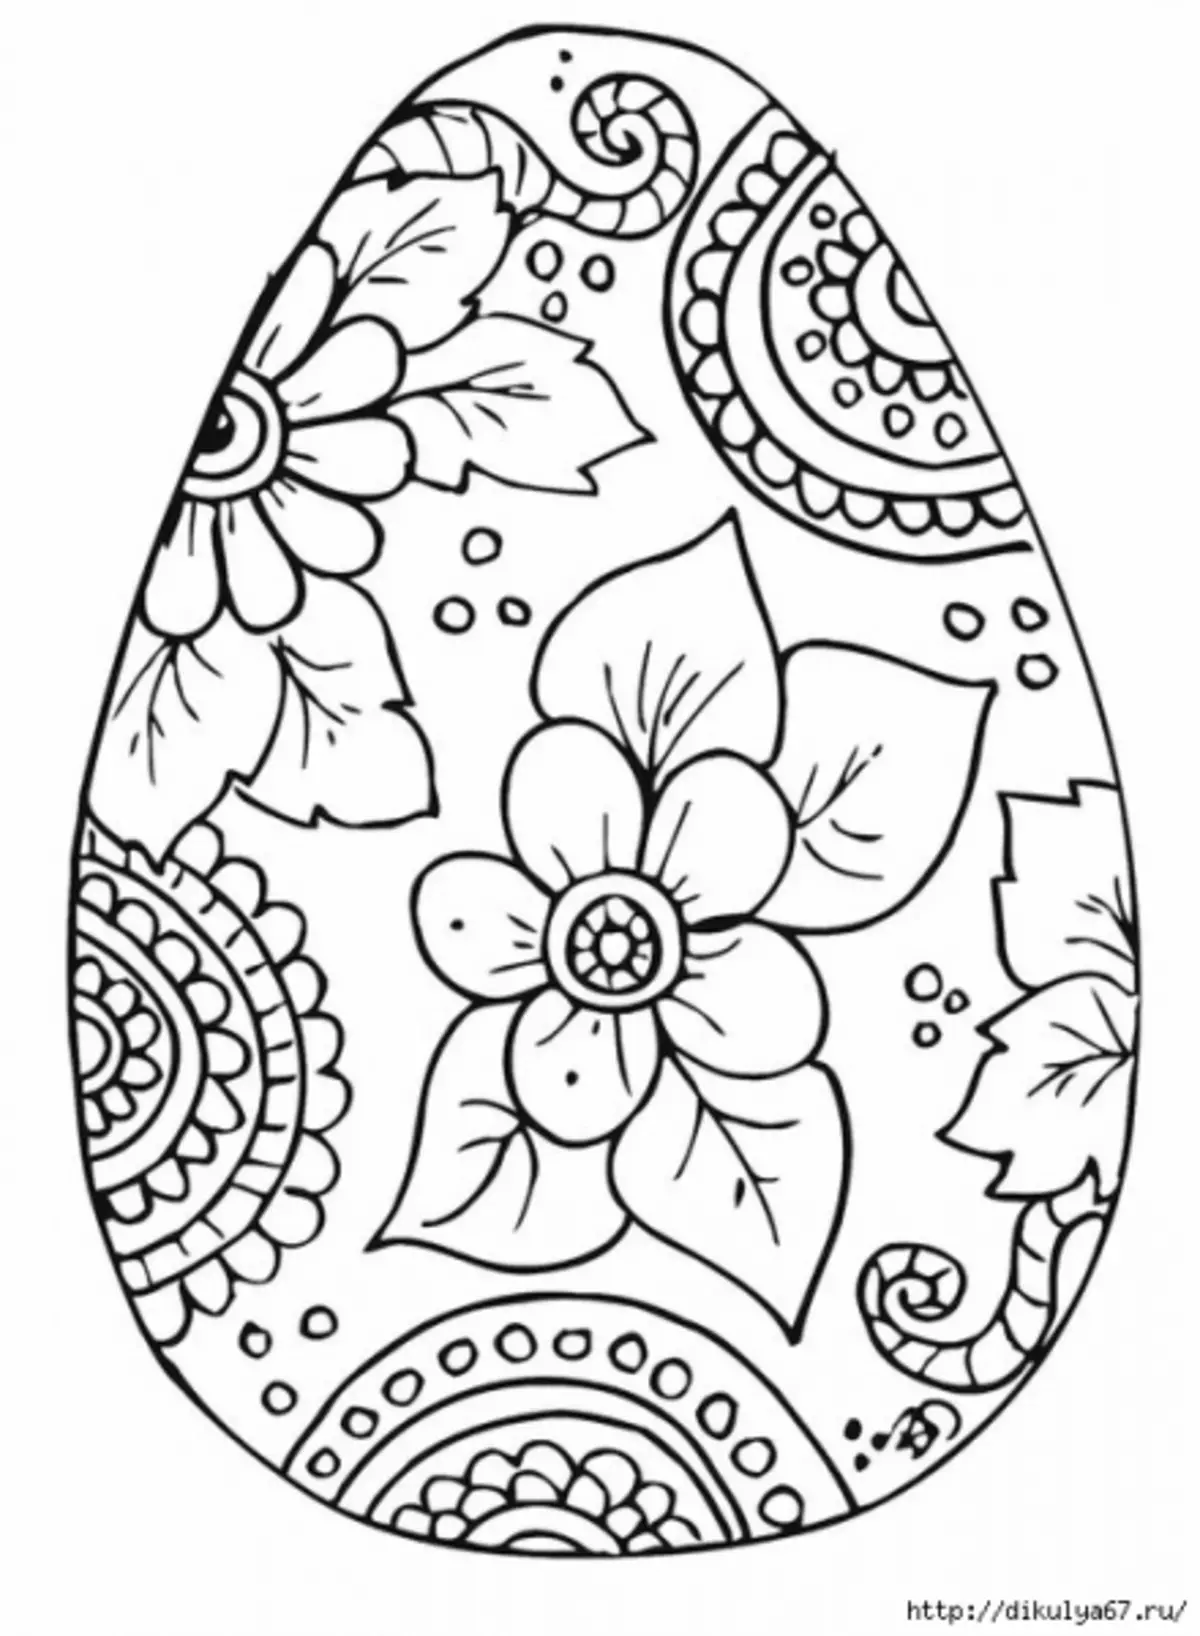
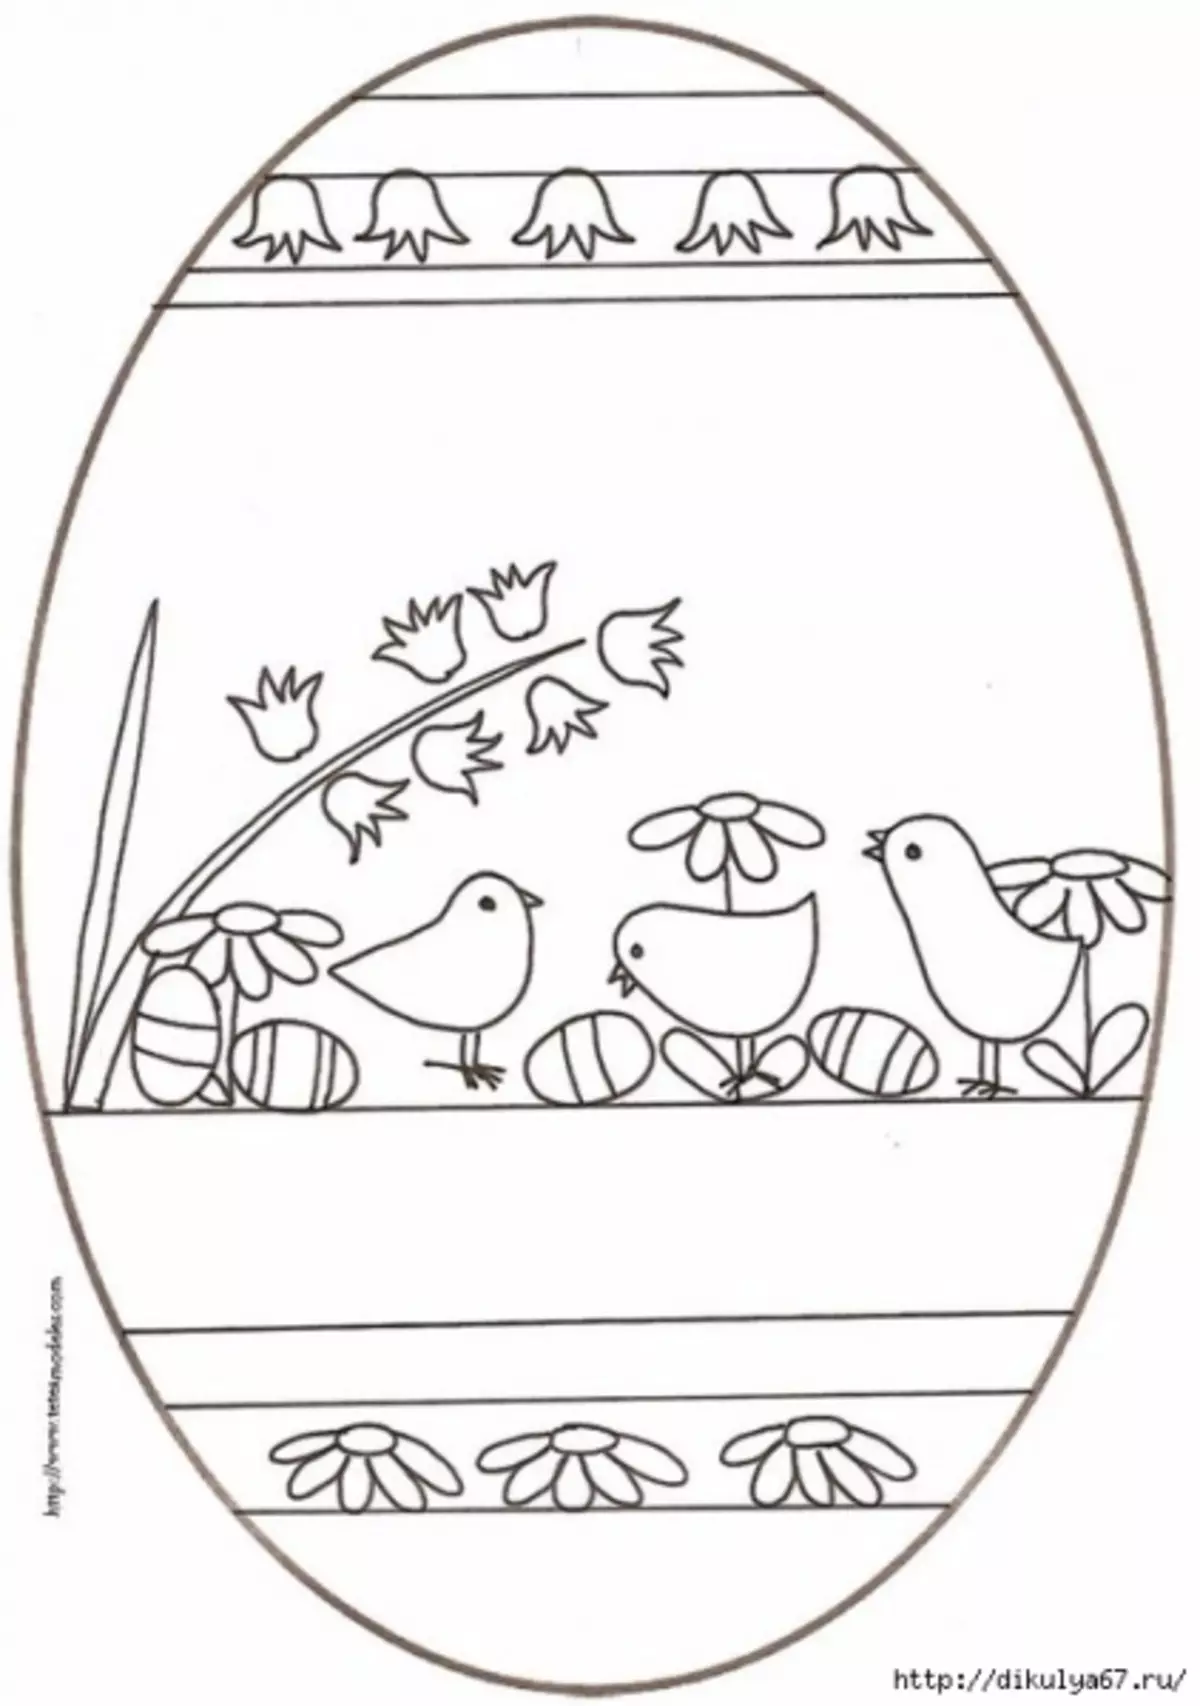
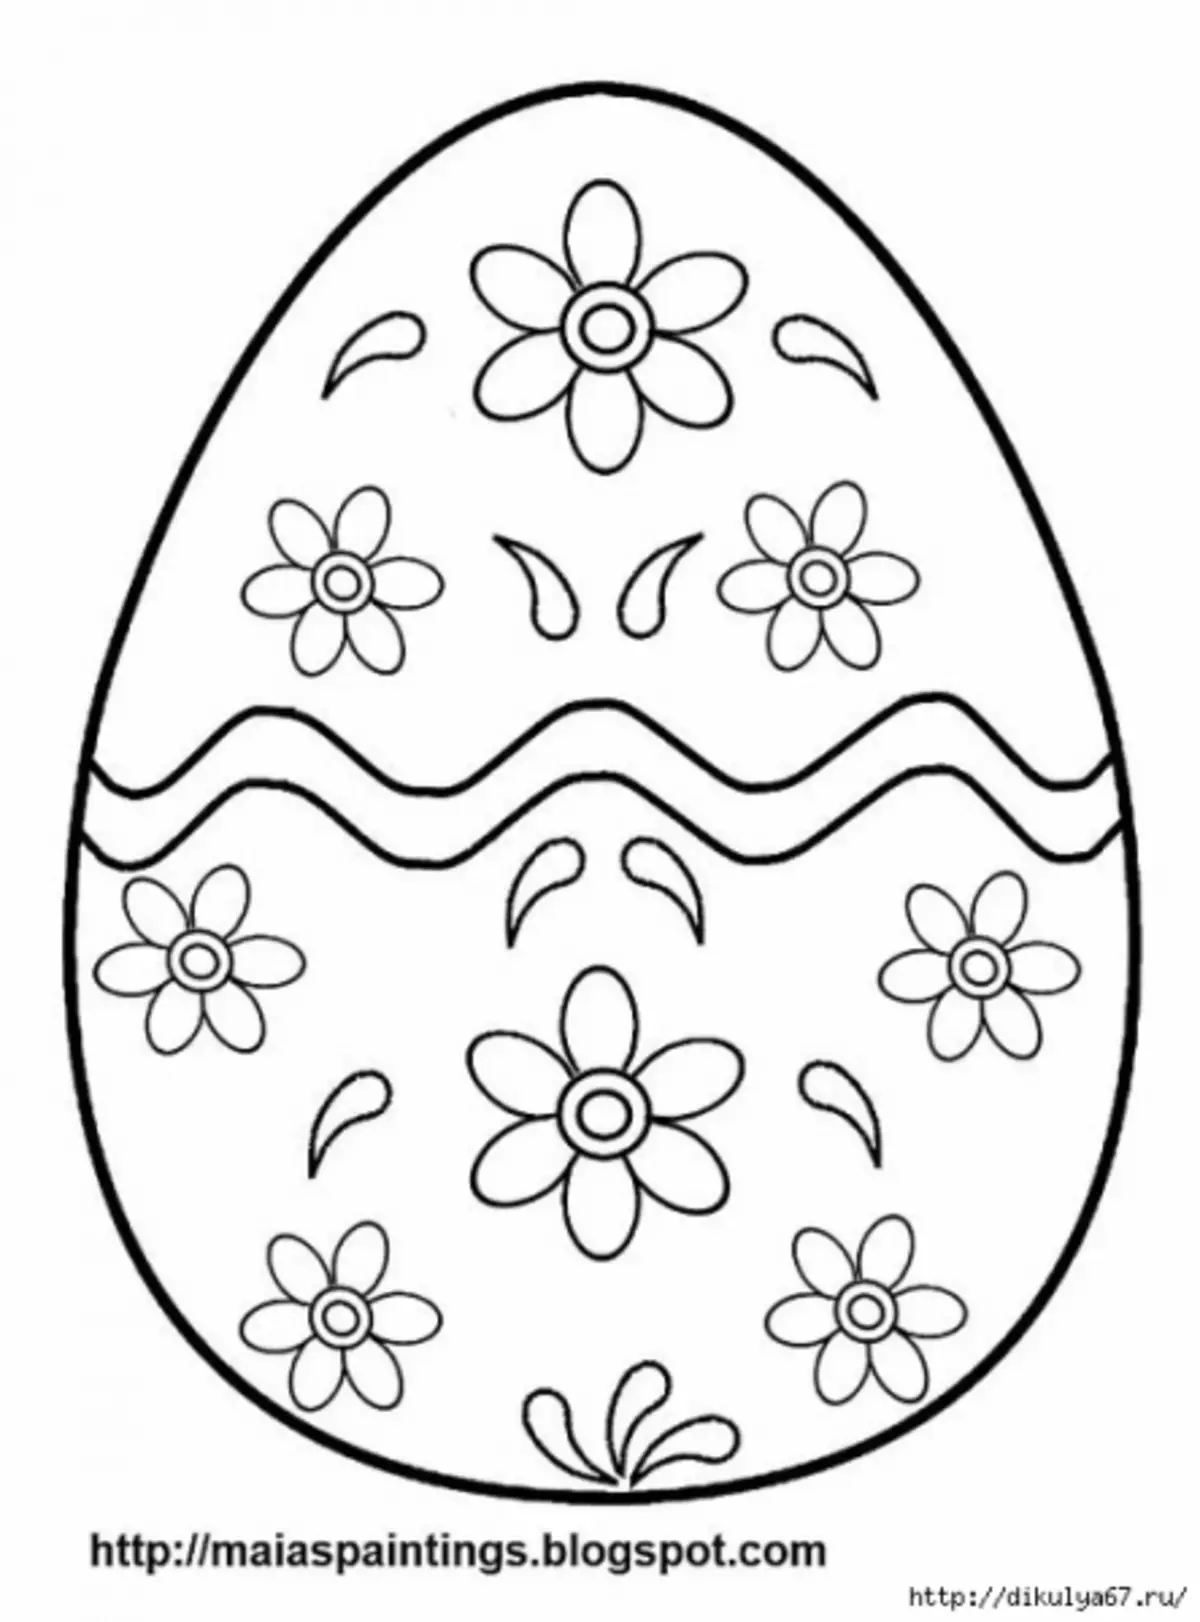
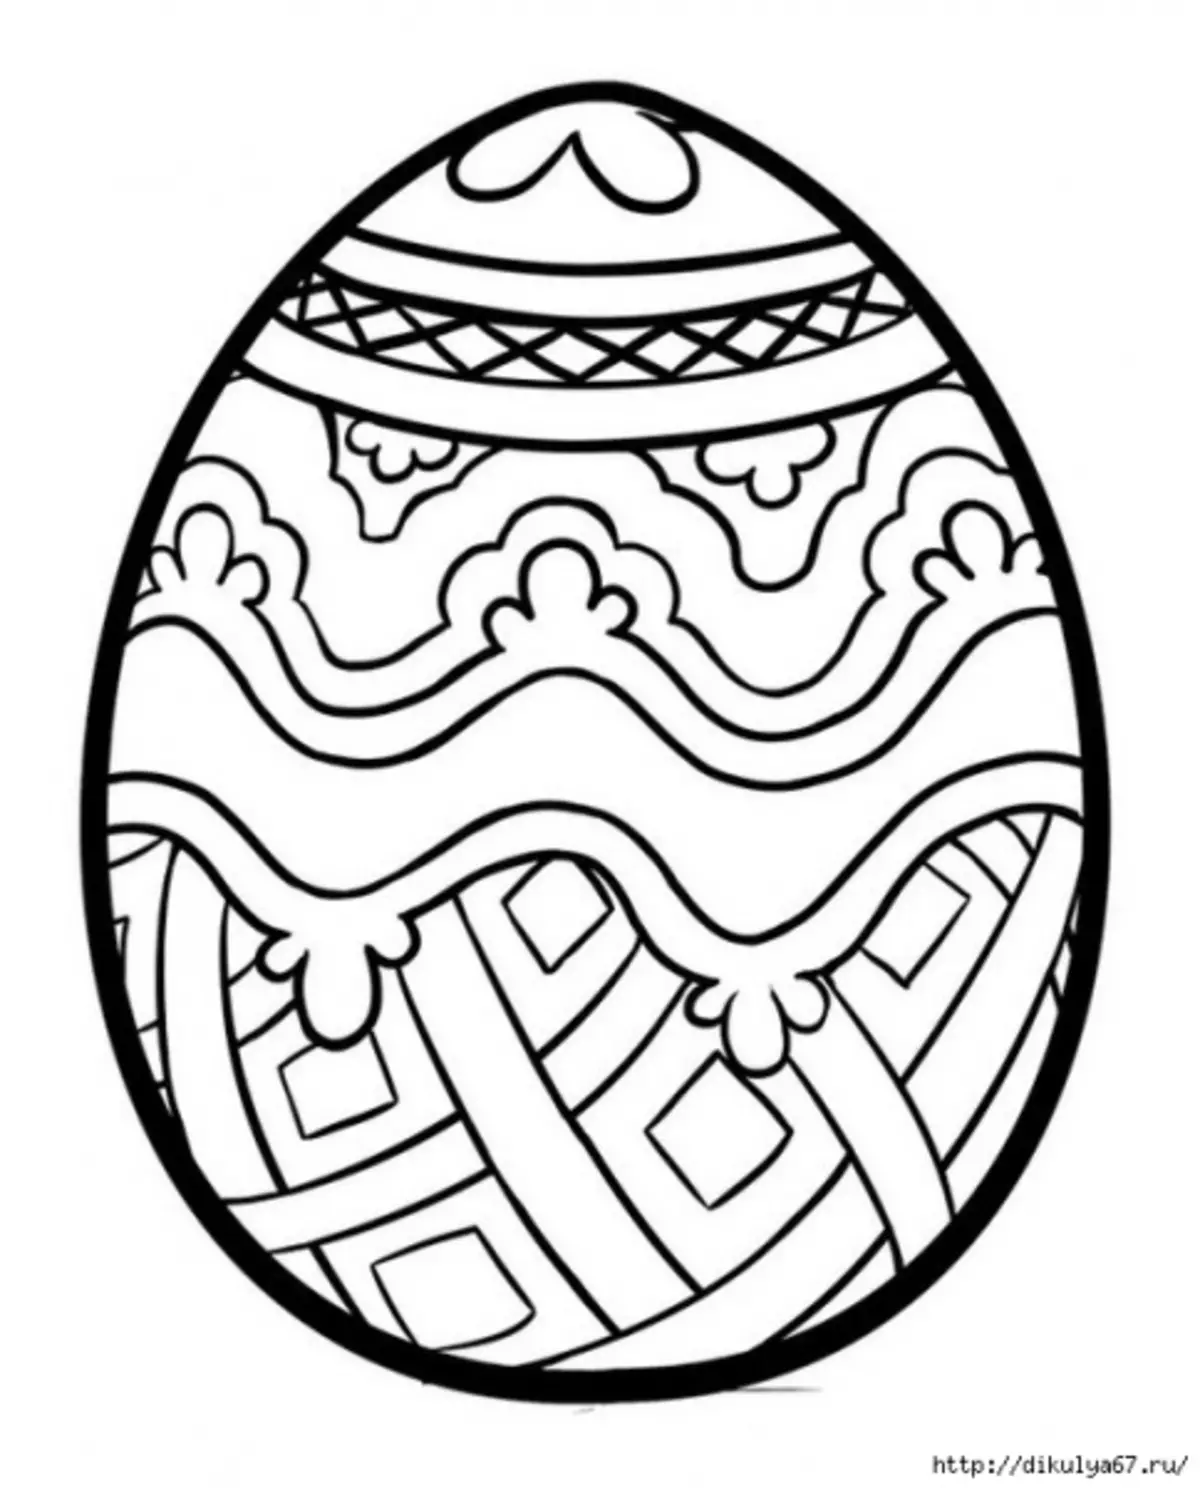
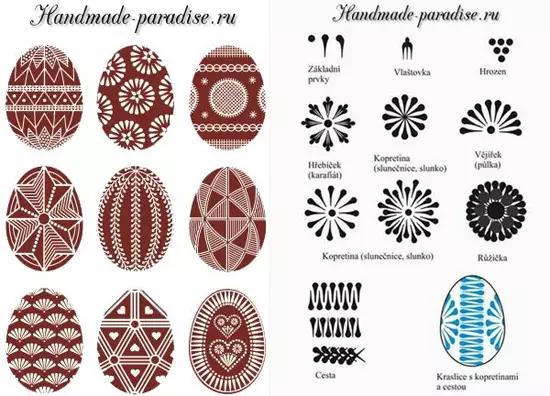
In this way, the methods play the role of frozen paint, which remains on the shell. Therefore, it is important to confidently apply a pattern or drawing. If there is a desire to make sophisticated, lace patterns, it is worth using pictures with patterns, for example, such:
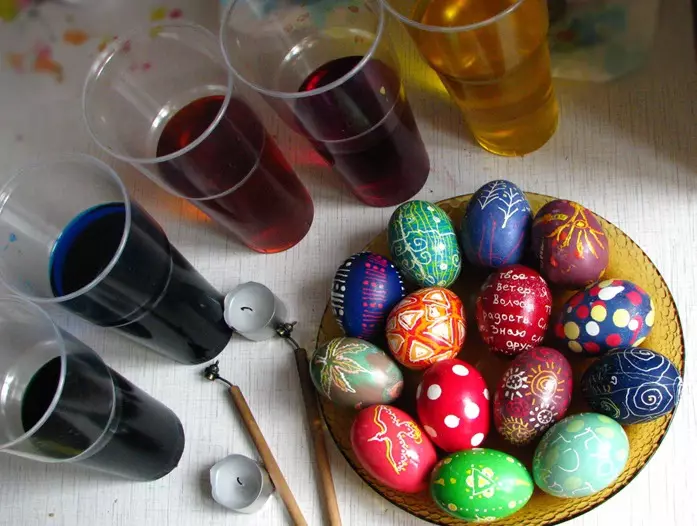
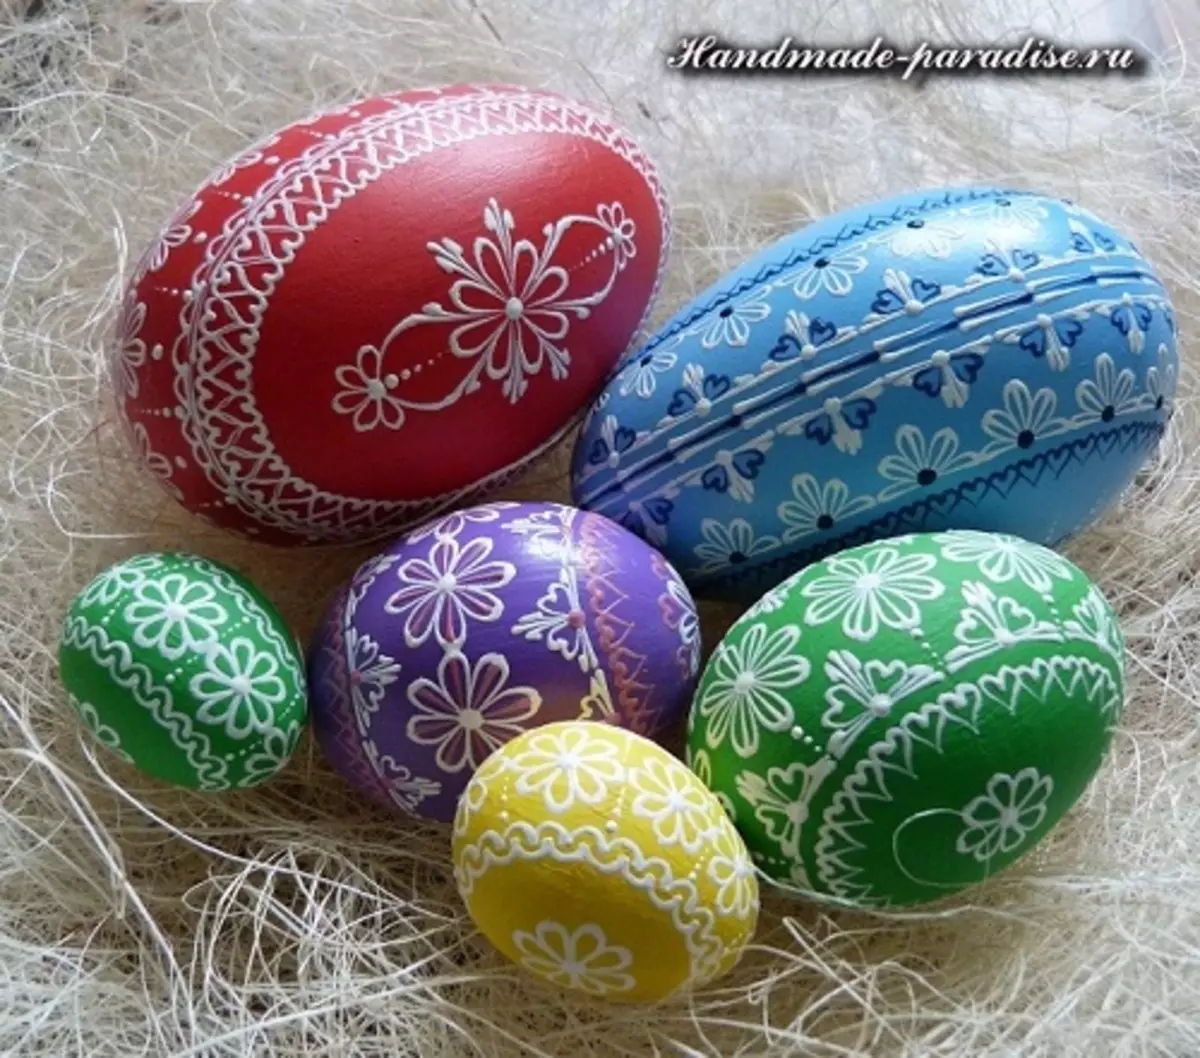
As a result, at home there may be beautiful eggs that will become a good gift and decoration of the festive table.
Video on the topic
With additional materials you can read the video.