
In the scenery of almost every home there is a picture. Artists work on them over the years, bringing a masterpiece to perfection. If you do not have such a talent, but there is a great desire to learn how to make pictures of fabric with your own hands, the extensive work techniques will complement your interior with the original product. This article will tell you how to make a picture of the fabric and shares the secrets of the embodiment of the masterpiece into reality.

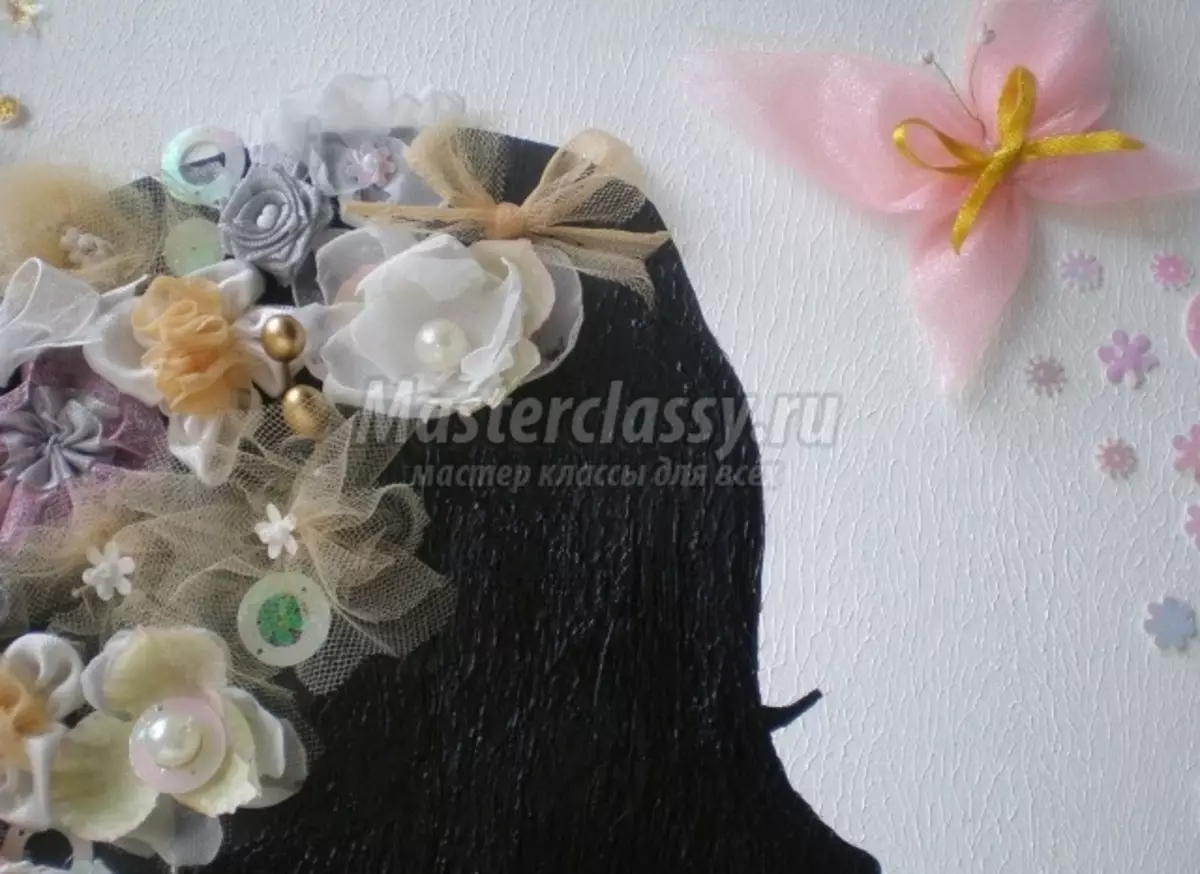
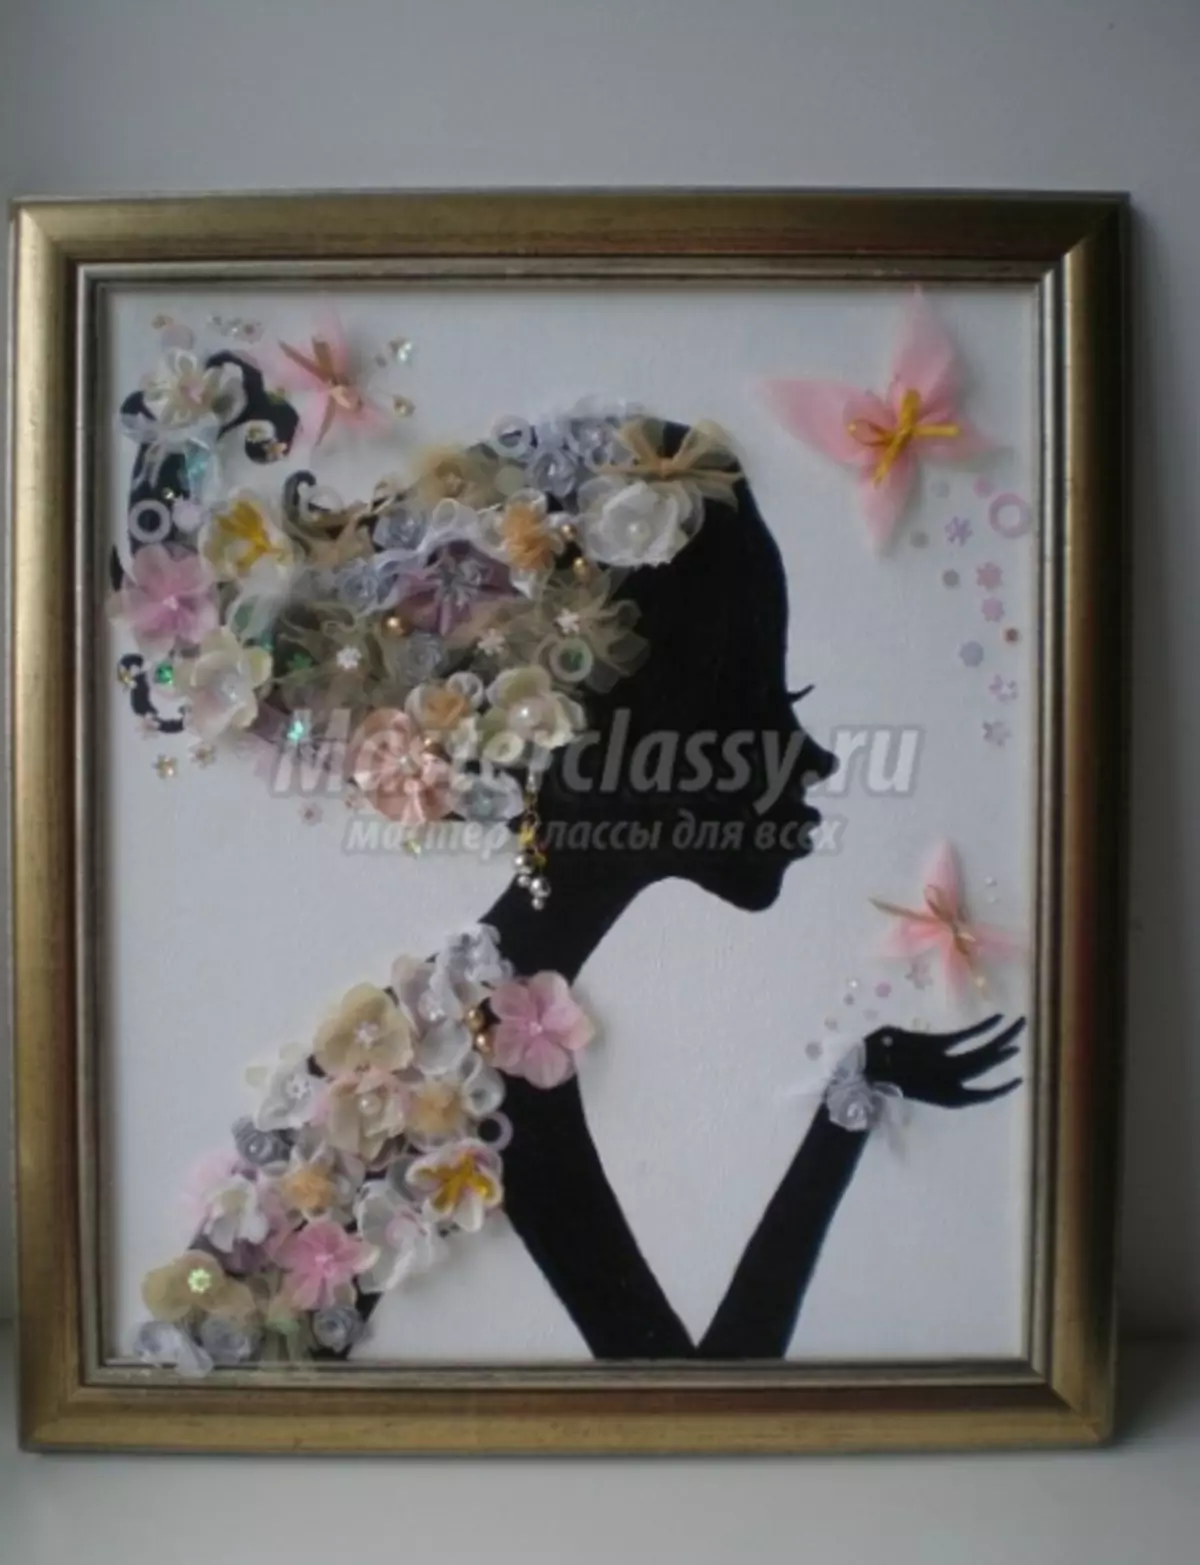
"Girl spring"
This wonderful composition is made of fabric flowers. They can be purchased in a handweller store or make themselves with the help of crafts of fabric, needles and threads. In the manufacture of these elements, video lessons will help you.
Having mastered the technique of making flowers from fabric and preventing them more, you can start working. To fulfill it, you will need:
- Frame for photo 45 by 55 cm;
- Dense cardboard;
- Acrylic paints;
- Roller, brushes;
- Female figure pattern;
- Scissors;
- Hot glue;
- Prepared flowers and decorative elements (beads, beads, ribbons).
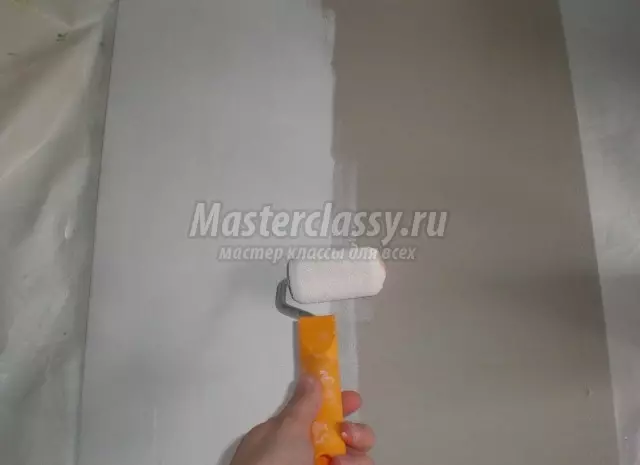
Cut the cardboard sheet of suitable size. Cool it with a white acrylic paint roller.
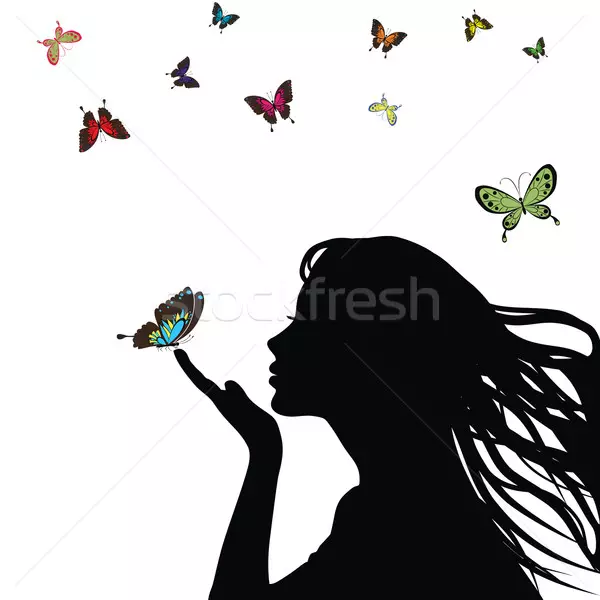
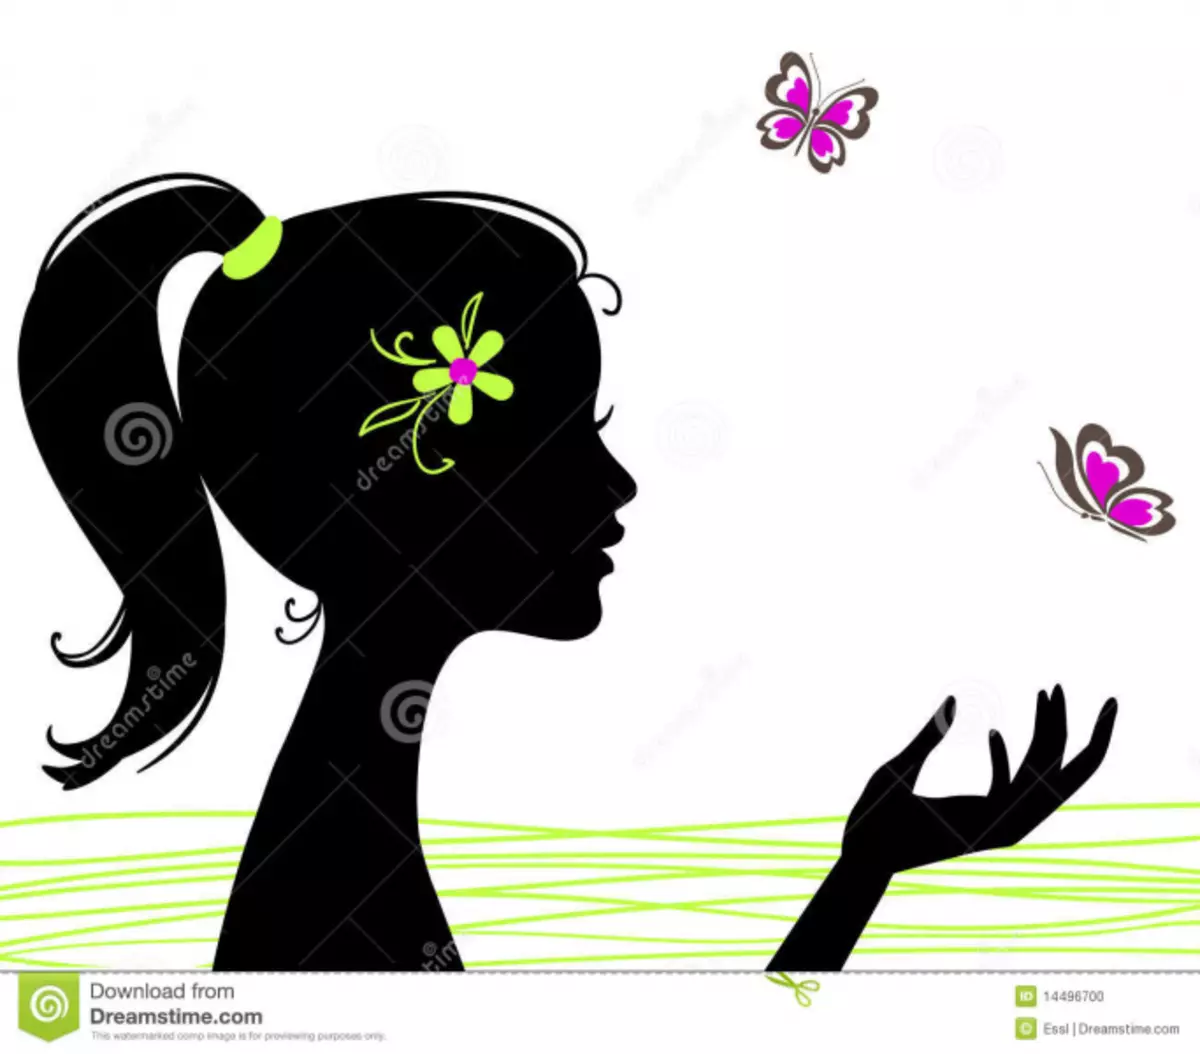
If you do not possess artistic talent, use any of the proposed templates to draw a female silhouette.

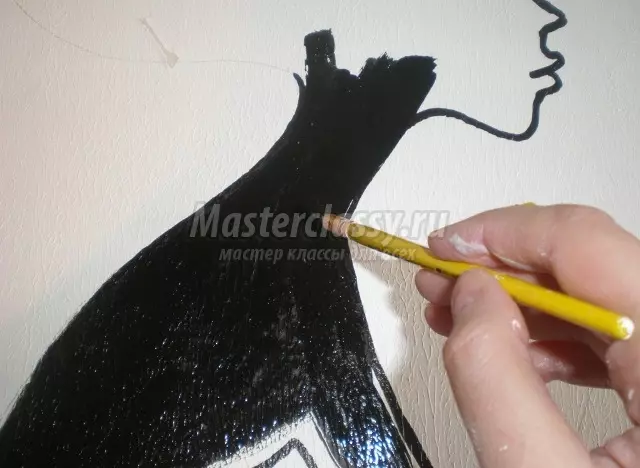
Simple pencil carefully transfer the drawing to the cardboard. Drive the black acrylic paint along the contour and fill it completely.
Decorate the decorative elements figurine by gluing them to the picture of hot glue. Flower location Adjust yourself.
It looks quite beautiful, hairstyle and trim dresses are richly covered with flowers. Add a few items on the pattern of the pattern, it will revive the plot.
Insert your creation into the frame and decorate your favorite corner of the apartment.
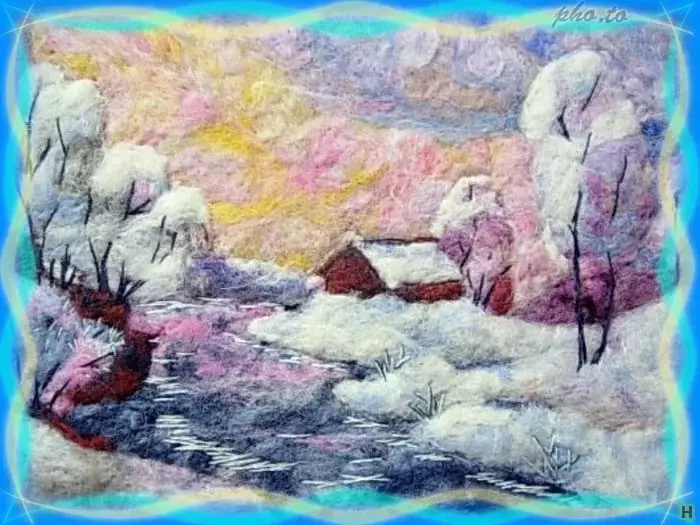
Panel in the nursery
Do you know that the volumetric patterns from the fabric can be made without a single drop of glue? This is true! The technique of manufacturing volumetric paintings on the foam is based on the pressing of the fabric into small slits done in this supplemental material.
Article on the topic: Facebilding: Video lessons with photos for beginners
To create such a picture you will need:
- Foam leaf 2 cm thick;
- Loskutka fabric;
- Scissors;
- Stationery knife;
- Decorative cloves.
First, decide on the plot of the picture. As you will make a panel for the interior of the children's room, consult with the child that he would like to see in the picture. We suggest you try creating this house:
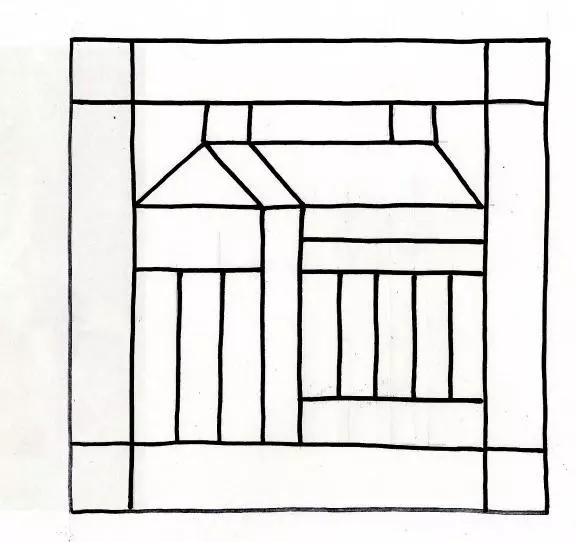
Transfer the drawing to the base of the foam.
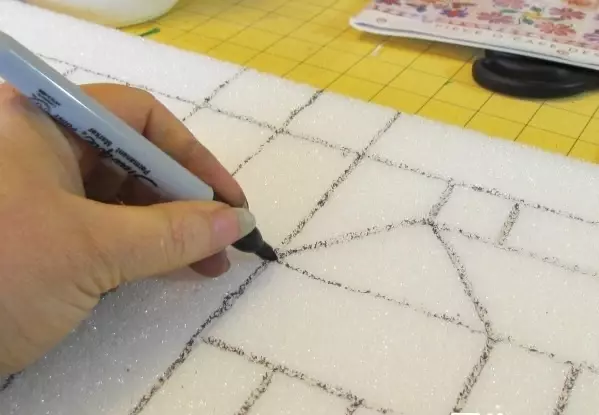
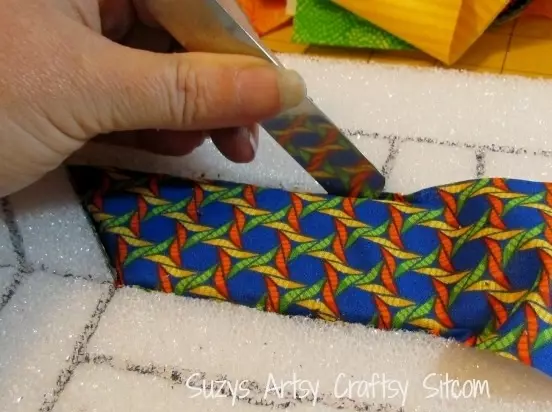
With the help of a small stationery knife, make a slot in the contour of 0.5-1 cm.

From the selected flaps of the fabric, cut the fabric to the size of the part with the allowance of 1 cm. Carefully fuel it into the slots with a small stick as shown in the photo. Do not overdo it, otherwise you can damage the basis.
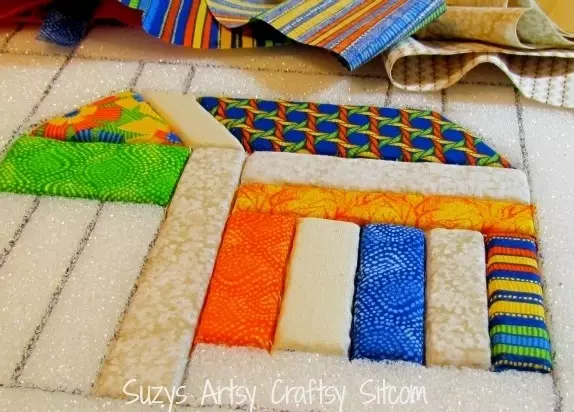
Gradually fill in the whole picture.
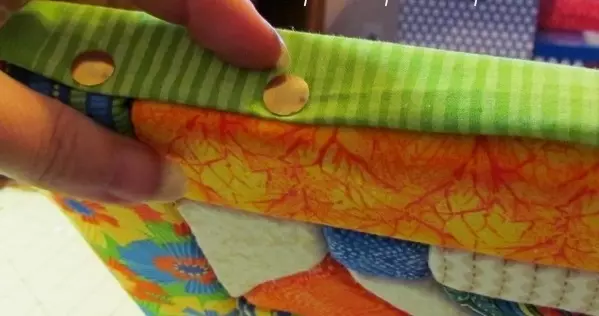
Carefully fix the fabric stripes in the form of a frame. Take advantage of decorative cloves.
Picture ready!
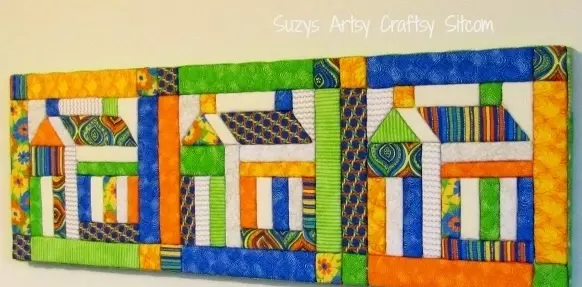
The master class in its manufacture is perfect for children. They will be able to feel like real artists and independently create a decoration for their room.
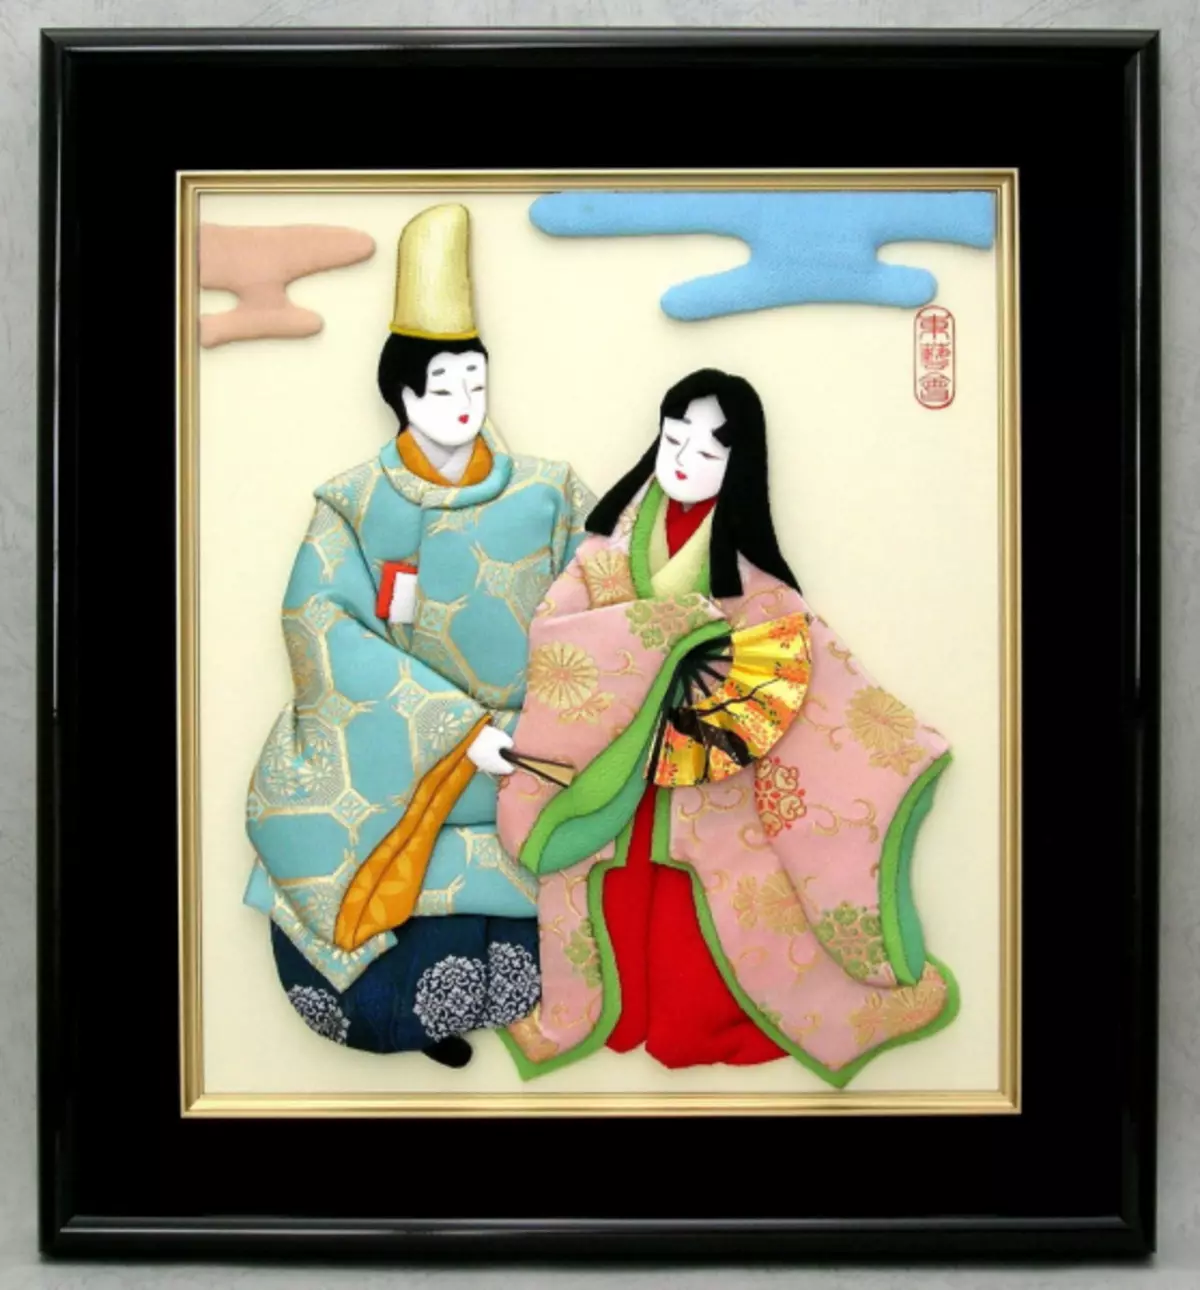
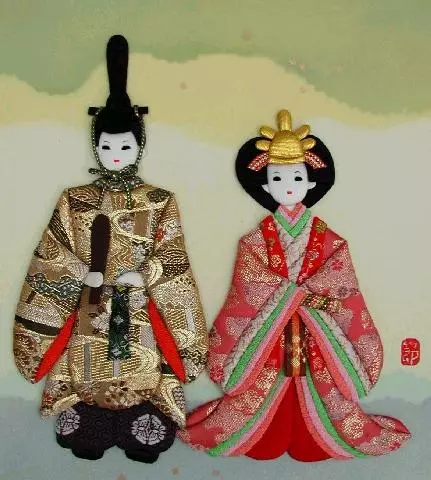
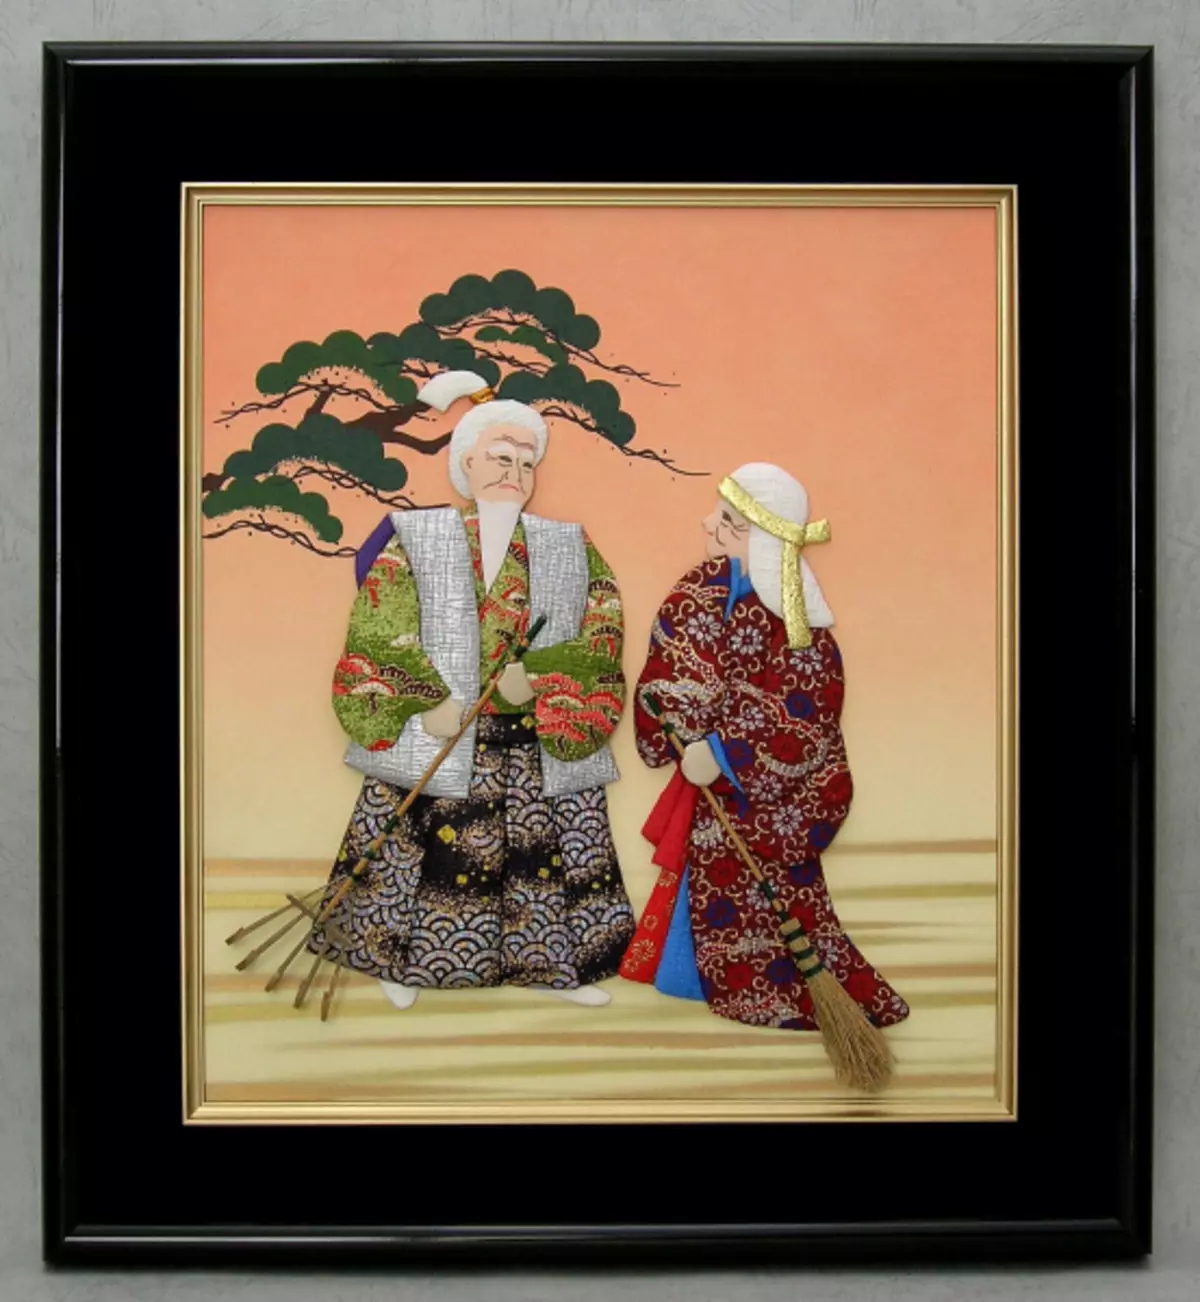
Japanese technician Osie
Practical Japanese women did not throw off the trimming of the fabrics, of which their traditional clothes were sewn - Kimono. Silk cost quite expensive, and every block of this cloth tried to put into the case. Then it was invented to create small pictures of the flap of the tissues pasted on paper. Chinese paper was very fragile and was not suitable for this type of art, so the Japanese created their own material called Vasi. It is not at all cellulose, but a fiber of a tute tree. It gives paper strength and elasticity. It is difficult to get wasi enough, so for the picture the pieces of fabric use.
To fulfill the traditional Japanese picture you will need:
- Paper;
- Fabric flaps;
- Foam;
- Glue;
- Pattern pattern;
- Cardboard sheet.
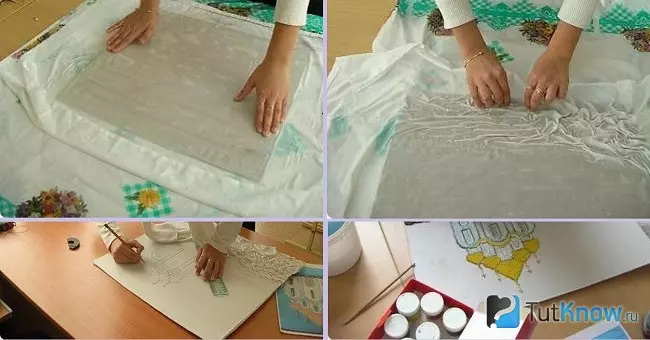
Let's start directly to the master class.
- In the cardboard ride the foam rubber. Pick up the appropriate plot for the painting. One copy of the template is applied to the cardboard with a foam rubber (from the cardboard), the second mirror reflection is transferred to a sheet of thick paper.
- Cut the details from the cardboard and duplicate them on the fabric, do not forget about the allowances. Enclose fabric to a cardboard basis so that it is in the foam rubber. The edges are adjacent.
- Prepared parts are glued onto a tight paper sheet and cut down the contour. The finished picture can only be glued to the appropriate background.
Article on the topic: Crochet Patterns: Schemes and Description COFT and Tunic with photos
Now you know how to make a traditional Japanese picture of Osie.
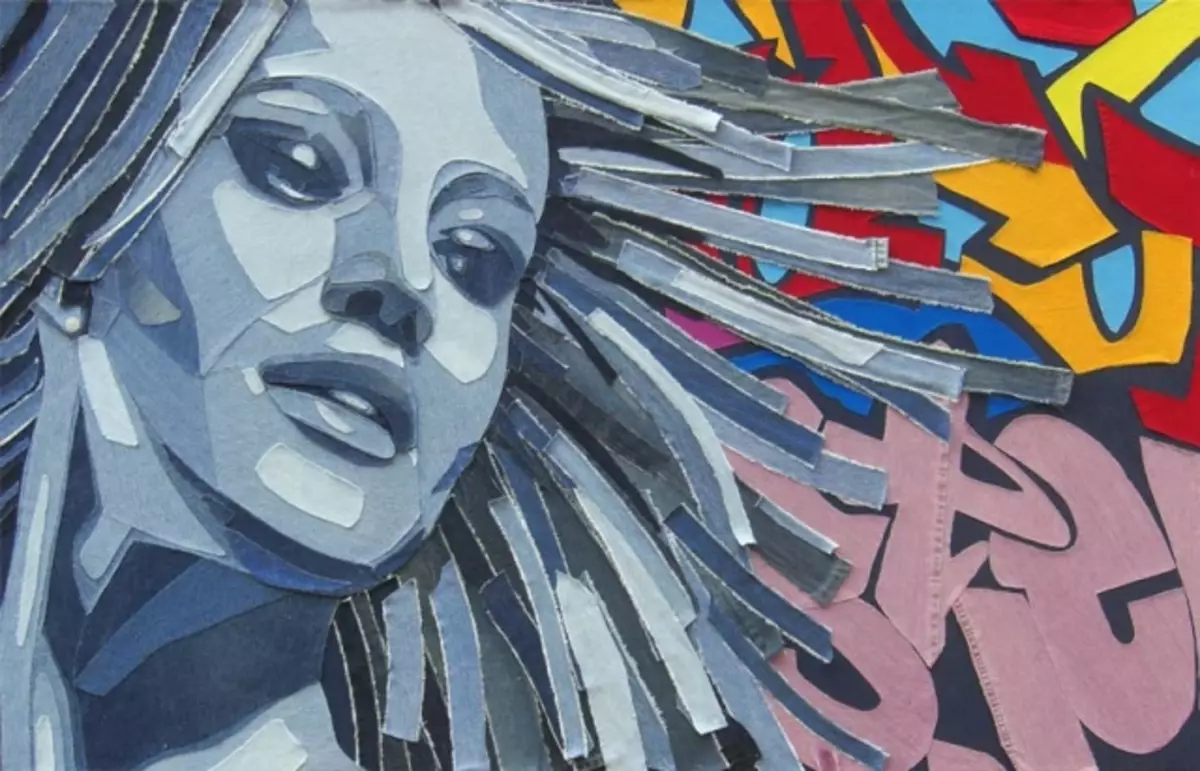
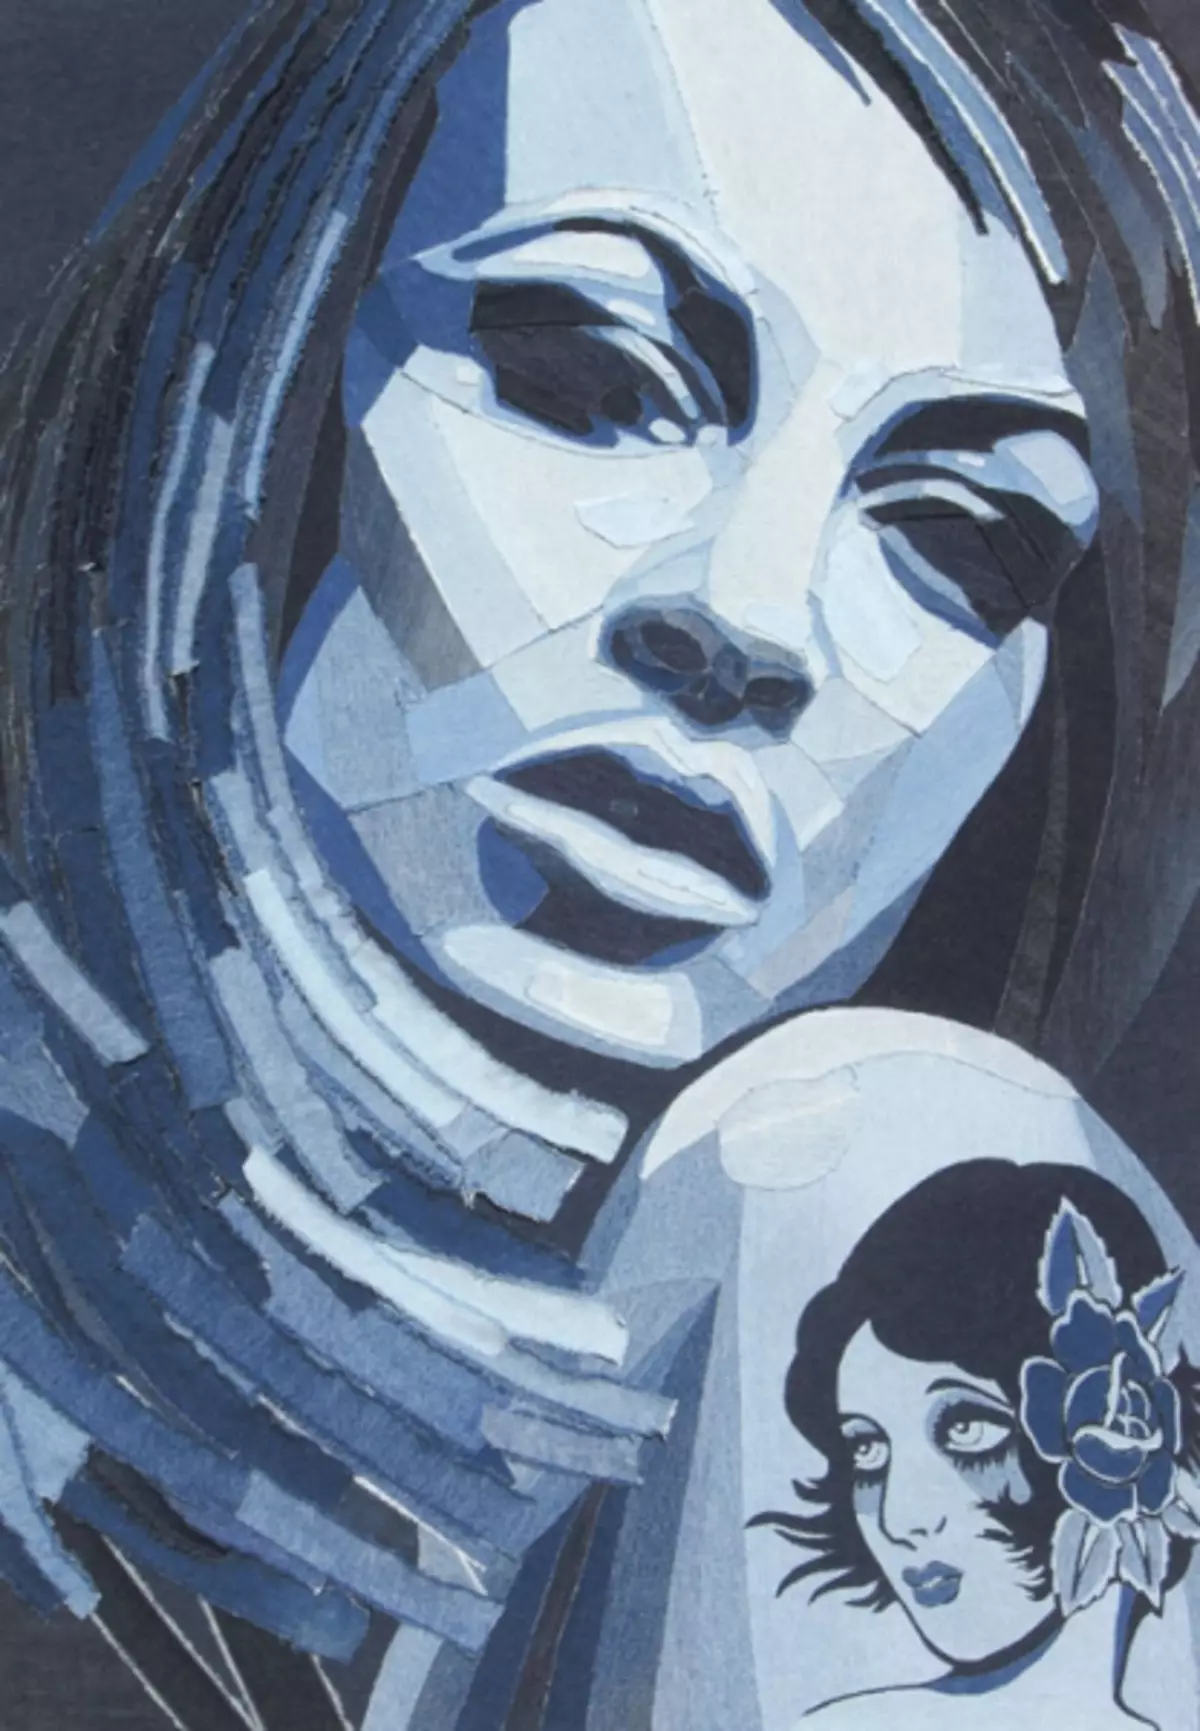
Denim creativity
From denim, or from denim, you can create beautiful pictures. They are obtained volumetric due to the combination of various shades of this durable fabric. Make such pictures as conventional fabric applications. Pick up the plot, they prepare a lot of losks and glue with glue.
The artist Yan Berry created many such works, we suggest you to inspire his works.

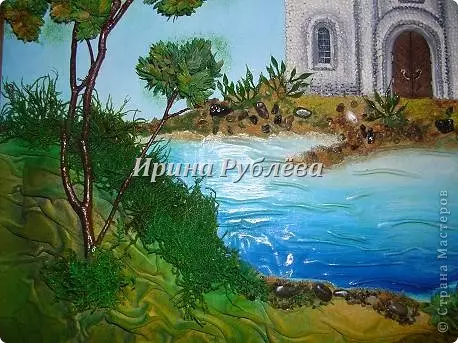
Wet fabric
The fabric is easy enough to dramatically. This property has been applied to the creation of natural elements in the pictures. The cloth moistened with a leaf is superimposed on the basis (Fanora) and in the necessary places are draped by hand. This technique allows you to create clouds, water ripples, mountain ridge wrinkles and clothing on people's figures. The rest of the paintings are drawn and complemented by various natural elements. The technique of work is so simple that is suitable even for beginner masters.
Video on the topic
We invite you to explore the selection of videos in which you will clearly see the process of making pictures from the fabric.