
Now it is difficult to surprise someone with a gift. But I want to make an exclusive gift? A lesson can come to the rescue, thanks to which you can learn to make strawberries from candies with your own hands. It will help not only create a fragrant berry, but in the future, mastering techniques and manifests the fantasy, will allow them to be used in the manufacture of other unique compositions that can raise the mood to close relatives and friends.

The process of creating such a strawberry is quite simple, although it requires certain knowledge.
Sweet berries
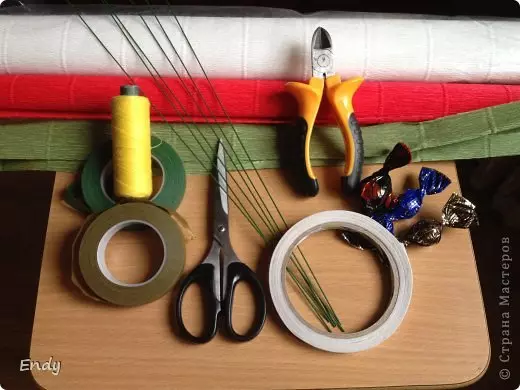
It can be said that this master class is designed to use quite affordable materials. The proposed list can be adjusted with the availability of similar materials.
- Corrugated paper. It is desirable to pick up red, white, yellow and green colors;
- Special wire, it can be purchased in a flower shop;
- Double sided tape;
- Threads;
- Scissors;
- Nippers;
- White marker or pencil;
- Candy. It is recommended to choose candies of different sizes so that the composition looks more realistic. Best are suitable in the form of truffles and small round shapes.
Step-by-step analysis
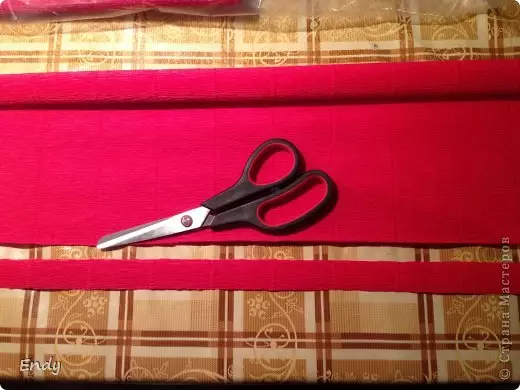
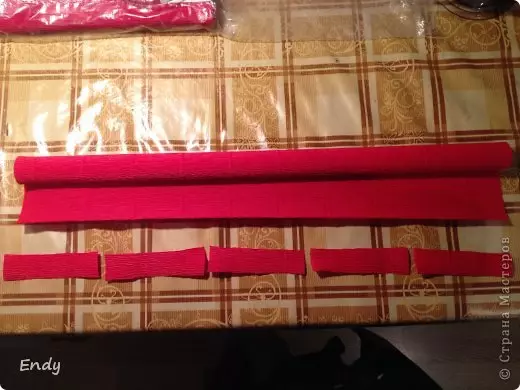
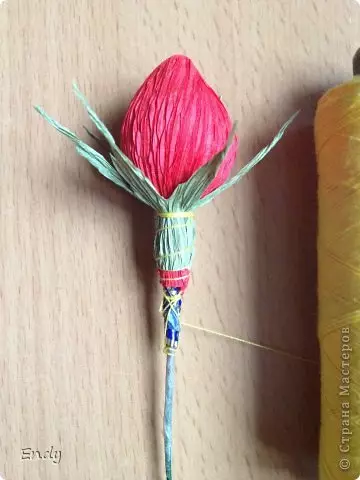
Creating berries. To begin with, we need red paper. It is necessary to cut off the strip of about 2.5 cm wide and split it, depending on the size of the candy, into several parts.
Candy can be different in its size and volume, this moment must be taken into account.
Cut the band on the part in such a way that after the candy will be wrapped in it, it turned out a small tail. It is necessary for the subsequent fastening of candy on a wire.
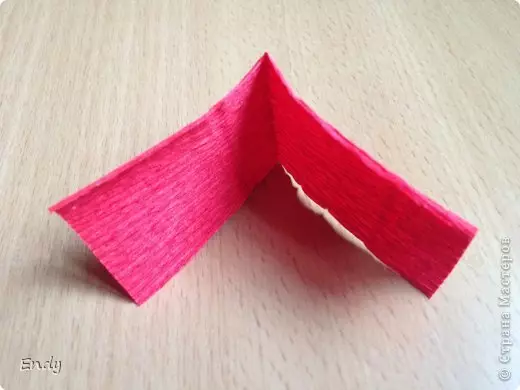
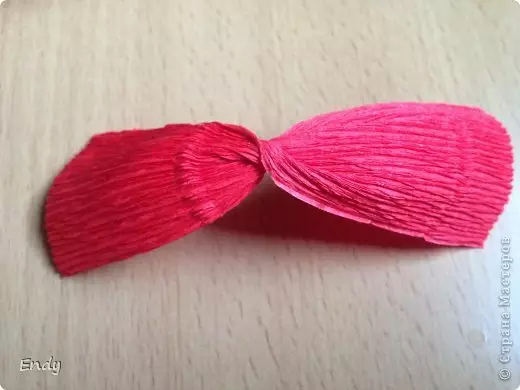
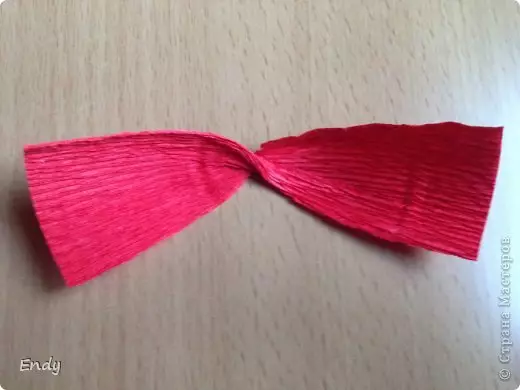
The resulting pieces of paper should be neatly folded twice and slightly press the fingers to accurately determine the workpiece. Holding out the ends, the workpiece must be slightly twisted at the scene of the fold. The required number of pieces of paper in the same way twist and so far lay aside.
Article on the topic: Application on the topic Autumn of colored paper in kindergarten with photos and video
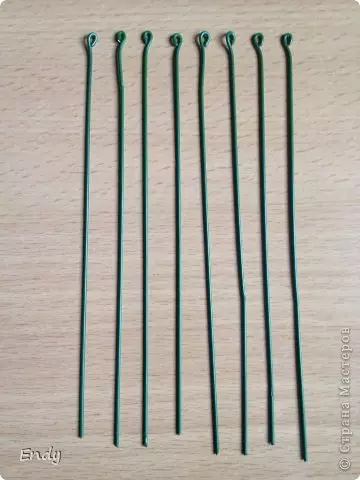
Now you need to prepare the Strawberry "stem". To do this, it is best to use the wire. She is supplied, it is easy for her to give the right shape. If you remember how the strawberry bush looks like in reality, then it can be understood that the ripe berries hang on the bush. Therefore, to give the composition of the maximum similarity, it is better to use the wire.
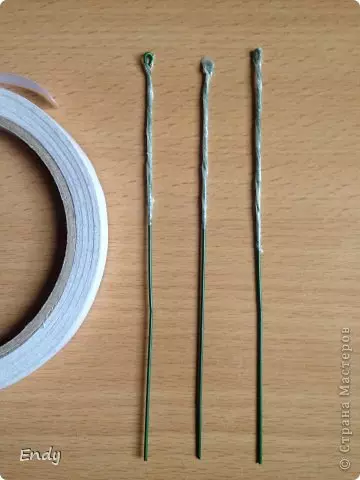
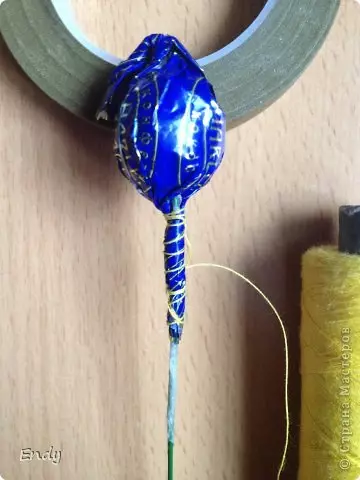
We divide the wire into several pieces. With the help of a bustard at one end, we create a small loop, which will help consolidate the candy without piercing it. Now the end of the loop wire needs to be wrapped with bilateral scotch.
Attach candy. But before you need to bend the top end of the wrap. And at the expense of the lower end, the candy is fastened with a turn on a wire. The thread is not yet trimmed.
Making sure that the candy is well fixed on the wire, you can start wrapping it into the prepared corrugated paper. To secure the paper several times the ends are wrapped with a thread that does not yet cut off.
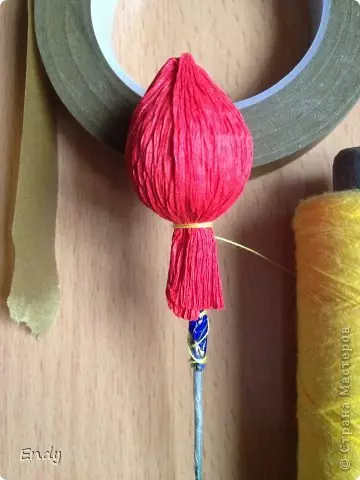
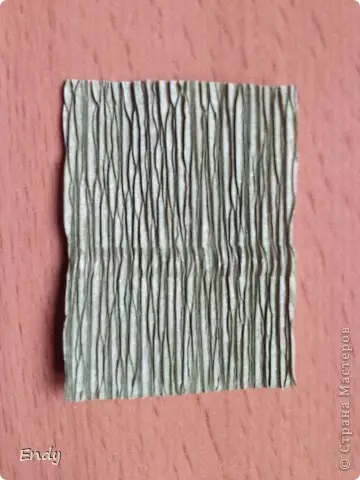
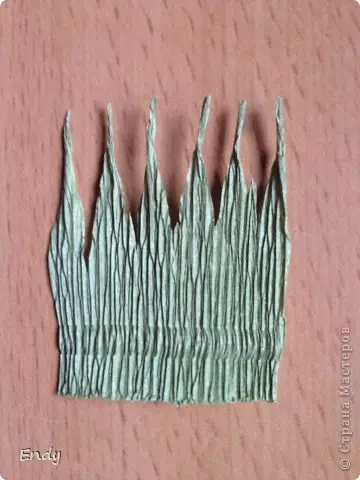
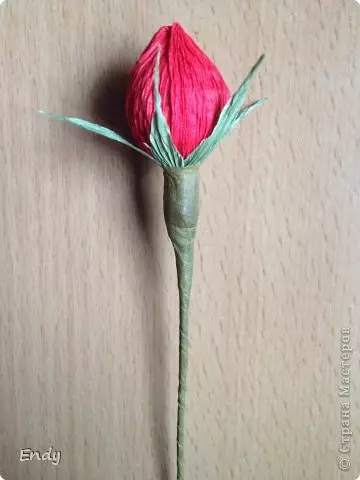
Next you need to make green leaves. Of the paper of the green color, we cut a piece of 3 sizes of 4 centimeters. The amount depends on the number of berries that will be in the composition. On the narrow side, a piece of paper make small cuts and tips slightly twist with your fingers. It should work out as in the photo.
The resulting leaves turn around the red berry and tie the thread. Now it can be cut off. Stem can be decorated with a strip of paper green.
The last "barcode" remained. On the red part of the bervenus with a white marker or pencil, you need to put small dots.
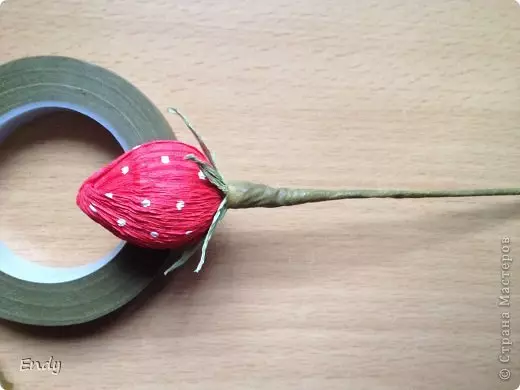
The remaining berries of strawberries do the same.
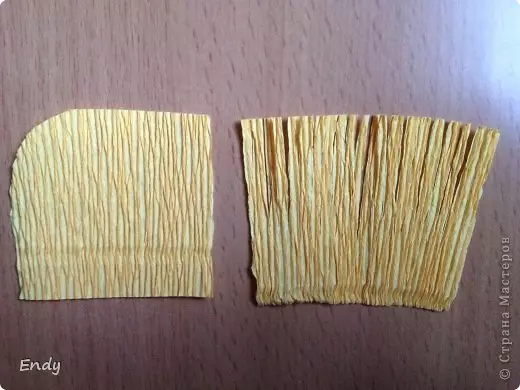
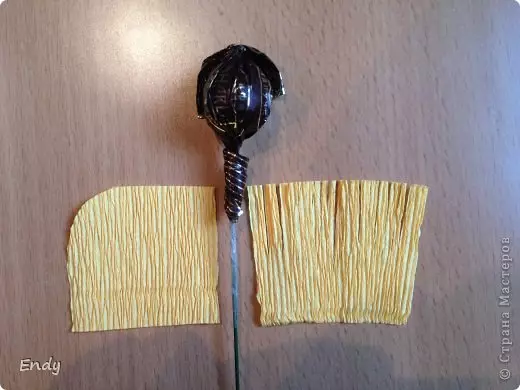
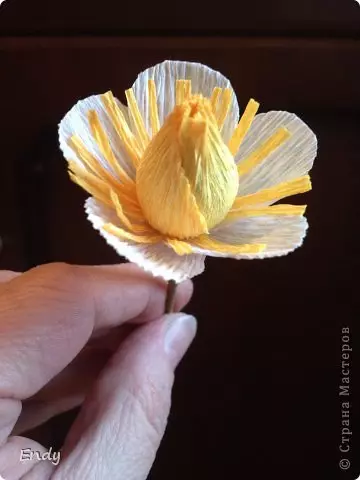
Making flowers. For flower, you need a yellow paper. It cut out rectangles with a size of 3 to 4 centimeters. There will be two such blanks on the creation of one flower. One of them has one of them to round up. And the second needs to make cuts around the middle to the wide edge to get the "fringe".
Article on the topic: Cheerful crochet cow. Amigurumi
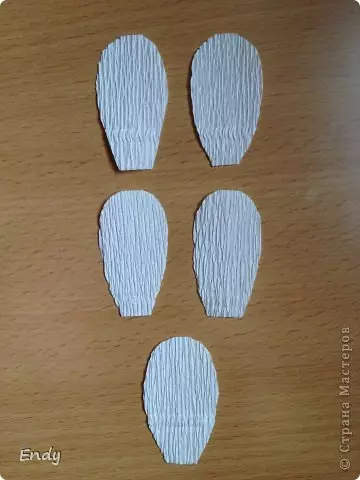
Now you need white paper. Cut the blank with dimensions 2 by 4 centimeters at the rate of five pieces per flower. With the help of rounded scissors, give the workpiece rounded shape from three sides.
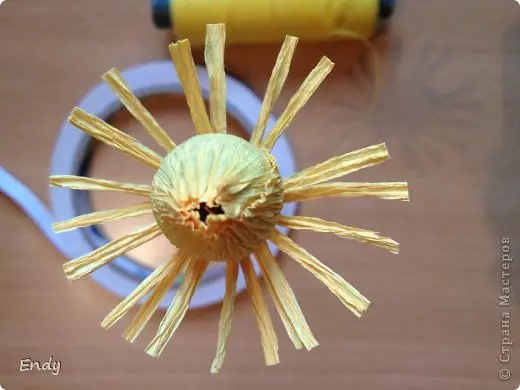
Finally, you can begin to pick up a flower from individual parts. Candy fasten on the wire and turn it with a piece of yellow paper with a rounded corner, we turn the thread several times from below. Next, we use the workpiece of yellow with the "fringe" and reinstall the thread.
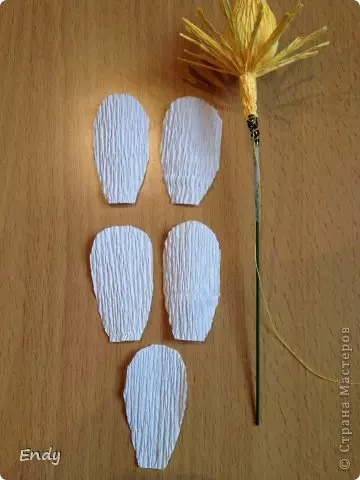
White leaves need to slightly flips to give them a more natural look. In turn, fasten around the yellow middle of the flower and again wrapped with a thread and cut it. Stem can be decorated with a strip of paper green.


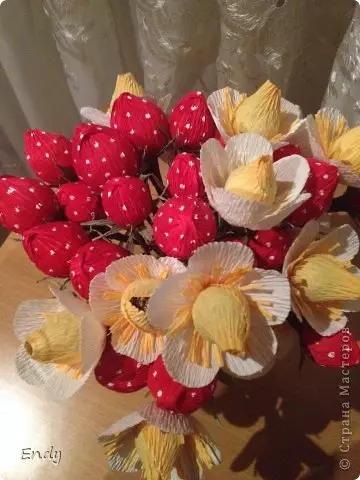
Similarly, you need to prepare the desired number of flowers. It remains only to collect all parts of the composition together and place it in a suitable vase.
Video on the topic
For inspiration, you can familiarize yourself with the following video: