
Jewelry rings and jewelry are no longer surprised. However, for creative people make unusual stylish decorations will not be difficult. This article describes several ideas, how to make rings with their own hands of an unusual form.
Stylish decorations
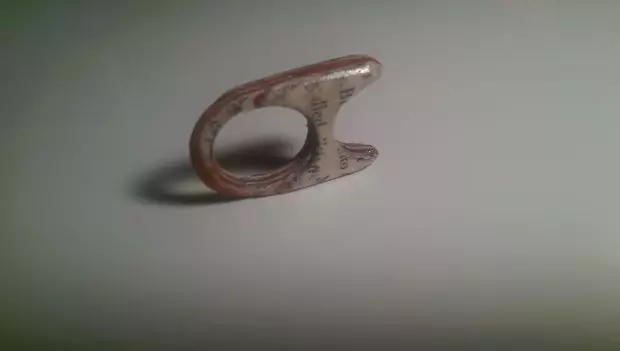
It will not be about the rings that are made by folding paper sheets in Origami technique. Such rings are more suitable for children. But for girls and women who differ in creative and a sense of style, will become wonderful decorations "literary" rings. They not only look great, but also resistant to moisture. The shape and color can be made absolutely any.
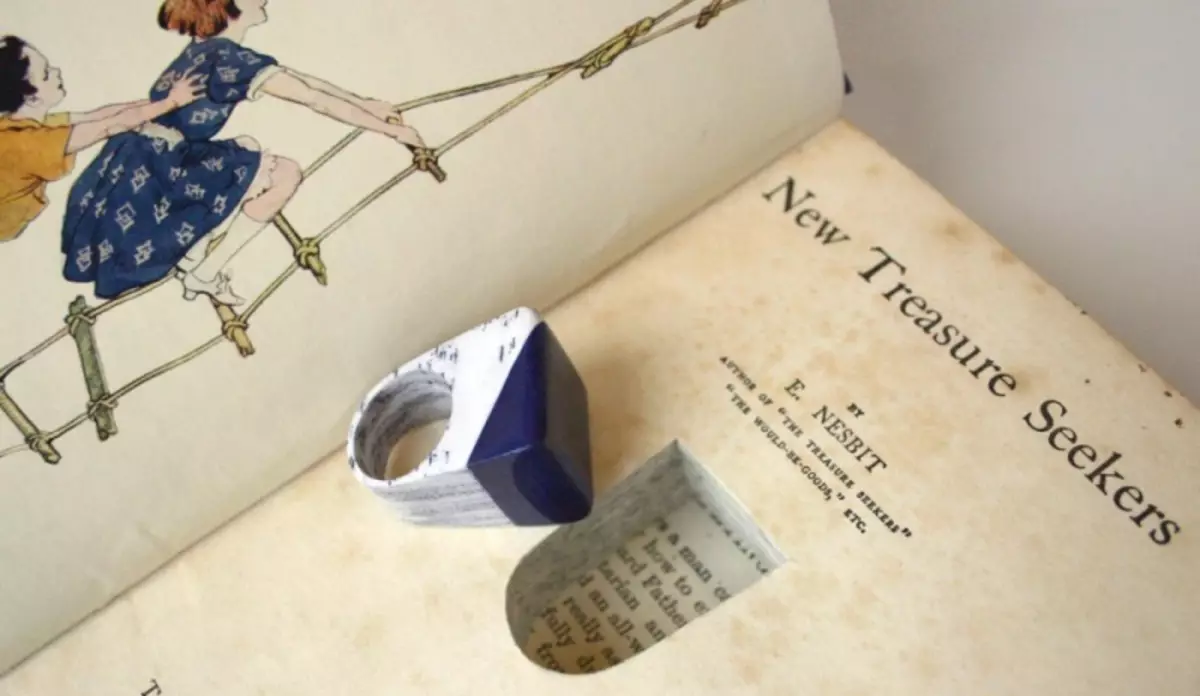
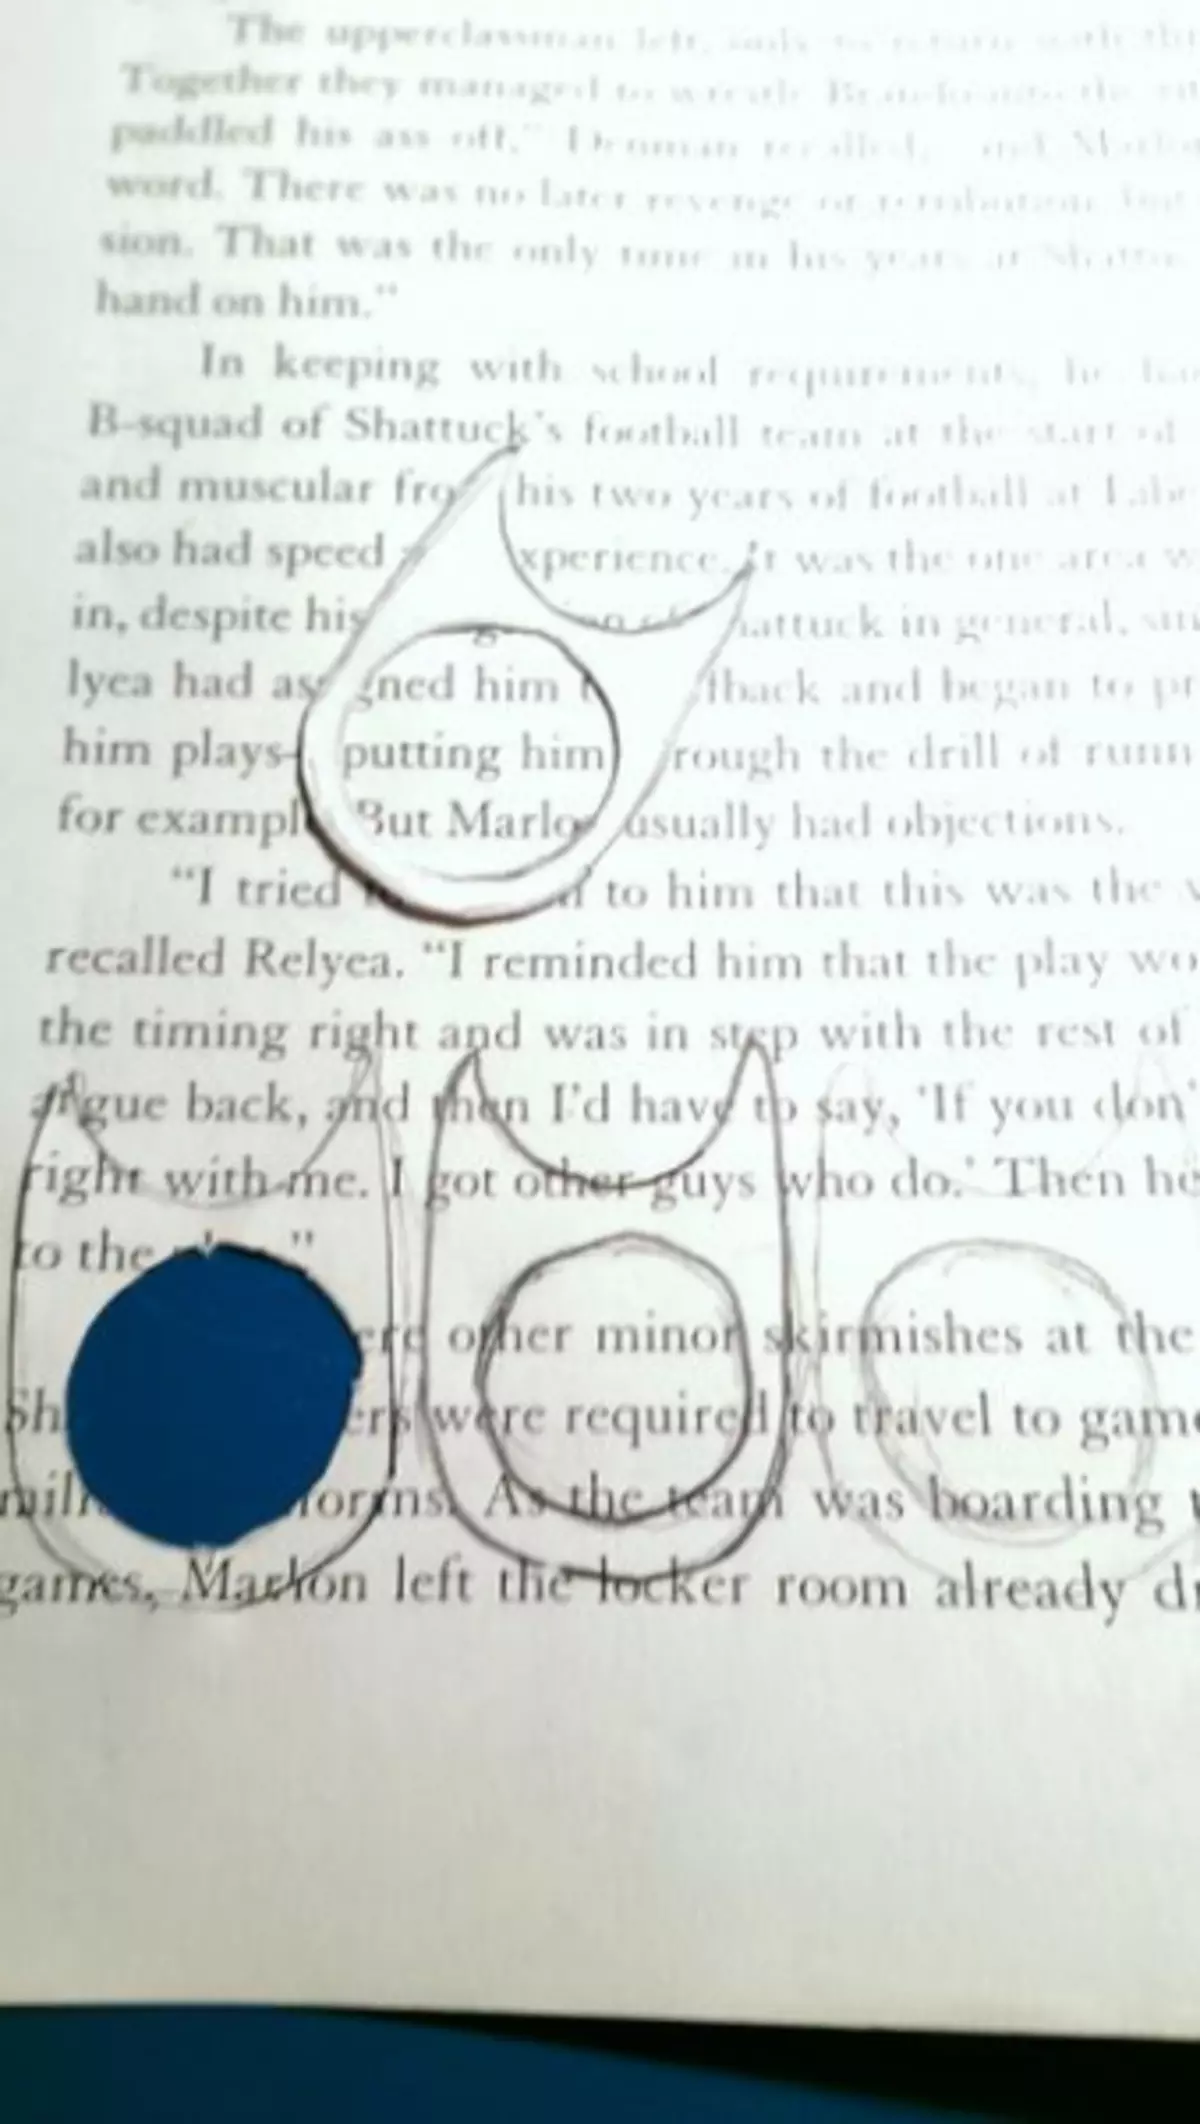
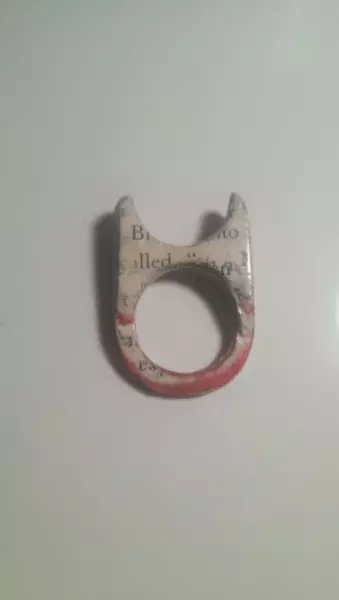
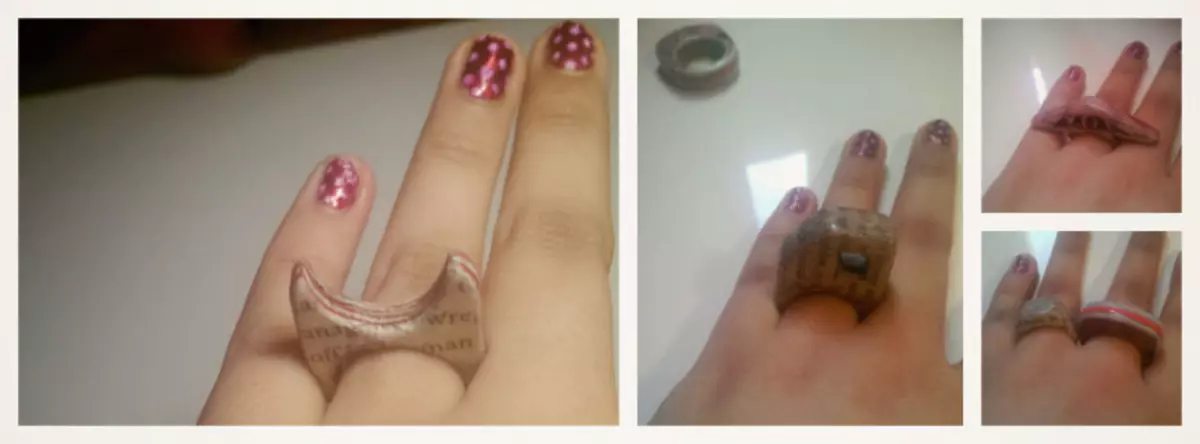
The founder became the Briton, who made the first ring on the wedding anniversary. The ring turned out to be so attractive that was greatly popular worldwide. For lovers of reading, such rings will become not only a beautiful decoration, but also a symbol of love for books. Rings are created by cutting out of old books blanks, gluing sheets and lacquer coatings. If you wish, you can apply a picture.
Such paper rings can be made not only from books, but also from the stack of multi-colored magazines, advertising brochures, printed pages of documents, old notebooks. By the way, after graduation, you can make a gift from the abstracts and make a ring that will be "trophy" and will always remind about this time. It can even become a talisman for a successful ending ended.
From the book, which made a special impression and changed the worldview, you can also make a ring. It will always remind you of read. Meaning in such decorations made of paper each invests its own.
Ring from book
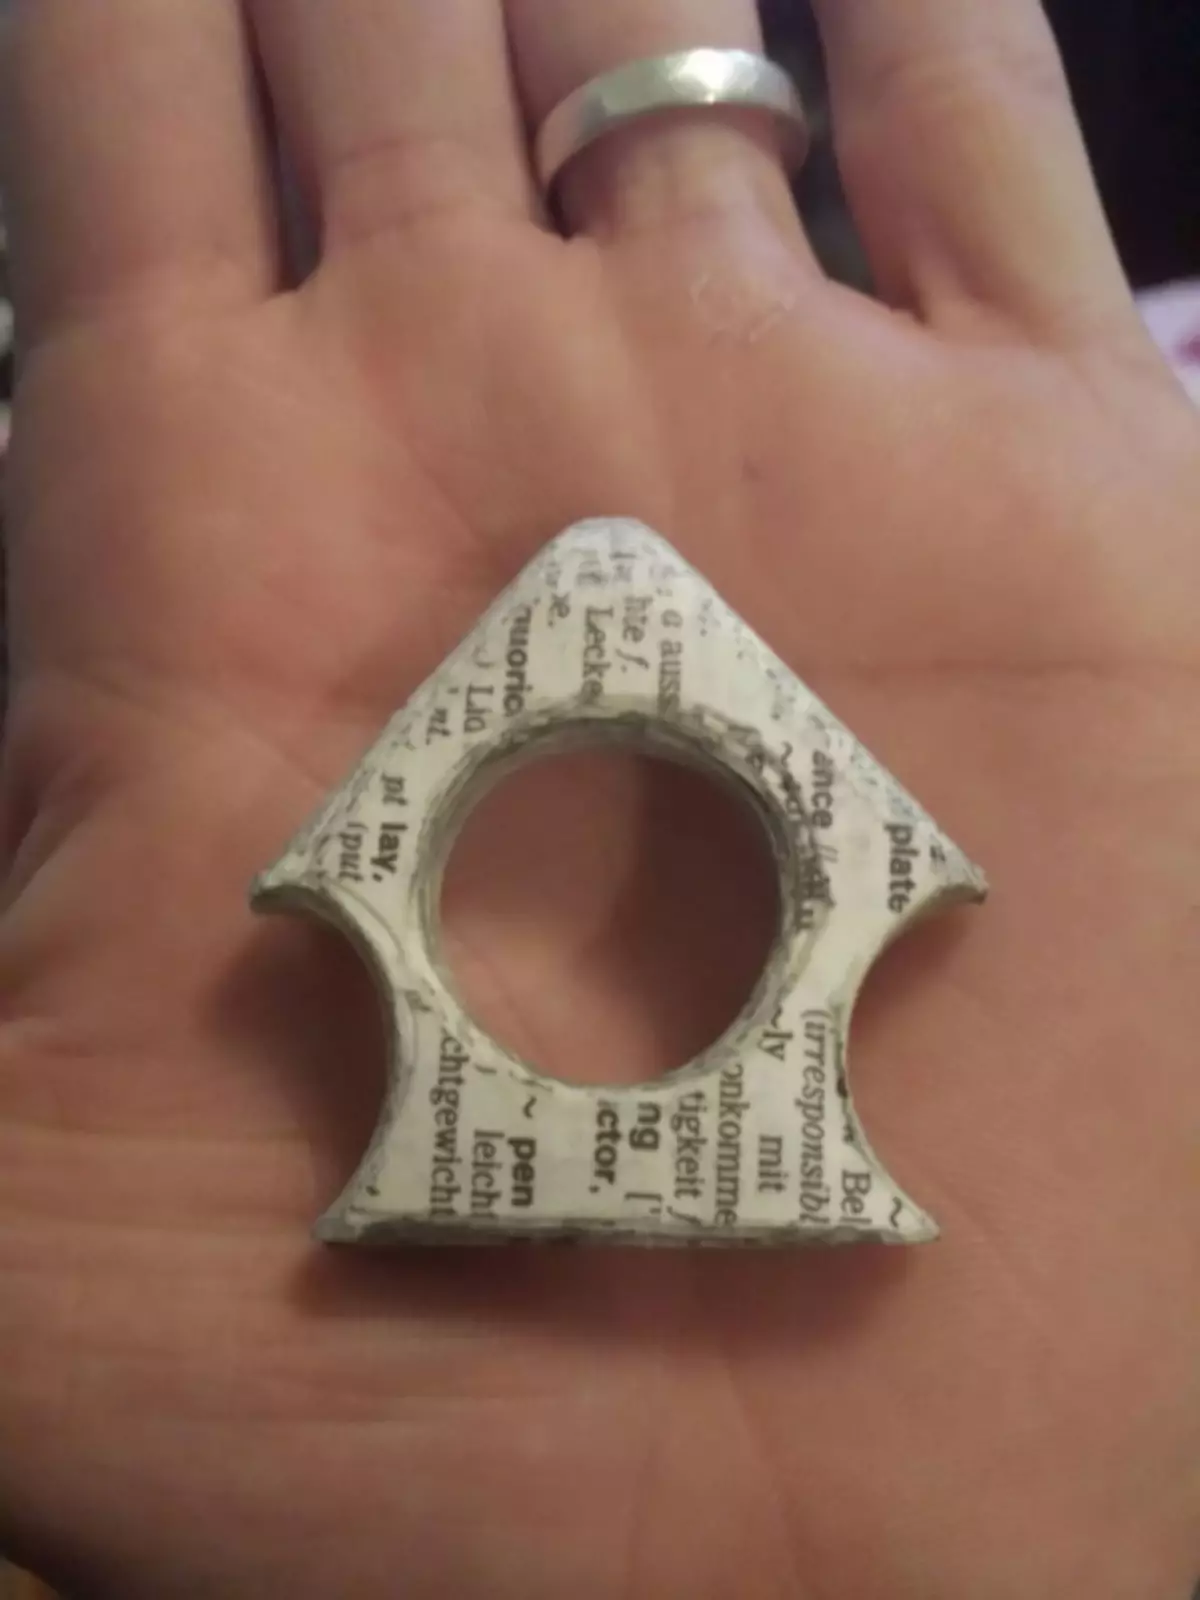
Let's make a fashionable ring from the book with your own hands. Make a master class with step-by-step photos and a description of the manufacturing process will help it.
Article on the topic: Paper for scrapbooking with your own hands from the workshop wallpaper

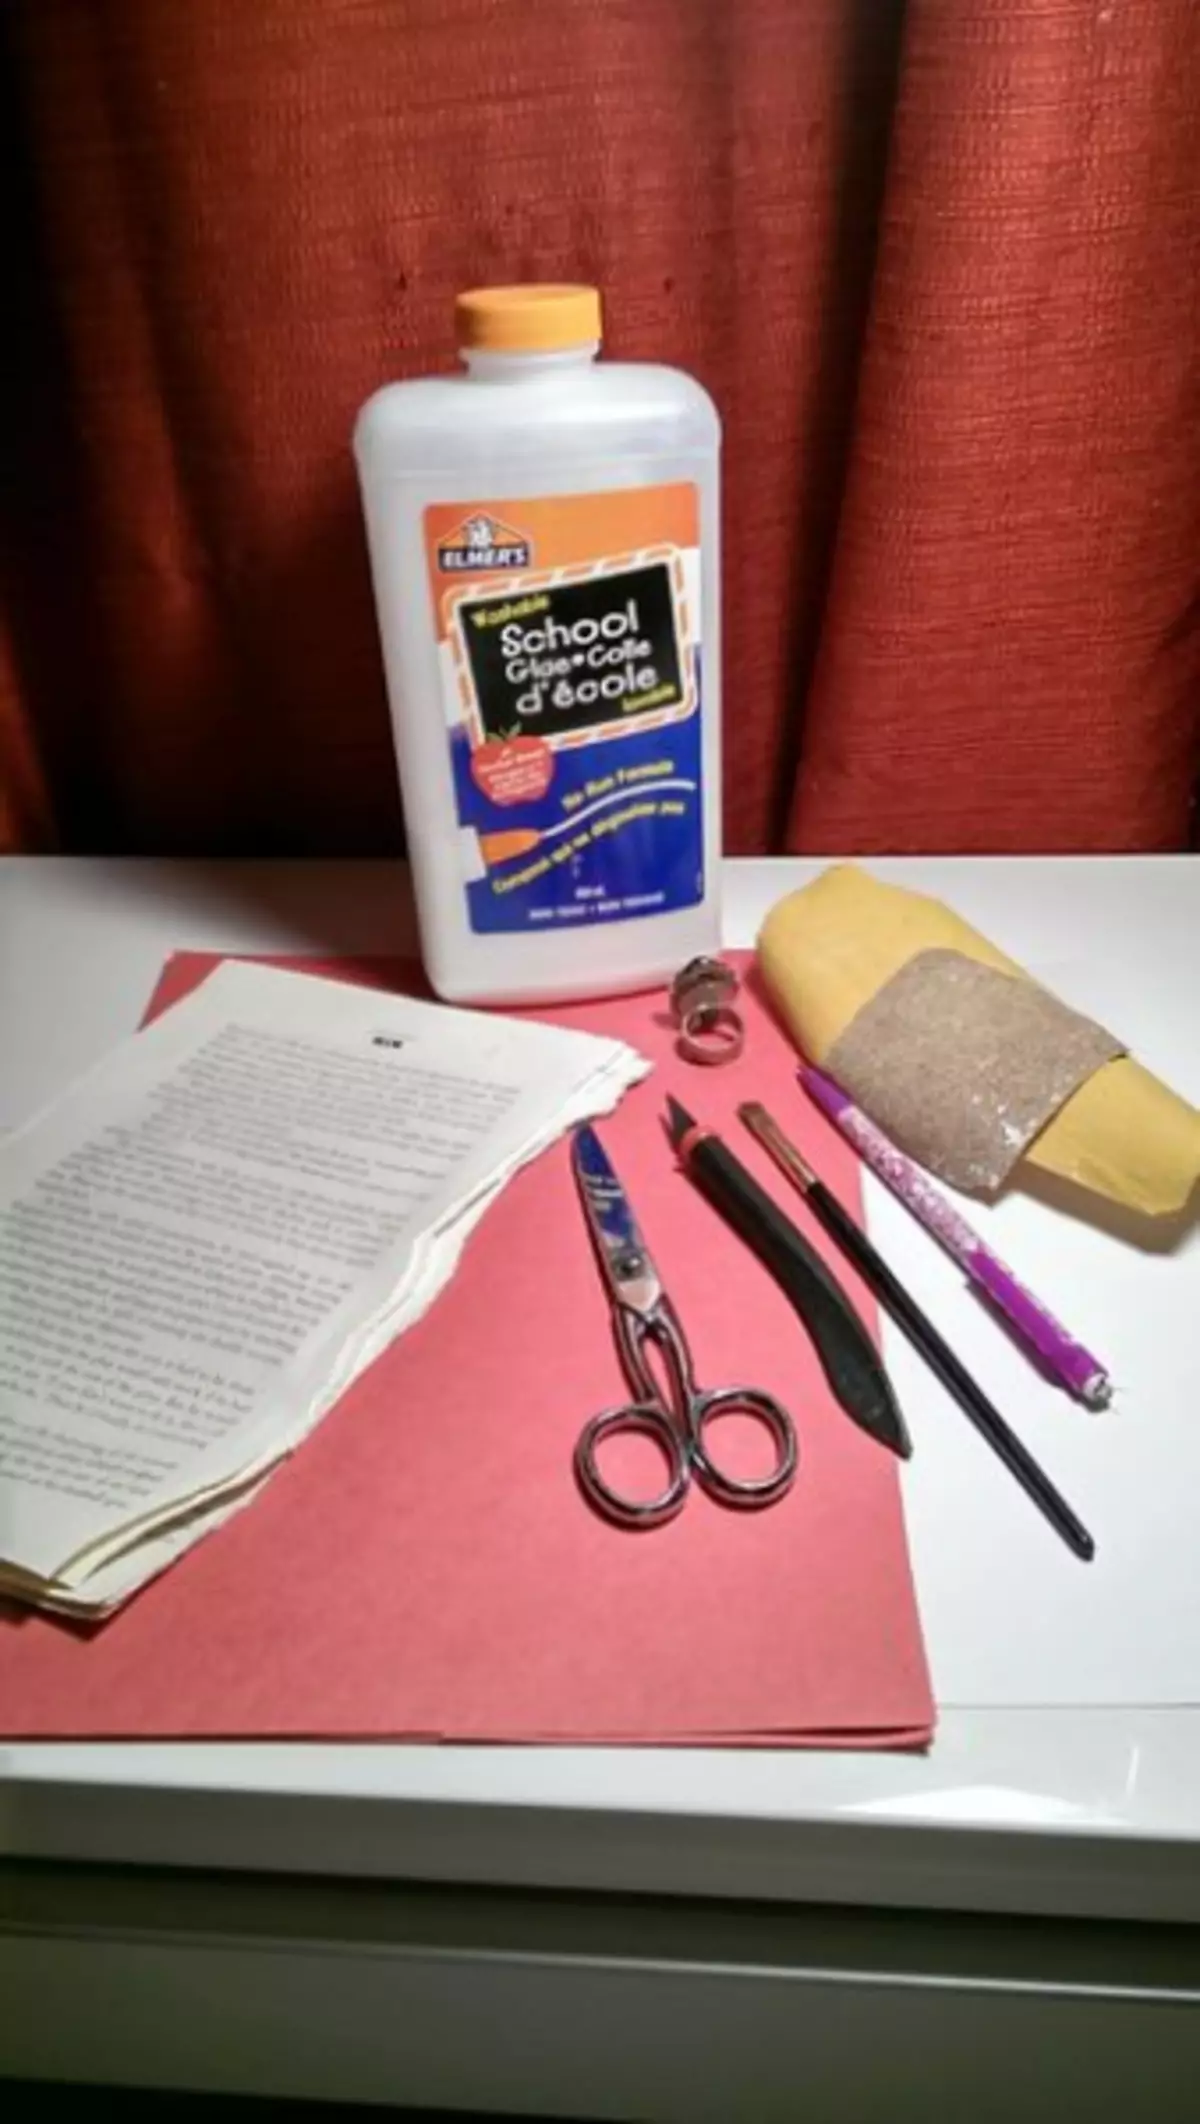
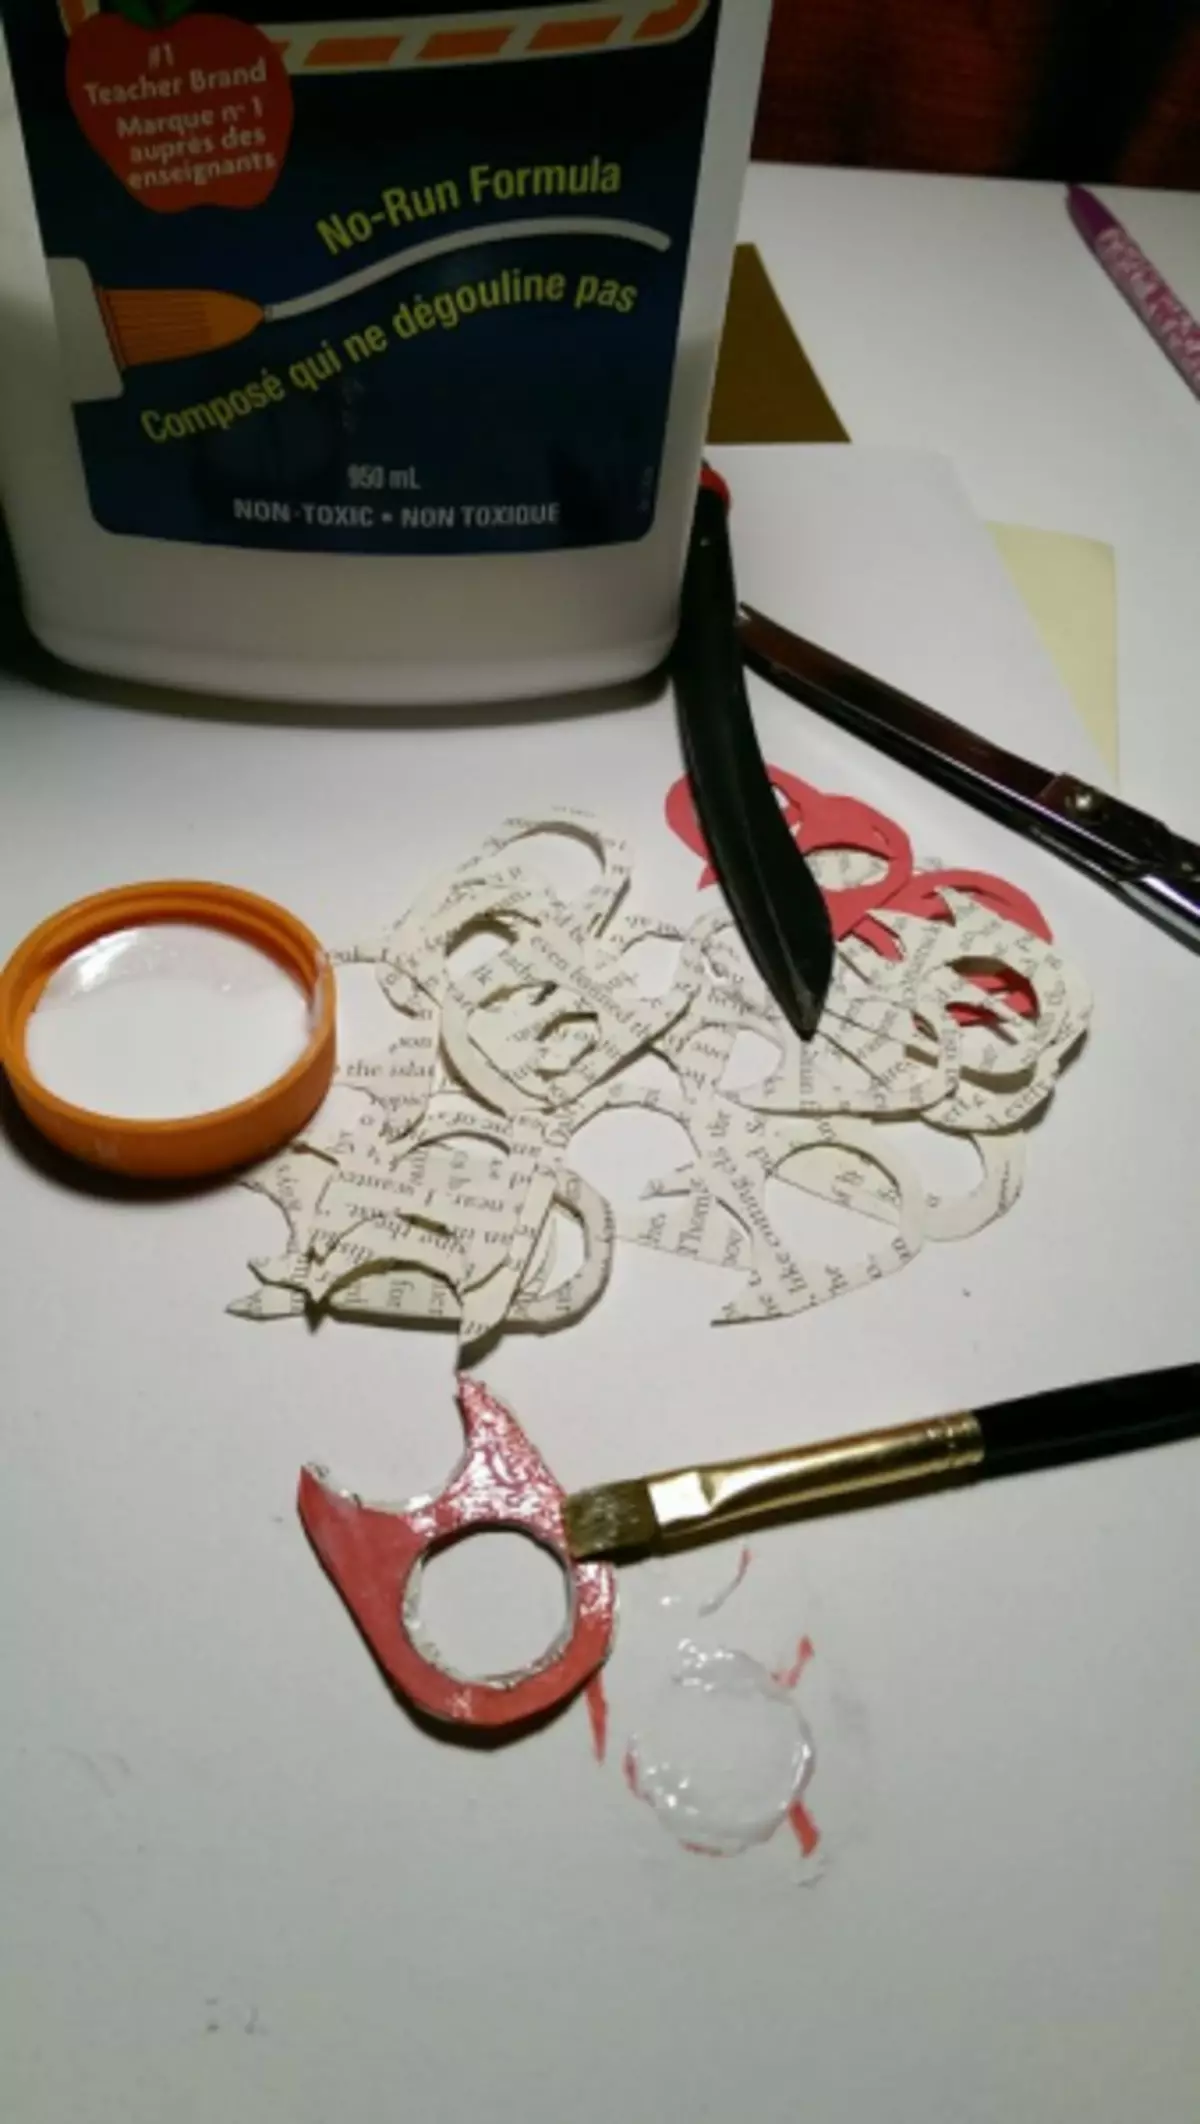
Prepare everything you need to create a ring. Of course, paper, book, magazines, newspapers, advertising brochures are suitable for anything. Glue and brush, scissors, stationery knife, sandpaper grinding, furniture varnish, for polymer clay or ordinary nail polish, pencil and ring that you are in size.
On paper, we supply the ring with a pencil and invent the design of the future rings.

Cut the painted pattern.
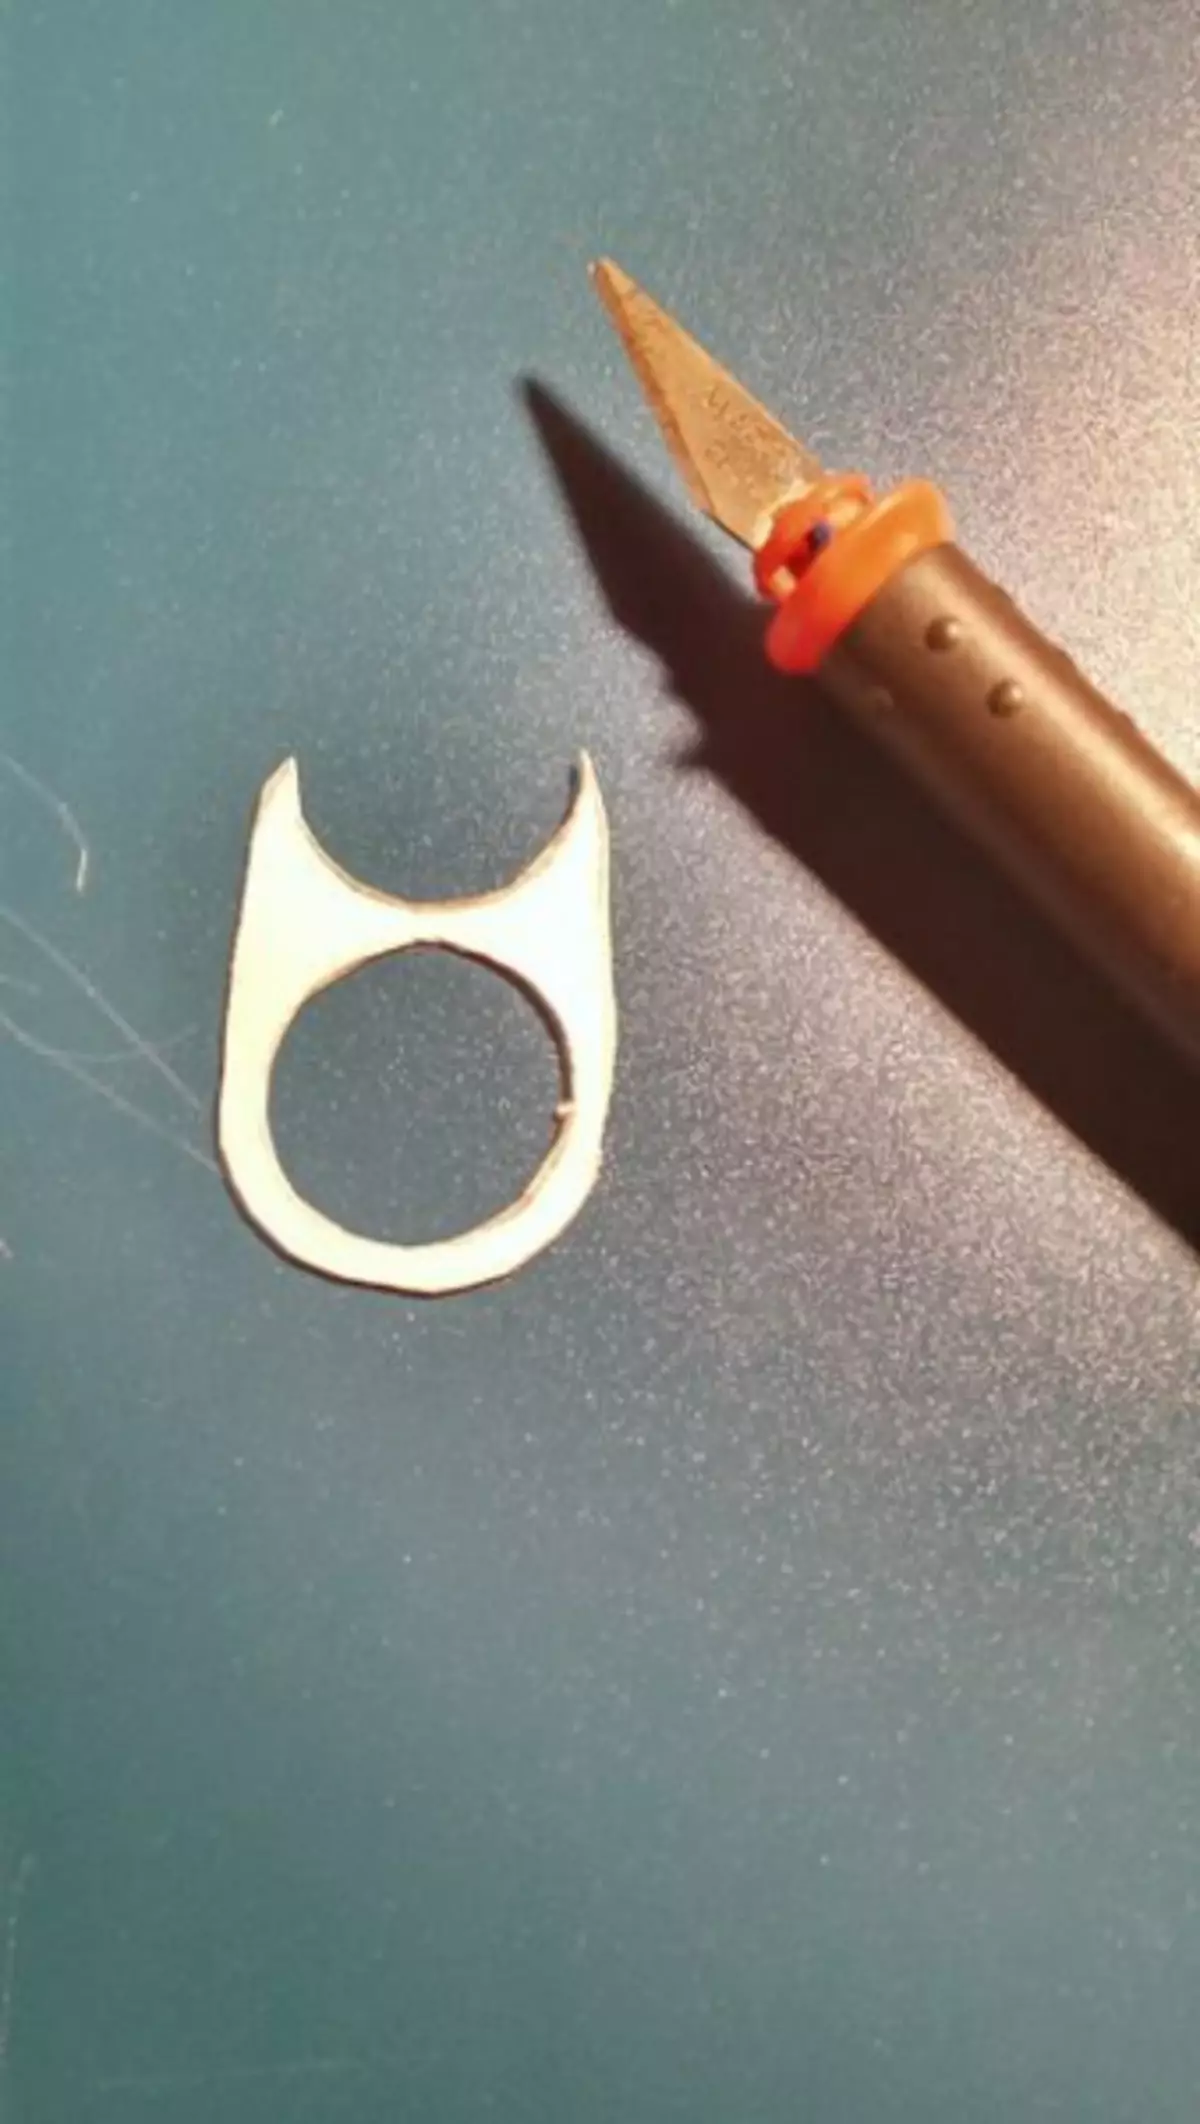
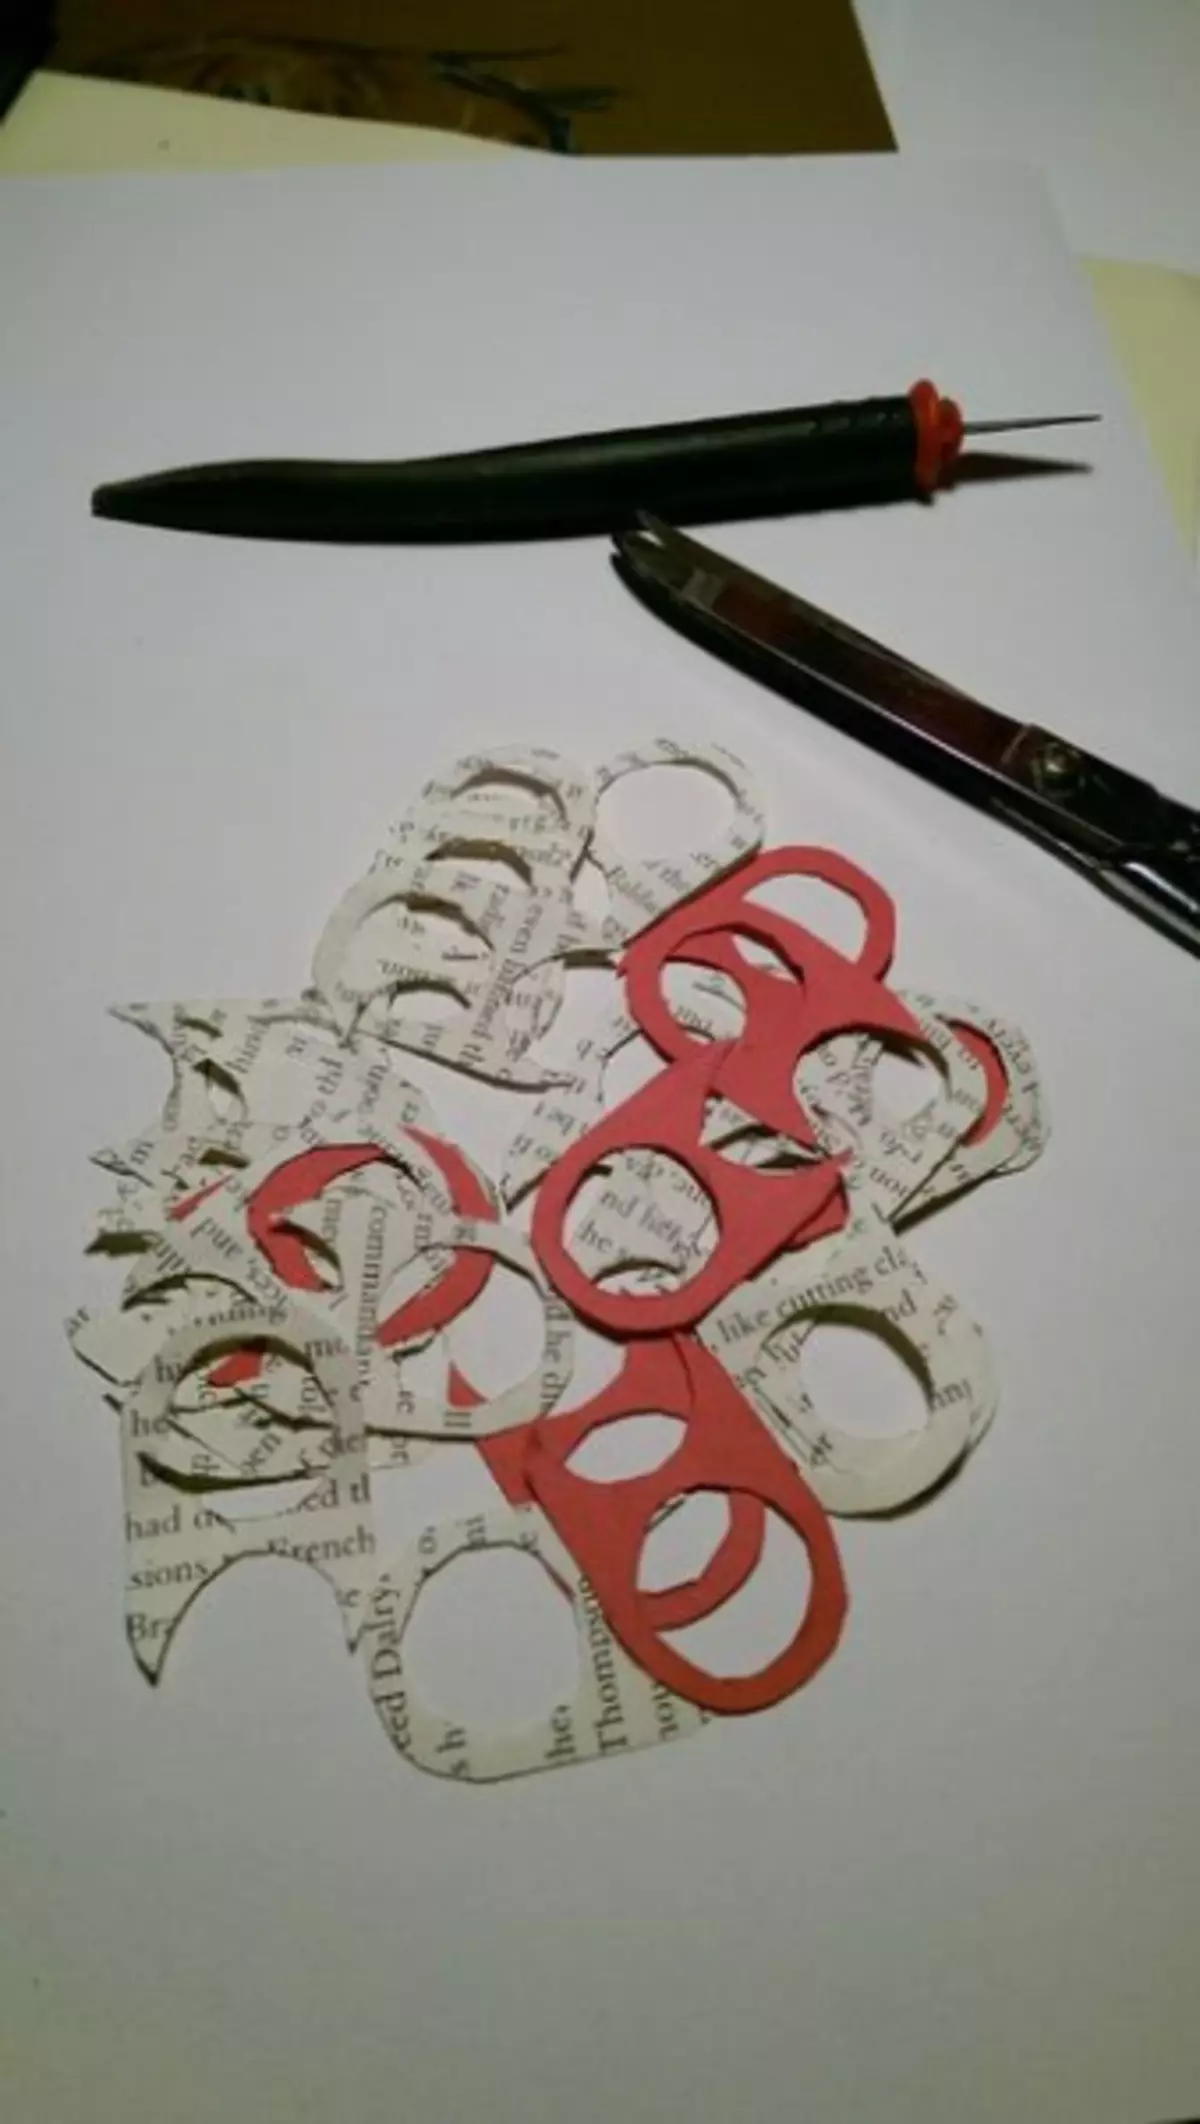
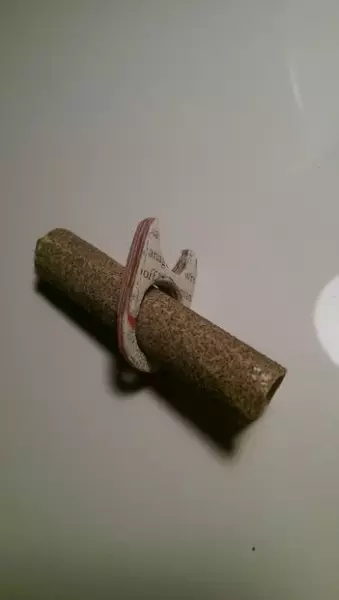
We fold the sheets in the stacks of three pieces. We supply the template and cut out. This process is long, but it is necessary that the ring turns out to be smooth. The tool to be cut is good.
So that the product is more interesting or if you do not plan to color it, cut out several elements from colored paper.
Now in turn, one by one, you need to glue all the elements among themselves. The glue must be applied quite a bit, the layer should be smooth and thin.
After gluing all the elements, it is not very heavy from above that the ring is dense. It is necessary to do it very carefully so that this stack of elements does not twist. Leave drying glue. To dry it will be long, at least a day. Once again, do not touch it, in order not to spoil.
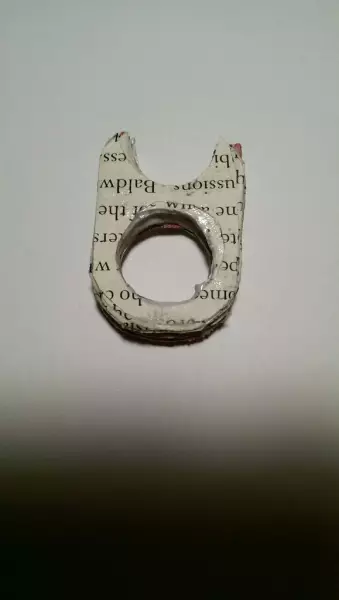
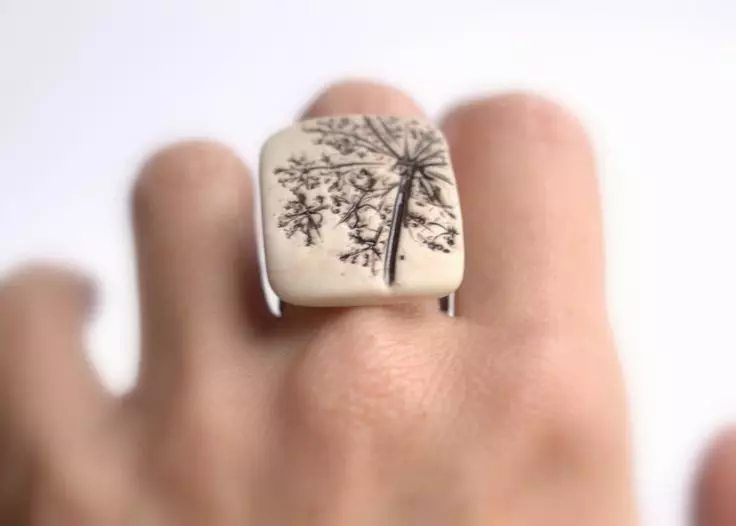
After complete grazing, we clean the irregularities and grind the edges of the ring from all sides.
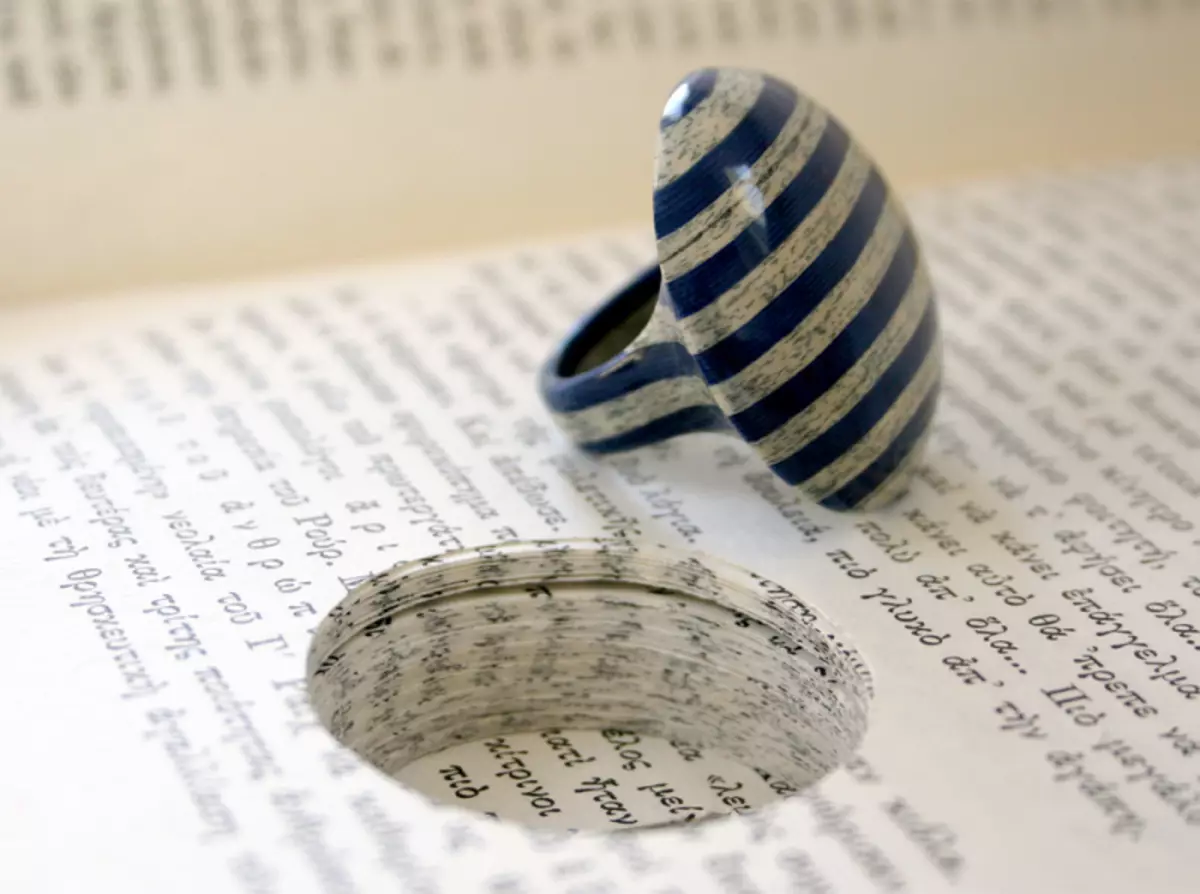
It remains very little. Top covers a varnish product. In the middle of the varnish is not needed.
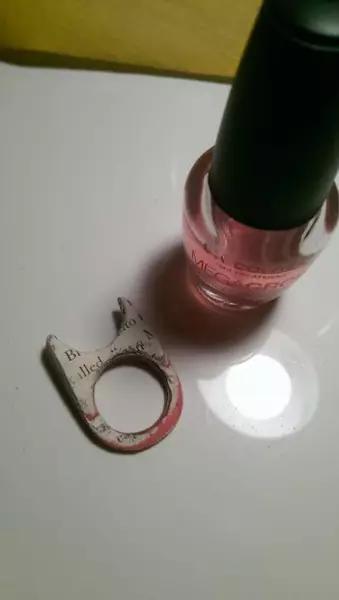
We wait until the lacquer dry, and the ring can be worn.
In order to avoid harmful substances from the printed ink, you can stick a few thin strips of white paper inside.
You can come up with your own design or interesting to paint the proposed rings options.
Fancy forms and colors
Another most suitable material for the embodiment of unusual ideas is a polymer clay. The material is plastic, it is easy to make any item from it. Coloring is also excellent. And even if the suitable clay color was not found, you can always mix the plastic of different shades and get the desired result.
Article on the topic: Coaster in the car with your own hands
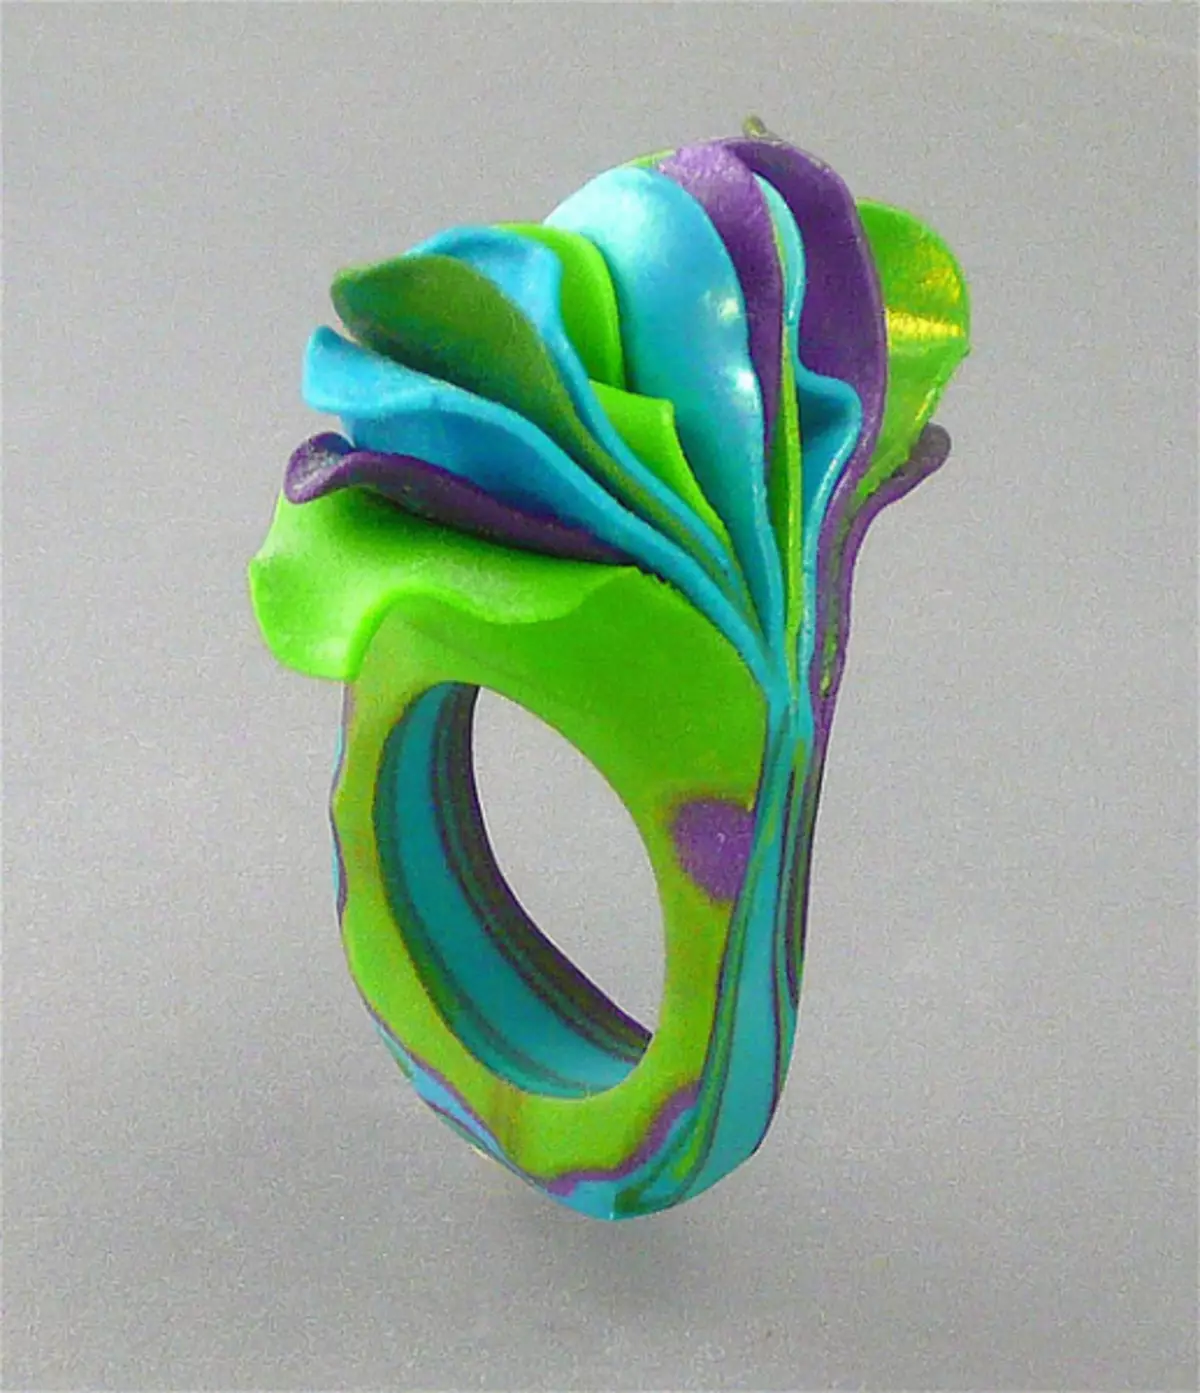
Beautiful original plastic rings do not necessarily have a complex execution. Sometimes a fairly simple concise detail to re-establish an interesting element, and the product turns into a masterpiece.
Let's learn how to make an unusual plastic ring with step-by-step photos with a description of its manufacture. Make it can even beginner.
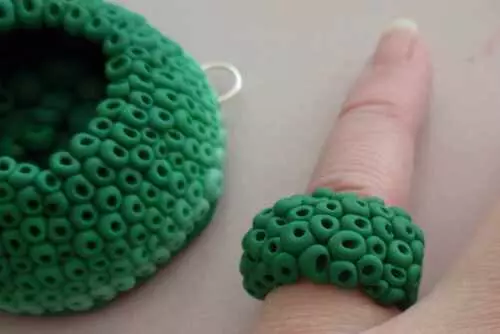
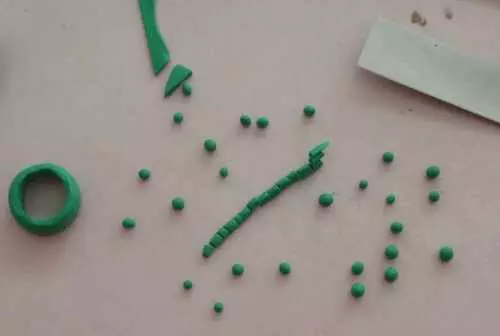
To create a ring, it will take a green polymer clay, wire, rolling pin and a stationery knife.
From the polymer clay, we roll off the strip of such a width, which will be the finished ring. We form a ring of the desired size. Around you wrap it. You can do without wire, but that the ring is stronger, it is better to strengthen it.
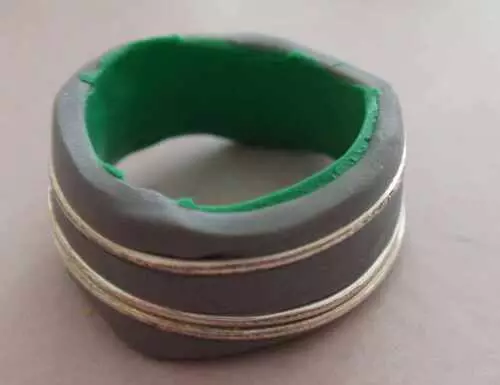
Top to pay the basis of another strip of clay.
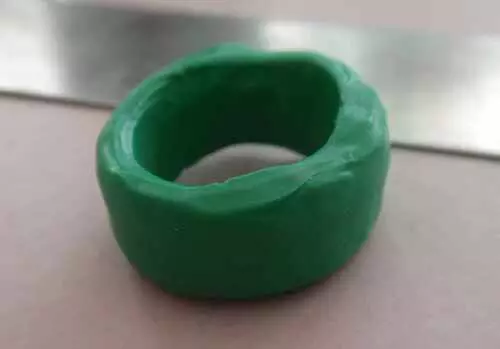
I smoothed all irregularities.
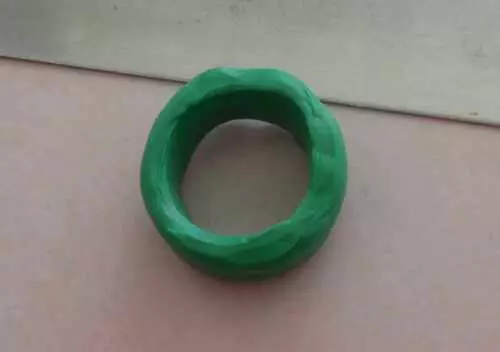
Now we roll a thin strip and cut off equal small pieces. Then each piece roll into the ball.
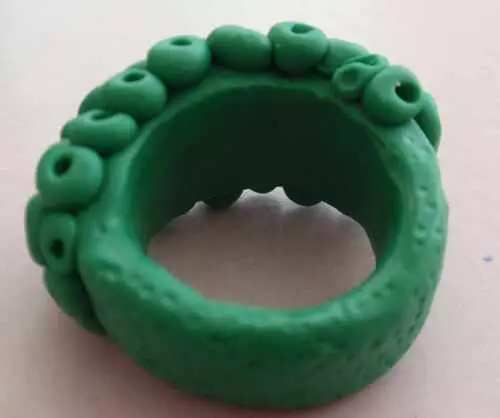
Attach each ball in random on top of the ring. Press the chopstick, the rod of the ballpoint handle or the toothpick hole in the ball so that it is a little part of the ring, but not through. Thanks to this reception, the balls will acquire a quaint look and attaches well. Surface without a ball make texture. To do this, you can "go through" a toothbrush on it or to dip in sugar and press it a bit.
If you use sugar, then after baking it will have to be a good ring to soak in water so that the sugar crystals dissolve.
If you want, you can gently apply pearl eye shadow with a tassel, it will give a small twinkling ring. Or use other dry decorating sparkles.
Next, send a ring to stop in the oven. The time and temperature of the baking is indicated on the package of clay.
Then the ring should cool. Then we cover the product with a varnish for polymer clay. So simple way we created an interesting ring.
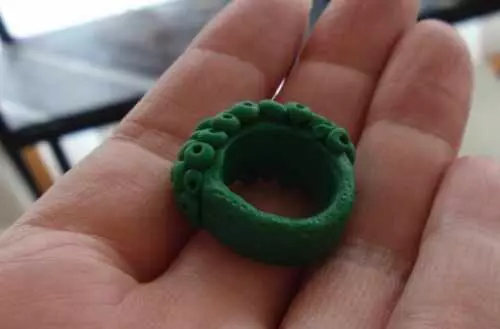
This idea can be improved and complement. For example, in the middle of the ring to attach a large stone, and lay the balls around it. You can make the balls of two different colors and lay them in a checker. Options can be a lot. Fantasize, invent interesting decorations and be original and stylish.
Article on the topic: Ukrainian wreath do it yourself from satin ribbons: master class with photo
Video on the topic
You can see how to make interesting and unusual rings with your own hands.