
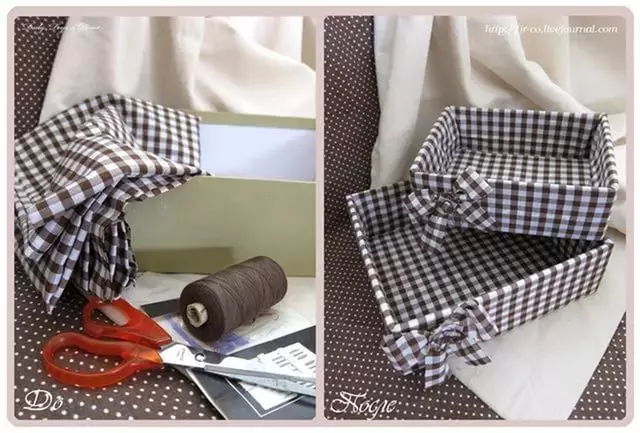
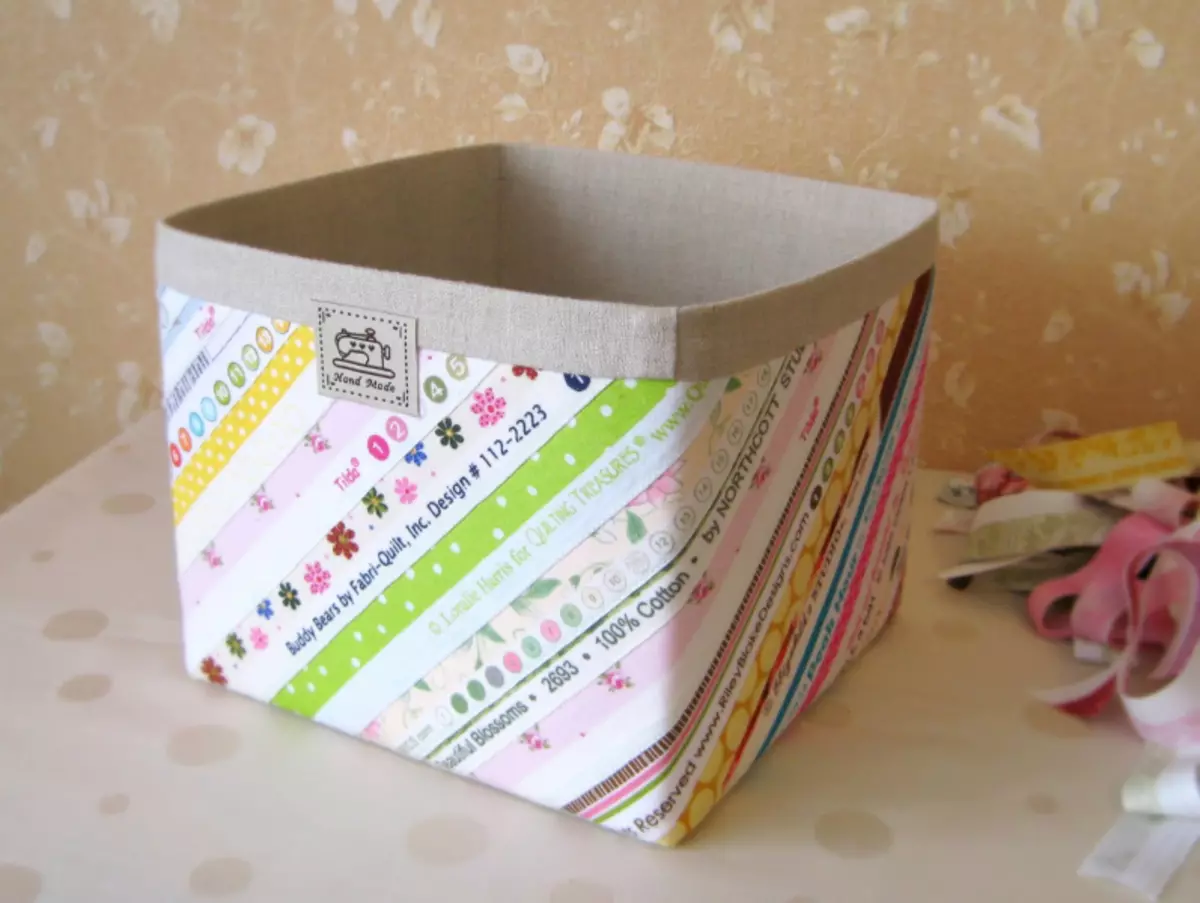
Handmade products have long been popular and in demand among lovers of beautiful, original and authorings. If desired, from any, even the most unwasp and ordinary subject, can easily create a masterpiece. Only the knowledge of some subtleties in the area with which the work will come into contact, as well as a great mood and flight of fantasy. So from ordinary boxes you can make cozy, truly stylish and bright interior items. It can also be an excellent idea for a gift or for designing gift wrapping. The options for decorating boxes a great set, but in more detail I would like to stay on the decor box with your own cloth.
Getting to work
For work you will need:
- any box;
- the cloth;
- Brush (Better 2: Wide for wasting with glue of large parts and small with dense bristles for corners and hard-to-reach places);
- PVA glue (should be sufficiently thick);
- pencil;
- scissors;
- line;
- Format sheet A3.
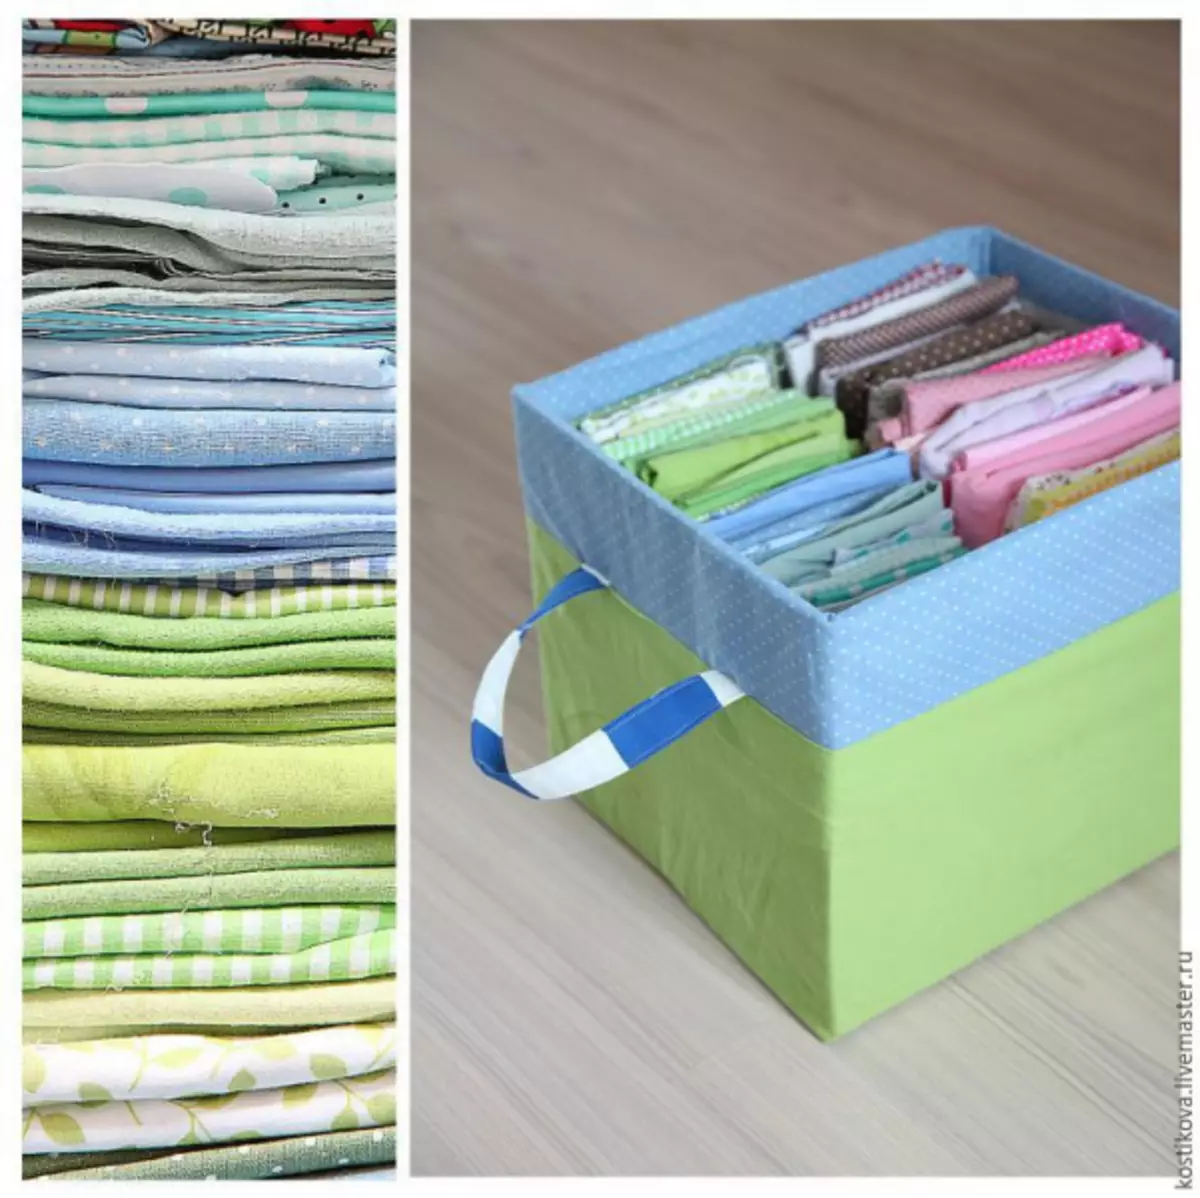
Before getting to work, you should think about the design of the future interior box. The fabric should choose not too thick and not too thin, not translucent. It is better to give preference to natural materials: cotton, sitheria, flax, silk.
It is important to remember that when performing parts gluing, all sections of the fabric should be closed, then the product is neat and beautiful.
The design of the box with a cloth can be divided into two stages:
- Gluing the outer part of the product;
- Pluging the inside of the product.
First stage.
- For a start, the box must be strengthened, well gluing all of its parts with each other. If the color of the box is dark, and the fabric is fairly light, it will not be superfluous to puncture a box with white paper.
- Carry the following paper and tissue details:
- Paper strip, the length of which will be equal to the sum of the lengths of all sides of the box, the height will be equal to the height of the box minus 1mm;
- The tissue strip, the length of which will be equal to the length of the paper strip plus 4 cm, the height is also calculated - plus 4 cm to the height of the paper strip;
- Tissue detail for the bottom - to the size of the length and height of the box itself add 4 cm.
- Plug bottom from the outside of the box. Apply a uniform layer of glue with a brush to the entire outer surface of the bottom of the box, attach a tissue element to it, smooth it from the center to the edge so that the folds are not formed. Then glue the bend to the walls of the box.
Article on the topic: Needle weaving beads: master class for beginners with video
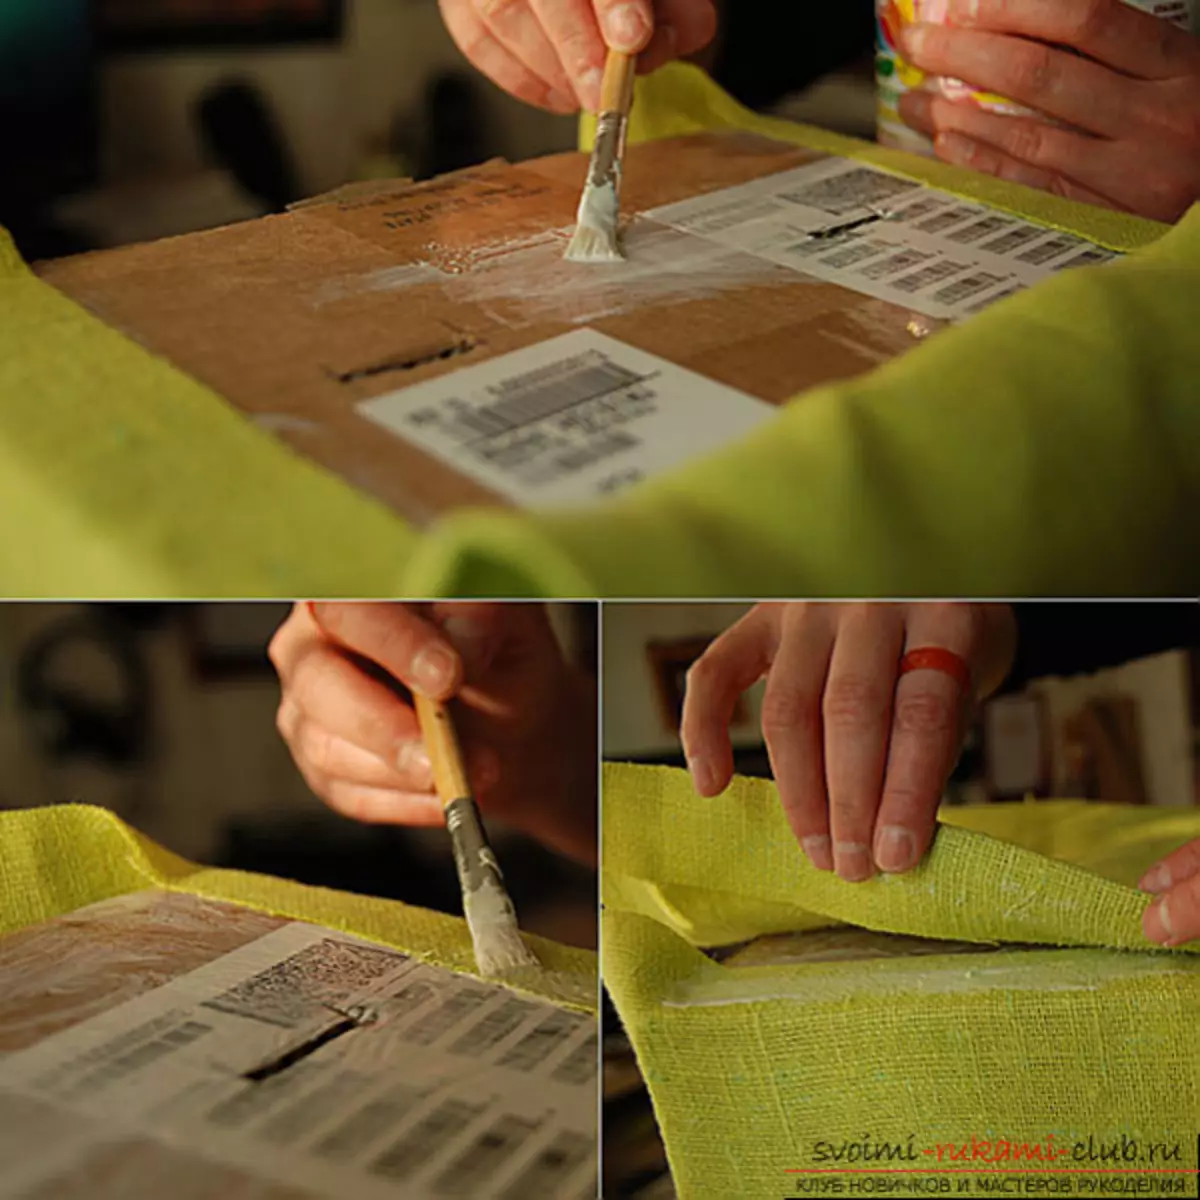
- Prepare the item to glue an external wall. On the entire surface of the paper strip, apply glue with a brush and glue it in the center of the tissue strip on the wrong side. To adjust and glue the paper first one of the loose long segments of the tissue part, and then glue one of the short cuts, gently wrapping the corner. Detail is ready.
- Pleise the finished detail exterior walls of the box.
- It is necessary to start gluing this strip from an unlocked short tissue segment, and a fitted and glued long slice will adjust the bottom of the box. Next, glue the bend, having previously done vertical cuts over the corners, not reaching the box of the pair of millimeters.
The first stage is completed.
Second phase.
- Prepare and carve out paper and tissue details. Paper bottom, paper strip, fabric bottom, fabric strip. Calculate sizes.
Paper bottom = length and width - 2 mm. from each side. The size of the paper strip is considered, given the length and height of the walls. Length = The sum of the lengths of all the inner walls of the box - 8 mm. Height = Height of the wall of the box inside - 2 mm. Fabric bottom length = paper strip length + 4 cm. The width of the tissue bottom = width of the paper strip + 4 cm. The height of the tissue strip = the height of the paper strip + 4 cm. Length of the tissue strip = paper strip length + 4 cm.
- Glue the bottom. To do this, apply a uniform amount of glue throughout the surface of the paper bottom and glue it to the involving side of the tissue bottom in the center. After that, cut all the tissue corners by oblique, not reaching a pair of millimeters to paper. Insert the bottom into the box and gently put the side bends.
- Cut the inner walls. Apply a uniform amount of glue throughout the surface of the paper strip and glue it to the wrong side of the tissue strip in the center. Then heal and glue the paper first two long fabric sides, and after one short one. The second short cut is unprocessed. The resulting part is glued to the inner walls of the box.
Article on the topic: Production of frames for paintings with your own hands with photos and video
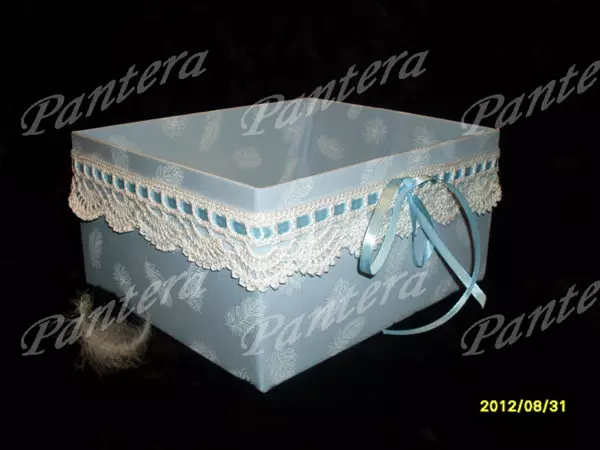
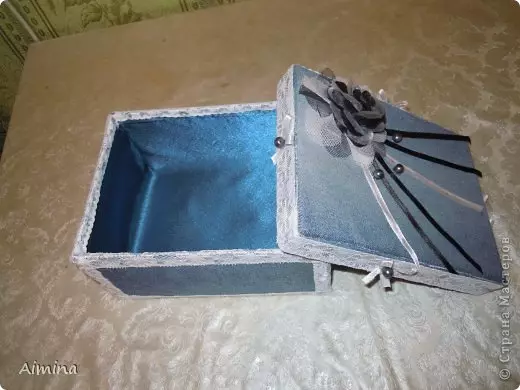
- It turned out an excellent author's box, decorated with cloth. It must be dried at least a day. It is best to dry it as demonstrated in the photo below.
As decorations for such boxes, you can use beautiful beads and buttons, an interesting embroidery, an ordinary harness or braid, lace.
Video on the topic
Quite interesting workshops on the manufacture of such original boxes can be viewed in the selection of the video below.