
E-books tightly entered modern life, almost completely supplanted traditional. It is understandable - you can read something or another product you like anywhere directly from the phone or tablet screen. At the same time, there is no need to carry a passionist and a lot of publication. At the same time, people remained for whom the book is not just a source of information, but a living being with its own soul, odor and history. It is important for them not only to read the text, but also enjoy the process, turning the pages and making the mark. Electronic devices do not provide such an opportunity. Not always liked the work can be found in the library. Therefore, the printout of it from the computer and the binding of books will help you make it possible to make individual author's work. Also, this useful knowledge will allow you to make beautiful photo albums, author notepads and diaries.
Types of binding
Creating a book from scratch is a rather time consuming process. But it is not so complicated, as it may seem at first glance. Even schoolchildren of senior classes will be able to master it. This skill in the future will help independently design coursework and diploma work, without resorting to the services of printing houses.
There are several ways of binding publications at home. Each of them has its advantages and disadvantages. Consider more each of them.
- Binding with cord or rings. This method of connecting pages among themselves is the easiest. For its execution, you need only a hole packagner to break through the desired number of holes and turn the connecting tape into them or special mounting rings.
- Scrapbooking. This type of binding is also easy enough to execute, but is suitable only with a maximum of up to 16 pages. The essence of it in the secretion of pages with the help of paper strips.
Article on the topic: Sulters do it yourself from packages for kindergarten with photos
This type of binding is more suitable for albums rather than for books.
- Bookcover, consisting of five subspecies:
- sewing the wire of the Vnavka;
- Sewing flew threads;
- adhesive seamless bond;
- adhesive seamless bond with edging;
- sewing wire.

The main advantage of such equipment in the strength of fasteners, the presentability of the appearance and durability.
There are also solid and soft binding. For solid, cardboard mousets are used, and soft allows for the use of tight paper.
We make a book yourself
Before the binding of the prepared text, carefully examine the master class submitted below. It will help to deal with the subtleties and nuances of a monster secretion of pages.Step-by-step instruction. Print text on paper A4 and fold each sheet in half, collecting a notebook from them. Each notebook consists of four, bent in the middle, pages.
We will collect creation from eight notebooks.
Next, it is necessary to carefully press the blanks to each other.
To do this, you can use a special press or take advantage of tremendous things from homemade. For example, press them with a clean cutting board, which to put a bucket with water.
While the future book is under the press, make a template for piercing holes. The sheets of the book will be sewn through them.
With the template we make the markup of the blanks.
Purify holes in each notebook using awl.
We prepare braid for binding by fixing it on the edge of the table of scotch.
We sew a notebook between themselves, carefully following the numbering of pages. For convenience in work, we use any cargo so that the parts do not go through the working surface and the one relative to the other was shifted.
Ends of threads are tied by the usual knot.
Starting with the third brochure, the thread is fixed as shown in the photo.
I fix the book block node.
Next, we put the future book in the press in such a way that the edge spoke from it. You can simply be located on the edge of the table and squeeze the cargo.
Article on the topic: Mask Guy Fox do it yourself: how to do and what it means
Issuate the root of PVA so that it glues and in this position we give the block to dry.
After that, glue the forgeds.
Now it is necessary to align the book. To do this, we use the stationery knife, a piece of plastic, plywood, a stripzin. The board will serve as a kind of ruler, so watch it to be smooth. The traditional measuring device is not suitable, as it will be difficult to keep it.
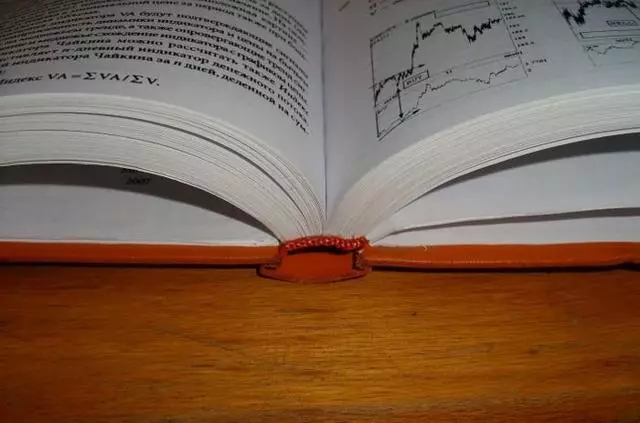
Glue on the root of gauze and the captal.
Now we will cover. With the help of thermal, cardboard and fabric make binding. You can use wallpaper or any other elegant paper instead of the material.
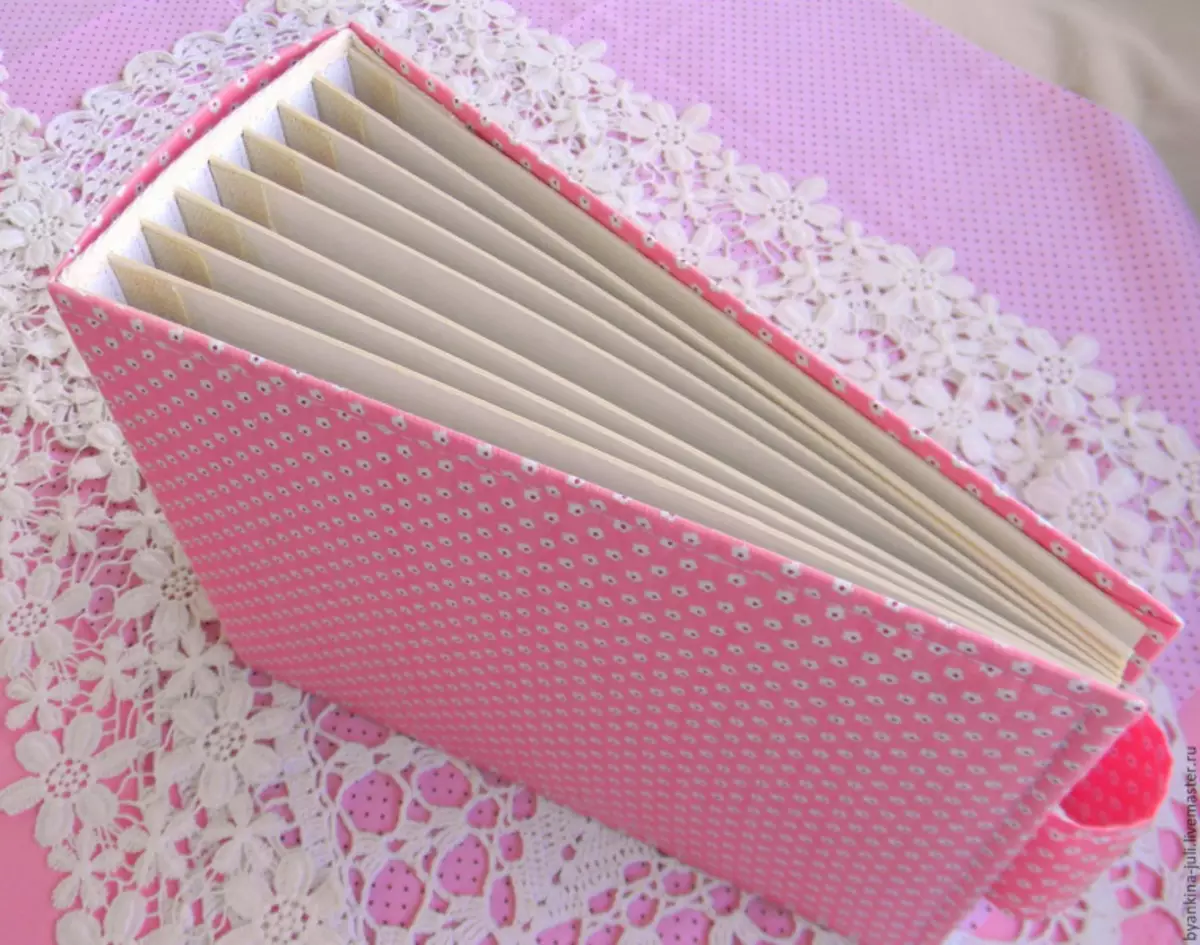
We collect all the details of the book together.
Exclusive authentic copy ready.
Video on the topic
An even more interesting and useful material on the binding of books can be found in the selection of video.