
No holiday seems without balloons, it is undoubtedly the most essential attribute of the festive party. Therefore, the arc from the balls is a wonderful choice, and the arch from the balls with their own hands, a step-by-step instruction for the creation of which is presented in the next workshop, is just an excellent option!
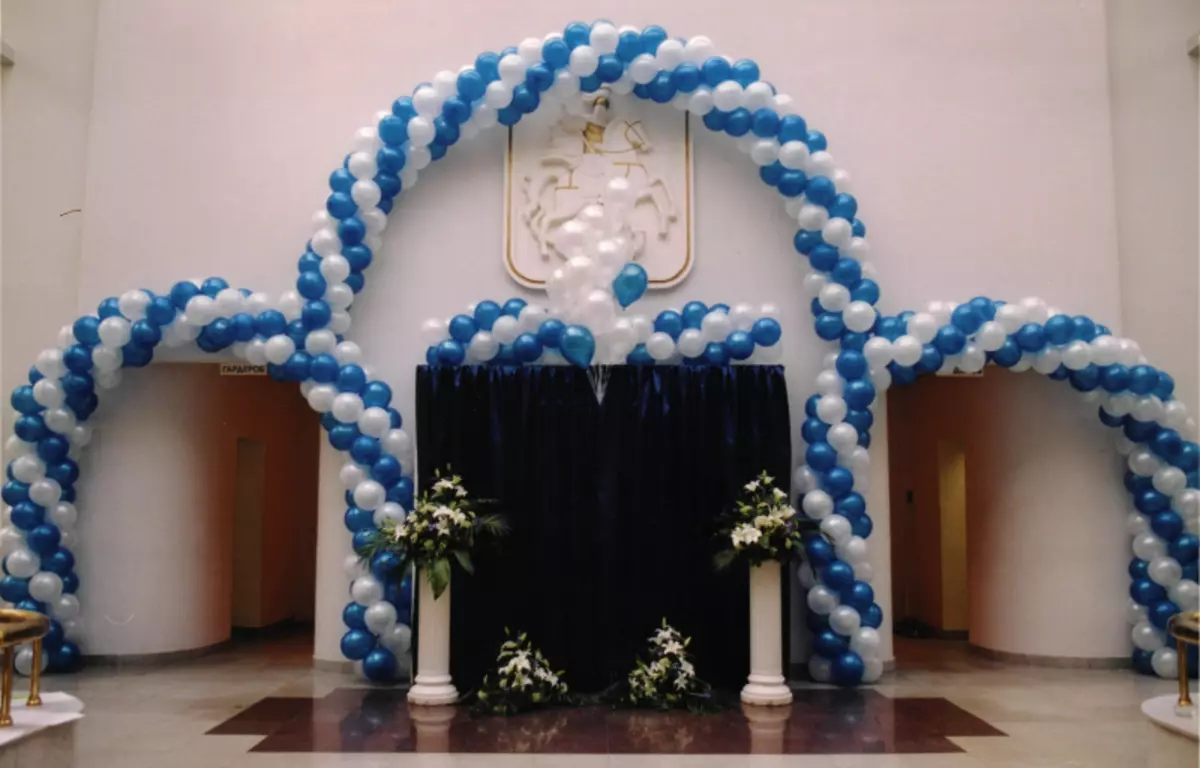
The arches from the balls look very festively and cute, so such arches are often used as decorations of banquet halls for birthdays and anniversaries, weddings and corporate events. The arch from the balloons often want to put for home celebration, only here is the work of the master is quite expensive. So why not make an arc from the balloons with your own hands? Let's try to figure it out in the construction of the Arch itself!
The necessary materials
Before proceeding with work, you need to stock material. These include:
- Directly balloons. Decide whether the arch is monophonic or multi-colored, as well as select the combined colors. It is also important to understand how much balls you need. On the street it is better to make balls with a large size (30 and more centimeters), the balls are suitable for the house with a size of 12 to 25 cm. Their number will depend on how much the latter you want to do is why it is better to stock fairly large number of balls. It is better to have them in stock, than to run to the store for extra. On average, 20 large balls, 30 medium or 45 small balls are needed on the garlands meter.
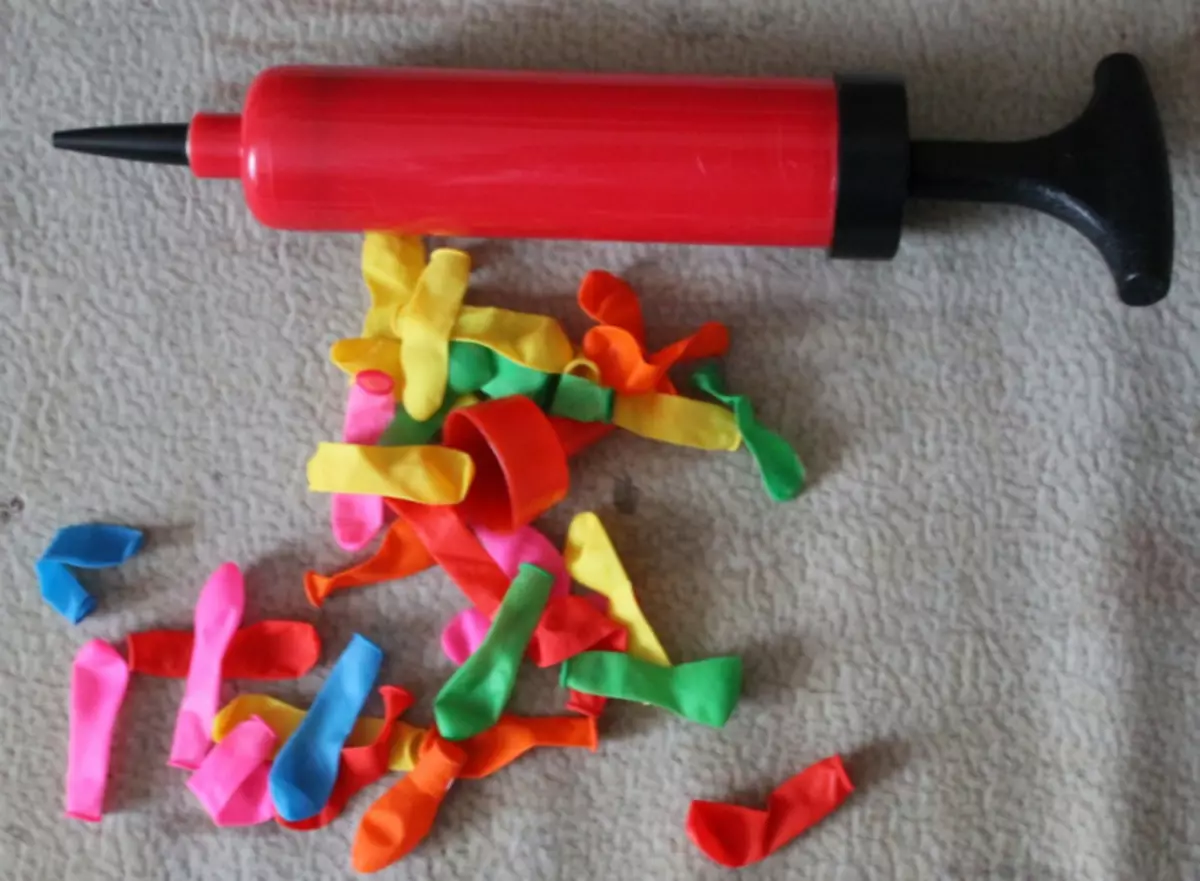
- Pump. There will be quite a large number of balls to inflate, so it is unlikely to count on your hand. We advise you to purchase a special pump that can be easily found in stores for holidays or even in conventional building supermarkets.
- Lesk, wire, hose. In general, then what will keep the garland of balls. The material for the foundation depends on the street or in the house there is a celebration. But in any case, such a material is also worth have with a margin.
Article on the topic: 9 ways to make white-white towels
Basic option
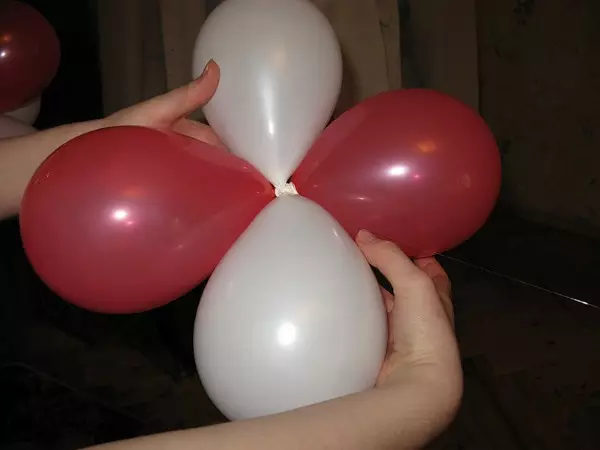
Of course, there are many different ways to goss out balls between themselves to create garlands, but for beginnings, consider the basic. These are two elements, "Double" and "Four", which together form a combination "Two-four".
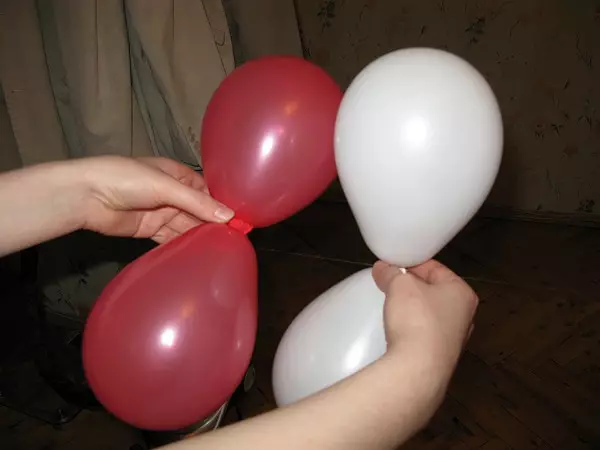
Inflate two balls of one color, without tie tails.
To check for sure that the balls have the same diameter, you can use the saucepan of suitable size. If the balls are freely included in the pan, they need to inflate them a little, if, on the contrary, they do not fit - blur.
Now, when we are confident that the balls are the same size, you need to cross them between themselves, twist and tie a node.
Next, proceed to the "Four" element: two twins put each other across each other and twist. So, you learned to the basic principles of the plexus of the balls, now you can start collecting garlands!
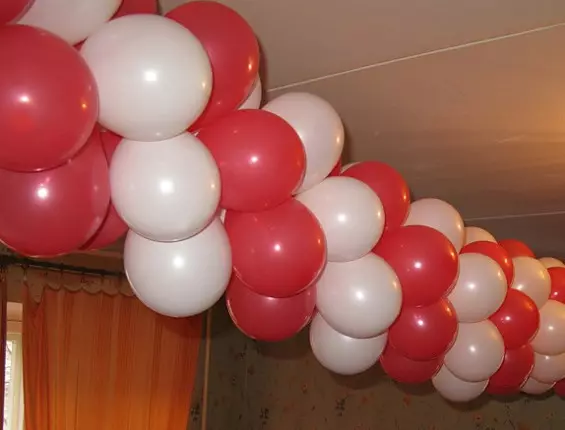
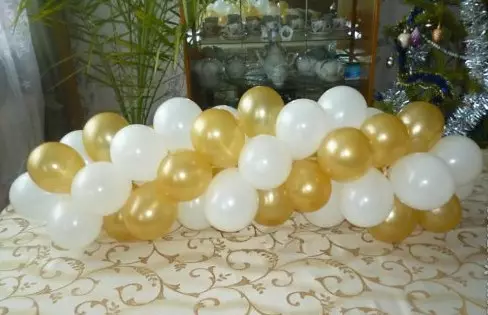
For a two-color garland, you need to make a four of two pairs of balls of different colors and twist them so that one color is opposite the other, and the colors alternated in a circle. The following photo presents possible options for two-color garland from balloons.

Easy way
Of course, the easiest way will buy such an arch, but since we are talking about what we can make it with your own hands, we will consider another, no less easy way.
First of all, we need to make the basis for the arch. To do this, we will use a durable hard hose and small slag blocks for fastening it on Earth, in case the party passes in nature. It is enough to place the blocks at the desired distance, and the hose is fixed on them, additionally clogged with a tape for consumer strength. So that the blocks are more stable, they can be filled with gravel or sand.
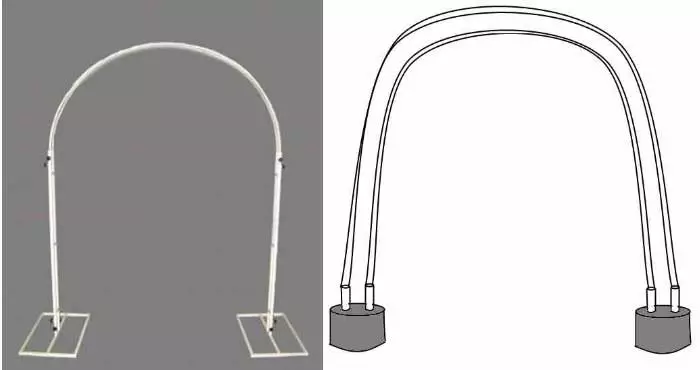
If the party will take place in the house, you can use the usual wire of the middle thickness, it is sufficiently stable, or at all the tight fishing line.
Article on the topic: Ringing phenoshek from threads Moulin for beginners with photos and video
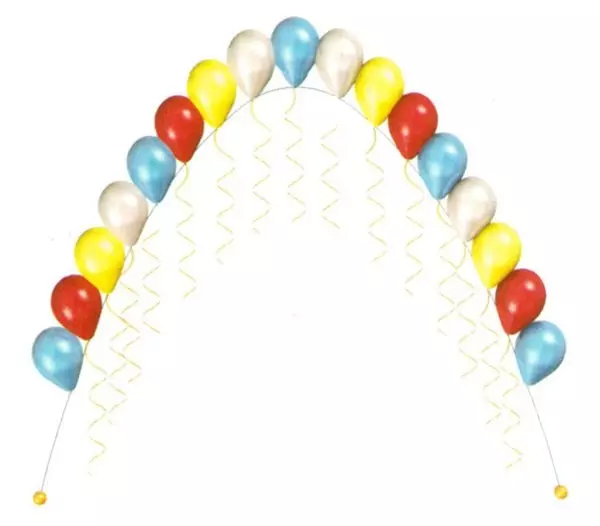
Next inflation balls (no matter, helium or ordinary air). Balls must surround the arch from all sides, so inflate at first about a dozen, attach to the basis to understand how many you still need balls.
And finally, it is time to tie the balls to the base. You can use the basic chart of plexus balls or tie them one by one, the main thing is that the balls are quite tight to each other, should not remain empty seats.

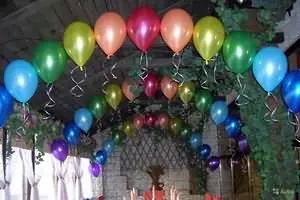
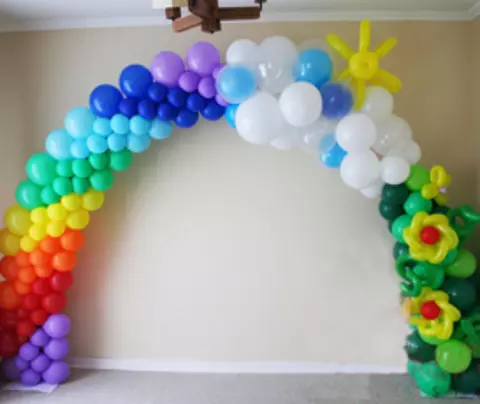
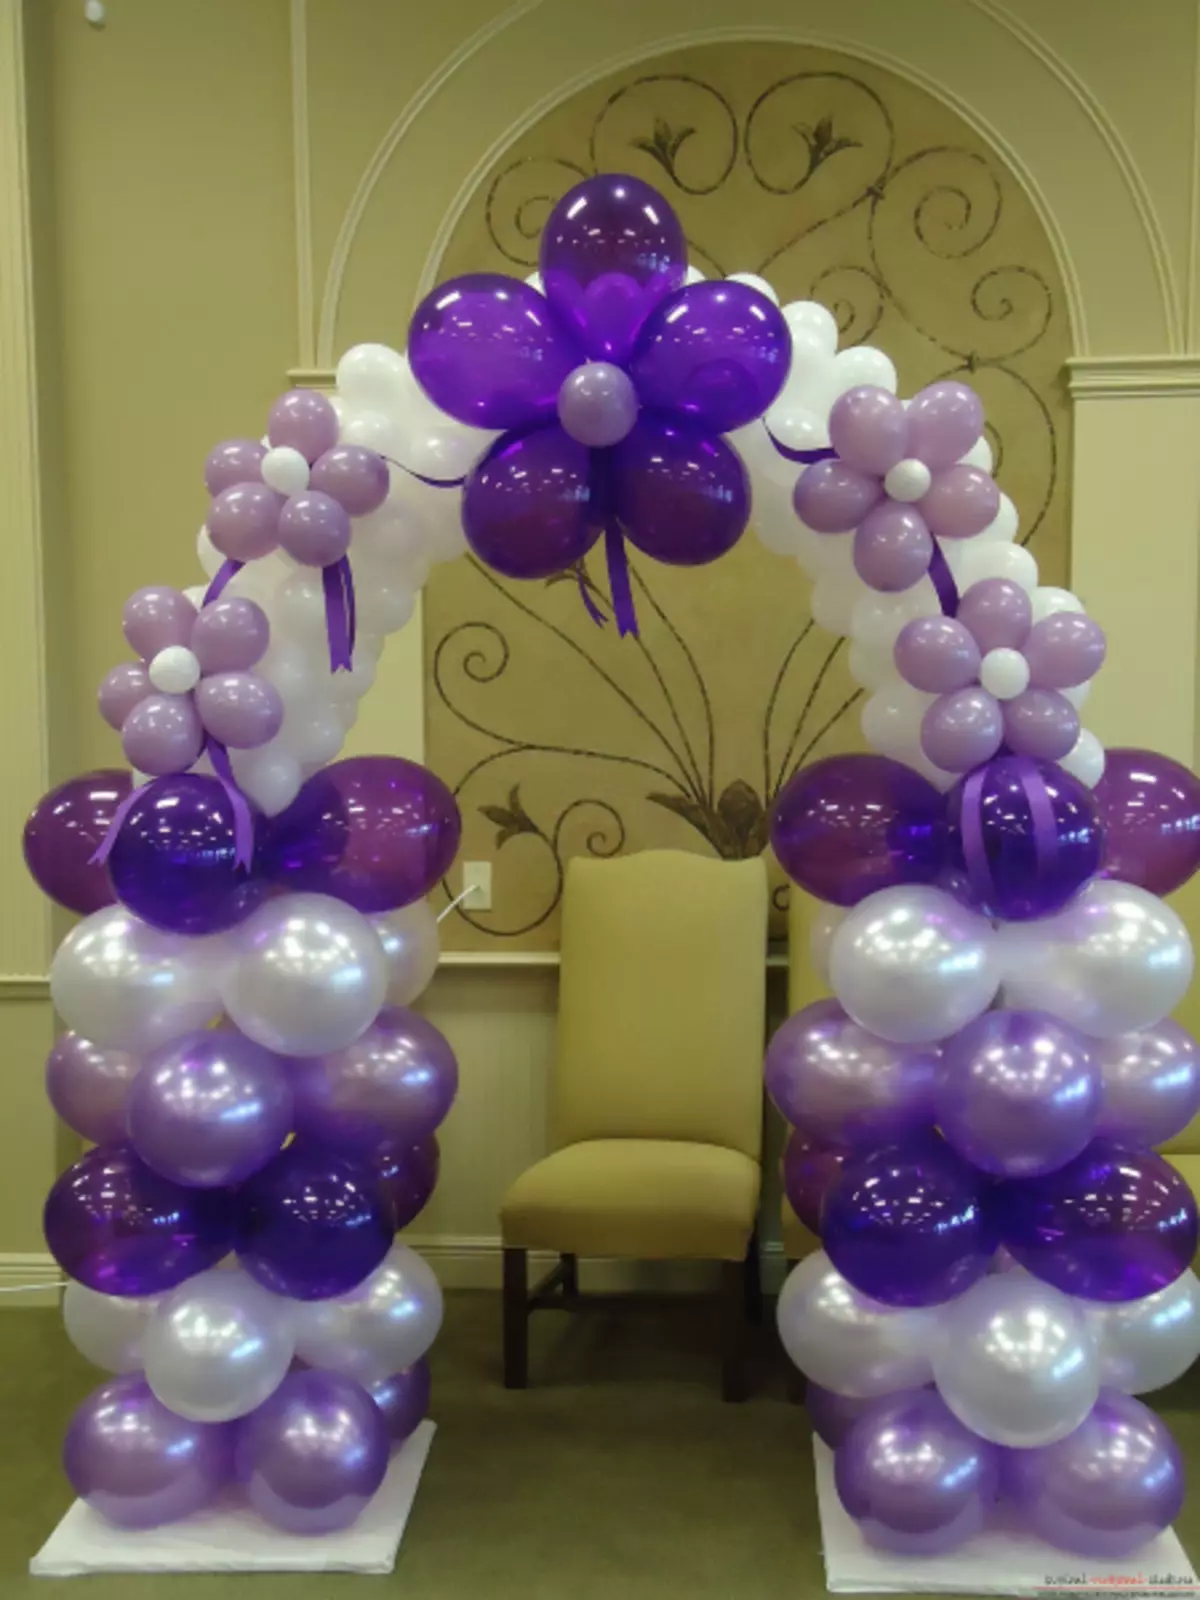
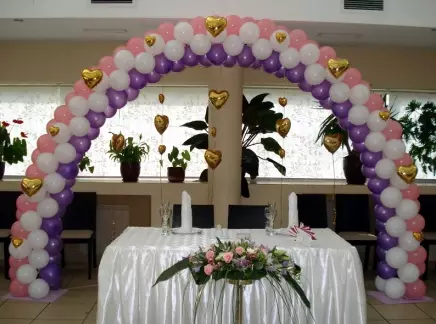
See a few photo Arches from balloons for inspiration:
Video on the topic
In order to deepen in more detail in the creation of an archer from balloons, we suggest you to watch a special video selection on this topic.