
Table of contents: [Hide]
- Use of plasterboard
- Glossy ceiling of plastic panels
- What may be required of the tool?
The glossy ceiling is the dream of every person. However, they are not always cheap, so many are not affordable. This article will tell about how to make a glossy ceiling with your own hands. In fact, this process is quite complex and time-consuming.
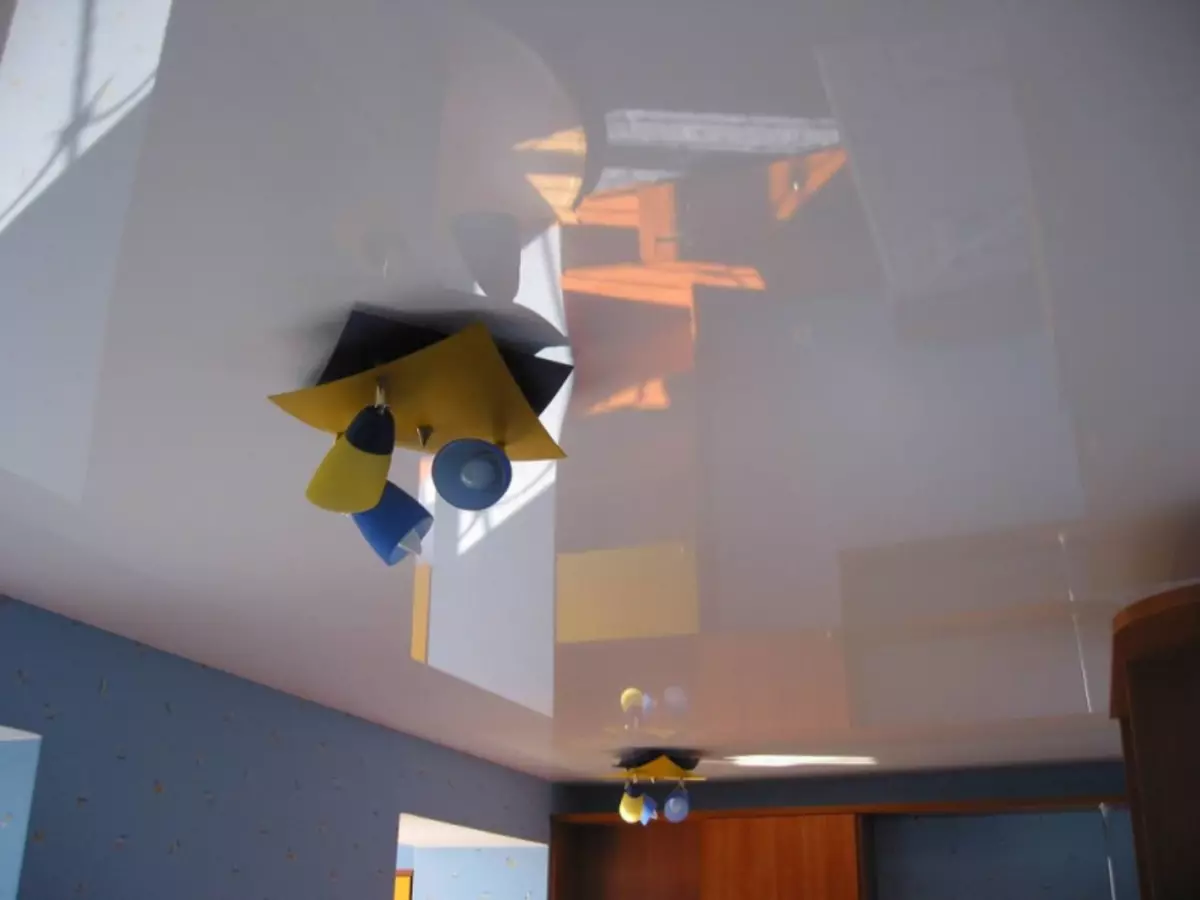
The glossy ceiling is a convenient and elegant solution in the design of almost any interior of the house.
There is a huge number of ways to make a glossy ceiling.
For example, you can take an ordinary ceiling of plasterboard and give it a unique shine. Plastic panels can be used for these purposes. About these methods and it is worth talking in more detail.
Use of plasterboard
Start stands with ordinary plasterboard ceilings from which you can make a glossy ceiling of excellent quality. At the same time, for the brilliance do not have to overpay. To begin with, of course, it is necessary to mount the ceiling itself, which is attached to the frame. In this case, all irregularities and design defects must be hidden.
The glossy plasterboard ceiling is made as follows: First, the ceiling of the drywall is installed, then glossy wallpaper glued on it.
- Make a ceiling smooth in this case will simply be sufficient. Modern plasterboard ceilings are treated at the edges, so they are easy to docile. After the ceiling is assembled, all joints need to be treated with primer, and then apply a tape on them. After the tape is attached, you need to start the surface of the surface. It is necessary to do it extremely neat. Then the primer is again applied to the entire surface. At this, the first stage can be considered completed and go to the second.
- At this stage, it will take a level by which a straight level line is drawn on the ceiling. For the salary, you can use not only a glossy glitter film, but also wallpaper.
- After a person is determined with the material, he needs to align it along the same line, and then make all the necessary measurements for which the film or wallpaper will be cut off. In order to avoid the appearance of bubbles under the film or wallpaper, it is necessary to glue them using a special roller.
- To remove bubbles, this material will fit perfectly. At the same time you need to move the movement from the middle to the edges. Only in this case can remove absolutely all bubbles.
- In the event that the wallpaper is used, and not a tape, they need to be thoroughly wrapped with glue before sticking. The surface of the ceiling itself also needs to be treated with glue. Only after that the sheets are glued to the surface. If large bubbles are formed during the blending of the wallpaper, they can be pierced with a needle or use roller for these purposes, as in the previous method.
Article on the topic: How to plaster aerated concrete - Technology of applying plaster on aerated concrete walls
Of course, in this case it is better to use not a film, namely glossy wallpapers that can be purchased almost in any specialized store. They will also contribute to an increase in the space in the room.
Back to the category
Glossy ceiling of plastic panels
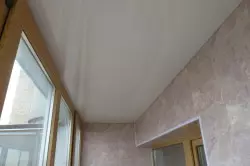
Plastic panels are attached to a wooden ceiling crate.
Of course, the ceiling of drywall is just an excellent option, but there are other no less interesting methods that allow you to give the ceiling shine. For example, this can be done using plastic panels that can be purchased almost in any construction store. Fortunately, they are not so expensive now, as at the time of the market appearance.
- In this case, you will first have to make a wooden crate. In order to choose the desired size, it is best to use a tape measure, with the help of which all the necessary measurements are made around the perimeter of the ceiling.
- Next, the bars are attached to the noted lines. All screws should not stick on the surface. Only after the wooden frame is constructed, you can start installing plastic panels. It is worth checking the fat surface of the wooden frame surface, otherwise the ceiling can turn out to be curves.
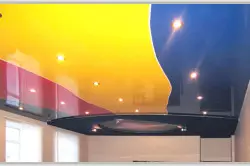
- All plastic panels are fastened with screws to Brukes. In the event that everything is done neatly, the seams will not be visible. As a result, it turns out a smooth glossy surface. Most plastic panels originally have a glossy glitter, so they do not need to be covered with some additional materials. They themselves are glossy. After the work is completed, you need to check the correct installation of all panels, as well as the evenness of the ceiling. After all, this is the most important thing.
Thus, there are several methods of how the ordinary ceiling can be turned into a glossy. Of course, there are not only these options. You can use others, but these are the most efficient. Fortunately, today plastic panels and plasterboard ceilings can be purchased in almost any specialized store. This also applies to glossy wallpapers that serve to impart a shine ceiling.
Article on the topic: Installation instructions for plastic plinth
Back to the category
What may be required of the tool?
And so that the process is as high quality, prepare in advance:
- level;
- roulette;
- marker;
- Lobzik;
- roller;
- grinding;
- screwdriver;
- Bulgarian;
- Brushes.
It will only be aspic by patience and start working. And the result will not make himself wait if you follow the rules of the technological process and adhere to the recommendations. Good luck!