
In this article, I want to tell in detail how to prepare the basis for the application of the finish putty under the painting of the walls. Reveal the topic of applying finishing putty and consider carefully how to prepare a solution of the desired consistency. Since the painting of the walls after putty requires an ideally smooth surface and so I want that a decorative finish would look exquisitely and did not have a flaw. Believe me, after reading, you can do everything yourself no worse than a professional. After all, even a specialist from something started, and you will need only financial costs and a lot of patience to achieve the desired result.
Required tool
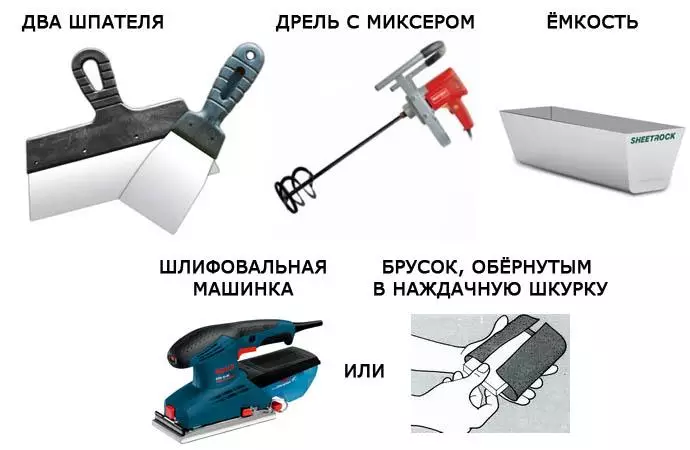
To prepare and apply the finish putty of the walls under painting, you will need the following tools:
- Finish spacure (pre-purchased in a construction store);
- Capacity for the preparation of the solution (it is desirable that the container would have a metal coating, a bucket can be used);
- Drill or perforator with a mixer nozzle (need to prepare a solution);
- Three metal spatulas are different lengths (large will be used to apply the material on the wall, and small for the solutions of the solution along a large, as well as an angular spatula for corner correction);
- a bar with an abrasive mesh (it is useful for stripping small bulbs);
- Any bright lamp (for better lighting).
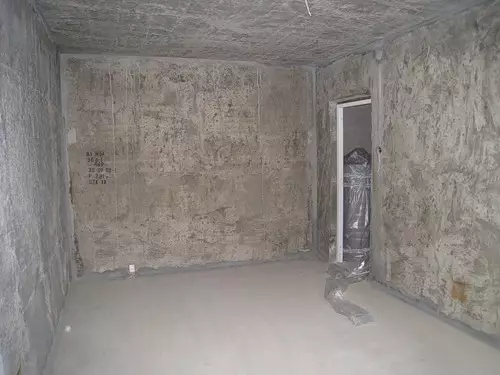
Preparation of walls
Cleaning the working surface is important before applying putty. If you come to this issue negligently, I'm afraid that you will not get the desired result and will have to repeat everything after a certain time. But remember that the paint from the surface is not so easy to remove, it is better to do it immediately and not return to repairs for a long time. To begin with, clean the foundation from the old decorative material: wallpaper or paint. When cleaning the wallpaper, use conventional water, having impregnated with it, it can easily be removed from the surface.
Article on the topic: Rutary in landscape design: roots and squashs at the cottage in the garden (25 photos)
For old paint, it is better to use a drill with a metal nozzle that will help easily cope with the paintwork. After final cleaning the base from the decorative coating, look good for the surface for the presence in plaster cracks, snaps and nails. Nails and other foreign materials remove from the surface. Cracks and sneakers to zadach the plaster mortar. If there is on the surface of fungi and mold, we cut the walls with a special antifungal solution. After all, we do not want that then this dirt has multiplied under the plaster. Then apply a primer mixture into one layer and let it dry at least 6 hours. The product will help you qualitatively fix the putty on the walls and prevents its rapid sickness.
See well and tapping the entire surface with a small hammer. If the condition of the old plaster is critical, and it is all squeezed with pieces, then replace the material to completely remove it from the surface. Do not risk to leave such a product, since all your new repairs are causing with the old plaster on one fine moment .
The starting putty can not remove much, as it removes only big flaws. I use a gauze or a durable mesh for a longer work, which perfectly fixes the starting putty. After the distribution and drying of the product, it is well shining a bar with an abrasive mesh divorce remaining after work. Do not forget to take the work in the respirator, special clothes and in a well-ventilated room.
Preparation of solution
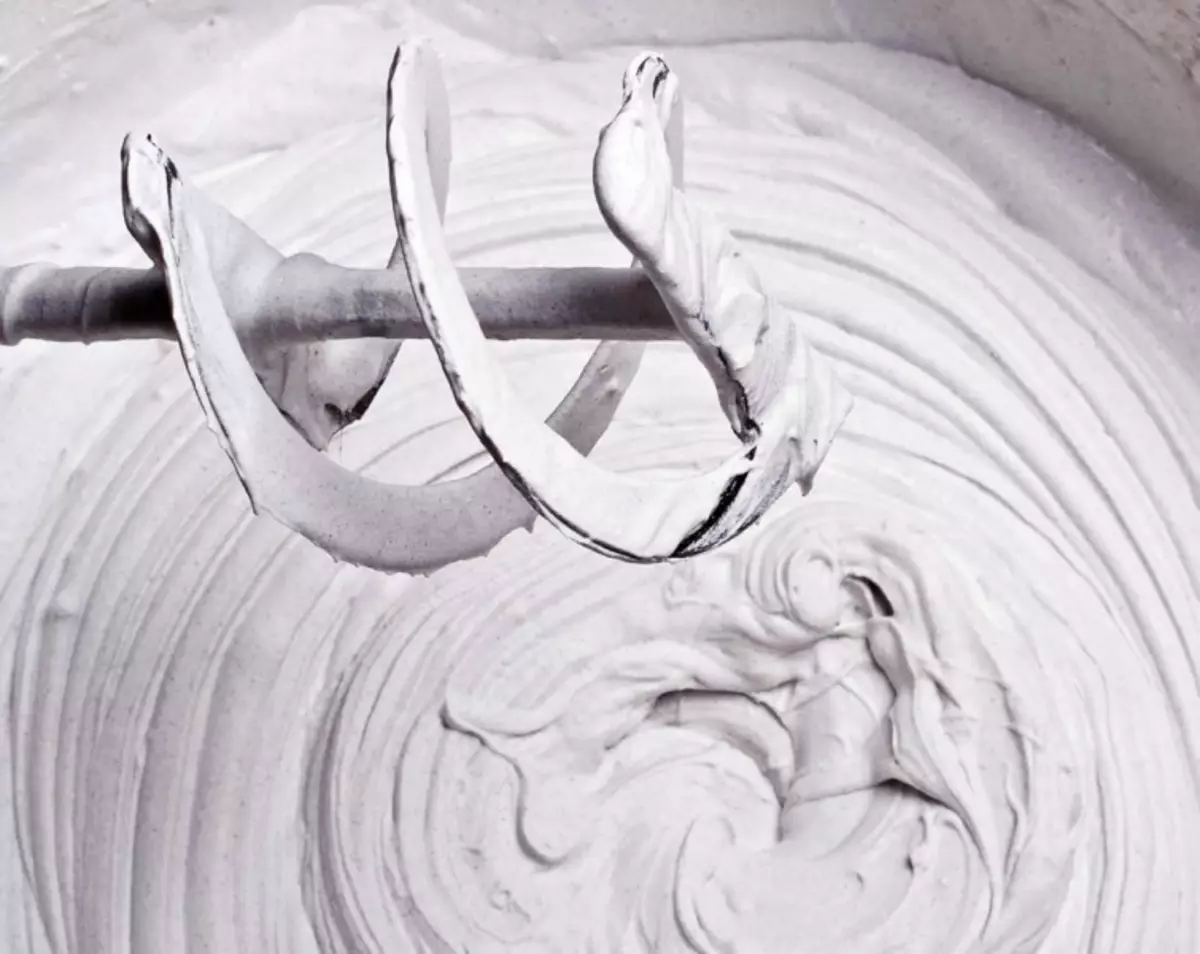
Now you can begin to prepare the finish putty. Since the application of the material is the final stage, and you want to immediately begin painting the walls after putty, then carefully come to this question. Observe the purity when kneading the solution, try to in the gypsum solution I did not get a small construction trash. Thus, when applied to avoid unnecessary lumps and save your nerves. In purity there should be not only surrounding room, but also a preparation tank and a mixer.
On the package, the manufacturer indicates the proportions characteristic to prepare this material. Observe strictly instructions not to deviate from it, as you can simply in the end throw it out, and the value of the material is quite acceptable. Put the product in advance prepared water and mix thoroughly to completely dissolve. I usually give a solution for five minutes of rest to a better swelling after each mixing.
As a result, you should have a homogeneous mixture without lumps. When the walls with greater curvature, it is well suited a thick mixture, and when with a little, then a creamy consistency is suitable. Do not cook the product in advance, otherwise it will simply dry, it is better to cook immediately before applying and in the amount you are accurate. Do not try to dilute the frozen composition of water, it is meaningless, just throw it away and prepare a new one.
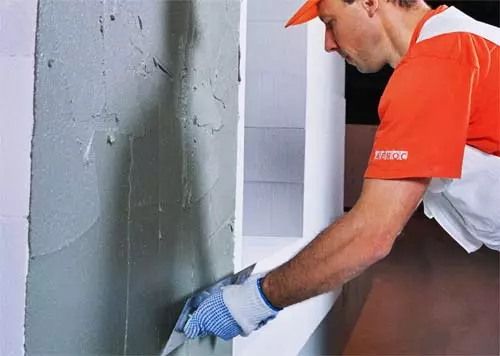
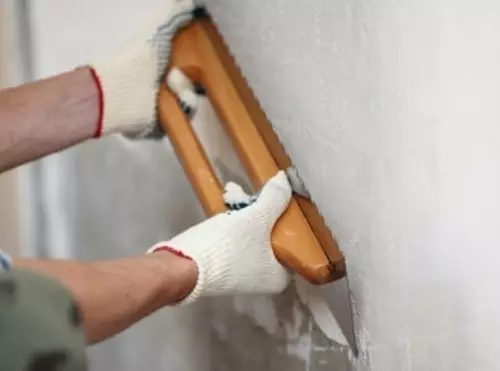
Technology of applying solution
So go to the most important issue. How to put the walls under painting? To do this, you will need: prepared solution, a large, small and angular spatula. Connect the lamp to better illuminate the working surface. Distribute the surface visually on the squares of about 2 sq.m., and divide the wall in the width in the width. Mix the solution with a small spatula and transfer it to a large spatula, so you will have several lumps. Then start the depression from the bottom of the wall, the movement from the bottom up, discharge the solution over the surface, for the technology of applying the top of the base, use moving from top to bottom. After a full distribution on a visual square, view the availability of excess putty, you must have a layer width from 1mm to 2mm no more.
Remove the large spatula excess material and divorce. After each removal of excess, clean the tool is completely as indicated on the video. Return the solution back into the container, do not dispose. Thus, distribute the finish putty over the wall. For angles, use the corner spatula and do not forget to clean the surface from excess. You can also put in hard-to-reach places to apply the index finger. Believe it sometimes even more convenient than the tool. Try to do high quality and from the first time, if you begin to sink and output for a long time, as a result, the solution will start to fall and even more divorces will appear.
Not large divorces at the joints can be removed with a wet sponge, wetting movements. Do not forget that after applying you will clean the walls, so leave small irregularities, do not suffer. When you put the entire finish putty, then before painting well, clean the surface with the abrasive mesh surface. This technology will help you reach the perfectly smooth base. Now the walls are ready and you can proceed to painting.
Video "Finish putty of walls under painting-teaching"
When viewing this video, you can see a visual example of how to properly do the finish putty of the walls under painting. So that everything happens correctly, look carefully and remember what makes the master, and you will be waiting for a good result.