
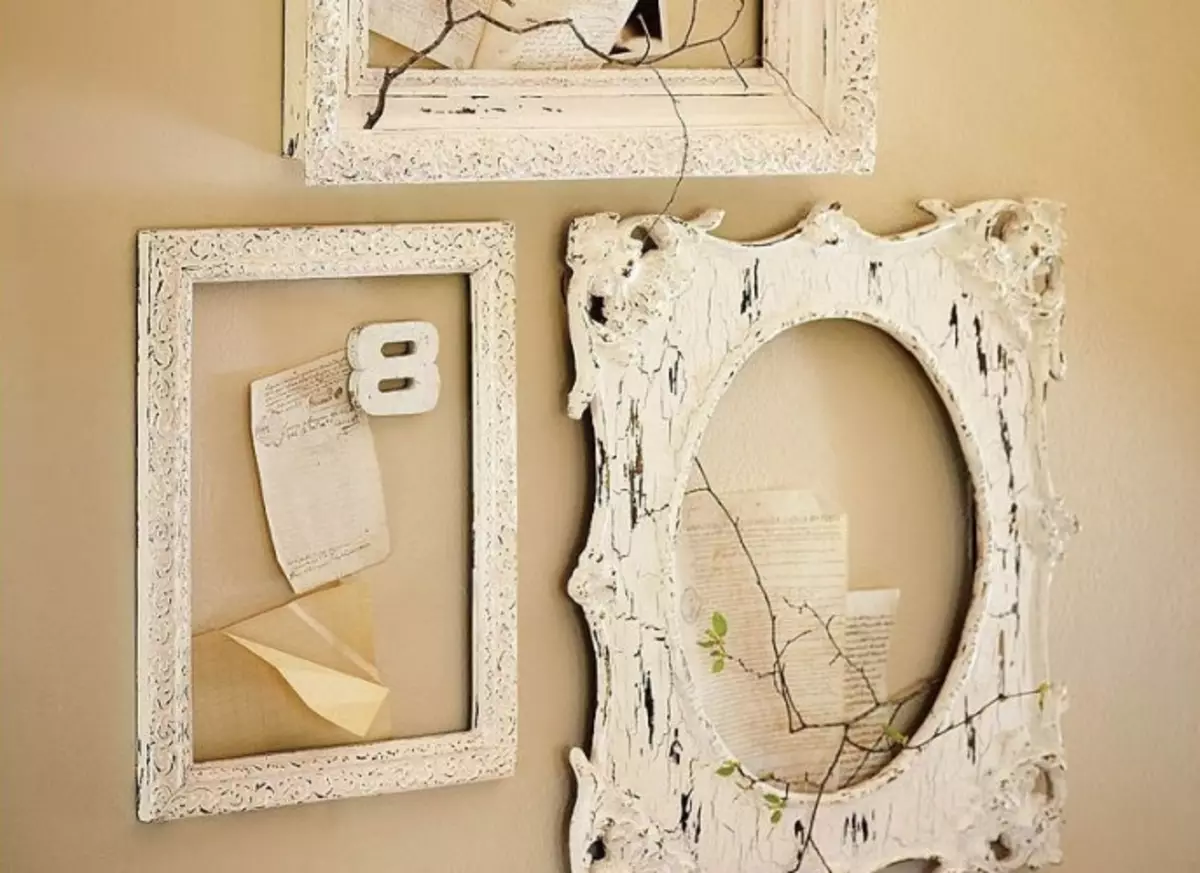
In any interior, whether it is an expensive classic or ordinary minimalism, you can find decorative items on the walls. It happens that these are reproductions of paintings of outstanding artists, and is simply family photos. An important addition to the image is its framing - picture frame, it emphasizes and creates a certain focus on all appearance. This article will be described and shown, as the process of making frames for paintings with his own hands.
We start with simple
It is very easy to make an independent picture frame, if you get to know this business a little, then you will no longer need a bagent workshop. Its work is much cheaper than the order of a professional baguette, and to be honest, it is easier to embody the frame yourself, which will fully meet your expectations.
To understand what materials are needed to start work, you need to answer two questions. First: Which canvas do you want to post? And the second: what does the estimated room look like and its design? When you decide with this, you can safely start picking up the color, brightness, material and not afraid of unpleasant dissonance between the result and desired.
The most optimal option that can approach different interiors is a classic picture frame. His difference is a monotonous framing, standard width and unobtrusive color scheme. Such frames are made of wooden materials, both natural and artificial imitation. If the frame of a small size, then it can be done not from a tree or a trees, but from cardboard. Such frames are suitable for small desktop photos.
Wooden frame with glass
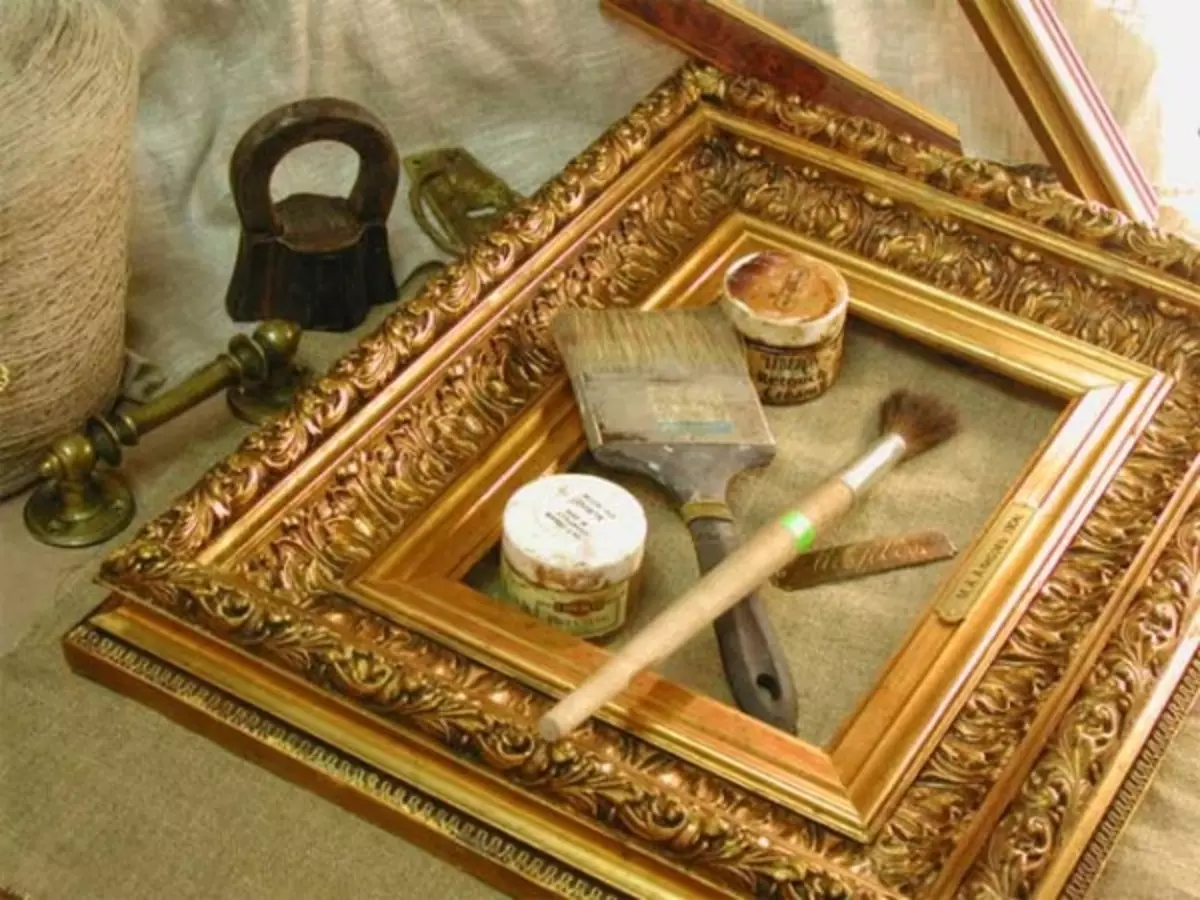
It should be immediately noted that certain tools are needed to work with a tree, if there is no special machine, then the presence of a saw, as well as a hammer and a glue for a tree. After completing the coarser work with the tree, the materials will need materials for its decorative processing - varnish or paint. The lacquer will allow you to preserve the original type of wood, the paint will give color effects. Well, be sure to have such tools that are certainly in the house - pencil, roulette, line.
Article on the topic: Plane from Plasticine: Step-by-step instructions with photos
The frame is made of a wooden rail, the width of it is selected size suitable for your case.
We cut it into four parts, two equal. Consider that for a good mounting of the canvas in the frame, 5 mm should be assigned to it on the inner edge. Since we are preparing a frame with glass, you will need a glass size slightly less than the perimeter of the frame, and plywood, which will be back the picture. In the sizes of the 30/20 cm pattern, the glass will be the same parameters of 30 * 20 cm, and plywood 33 * 23 cm.
In order for glass tightly, it is necessary to prepare a recess in the rails. Rates 3 cm, a small lowland is dug. For the joint of all the plates together, the corners should be treated, cutting off unnecessary parts diagonally. For clarity it is better to use the corner line. For dense docking, all sections are processed by sandpaper and then glued. When the glue completely dries, you can begin to engage in the decor of the picture, covering it with varnish or paint. After each coated layer, it is important to ensure complete burning.
When the frame seems to be completely ready, the last stage remains - sealing. The frame is put on the pure surface of the face, the frame is placed in its place, the glass and canvas are stacked, everything is clearly aligned. In order for all the elements to better lay down, add a small press, for this the usual cardboard will fit. The size sheet with the picture is placed on the canvas, and the plywood is put on this substrate. When everything is compatible, the edges of the frame are treated with glue. In the presence of a furniture stapler, fasten all the corners or score small carnations. Now your picture frame is fully ready. An example of creating a wooden frame can be viewed on video:
Small options
If you need small frames for the photo, they, as mentioned above, can be made from cardboard or from small regions. Make such frames with more cute fabric, which can be used as an upholstery, and cotton wool, which can be filled with such a frame. Also need: pencil, scissors, ruler, thermopystole, needle, thread and cardboard. From the rivers cut the desired dimensions of the planks.Article on the topic: Christmas toys from felt - a lot of ideas
They are connected in the frame, and since all this will be alarmed with a cloth, it absolutely does not matter the type of deck data. The cardboard will replace the plywood, the backstage is cut out of it. And the strips are cut from the fabric, which correspond to the size of the rivers, but to each such strip, 3 cm is added, 1 of which on the seams and 2 to fill with cotton. Fissure strips are stitched together and wear on the framework frame. All voids are filled with cotton, it is uniform. After it remains only to insert a photo, fasten the cardboard wall behind and go to the scenery.