
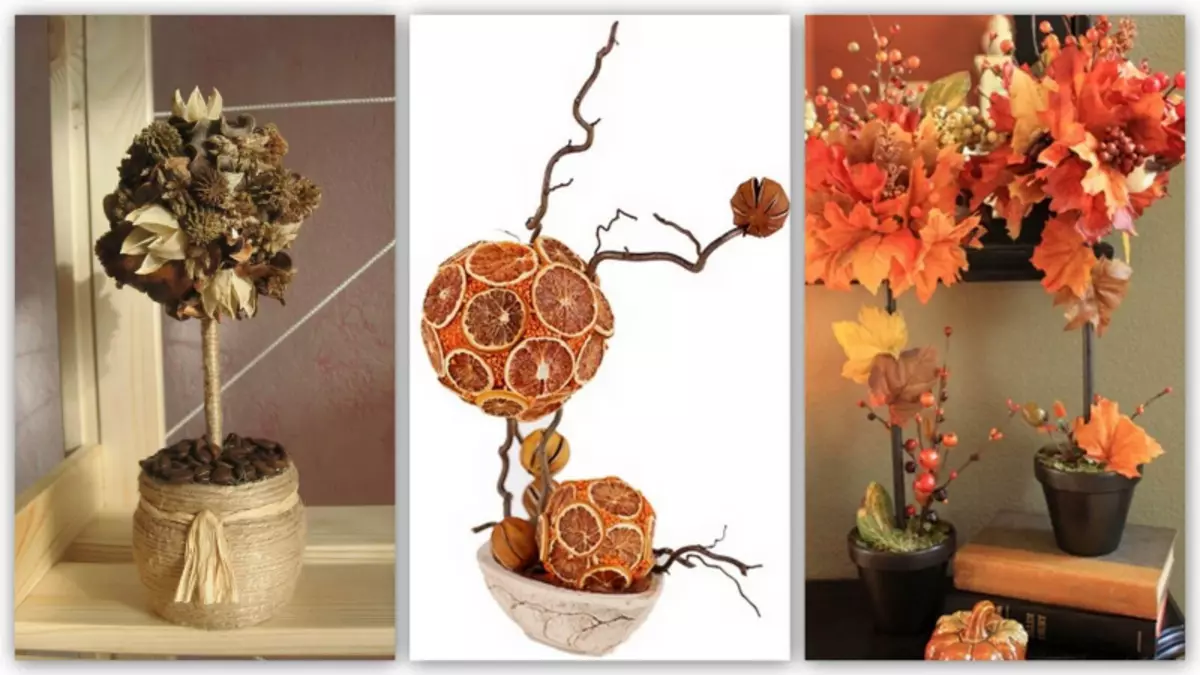
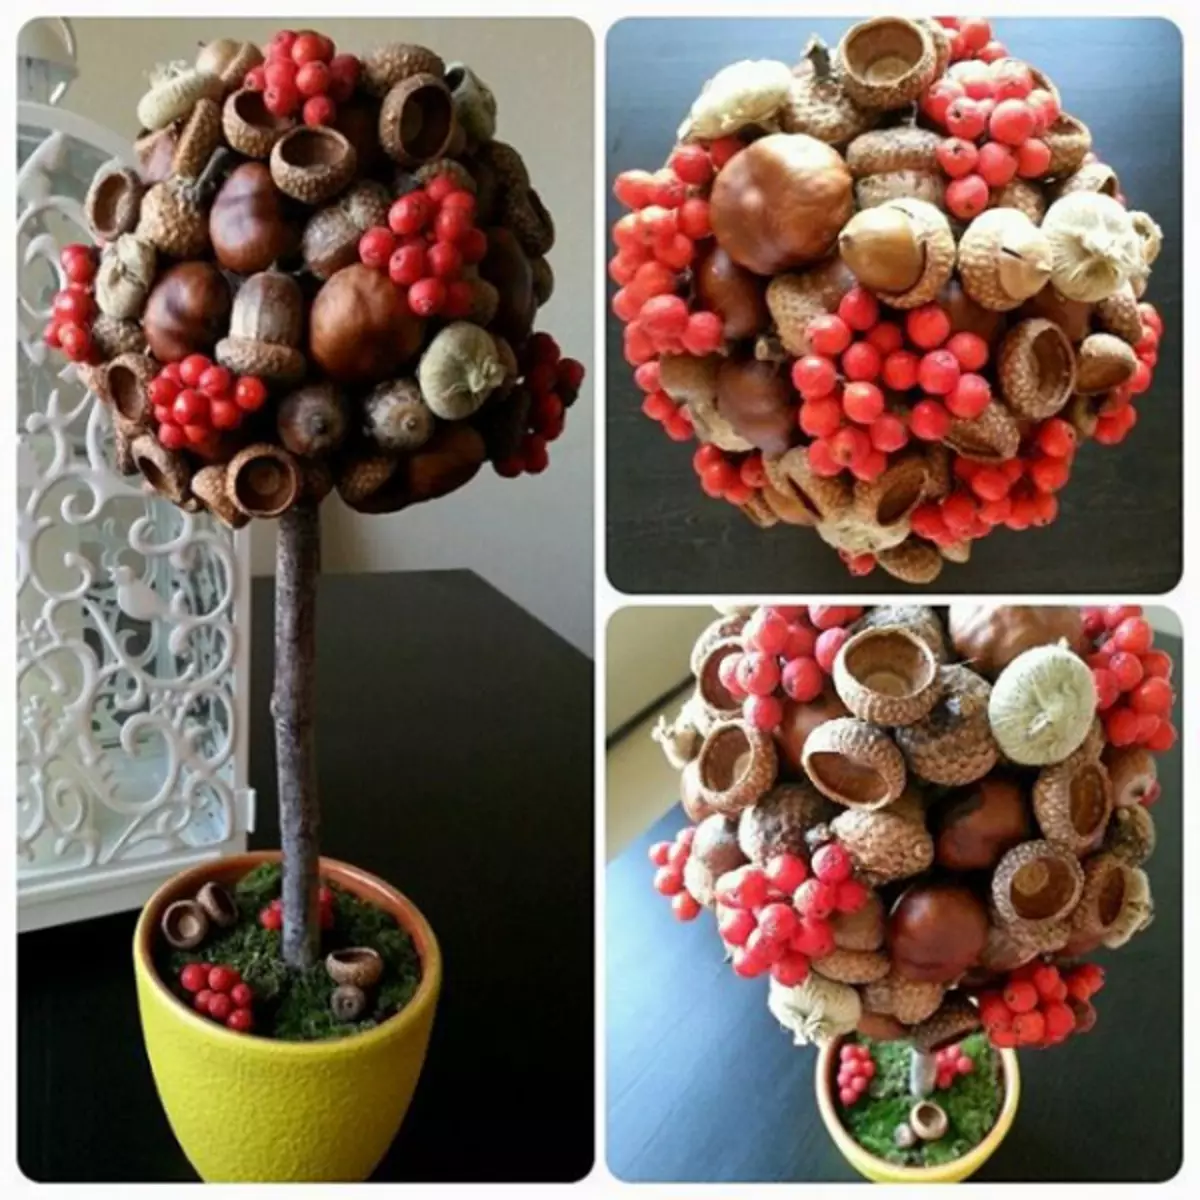
Round trees on a long leg, decorated with simple and unusual materials, gain popularity as a decor for shops and cafes and for home. Among all types of Topiarias, those who are fulfilled in autumn topics are most advantageous. Make autumn Topiaria do it yourself are not so difficult.
Miracle on the leg
How to prepare for the creation of autumn Topiaria? This master class describes in detail about it. Preparation consists of several parts:
- Pot or Capacity;
Capacities or pots can be used as clay, so plastic. The main thing is that they are harmonized with the overall composition.
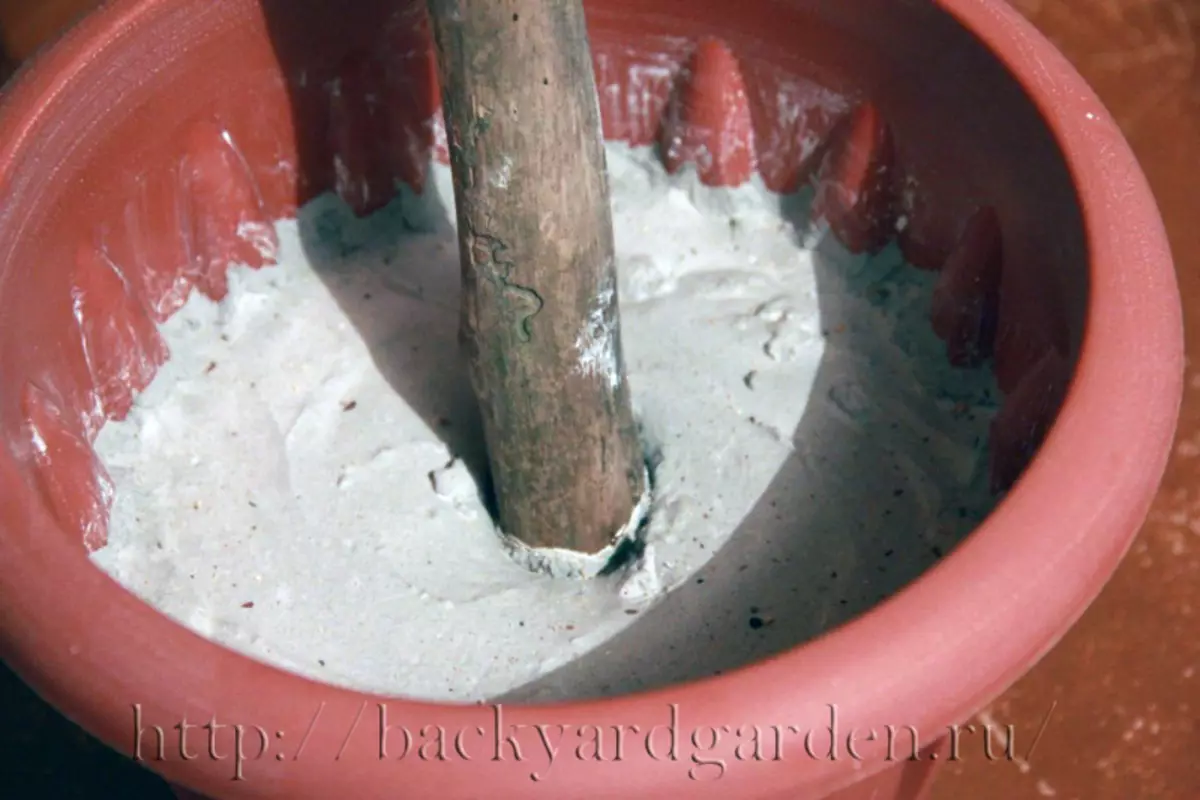
- Filler pot;
As filler uses gypsum or alabaster. He is poured not to the top of the top pot so that the place remains for the scenery of the pot. Such a heavy filler is used so that the composition has equilibrium, because the "cap" will also get quite severe. It often happens that when the solution is frozen, the pot cracks. This trouble spoils the handicraft. To prevent a similar phenomenon, you need to put the cut-off kitchen sponges in layers to prevent alabastrome layers. You can add paper trimming, pieces of mounting foam or clay. These precautions will help to avoid excessive expansion of the filler when frozen, and the pot will be intact.
- tree trunk;
It does not have to be made from perfectly smooth stick. You can take even twisted or winding. The main thing is that the proportions and the overall design was subsequently sustainable.
Another important recommendation. After the topiary is ready, the trunk is loosened in the pot and the design of unstable. To avoid this, it is necessary before filling at the bottom of the bottom of the tree, wedging the wire (but only not iron, so that the rust does not perform, but aluminum), the ends of it to straighten into the shape of the cross or spacers to increase the area of the contact of the tree with alabaster. If you have not done this and loosening has already happened, you can try to fix and fix it with a thermoclate gun.
Article on the topic: Knitting from flaps and fabric strips - hook bag
- crown;
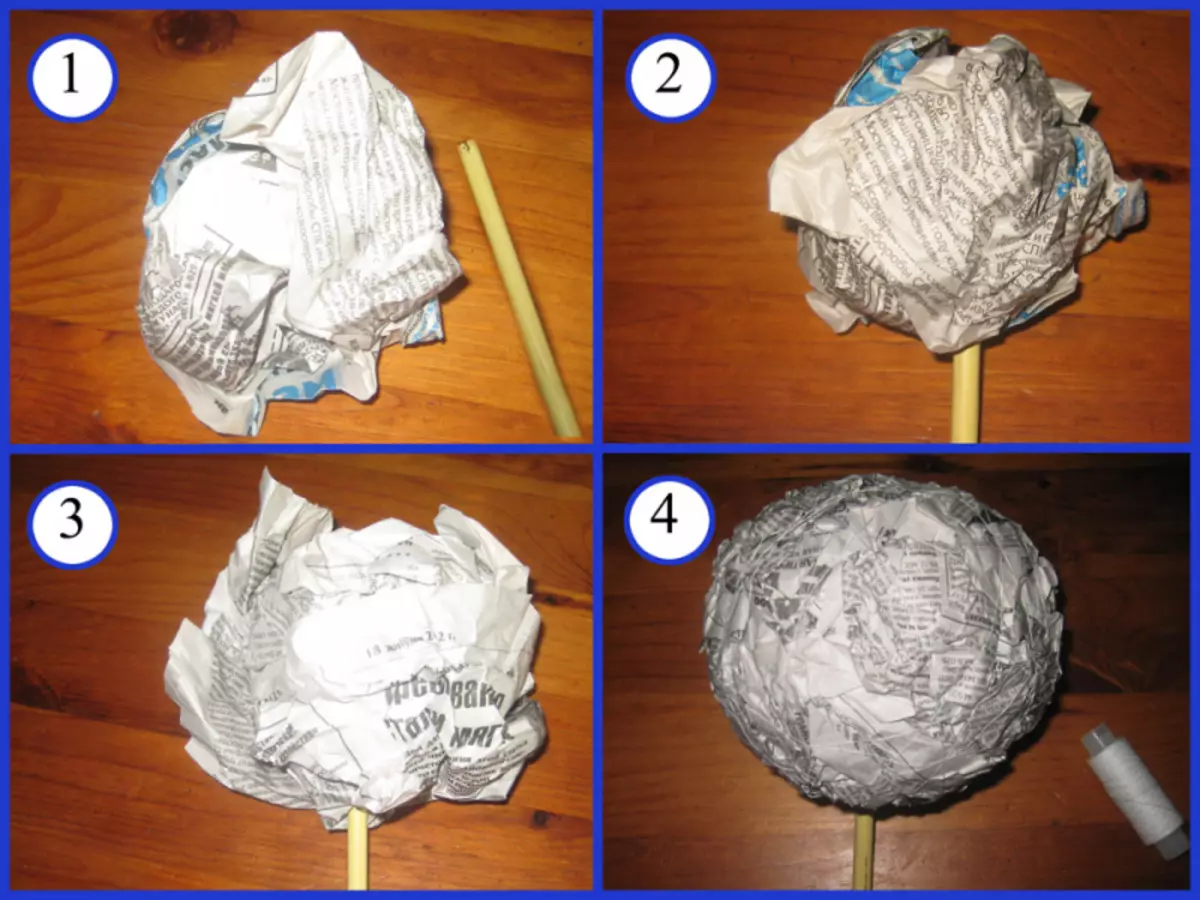
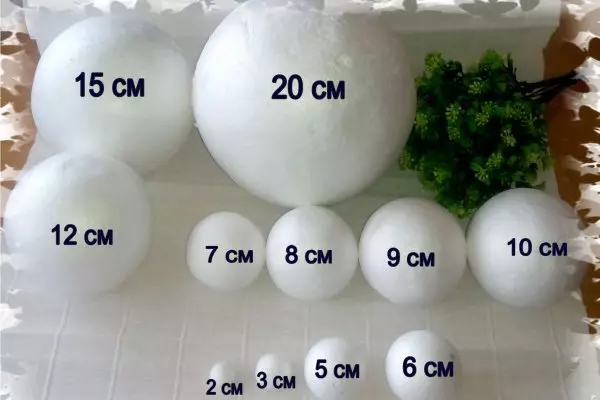
As the basis for the crown, you can take old newspapers, of which the ball form the desired value, wind by tape or threads. This is an option for one-time amateur needlework.
If you decide to make Topiaria massively, the foam balls of different diameters are usually used.
- crown decor;
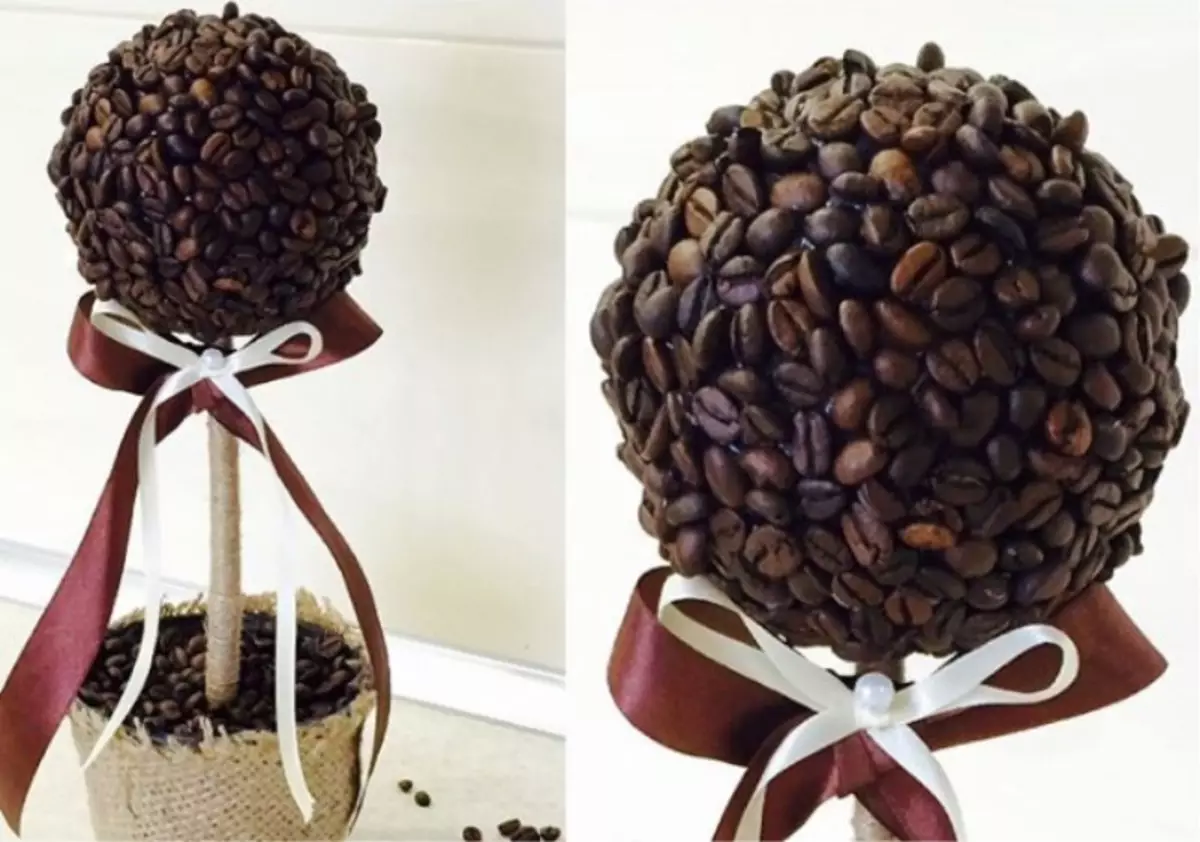
It is necessary to consider in advance and prepare the material that the Crown will be placed. If it is a mono-topiary (from some one material), for example, coffee, then you need to take the most beautiful grains, because they will all be in sight.
Do not necessarily do the crown round. Topiaria forms can vary.
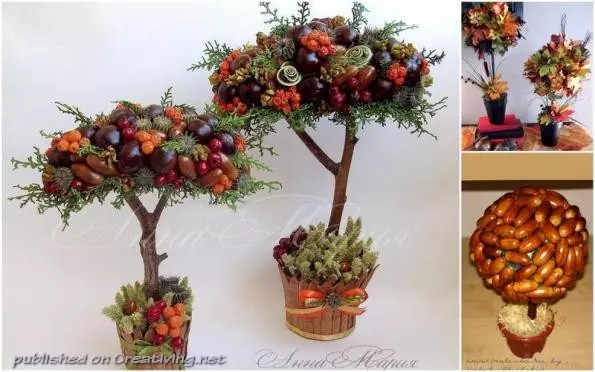
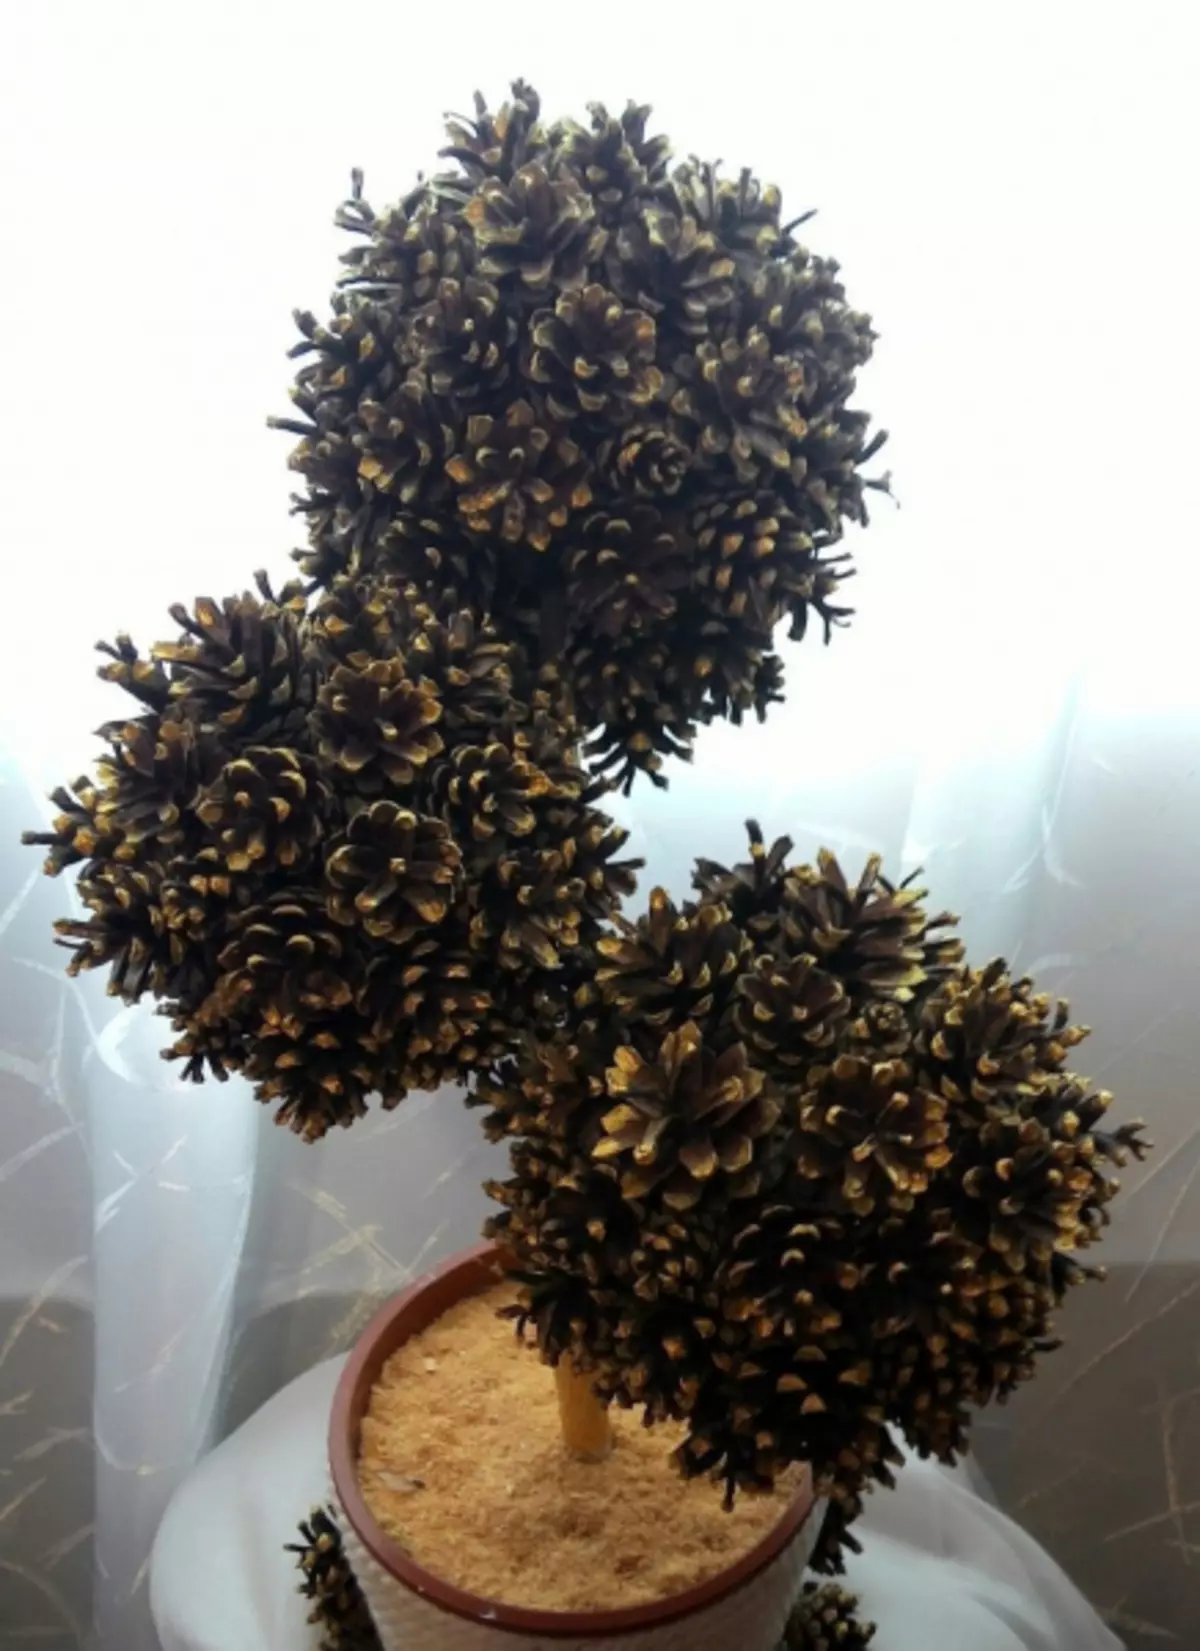
Interesting topiaries are also obtained from the cones. Both mono and traditional.
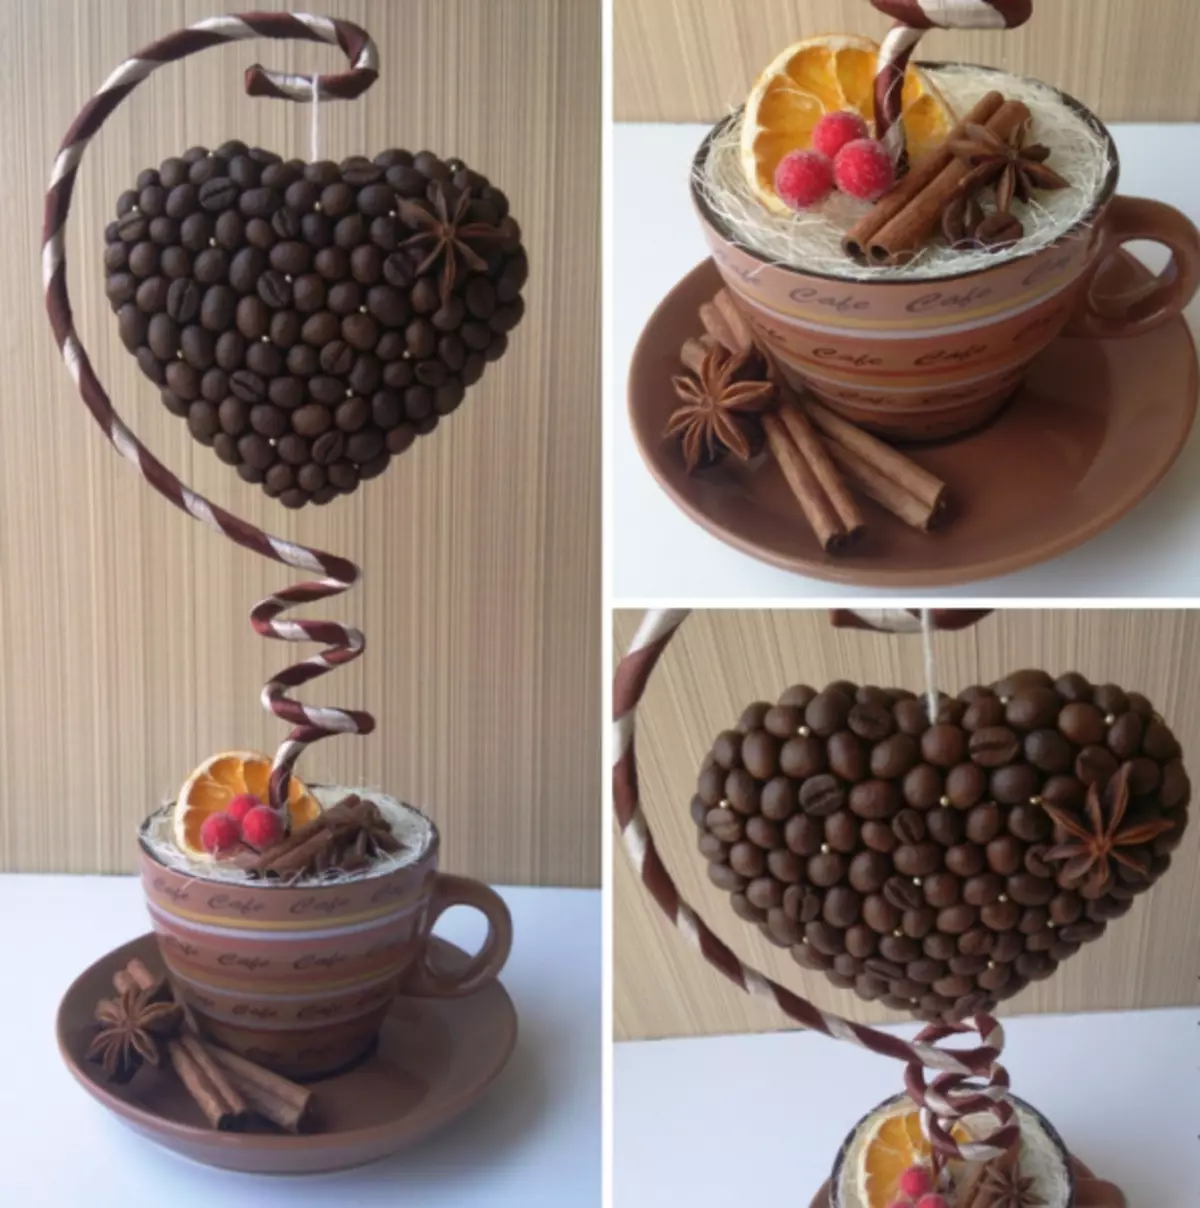
Since mono-topiary is slightly monotonous to make them brighter, use ribbons, unusual shapes of the trunk and other details that make the composition more complete. They are charm in restraint, accuracy, sophistication. Such topiaries can even decorate the office and will not look screaming.
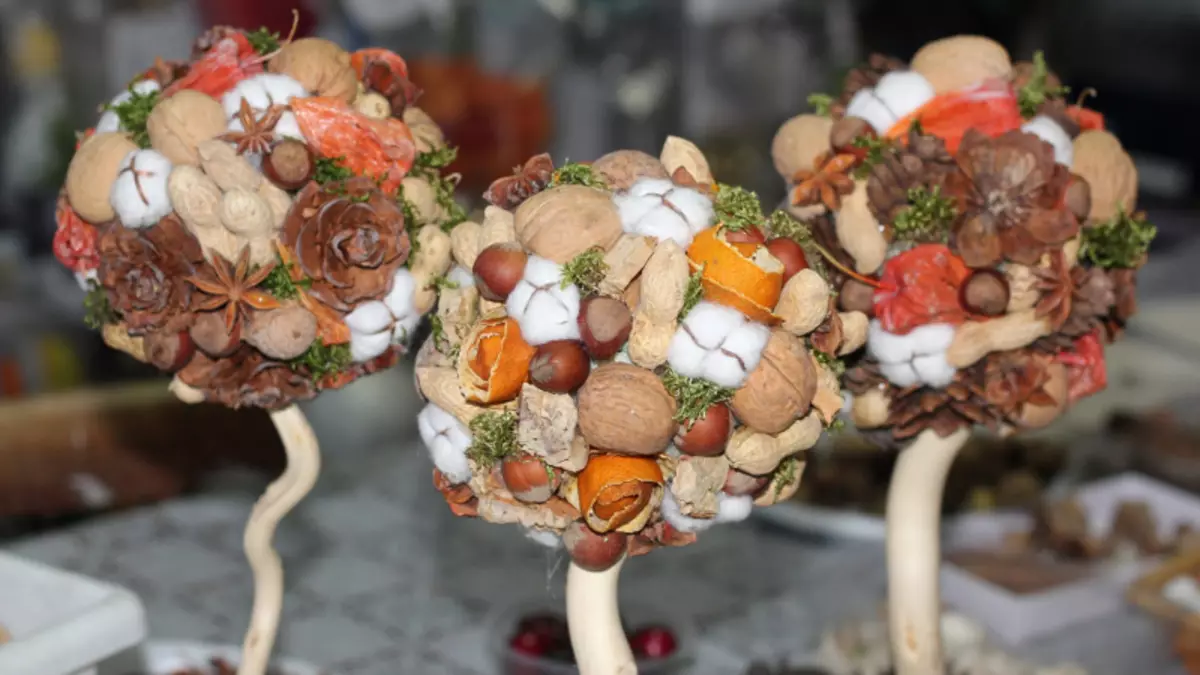
If you plan to make topiary from natural materials so that it turns out in autumn generous, you need to pay time and prepare them in advance, pick up the color scheme, the combination of forms.
Materials such as walnuts and forest nuts, cotton boxes, dried orange rings or peel, aroma spices (cinnamon, cardamom), Physalis together can create charming compositions. Such a tree brought to the room where they are located, not only the fragrance, but also a warm, joyful mood.
All prepared materials are placed on the basis of the adhesive thermal system on the principle: first the largest details, then - in order of reduction.
- Decor pot.
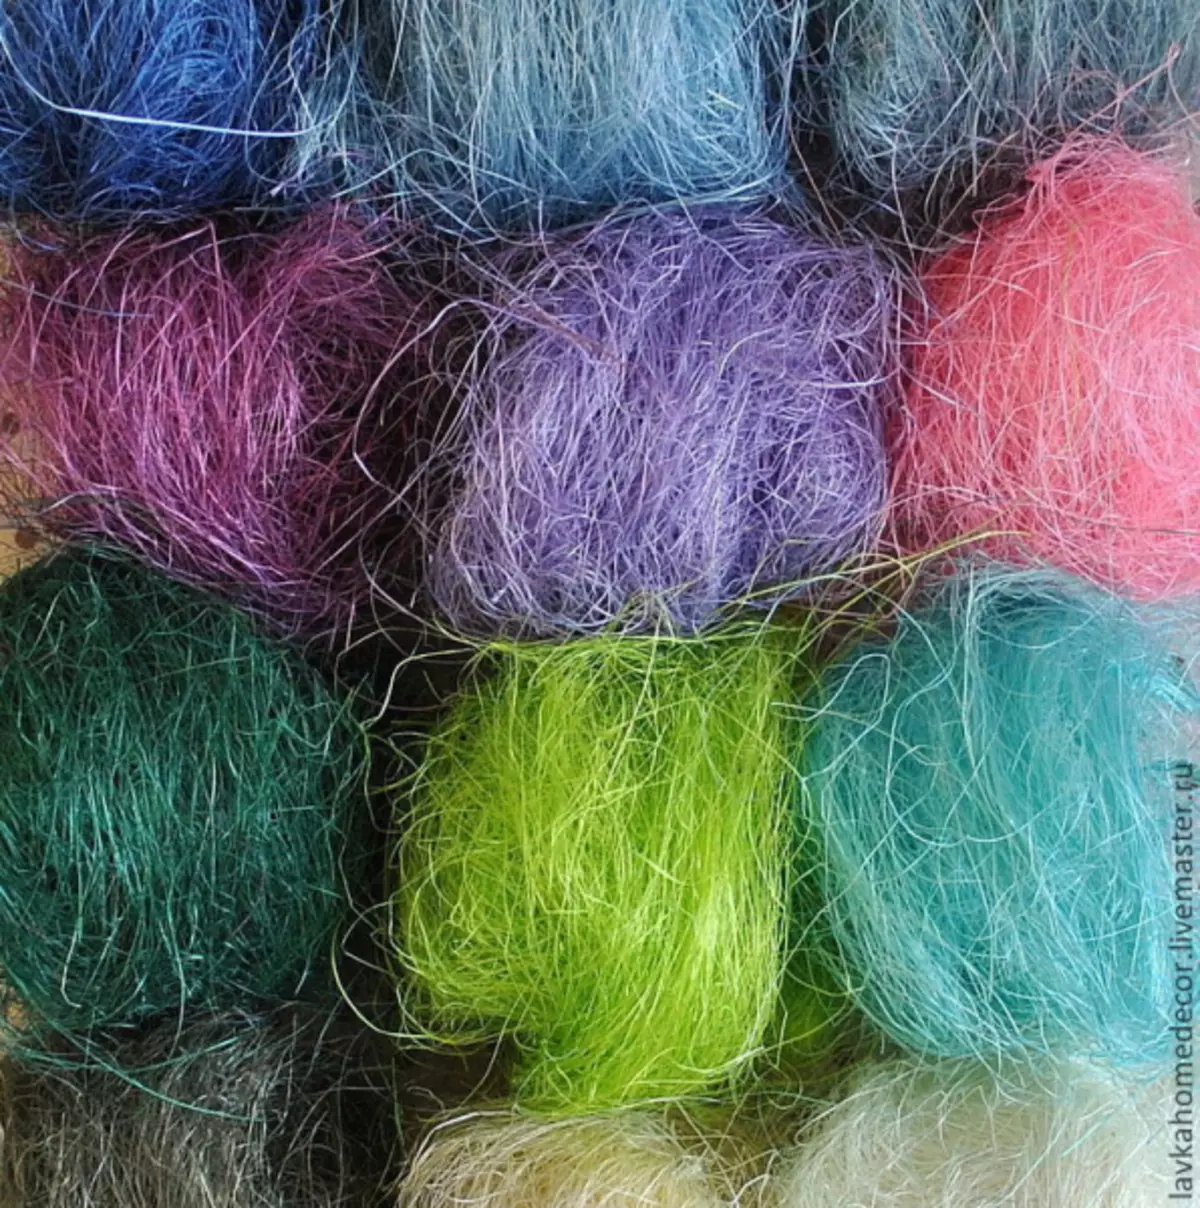
When the crown is fully ready, you need to decorate the filler in the pot so that it is not visible. Materials for its decoration should be harmonized with a crown, that is, repeating its elements. Either neutral material is used - moss or sisal, natural fiber, which is different colors. Sometimes, if used old ugly pot, it is observed on top of a burlap, which is very well combined with the natural crown materials.
Article on the topic: Fish needles: Scheme and Description with video for beginners
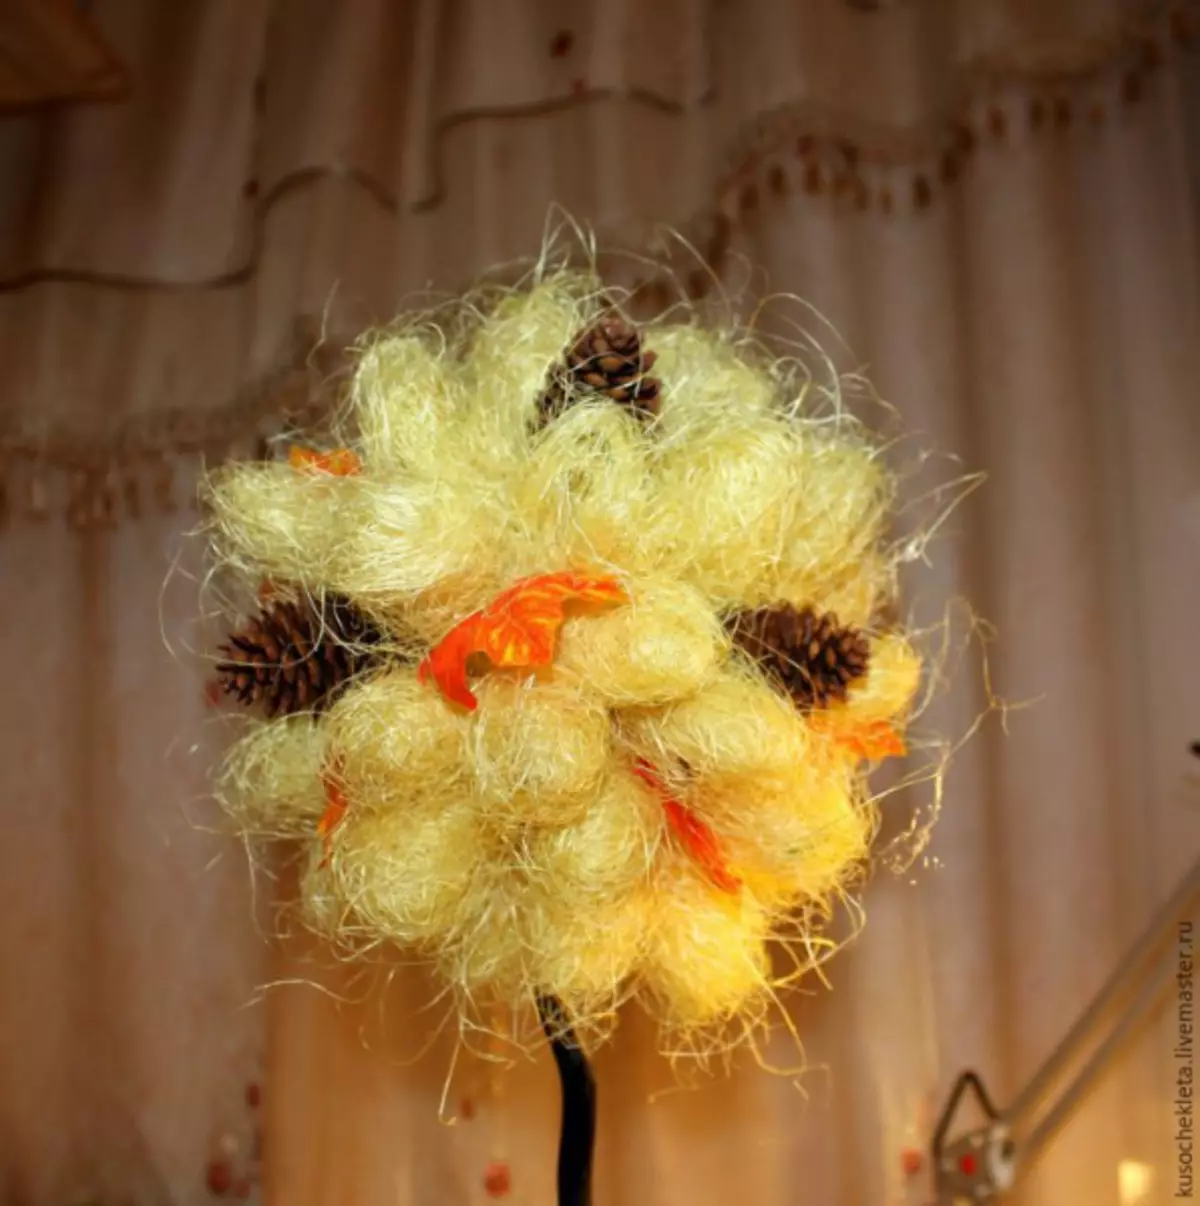
Let us dwell in more detail on the decoration of the crown on the example of Topiaria from cones and artificial autumn leaves. Below is a detailed description with the photo.
Collecting in circle
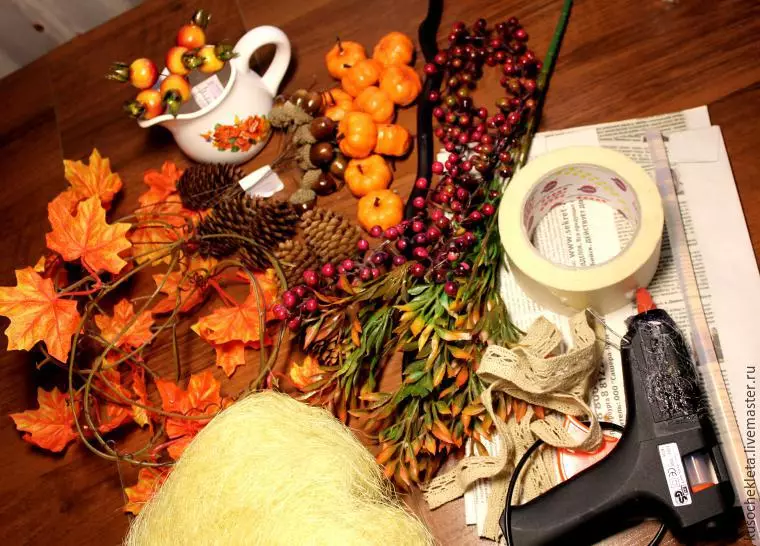
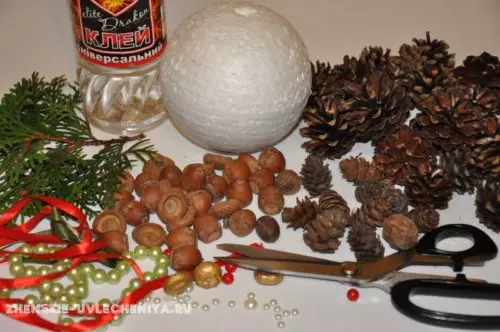
Prepare:
- Ball from newspapers;
- wavy trunk;
- Natural fiber "Sizal" of light color;
- Natural cones and acorns;
- Artificial autumn leaves, twigs, berries and ticking;
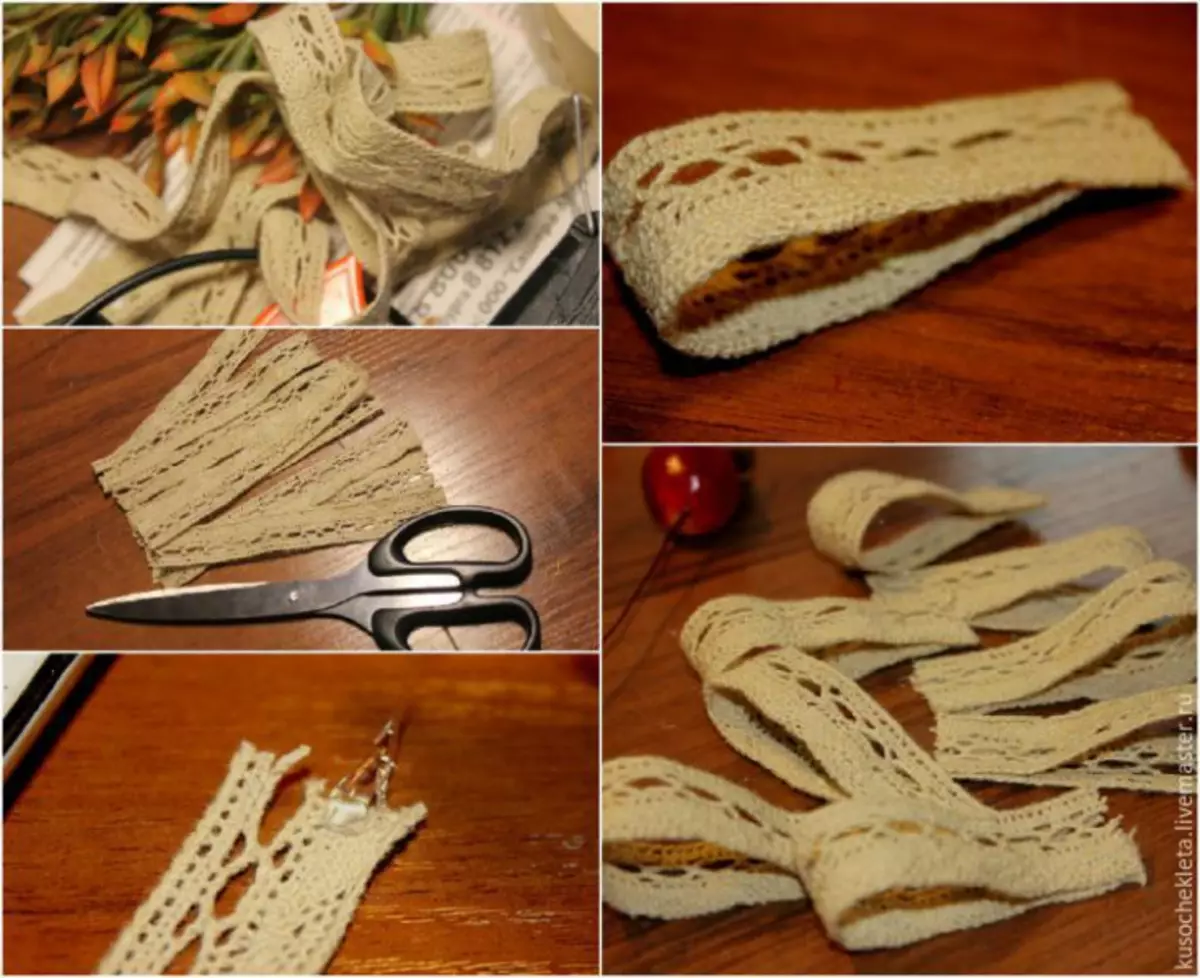
- Natural cotton lace;
- pot;
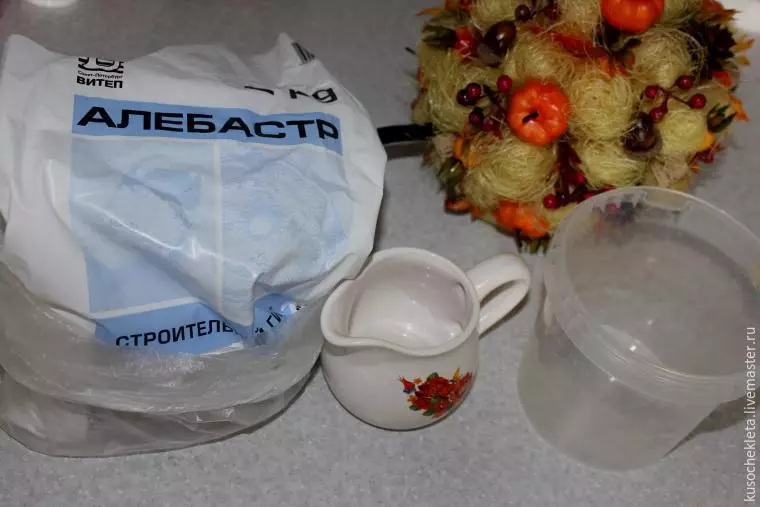
- Adhesive gun, alabaster.
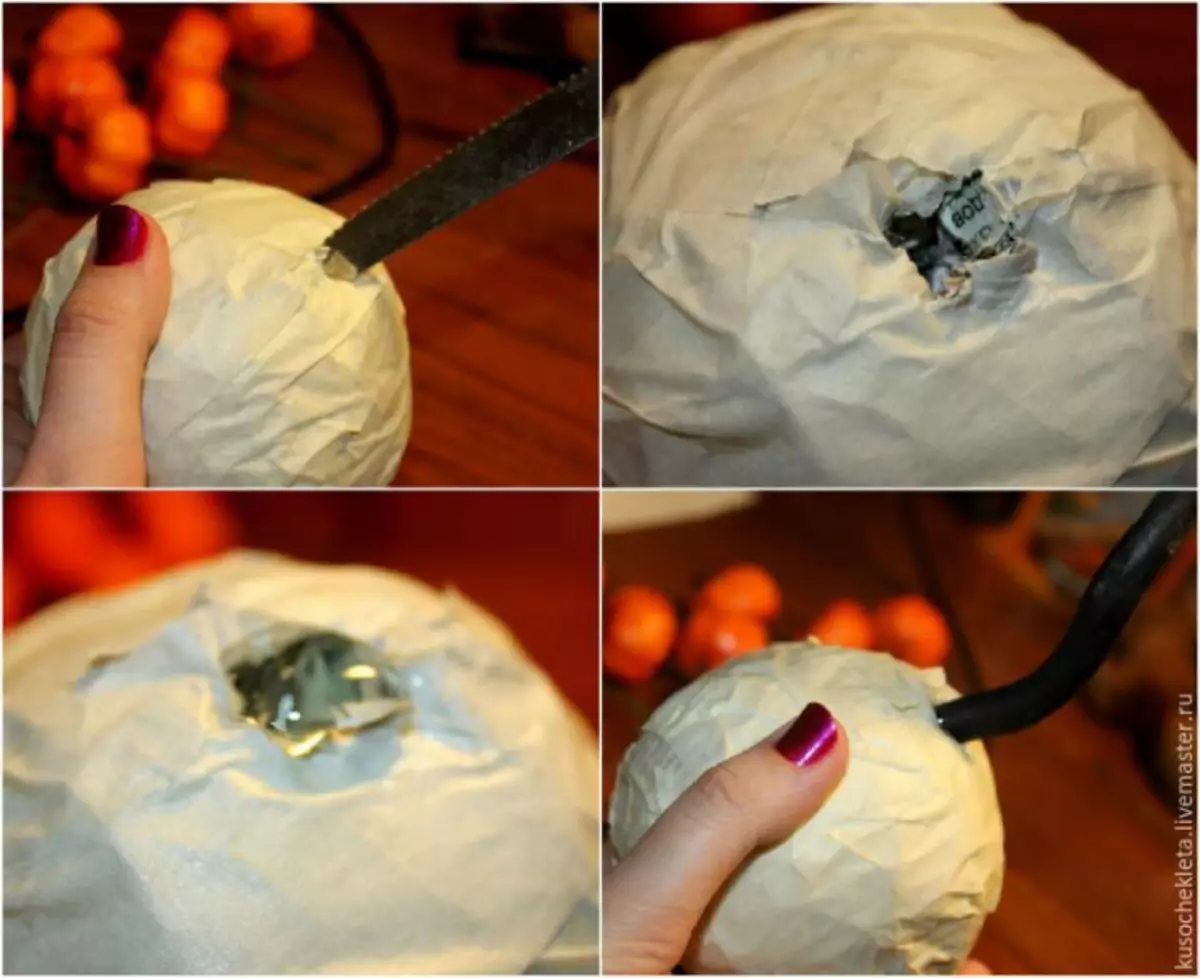
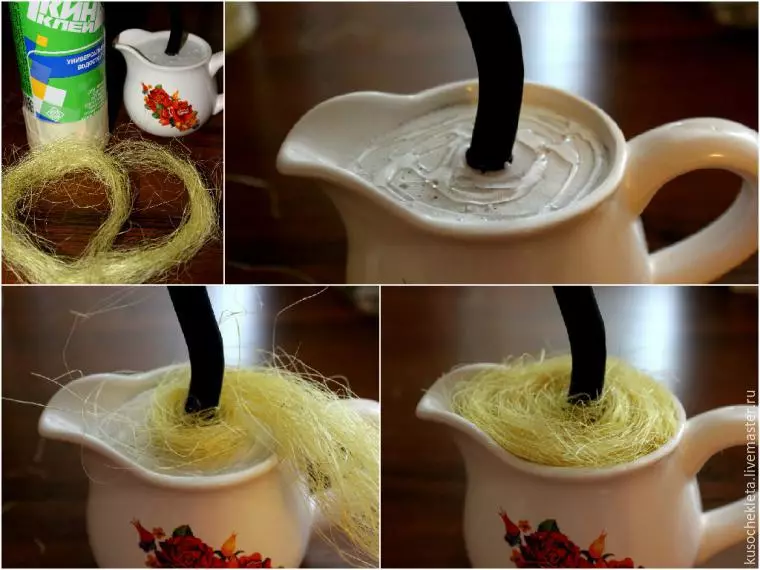
- First prepare the crown. Cut in a blank hole, pour hot glue. Slide into it the trunk, hold, while the glue dries. Put the blank in the bucket.
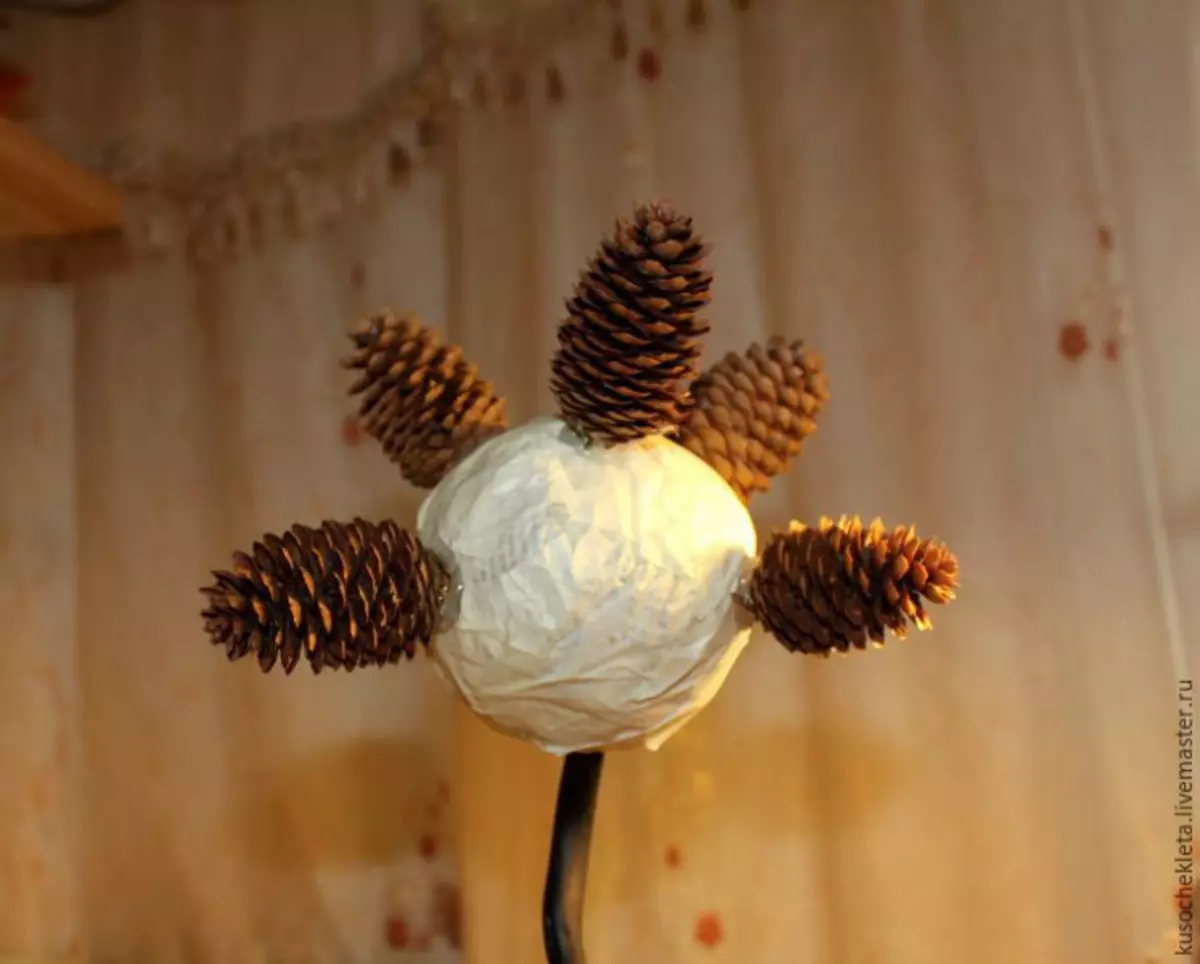
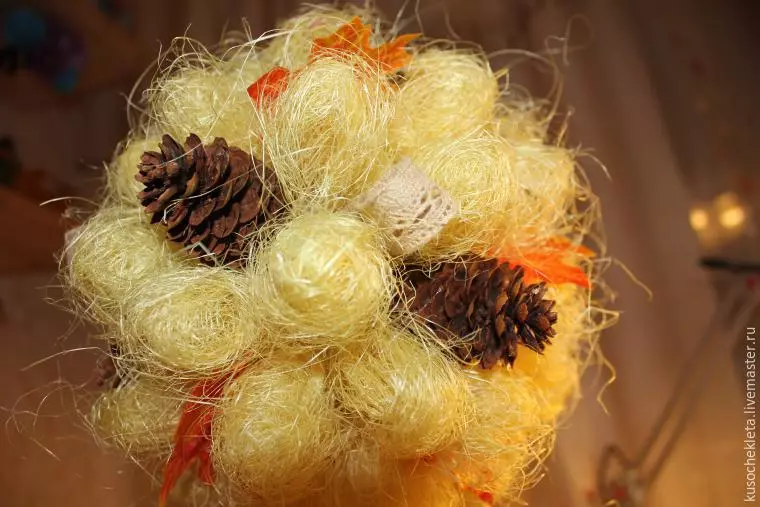
- Since the cones are the largest, glue them to the krone the most first, evenly distributing on the surface.
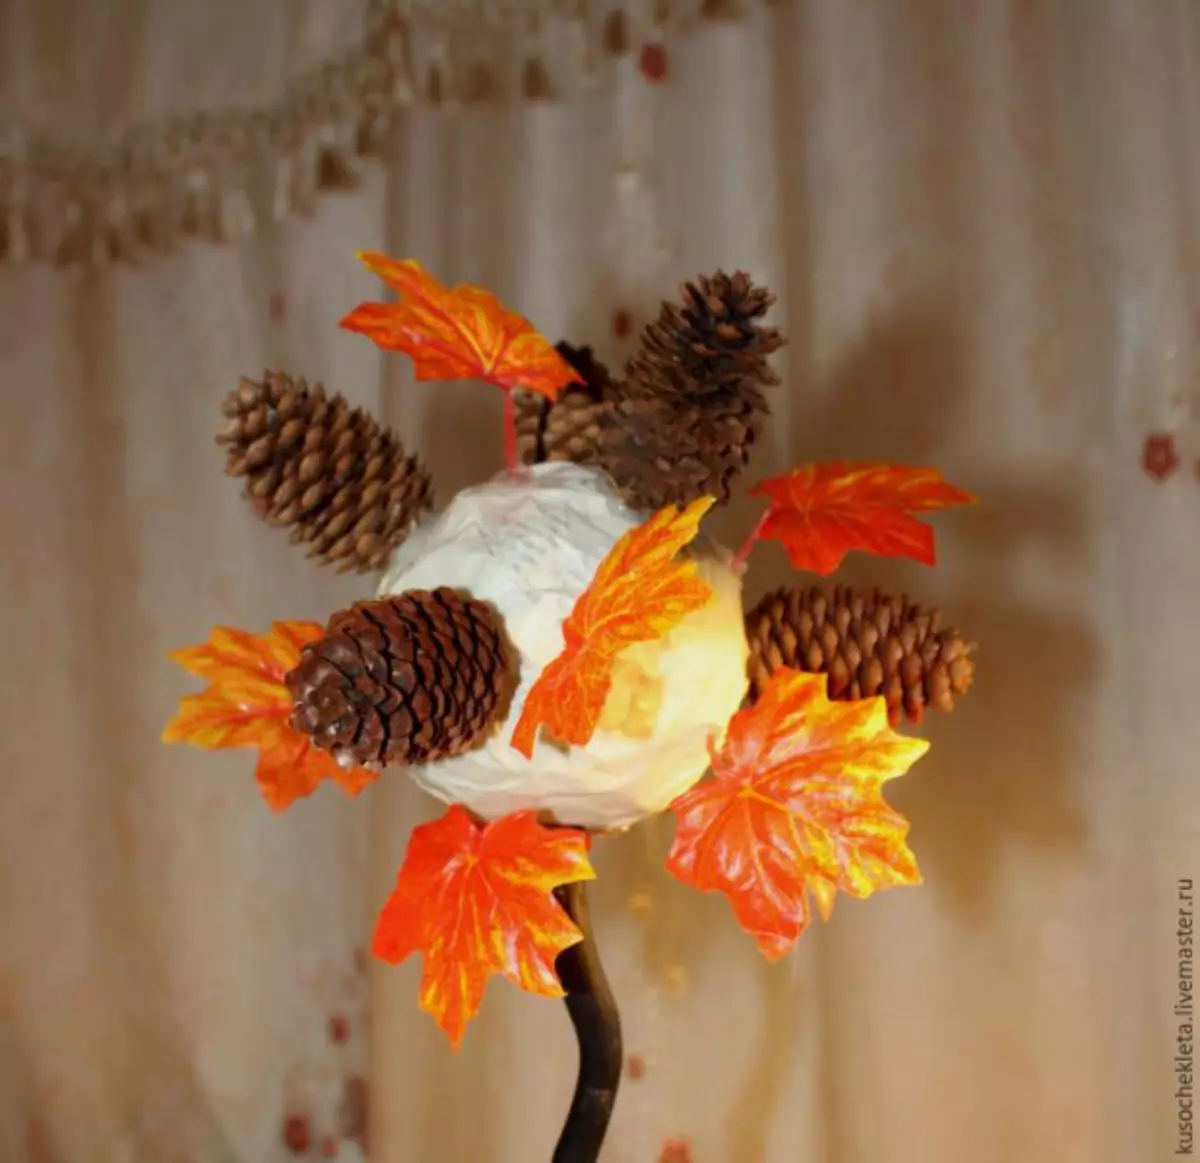
- The next step is to glue the leaves for the petioles so that they, like rays, disperse on the surface of the ball.
- Sizal fibers twist into small lumps.

- Printed these fibers in the gaps between the bumps and leaves.
- Tape cut on strips, from each strip to make a loop. Glue the loops evenly between sisal lumps.
- Glue pumpkins, berries, twigs and acorns.

- When the crown is completely framed, "plant" a tree in a pot. Make a solution by adding water to the alabast to the consistency of thick sour cream, insert a trunk, reinforced with a wire stretching, and pour into a solution. Put near the support or walls for a couple of hours so that the solution is frozen.
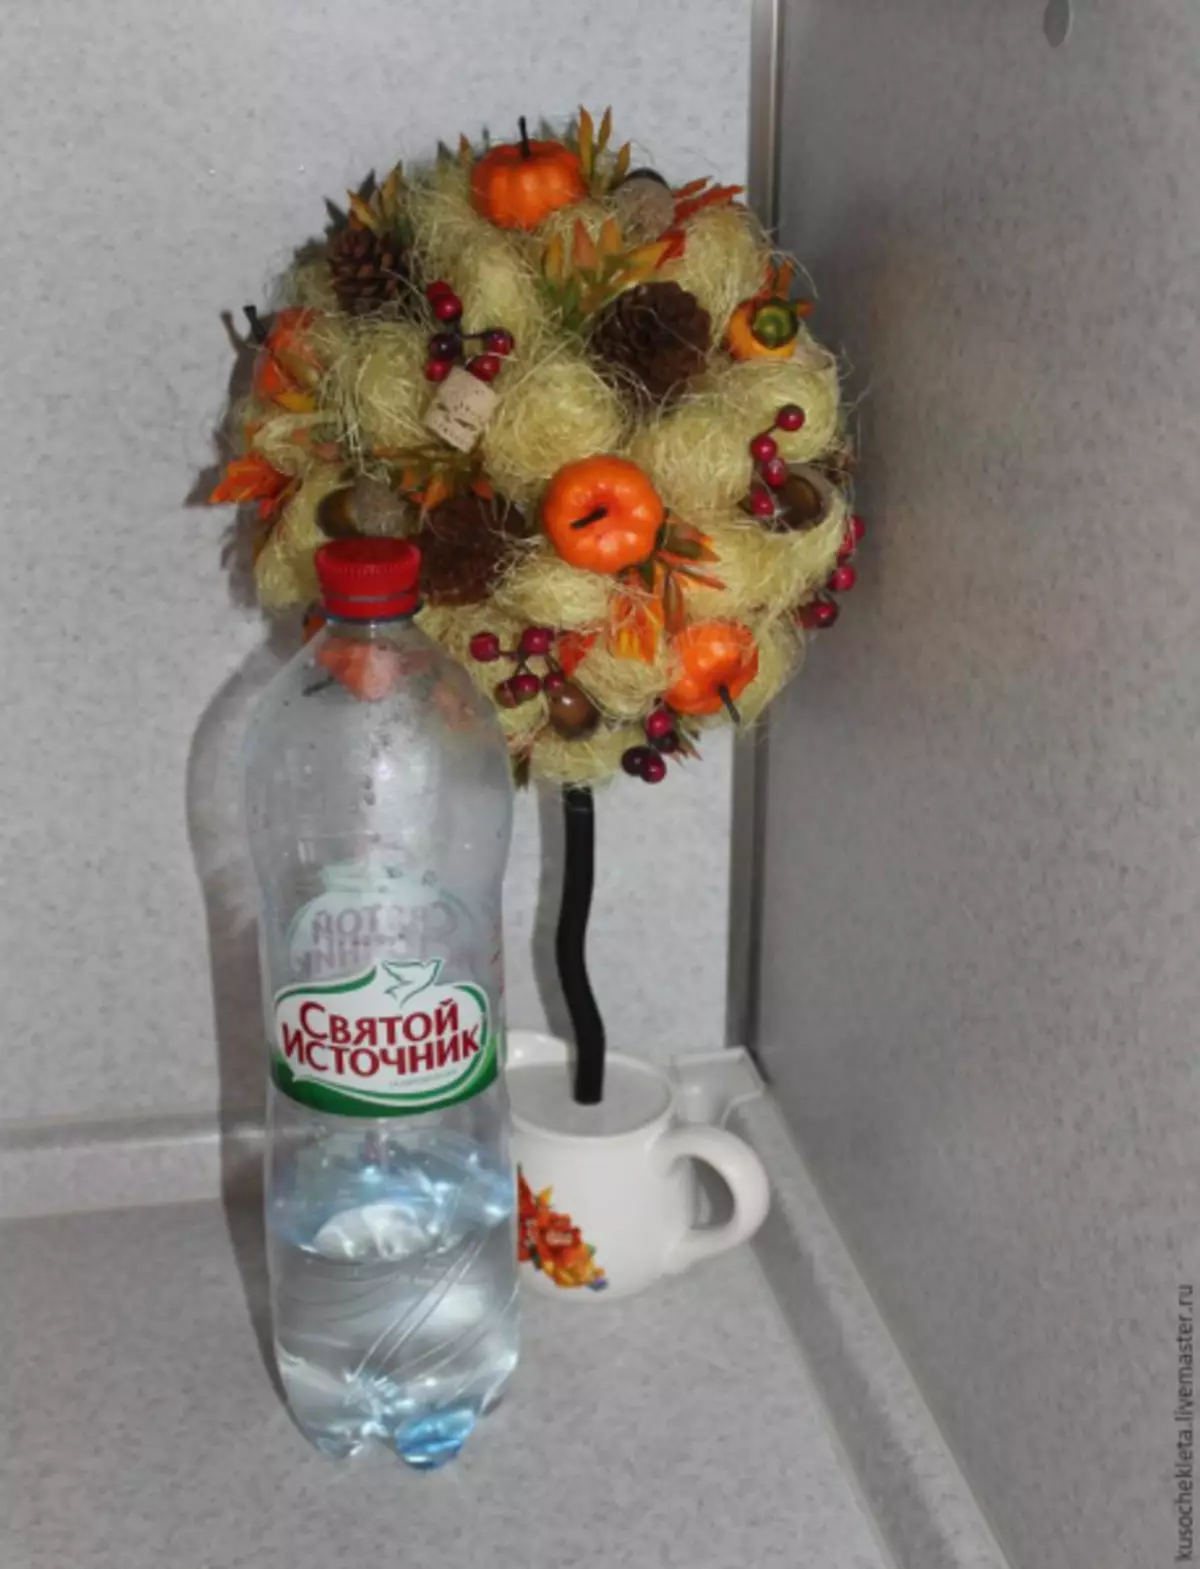
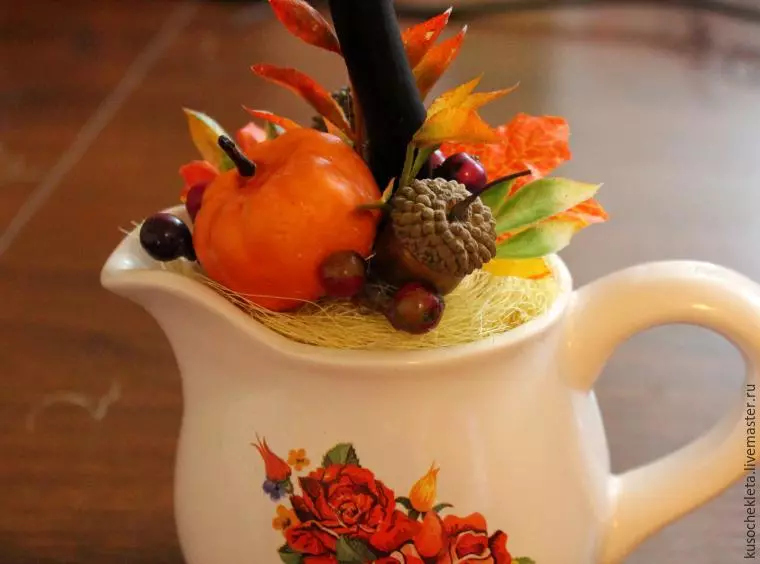
- When alabaster freezes, it needs to "hide", decorating a sisal, laying it in the form of a spiral. One of his end should be glued to the trunk, and when the pot fills, the other end is glued to the edge of the pot.
- From above on fiber to put elements, repeating decor on the crown - a bump, twig, twig, several berries. They must be fixed with glue so that the composition does not fall apart.
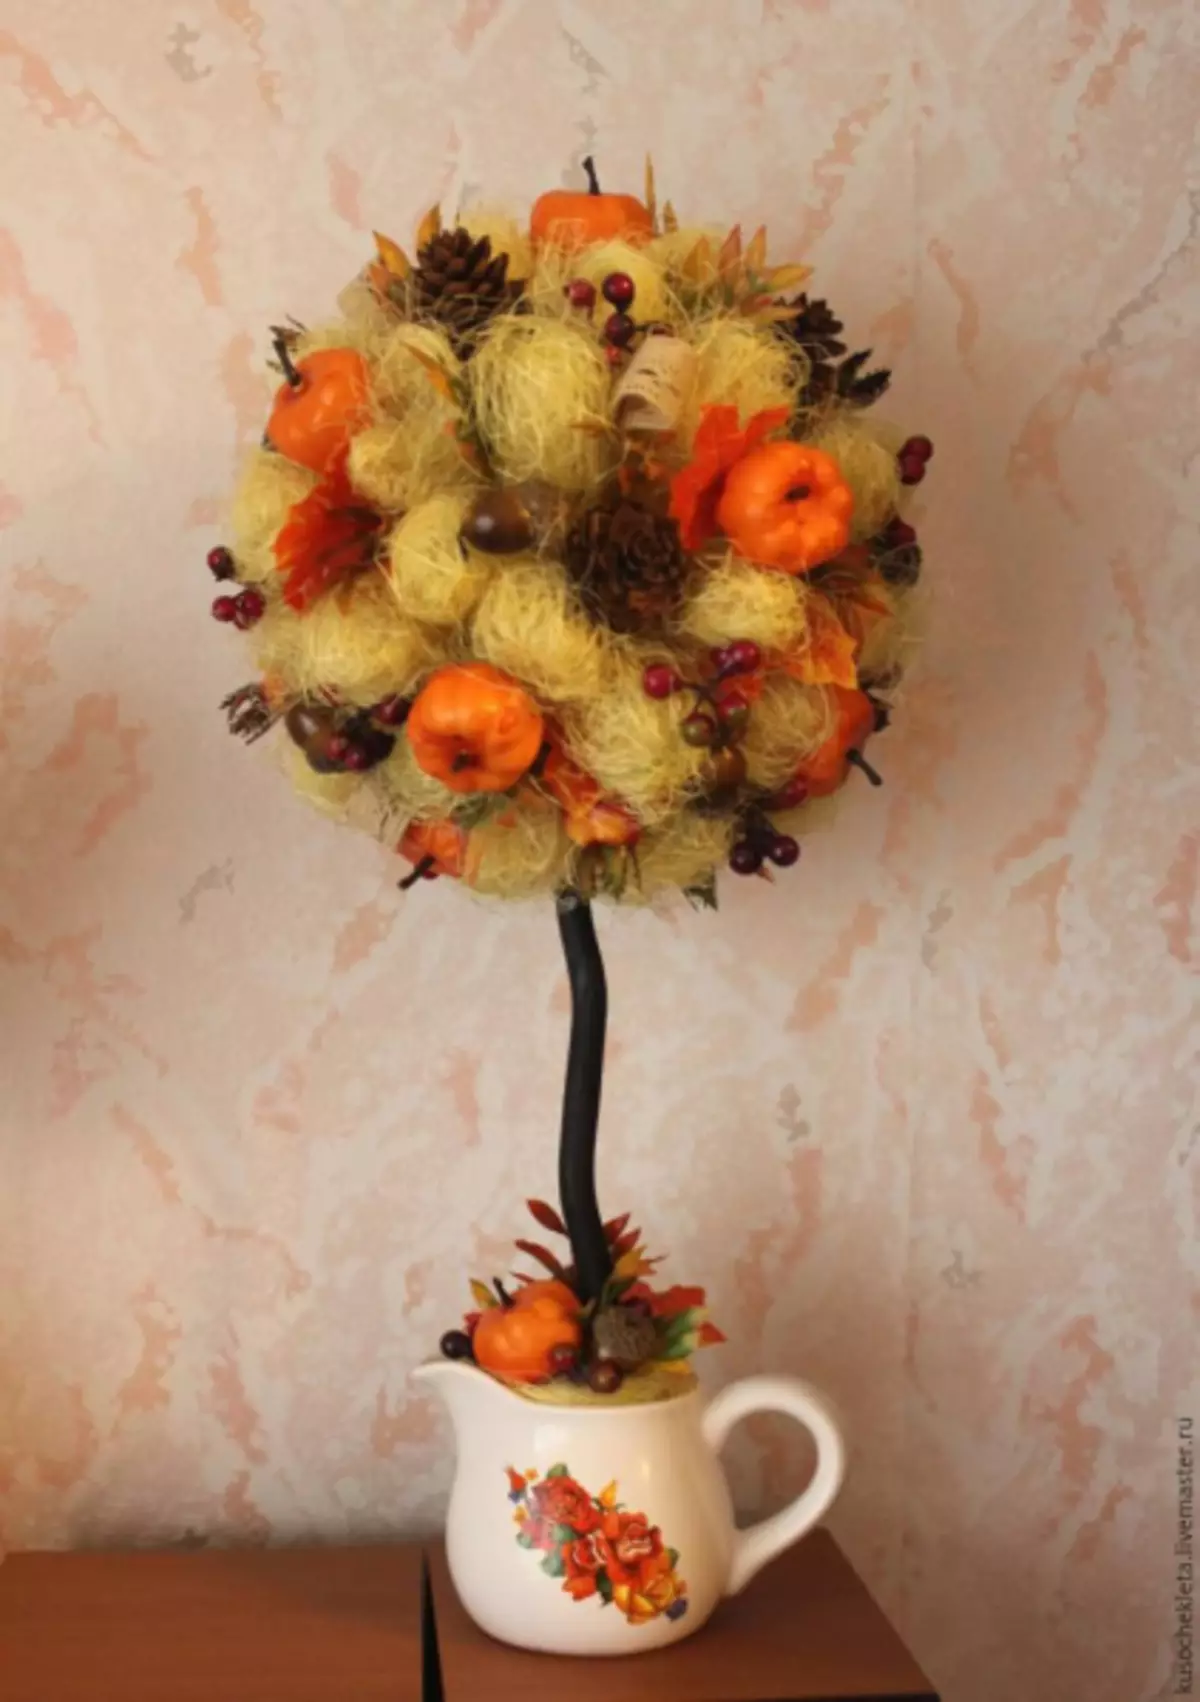
Autumn Topiary is ready.
Video on the topic
Make at home Autumn Topiaria will help you a selection of video lessons below. There you will find additional ideas for the design of Topiaria.
Article on the topic: The most beautiful cake for a man. 50 ideas