
How many different ideas and creative solutions exist in our lives. With your own hands you can do everything: from furniture to the curtains on the windows.
Much popularity is gaining decorative elements that can be made independently with the help of sweater materials. Today we will tell you about crafts from Papier Masha do it yourself.
First, learn a little more about the technique itself and its prehistory. "Papier Masha" translated from French means "chewing paper". Of course, there in France and this kind of crafts appeared.
Papier Masha resembles a laying, but very unusual, which is carried out without plasticine or clay. The whole essence of the technique is that the elements are formed from loose paper.
The initial destination of the papier Masha was slightly different from the current one. Previously, with the help of this technique, the masters were made by dolls. To date, the range of use has significantly expanded.
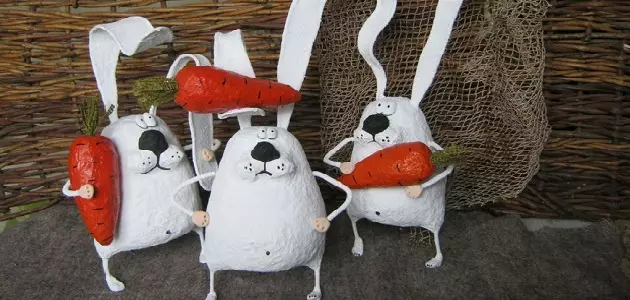
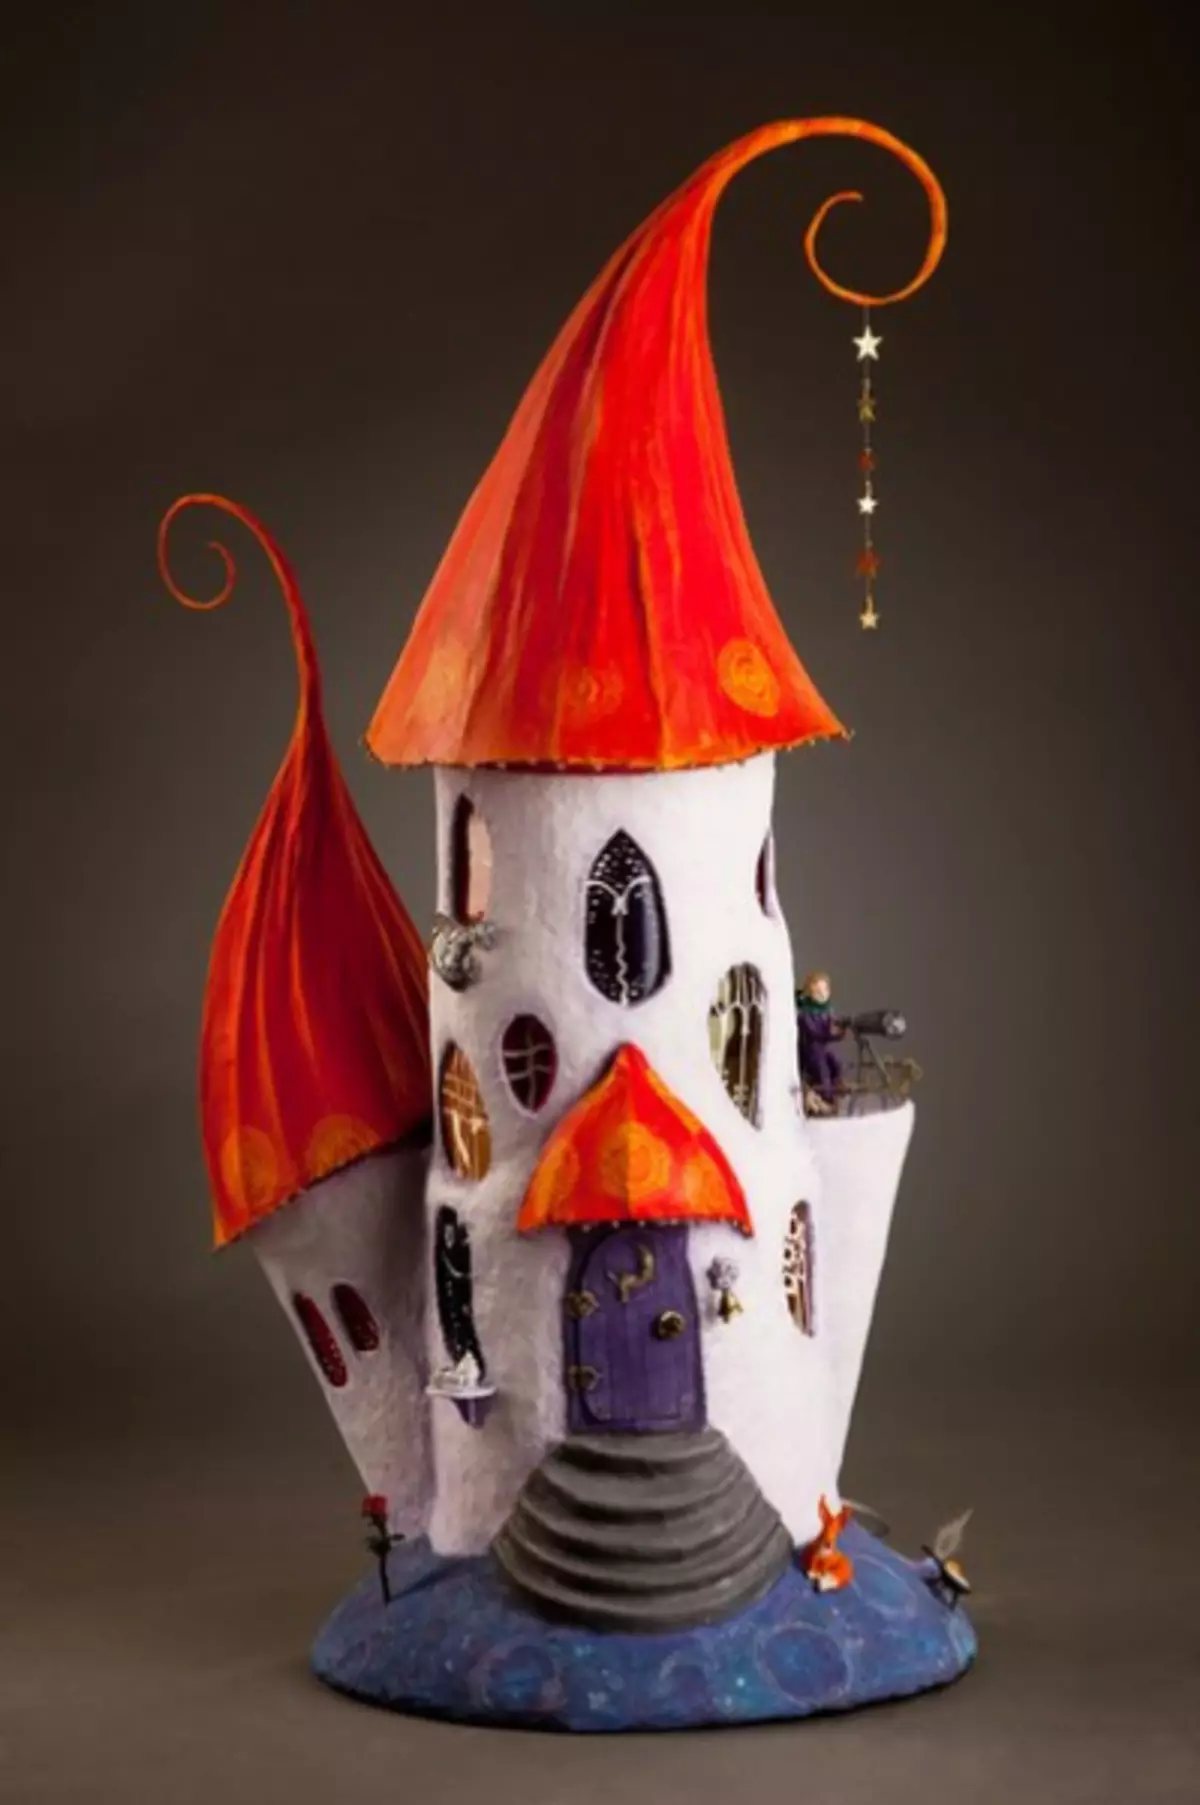
From dad, Masha make various tutorials, masks, duvi, caskets, various binding items. Some masters make lamps, furniture elements, which are not at all different from the present.
For making papier, Masha needs such materials:
- • Newspapers.
- • Water container.
- • Homemade Clayster of flour or starch. Also fit carbon black or pva.
- • Sandpaper.
- • primer, emulsion paint.
- • Scissors.
- • Cardboard.
- • Watercolor paints or gouache.
- • Colored paper.
- • Stationery knife.
- • Plasticine.
- • Natural material for decor.
- • Buttons.
- • Threads, wire.
For papier, Masha is characterized by three manufacturing technologies.
For one of the methods, the manufacture of the so-called liquid paper is characteristic. The principle of manufacturing a homogeneous mass is: small pieces of paper are flooded with hot water.
The solution must stand in a warm place. Next, the paper is boiling, squeezed from moisture, breaks. After the solution is dried and the last step is mixing the mass with chalk.
Article on the topic: How to make a crate to the lining?
A glue is added to the formed mixture to acquire a thick consistency. Clay can be made with your own hands with starch. Also in the work is used car glue. The solution is ready to use.
The most common method of Papier Masha is sticking small pieces of paper with a large number of layers. First you need to prepare the form you need to process.
Next, the paper is taken, which you first need to wet before applying to the necessary surface. For a stable effect, you need to apply more than 100 layers. The basis is the usual pva glue or a hubber from starch.
The third method of making crafts is carried out using the gluing of the hard cardboard solid plates. The crawl must be primed. After the product is painted and dried.
Banks, plates, wires, vases, balloons and other items are used as a form for the form. Figures can also be sculpt as a sculpture.
What to do for home from dad Masha?
There are many options for the decor of the apartment. From Pepper Masha, you can make interesting crafts with your own hands, which will decorate the space and will be pleased to please both the owners and their guests.
Fruits on the form. Let's start with a pear.
- 1. First of all, it is necessary to cut out a pear out of plasticine.
- 2. Next to deceive the resulting fruit with glue and apply pre-prepared pieces of paper. For a good and reliable effect, this work in 6-7 layers and give dry glue.
- 3. Carefully cut the pear in half and remove the plasticine from the obtained paper form.
- 4. Next, it is necessary to glue fruit and apply another layer of paper. The result obtained is primed paint and give dry.
- 5. At the end to the pear herself to glue paper leaf. And crafts for home decoration are ready to delight your eyes.
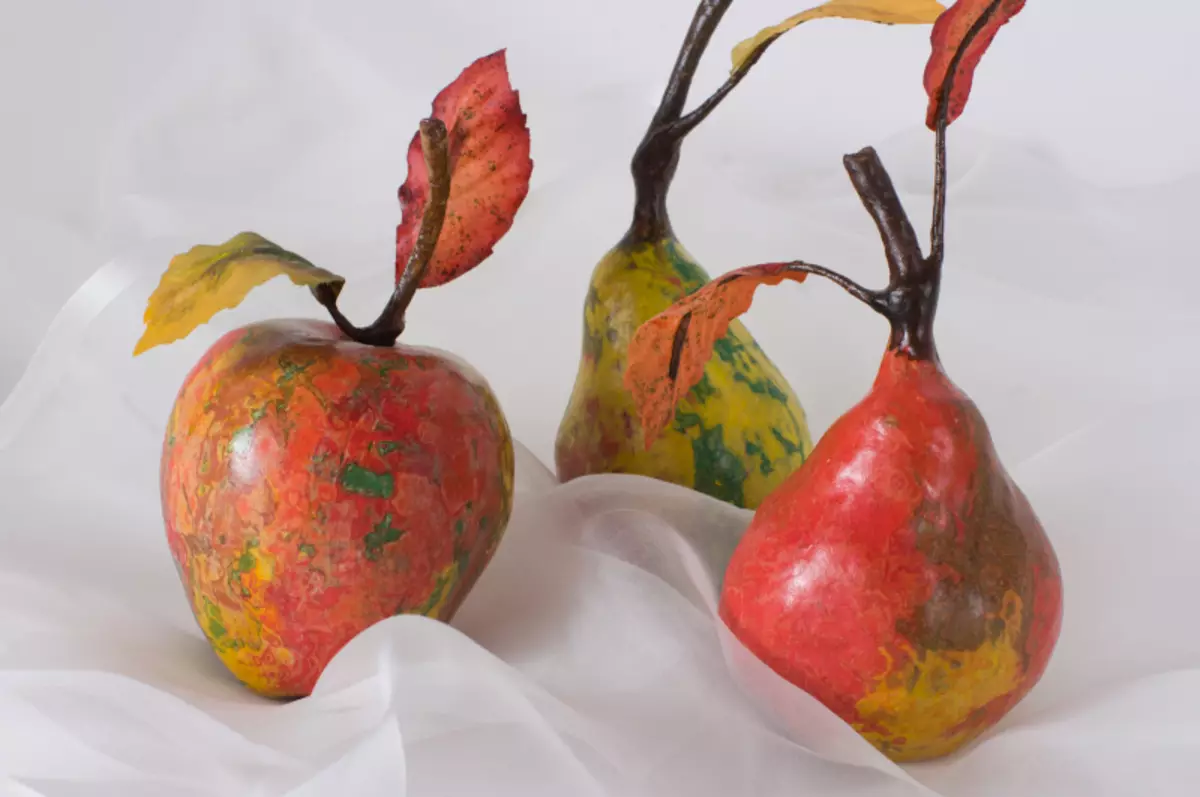
A paper pineapple will fit perfectly into the fruit collection. Its production is not such a complex process as it may seem first.
- 1. To work, we will need a bank that will serve as a carcass. A layer of paper papers are applied to the surface, which are moistened with water. Next to the bank to apply about 4 layers of glue.
- 2. After complete drying, cut the paper in half and connect the future pineapple to one. Further, the product is ground, the so-called flakes are glued to the surface.
- 3. Pineapple is dried and painted with a brush.
- 4. The green stem with leaves is glued to the tip. Fruit ready! Now there will be a real still life on your desk.
Article on the topic: The fireplace device on the loggia and the balcony
A lot can come up with a fantasy of a creative person. Experiment, try and find new ideas for crafts from dad Masha. Made with your own hands will always be pleasantly surprised by others and you. Such elements will make your life more interesting and brighter.