
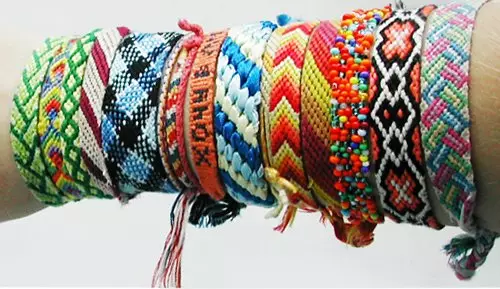
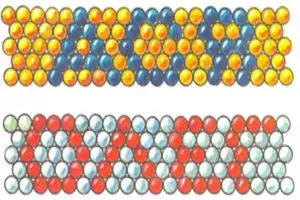
Fenechka is a bracelet made by weaving technique with hands from threads, beads, cords, leather and ribbons. We can apply a similar bracelet with a missing way, direct and various nodes from this type of needlework as Macrame. Below will be a description of how to weave baubles with direct weaving from Moulin.
For weaving, you can use different threads : Moulin, "Iris", "Lilia", "Mac" and "Narcissus", and the most popular manufacturers of such threads - "Gamma", "DMC", "Madeira" and "PNK them. Kirov. "
The invention of phenushek bracelets goes its roots to the North American Indians, this subject was considered a symbol of friendship, so in the 20th century this decoration borrowed hippies ("kids of flowers"). A distinctive feature of Fennets was in past times - this is the impossibility of buying them for money, they only gave themselves or they exchanged, so people changing with such feathers became named brothers, and Hippie had a gift of the bracelet was considered a symbol of accessories to their society. However, in today's world, everything has changed and these multicolored things can be easily found on sale around the world, including in Russia.
By the way, it has long been on Russia, there was such a kind of needlework as weaving or macrame, it can also be made from various threads and various nodules (flat, relief, openwork, etc.) to get bizarre patterns.
A different color combination in the phenoschka pattern can suggest the character and tastes of its owner.
Work description
Uncomplicated rules that will help in working with Fucente:
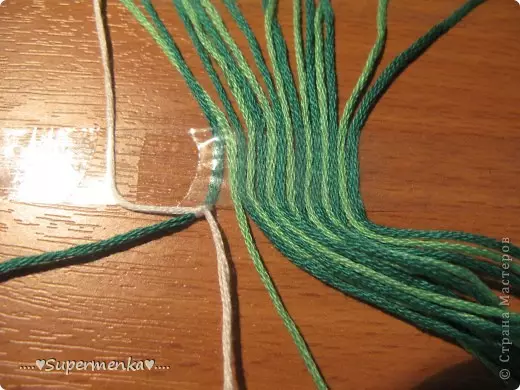
- Even threads (not less than 8 pcs.) So that the product is beautiful and smooth;
- The required length of the thread is four times the length of the finished product.
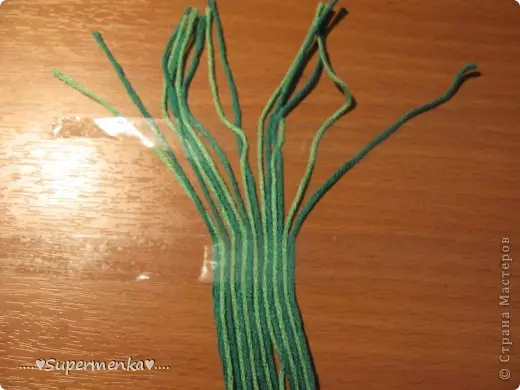
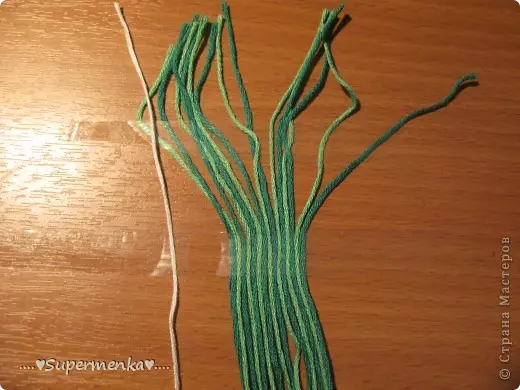
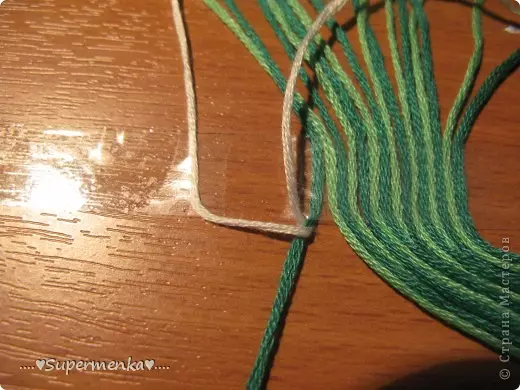
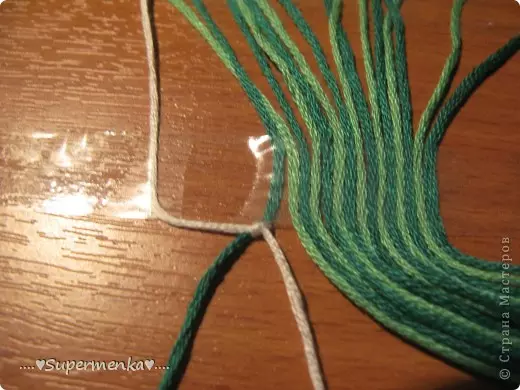
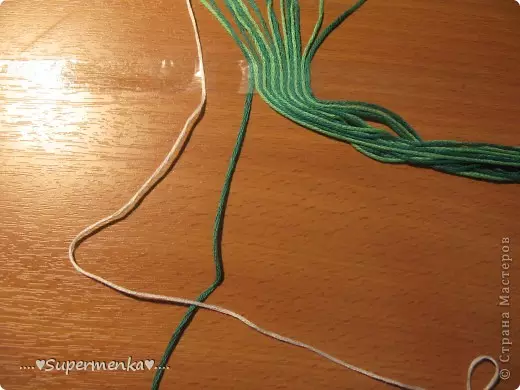
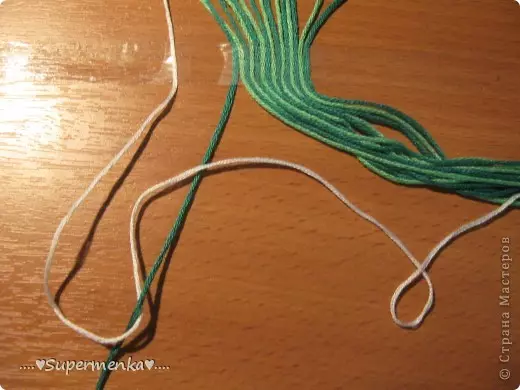
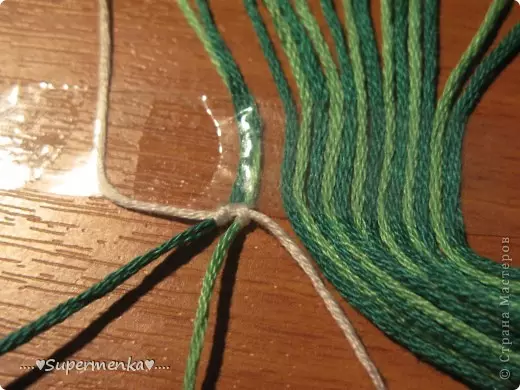
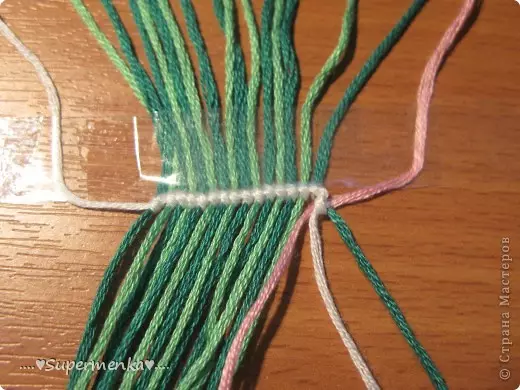
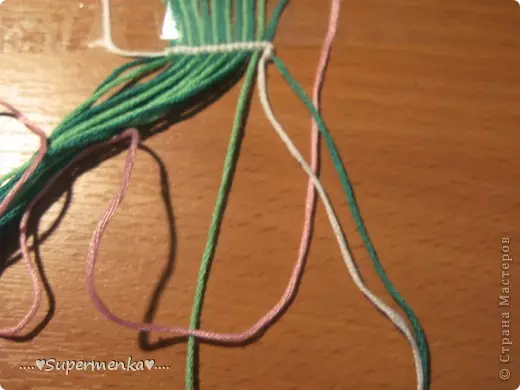
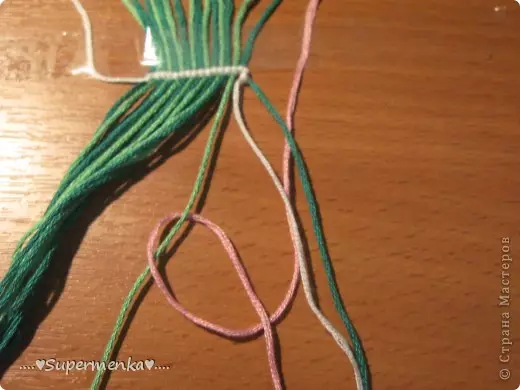
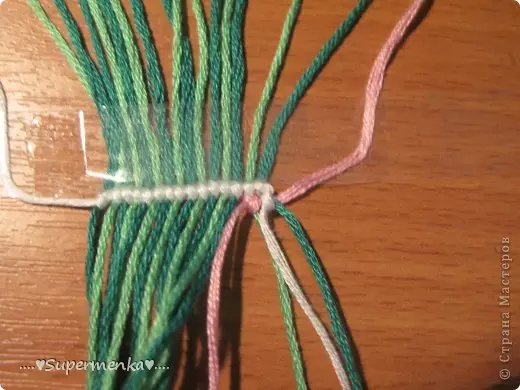
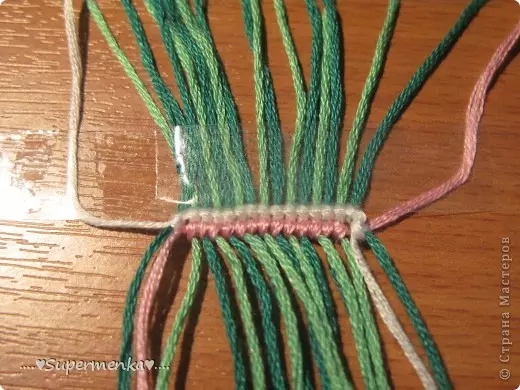
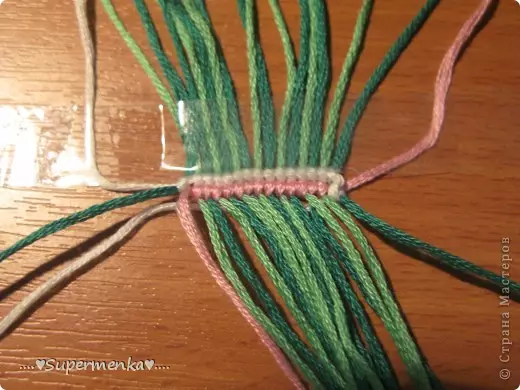
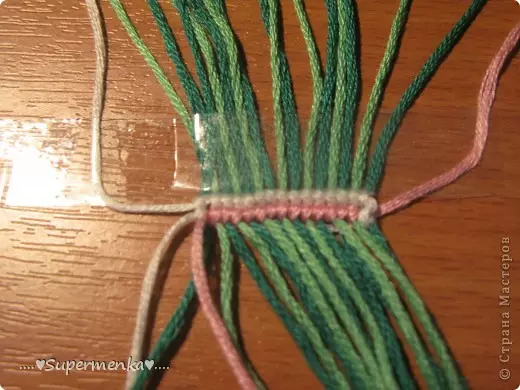
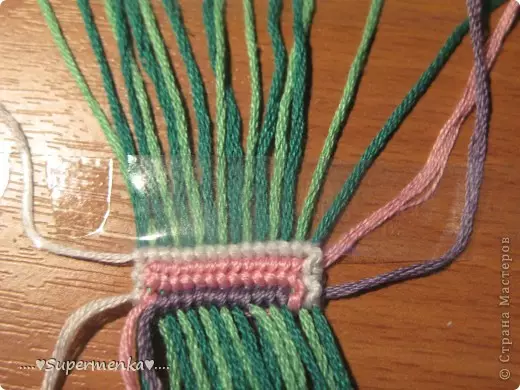
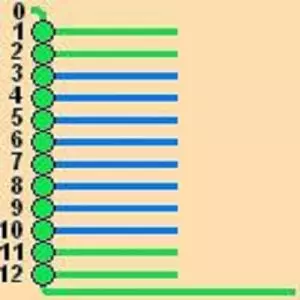
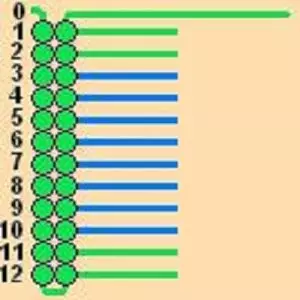
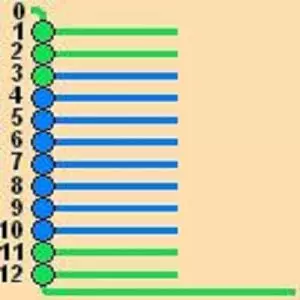
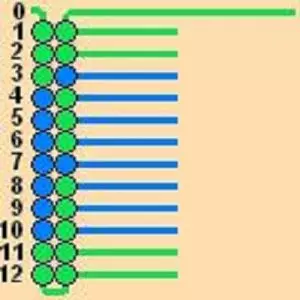
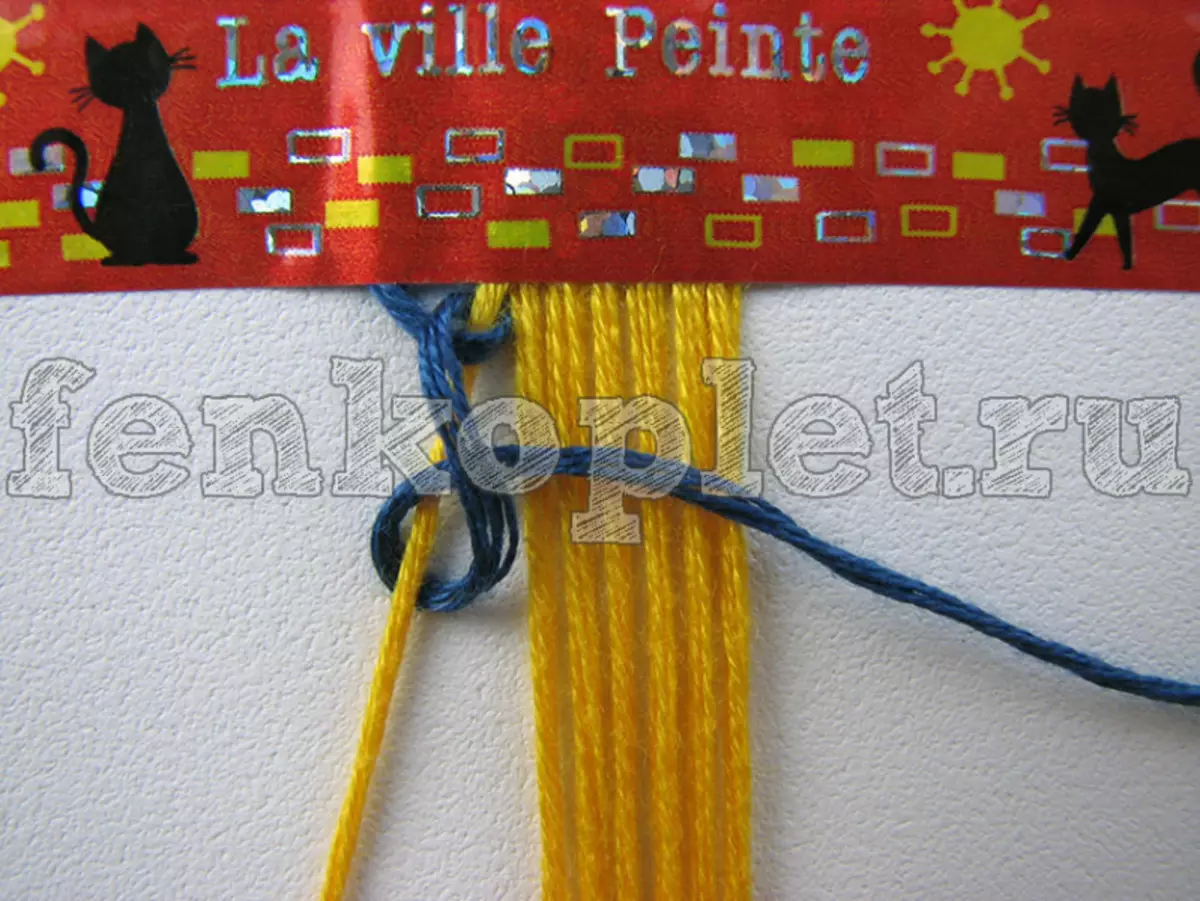
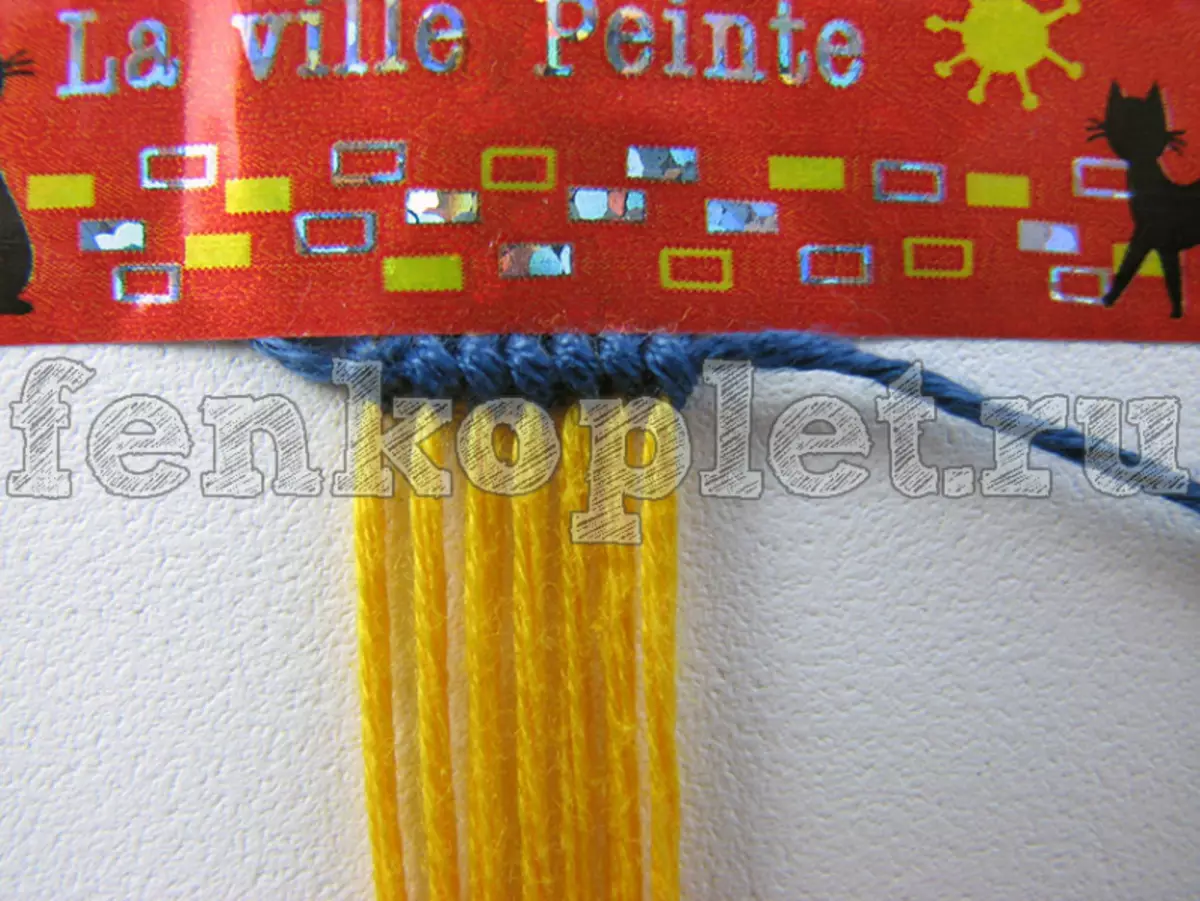
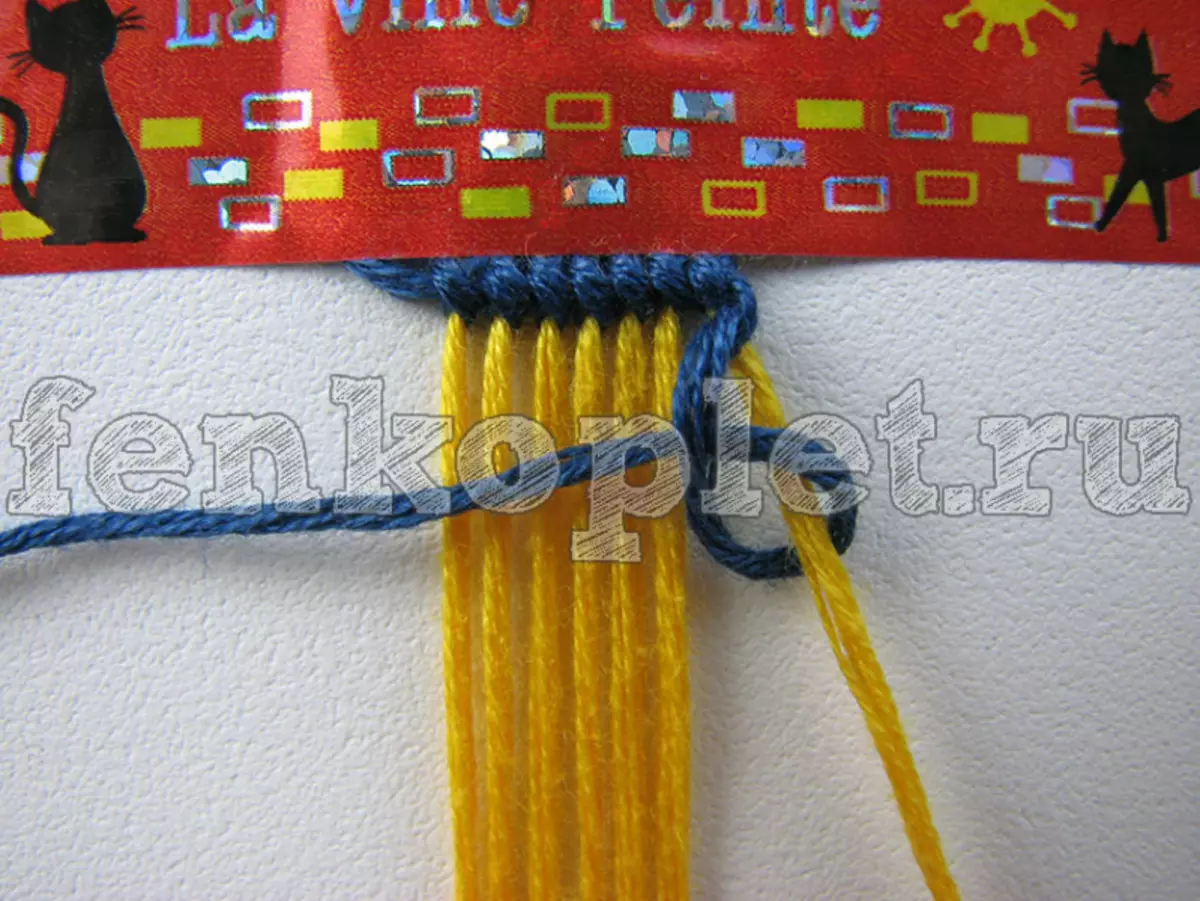
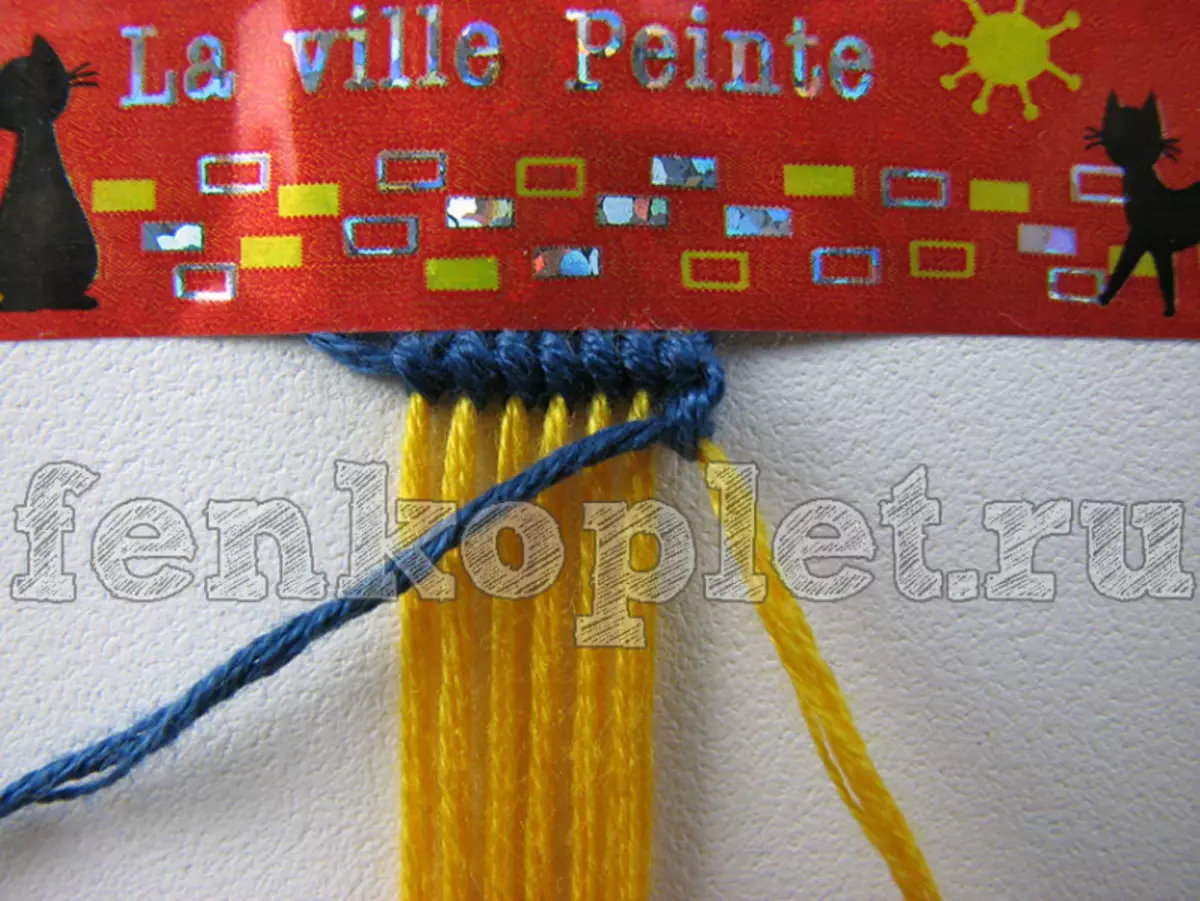
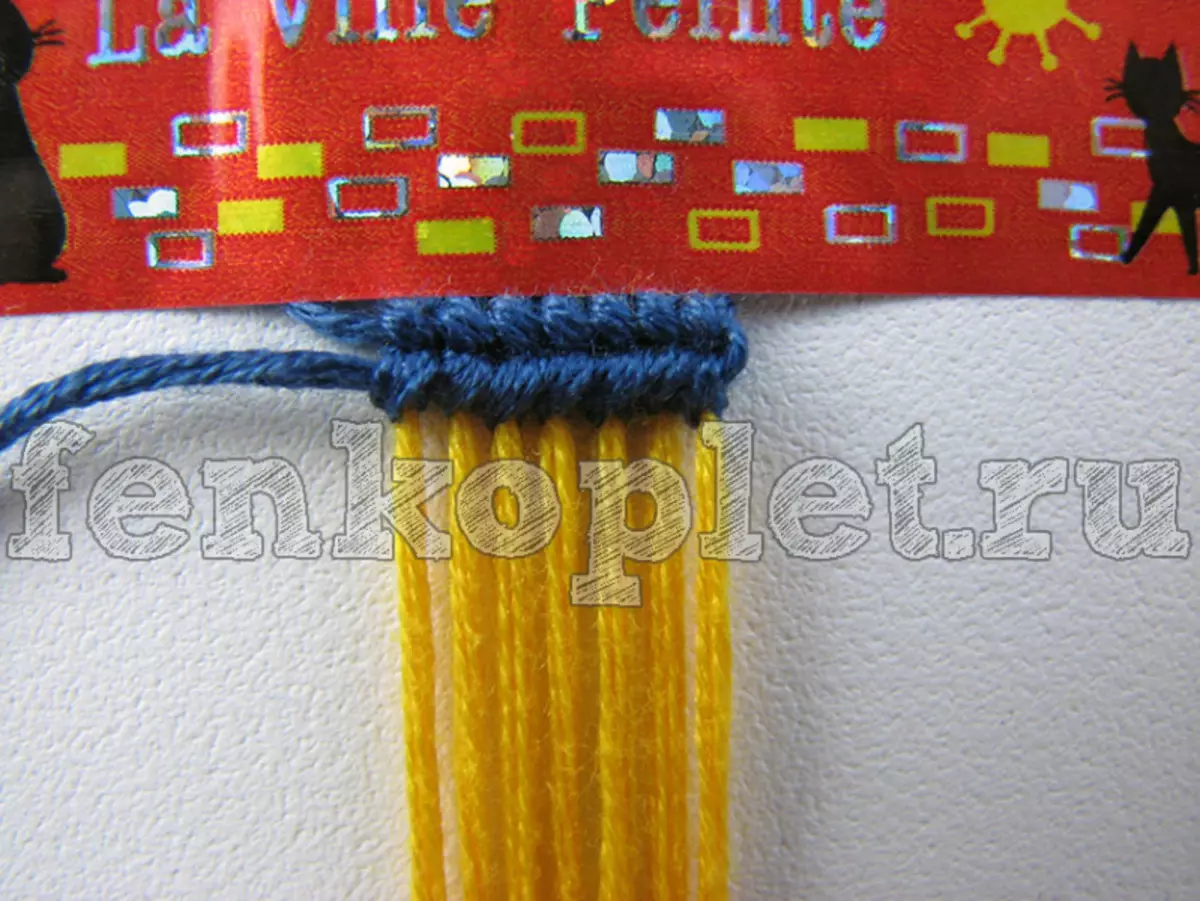
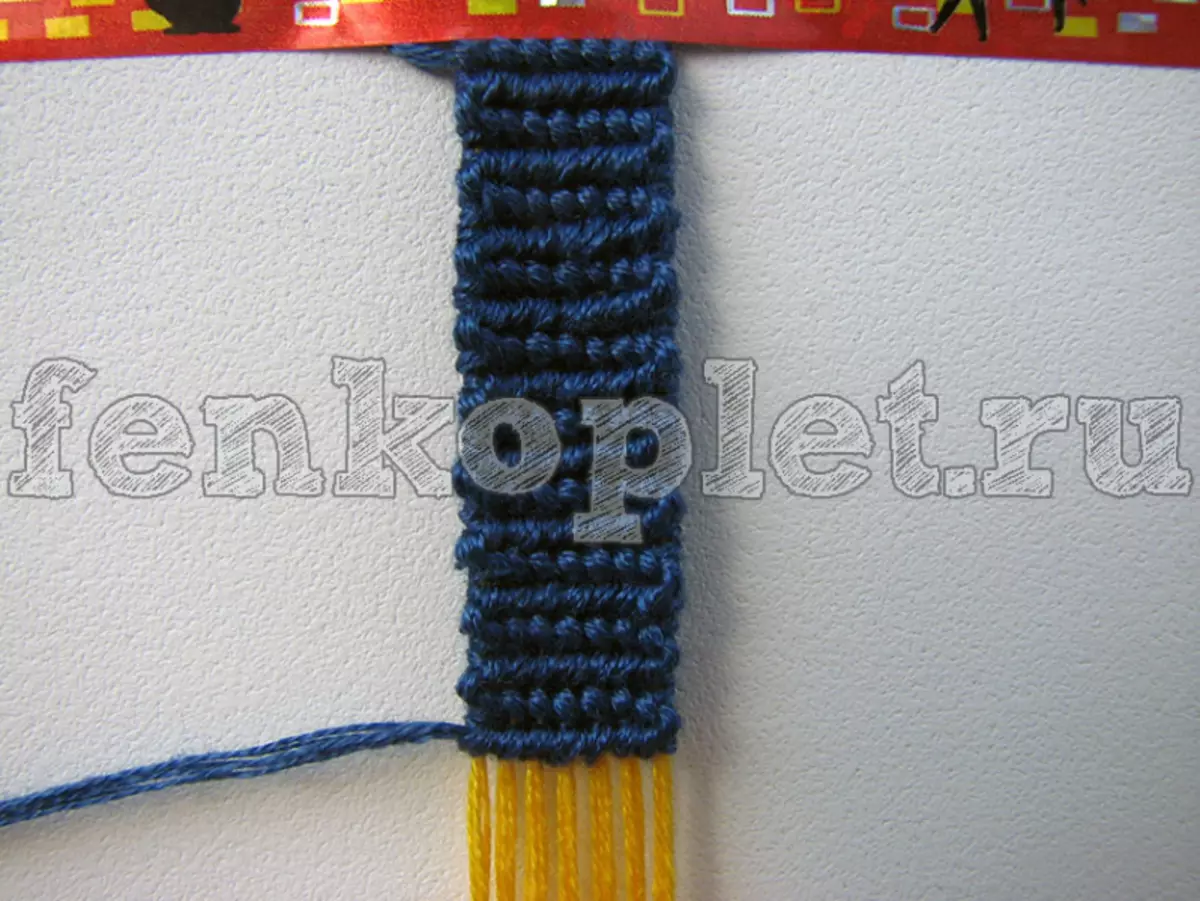
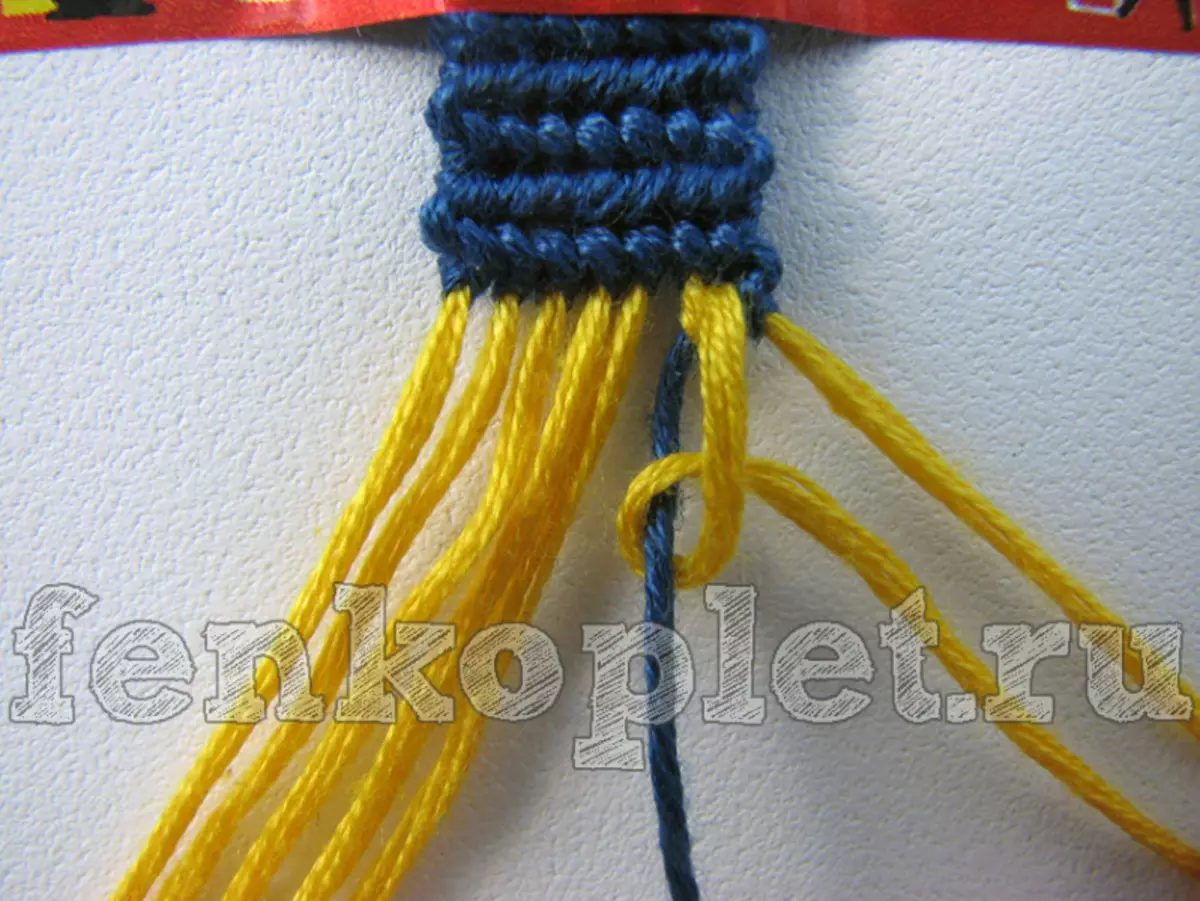
Fenkoplet (man manufacturing Fencing) Before starting weaving, it is necessary to fix all the threads on the pin, and the pin pinches to the woven surface or scotch absorbing to the surface of the table or another convenient surface to work, then the product will not be twisted during the weaving process. You can also immediately tie all the threads to the nodule, weave the pigtail several centimeters, and then start direct weaving, and finish it also to a pigtail and a nodule to make all the threads.
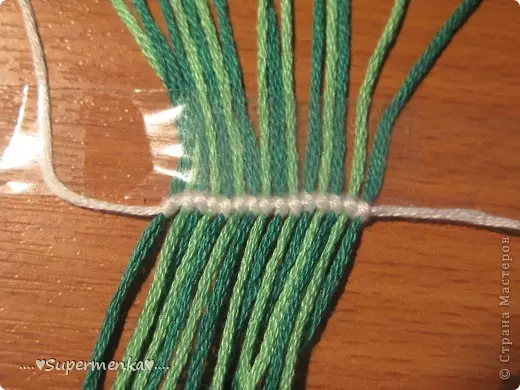
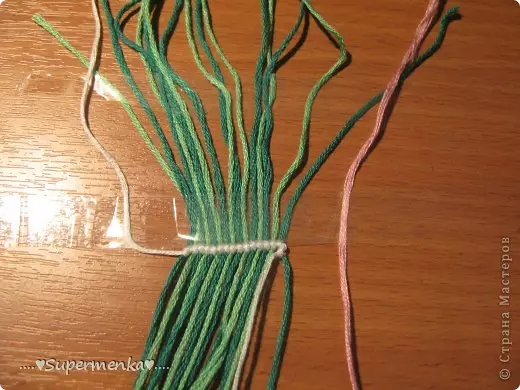
In direct weaving without a picture, everything is easy and simple: the threads of the same color are taken, the first thread is imposed on the nodules on each next thread to the end of the row, then the same nodules are tied in the opposite direction. And so tied nodules with rows to the desired size of the bracelet. On both sides, the free ends of the threads are woven into the pigtail and are fixed by the node.
Article on the topic: how to make a cake from towels
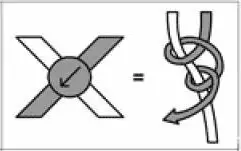
Testing the nodule looks like this:
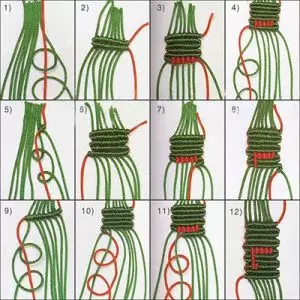
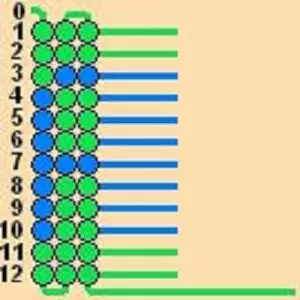
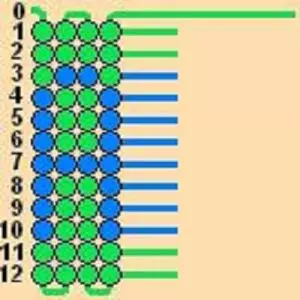
According to the scheme, below the presented, you can begin to weaken the novice craftsmen:

Description according to the scheme:
1) take 15 bases of the foundation, because Side of 15 squares in the diagram, the color of the threads depends on the imagination and preferences.
2) According to the scheme, it can be seen that most is occupied by white, so you still need to take a thread, preferably white, for the background, much longer than the length of the base of the base.
3) It is necessary to take the background of the background and the very first thread of the base on the left. On the diagram the very first square square, so we need to put a white thread on the first thread of the base (it is green in the photo), from the resulting loop, pull the background and tighten the nodules. The nodules must be made two on one thread.
Be sure to track so that the threads do not slip out of Scotch!
4) further postpone the first thread of the foundation and take up the second, just impose 2 nodes.
5) and so to the end, until all the feedstocks are terminated.
6) The binding begins to right to left, so the nodules should be tied on the first thread on the right white background of the background, and then 13 threads of the base with pink thread of the background, and the last 15th filament of the basics again tied up with white, having skipped it under all the filaments of the foundation, so the pink square appears from the scheme.
7) On the third row, the nodules are tied in the same order as on the second, only from left to right.
But also the picture shows that another thread of another color is woven on the fourth row.
8) So the nodules are rushing in the order indicated in the diagram. The headphones begin, in this place (in the diagram it is the 12th thread in the account) instead of one thread of the basis of the green color joined the thread of another color, with the help of a triple nodule to the bottom of the base, the thread of the new color is attached, and the extra tails and the former (green) thread The foundations are cut off, thereby appear the filament of the new color, for example, red. Also, where you need, then the filaments of the base are changing to the desired color as needed. All the rest of the basting baubles according to the scheme continues until the end.
Article on the topic: How to weave God's bobber from beads: Scheme with video for beginners
For beginners, this direct weaving scheme of phenushek is the most suitable.
We master the direct method
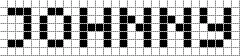
Feneches with names are a wonderful gift for all friends, because the personal name of the recipient is depicted on Fencing.

If the scheme with a certain name was not found, for example, on the Internet, the name can be made from separate letters from the scheme:
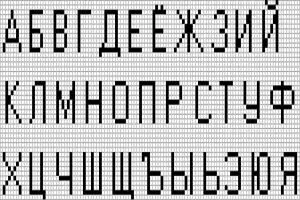
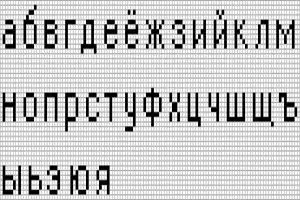
Almost always masters weave capital letters from alphabets. In order to make it possible to make a correct scheme with the name, perfectly take a sheet into a cage, where each cell will denote one nodule. Before you begin to celebrate the names of the node name, it is necessary to retreat several rows to create several empty rows (empty rows are background rows without a picture). The felt-tip pen of the same color is painted background, and the other is the letters of the name.
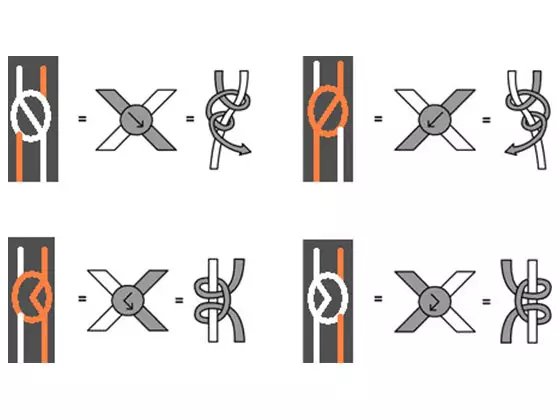
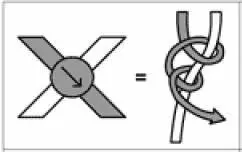
The main thing is to choose the right thread, so as not to confuse the background and the foundation, you need to take the threads of contrasting colors and accurately follow a predetermined figure (scheme), moreover, it is also necessary to tie the correct nodes, i.e. Nodes that create background should be tied to the left, and the nodes that are included in the name of the name, tie to the right or vice versa.
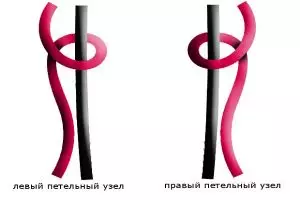
This is shown the left looping node and the right looping node.

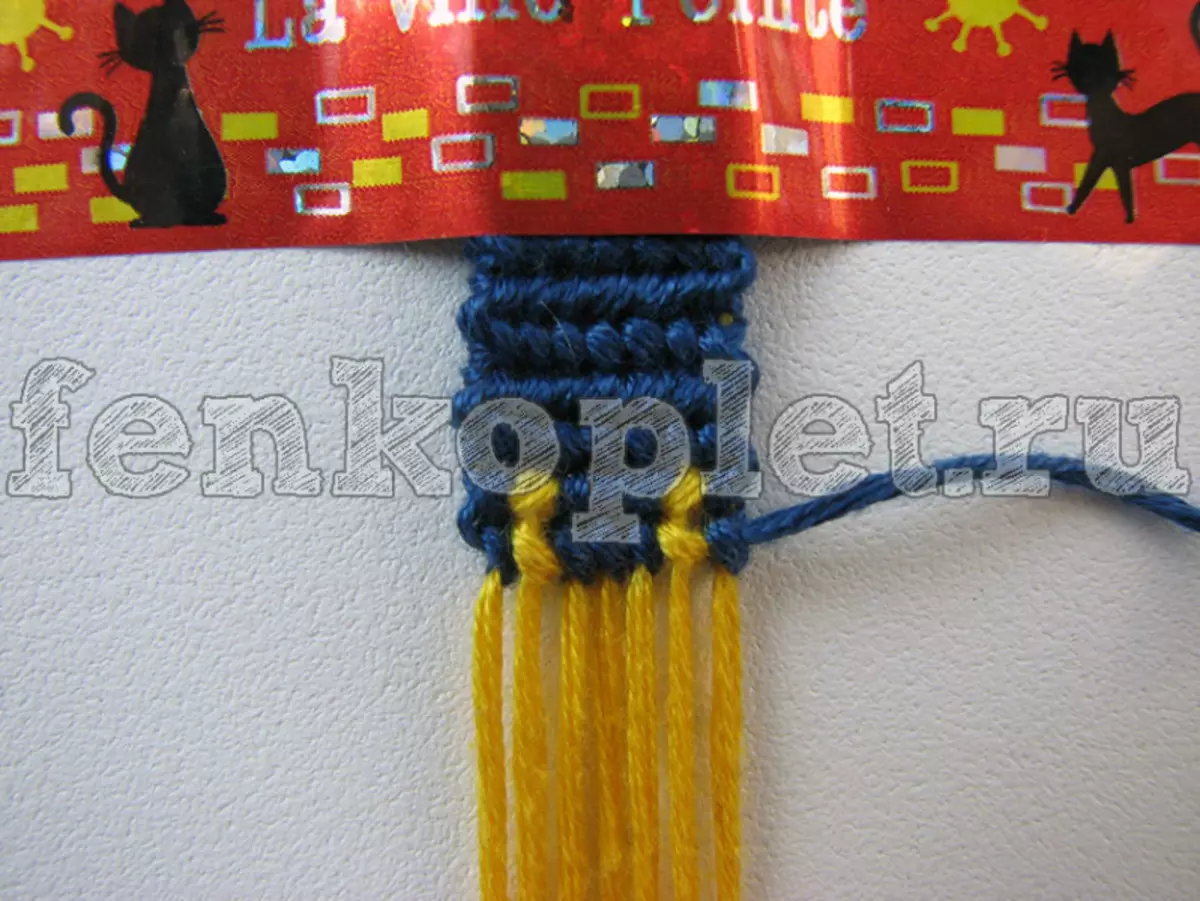
Order of weaving
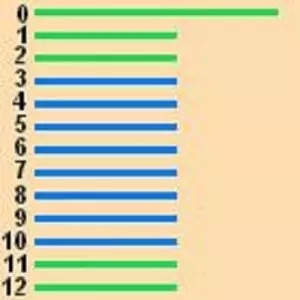
1) First you need to take 13 threads (8 pcs. Blue and 5 pcs. Green, 1 of the green threads should be at least four times longer), then these threads together tie a common node and secure either a pin on the fabric / pillow, or Scotch and glue to the table / tablet, distribute threads according to the scheme, i.e. Blue in the middle, green two pieces on each side from blue, 1 is the longest green thread on the right or on top, as in the figure.
2) The long thread is tied with left nodules from top to bottom on each base thread.
All the nodules are better to delay even so that the drawing of the letters was clear and beautiful.
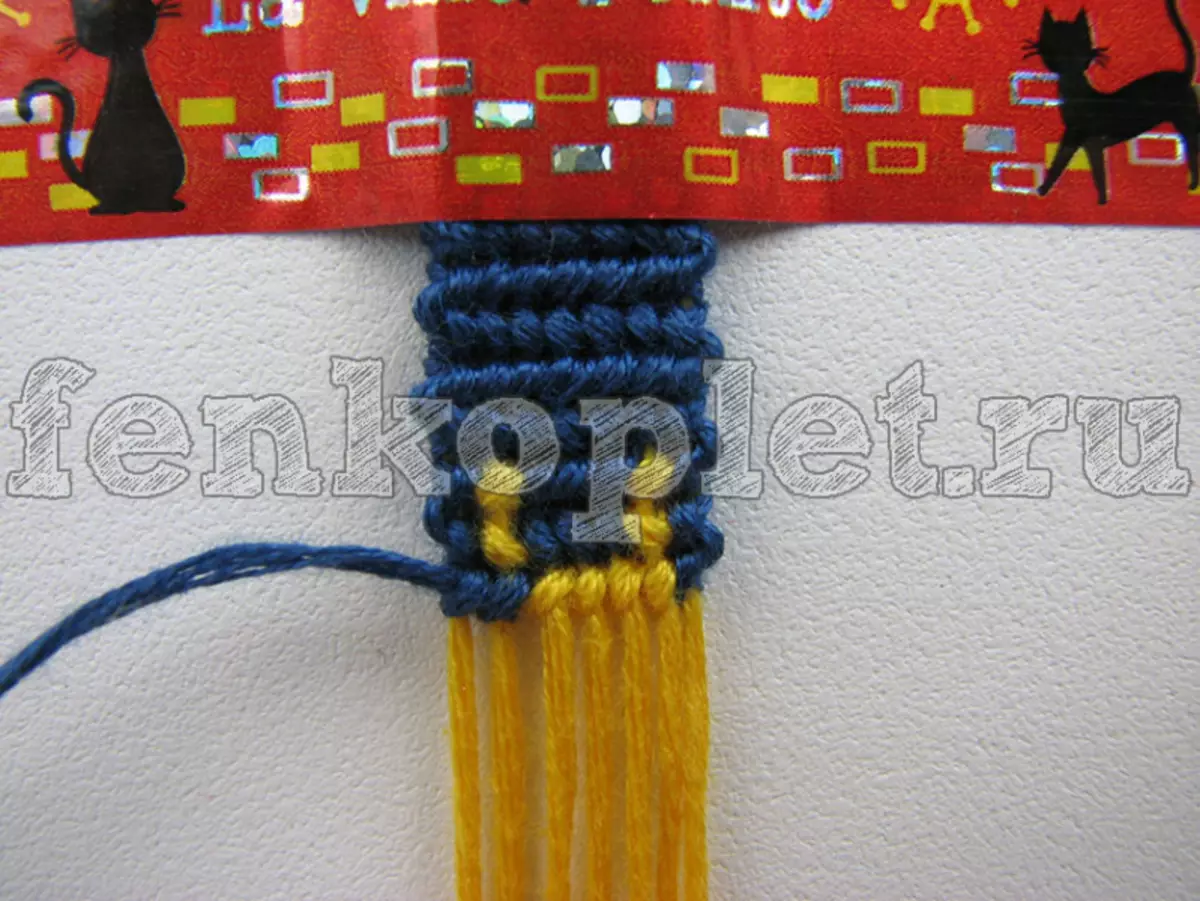
3) Now the second row of nodules is created, from the bottom up, you need to tie the right nodes with a long thread.
The number of backgrounds nearby can be made not 2, and more, depends on the desire or size of the wrist, on which this nominal phenchka will be worn.
4) the letter "A" is taken as an example. The main (green long) thread is made by three left nodes, then the main thread will be the blue thread of the basis and they impose the right nodules from the 4th to 10th, and again the green thread two left nodes.
Article on the topic: Box for toys do it yourself from cardboard with photos
5) And re-threads from the bottom up, tie in the reverse order from 12-8 left nodules with green thread, 1 right nodules (on the 7th thread) with blue thread, 3 left nodules (from the 6th 4th) green thread , Again, 1 right nodules (on the 3rd thread) of the blue thread and the last two left nods with green thread on the 2nd and 1st.
Half the letter "A" appeared.
6) Now the third row is the same as the second, but from top to bottom is tested by the left nodules, except for the 3rd and 7th, which should be in blue in the right side.
7) This letter ends as follows: from the bottom up of the left nodules of the green color, the threads of the 12th and 11th, follow-up, the blue right nodes of the thread from the 10th to the 4th, and the last three nodes are again obtained by the left green. As a result, the letter is ready!
8) In order to start wearing the next letter of the name, you need to do several, 1 or 2 empty background rows, then the drawing does not wake up and the name will be easier to read.

Sample baubles named
1) The odd rows of the nodules are rushing to the right, and even - to the left. Schemes are presented below:
1st, 3rd, 5th, etc. Right nodes.


2nd, 4th, 6th, etc. Left nodules.
2) Having done 21 pieces of empty rows with a background thread of blue, approximately 4 cm, 5 rows of 1 cm, followed by the letters: the first left knot of a row background thread (blue), then the right node with yellow thread.
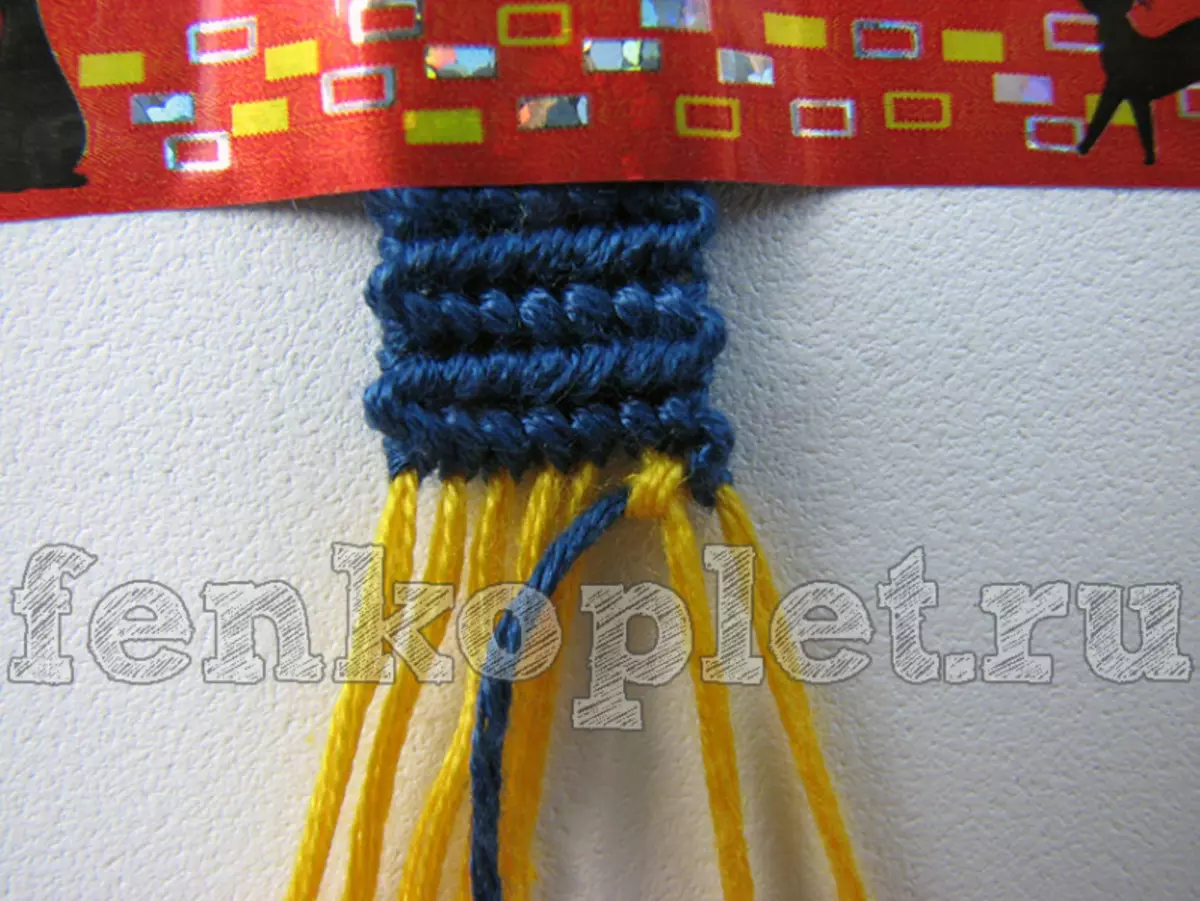
3) and again 3 left blue nodules.
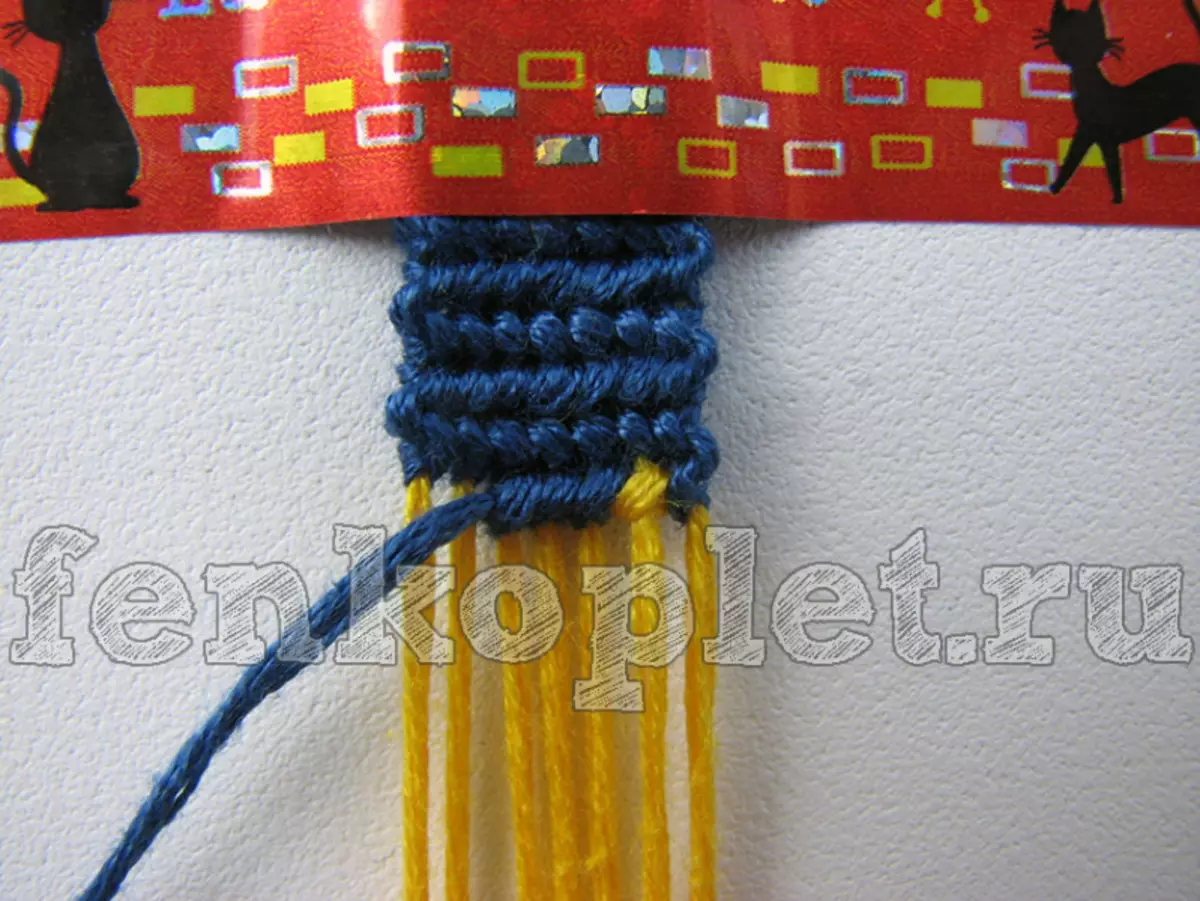
4) followed 1 right yellow knot and the last left blue knot again.
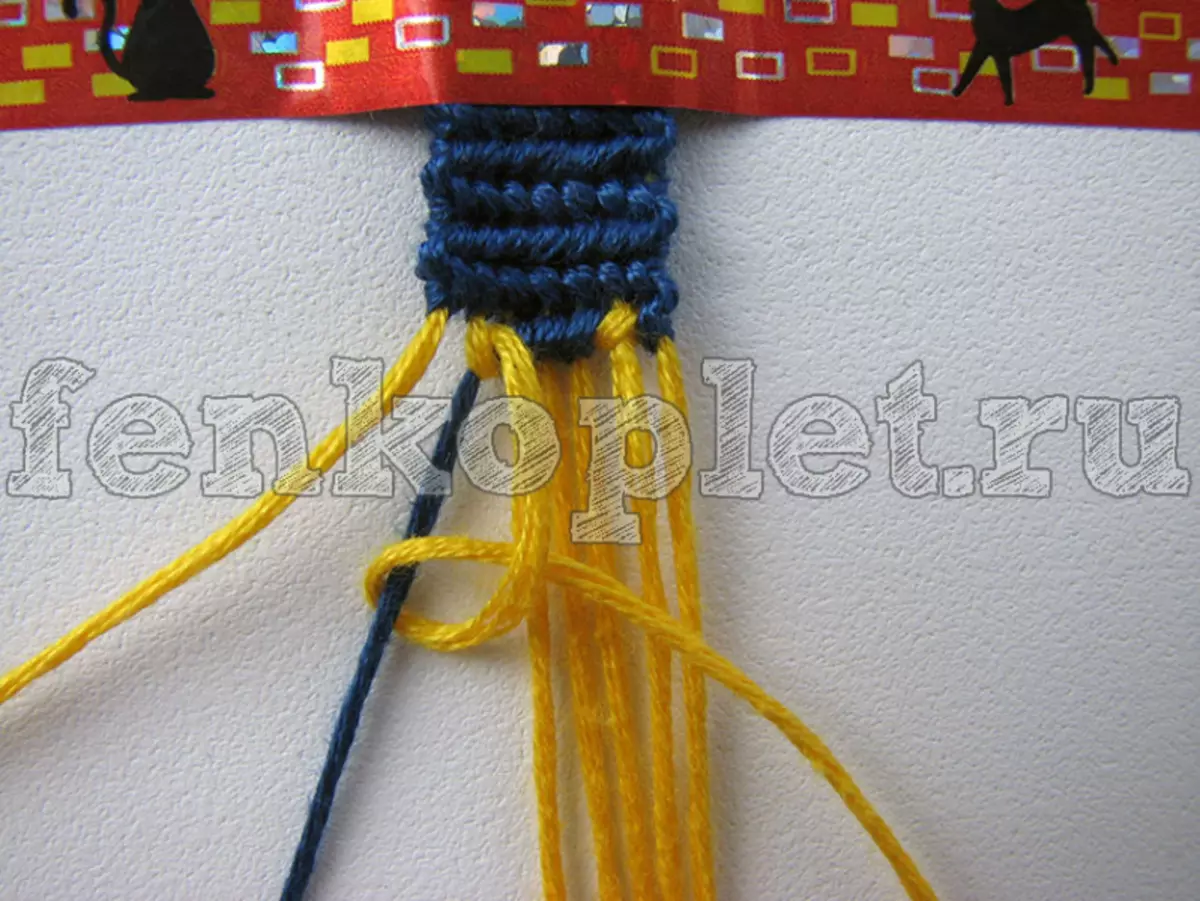
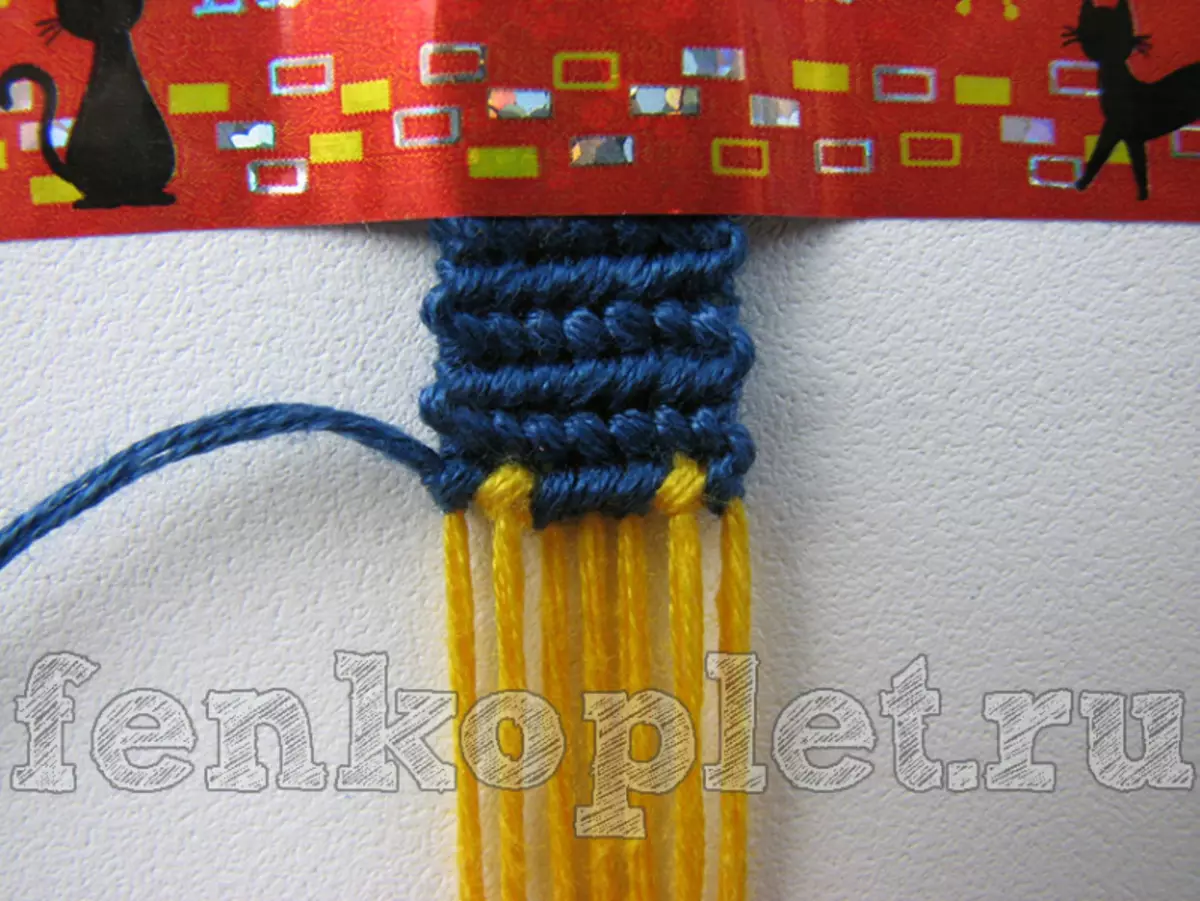
5) the following rows are absolutely the same as schematic drawing.
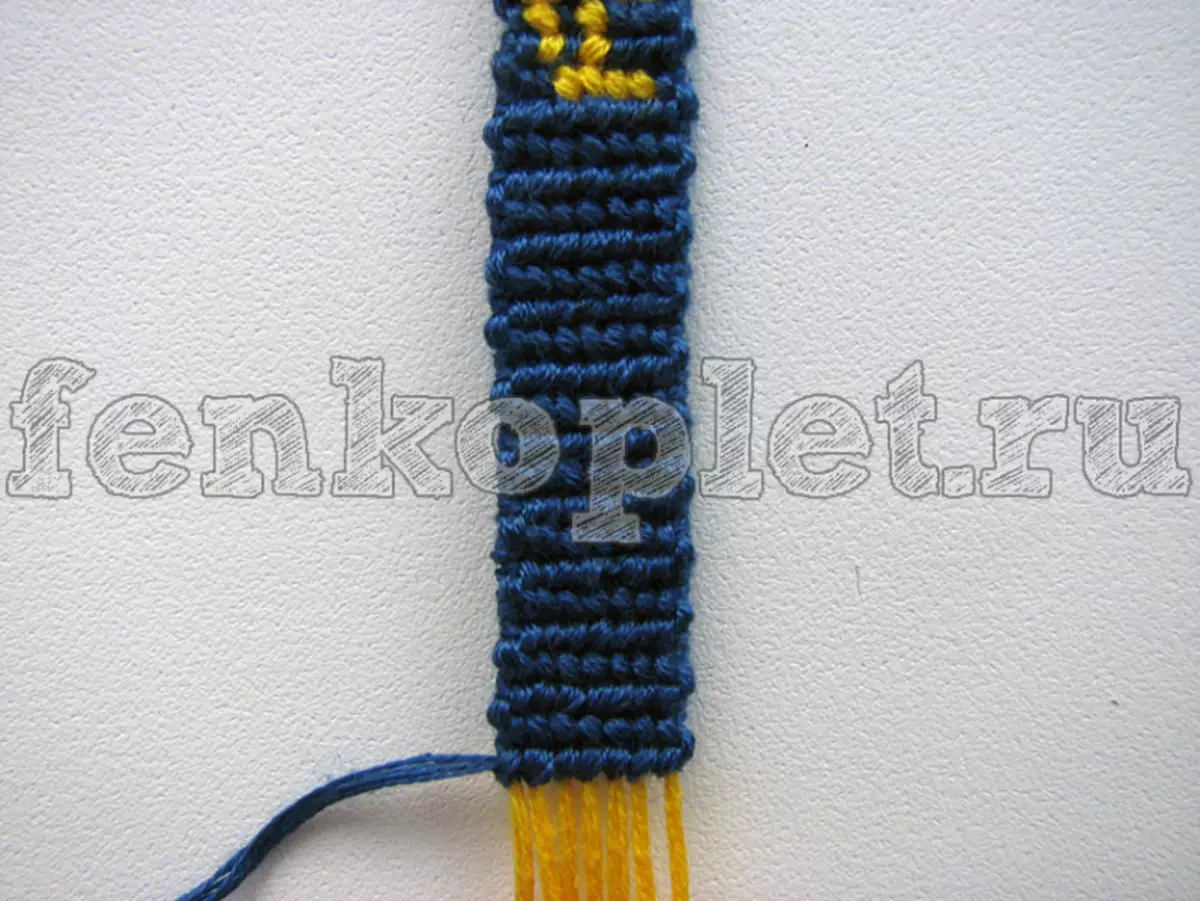
6) Having finished the navigation of the nominal figure, it is necessary to finish the weaving of the whole phe bench 20-21 simple. The tips of the threads are woven into the pigtail and ends with a common nodule.
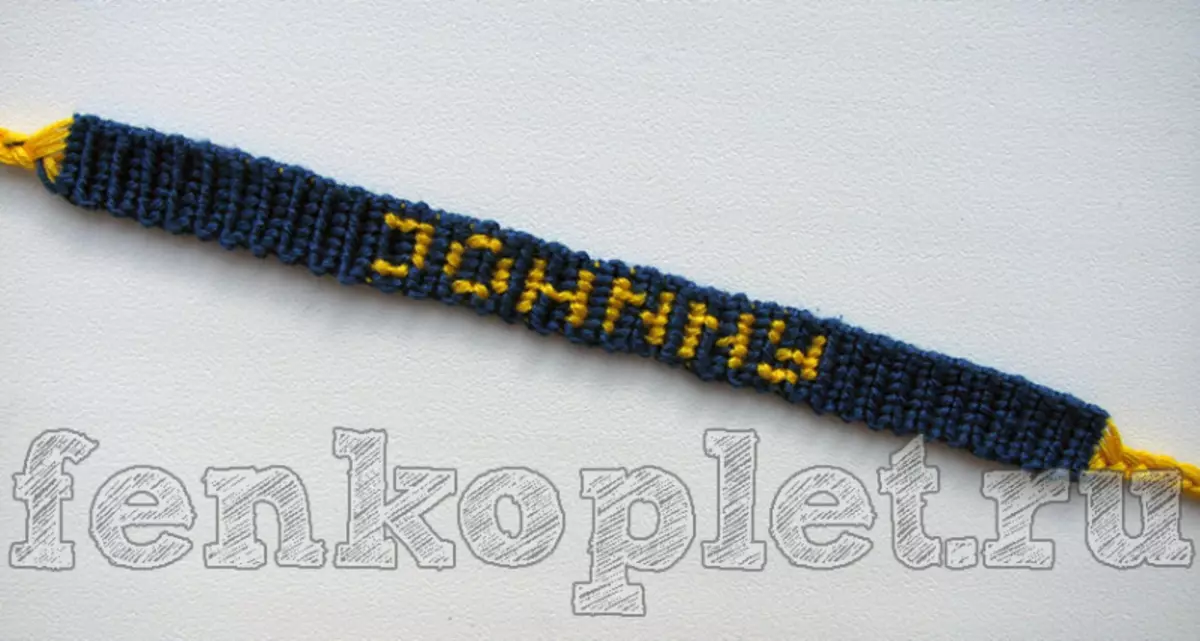
In addition to the name of the name, you can add any other drawing along the edges of the bracelet.
Video on the topic
Video camp on the topic of weaving phenushek.