
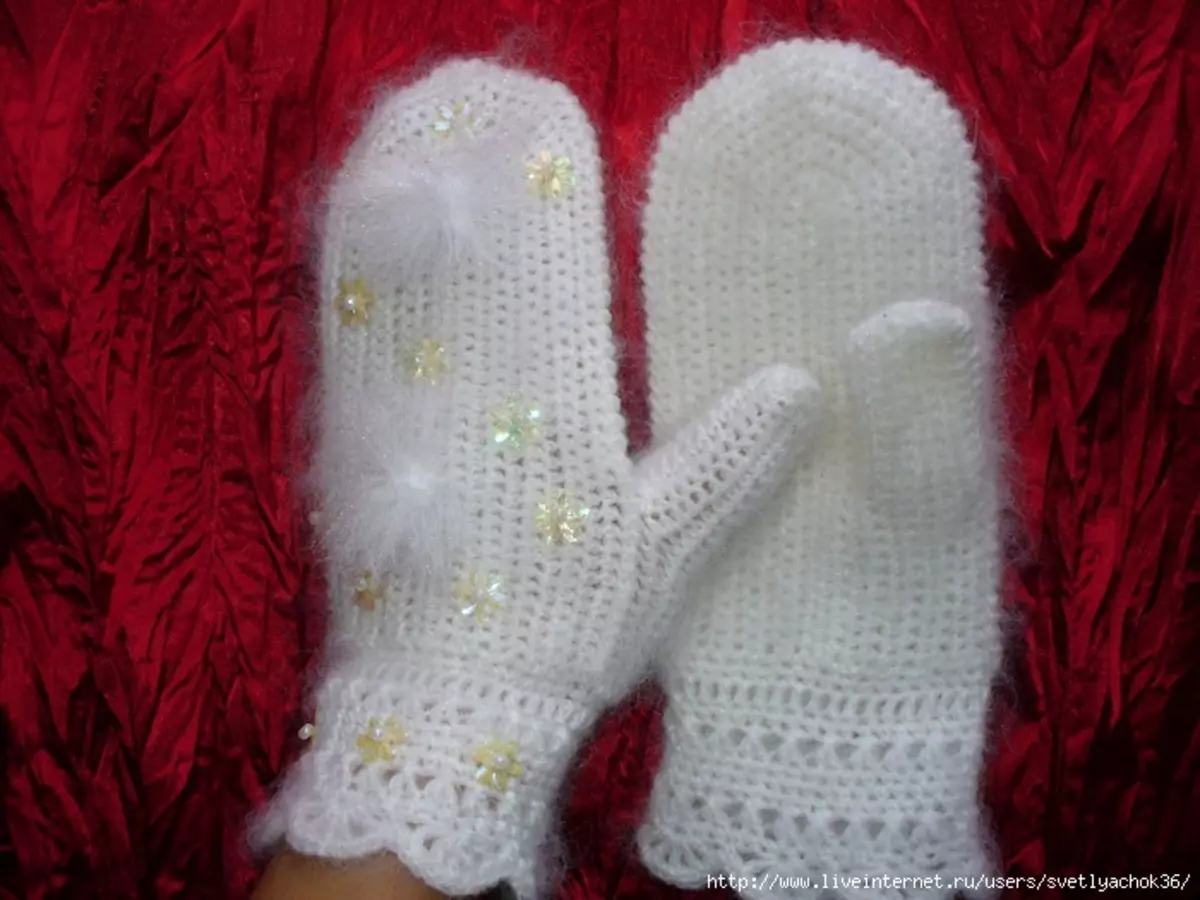
Crochet mittens - very interesting detail of the wardrobe. Unlike knitting knitting, these products are always obtained very peculiar thanks to the method of mating. Very convenient are the mittens for newborns, as the gloves will wear a very difficult task on small handles. On the Internet there is enough material on the topic on how to tie the mittens with crochet, however, we want to offer you an exciting master class "Children's mittens crochet for beginners."
Go to knitting
In order for the knitting scheme of mittens to be the most compressed and clear in understanding, special conventional cuts are used. In our master class, the following notation will be used:
- st-stick;
- S.S.N. - Column with Nakud;
- Ware. p. -Adnaya loop;
- S.B. - Column without Nakid;
- R.L.S.S.N. -Relphous facial column with Nakud;
- R.I.S.S.N. - Relief invalid column with Nakud.
What will be needed to create mittens for kids:
- yarn;
- hook.
The composition of the yarn - acrylic 100%, 100 g. For a very warm version of the mobs, we can use wool. Hook size number 5.
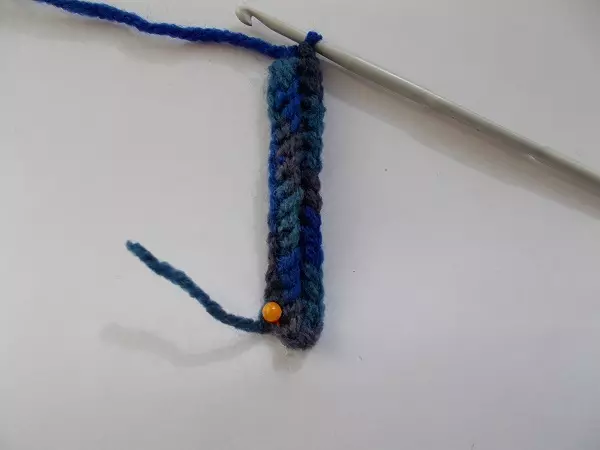
Scheme how to tie mittens with crochet. You must dial 15 air loops. Then you should knit half each loop of the chain of 1 column without Nakid (hereinafter S.B.).
At the end of the row, you need to link one air loop, after which we turn the product and begin to knit half each loop of the previous series 1 S.B. So knit to a certain length of the gum. This length should be peeling hands brush girth. In our case, the length will be 16 centimeters.

After the work done, it is necessary to connect the resulting elastic band. This is done by entering a hook for one half of the looping, capturing the thread and stretching through two loops.
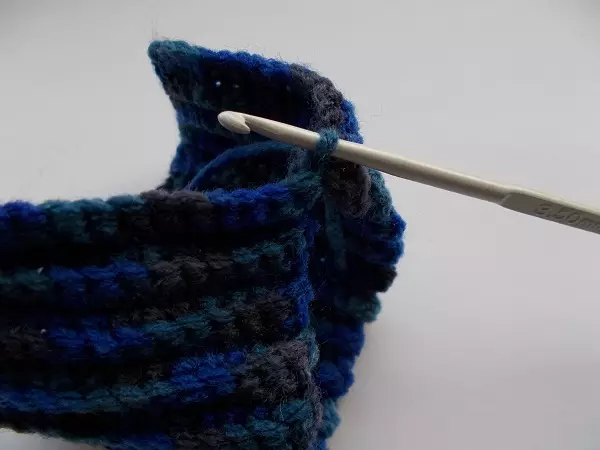
We also do the same on the other side of the future mittens. All these actions should be repeated until the end of the connecting series.
Article on the topic: Weaving node: video lessons with start-up schemes
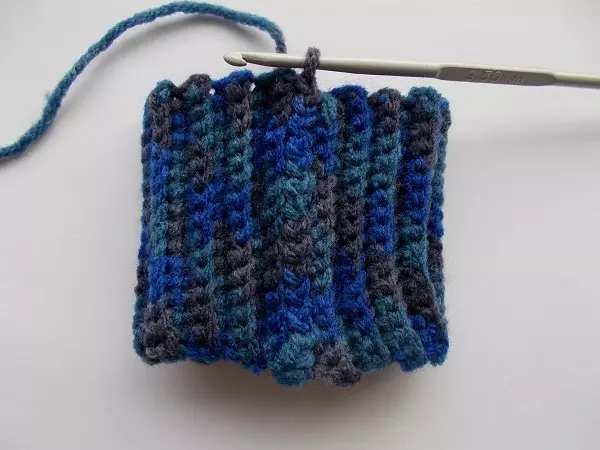
We turn to the upset of the middle part of the mittens for children. To do this, knit with the help of circular rows on the helix. In each vertical range and to the end of the entire row, you need to knit 1 column without Nakid. Thus, it is necessary to recover more than 8 rows. Here you can take advantage of cunning, namely, fasten the pin to avoid loss of the beginning of the row.
Subsequent rows of products in the same way continue to encourage S.B.N. Before you do not bring to the place of formation of a big finger.
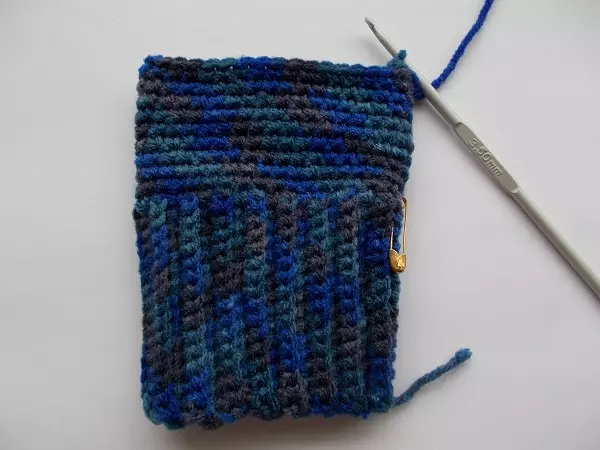
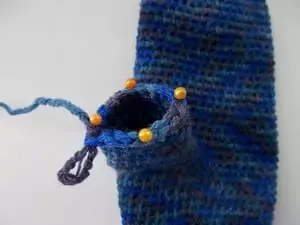
We work on a thumb
Ten hoppers do not take to a corner and spread ten air loops. Then, you need to skip 10 kettops of the associated series and start knitting a column without a Nakid in the 11th loop.

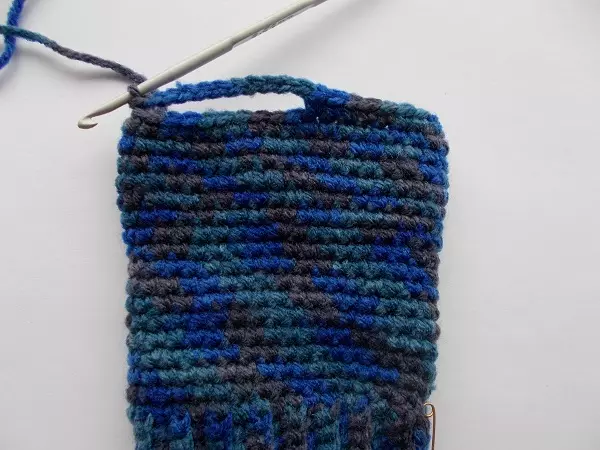
Absolutely along the same scheme it is necessary to recover a hole for the thumb left mittens. We continue to create a middle part by a column without Nakid before its length reaches the mother's maiden. After that, usually proceed to creating a mittens.
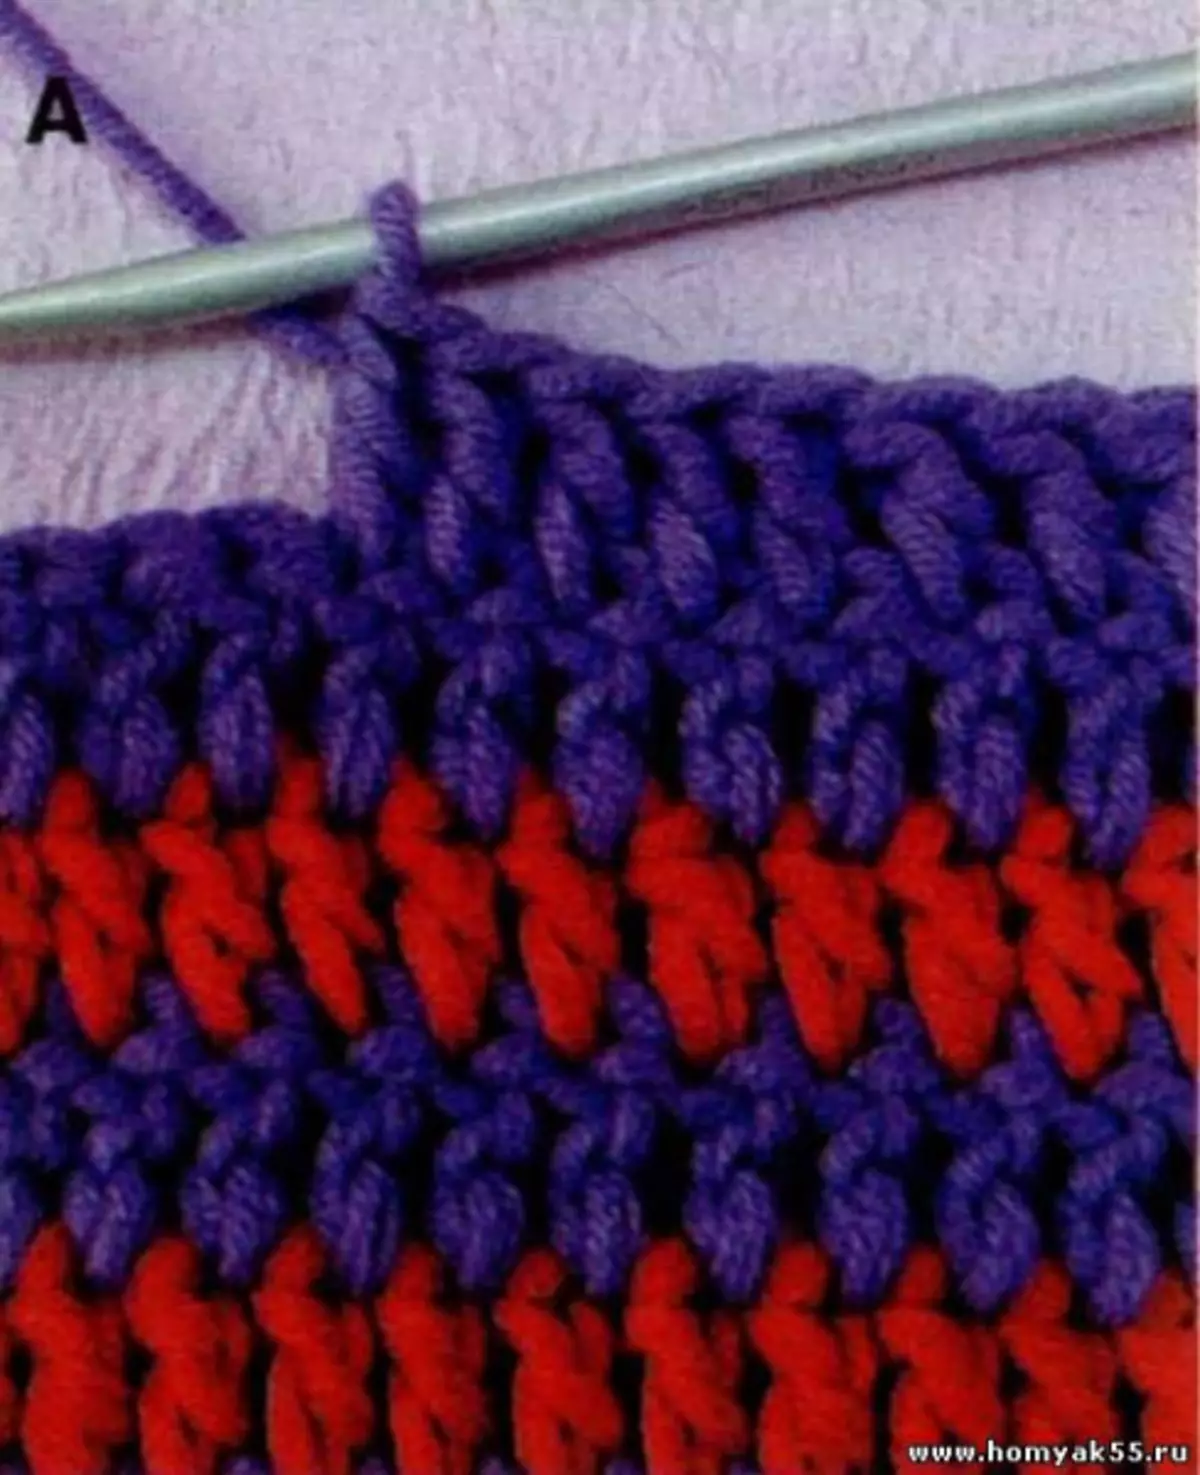
Toughness of the mittens is different - the remission of the loop of the product within certain four points. The outflow occurs as follows: You must enter a hook in the loop of the previously associated series, then capture the thread and pull it onto a new loop. On our hook now two hinges, respectively, we must enter a hook under the next looping, grab the thread and pull out a new loop. There are already three loops on the hook. We make similar actions, after which, begin to encourage a column without a nakid to the next of four points. Repeat the reflection of the looping. Such action is carried out until the end of the series.
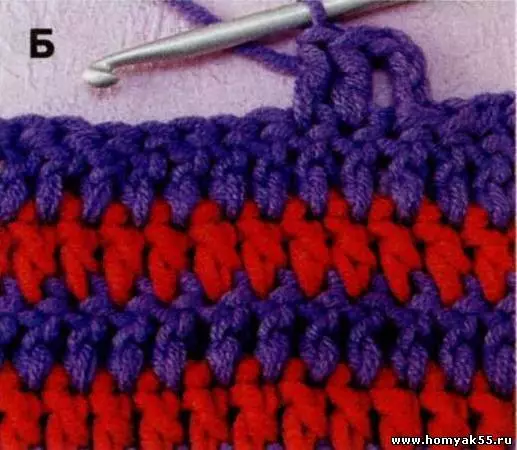
Such refractors of the looping are done before the hook does not remain about 6-7 kettles. The loops, which remained, can be filled with the needle by cutting the working thread, leaving a small tail. The resulting tail must be returned to the needle. The needle needs to go to each of the looping and pull them. From the wrong side of the future mittens is fixed thread.
Article on the topic: Shawl Haruni: Scheme and Description with a video master class from experienced Western craftsmen
The thumb knives by fastening the thread with the side of the thumb inside. We unscrew 2 air lifting loops, 2 N.S.B. In order not for no holes or holes, it is necessary to follow the enclosure of the hook. Next, we continue to encourage the column without a nakid in a circle until the next sidewall mittens. It is necessary to check 2 N.S.B., trying not to provoke holes in the product.
Be sure to follow the position and input of the hook! The hook should remain three loops that need to be kept together.
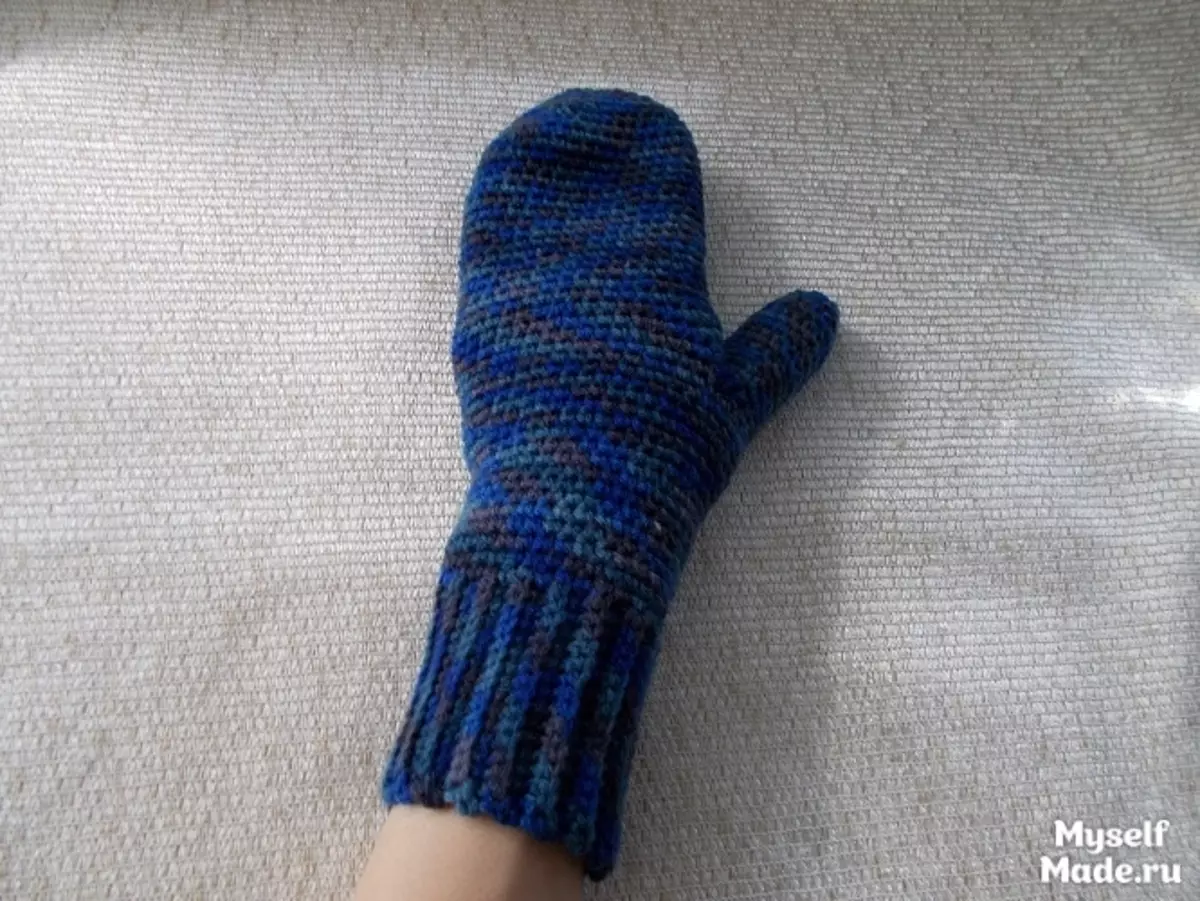
The next step will be knitting until the end of the circular row with the help of a column without Nakid. Then you need to close a number of connective column. This is done by entering a hook into a common vertex consisting of two non-touch columns. On the spirals, we continue to encourage the circular rows before reaching the length we need.
The last stage in the master class of knitting mobs for children will be already familiar to us by the rejection of the loop.
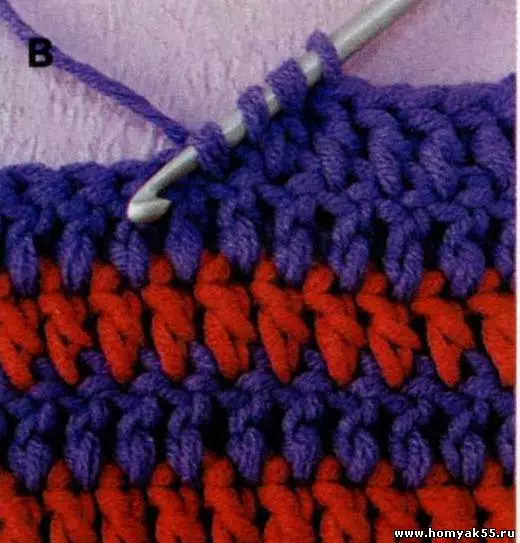
You must enter a hook in the loop of the previously associated series, then capture the thread and pull it onto a new loop. On our hook now two hinges, respectively, we must enter a hook under the next looping, grab the thread and pull out a new loop. There are already three loops on the hook. Actions are done until approximately 4-5 loops remain. They must be pulled using the needle, and then fasten the tail of the thread from the wrong side is already completely finished mittens!
Video on the topic
We bring to your attention various thematic videos.