
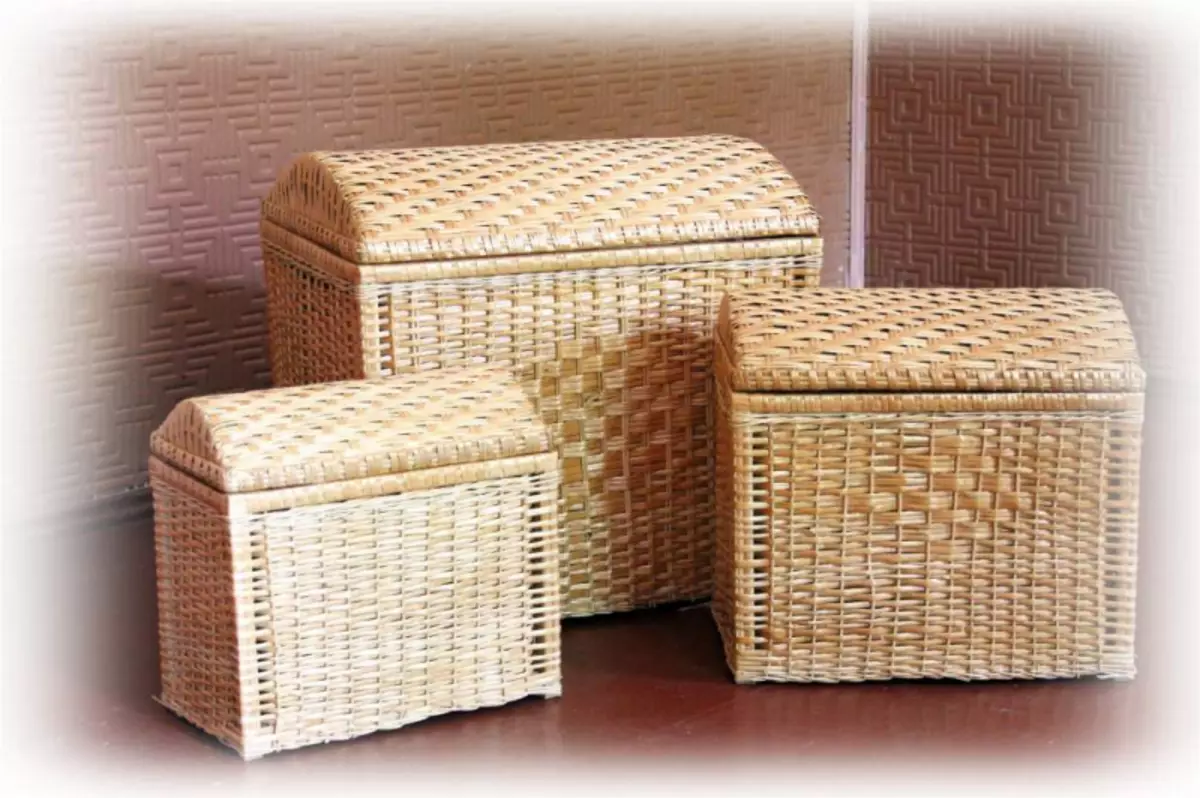
Weaving from the vine takes its beginning in ancient Egypt and ancient Rome, wicker chairs and lodges were found during the excavations. In the ancient times from Willow, a variety of baskets. In the era of the Renaissance and the Middle Ages, caskets, breadmelocks, baskets and baskets, children's cradle, wagons were created with the help of a streaming. The master class on weaving from the vine for beginners will help to quickly master the technique.
In Russia, initially, in most cases, spilled baskets and fishing gear, later with the development of the trade weaving began to use for packaging in the box of transported goods for sale. In the 19th and early 20th centuries, to the Great Patriotic War, a lot of factories have been created on the country of cultivation of anchored willow and weaving furniture and homemade utensils. Whole plantations, abandoned during the war, began to revive and create a new weaving factories, mainly baskets. There were whole villages that were engaged in a lot of baskets.
Initially, grape vine was used for weaving, but more often in Europe and in Asia began to be used for weaving flexible guys. In addition, in Asia weave furniture from such material as rattan and bamboo.
Due to the fact that in today's Russia there are few masters in weaving from the vine, some began to be interested in how can the basket of a logo vine can be swung with their own hands, because there is a desire to have in everyday life or in the interior such a natural thing with a special aura. The natural energy of this subject contributes to the house comfort and comfort.
Vine blank
Before the start of creating a wicker item, it is necessary to pre-make the blank of the vine for weaving.
You can, of course, buy ready-made bars to immediately start weaving, but it is still better to learn how to prepare the material itself, it will help later in the work on the product.
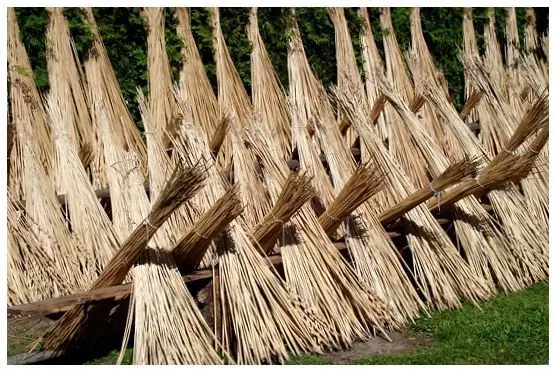
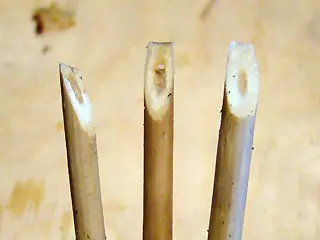
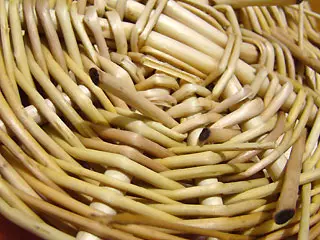
For weaving, the shoots of the first year of growth are used, and they collect them all year round. It is necessary to cut the twigs under a sharp corner with a knife or a secateur so as not to harm the tree, it is more useful to leave 3-4 kidneys on the remaining branch. Important when collecting twigs to check them on flexibility : The first twig cut off from the tree should be bent in the place where the thicker end, if it has not cracked, then suitable for decorative weaving. Spring shoots have a very soft bark, so without prior processing the bark can be removed, and if the shoots were going at another time of the year, then the rods must first soak out for 1-2 weeks or to disappear 1-2 hours, or rejuvenate for 20 minutes, remove Cora. After cleaning the cortex, it is necessary to dry after cleaning from the bark, otherwise the rod in the finished product will stall and break. Rods should be sorted to be comfortable during painting and weaving. Before the work itself, the Line is again soaked in water to purchase flexibility.
Article on the topic: Structural patterns with knitting needles: Schemes with description and video
Painting can be produced by aniline dyes, a solution of manganese or herbanes, immersing some time to the dye, then the rods are rinsed with clean water and dried on a flat surface, better on the floor so that there are no spots in the color.
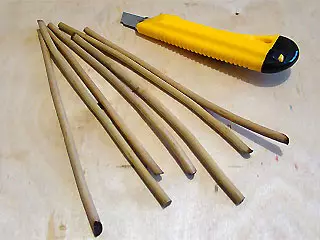
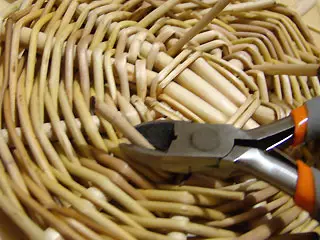
Some rods are too thick for weaving products of small and medium sizes, so you will need some tools for cutting the rods to narrower stripes, tires.
And a chemale or silent helps to remove the bark from the rod.

We master weaving with a master class
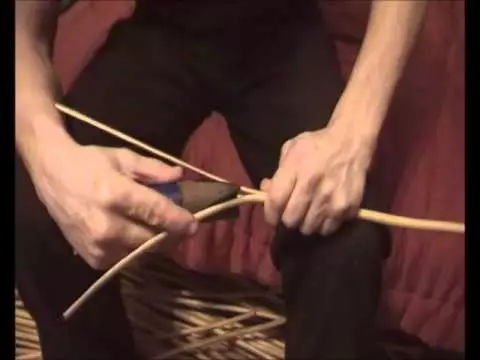
Immediately before weaving, it is necessary to soak the ventilation rods in hot water, as well as during operation it will be necessary to make them with water - all this is all for the preservation of the flexibility of the rods.
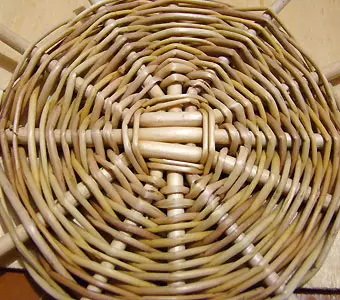
For beginners, weaving from the vine is better to start with a simple element - from the bottom, it is the basis of many wicker items using a photo or video master class.
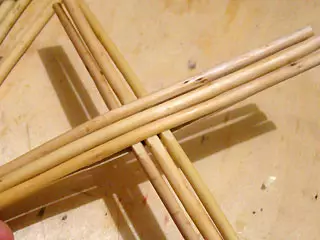
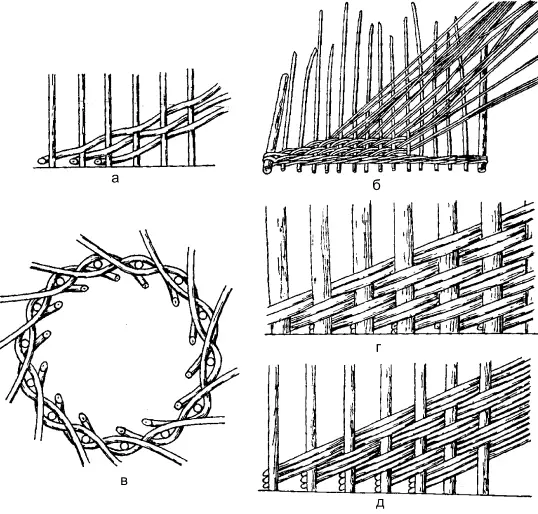
Bars for weaving it is better to take with a reserve, because Beginners often break in the work of the rod, soak or wrap the wet rag. It is necessary for a pedestal of seven and more sticks with a diameter of 4-7 mm, about 20 cm long, it is possible and more depends on the desired size of the bottom and thin twigs (in diameter up to 3 mm) 30 pcs. And more, the length of which should be at least 50 cm. Thicatles go to the creation of the core (rays), and all radial sticks are torn as thin in the form of a rope.
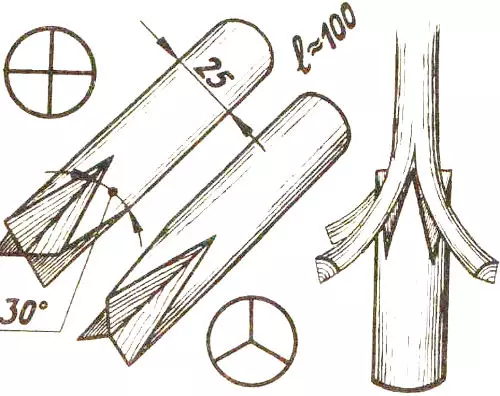
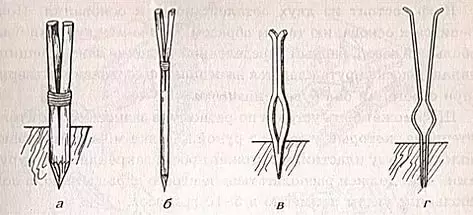
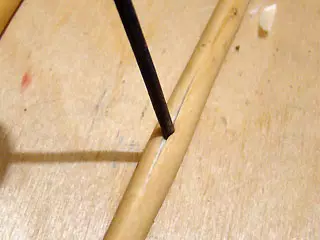
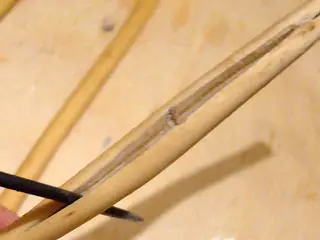
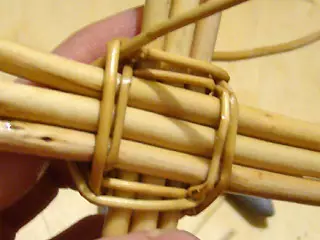
The first thing is a cross, around which weaving will be kept. It is necessary to take 3 thick sticks (it is possible to take four for each side of the cross), on them in the middle, the third part of the thickness is cut and the ends are sharpened from a thinner edge, for the convenience of encouraging in the crack of other sticks. Other three or four sticks in the middle must also split in the middle with a knife or seer.
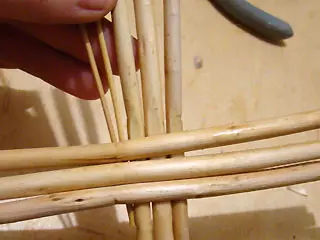
It should be done carefully so as not to split too much or the whole wand, because it is no longer corrected, and the product will be with a marriage.
Then all connected.
Article on the topic: Decorative Easter eggs from threads
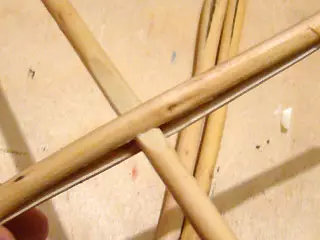
We must necessarily all the inner sticks on which part of the thickness was cut off, deploy to one wrong side, and adjacent to the external to the inner, in the fracture site should be as dense as possible.
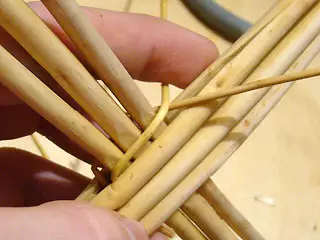
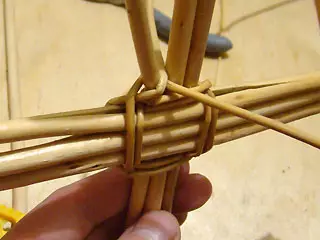
Now you should take two thin twists and proceed to the process of braid. The ends of the so-called rope should be hidden in the crack of the axial sticks.
Two twigs diverge in directions, one will first go over the axes, the arc - under the axes, then they change the position. It is necessary to swell first internal guides.
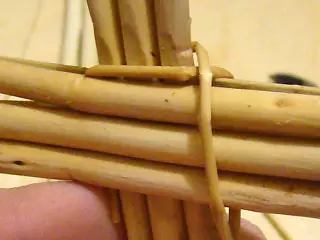
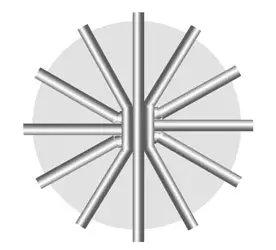
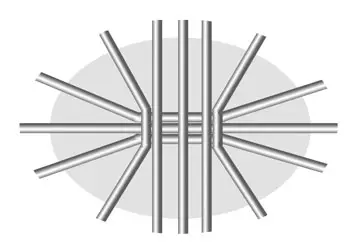
Two rows are braided (you can make three such a series of braids), then you need to dissolve the axis to the rays, like the sun, in a circle, so that the distances between all rays are equal. Scheme in the photo below:
A bralet begins not three sticks at once, and each individually the same manner.

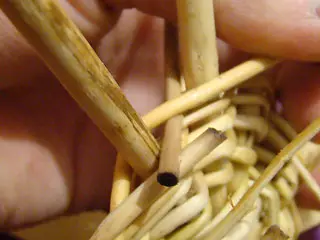
When the twig, which runs the braid, ends, you need to have the next one that is similar to the size and color of the twist, so as shown in the photo.
We must try to make the ends of the completed twigs to go on the wrong side, then the front side of the bottom will be smooth and beautiful.
Pruts need to take different lengths so that extension occurs evenly in different places. The larger the bottom of the product, the greater the distance between the rays of the crossbars, so if the product is large, you need to use more rays.
For the oval finish, the basket or cradle uses a similar scheme of crossmen:
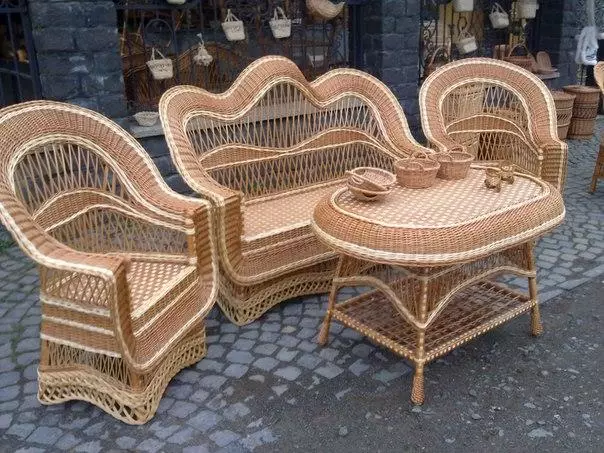
Furniture for skillful handles
The weaving of the furniture will be produced with their own hands, the skillful masters in this craft are produced, because It was necessary to make a lot of abscess different bottoms and baskets to these dons and gain experience. Also, for the manufacture of furniture, with your own hands, it will take not only the experience, but also a larger variety of materials and tools. For furniture requires strength, because It will act a great power of gravity than, for example, on the bottom of the basket or cradle, so first the frame of sticks are constructed (2 cm thickness or more). On the frame Next, you must attach the racks that will be fattened with more subtle spots or strips / ribbons from rods, in the process of weaving for rigidity, regular perpendicular racks are added. You can be mastered by various types of weaving.
Article on the topic: Filimon painting with patterns of stages for children with templates
Video on the topic
Video master classes on weaving from the vine for beginners can be viewed here:
The video footage will help to deal with weaving furniture with their own hands.