The idea of decorating your house for the holiday Easter came for a long time. On this day, it is customary to give each other eggs as a sign of the beginning of a new life. And how nice to get a gift made by your own hands when the soul particle is invested. Easter egg do it yourself very easily, there would be a desire and some free time. So today we will look at how to make an egg yourself and what they happen.
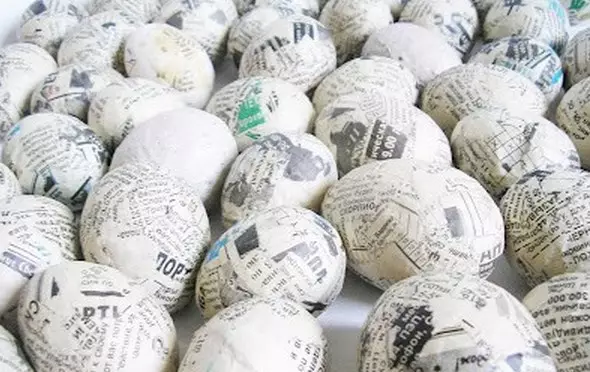
From Papier Masha
Now we will learn to make an egg from Paper-Masha.
As a basis, you can take various materials:
- balloon. It is very convenient, as you can easily adjust the size of the eggs that we want to get;
- Egg from children's sweets: Kinder surprise, or from Luntik;
- Fresh egg, having previously done 2 holes at the edges and blowing out yolk and protein from there;
- PVA glue or construction;
- Paper for pasting.
The basis is ready. Now cut the paper. Here, too, it all depends on what paper you have. Many rut newspapers, cut sheets for copier, toilet paper.
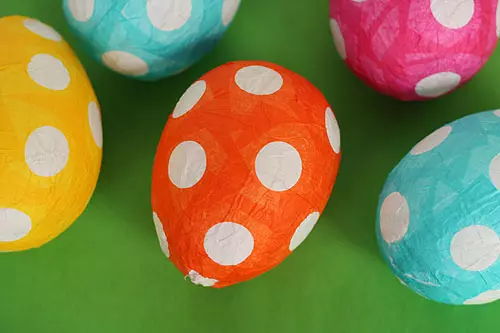
Paper dip in glue and stick chaotically on our foundation. The layer behind the layer until we get what they wanted in size. Finished and dried work with a blade with a file, painting acrylic helmets and decorate at its discretion.
Video on the topic of dad eggs:
Decorating ribbons
We will make an Easter egg decorated with ribbons. Prepare materials, any master class begins with this.
We need:
- Wooden egg or plastic;
- scissors;
- Satin ribbons - 5 meters long, 6 mm width;
- glue gun;
- Scotch bilateral;
- threads and needles;
- candle;
- beads.
Article on the topic: Ringing weaving: Master class and schemes for beginners with video
So, the material is prepared. Spare a good mood and proceed to creating our masterpiece.
All the surface of the eggs are wrapped with bilateral scotch. Now we take the tape, we apply to the egg and begin to vertically wrap it with a ribbon, entering the mustache.
On a note! To the tape did not roll and not shifted around the edges, you need to wrap up the tape.
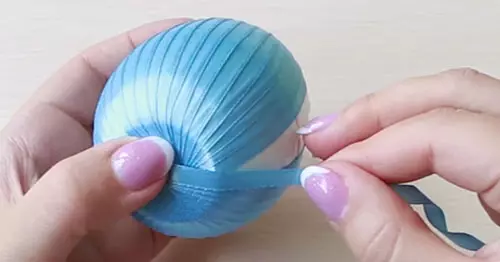
After we wrap all the egg with a satin ribbon, cut off the tape and fix it from below.
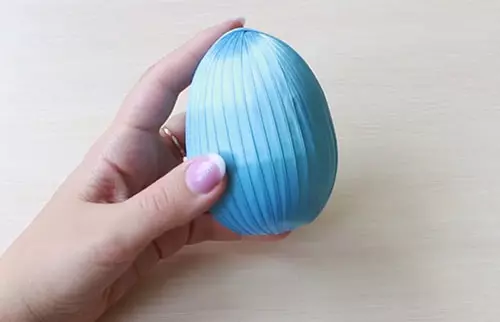
The resulting egg decorate, already showing fantasy, be it beads, beads, flowers, and so on. The main thing is how we seized - the ability to make such wonderful eggs from the tapes. Flowers in Kanzashi technique will be well combined.
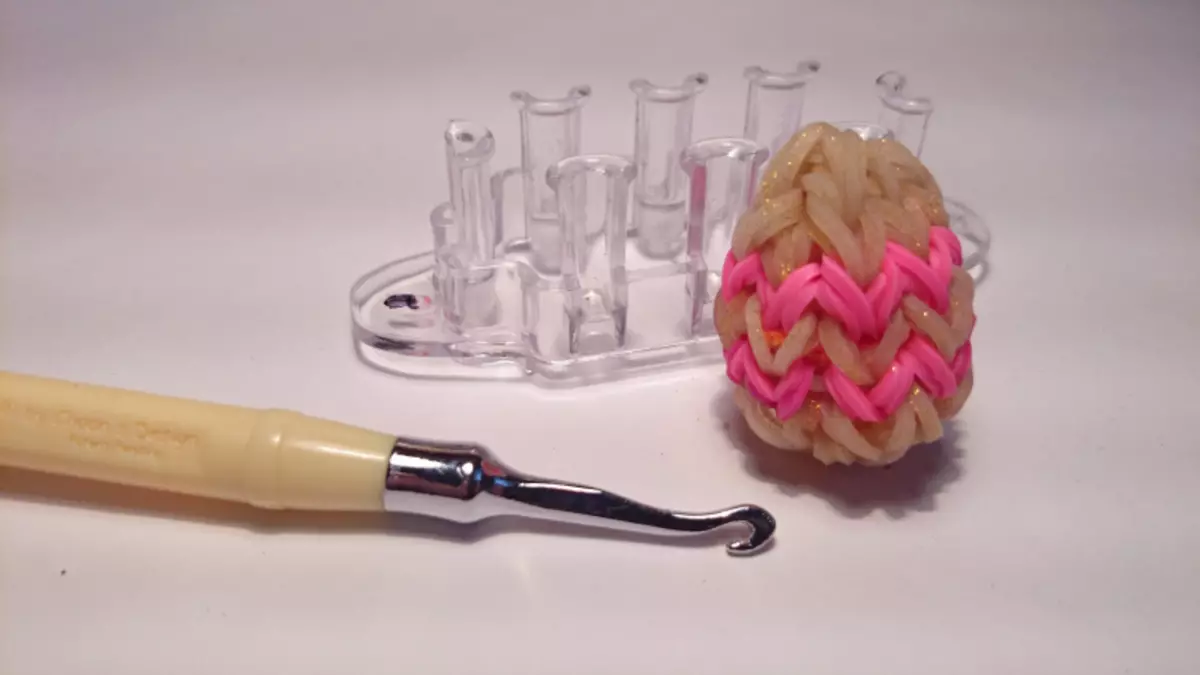
Knit crochet
The following type of Easter eggs do it yourself - these are eggs-related eggs. Those who love to knit, they will come to taste.Here you will need yarn, hook, billet for eggs, can be plastic or wooden.
And begin to knit in a circle. First there are pillows under the bottom of the egg. Then gradually add a evenly loop, trying on our knitting. Starting from the thick part of the egg, we smoothly make the outflow, thus adjusting our egg. Decorating butchers, knitted leaves or flowers.
In the technique of quilling
Quilling, or paper, has become very popular lately. You can make eggs on the bright holiday of Easter and in such a technique. The best and most durable way is to perform the basis of the egg from Papier-Masha, then you can already wake the elements from the queen.
Color paper can be finely chopped, there is also ready-made paper, there is also a ready-made tool, but if there is no such thing at hand, you can bite the top of the pliers from the Gypsy needle and there will be a ready-made paper tool. Finished elements are fixed by PVA glue.
Video:
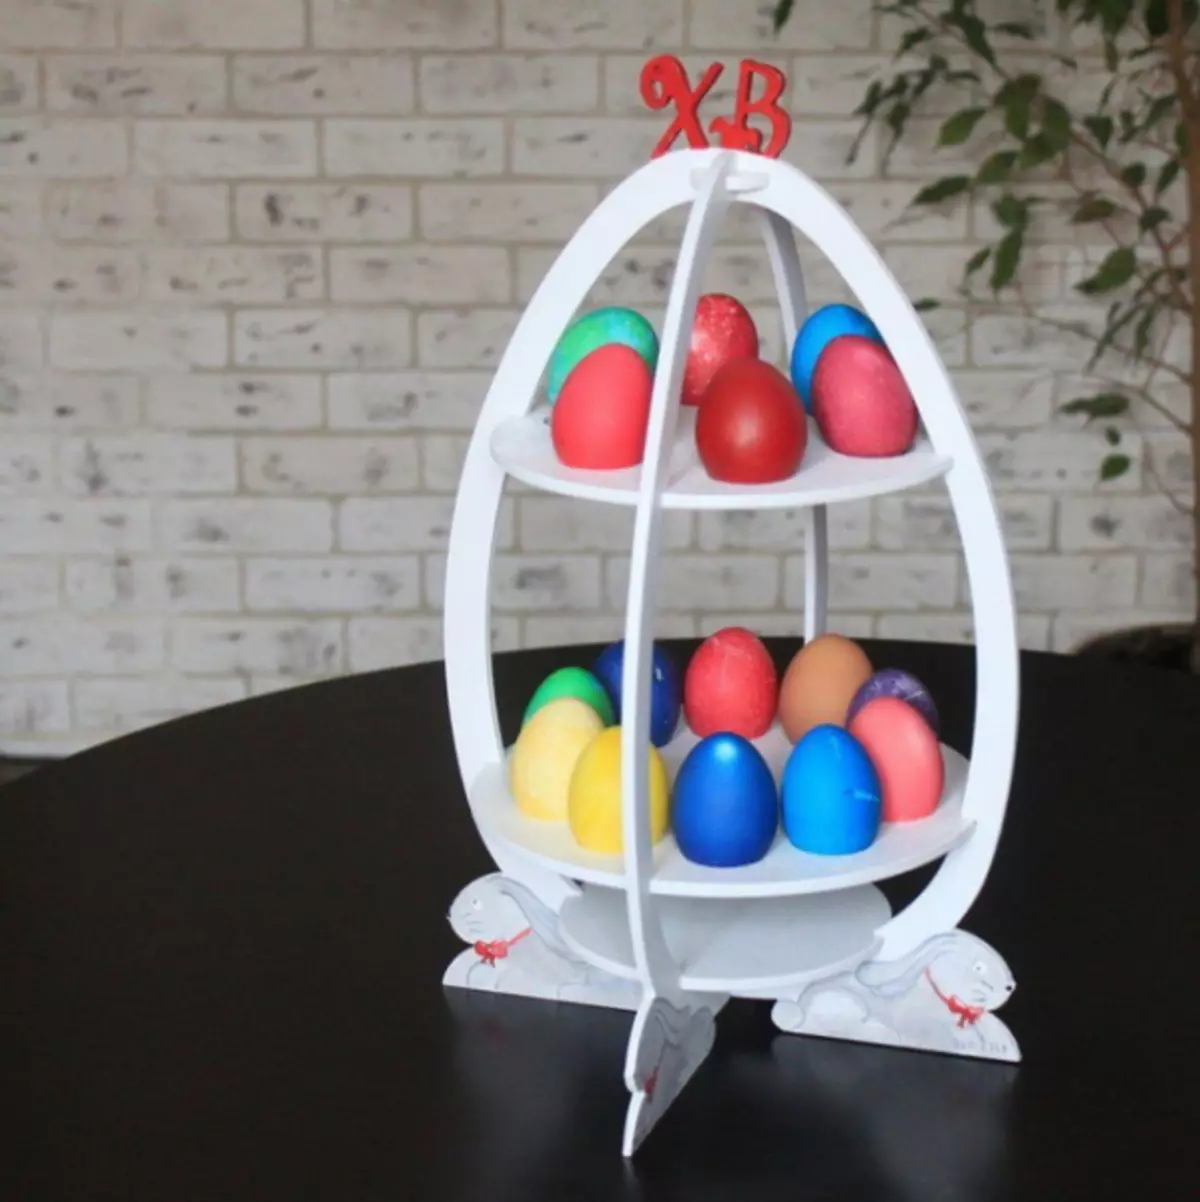
Using Faneru
You can make a stand under Eggs from plywood with your own hands.
Article on the topic: Booties-bunnies Crochet with diagrams: Master class with photos and video
It will be the original stand.
To do this, you will need plywood, jigsaw, working skills, electric drill and sandpaper for grinding stands.
Stand elements template:
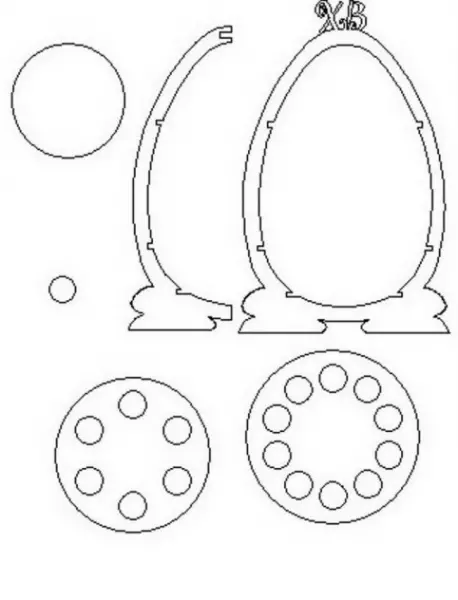
We carry the template on the paneur and drink our elements.
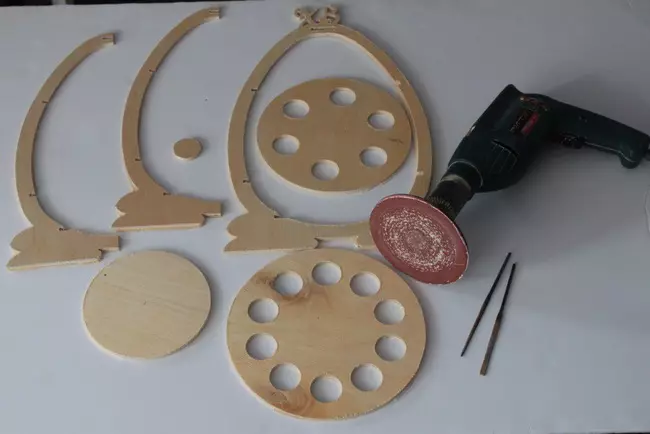
After careful grinding, we draw bunnies.
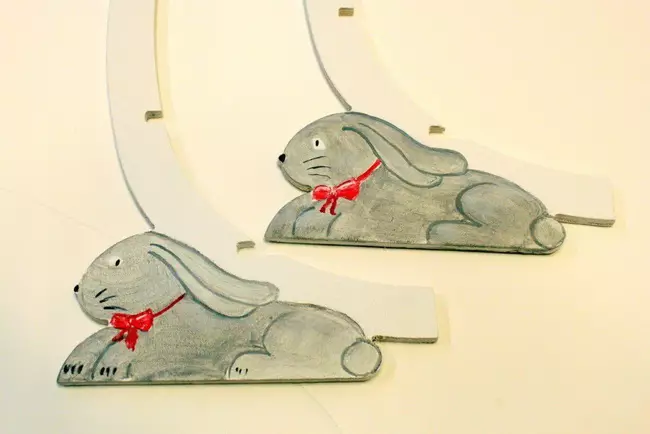
Kras and collect our stand for eggs.
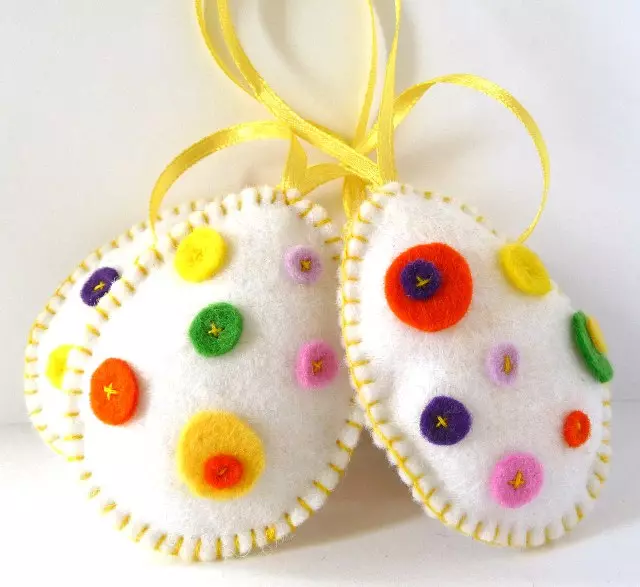
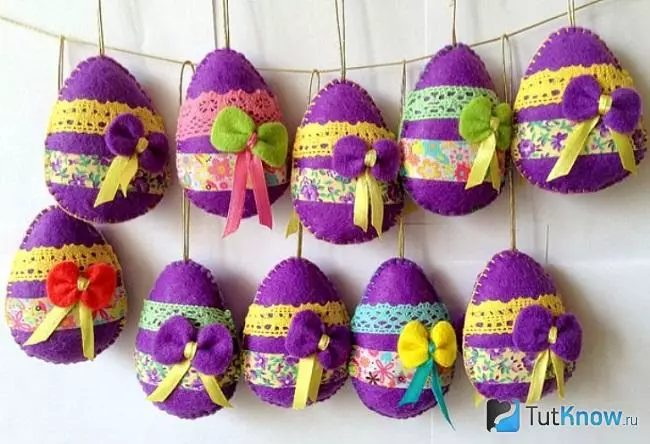
Fetra
Now let's make an egg from felt, it will be very simple.
To do this, you will need felt, holofiber or styling syntheps, threads in the color of felt and decor elements. They can be small ornaments from felt or buttons.
Cut the details from the felt, sew their looped seam, leaving a place for packing. After stuffing, stitch completely. Our felt egg is ready.
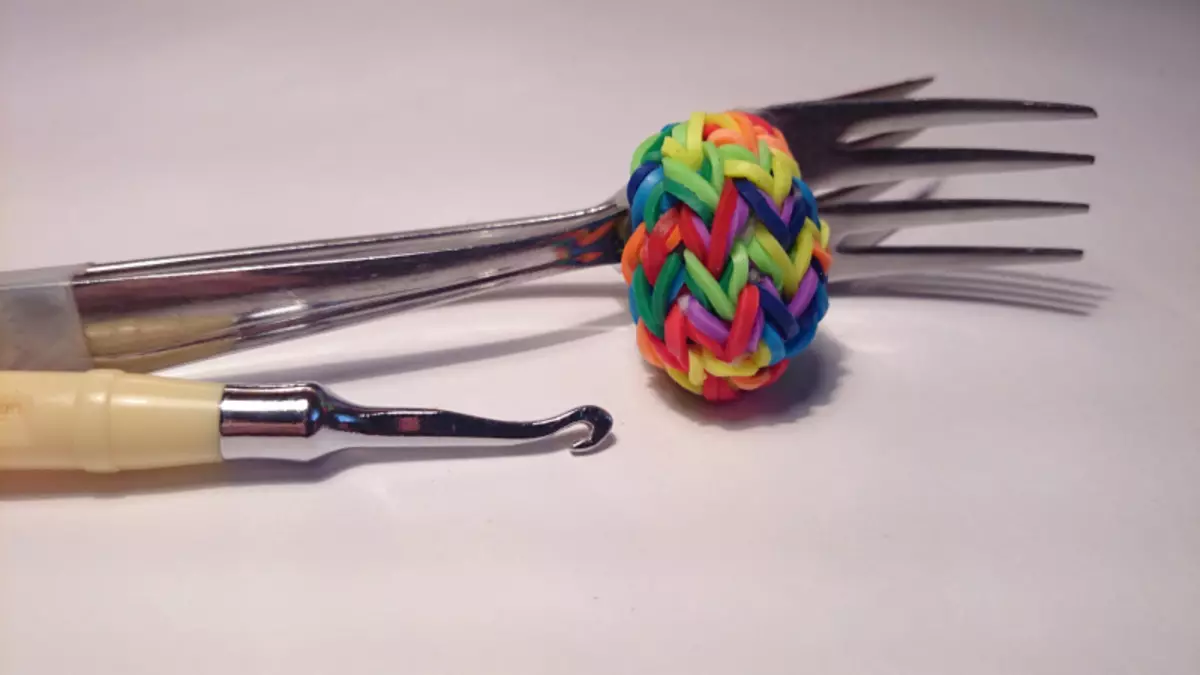
From rubber
Such eggs can be placed with the forks, and it is possible using a special machine.
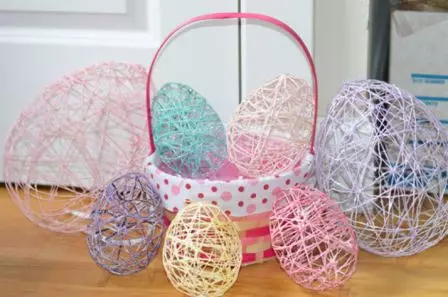
From thread
To create eggs from threads will need such materials:
- PVA glue;
- Capacity for glue;
- bruster for glue;
- Multicolored threads;
- balloon.
I inflate the ball before the size you need, depending on the size of the balloon, it turns out the finished egg from the threads.
Nallem PVA glue into the container and we will dip there our thread. Do not worry, after complete drying ball glue will become transparent. I swallow the threads, overlook the ball with glue with the brushes. And we will wipe the thread in chaotic order. Then the ball must be given to dry. It is advisable to hang it after complete drying, pierce the ball. After it burst, the ball can be reached, and we will have an egg from the threads.
Video on the topic:
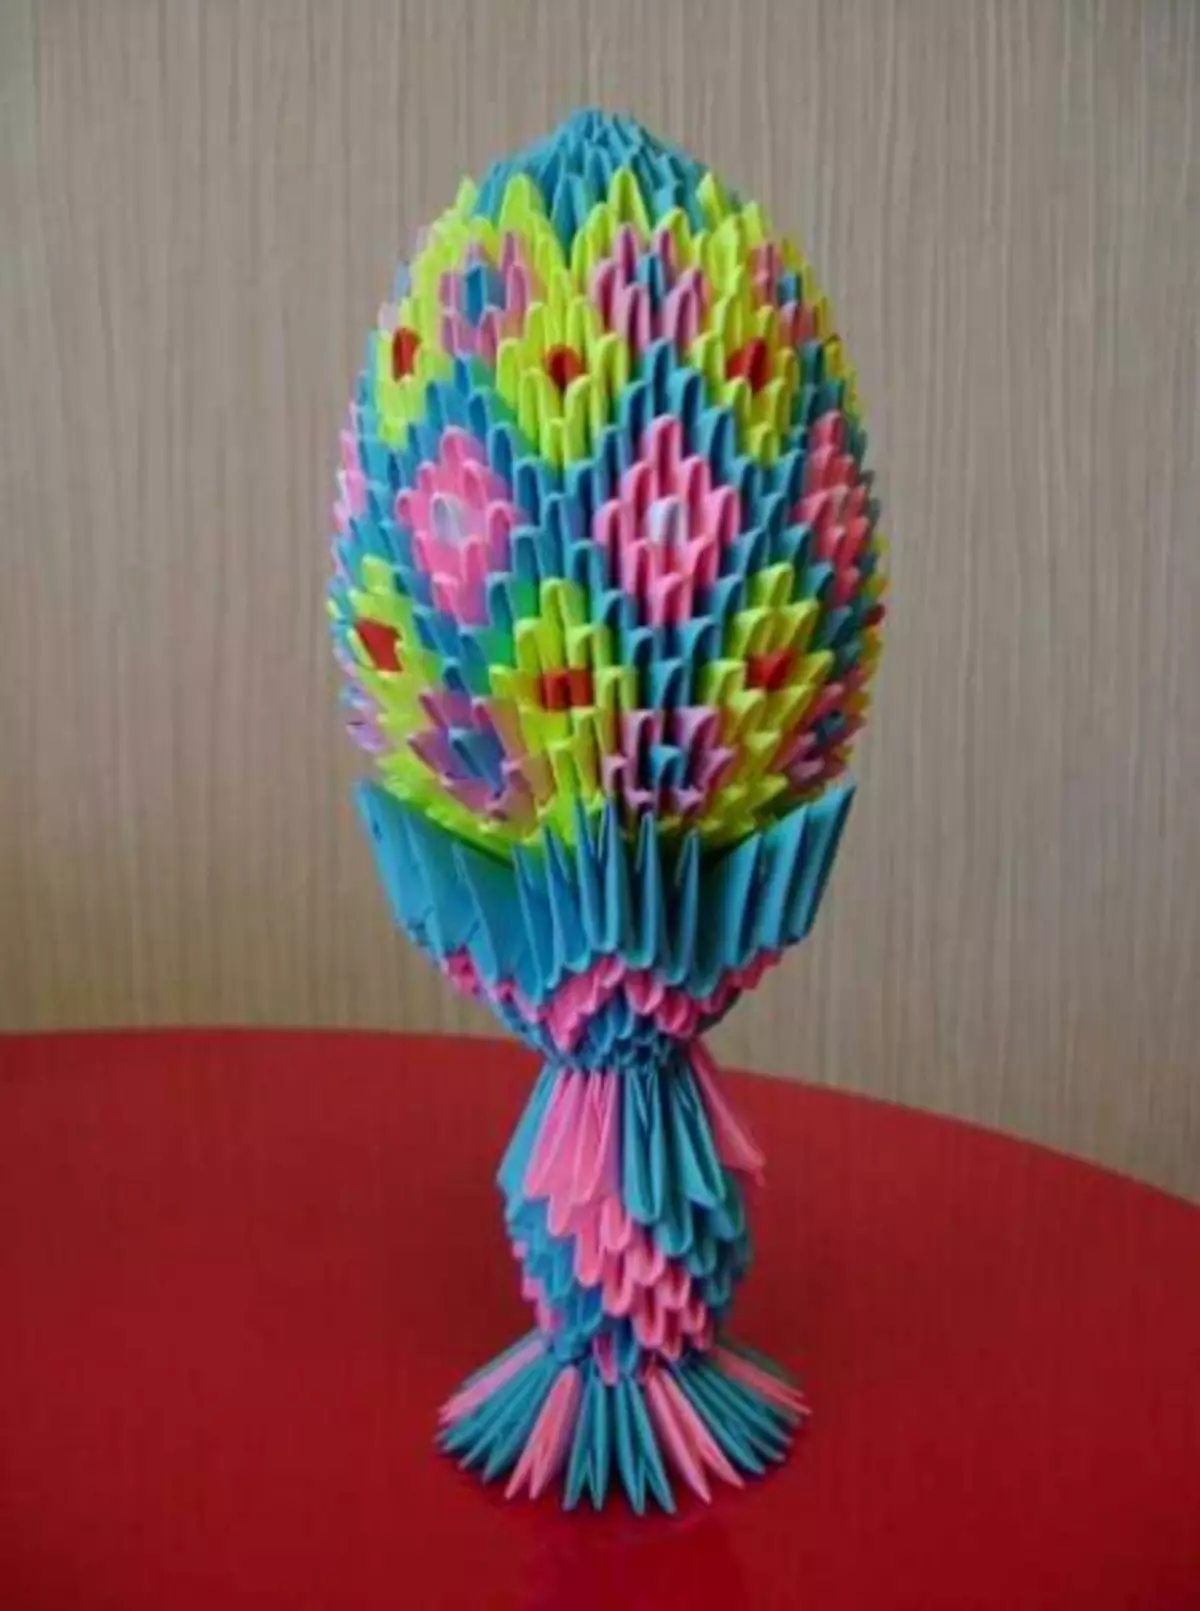
From origami modules
The execution of such work from the origami modules is not a quick task, the execution of such an egg will require time, patience, but the result will very please. If you have not tried this method yet, you should try. Work is performed from modules. They need to do a lot. Connect each other 10 modules.
Article on the topic: Knitting for children: Scheme of pants and blouses for a girl
Now for each corner of the previous row we dress another one by one module. As a result, they become 20. Now we turn to the fourth row. Modules wear 20 pieces. Now we need to make 20 modules of red and in the fifth row to take 20 modules. Now 20 white modules. Then again 20 red modules.
In the eighth and ninth row, to put on 20 yellow modules. And in the tenth row, 10 yellow modules should be made, passing 2 corners of the previous row. In the next row, you need to wear 10 modules, but each one immediately needs to 4 corners of the previous row. So repeat even next next.
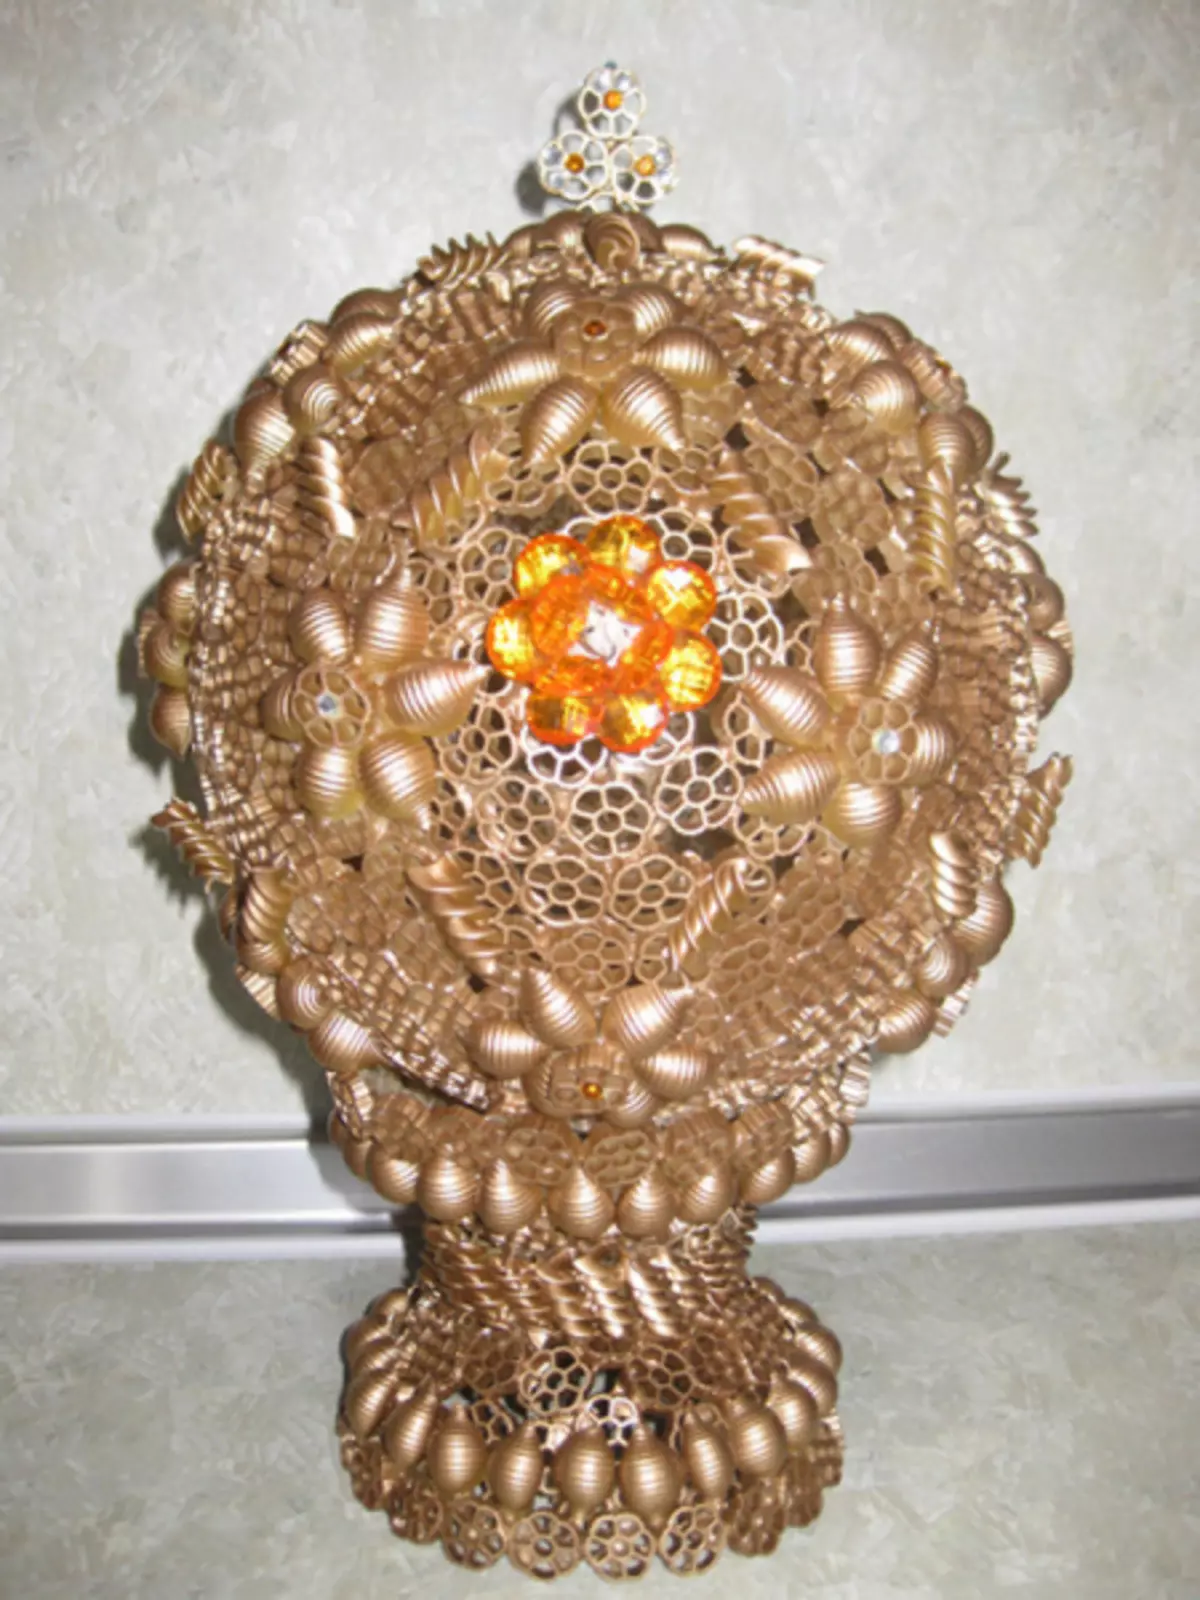
From macaroni and balloon
Make an egg from pasta and balloon is very easy. Such an egg is performed just like an egg from threads and a ball, only instead of the threads we use raw pasta. They greatly hold the form, they can be decorated, this is a very good idea. For her, they will need a ball, glue PVA and pasta. And there will be a similar result:

Video:
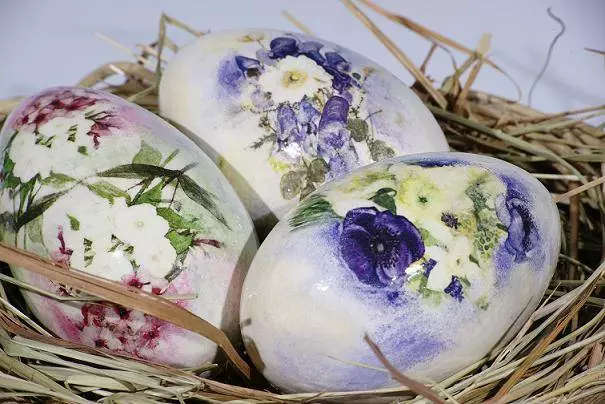
In the technique of decoupage
Run an egg in the technique of decoupage is easy. We need:
- the foundation. It may be an egg from papier-mâché, dried fresh egg, its shell without internal content;
- glue for decoupage;
- Fragments from napkins;
- brush;
- acrylic paint;
- Acrylic glossy varnish.
The basis is coated with acrylic paint, then with the help of glue, we apply fragments from napkins. After drying, coating acrylic varnish. Egg is ready.