
Seasons replace each other: Spring, Summer, Autumn Winter, and so year after year. And we did not want to list the transfer from spring, because spring is the time of the birth of a new life, the grass flourishes in the spring, trees greasome, the rivers are exempted from ice shakes. Appliques on the theme "Spring" are specially popular in kindergartens and schools, because we are all so rejoice in the arrival of spring! For children, Spring is an omen of summer, which means that the vacation.
Spring came, and together with her, interesting ideas for crafts and applications came, which can be made both in kindergarten and in grade 1. Such applications can be made from anything: from cotton disks, from napkins, colored paper, from crumb and pasta. The ideas and materials are really a big set, the main thing is to choose an interesting and beautiful plot, because Spring is the time of inspiration!
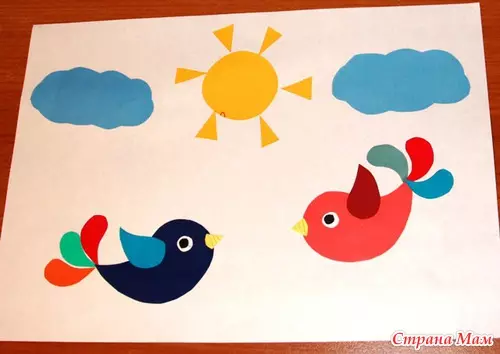
Spring forest
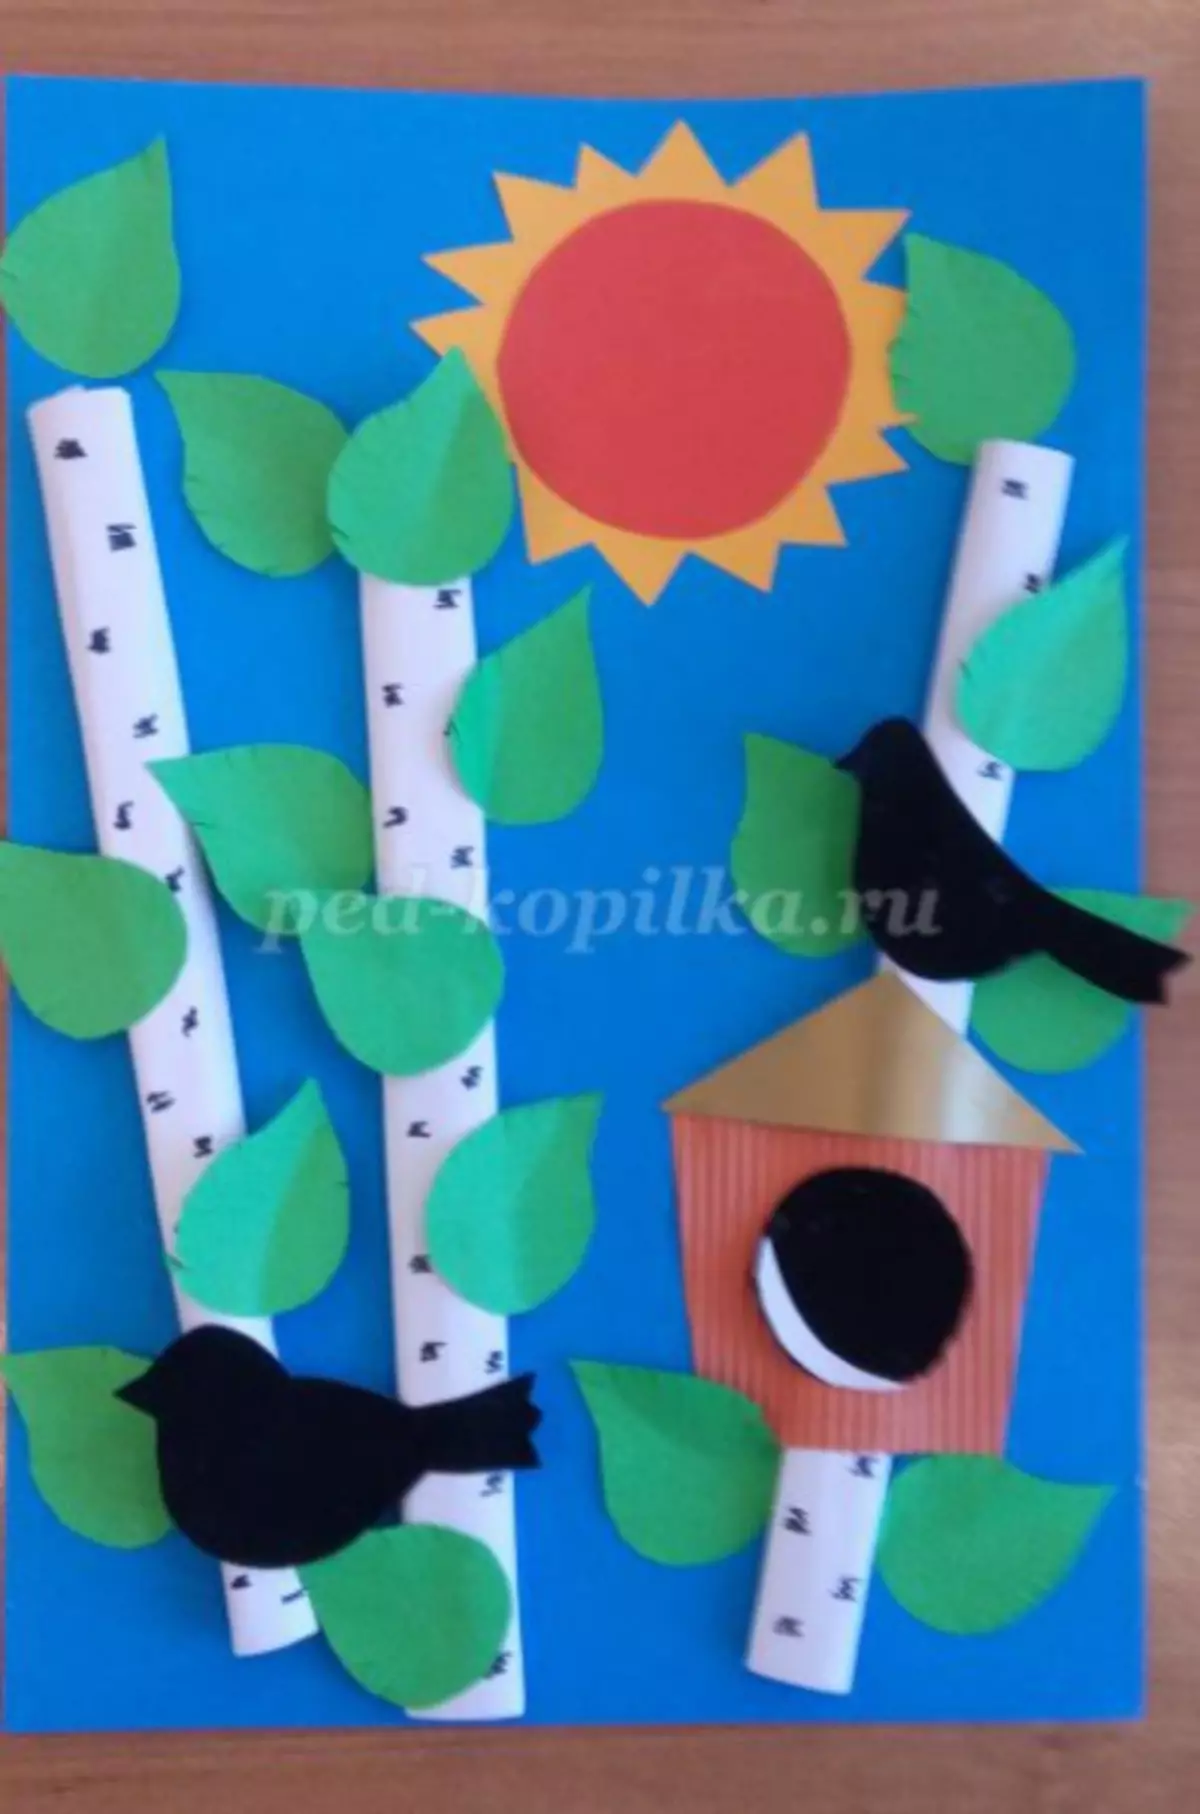
The first master class on the topic "Spring" with templates is one of the versions of appliqués for spring themes. We will make the spring forest, just awakened from the winter sleep.
For the manufacture of crafts, take:
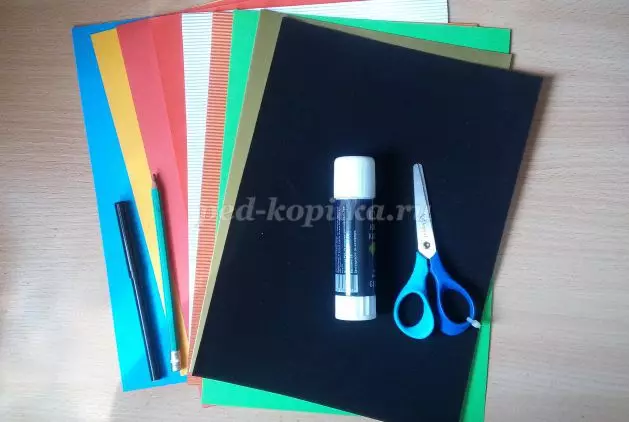
- Colored paper. You can also take velvet paper for some elements;
- White paper;
- Color cardboard;
- Glue;
- Pencil;
- Black marker or marker;
- Line;
- Scissors;
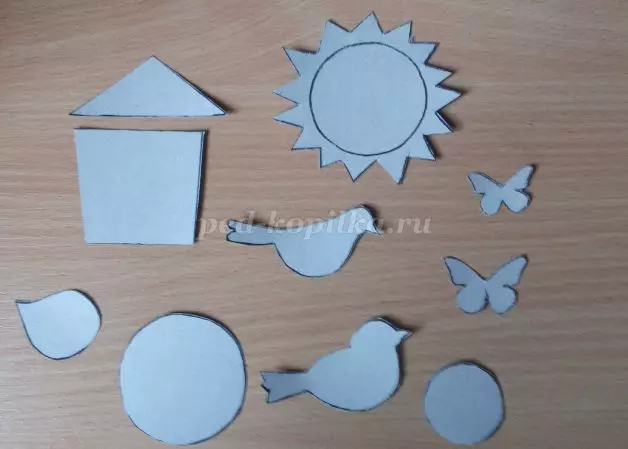
- Carved patterns (see photo).
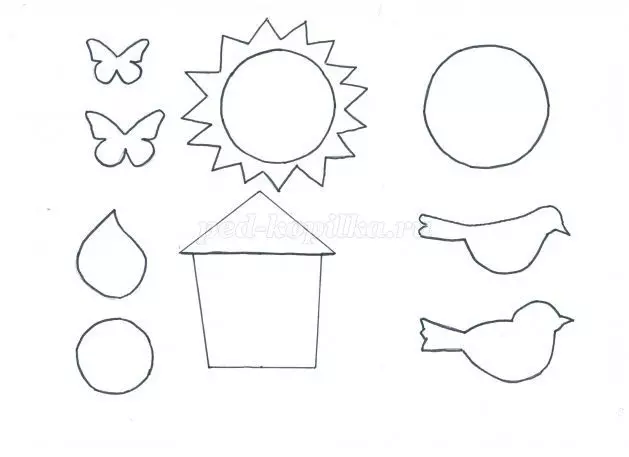
Templates are better cut in advance and distribute children with ready-made carved figures.
Before starting work, remind the babies about the safety technique when working with scissors so that the children do not damage clothes or fingers.
So, proceed to work.
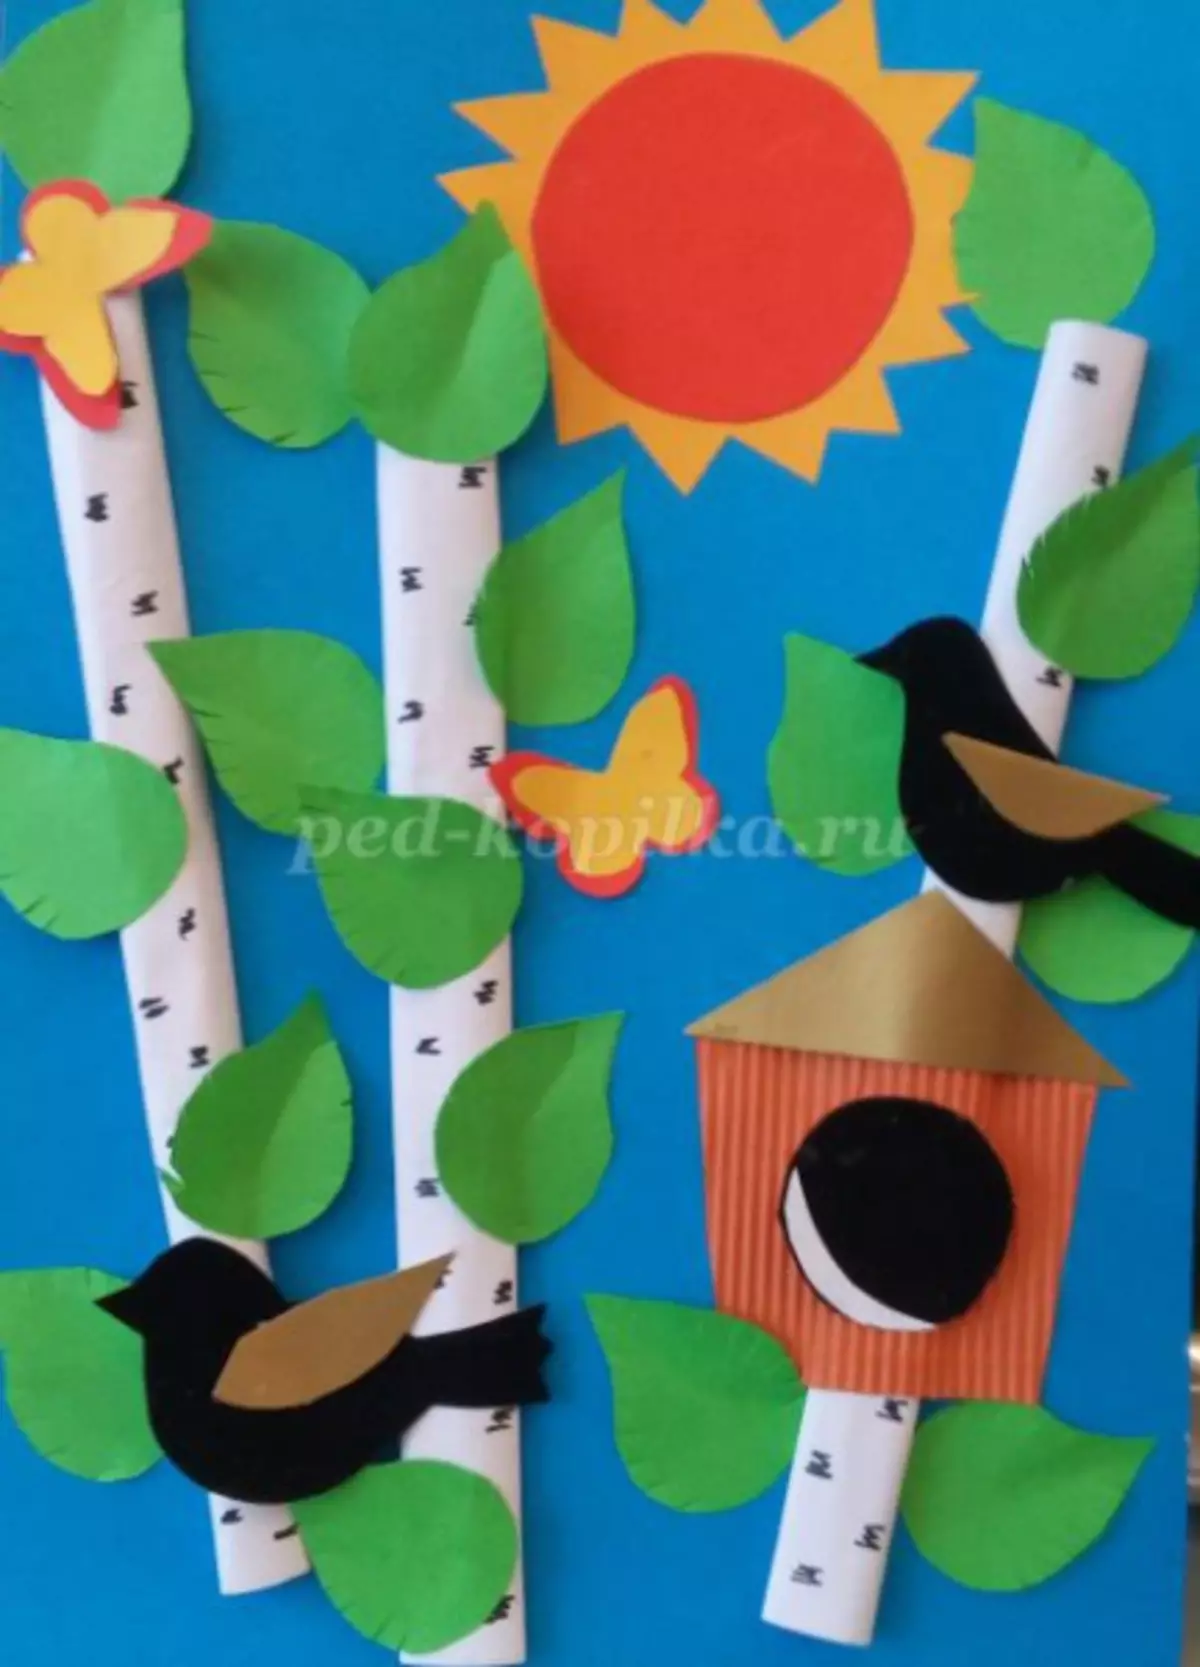
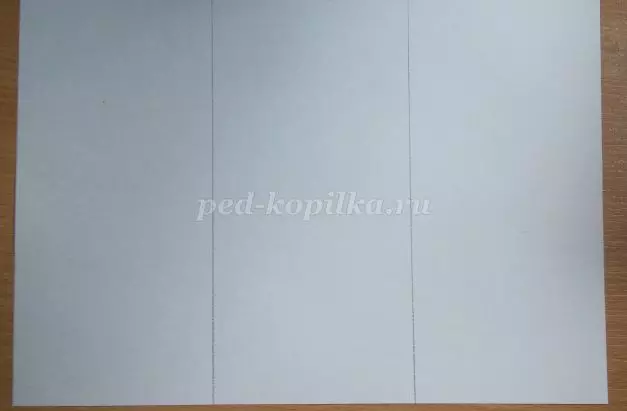
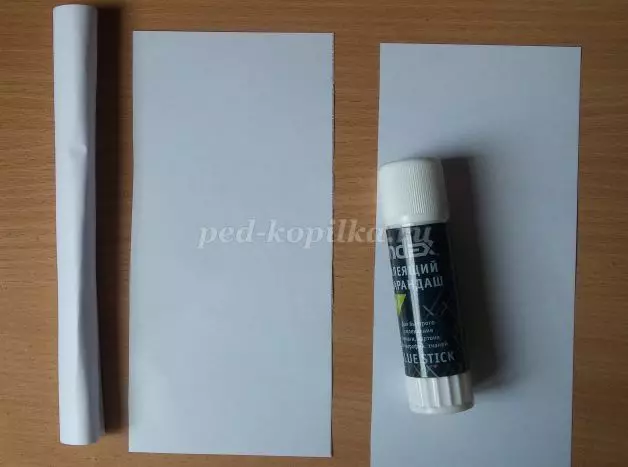
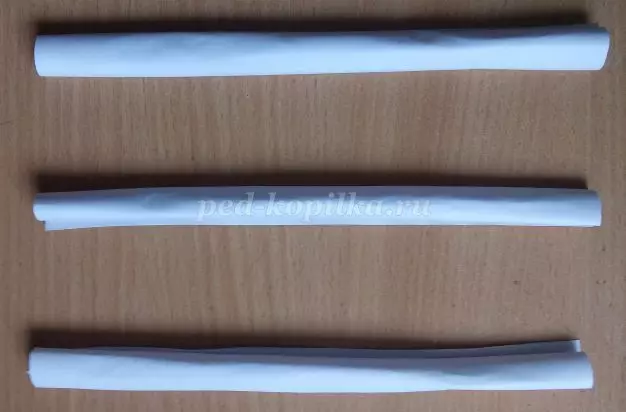
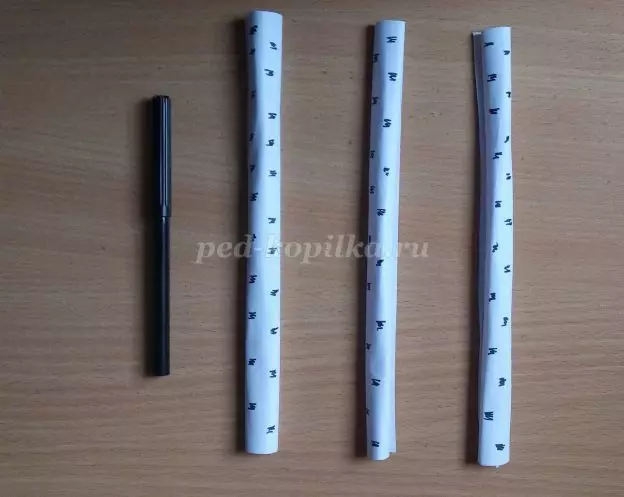
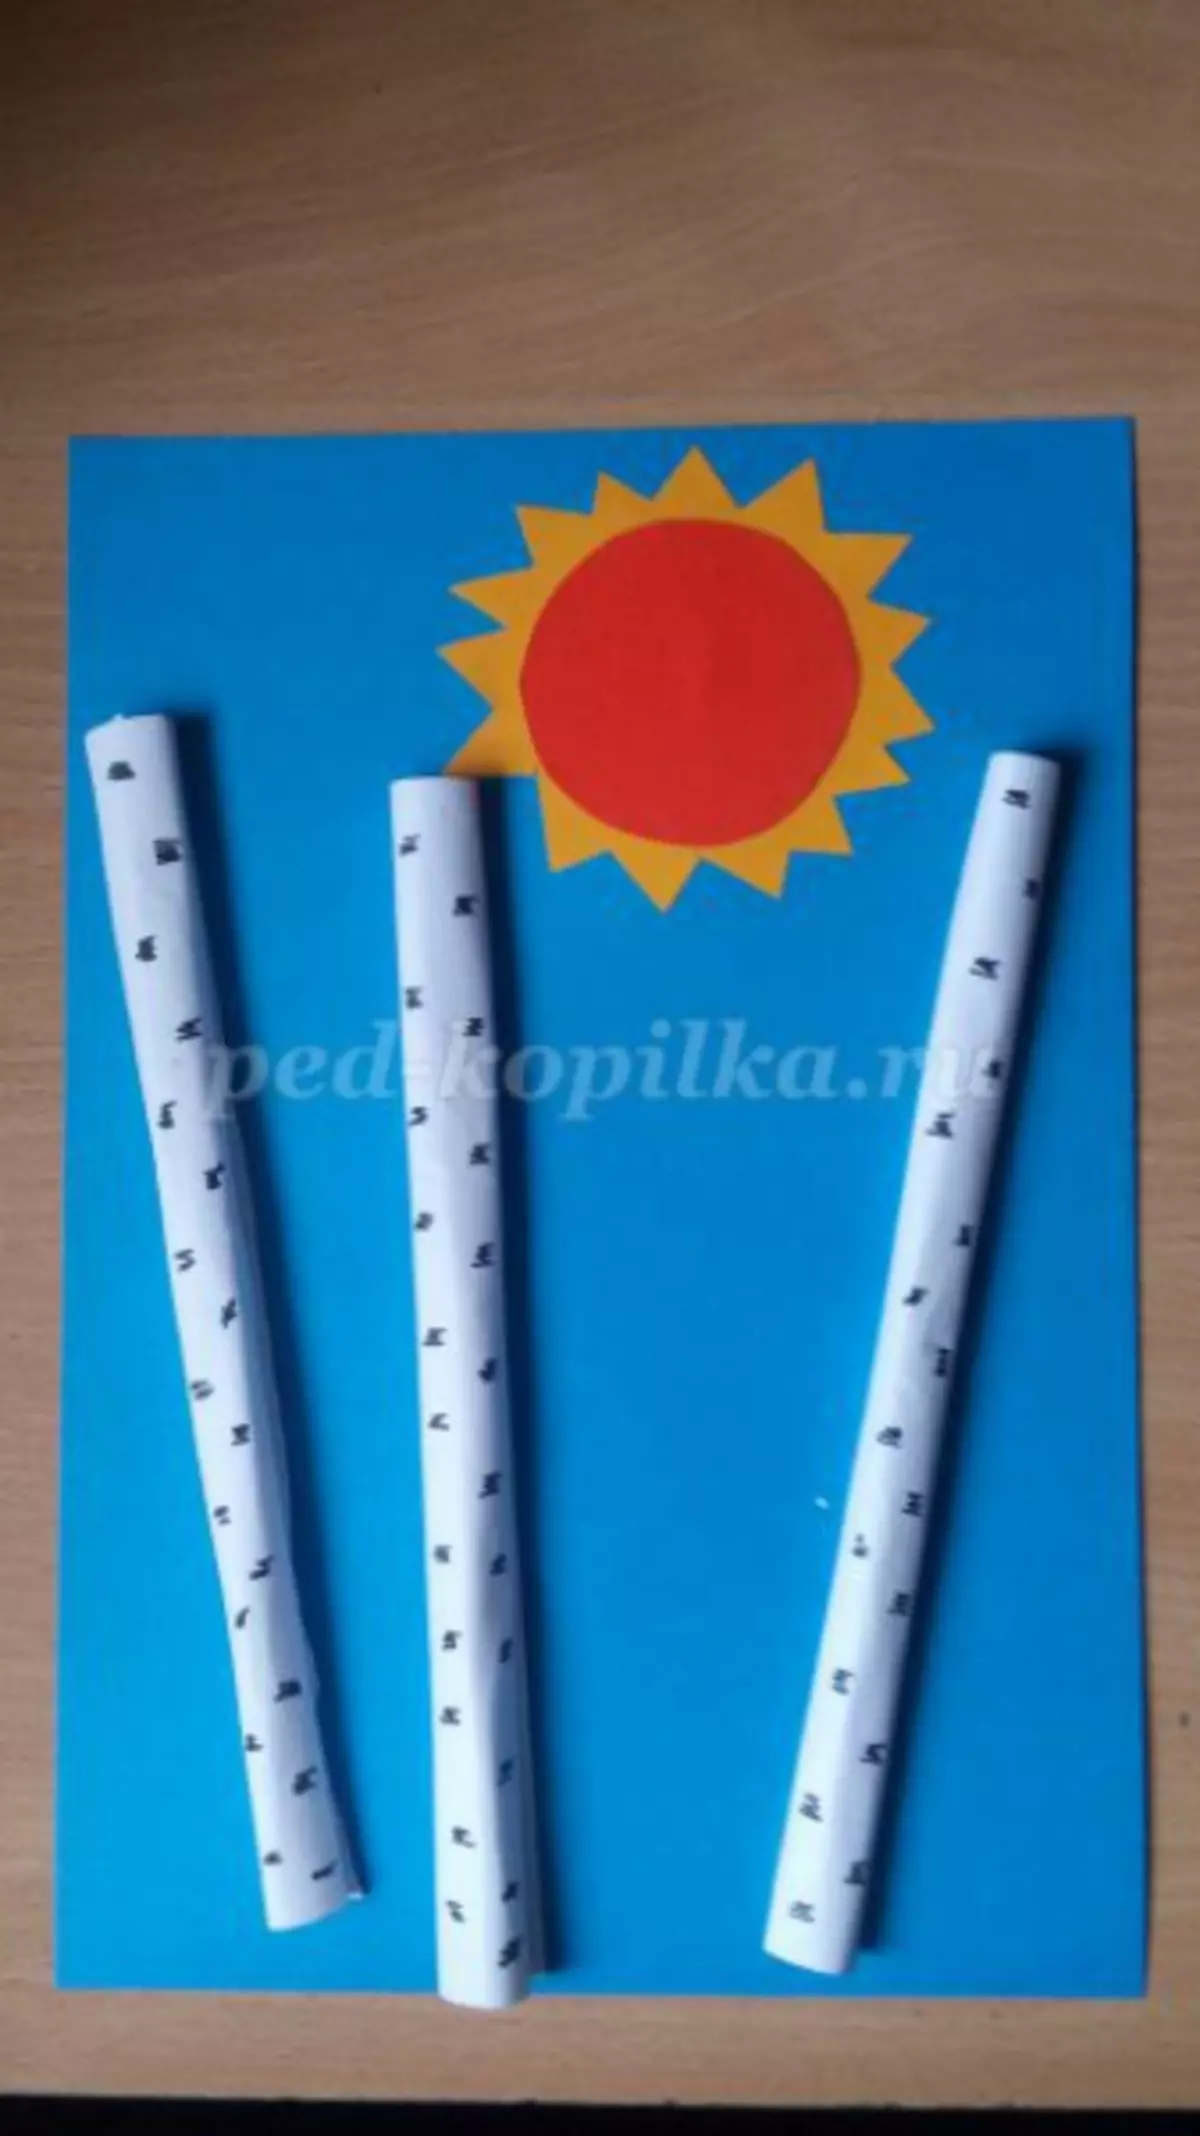
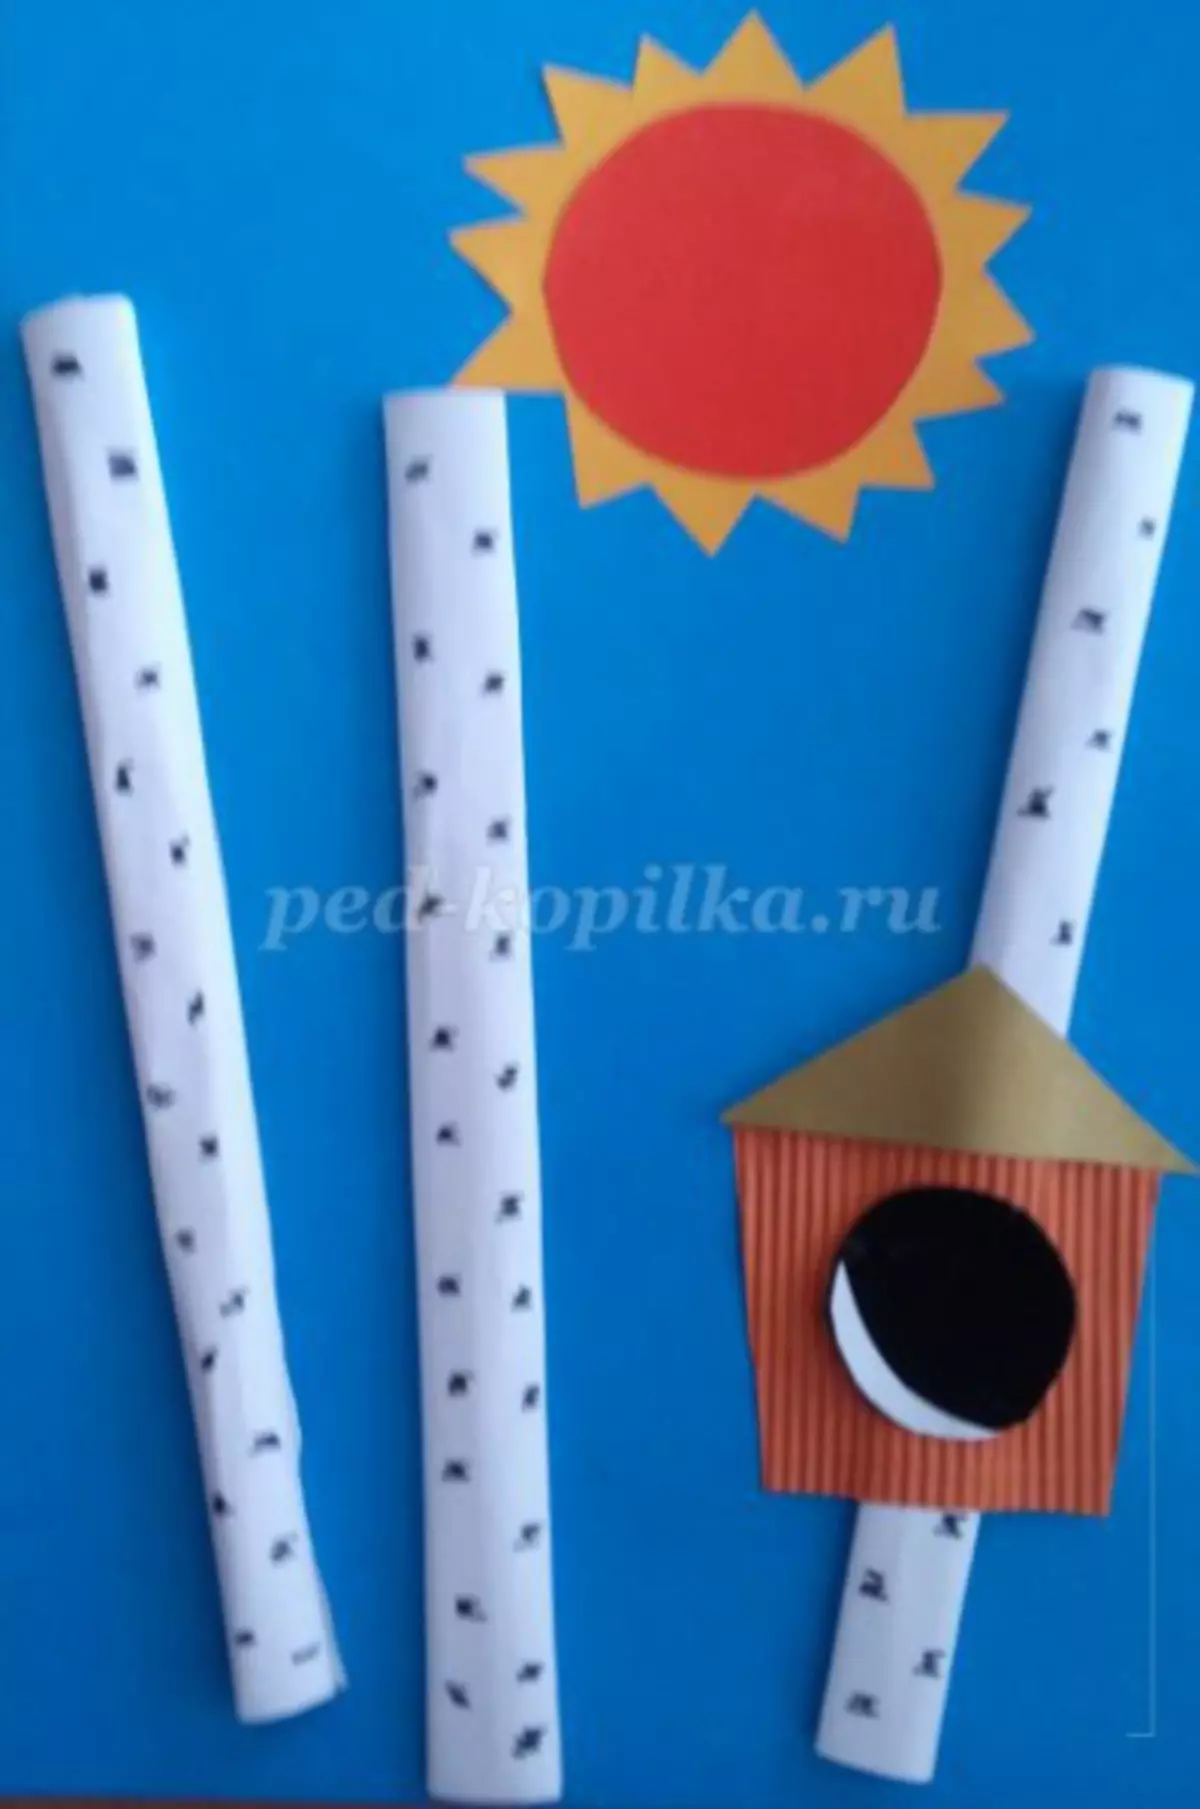
- First we will work on the details. Take white paper, we cut on three identical stripes. Twit strips so that three identical tubes come out - these are birch trunks. The marker will strike a drawing on them - thin black markings on the crust.
Article on the topic: Pattern of an apron for a kitchen with a detachable towel for wiping hands
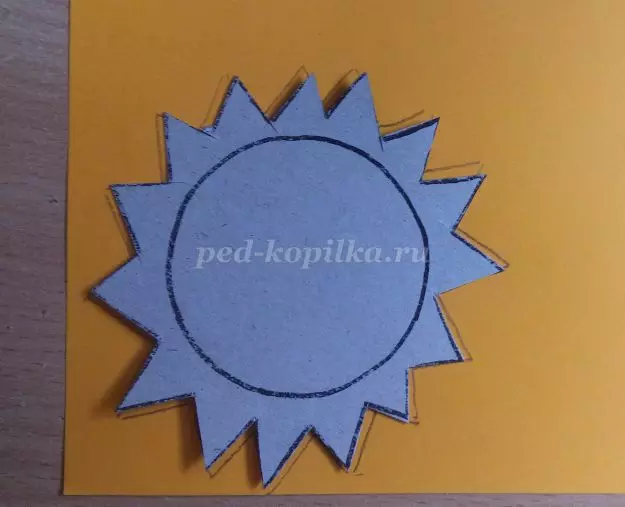
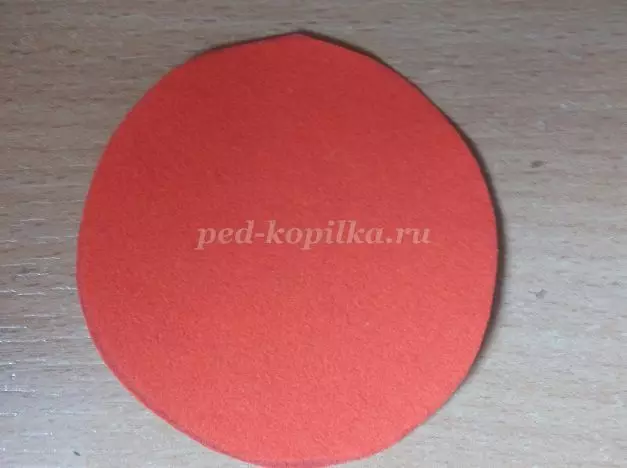
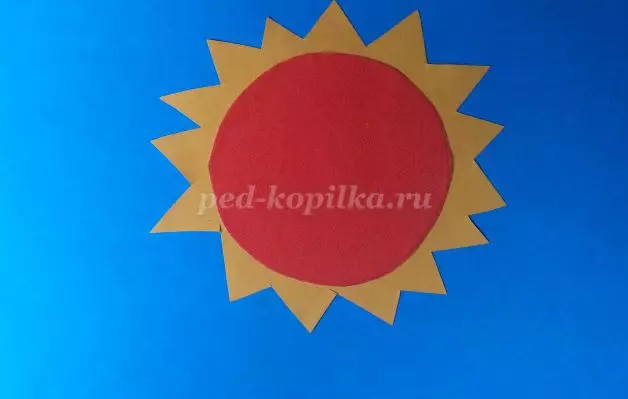
- Next argue on yellow paper Sun template and cut. From the red velvet paper, cut the middle of the sun.
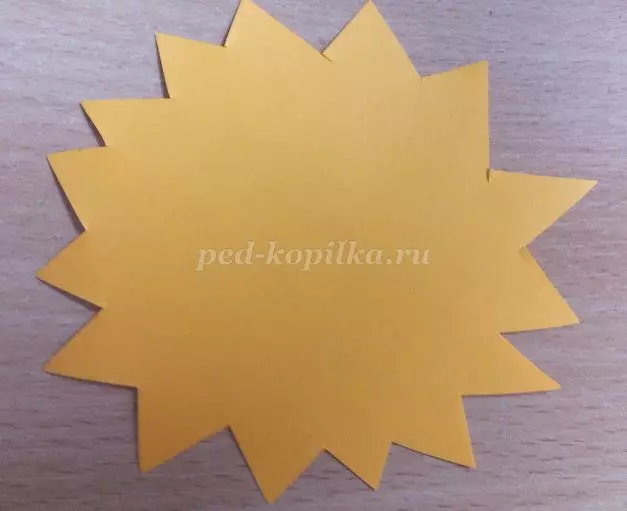
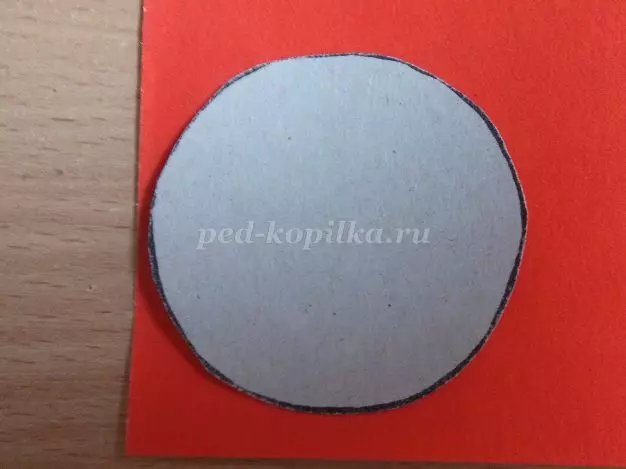
- When the details are ready, start working with glue. On the blue cardboard we glue the yellow sun first, then on top of it a red middle.
- Now we glue the barrays. You can arrange them as you like.
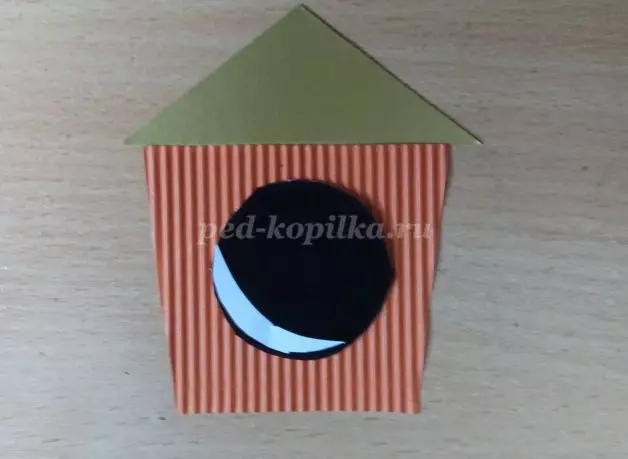
- Next, make a nesting book. From colored paper or cardboard, cut down the details of the nesting and glue on one of the berez.
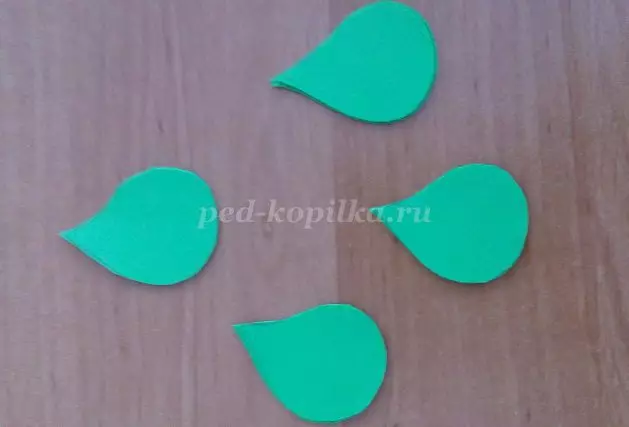
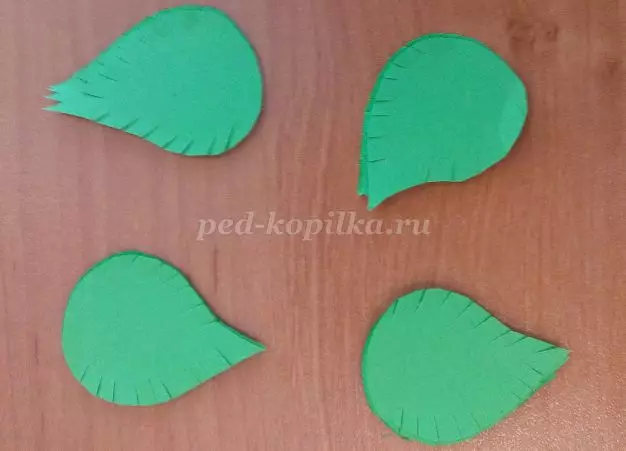
- Then go to birch leafs. We take green paper, we supply the leaf patterns and cut out. To get several leaves right away, you can fold the paper in several layers and only then cut the leaves. We give them scissors to them, slightly having crashed, and will be in half. So our picture will look more comprehensive. The leaves are glued to birch.
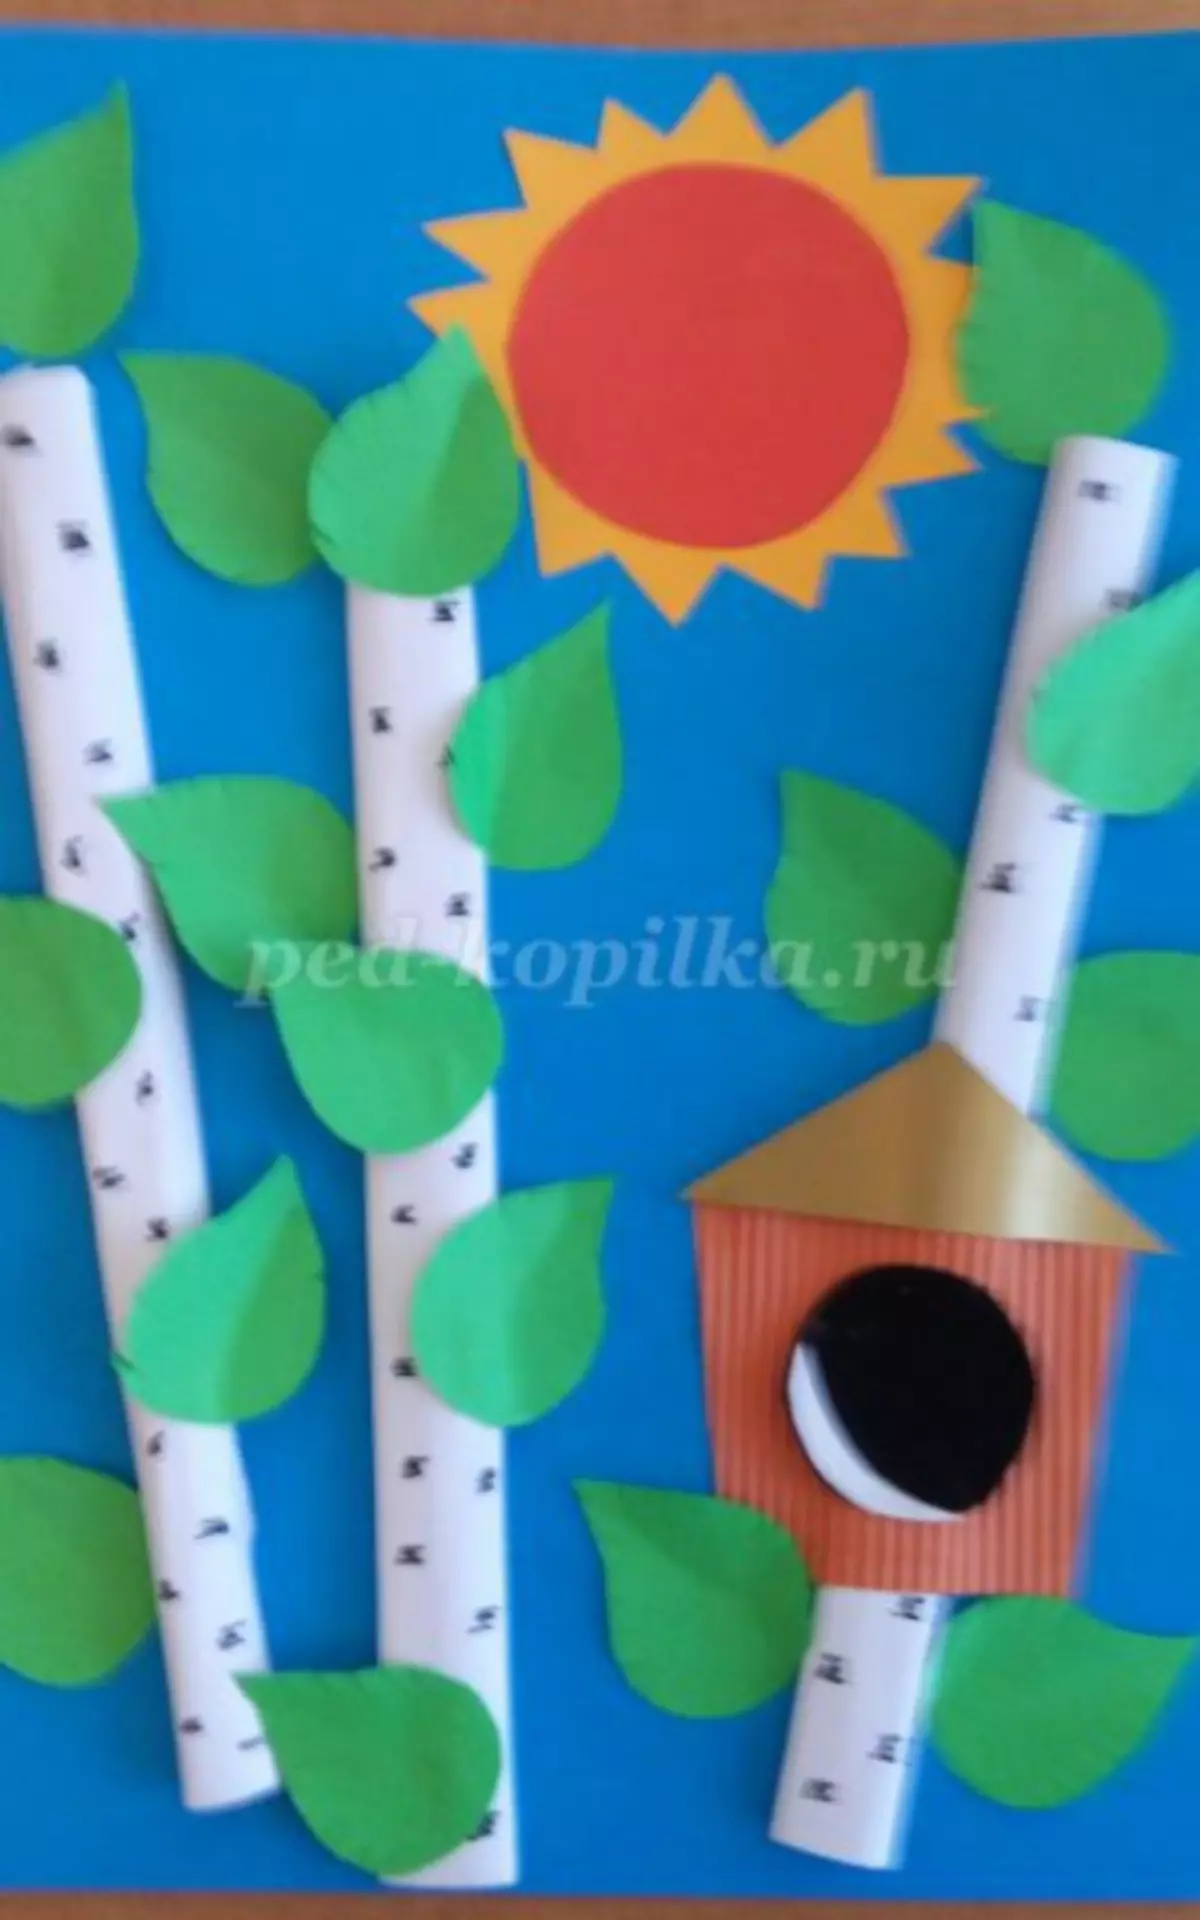
- From black paper cut the patterns of birds. You can use velvet paper to show texture.
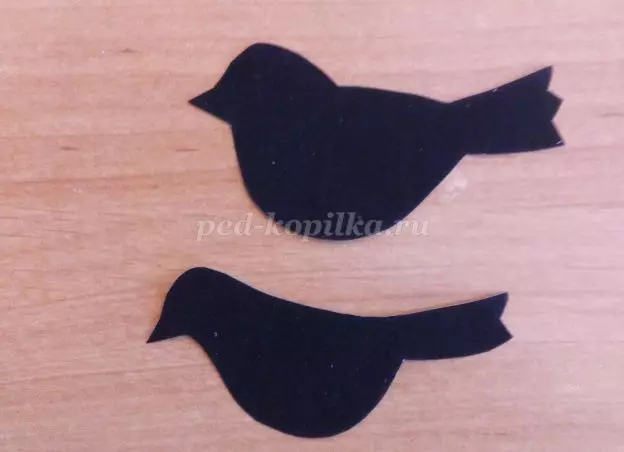
- We glue the birds on the trunks of the trees, we glue the wings cut from any paper flowers to them.
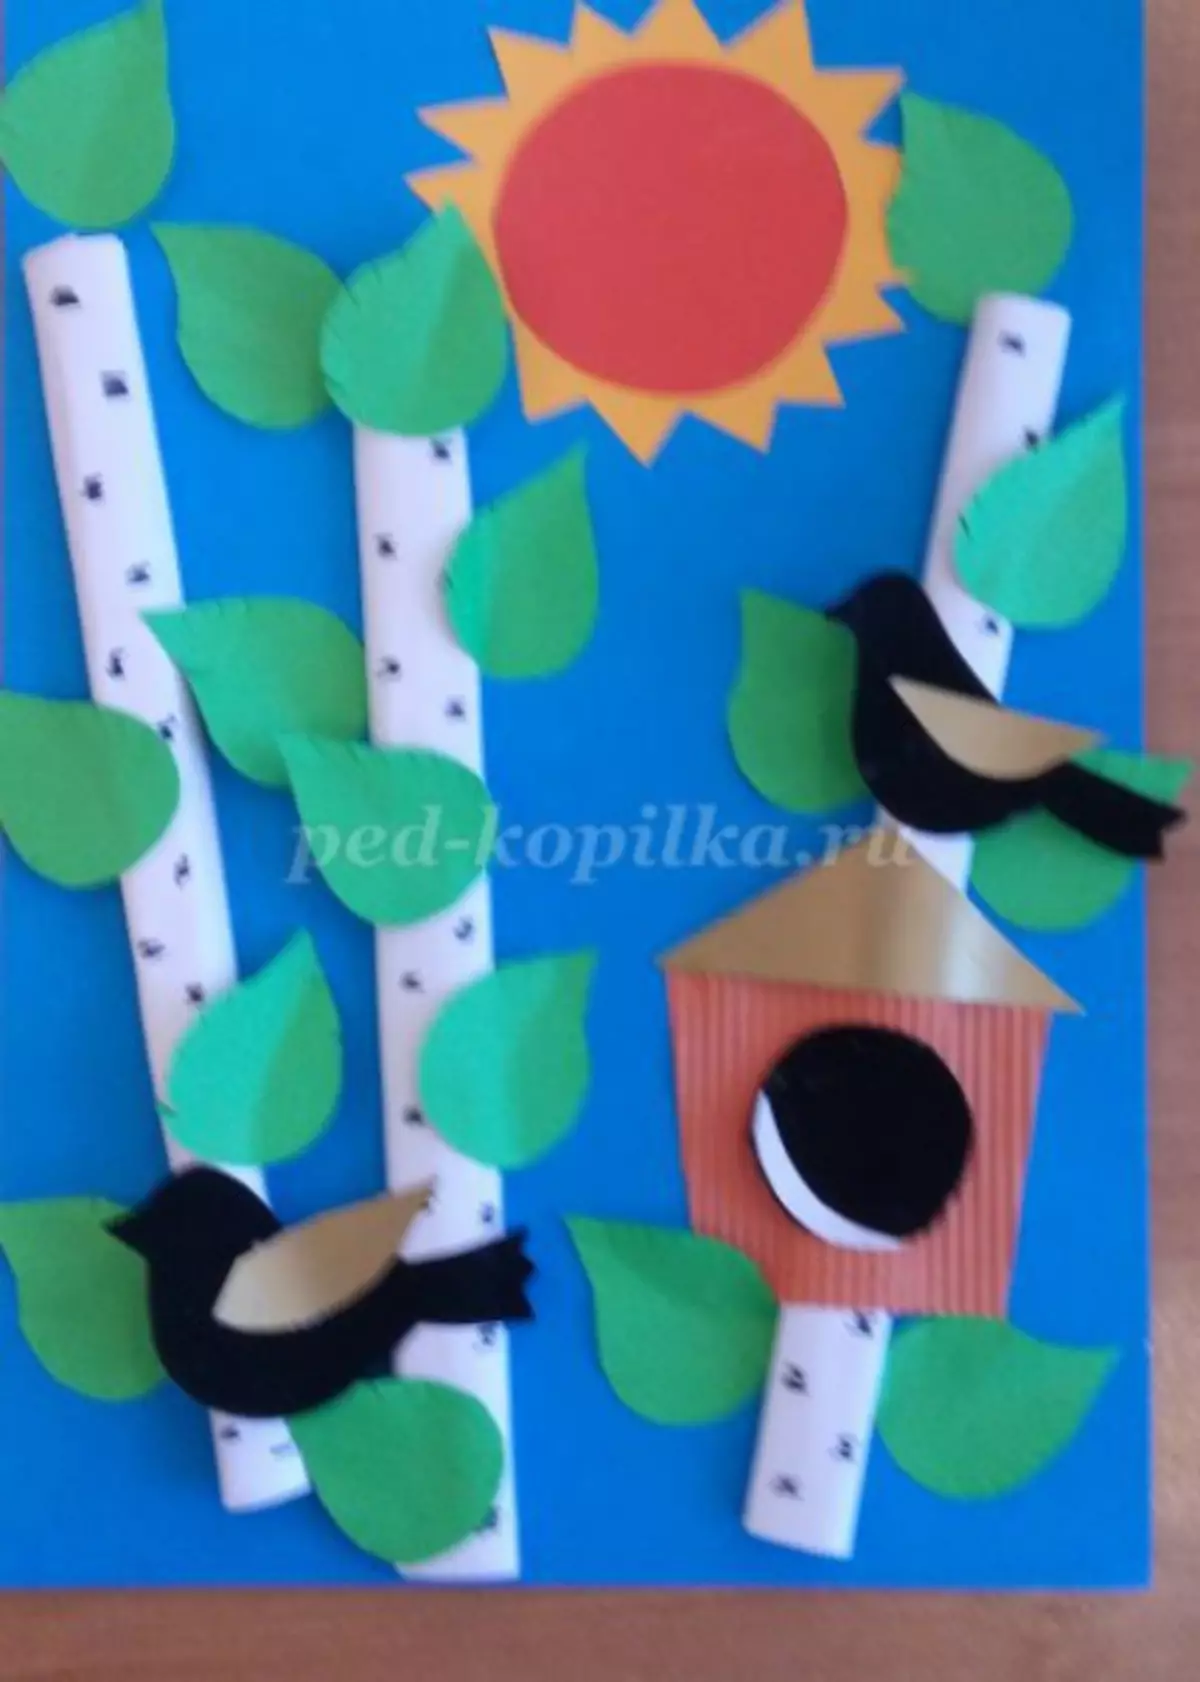
In addition to birds, butterflies can be placed on the picture. Applique is ready! Such an applique will be easy for kindergarten, for school and for additional classes.

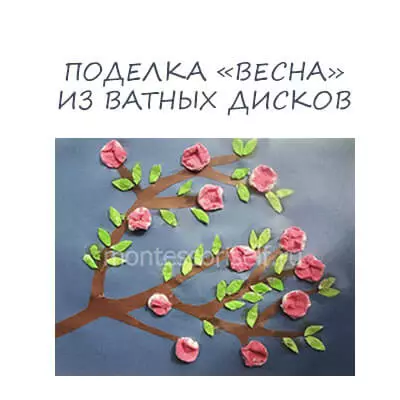
Craft Disk Craft
Applications from cotton disks are increasingly and more often to meet in kindergartens and schools, it is already a rather familiar material for creative clauses. Application on the topic "Spring" did not bypass this "field" of ideas, about this next master class.
We need:
- Color cardboard for background. The color is better to choose blue, silver or lilac;
- Colored brown paper;
- Multilayer cotton disks;
- Paints and brushes;
- Glue.
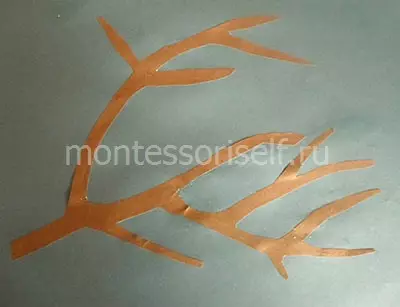
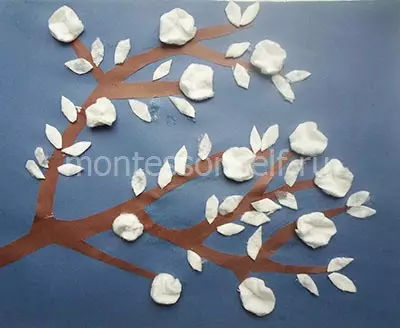
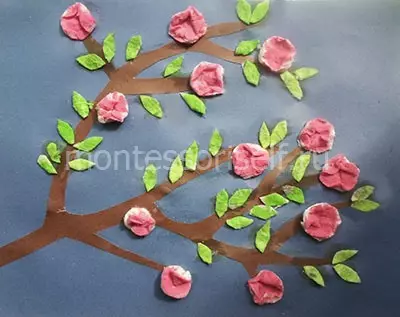
We will start work. From brown paper, cut the tree twig and glue it into cardboard.
Next, take a cotton disk, divide it on the layers. And each of them we cut into 4 parts, as shown in the photo below.
Article on the topic: Appliques from cotton disks and chopsticks do it yourself with video
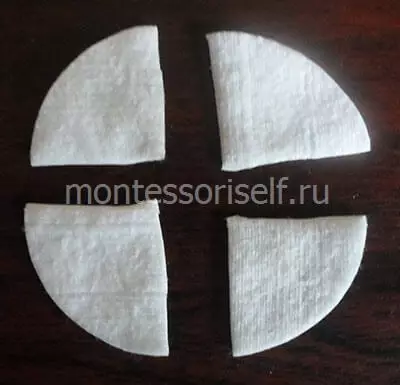
Each part let us give a round shape with scissors.

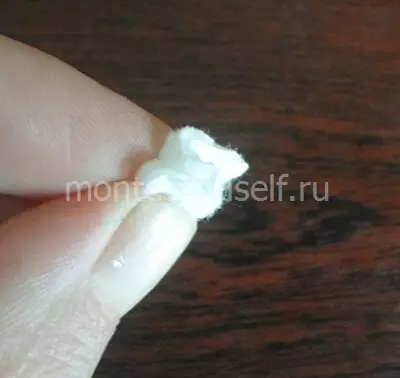
Now, each of the resulting circles we need to turn into a miniature ball. To do this, fit the external edges to the middle. Look at the photo, it is clearly shown to do how to do it.
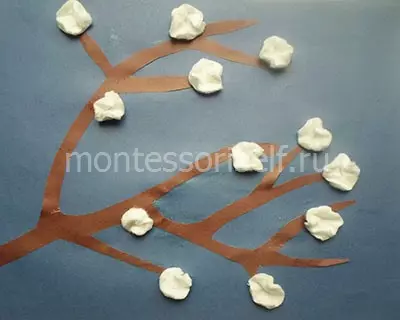
We will need such balls-lumps as much as on branches on your carved branch. We glue the balls to it.
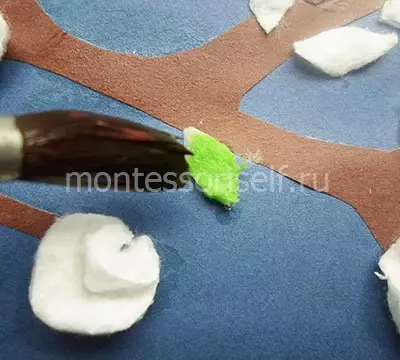
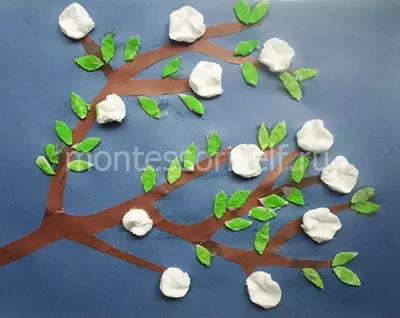
Next, we need to get leaflets. To do this cut them out of cotton disks.

And glue to our work.
Now let's start painting our "cotton" picture. Paints can be taken any - watercolor, gouache, acrylic. Each sheets cover green paint. To give different shades, you can experiment with water: For a more saturated color, use more paint and less water and, on the contrary, to obtain light shades - more water, less paint.
Do not overdo it with water, because your wool absorbs her very well, so just enough to touch the tassel, as the entire fragment will become color.
Then go to paint colors on the branch. They can be made pink or almy. You can not cover the paint all the flower completely, but to drop with colored water in the middle of the flower, and then the water will spread with interesting patterns. You can drop a more rich hue to the center, and then add some more water so that it "spread the color" throughout the flower.
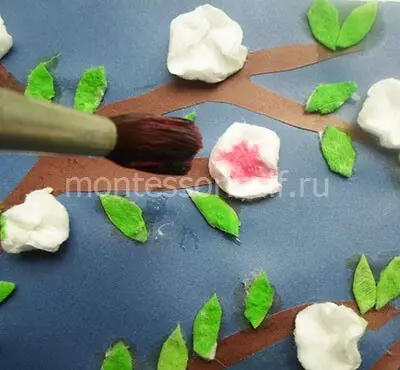
We will wait for a complete drying of paint. And finally, our spring tree is ready!
You can experiment with the size of colors and leaves, with different colors and shades - no borders for fantasy! And this applies not only to this work, but also spring applications in general.
Video on the topic
Also do not miss a special video selection on spring appliqués.