
Wall murals are a rather successful way to decorate a boring room, they are able to breathe new life into it and, that is important, the photographs are glued in the same way as the usual.
With the help of photo wallpapers, you can create any atmosphere in the room.
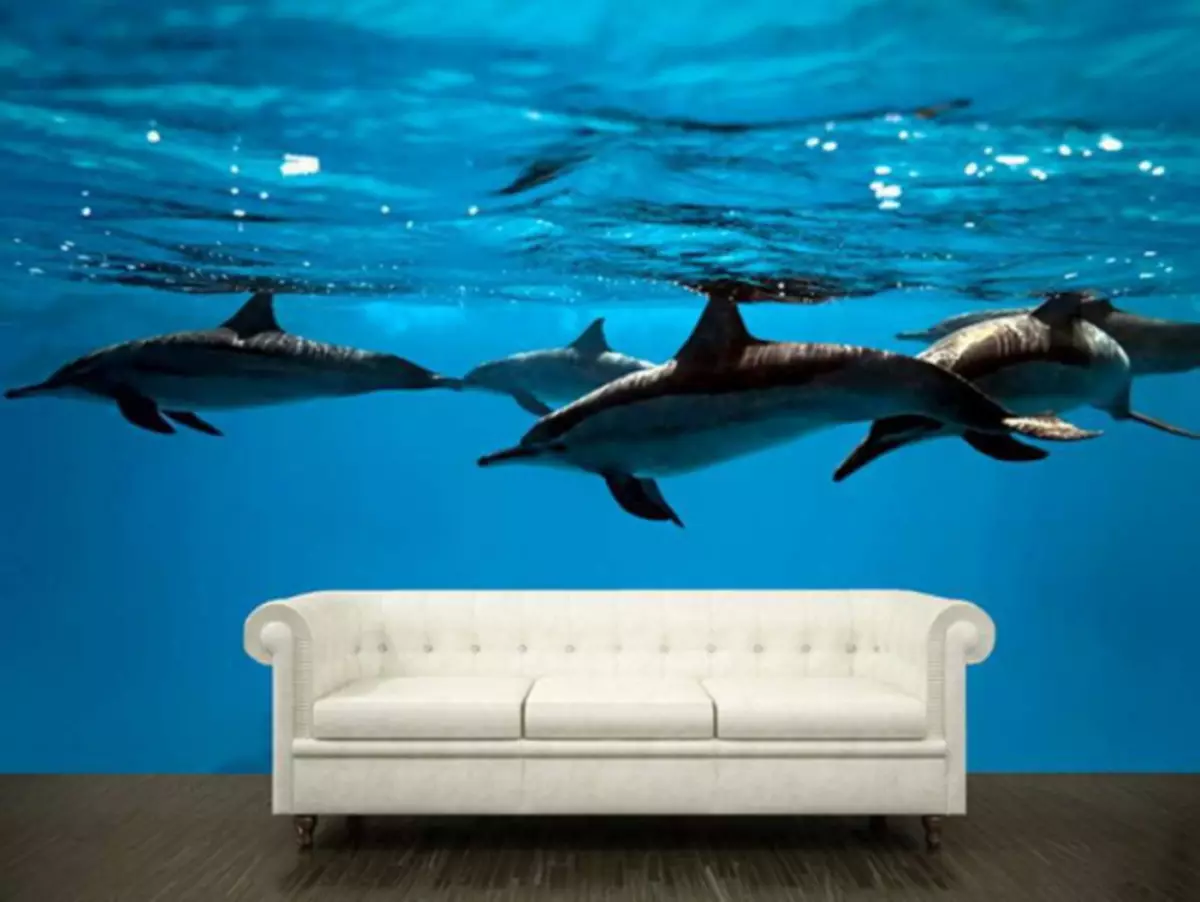
Fabulous forest, colorful live flowers, images of various animals and cities will load you in the depth and reality of the drawing.
You should not be afraid to glue photo wallpapers yourself, we will tell you how to do it right.
Photo wallpaper
Wall mural is made like this: first is printed a large sheet with some image, and then it is cut to equal parts. The main thing is that you need to remember when buying wallpaper, this is what photo wallpaper usually consists of paper that does not tolerate the irregularities of the wall. Unlike heavy vinyl wallpaper, in this case you will have a light and thin material that needs to be glued smoothly, gently and slowly. Any vigor will be visible, so follow the campaigns carefully.
Wall murals glue only after a careful study of plaster. The walls are preferably to align as much as possible, because the bugs and any deformations will affect the figure.
If the size of the photo wallpaper is less than you need, but the drawing really liked, do not buy such wallpapers even despite the sympathy. Long wallpapers can be trimmed, but not enough long to extend anything - it will look ridiculous.
And if you still look closely and choose a color, drawing and invoice, for our part, we can recommend photo wallpapers on the wall from klv-oboi.ru. Choosing a large and delivery in Moscow and St. Petersburg is free.
Buy only special glue in a construction store, it will protect you from damage to wallpaper. Still, different glue is designed for different purposes, even if it comes everywhere about the wallpaper.
Wall mural 3D
Today, photo wallpapers, including 3Ds, are sold in many building stores, however, unlike standard rolled wallpapers, the photo walls are not twisted into the roll, and are sold in the form of already ready-made sheets separated by their columns.
Article on the topic: We make a semi-dry black and finishing tie of the floor with their own hands
3D Wallpaper is the last word in the interior design. Such wallpapers are easy to glue, they are not bad to hide irregularities, have a smooth surface and can be cleaned.
Unlike ordinary photo wallpaper, this type of wall decoration can be applied not only in apartments, but also in restaurants, hotels and similar places. However, probably in creative workshops in childhood you have already seen large pictures of 3D.
Today, something similar is sold, but the dimensions in this case can be chosen not just for signage on the wall, but for a full replacement of wallpaper.
In the interior of the photo wallpaper 3D there are such:
- Standard. In this case, the photo walls simply drawn bulk beautiful figures, which, as a rule, are abstraction;
- Single photo wallpapers are a specific fragment of a holistic image;
- Panoramic. The most unusual style of wallpapers in the interior, which can cover all the walls. In the case of the other types of photo wallpapers, one is always covered alone. But panoramic have a long and chic pattern, fully consisting of volumetric components;
- Fluorescent. Another innovative type of 3D wallpaper, which day shows a three-dimensional image, and at night glows, radiating different colors;
- LED. The most complex and expensive wallpaper. They are usually not installed on the whole wall, they, rather, resemble a huge picture. This is not just wallpaper, but a light system that has a control panel.
How to glue the LED photo wallpaper to figure it out difficult, because it is necessary to connect the LED to one common system.
However, it is worth remembering that behind a beautiful picture that can change when you press the remote control button, the mass of problems: LED wallpaper is short-lived and roads in installation and maintenance.
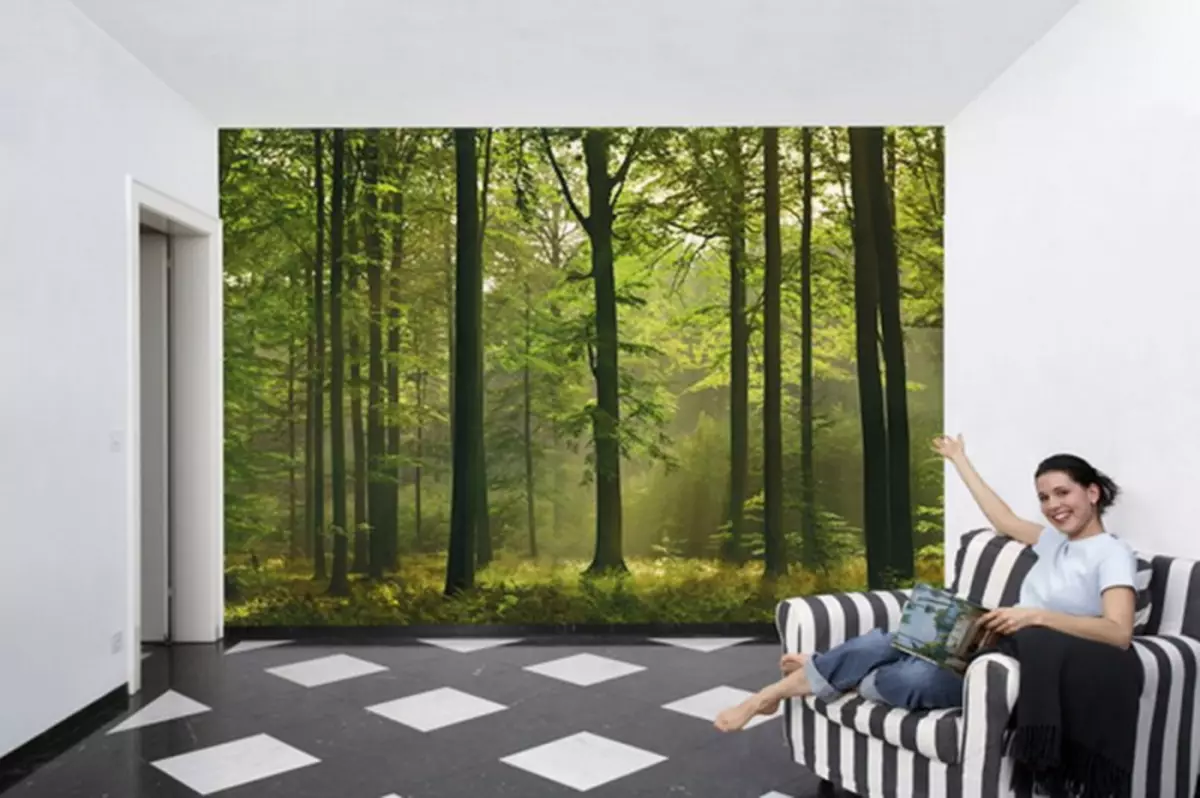
Wall mural in the interior of rooms
Wall mural in the interior always looked beautiful. However, it should be understood that the drawing is selected not only from personal preferences, but also taking into account the observance of the overall stylistry of the interior.
Article on the topic: Dowel for aerated concrete and other fasteners in porous materials
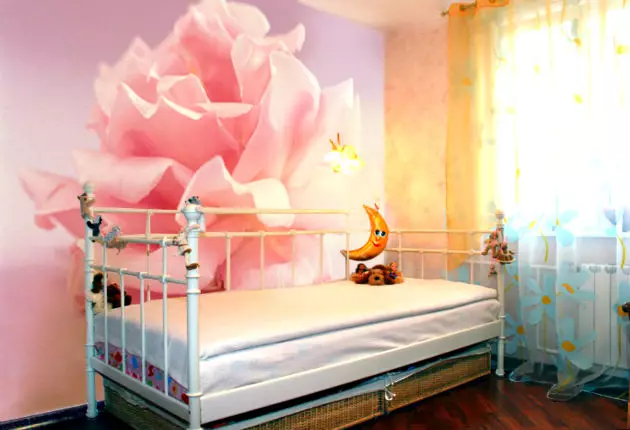
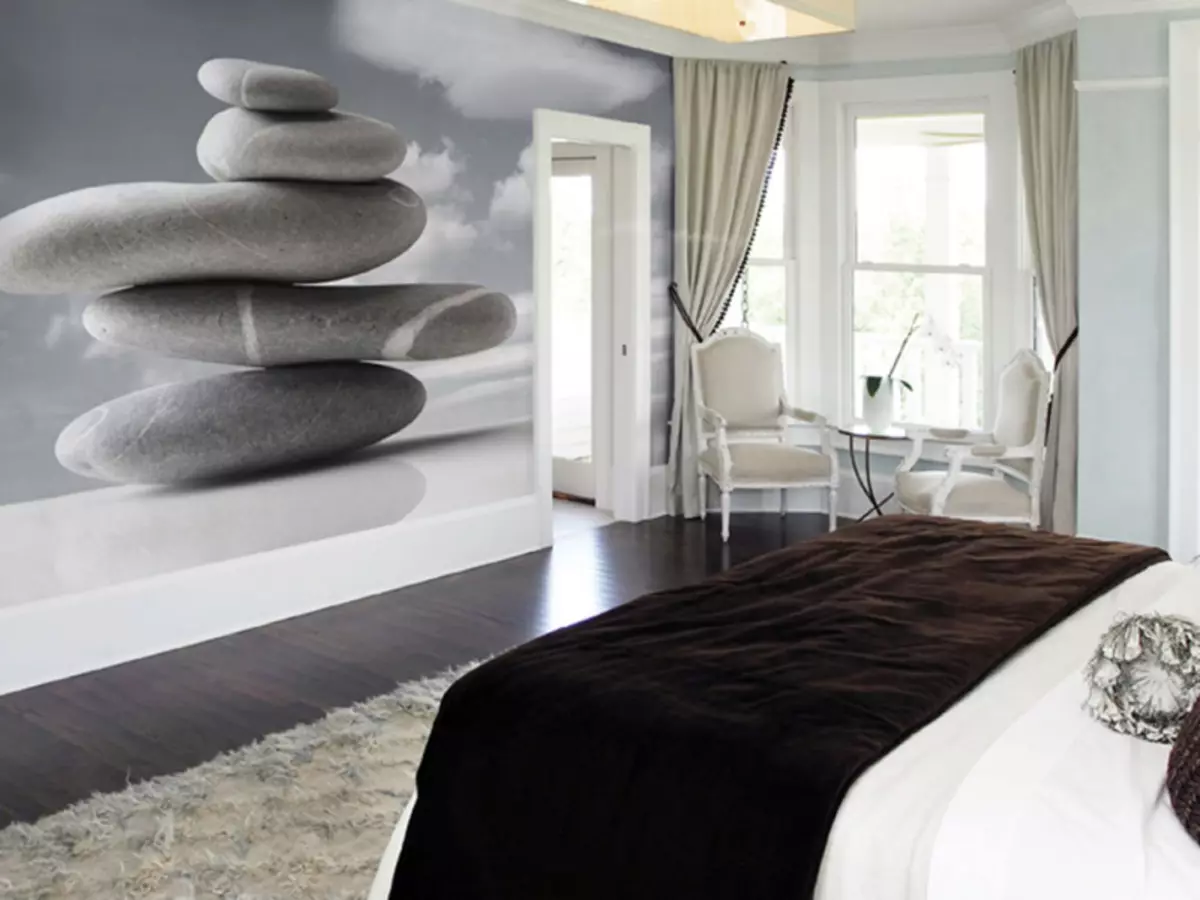
Wall mural is useful in rooms where the interior has become boring. So, in the bedroom, which you want to revive, especially if its design is made in the style of minimalism, such wallpapers can be blocked on one of the walls.
However, it is necessary to understand that if the room is not enough, the drawing of the city is far from far, for example, it will not fit - this will reduce the already small space. But the photo wallpaper with a bright background and some pattern or not a naryupy image will be very by the way.
It should also be sorted out what you want to achieve.
If the goal is to complete wallpaper replacement, the wallpapers on the wall are selected first, and then only the tone is selected. By selecting the tone at first, you will be forced when choosing a picture to repel from it that you are hardly like.
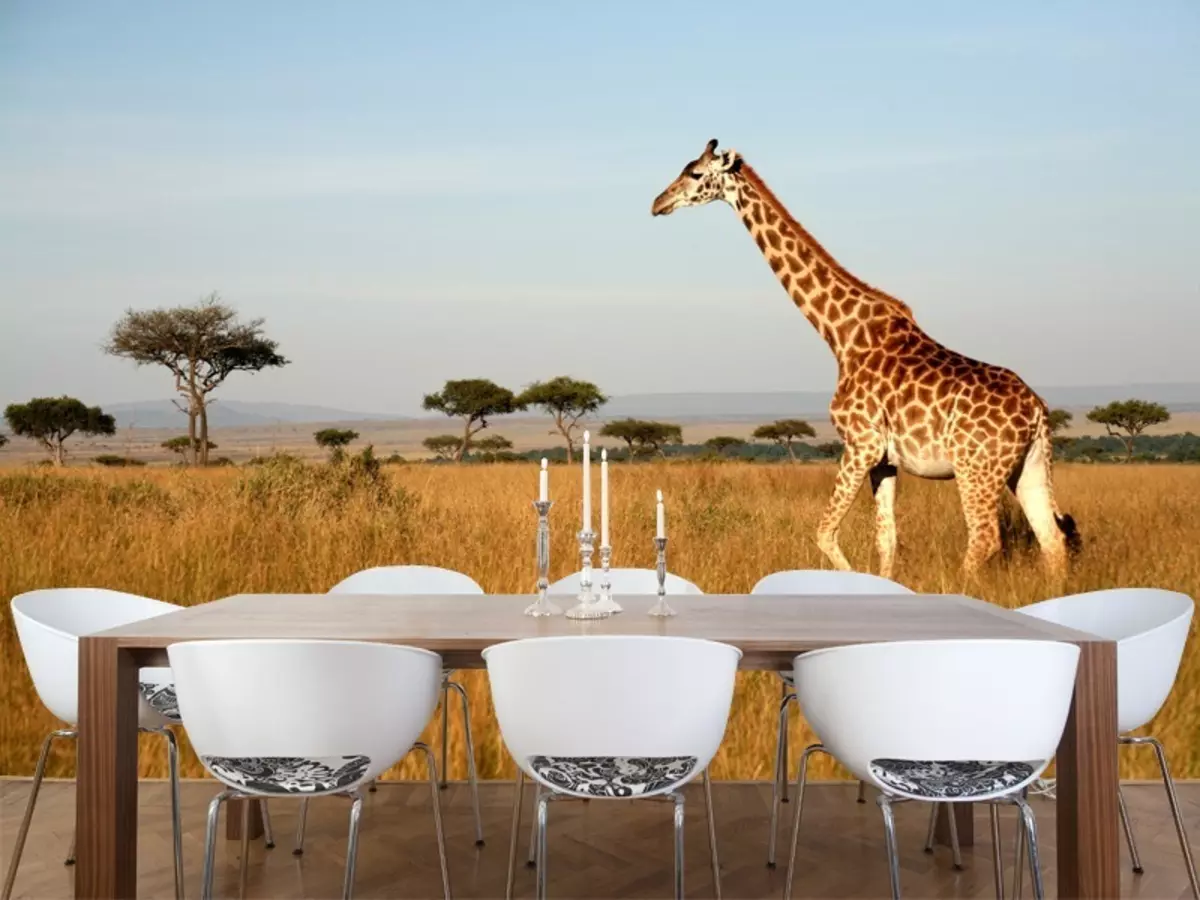
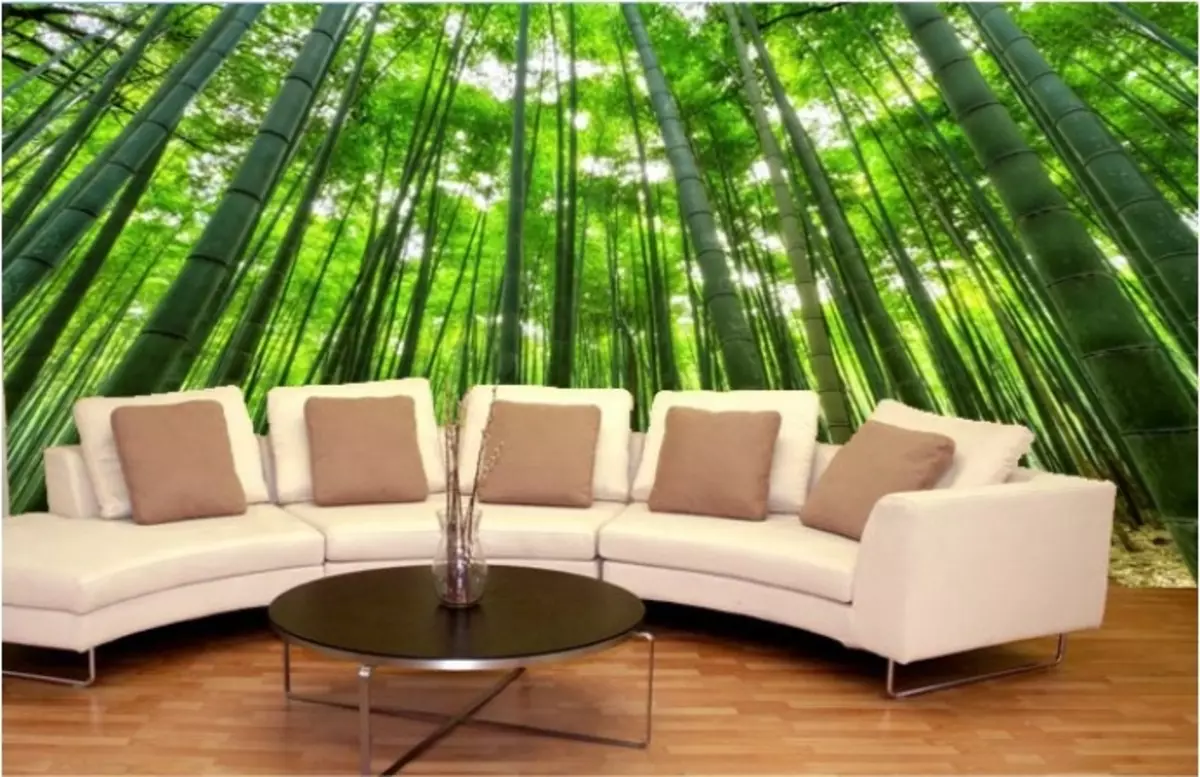
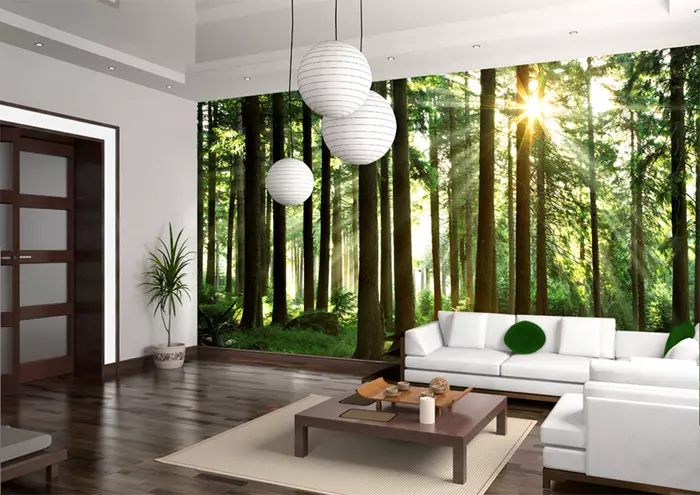
In a large living room you will probably like a bulk big picture of trees, paths, leaves. For a large room, this option is excellent.
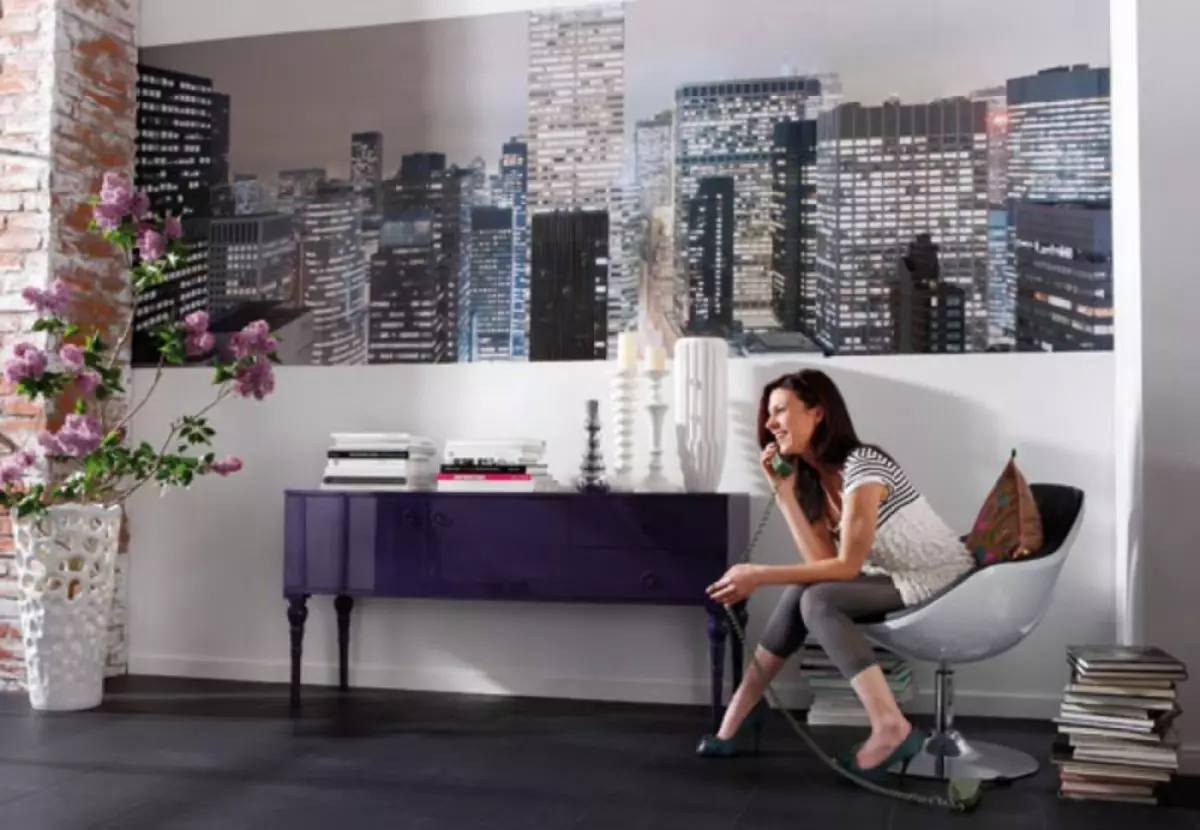
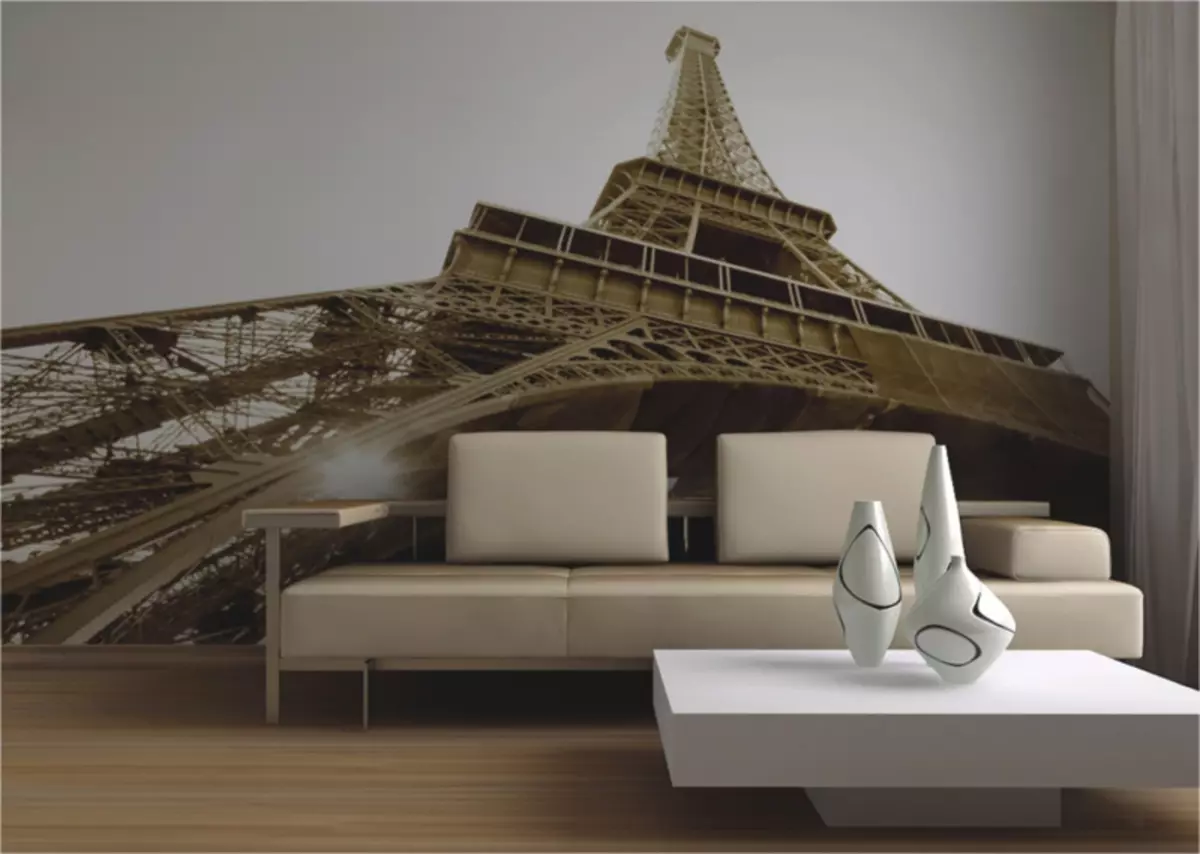
In the rooms where all the furniture is finished with skin, nature images are not too appropriate. Here I perfectly fit the Eiffel Tower, a big city, high-rise buildings, amusement park, etc.
It is also worth considering the color gamut of the content of drawing and furniture.
Neutral photo wallpapers are suitable for bright furniture, and the wallpaper can be chosen to choose a darker or brighter.
It remains only to find out how to glue the photo wallpaper, however, if you buy a paper version, it will not be difficult, but in the case of the LED 3D wallpaper, it is unlikely that it will cost without professionals.
How to glue photo wallpapers
There are three stages that need to be taken into account before glue photo wallpapers on the wall:
- glue;
- wall;
- Sequence for amusement of photo wallpaper.
It is from these components that your photo wallpaper and beauty of interior design will depend on these components.
How to choose glue for photo wallpaper
Wall mural can be made of any material, therefore, the glue must be selected appropriate. The thicker wallpaper, the thick should be glue.
Article on the topic: A simple homemade heater with your own hands
The ideal option when the walls of the walls are gloaching will be the glue of the same firm as the wallpaper. Popular glue brands for photo wallpaper:
- Methilane;
- Contact vinyl;
- Clay for photo wallpaper Quelyd and Quelyd Express.
Remember that glue should be so much enough for the photo wallpaper and on the walls. Double glue treatment will give you a good docking of cloths.
The glue is divorced before the start of photographic wrapping and strictly according to the instructions.
Preparation of walls for eyecakers
The wall in front of the salary should be dry and perfectly smooth. Fragments of old wallpaper, sand or remnants of material on the walls can further affect the quality of the photo wallpaper.
It is not recommended to glue the photo wallpaper on the wallpaper, they can give color or shifted that we will not have a beautiful look.
If your photo wallpapers are white, then you need to whiten the wall too.
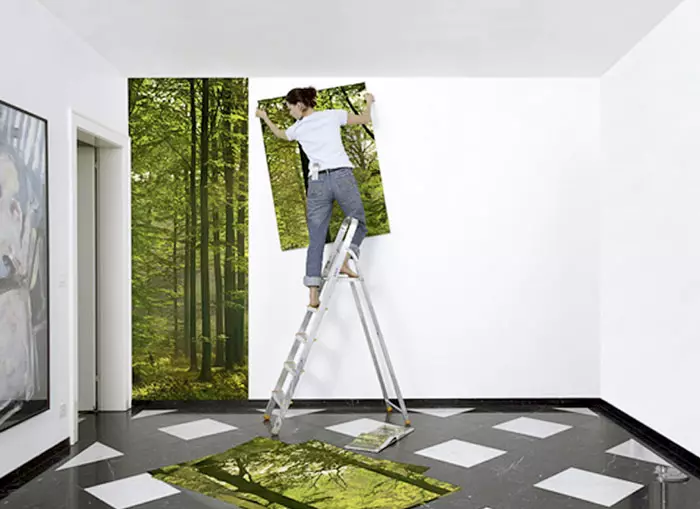
How to glue photo wallpaper consistently
White fields on the photographic panels are cut off with a knife using a ruler (you can break the edge with scissors). Thus, you will get a seamless picture.
Then a simple pencil with a label and lines for amusement of photo wallpaper.
We drag the floor with the film in order to lay out pictures on it face down.
We apply glue on the wall and on the photo wallpaper. We turn the photo wallpaper in the pattern inside and give to impregnate not more than 10 minutes.
By labels begin to glue the photo wallpaper, smoothing the roller every strip and kicking the air. Do not use old rags, because they can polish on the drawing.
Next, begin to glue the photo wallpaper to the left of the right. The second strip needs to be glued into the fastest, so that the drawing is smoothly converged.
To make a smooth junction when the photo version is pasted, it is necessary to take a knife and a ruler. We make a knife with an incision along the alignment line and cut down from top to bottom.
The place of the wall of the wallpaper is missing with glue and smoothing, it is the correct wallpaper paste.
Remember that the drafts and open balconies should not be and, if desired, can be applied to the photo protection against external influence.