
Many things are conveniently stored in boxes. Especially small desired trinkets. In boxes, it is also customary to present gifts. In a word, without boxes can not do. But they do not always have an attractive appearance. In our article you will learn how to decorate the boxes with your own hands in simple ways.
Second life shoe box
When the mass of small things accumulates in the apartment, the question of their storage place immediately arises. You can easily solve the problem with the help of an ordinary shoe box. Consider what can be placed in such boxes:
- First of all, of course, cosmetics. Perfectly spread pencils for eyes / eyebrows, lipsticks, mascaras for eyelashes, various creams, probes.
In such a box it is easier to find the desired thing than in the usual cosmetics;
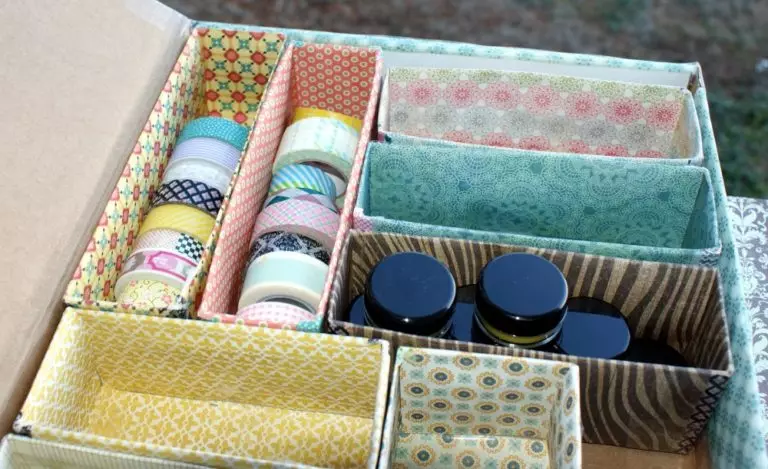
- Stationery, if needed to be stored in the table. Divide the boxes on the sections, then the pencils with pencils will never be confused. It is also convenient to store brushes, paints;
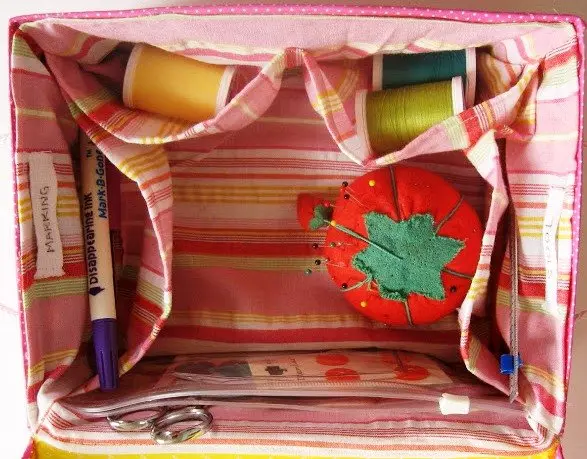
- For needlewomen it will be a wonderful option for hooking, spokes, ribbons, yarn residues, buttons, needles, lightning. Everything will be at hand in perfect order;
- Small toys of children, such as kinder, small designer of Lego, Mosaic, puzzles;
- Documents on household appliances, digital equipment.
The list can be stretched by many more points, we allocated the most common options.
But I want it to be a beautiful, original box, in which it is nice to fold your belongings. Choose your decor to each box: use cloth, packaging paper, wallpaper remnants, newspapers, logs. We will look at how to re-establish a shoe box with a cloth.
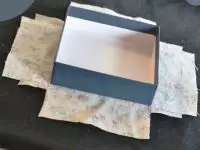
You need fabric, glue, scissors. Let's start working:
- Dissect fabric. Measure the length and width of the box, transfer the size to the fabric. Or simply circle it.
Article on the topic: Herbarium from leaves with their own hands for kindergarten and to school with photos
- Add the box to the drawing, that is, extend each side to the resulting number of centimeters. At the same time add a few centimeters to be able to fix the fabric from the inside of the object.
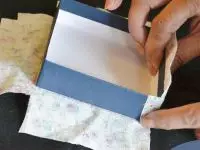
- In the corners, run extra lines, as shown in the figure.
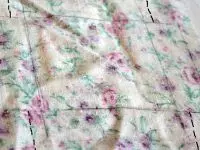
- Scissors carefully cut the drawing.
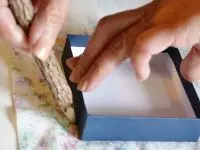
- If the box is glossy, then you must remove the top layer using the sandpaper. After that, proceed to gluing the fabric to the base.
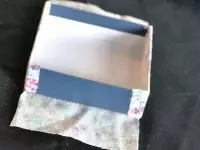
- By the same principle, decorate the lid.
- The object is ready for decoration. Use ribbons, beads, flowers, lace, knitted elements.
In such a box, you can not only keep your things, but also present a gift in it. For example, a mug, a small vase, the book will fit remarkably inside the drawer. And the recipient of the gift will be nicely intrigued.
Without many words
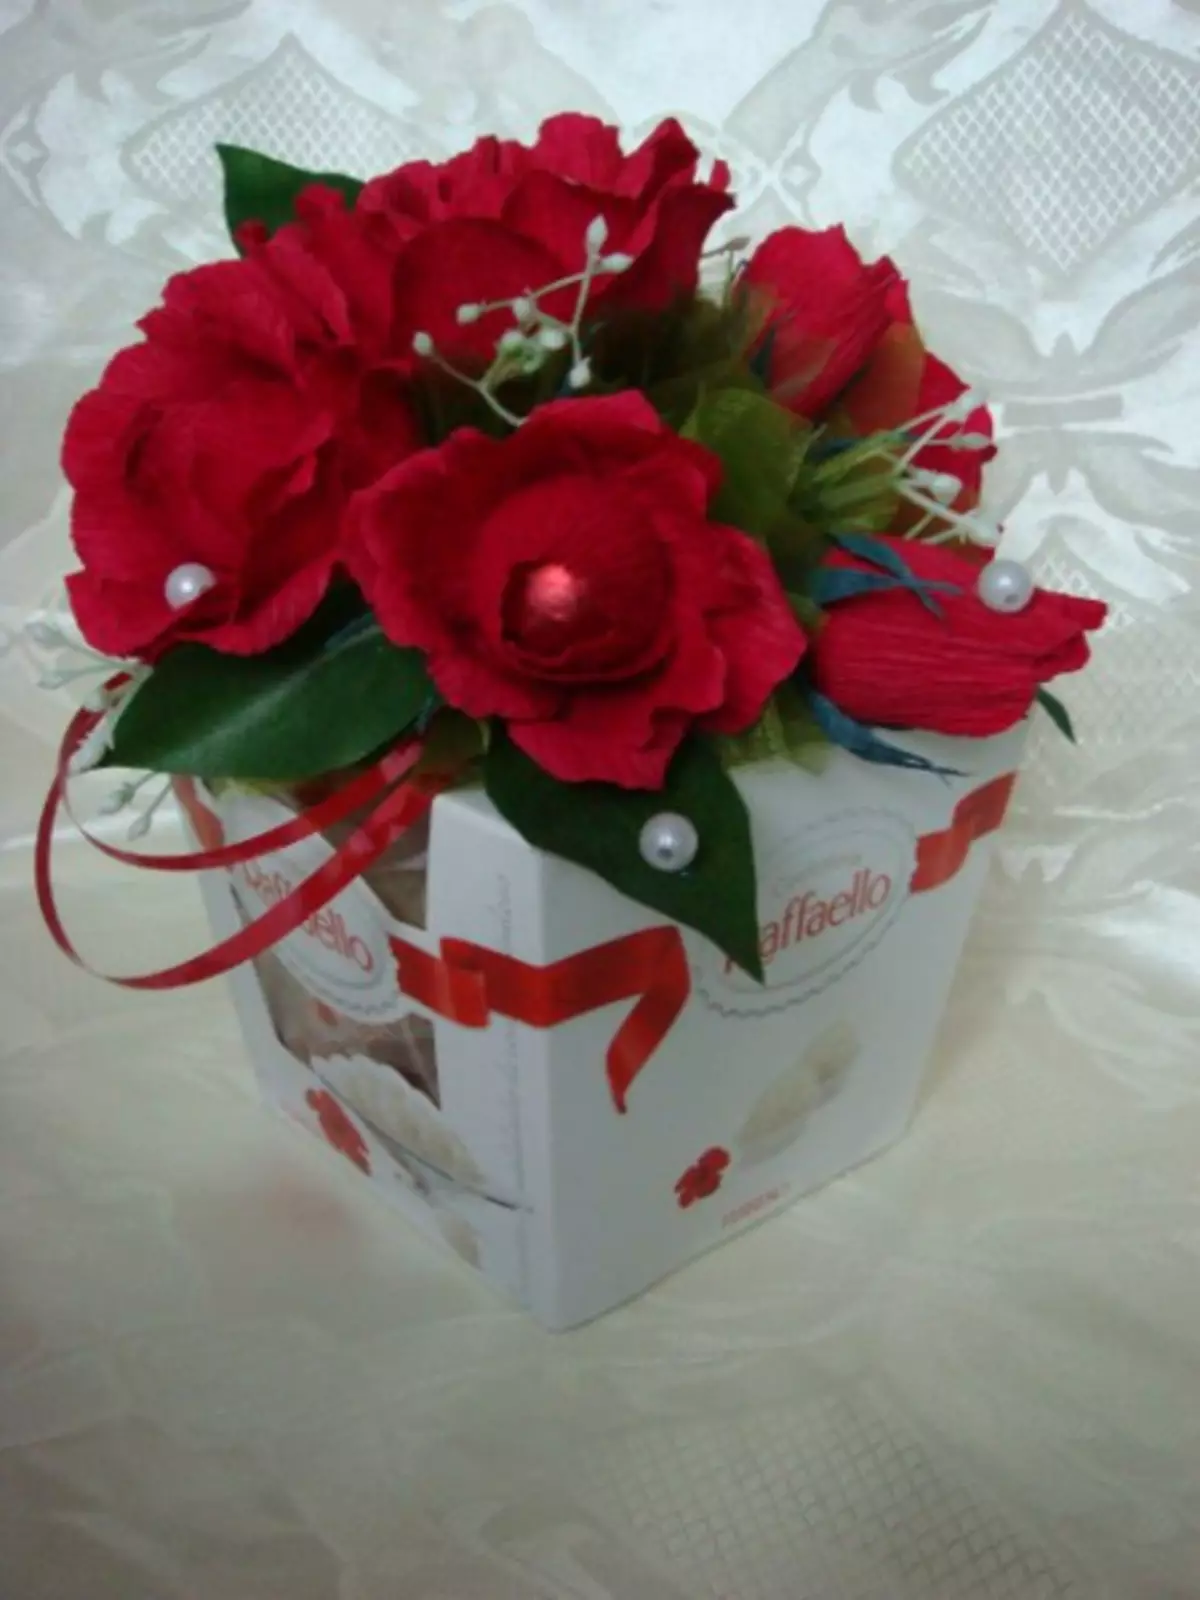
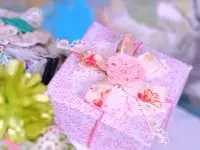
Incredibly gentle taste round candy rafaello. Few would have abandoned the cherished box as a gift. But before giving candies, decorate the box of Rafaello with flowers. It will not be just a banal packaging of sweets, but a small nice gift.
To work, you will need:
- corrugated paper;
- glue, scissors, ruler;
- foil;
- Artificial leaves, flowers;
- beads;
- tape.
Progress:
- Take a piece of foil with approximate dimensions12 * 16 cm. Form a tight ball from it.
- Cut the green paper from the green color 11 * 3 cm. You twist it a couple of times, then fold in half.
- The resulting figure pull in different directions, thereby give the shape of the petal.
- Insert the ball from the foil in the petal and tighten the petal into the bud. Edges fix glue.
- From paper red cut parts (3 pcs.) Rectangular shape with 3 cm long, and 2 cm wide with dimensions 6 * 4 cm - 9 pieces.
- Cut corners. Stretch the resulting ovals.
- Small oval rush over a green bouton circle.
- On large ovals, make a couple of cuts and glue them with each other.
- Stick the petals to the bud so that the flower began to look like a poppy.
- Cut the leaves from the green paper and stick them under the poppy.
- Make such floweries 9-11 pieces.
- Take large artificial leaves. Top on them are made of flowers made. Between the colors, throw the beads.
- Add small artificial flowers, such as chamomile.
- Candy box wrap red ribbon. Place the composition of the colors from above.
Article on the topic: Crochet bows for amigurum dolls
More detailed description of the master class Watch video:
Similarly, you can decorate any other box of candy. Pre-wrap it in wrapping paper, fabric, corrugation.
See more ideas on the video:
So, you learned how to design various boxes with different destination. Experiment, Improve Master Classes and eventually get the wonderful decor functional elements. Or nonbustal boxes of candies.