
The article will help everyone who wonders how to weigh the turtle from the rubber. Beautiful products made with their own hands attract attention and soothe nerves. After all, it is not for nothing that young kids in the kindergarten gives plasticine in hand - it develops their logic, attention and increases the perishability, makes it plan to plan. Weaving from Rainbow Loom rubber not exception. It helps adults to relax from the bustle of everyday life, learn an interesting needlework and learn a lot of new things. By the way, so you can have fun with the whole family - to learn how to weave the pretty figures. What materials are usually needed to work? In addition to rubberry, work is carried out on forks or other adaptation, which will make it easier for work. You can weave on your fingers, but the bulk products are unlikely to succeed.
Let's try to make a real figure, using a tool called Monster Tail. It is easy to work with it, you only need to use schemes and a master class, where everything is described in stages.
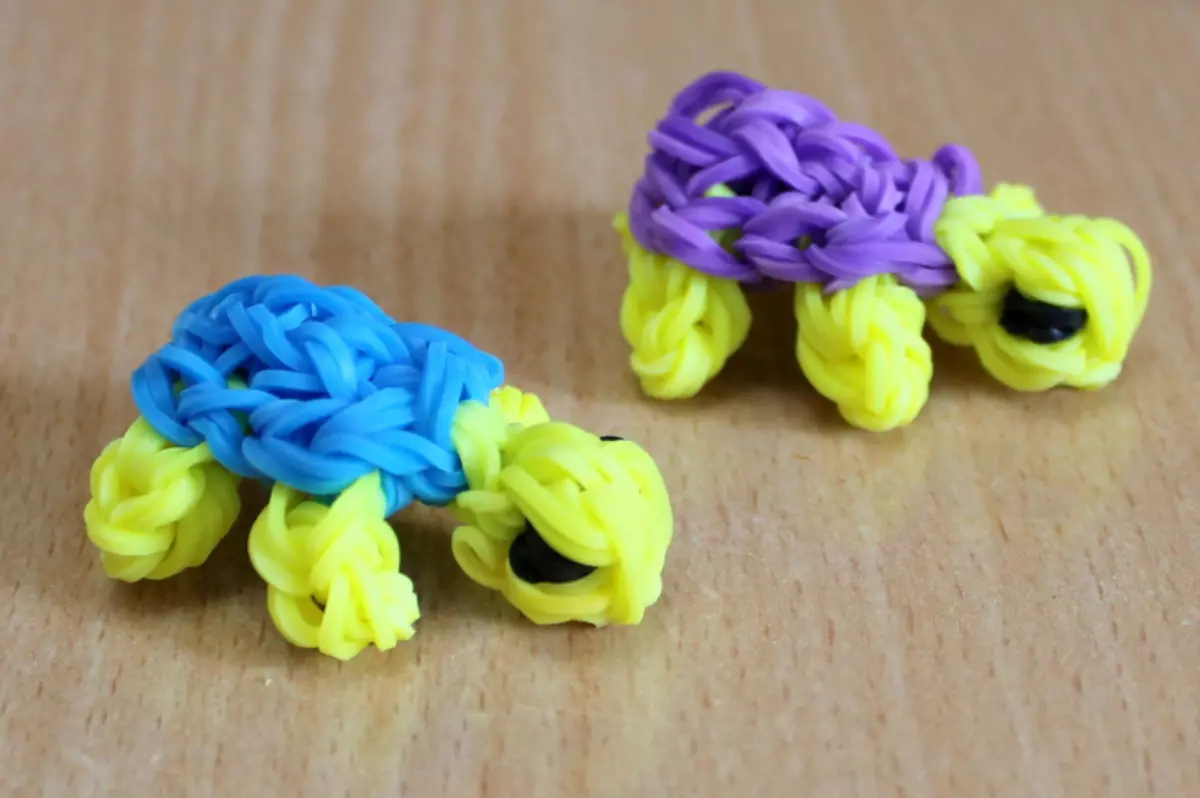
Slider-animal
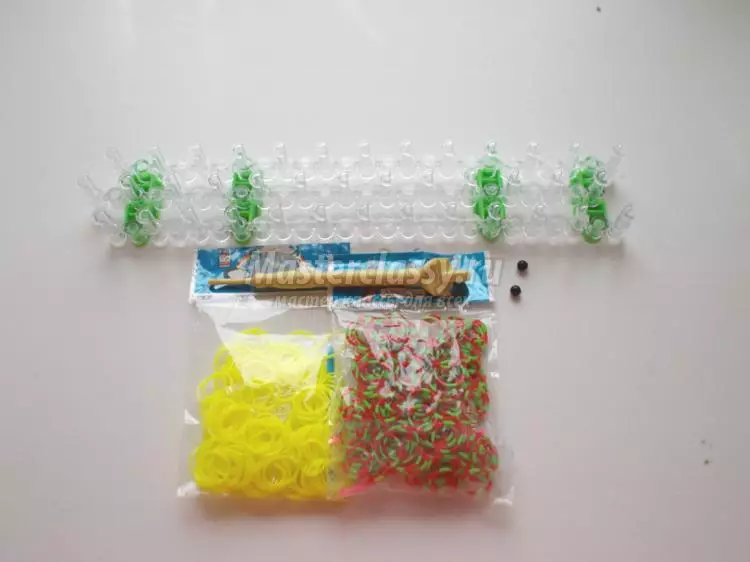
In order to make the product, you need to use rumbers of different colors. For example, yellow and multicolored (melange) colors. Take two black for glazing, the main thing is tools. Weaving is mainly conducted by hook, it can be purchased in any specialized store.
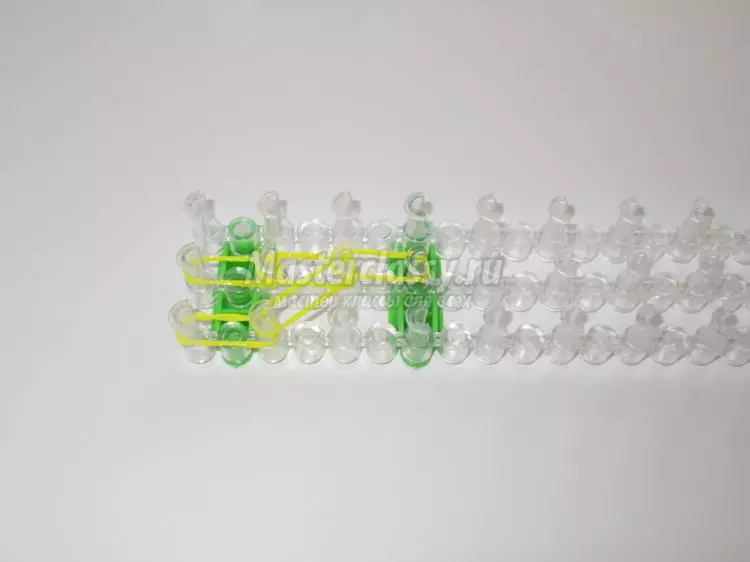
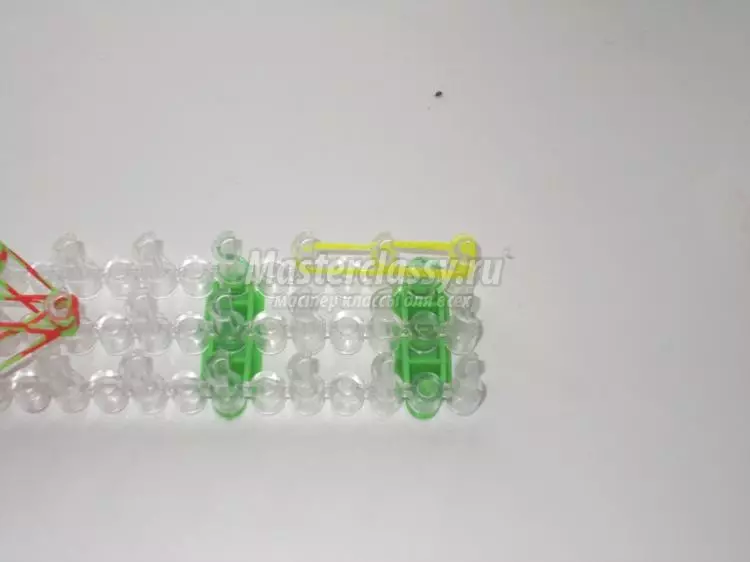
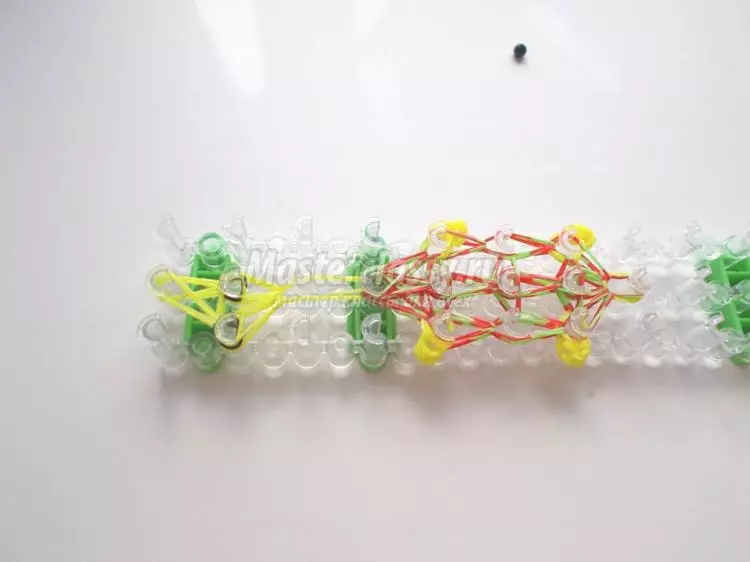
- We take a weaving tool, look at the columns to be on the same level.
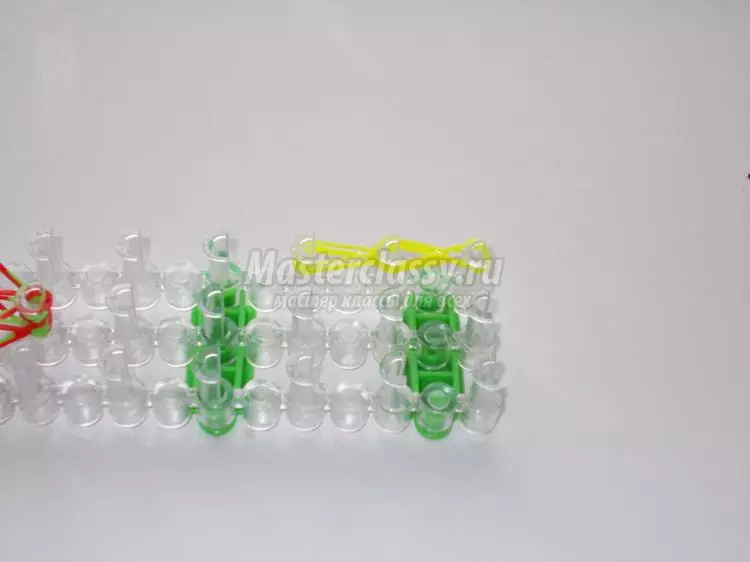
- Take yellow rubbers. We use them exclusively on pairs. We wear a little on the middle row, and then another on the bottom.
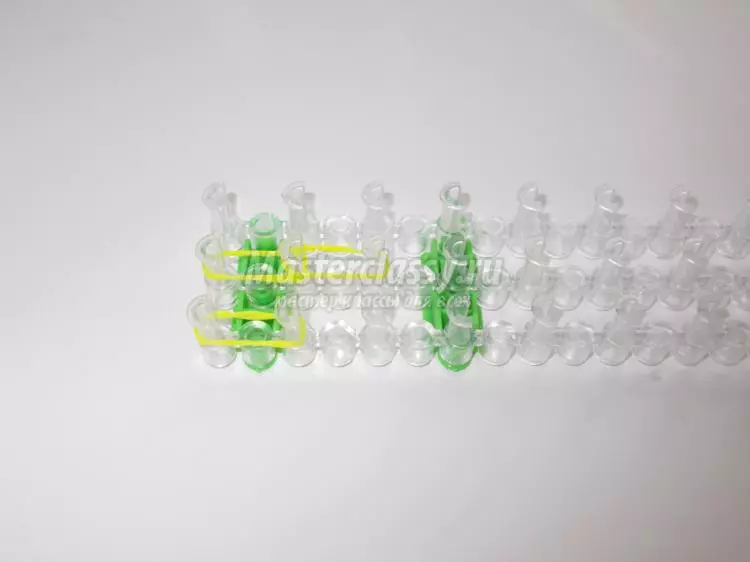
- We connect the lower and middle rows more than a rubber, and then continue the row.
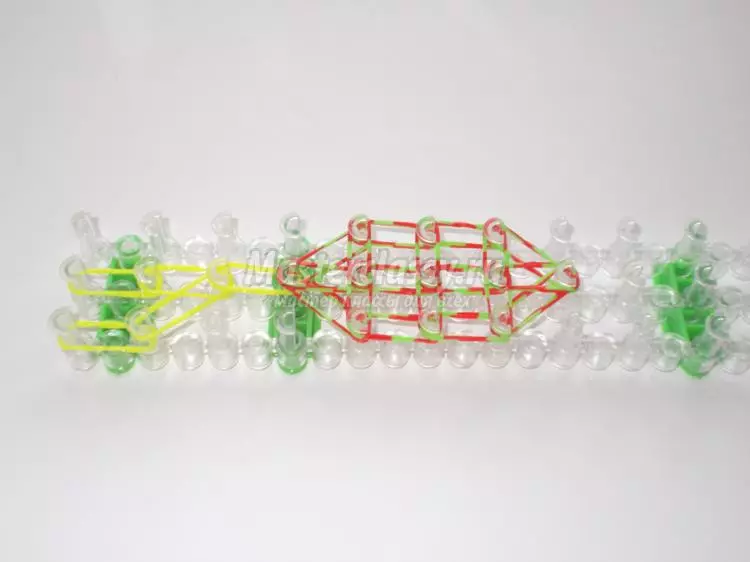
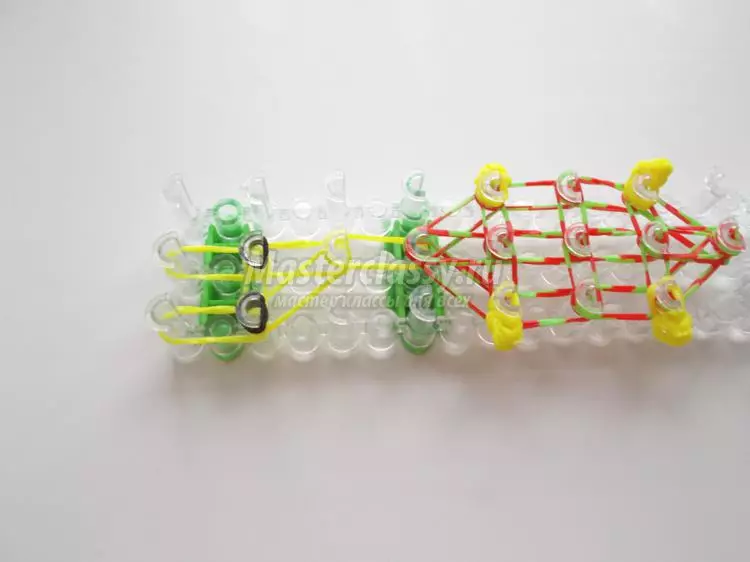
- Now take colored rubberry. We take 16 pieces, put them on the tool, as shown in the picture.
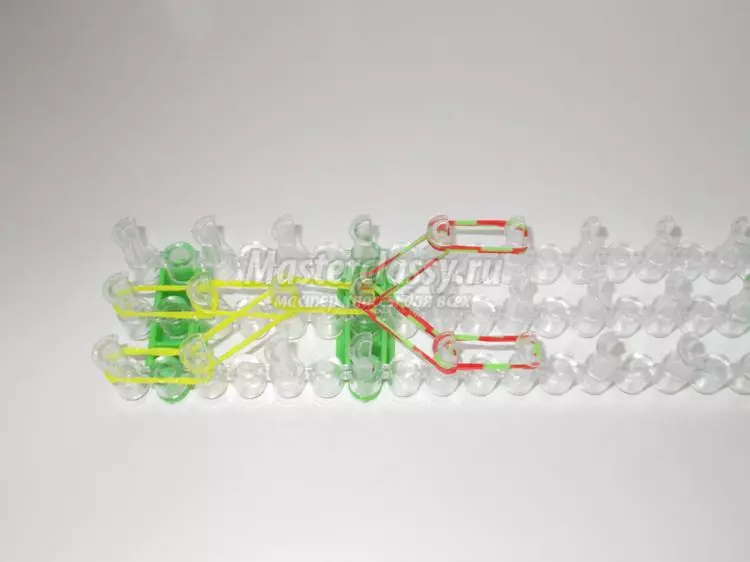
- Add 4 couples in the center.
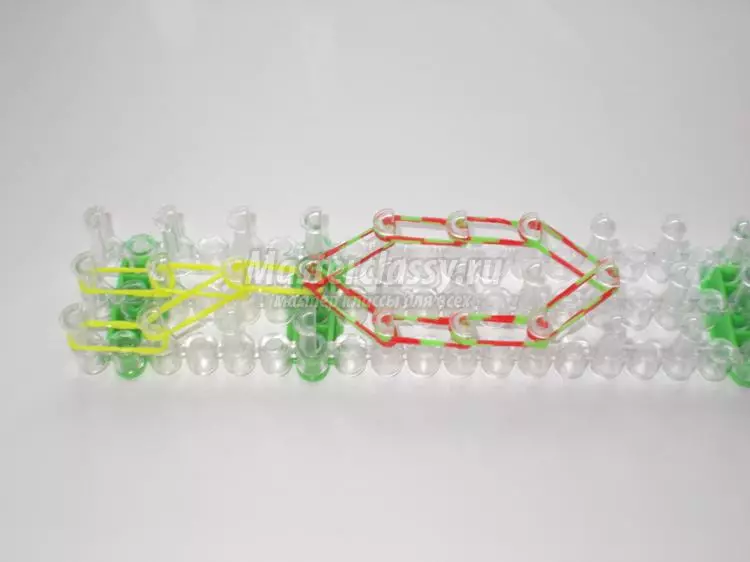
- The shell's shell should be durable, so on the machine we connect all the rows of each other. On the extreme column of a number in the center, one rubber, wrapped three times around the column.
Article on the topic: Compositions from natural material do it yourself with photos and videos
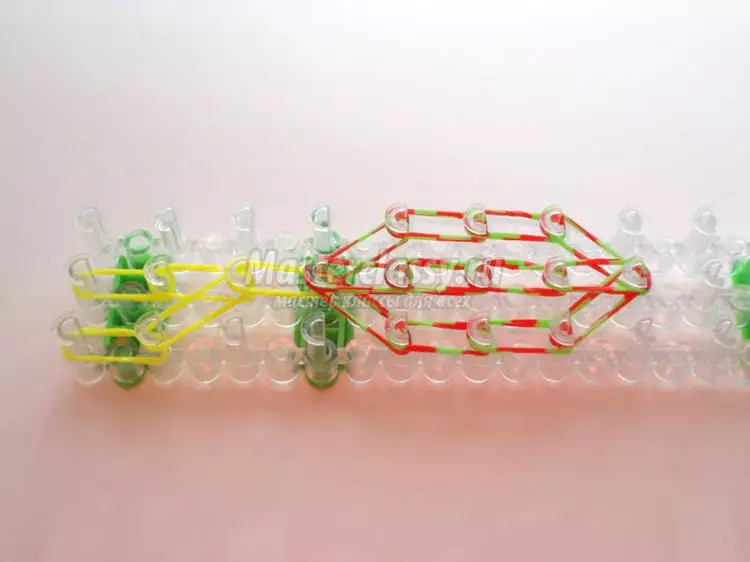
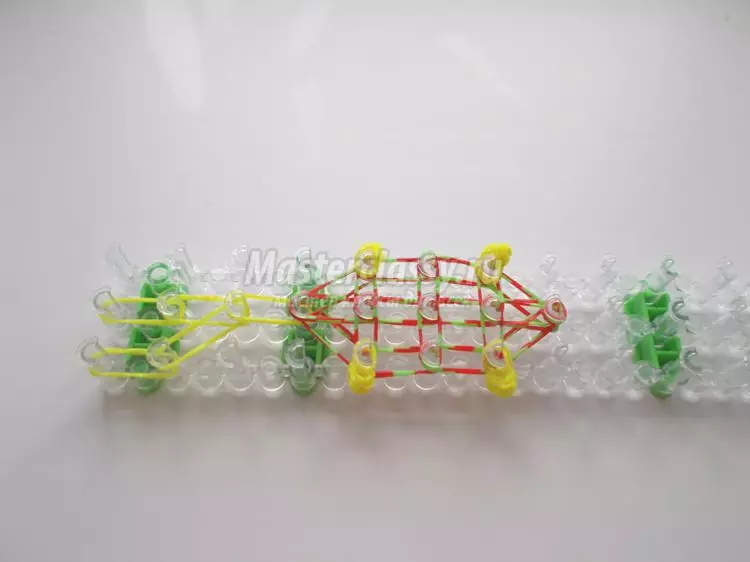
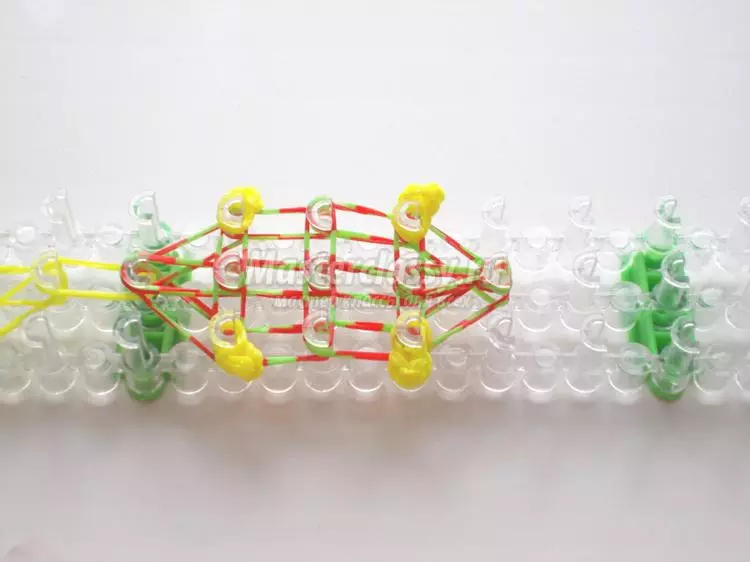
- We carry out the paws of the product. For them, we take yellow things, wear two extreme columns. And then you wind up a rubber on the extreme column three times.
- We start weaving.
- We will remove the paw from the columns, connecting to the shell. Total paws will be 4.
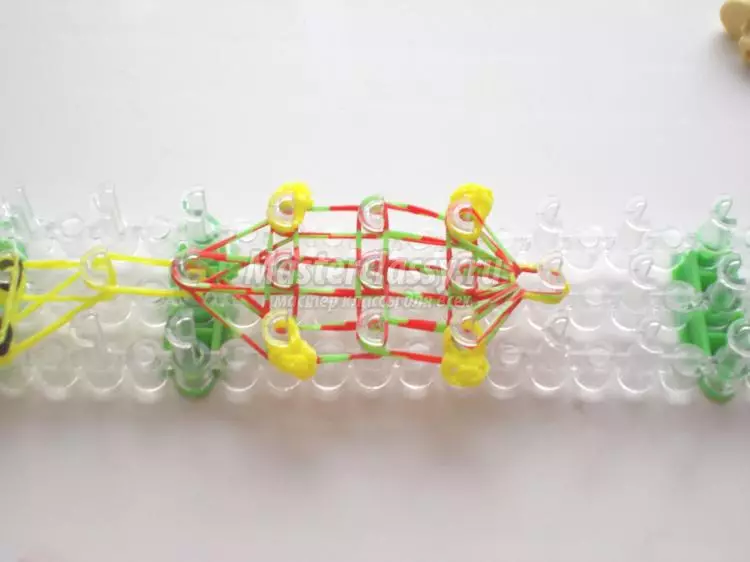
- Torter is almost ready. We make glazics. To do this, take pre-cooked black elastic bands, not beads. Watch them three times the second columns of the middle and lower row.
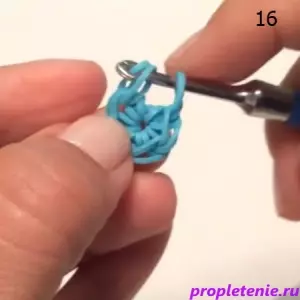
- Now weave the product. We use the hook, move the rubber, which wrapped the extreme column. We cling the bottom middle, throwing on the central series column.
- We repeat the actions with the extreme columns of the upper and extreme row.
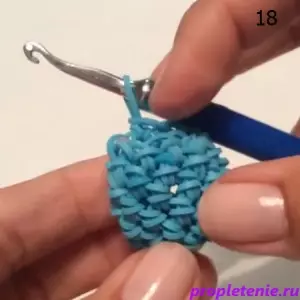
- With the help of the previous scheme, Lumiguri weave the main product - shell. Do not forget that with columns you need to throw those gums that were above the row.
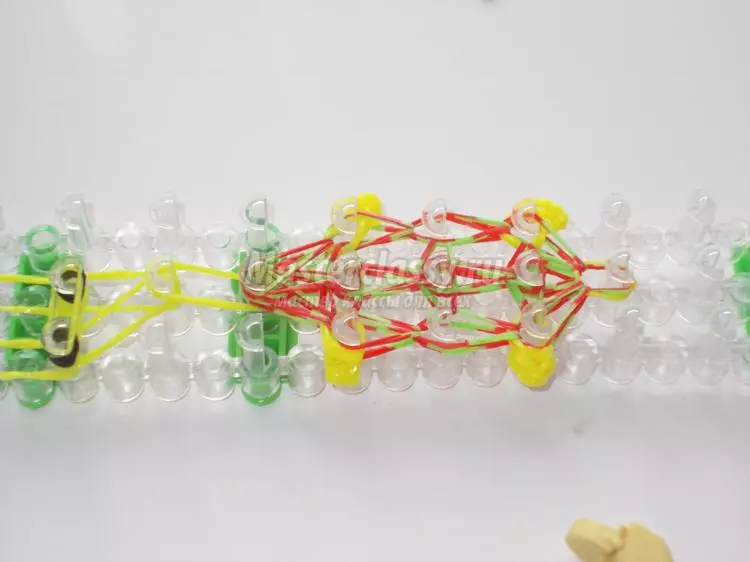
- Having finished working with the shell, go to the head.
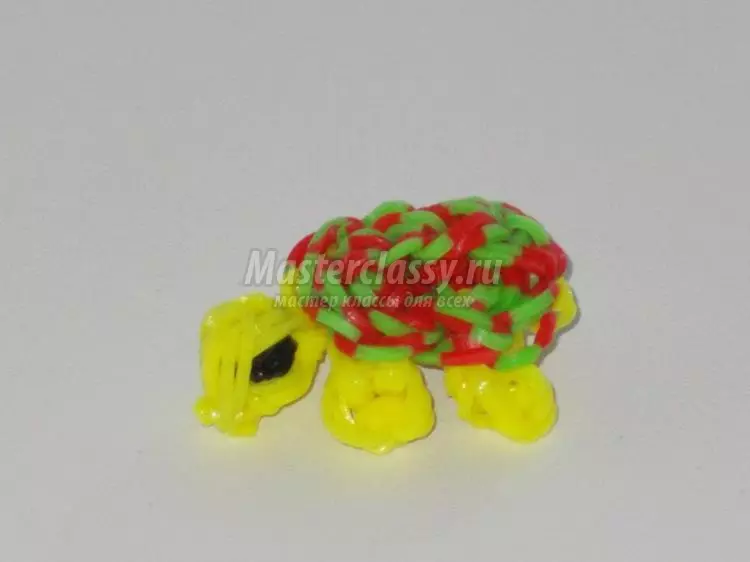
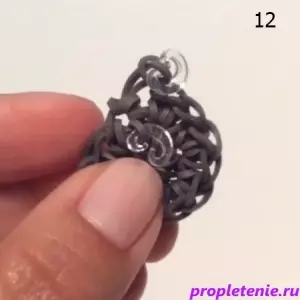
- After the end of the weaving the extreme column, fasten it with a spare elastic band. To do this, form a loop. Remove all rubber bands from the tool, straightening the product. Do not forget to fix the work slightly so that everything lay neatly and proportionally. And this beauty turns out:
Practitioner Help
The craftsmen believe that the best way for weaving is precisely macho, because they are quite convenient to lay the material, it does not come down, it is comfortable.
There is still a weaving on the slingshot, but it is more complex in the opinion of the needlewoman, because you need to watch the tension all the time, etc.
If in the past there was a crochet experience, then such a master class would like everyone. He is also complicated, because for him you need a lot of attention.
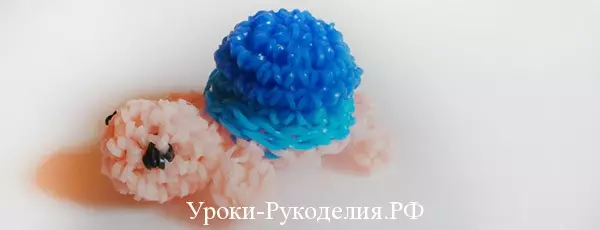
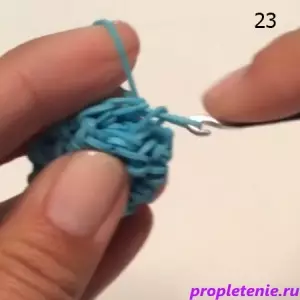
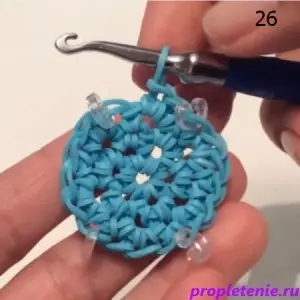
First you need to "knit." Take as many rubberry as possible. And then we put them in one ring, as shown in the photo.
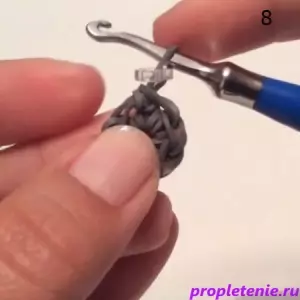
For fixing the product, a special leaf is used - this is a plastic lock that needs to be thrown onto the loop.
Article on the topic: Bottle of champagne, decorated with candy: master class with photos and video
Touching the circle, it needs to be fixed with a clip so that the product does not break down.

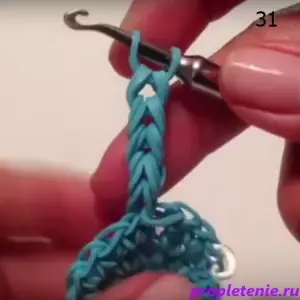
For weaving the head, you need to take another color and start tapping with a circle again.
It needs to be tied two rubberbers.
Now you need to get down the loop to narrow the product.
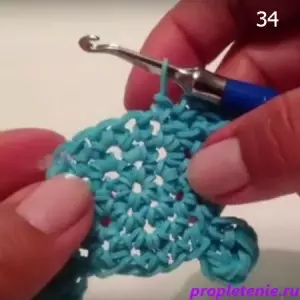
With the belly we repeat all the previous movements. You need to tie a circle, not forgetting to roll with locks.
Paves Create with air hopes.
Slip into the product.
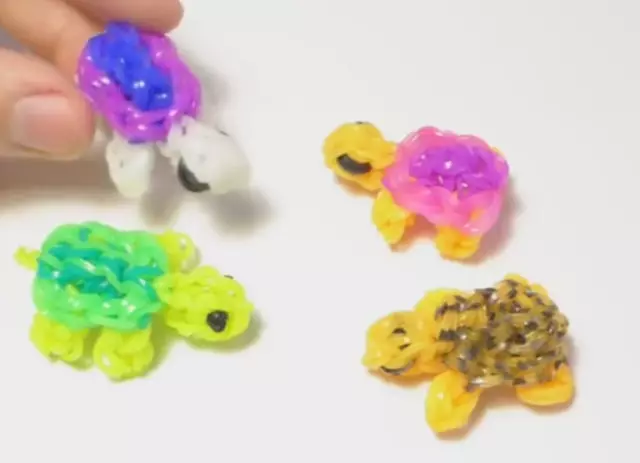
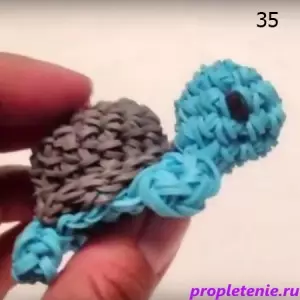
Now we see the result - girlfriend-Tortila is ready!
Before starting work, make sure all materials are cooked. The color and choice of tools are completely dependent on the fantasy of the creator. It is necessary to practice a little before work so that the product is quickly obtained. Make it is not difficult! Try to work apart with each tool.
Video on the topic
For inspiration, the process and gain experience is best to watch video lessons, where they tell about weaving more in more detail.