
Recently, the manufacture of interior items not quite in conventional ways became very fashionable and popular. Creative passion for creating paintings, inscriptions, patterns of thread, although not new, but becomes more and more popular. A picture of a thread with your own hands can be done even by a child. With a successful choice of color and thread thickness, it is possible to obtain a volumetric and expressive panel. Below will look at the most popular ways to use threads to create your own masterpieces.
Application option
To perform work, you need to stock such materials:
- cardboard;
- Feltaster or pencil;
- toothpick;
- glue;
- Threads.
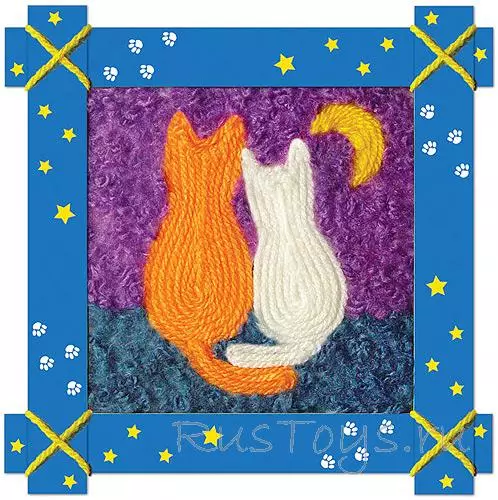
The selected drawing is applied to the cardboard. It can be drawn or translate it, to transmit in any way. The contours of the internal elements are drawn, then the necessary thread colors are determined to fill the pattern.
According to the drawn circuit, accurately, accurately following the line, glue the threads of the dark color. The inner part of the pattern and the main background is well absorbed by glue and fill the threads according to a previously defined color palette. If necessary, individual elements can be corrected using toothpicks.

Learning to draw
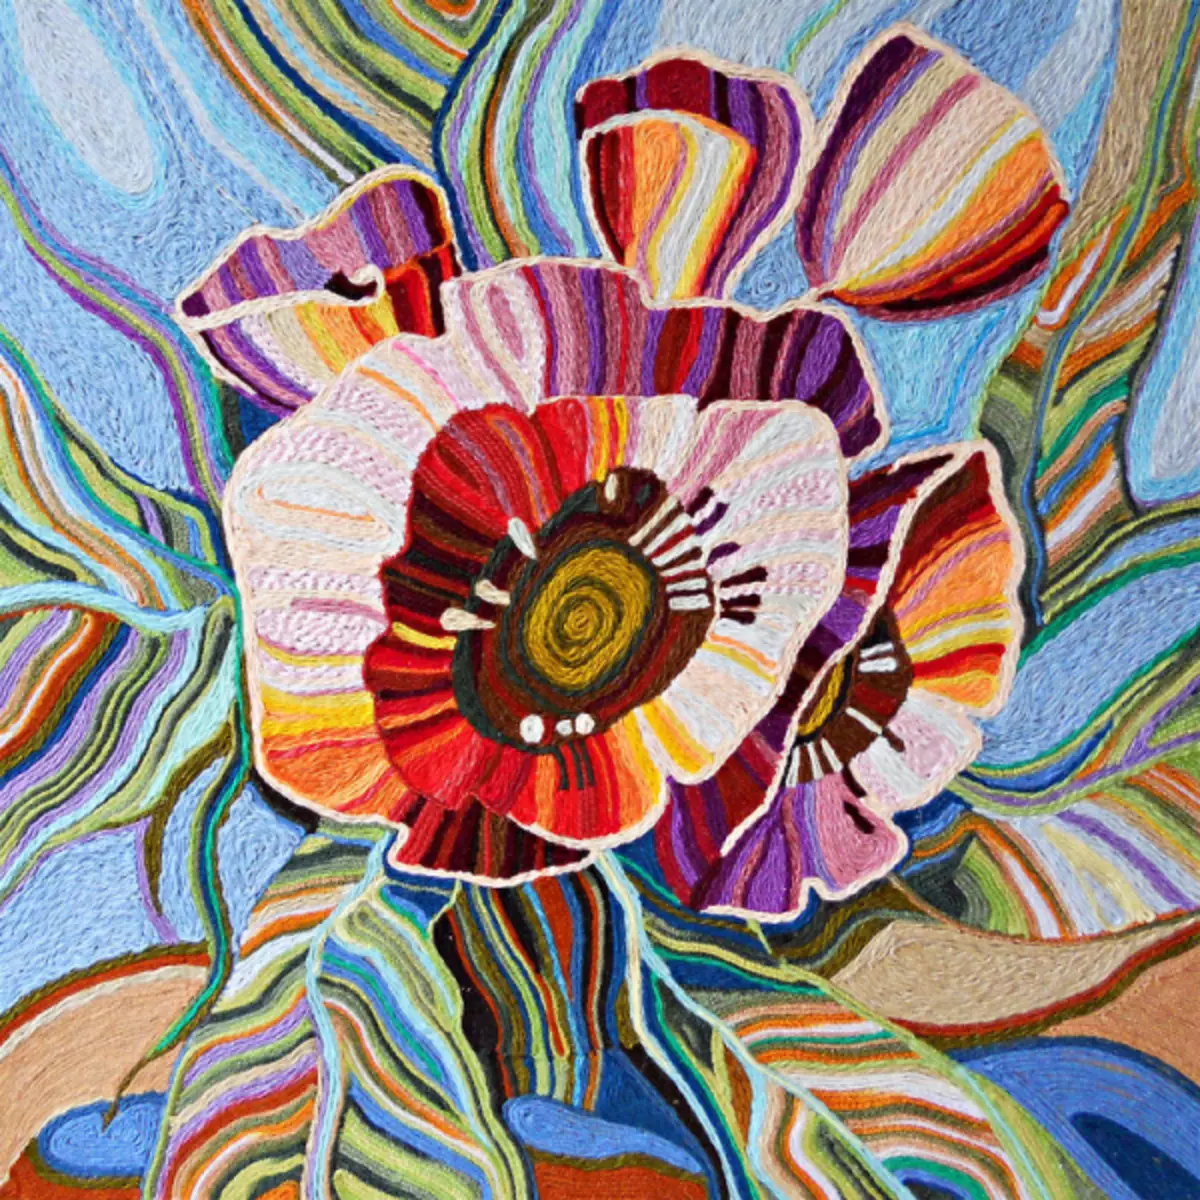
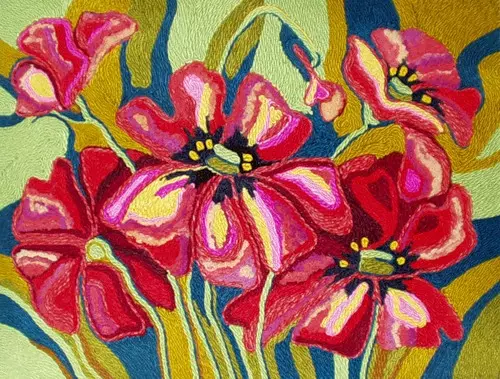
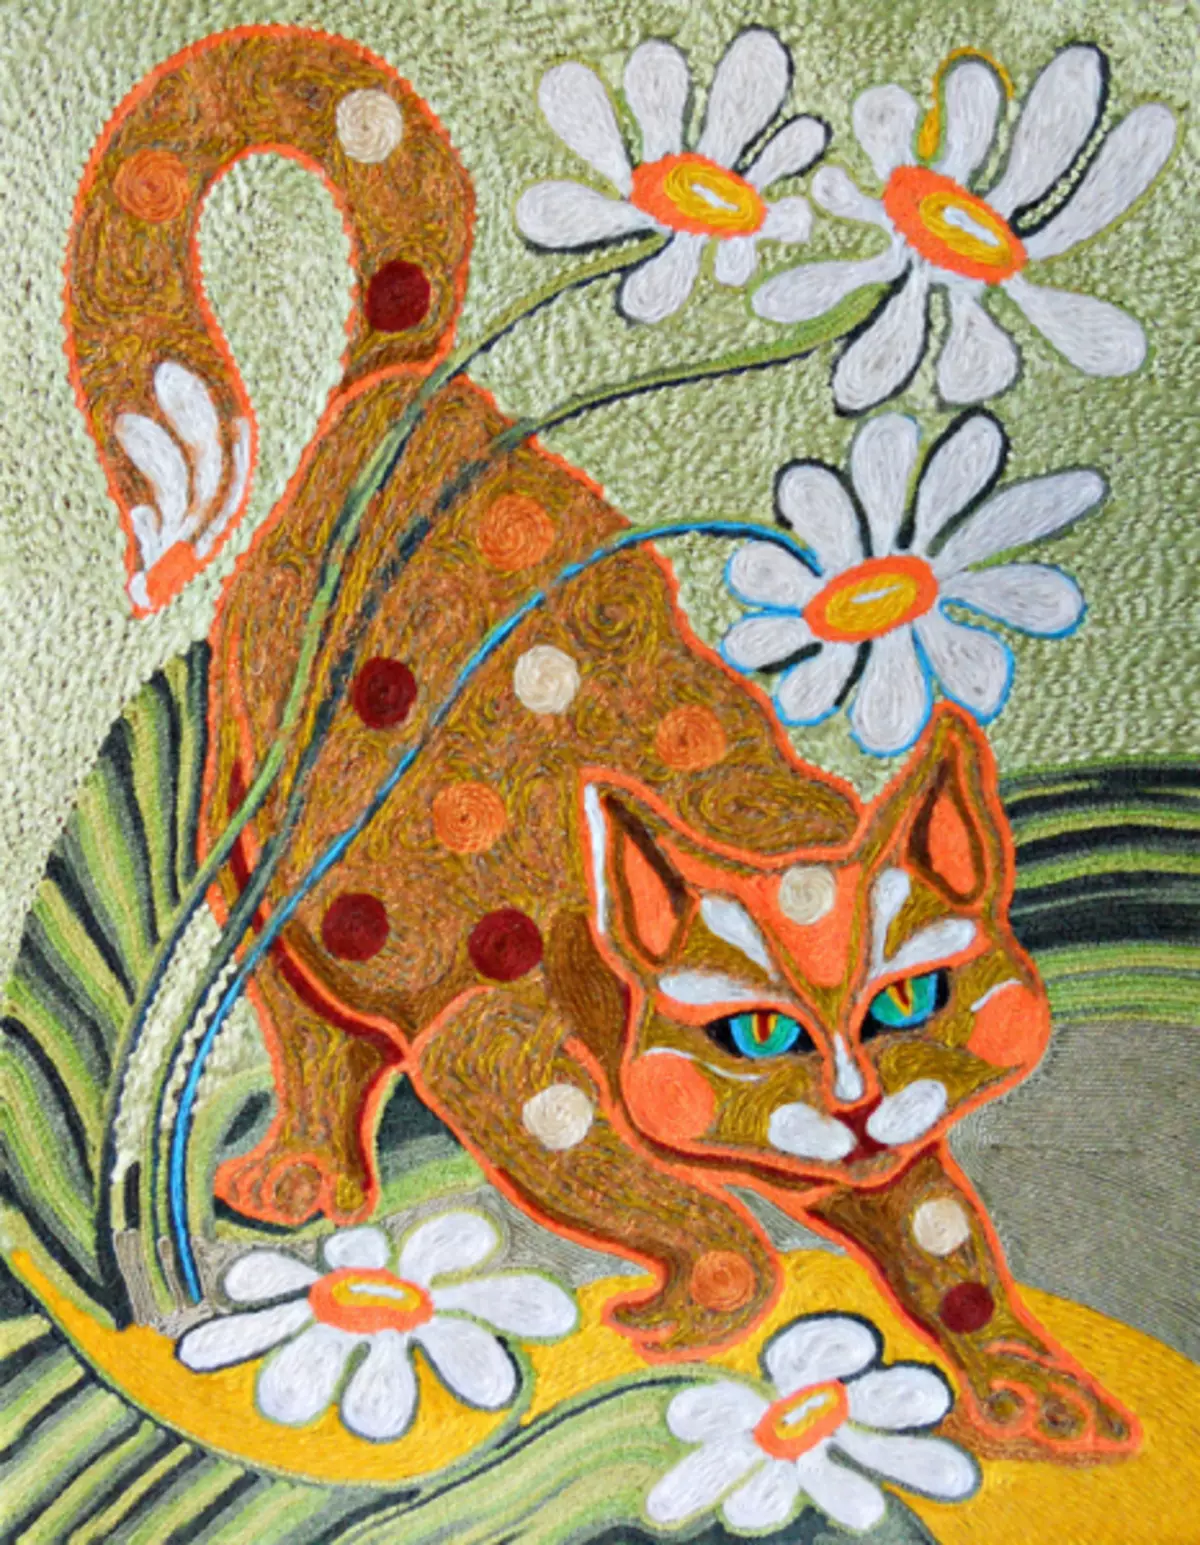
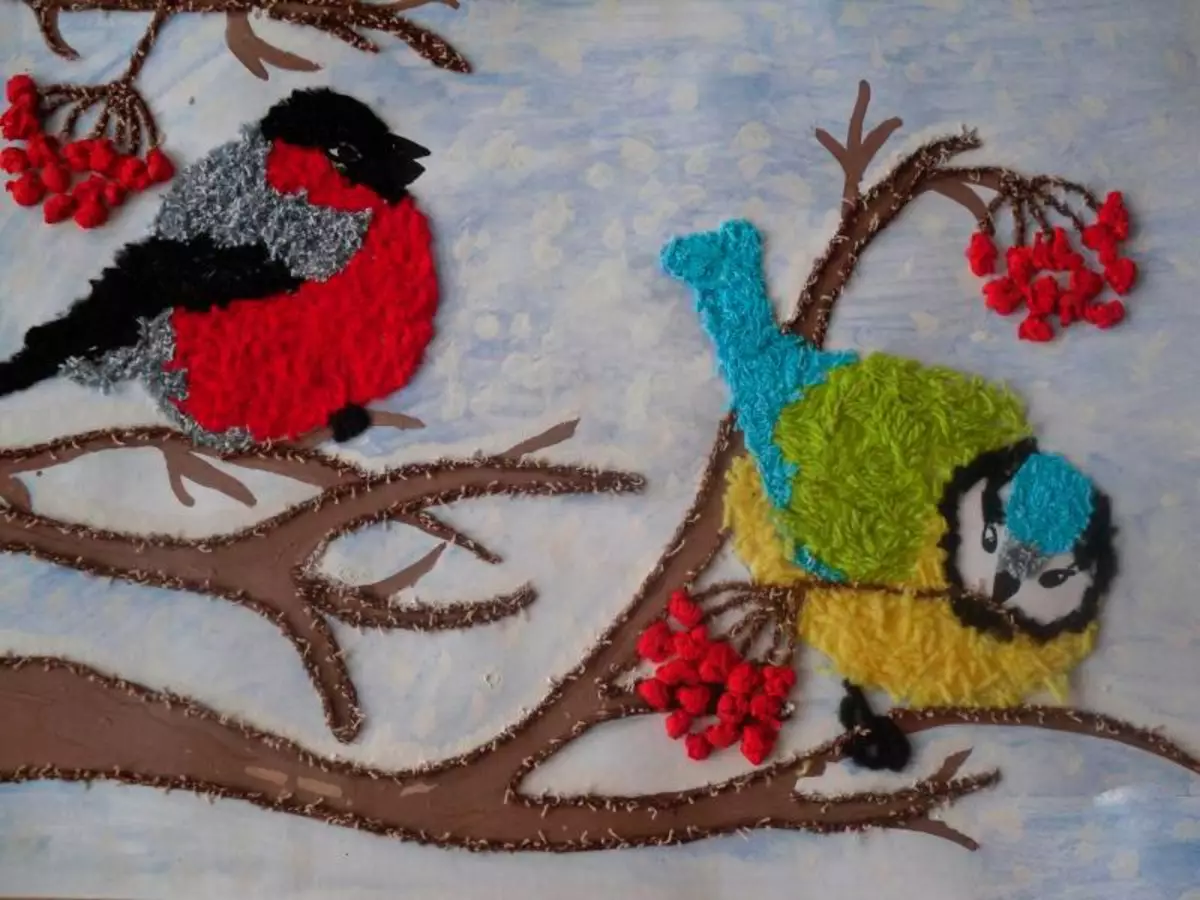
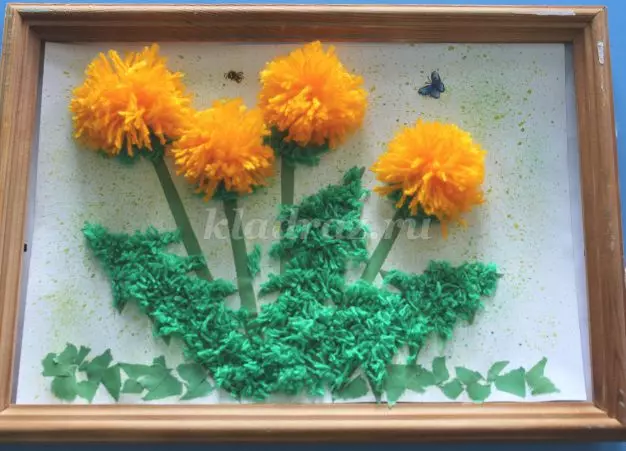
For such techniques to create a panel, you need to very finely cut into the threads that will be used when working. It should be remembered that the smallest pieces of the threads will be, the more beautiful and the result will be even more. The principle of creation is the same as described above. A drawing is applied to the cardboard, the main contours are made with contrasting colors, and all the rest of the space, with the help of threads and glue, is filled with pieces of threads. Of course, the creation of panel will require patience and amplification, but the result will be very similar to the real picture.To create you can attract small assistants, children will gladly help adults and be proud of the results of their works. Fluffy painting, decorated in the frame, will be a good element of the decor for the children's room.
Article on the topic: Takes for a girl with a crochet with a scheme and with a description for the summer
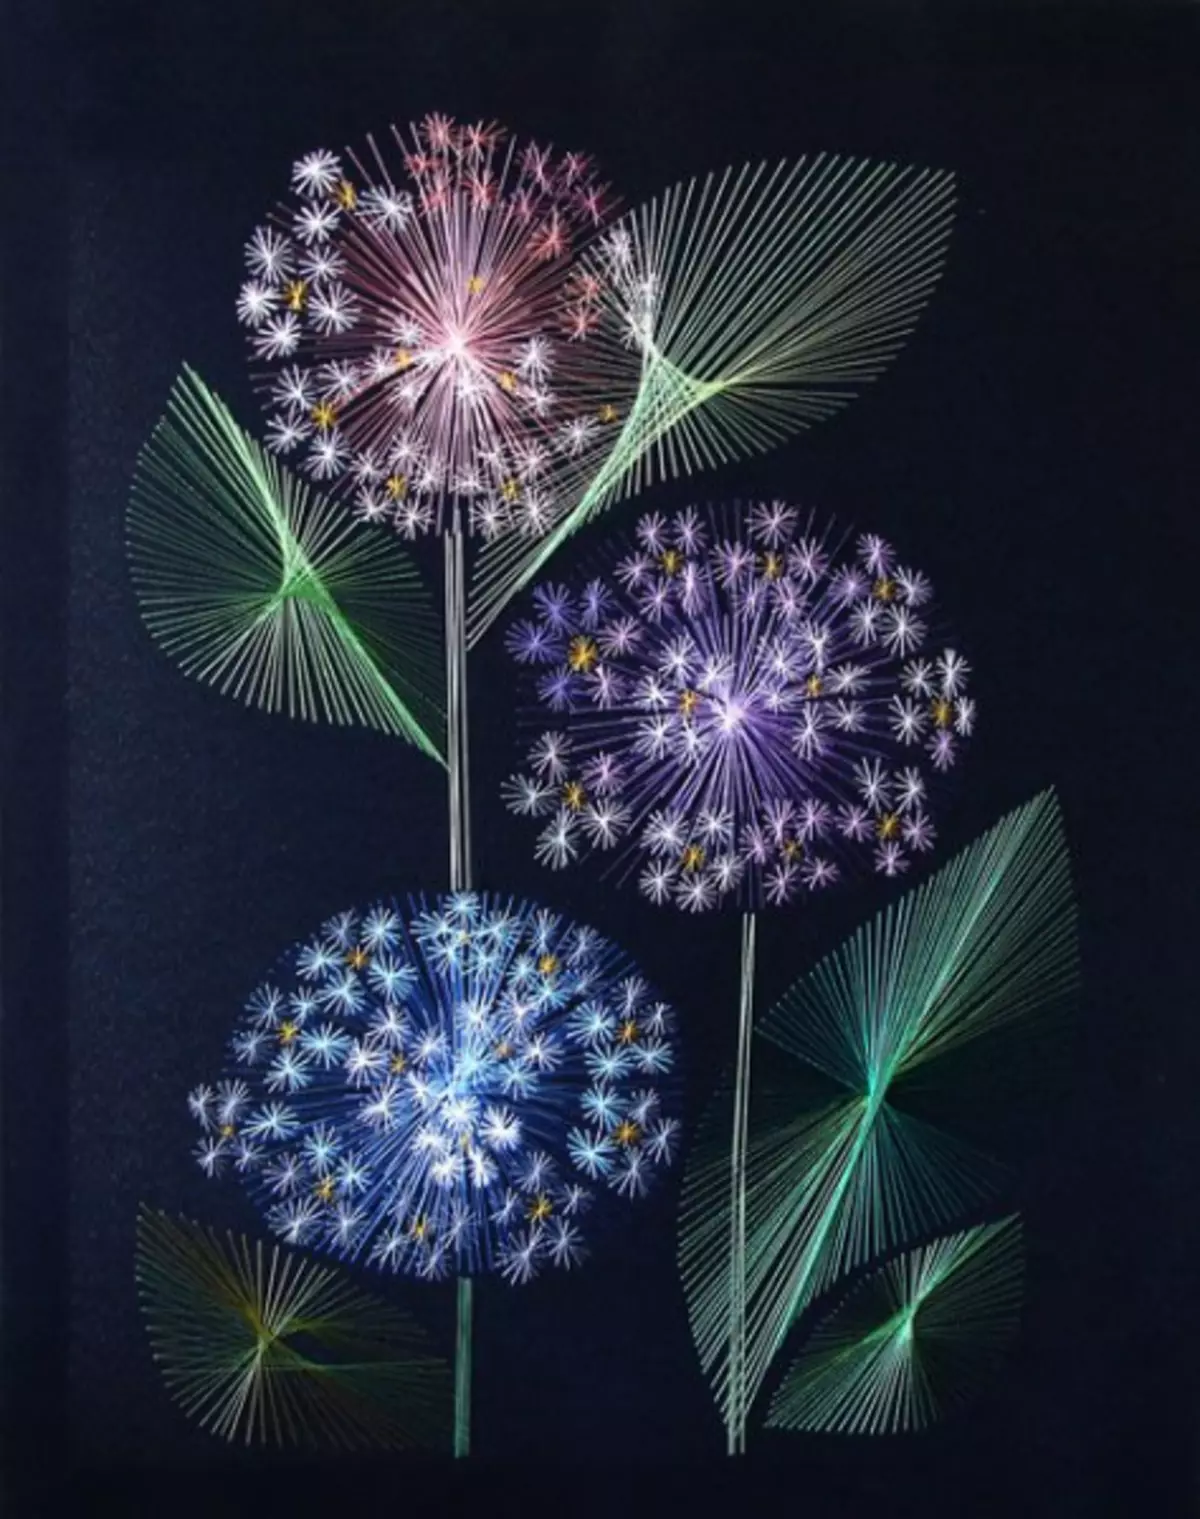
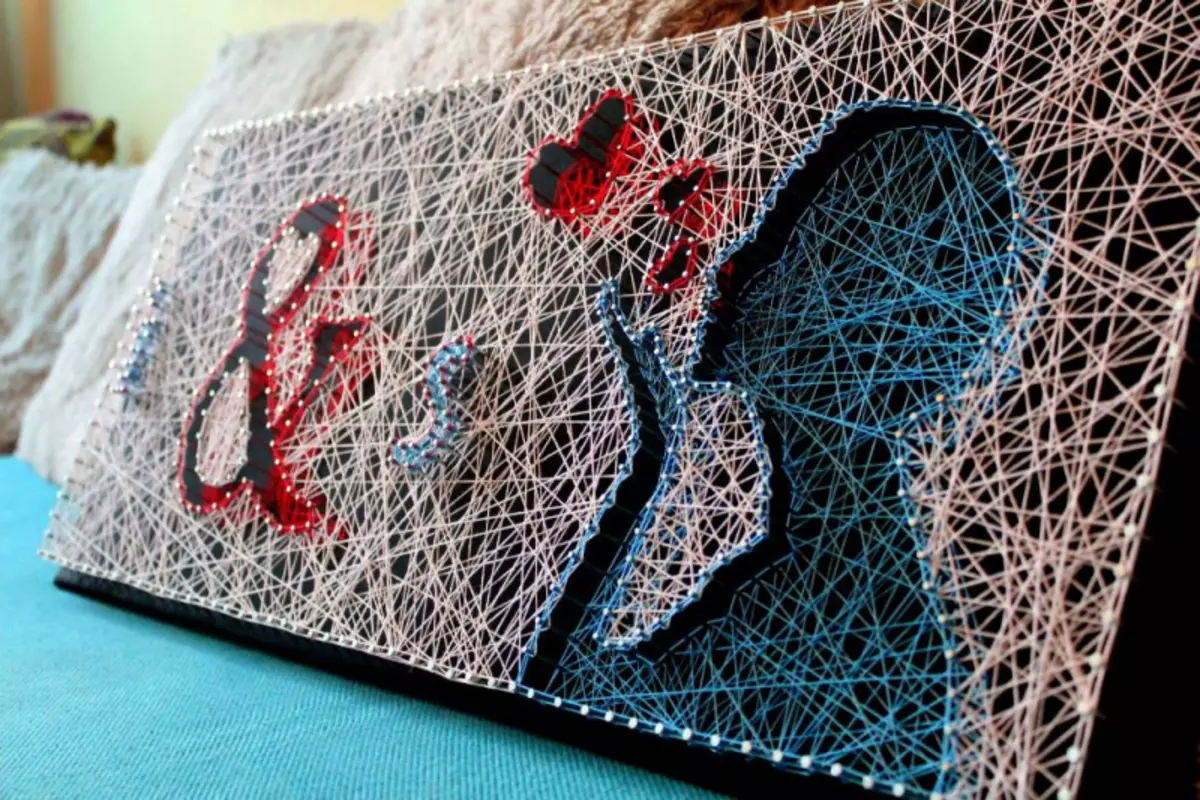
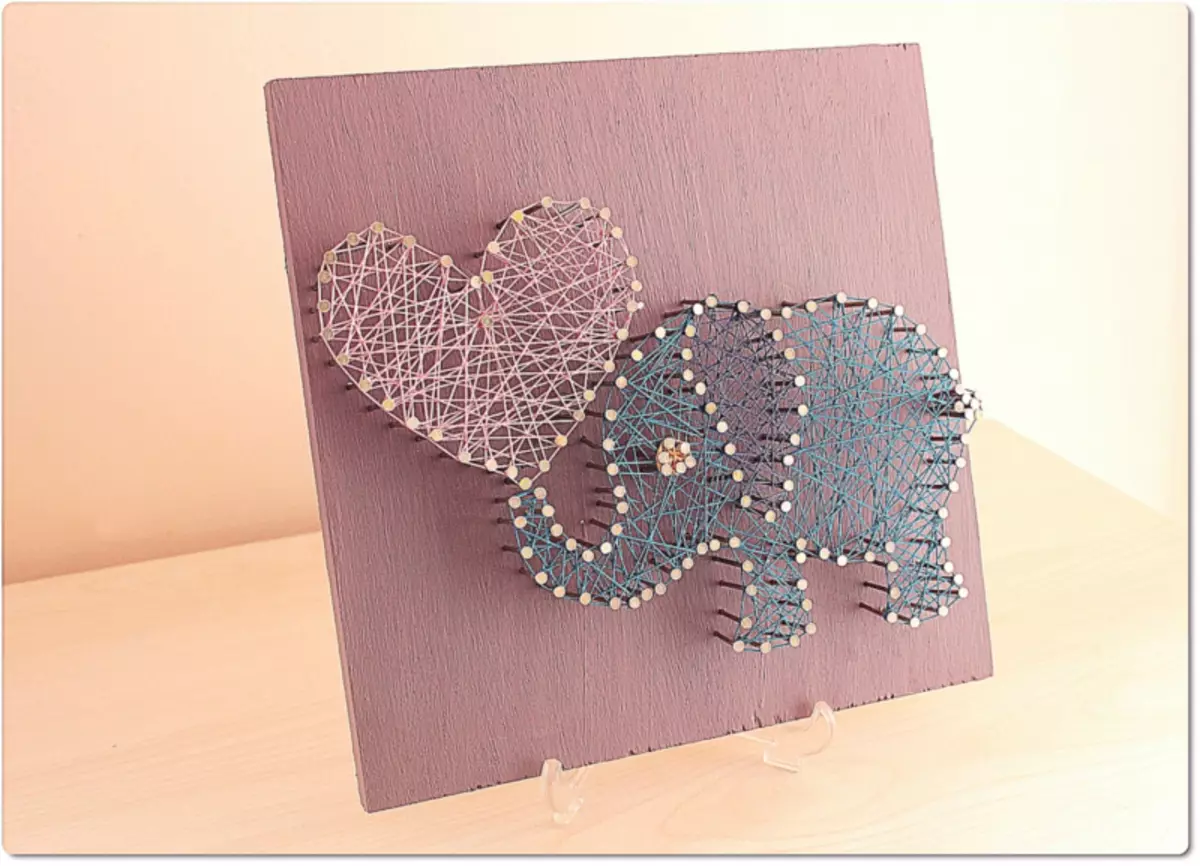
String-Art technique
In the literal translation - "thread of creativity." The creation technology assumes the presence of only straight stripes in the picture. The volume is achieved by overlaying and weave thread.
Necessary materials:
- dense cardboard, cork board or foam;
- small nails (no more than 2.5 cm long) or pins with beautiful heads;
- Threads, you can choose one or more colors of different materials;
- scissors;
- a hammer;
- Feltaster or pencil.
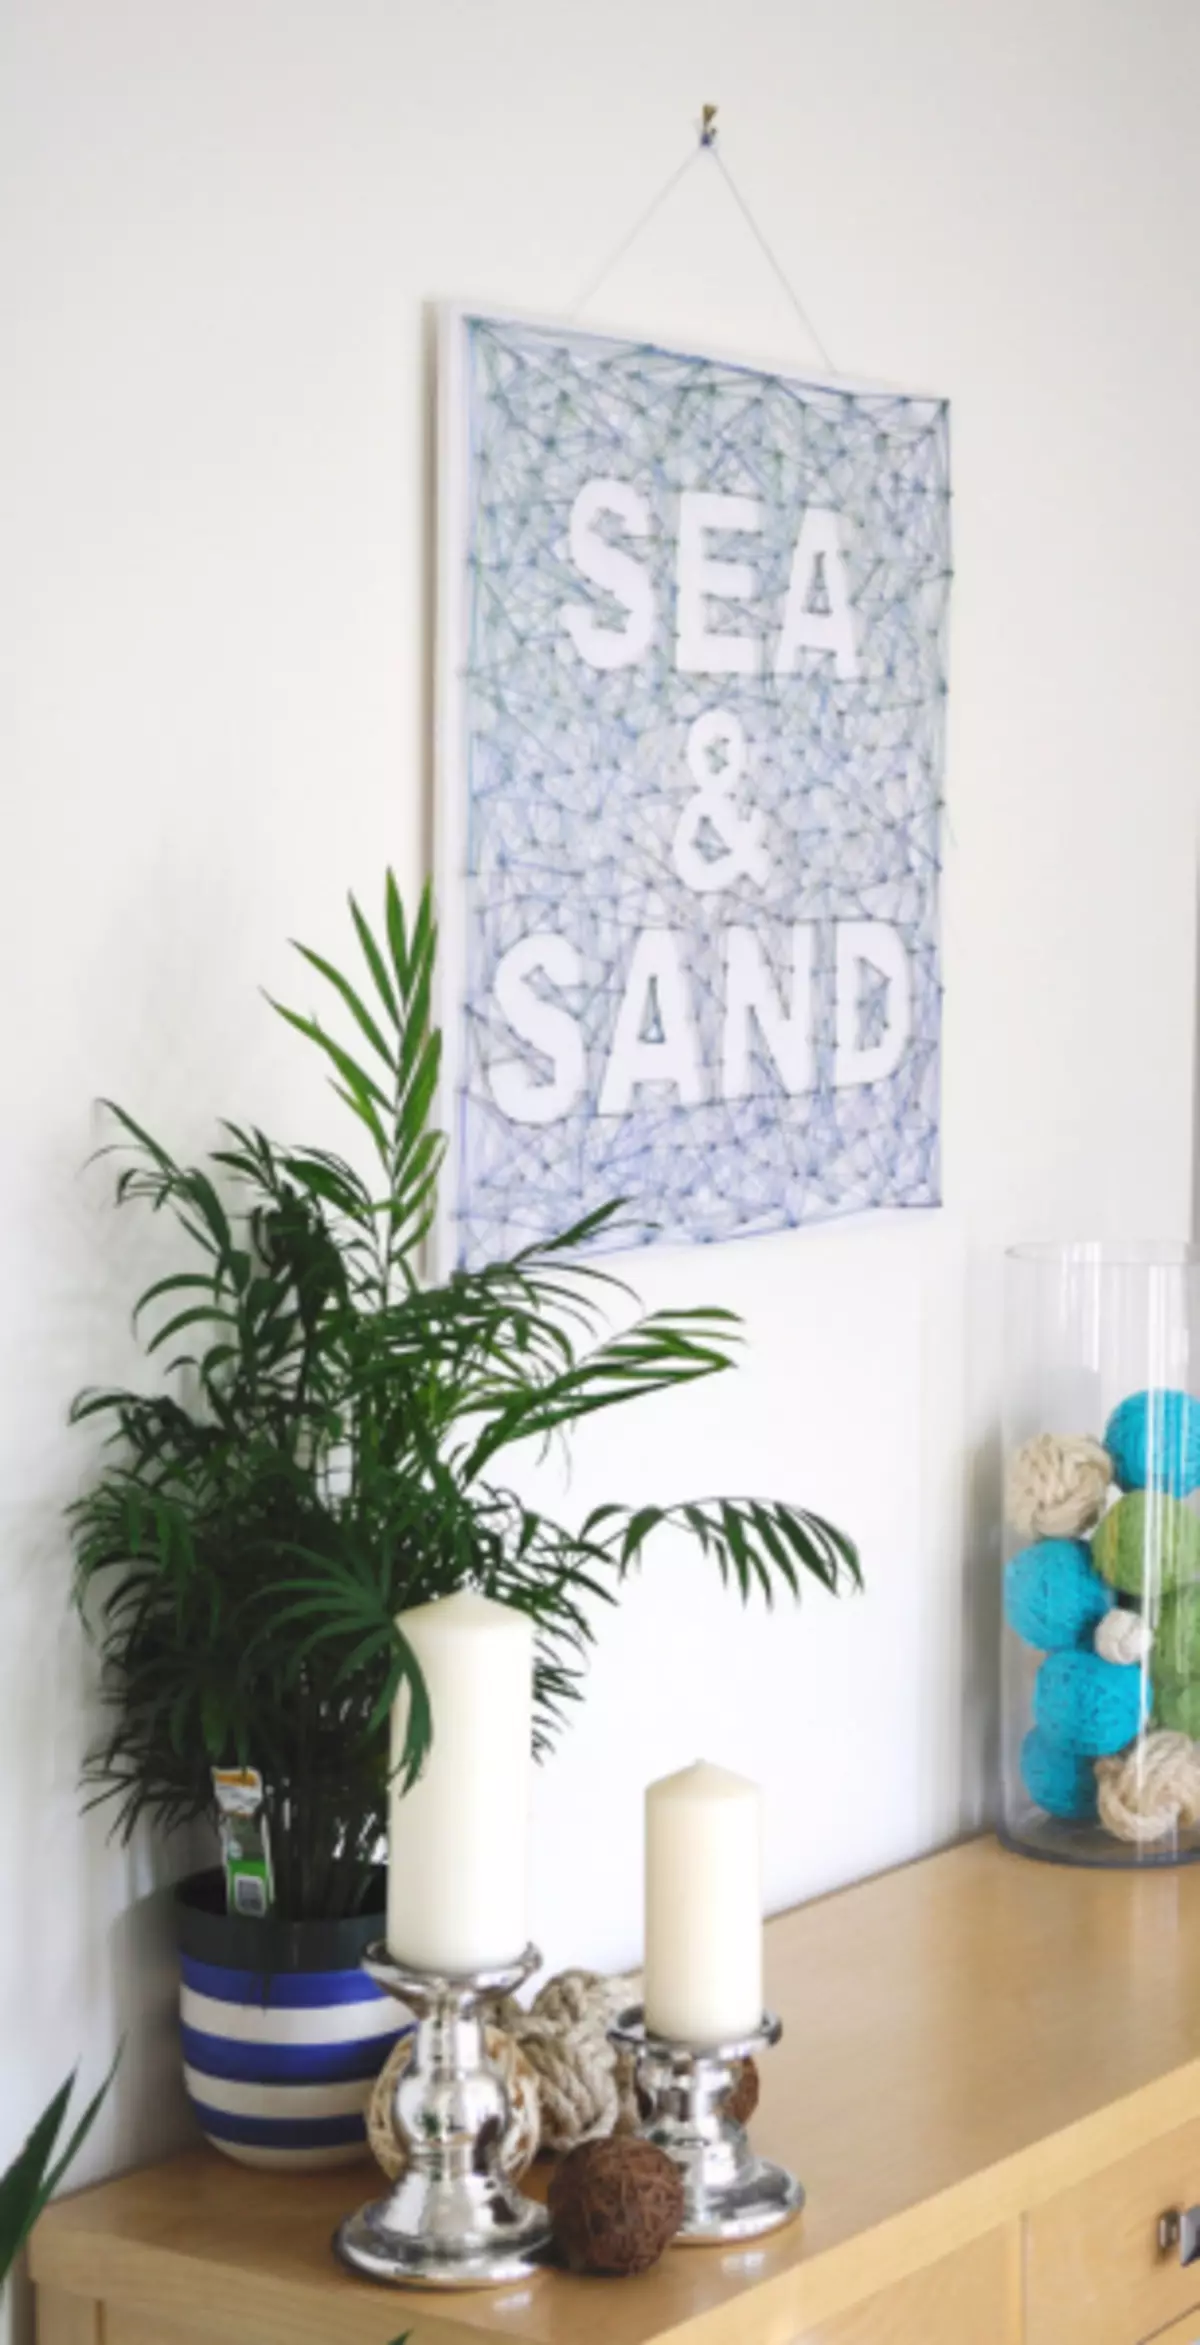
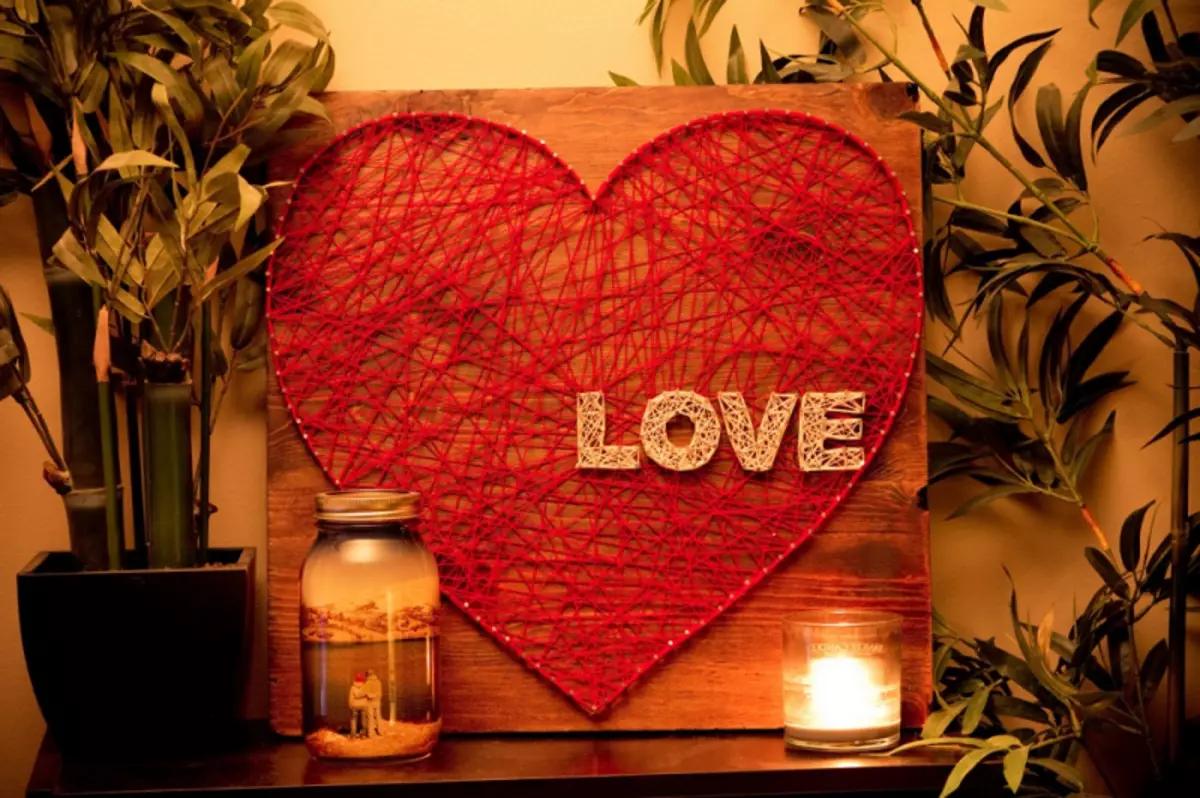
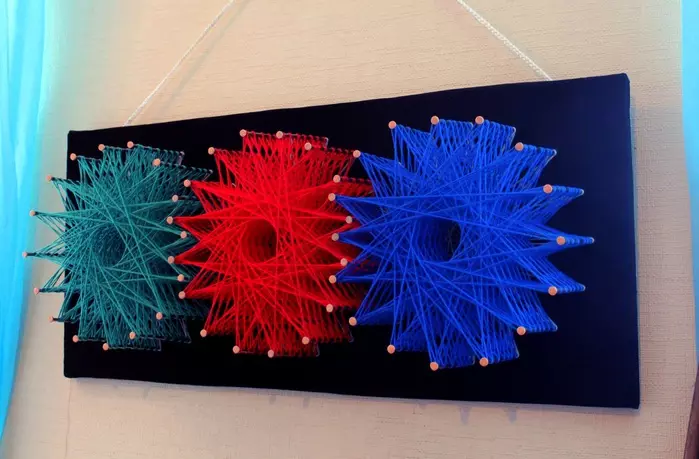
At first, it is recommended to choose not difficult drawings consisting of one object. So it will be easier to master the technique of creating a panel. It is best to start with simple figures: a circle, polygon, heart, flower, wood. To give a picture more voluminous species, you can use threads of different colors.
For a variety It is recommended to decorate the panel with removable decorative details, for example, the bird can be placed on the tree, hang toys on the tree, and add fruits and flowers on the plant.
The master class described below will help independently create a beautiful picture.
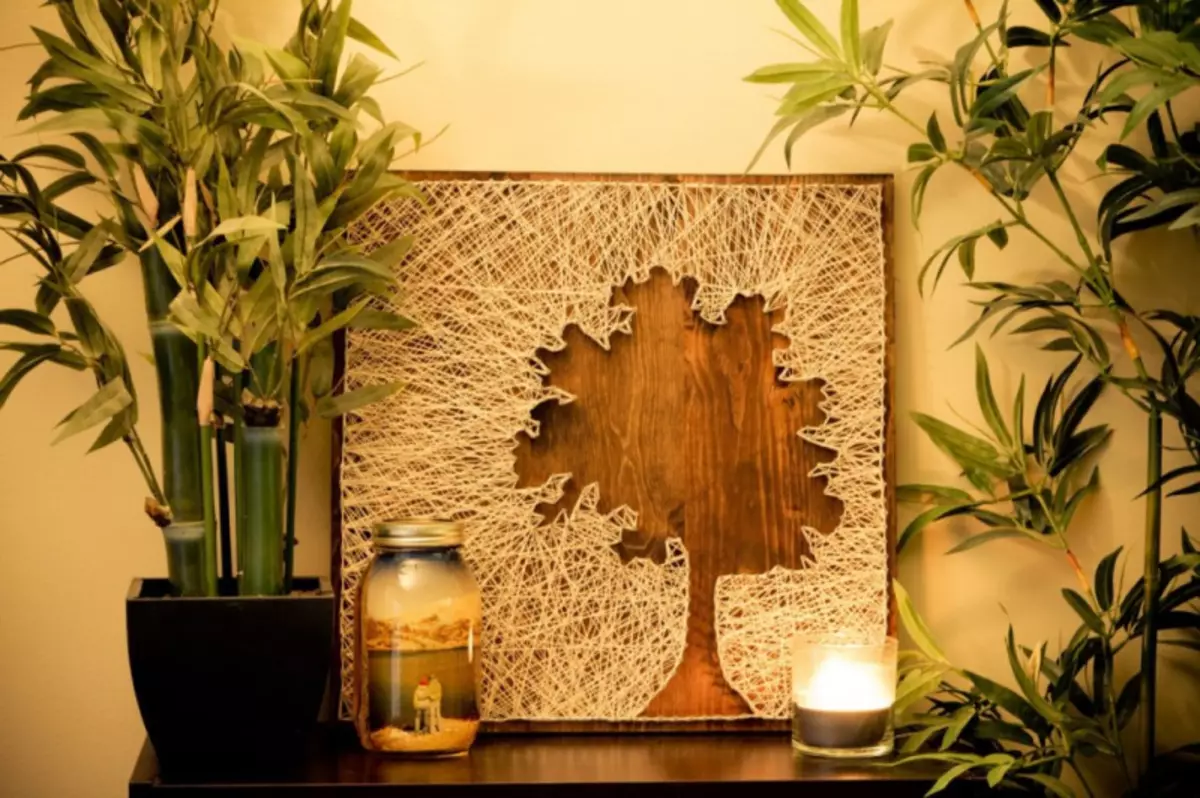
First you need to prepare the basis for performing work. The background is selected for the future drawing, after it is applied to cardboard or other tight material. For dyeing, you can use the paint or the vessel for wood. Give the reason to dry well and only after that sketch the picture.
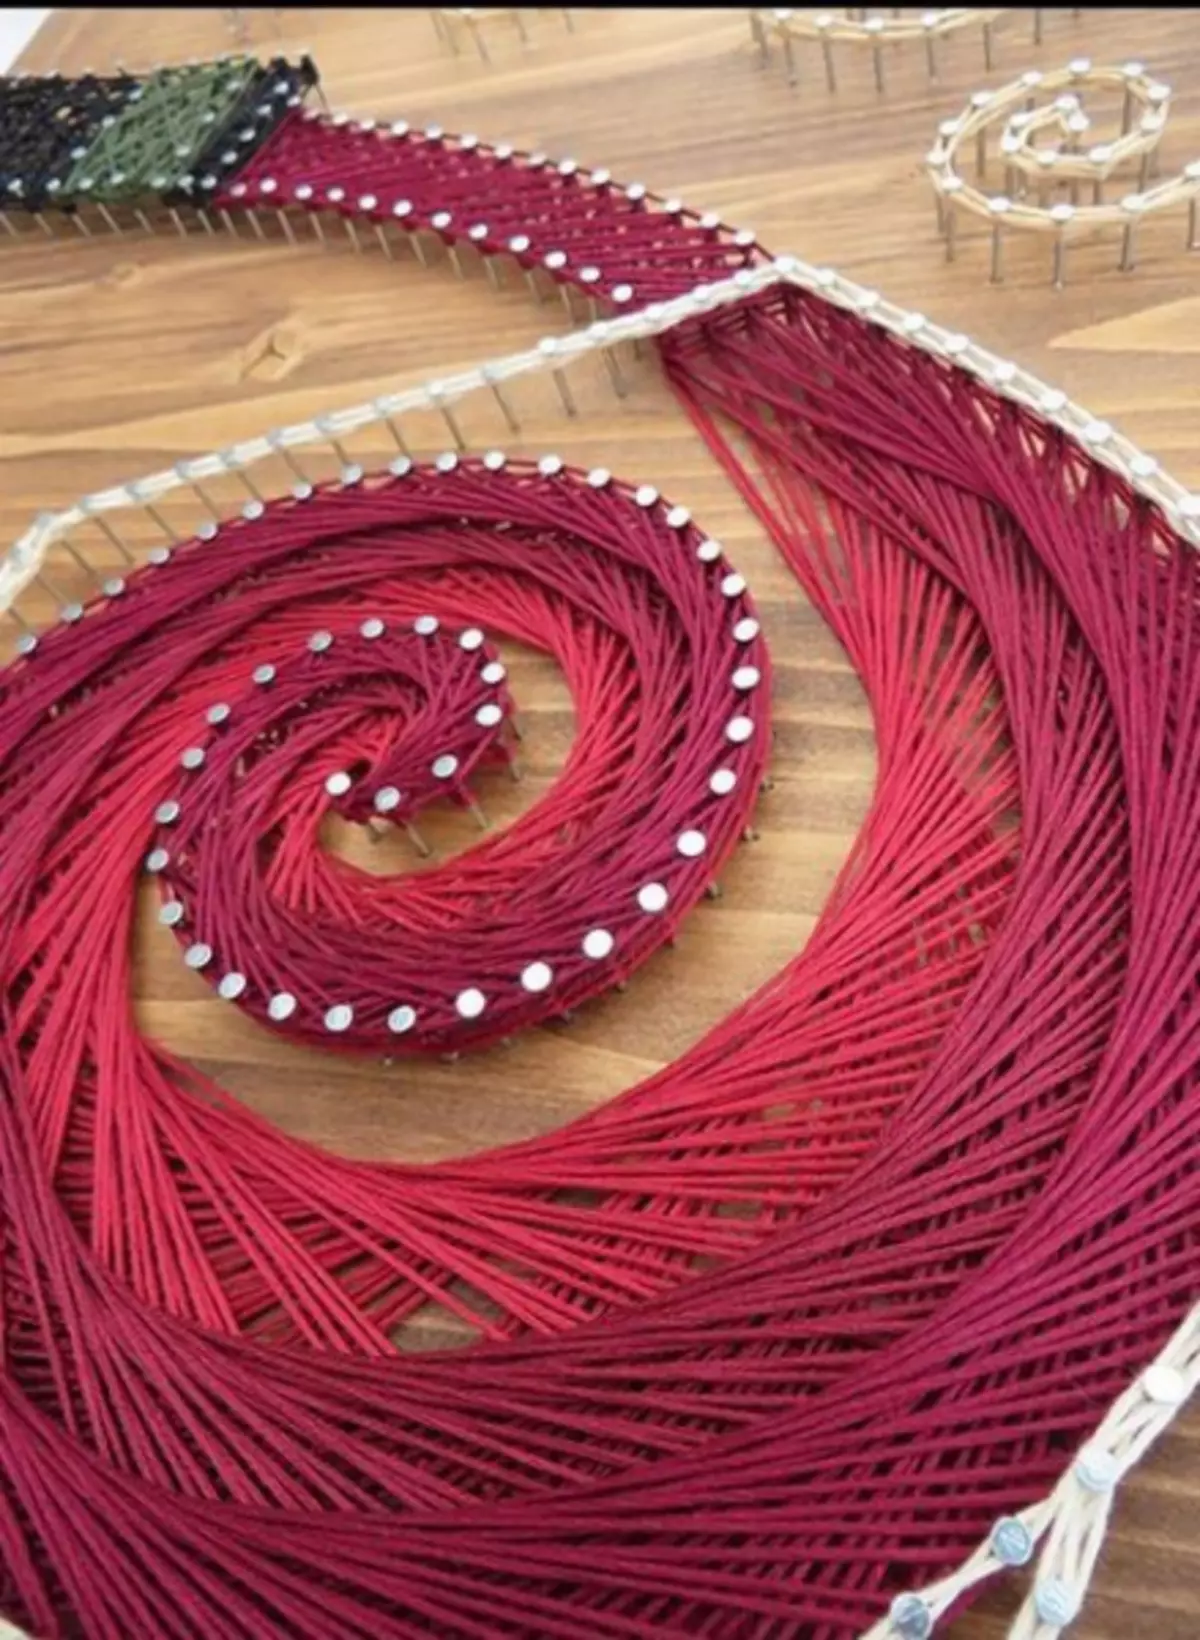
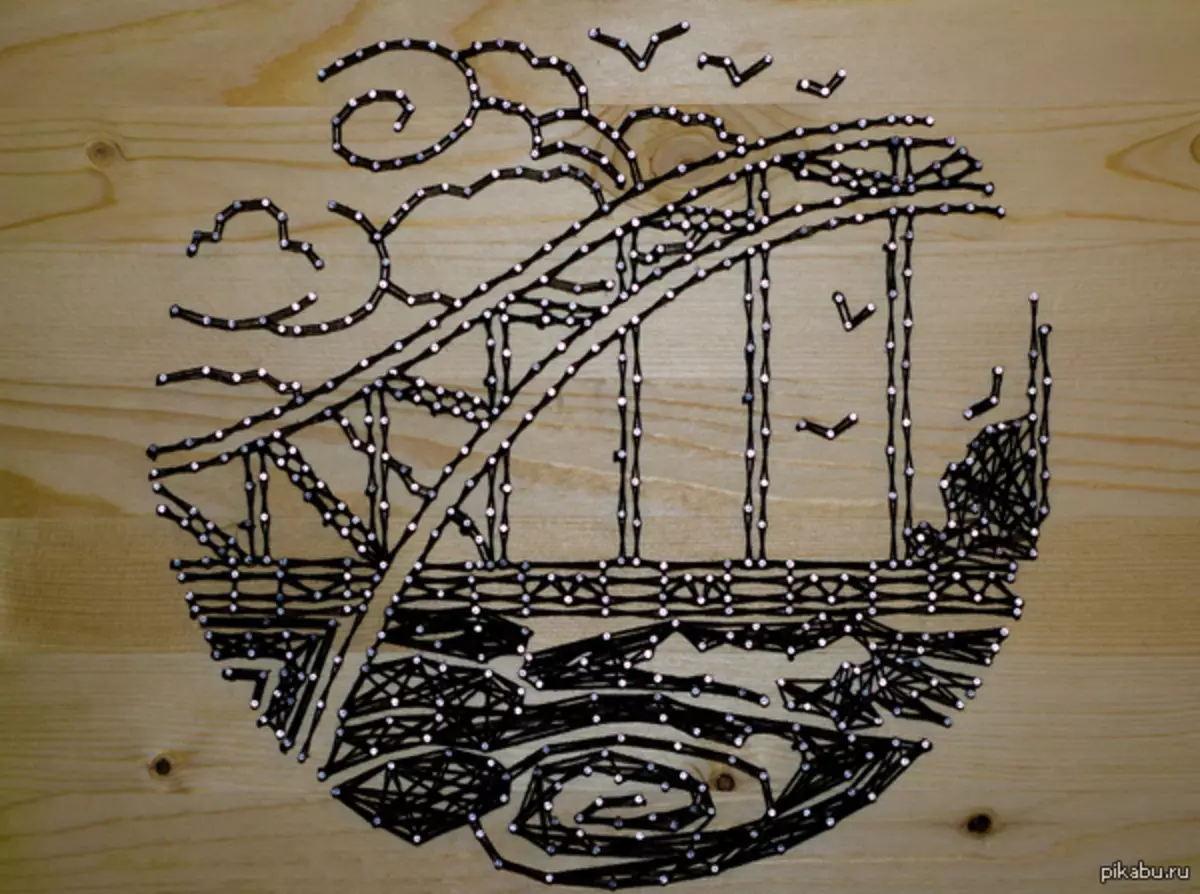
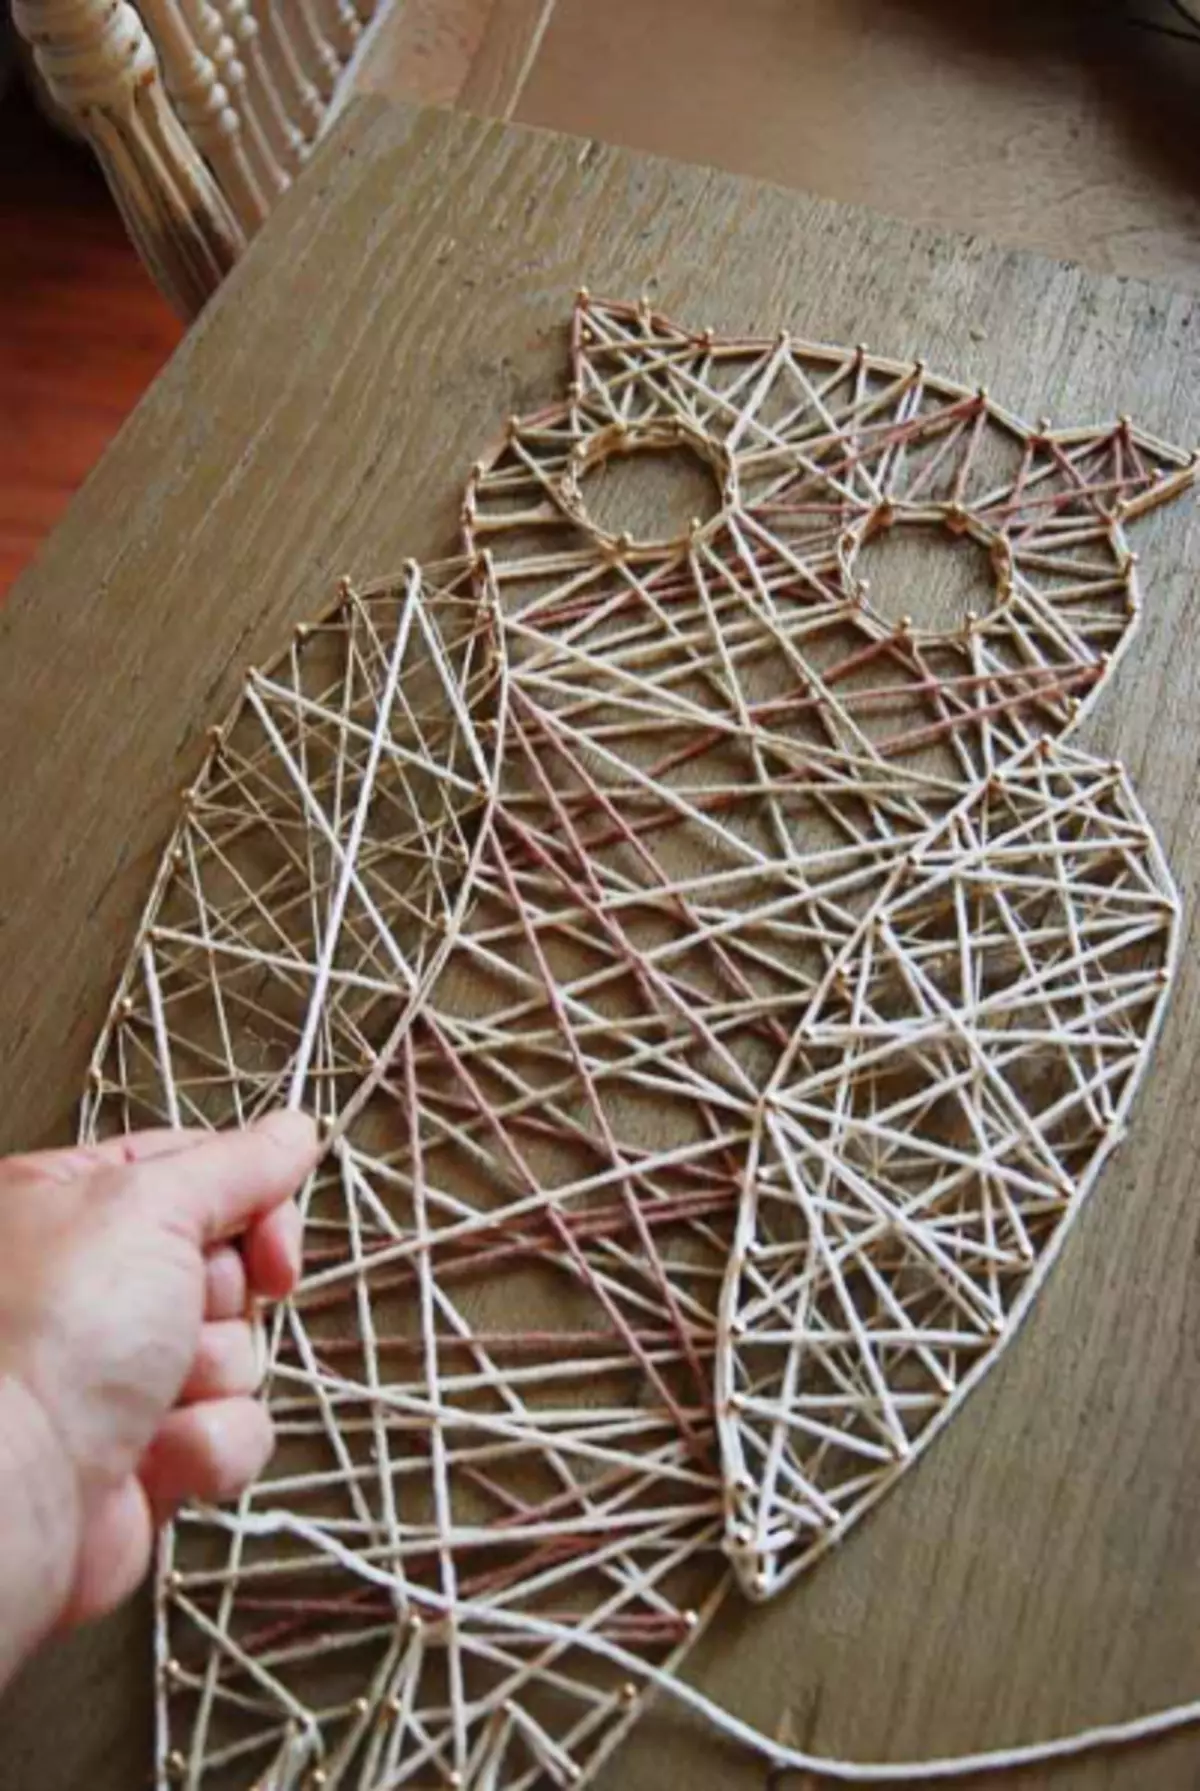
On the contour of the image ripped nails or pins are ripe. The most important thing when creating the contour is to ensure that the nails are at the same distance from each other and at the same depth.
After that, you can proceed to the most interesting thing - tensioning the threads. Talking should be made in the direction from top to bottom. To create a geometric pattern, it is better to preserve a certain sequence in the tension of the thread. In other cases, the more layers of the thread lay down on each other, the more effectively it will look panel.

Even a small child will be able to create a picture of threads and nails. For example, an adult can create an outline of the Christmas tree, and the baby can perform the tension of the threads. To create Christmas tree toys, you can cut a pattern from dense cardboard and wrapped with multi-colored strings. Toys can be decorated with beads, ribbons or beads. Create such decorations on the Christmas tree with a glue gun.
Article on the topic: Sweater with deer knitting needles for girls with photos
Joint lesson with the child will help develop abstract thinking, expanding a child's knowledge of modeling.

Video on the topic
We offer to see a few videos about creating pictures from the threads.